The Urban Decay brand is known for espousing beauty with an edge, devoid of frilly girliness but still alluring and captivating. Watch this makeup tutorial to learn how to do a mystic purple haze makeup look using all Urban Decay products.

Refining selections and creating masks are unglamorous but utterly essential Photoshop techniques—you've got to master both in order to perform tricky compositing tasks, such as extracting a person from an image and then adding a different background.
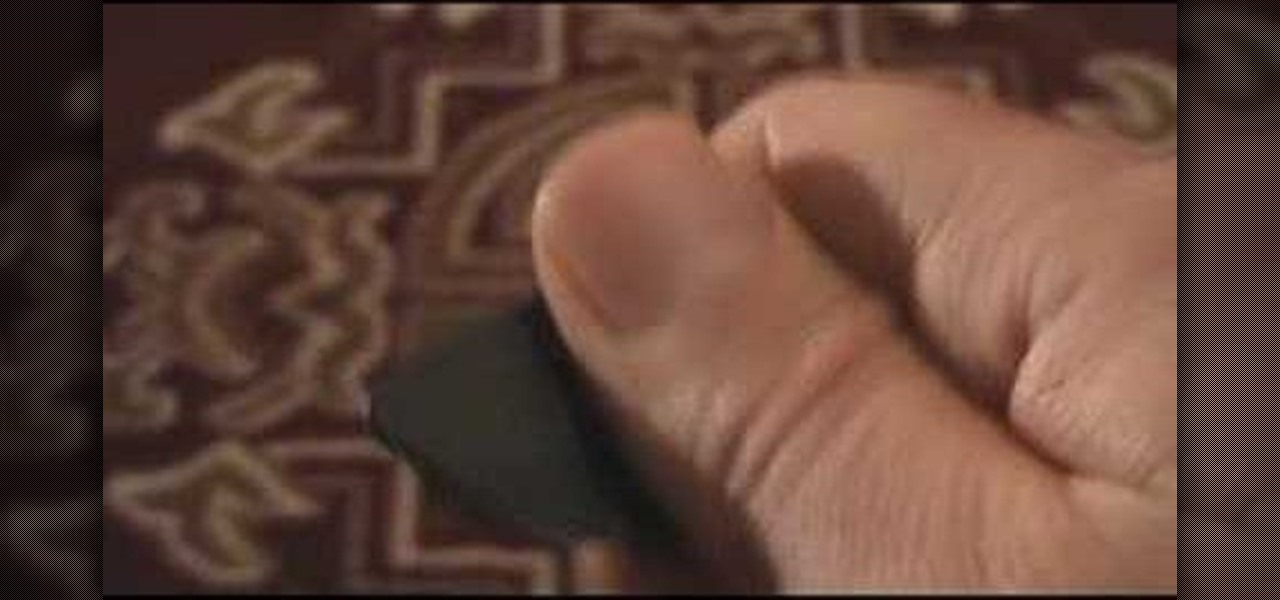
In this video tutorial, viewers learn how to properly hold a guitar pick. Begin by placing the pick on the index finger. The bend the index finger to the thumb. Let the thumb hold the pick. It should be in a form of an X as you hold the pick between the index and thumb. The corner of the thumb nail should be at the edge of the pick. Don't hold the pick so close to the edge, making it sticking out too much. This video will benefit those viewers who are beginning to play guitar and would like t...
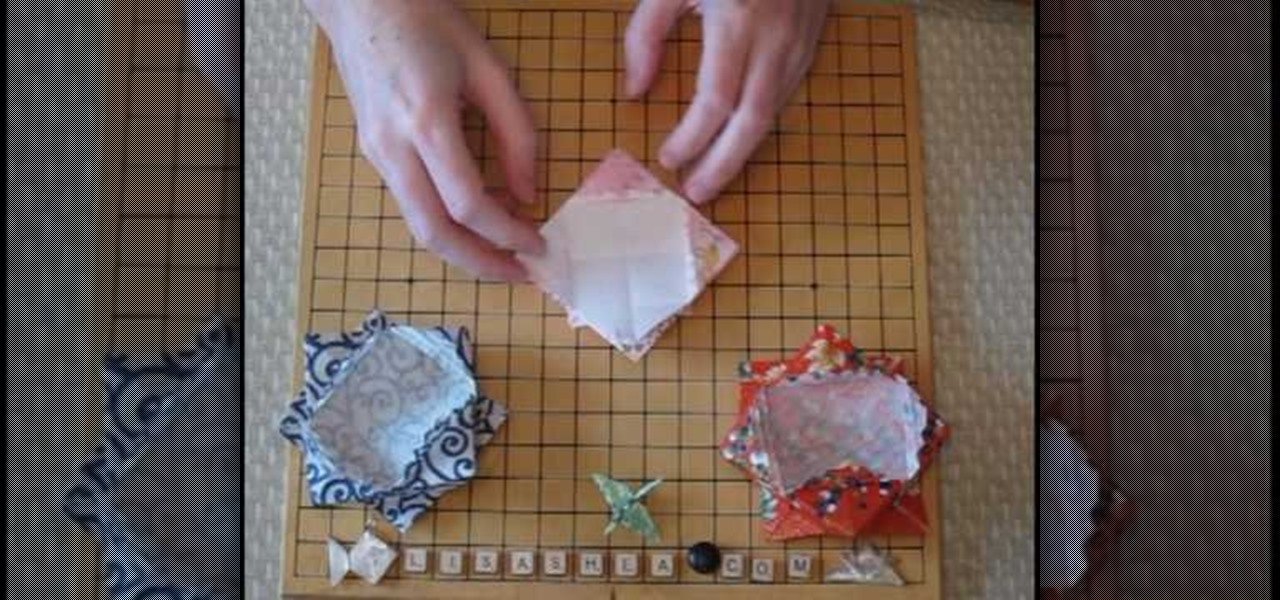
The video shows how to make an origami candy dish. Fold your origami paper in half diagonally. Put the four points into the center area. Turn over and fold all four points into the center. Move the tip out to the edge for the feet. Turn the paper over and fold the flaps out to the edge of the square. Fold the flap again and leave a bit of overlap. Do it on all the flaps. Put fingers into the corners to fluff it out.
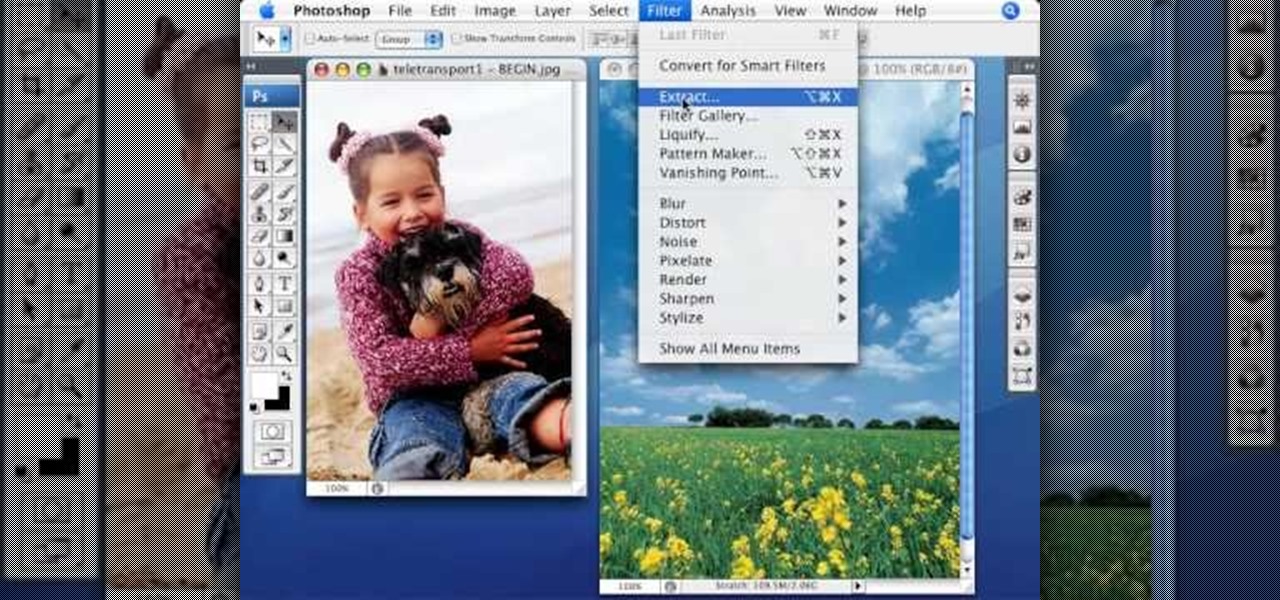
This video tutorial by photoshopuniverse, is to tele-transport people in photos using Photoshop. For this you will need two photos, one with a person and another of a suitable scene. Select the image with the person and extract the person using the extract tool by marking the edges. Make sure to change the brush size so that you can mark the edges with a bit of the border to be included and a bit of the outside to be excluded. Fill in the retaining area and extract the image. Using the move t...

It's no secret that the enterprise sector is hot for augmented reality, but the move into the enterprise AR software market by one of the biggest names in industrial engineering announces the technology's arrival loud and clear.

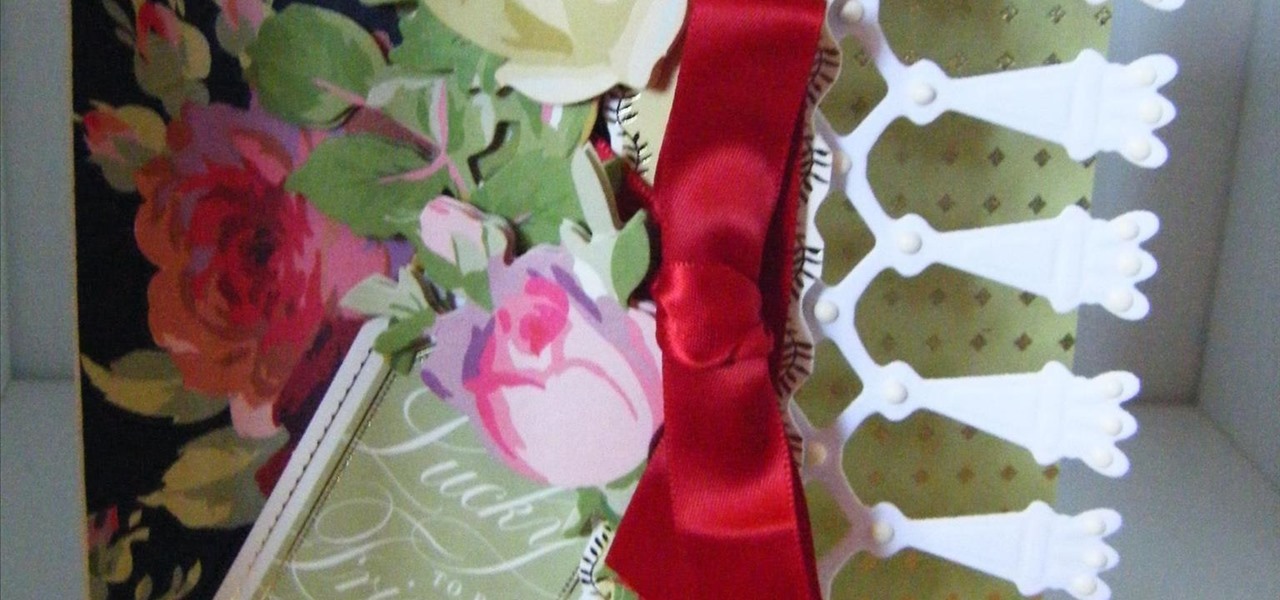
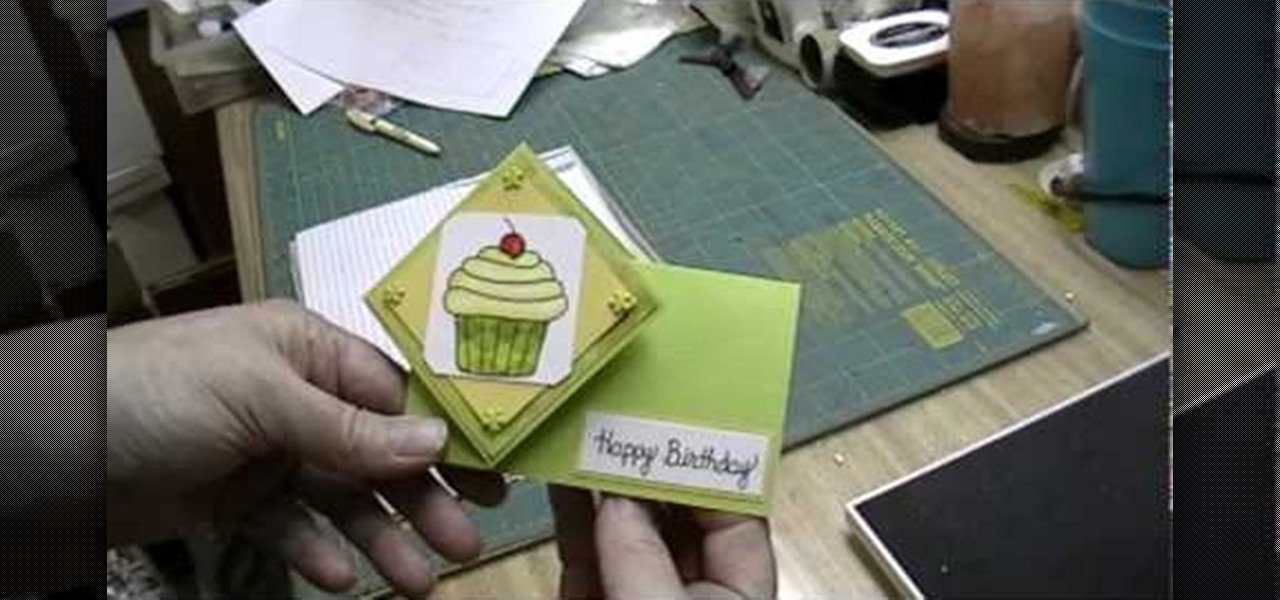
This card project is a little bit different and will show you how to make a trimmings side edge card, using some fabulous products from Anna Griffin, including the Trimmings 12" dies and the Rose designer collection. The card is easy to make and looks so pretty, but it is a 'easy when you see how' card. Step 1: Now Watch the Tutorial
There have been plenty of rumors and lots of speculation about the Galaxy S7 and S7 Edge, and now we're finally getting our first look at Samsung's newest flagships—in the form of two images.
The Galaxy S6 Edge comes with a very nice pair of earbuds, which might possibly be the best set I've ever owned. They're quite comfortable, and they provide clear and robust sound, but they could still use just a little boost in volume.
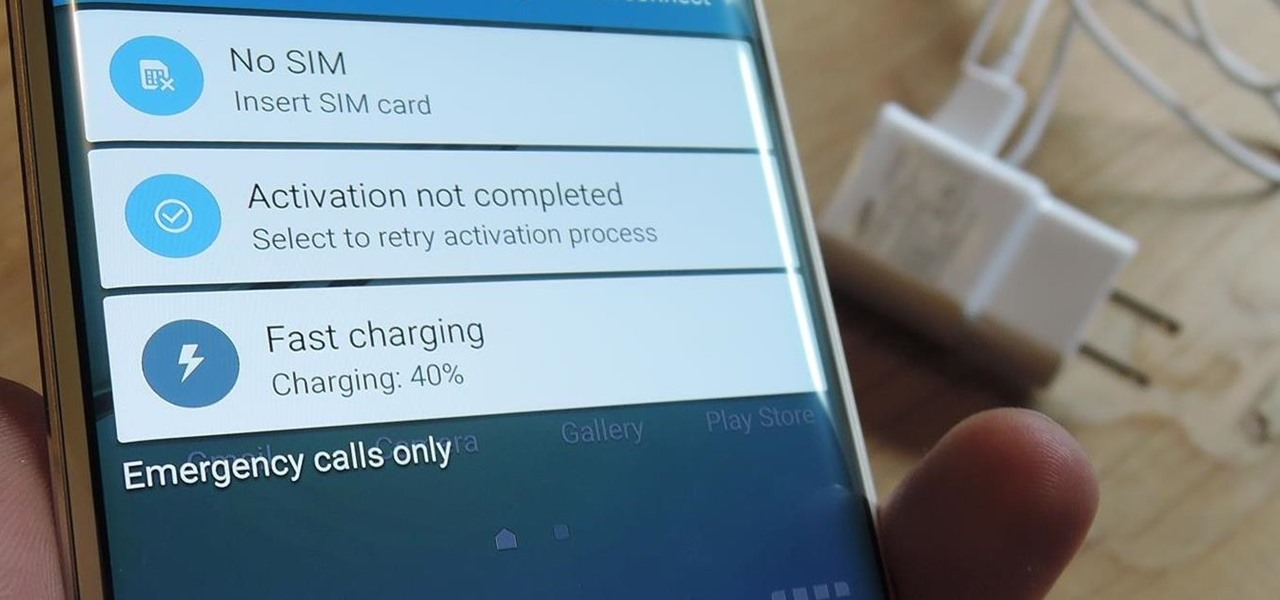
Samsung has a long-standing reputation for packing their devices with lots of added functionality, and the Galaxy S6 Edge is no exception. It comes with a nifty feature called "Information stream," which allows you to get quick, at-a-glance information by swiping the edge of your screen back and forth while the display is off.
I picked up my Galaxy S6 Edge on release day and have loved it ever since. Did I spend an extra hundred bucks for the mostly-aesthetic Edge display? Yup! Did I have buyer's remorse about my frivolous spending? Not even a little.
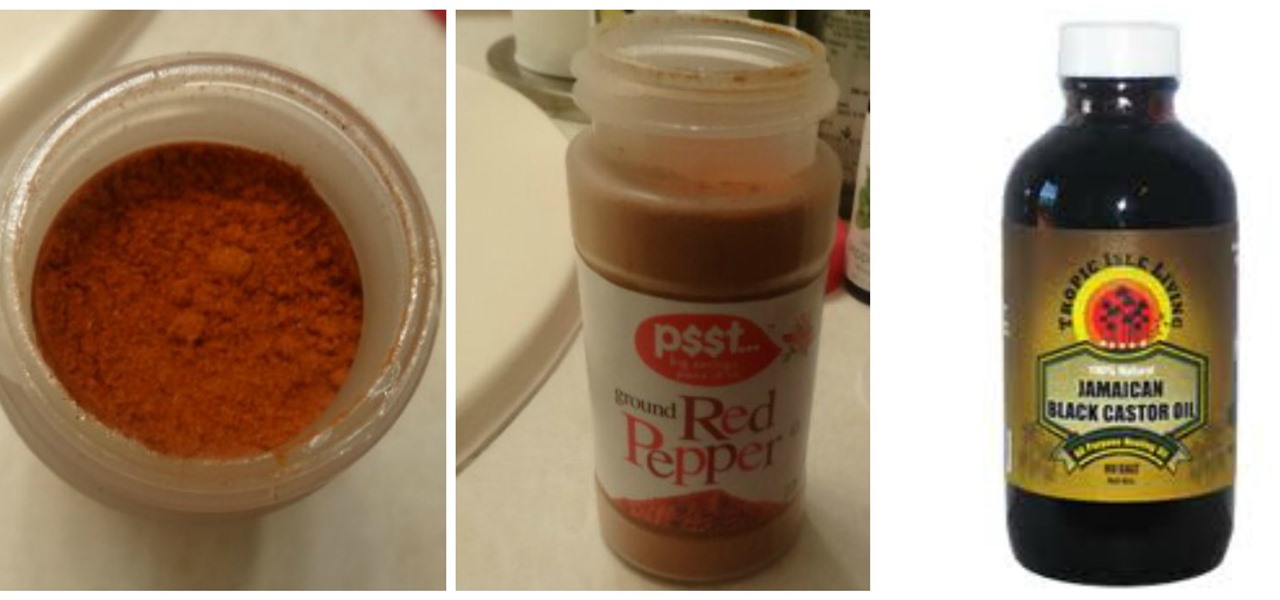
How to Get Your Edges Back w/ Cayenne Pepper & Tropical Isle Black Jamican Castro Oil.
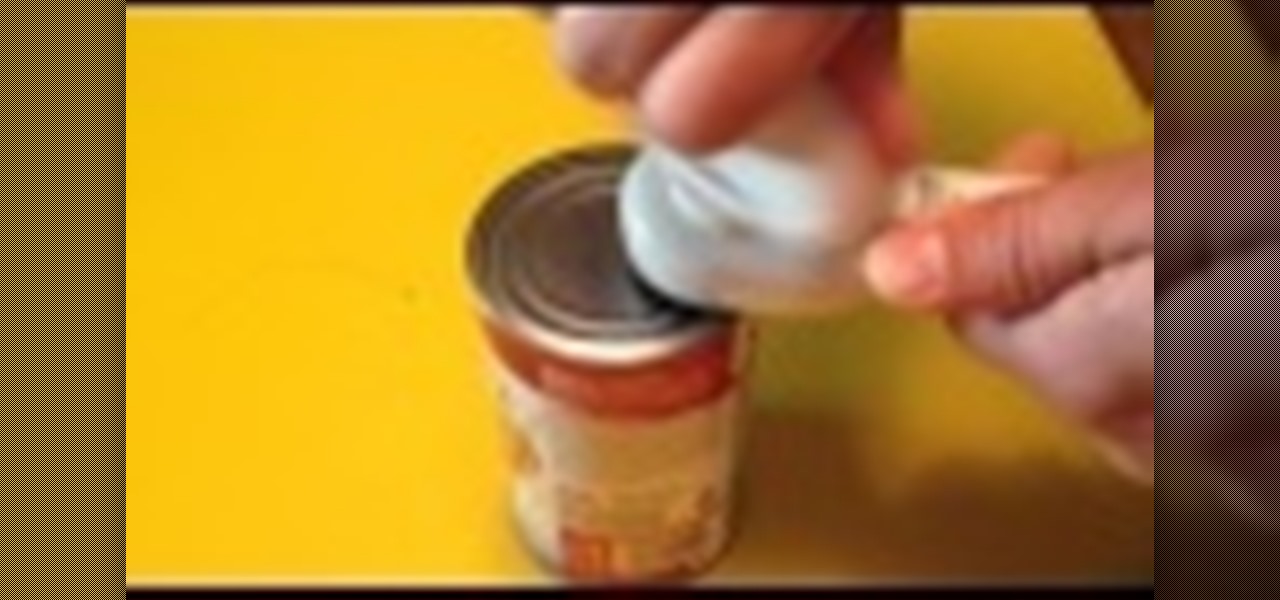
This is a video of how to use a can opener that's a safe can opener, which will not leave sharp edges. You can also reuse the lid to put back on top of the can if all of it's contents are not used.
When I first started cooking, there were a few steps I always skipped in recipes. I never added zest to anything because it seemed like too much trouble, I rarely separated wet and dry ingredients in baking recipes because I was lazy, and I never let meat rest after it was done.
In this video Jennie shows us how to make a perfect spiral paper rose. All you need for this is a piece of 6X6 inches of paper, scissors, some glue and, if you really want to be creative, some ink. For starters you're going to need a 6X6 inch piece of card stock. Jennie chose a double-sided card stock because she thinks it will look more interesting but you can also use a plain piece of paper. The first step in creating your rose is making a spiral patterned cut alongside the paper. The ideal...
This video shows how to make German paper stars for Christmas.Step 1. Measure and cut strips of paper.Step 2. If we are using shorter pieces of paper glue the strips together.Step 3. Weave the strips.Step 4. Starting with the upper left strip. Fold down. Repeat all the way around. Skipping every other strip.Step 5. Tuck the last strip under the first strip.Step 6. Flip and repeat. If there is a trouble getting some of the strips to go under the other strips cut the ends at an angle.step 7. Fl...
This video tutorial shows you how to wallpaper. 1. Set the mood: To wallpaper a room you need caffeine and music, it's best to get that first. 2. Prepare the space: Basically this step is set to gathering tools, patching holes, cleaning and sanding the walls, moving furniture and removing outlet and switch face plates. The tools are as follows: level, pencil, tape measure, step stool, wallpaper paste, paint tray, paint rollers and brushes, wall paper, squeegee, water bucket, sponge. utility k...
Learn how to 50-50 grind with a skateboard. After you've mastered some skateboarding fundamentals, try moving on to the 50-50 grind.
Master knitter Judy shows you how to knit a picot cast on in this knitting video. If you haven't figured out how to cast on yet, you should probably watch her video on that first. This is a sweet edging for the bottom of a baby sweater or blanket. There are many other instances where you would want to use a picot cast on, as well. Learn it with this up close demonstration by Judy Graham, Knitter to the Stars.
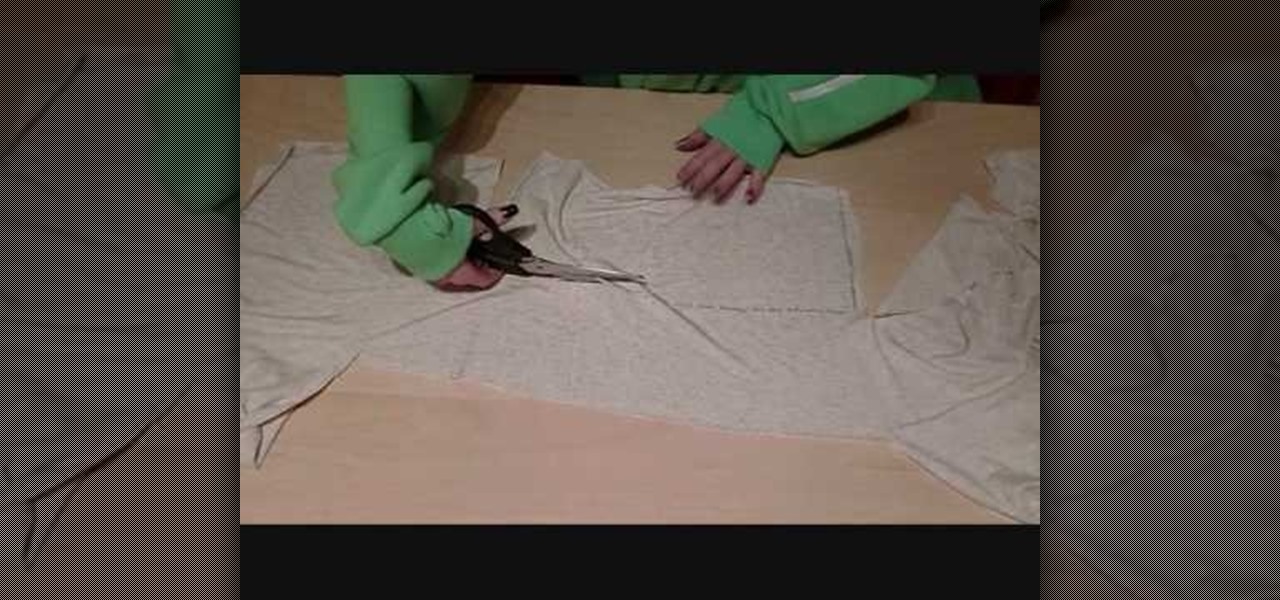
In this video, we learn how to make a feminine, long fitted sweater. First, lay out your fabric and use a pen to trace the lines for the sweater, measure it out so it's a good fit. Make sure to cut around the edges so you have room to sew. Now, sew along the edges and then turn the shirt inside out. Then, take extra fabric and cut out rectangular pieces that you will then attach to the bottom of the sweater by sewing them on. Once you are finished with this, try your sweater on to see how it ...
In this video, we learn how to do a toeside pendulum in snowboarding. Start by sideslipping on your toe edge. Take note that tapping on one leg represents increased pressure on that foot. Look and point in the direction that you want to travel, then tap on both legs to get even pressure on both feet. Increase edge angle with even pressure on both feet to slow down and stop moving on the board. Once you get these tips and tricks down you can better understand how to ride the snowboard. Remembe...
In this video we learn how to do a heelside pendulum in snowboarding. Start by sideslipping on your heal edge. Then, tap on one leg to increase pressure on that foot. Reduce the angle and then you can slide your board down where you are facing. Look and point in the direction of desired travel. Tapping on both legs means even pressure distribution on both feet. Increase edge angle with even pressure on both feet to slow down and stop. Although you will start out slow at first, these are great...
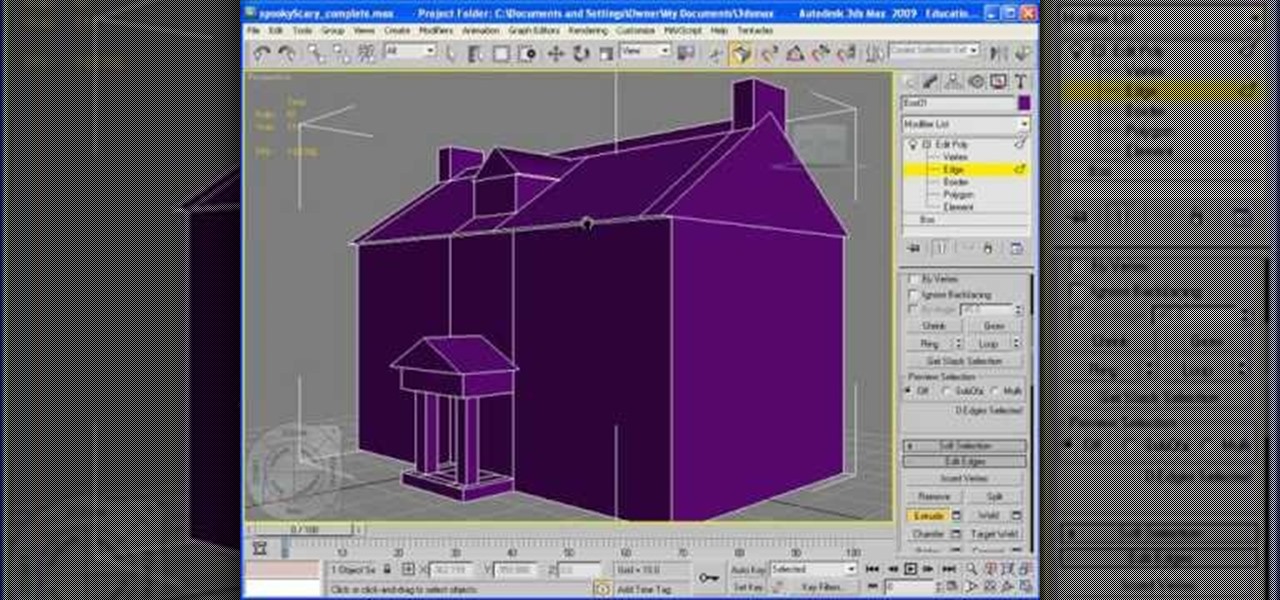
In this video, we learn how to add texture to a model house in 3D Studio Max. After you have created the model, press 7 on your keyboard. This will activate a new menu telling you how many polygons are in your model. Then, edit the edges and remove them so you have less polygons. After this, save the model under a name you want, then select everything on the model. Go to the parameters and click "edit". Now, go to mapping, then flatten mapping. The presets should be fine, then click "ok" and ...
In this video, we learn how to use the polygonal lasso tool in Photoshop. This will allow you to create a selection on your photo in a freehand style. First, select the tool from your toolbar, it's the third selection down. Once you select this, go to your picture and find the piece you want to cut out or copy. Press and hold the control and space bar, then highlight the area you want to. This is great to make a selection that has a straight edge. If you just click with it, it will have a dia...
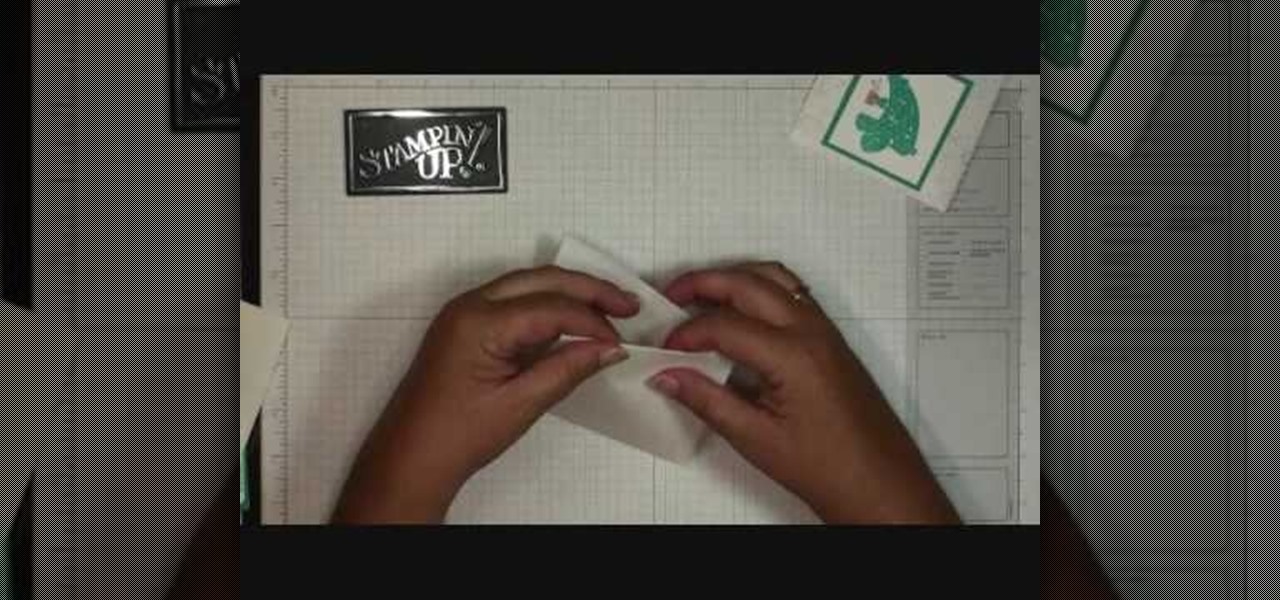
In order to make hot cocoa holders with Stampin' Up, you'll need the following: a whisper white Stampin' Up envelope, scissors, a paper cutter, cocoa, a jumbo wheel, ink pad, adhesive, stamps, ribbon, pen, stapler, glitter, and card stock.
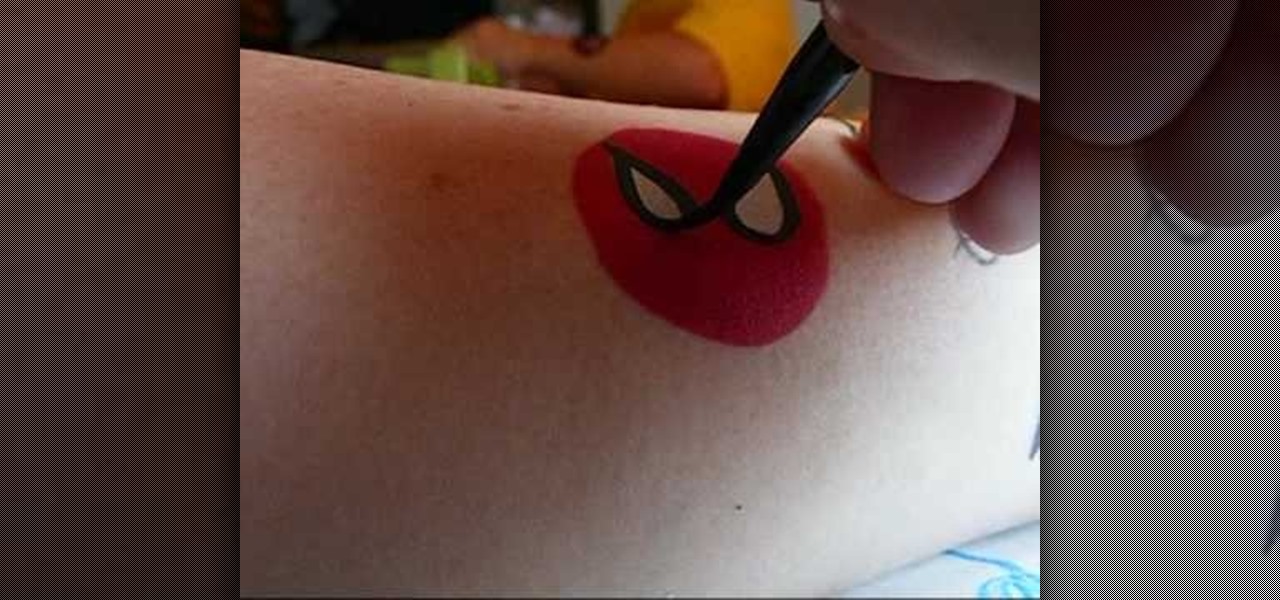
In this video, we learn how to make five easy face or body paint designs. First, to make a shooting star, grab a sponge and apply your paint to the edge of it. You will want to paint three colors next to each other on the edge of the sponge. Now, drag this across the skin and make a point at the end, then paint on a star. Next, to make a flower you will paint four hearts that are all touching with their points in the middle, then paint on leaves by swiping the brush sideways. To paint Spiderm...
In this video, we learn how to make a ceramic slab plate. First, roll out the ceramic. After this, place the clay on butcher or newspaper and smooth it out with a plastic card. Repeat this on the other side. Next, use a paper template to help cut your design or use a circular object. Cut slits to help remove the surrounding clay. Use the excess clay to build support pieces then curve the edges of the plate up and place the support pieces underneath. Use a piece of leather to smooth the edges....
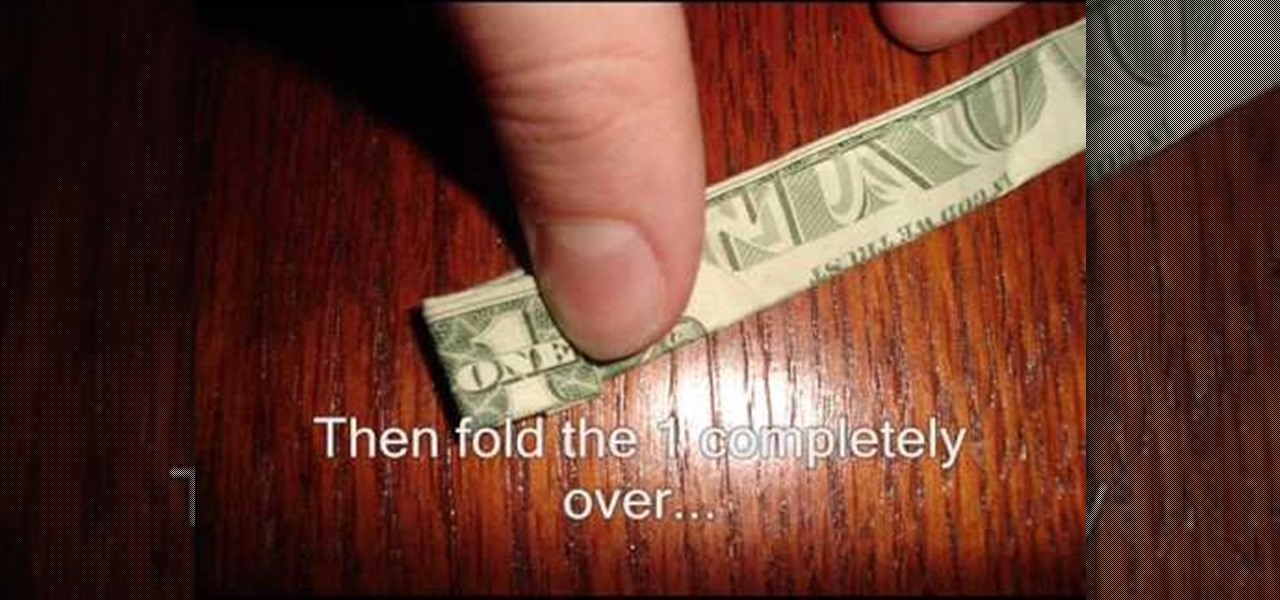
In this video, we learn how to fold a ring out of a one dollar bill. First, fold the white edges in at the top and the bottom. Next, fold it in half and then spin it around 180 degrees. Next, fold it in half again, then take the white edge on the right side and fold it down until you can see the 1. now, make a backwards "L" shape and fold it back down, then curl it up. Now fold the L underneath and curl the extra part underneath the 1. Now, place this on your hand and you can wear it as a ring!
If you're the new owner of a snowboard or plan on purchasing one, an important part of maintaining it is by waxing. Waxing a snowboard is one of the easiest things that anybody can do in order to increase the overall performance of your board. Waxing a board can also prolong the life of the board and reduce any minor damages it accrues.
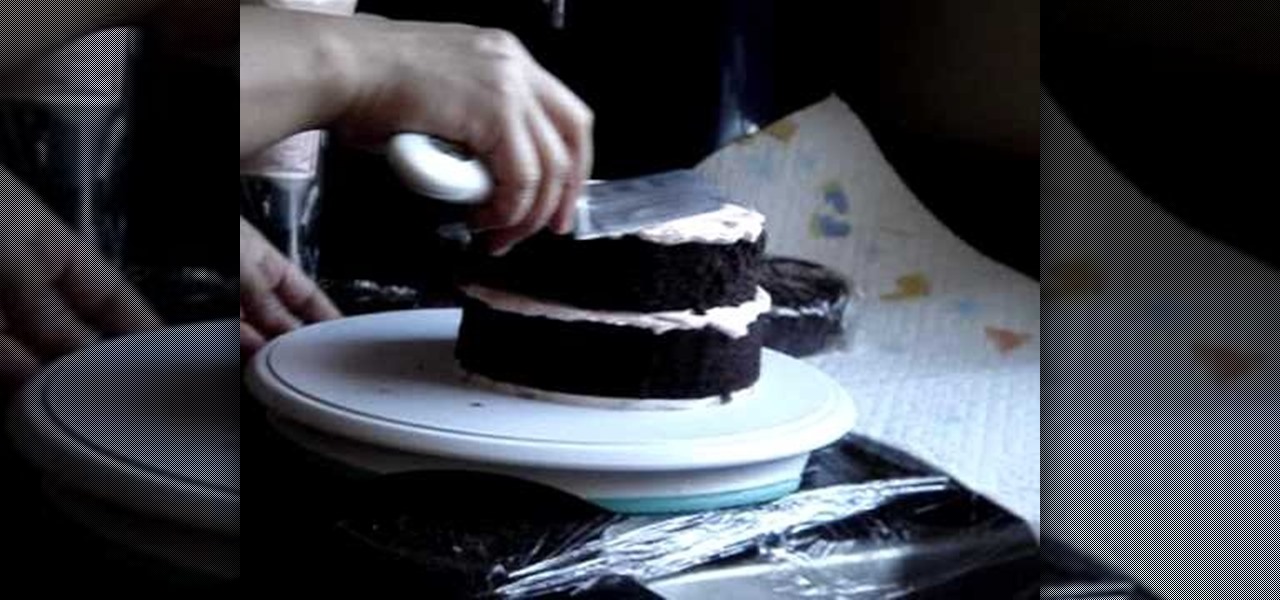
The video covers how to ice a cake. According to the video it is best to start by refrigerating the cake. You will need a 16" pastry bag with an icing tip on it. The tip should have a cerated edge on one side and a smooth edge on the other. Set the cake on a rotating plate. Rotate it and put a layer of icing all the way around the cake and then fill in the center. Once the cake is covered use a spatula and smooth out the icing. Then set the second cake on top of the first and put the icing on...
In this tutorial, we learn how to use a zigzag stitch as an overlocking stitch. First, put your fabric under the sewing machine and place the edge close to the needle. Sew the side of the fabric and when you are done, you will have the overlocking stitch. This will stop your edge from being raw and there won't be any frays on the side, which will reduce unraveling. This is very easy to do and just takes a few minutes. Make sure you prepare your fabric before you do this stitch and you will be...
In this video, we learn how to make a twist turn style card. The card will open with a neat pop out image on the front of the card! First, get an 8 1/2 x 5 1/2 piece of card stock and then score it 2 and 3/4 inches from the left edge and 4 inches over from the left edge. Then, turn the card the other way and find the center, then score from the right end to the very first score line. Then flip the card over and score the rest of the center line up to the first line. Now, make a score line fro...
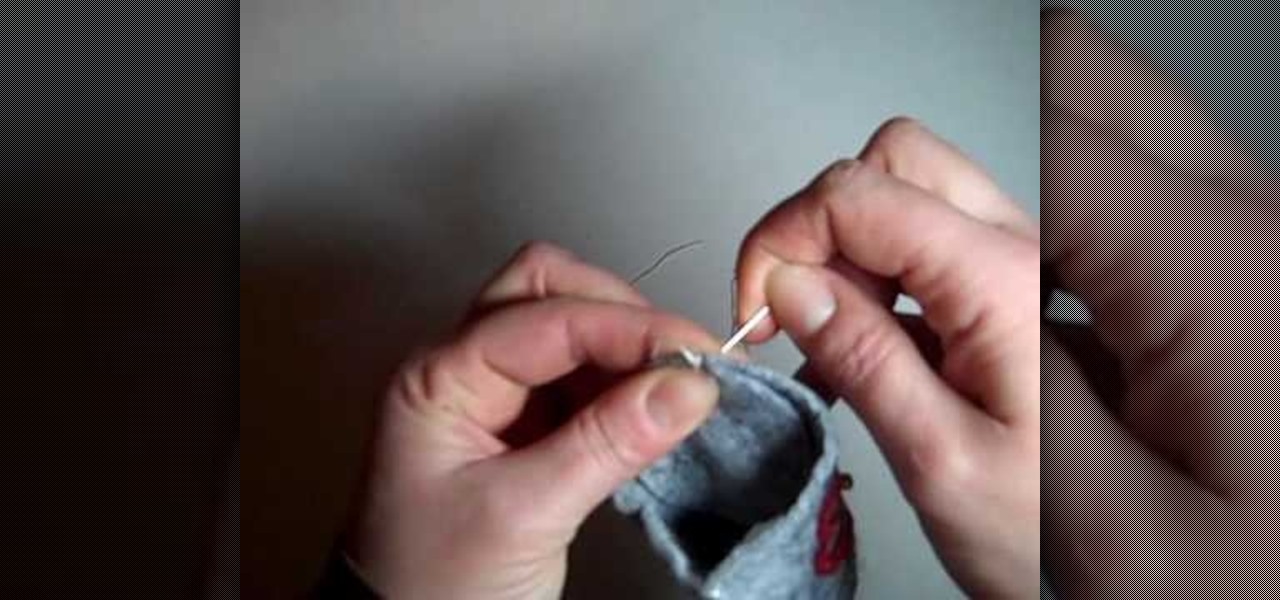
In this Arts & Crafts video tutorial you will learn how to do Whipstitching. The video demonstrates how to stitch the bottom of a cloth basket to the sides of the basket. A whipstitch is a very basic stitch. Start at one end of the basket; attach the bottom to the sides with a pin. Pass the needle from the inside so that the knot is hidden. All you have to do is taking the thread and whipping it around the edge. At the beginning, give it a bit of binding stitch before stitching the rest of th...
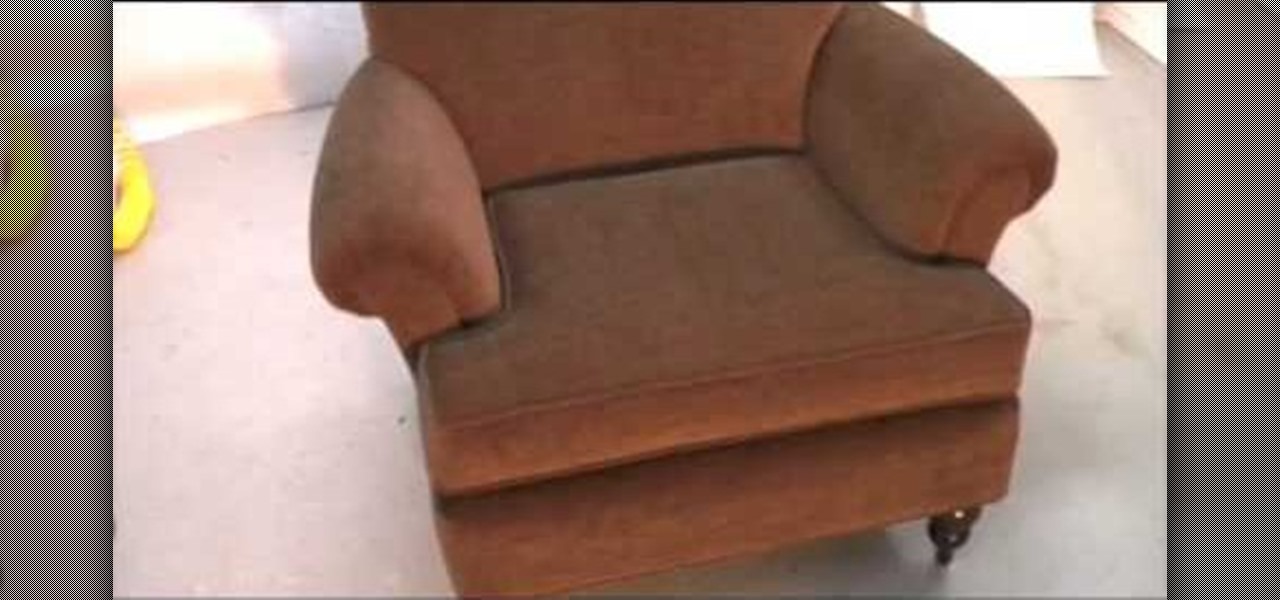
This is a demonstration of how to upholster full an occasion chair. First the seat upholster is removed carefully. The new cloth is cut accordingly to the shape. The edges are folded and stitched. The cloth is spread over the seat, tucked under the hand rest stretched to the bottom and nailed. For the hand rest a rectangular cloth of required color is cut. A piece of foam is spread over the hand rest and covered with the upholstery cloth and stapled at the sides and bottom. The back rest is r...
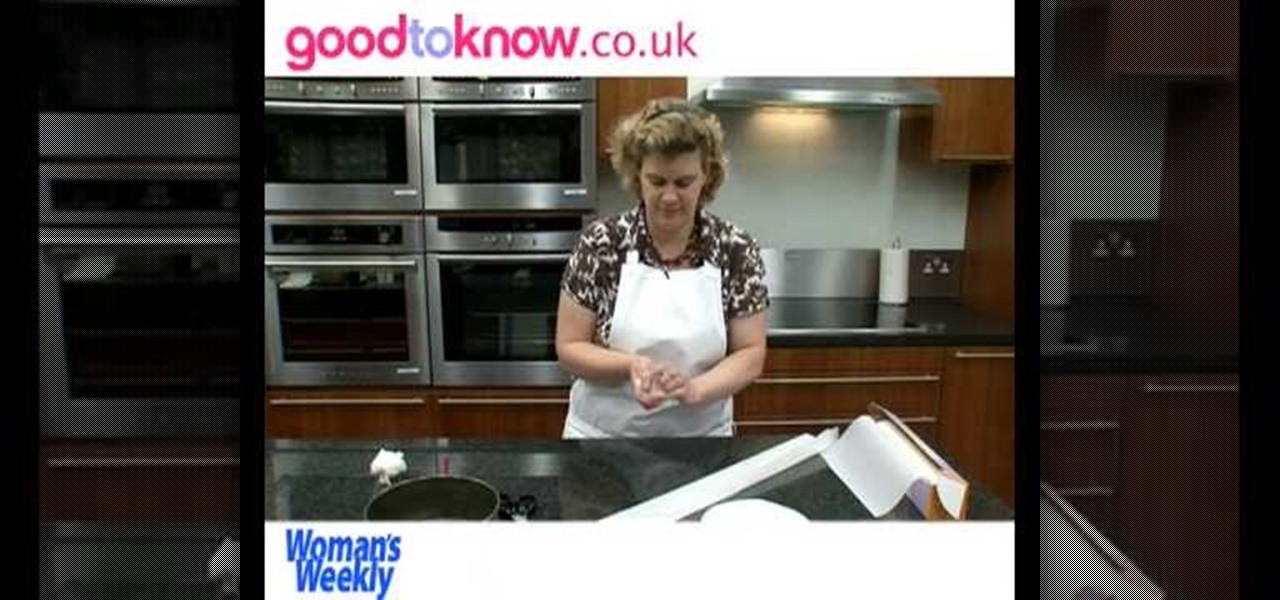
This film from Woman's Weekly shows you how to line a round cake tin. First you take non stick baking parchment. Fold the paper to double thickness, then rest the tin on top and draw around it with a pencil. After that, then cut just inside the pencil line to compensate for the thickness of the tin. For the sides, you roll the tin on its edge, allowing some extra for overlap and a little extra height above the tin. Make a fold a couple of centimeters from the top and then make some cuts from ...
Impress others with your artistic skills by learning to paint a gypsy dancer on the computer. Construct a rough sketch line drawing of a girl dancing. Use a soft brush to airbrush some colors in. Use as few colors as possible. Don't worry about the value yet. This will be a basic map of what colors you want to use. Start adding darker colors in. Use a highlighter to add lighter colors. Use the soft edge brush to blend and a hard edge brush to define forms. Experiment to your liking. With this...
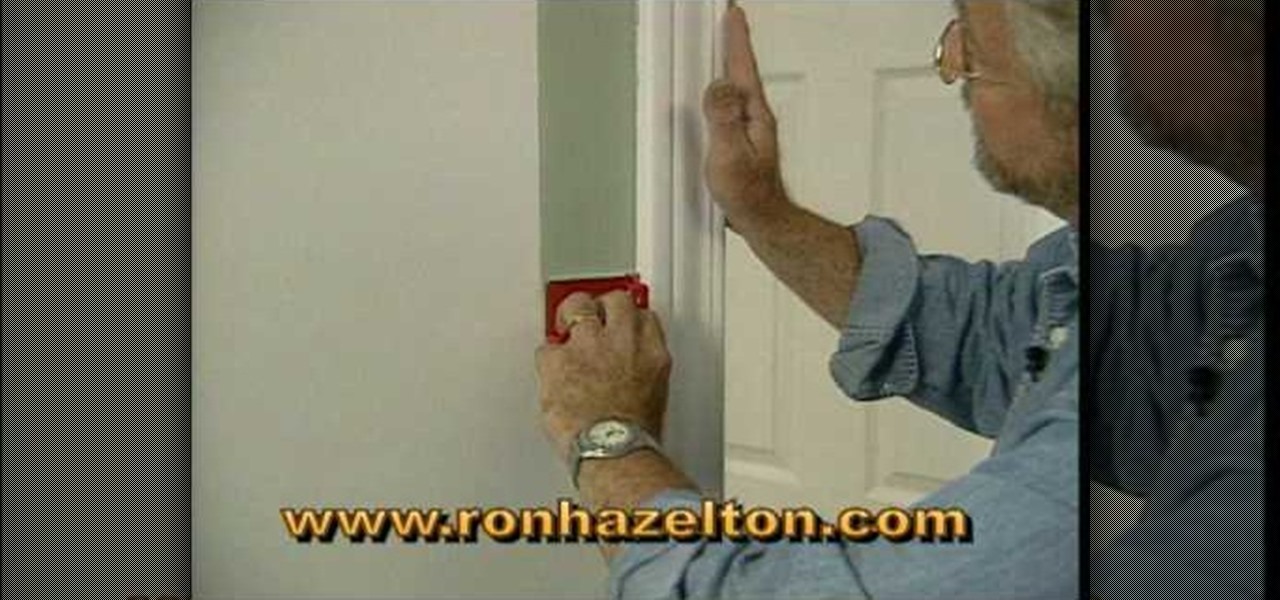
Before you paint the walls it is important to paint the trim first. A painting pad is a very useful tool for painting along the edge where the ceiling meets the wall. It has guide wheels on it and will roll right along as you paint the trim. Next you will want to paint your woodwork including your baseboards and trim. When you go to roll the wall first take some painters tape and run it along the top of the baseboard to keep the specks that fly off the roller from getting on the baseboards. U...
In this video, we learn how to apply burnt orange to eyes for this fall. Start out by applying primer to your eyelids, followed by using airbrush foundation over your entire face. Next, find a burnt orange colored eyeshadow from any brand, and brush it on the crease of your eye. Next, brush a copper color onto your eyelid, then brush the burnt orange color on the outside crease of your eye and blend into the middle of your eye. Then, brush the color lightly on the bottom waterline of your eye...
In this video, we learn how to get a smoky eye with black cat eyeliner. First, apply a light highlight shadow underneath the eyebrows. After this, apply a primer to the entire eyelid. Next, apply a champagne color to the lids, then apply black liquid eyeliner onto the top of the eyes. After this, take a black eyeshadow and apply it to the outer crease of the eye, then blend it in with the rest of the eye until you reach the middle. Apply liner to the bottom of the eye, then apply mascara to t...
In this tutorial, we learn how to use hot pink and silver shadows to create a makeup look. Start off by brushing a hot pink color all over the lid and up to the crease. Then, blend it out until it reaches just below the brow bone. Next, take a bright pink pigment and brush it onto the bottom of the eyelid. Add a slight glitter color to the lid, then blend a light pink in the crease of the eye and blend with the hot pink. Next, take a dark gray or black shadow and brush it onto the outer v of ...