In this video tutorial, viewers learn how to shade and color the background of an image. This video explains all the materials required to shade and color the background of an image. The materials required are: a stamped image, a spoon dauber and an ink pad. Start by inking the sponge dauber and rub the edge of the cardstock. Continue to color the edge. Add more ink if you want the color to be darker. Color the background with the sponge dauber. Add link to the sponge dauber. Dab and rub the ...
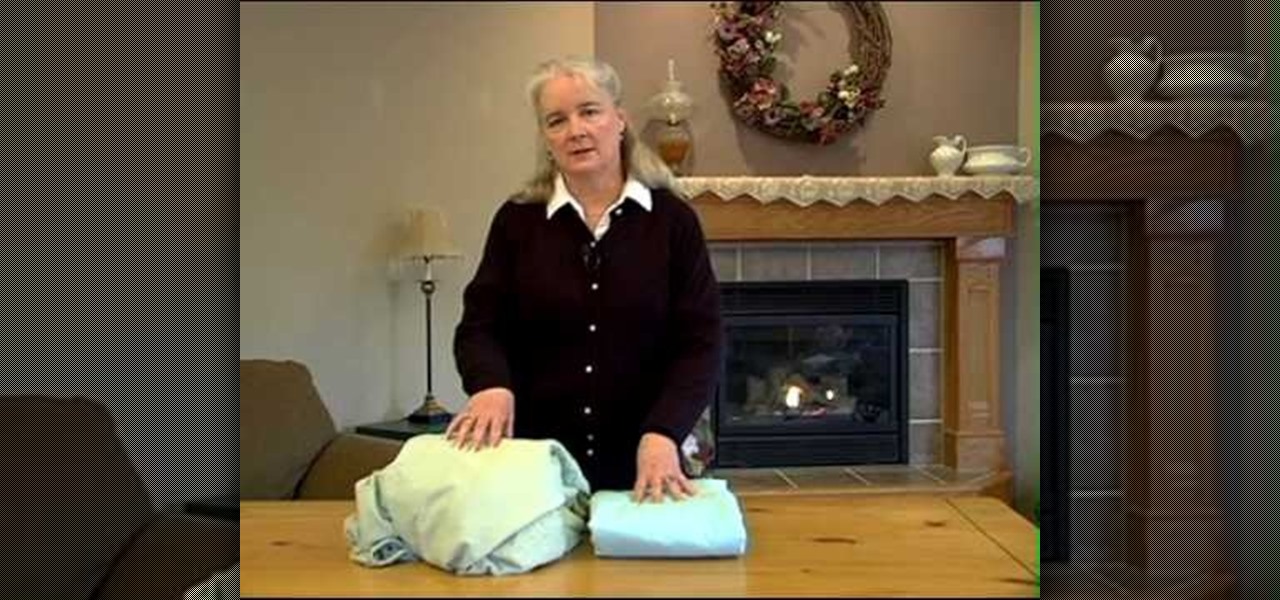
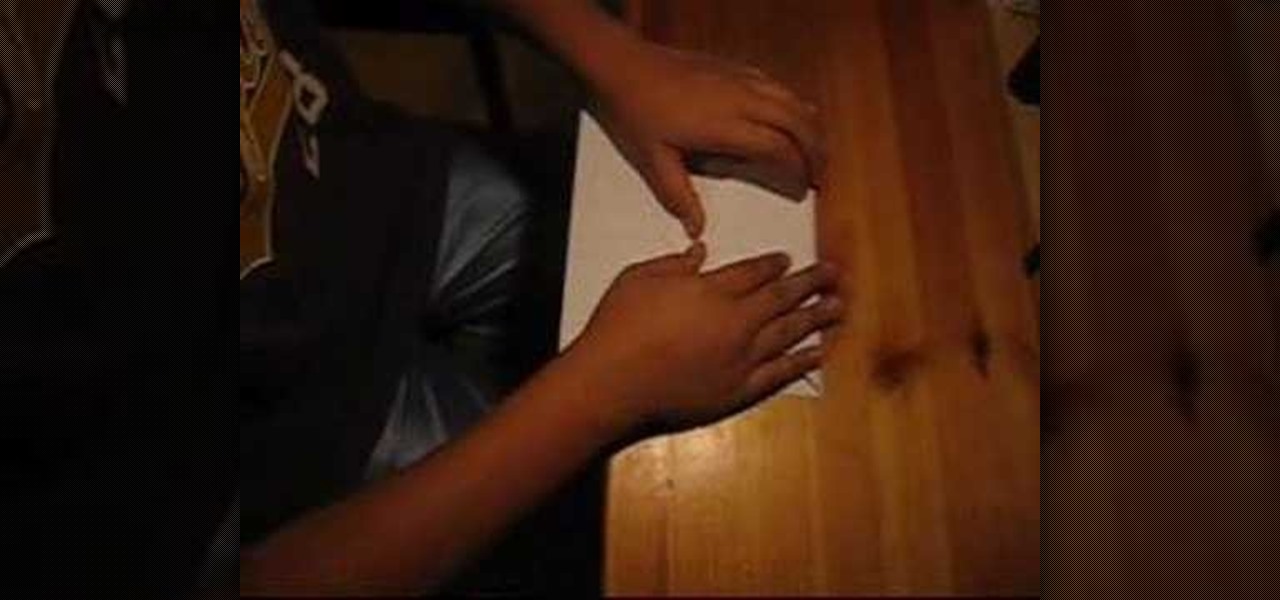
This video shows the way to fold a fitted sheet for maximum storage. Folding a sheet can save a lot of storage space. The time taken for folding the sheet is less than the time taken for searching through unfolded sheets to find the right match. Start by holding the sheet lengthwise with the right side towards your body. Fold corner number one over corner number two. Slide down the edges and tuck corner number three and four in. Straighten the edges and place it on the table. Fold the sheet i...
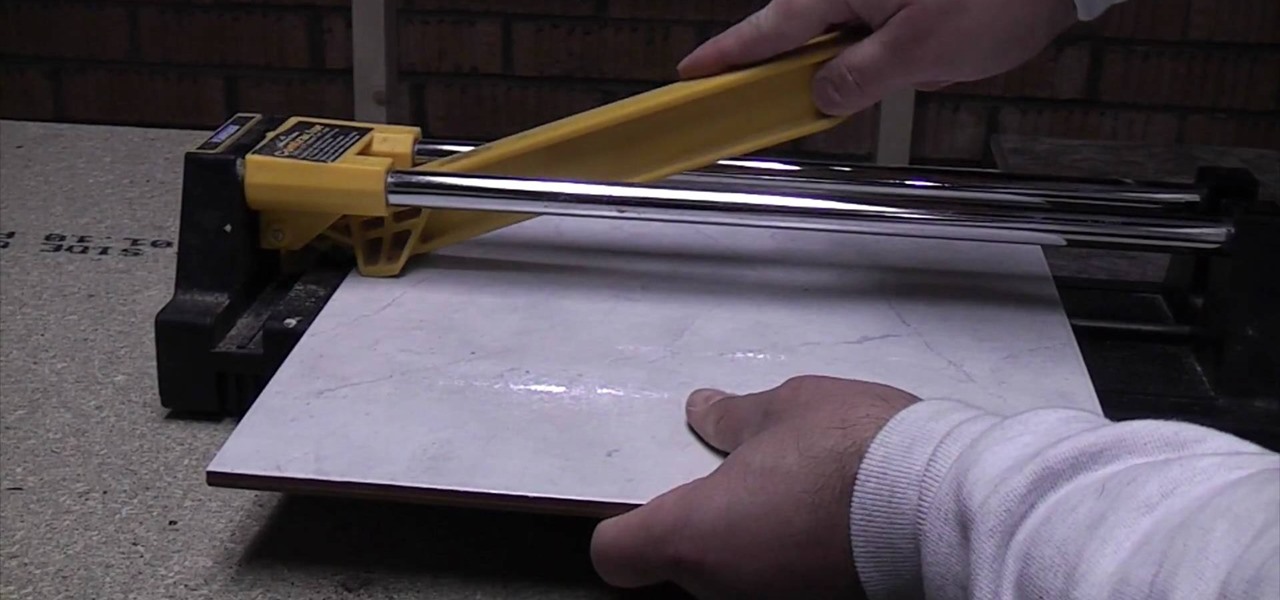
A standard tile cutter will cut ceramic and porcelain tiles but not natural stone tiles. To use the standard tile cutter adjust and lock the guide. Then, slide your tile into position in the tile cutter. Next, position your cutter on the edge of the tile. Push down on the cutter while sliding the cutter across the tile. When the cutter gets to the end of the tile, press down. The tile should then break into two smooth, clean pieces. Run a tile file over the edge of the tile to reduce the shar...
Follow this video to learn how to make your own paper airplane that can really fly. Acquire a sheet of A4 paper and fold it in half. Afterwards fold two of the edges towards the center line set out when folding. These should be folded in the form of two triangles. After doing so fold them downwards, towards the center line lower down. Fold another two triangles towards the center, one from each side. At this point a small edge will be formed at the tip of the two folds. Simply fold it upwards...

Are you interested painting in 3D mode? Let's try the human mouth first. First, get the basic shade of the lips with a single color. Then, fade out the top side of the upper lip part and give it a less sharp edge. Then paint the depth area above the lips. Edge out the top lip and add more shades on the bottom one. Then add those small vertical lines with low opacity. Add a gradient map over it and another pink layer(color burn).The lips are ready and it will help you in your painting skills.
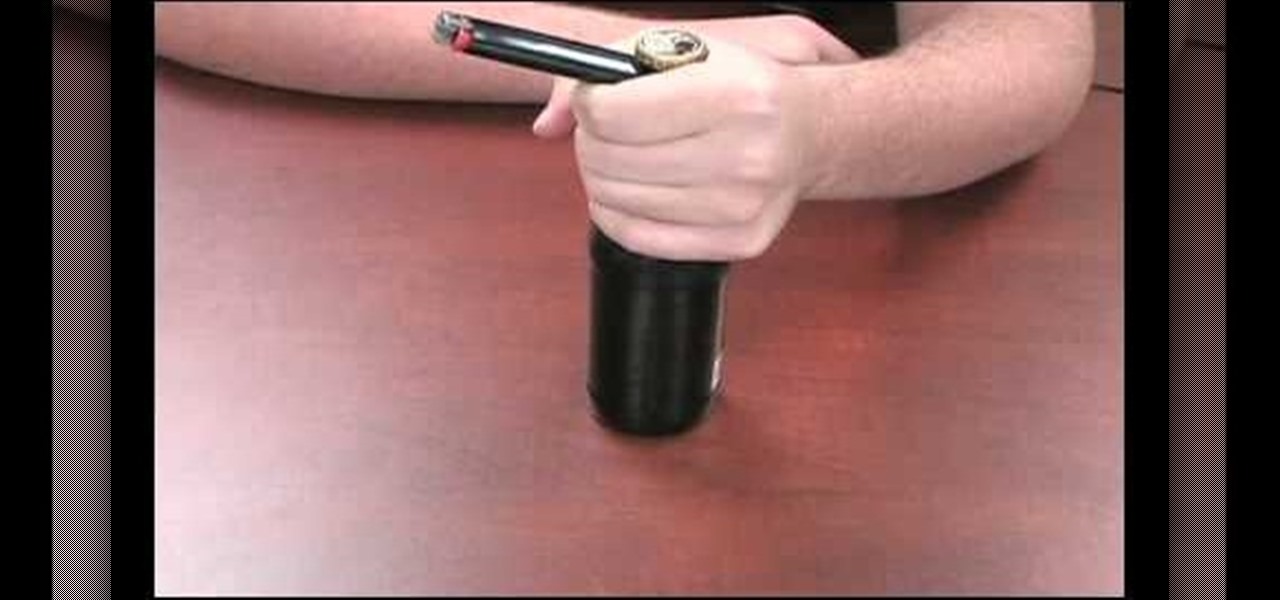
This video shows us how to open a glass bottle with your lighter. To open a bottle using a lighter: Hold around the top of the bottle using your left hand. The key is that the index finger must be around the top of the bottle. Hold the lighter with your right hand and place the blunt end of the lighter solidly between your lowest knuckle and the edge of the bottle cap. Hold the lighter perpendicular to the bottle. Tuck the lighter so that the edge is under the teeth of the bottle cap. Squeeze...

This video is about creating a CD case by using Origami, the art of folding paper. This video, which lacks any audio, starts by using a CD in the center of a piece of paper. The paper's edges are folded over the CD to get the correct width. Then, the presenter starts on the edges of the case, which are folded similarly to wrapping a present. The presenter finishes one side and places the CD in the case. Then he proceeds to the final side which folds down over the CD and tucks into the first s...
Simon Leach teaches the secret to glazing the inside of a bowl. You will need: brush, glaze, sponge, water, stick or whisk. Using a brush, dust the inside of the bowl to be glazed. Remove any clay that remains stuck on the bowl by using a blade or knife. Stir the glaze from the bottom using a stick or whisk Add water to the glaze if it appears too thick and stir again from the bottom. Pour the glaze into the bowl, careful not to get any over the edge. If any glaze goes over the edge of the bo...
Watch this video to learn how to sew by hand! You need scissors, thread (or floss), a needle, and fabric. First, stick your threaded needle through the cloth and pull the thread through. To make a running stitch, push it back through to the opposite side. Your stitches should look like a dashed line. For a whip stitch, keep pushing the needle through the fabric from the same side each time, near the edge. It will wrap around the edge. To tie it off, push the needle back through the loop of a ...
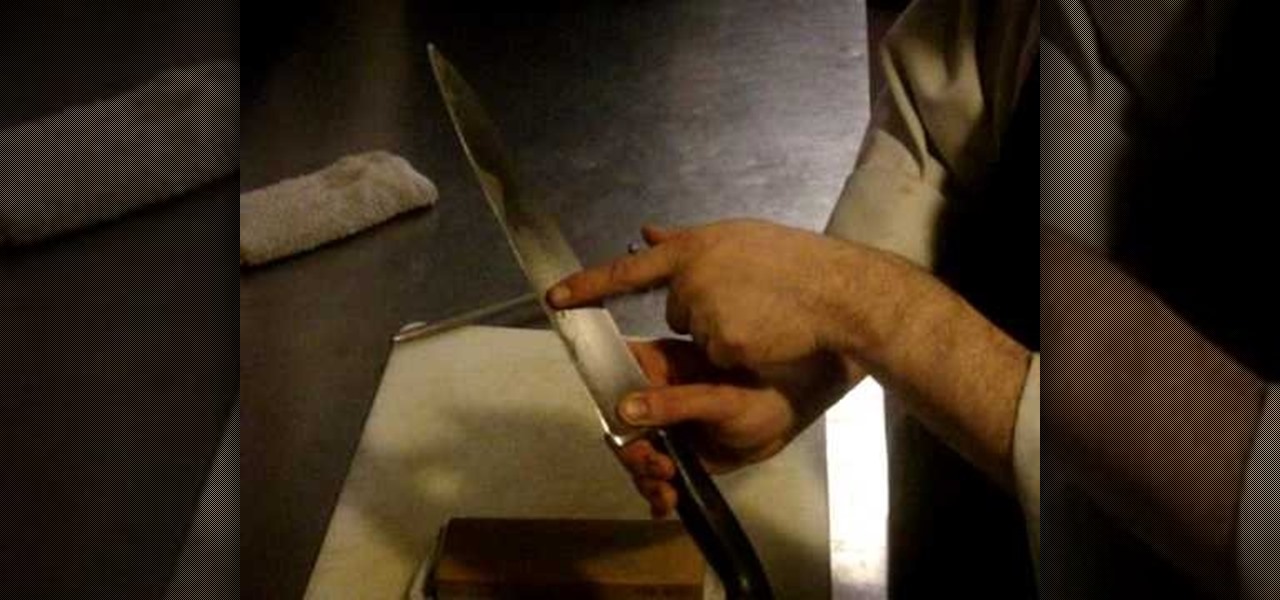
Sharpening a knife can bring a dull edge back to life. This video tutorial shows how to sharpen a knife using a whetstone. Soak the whetstone in cold water for about 5-10 minutes and set it on a clean towel. Starting with the coarser side, push the knife against the stone while applying downward pressure. Apply more pressure on the forward stroke than on the back. Wipe down the knife and flip the stone over to the fine side. This will smooth out the knife and make a sharper, finer edge.
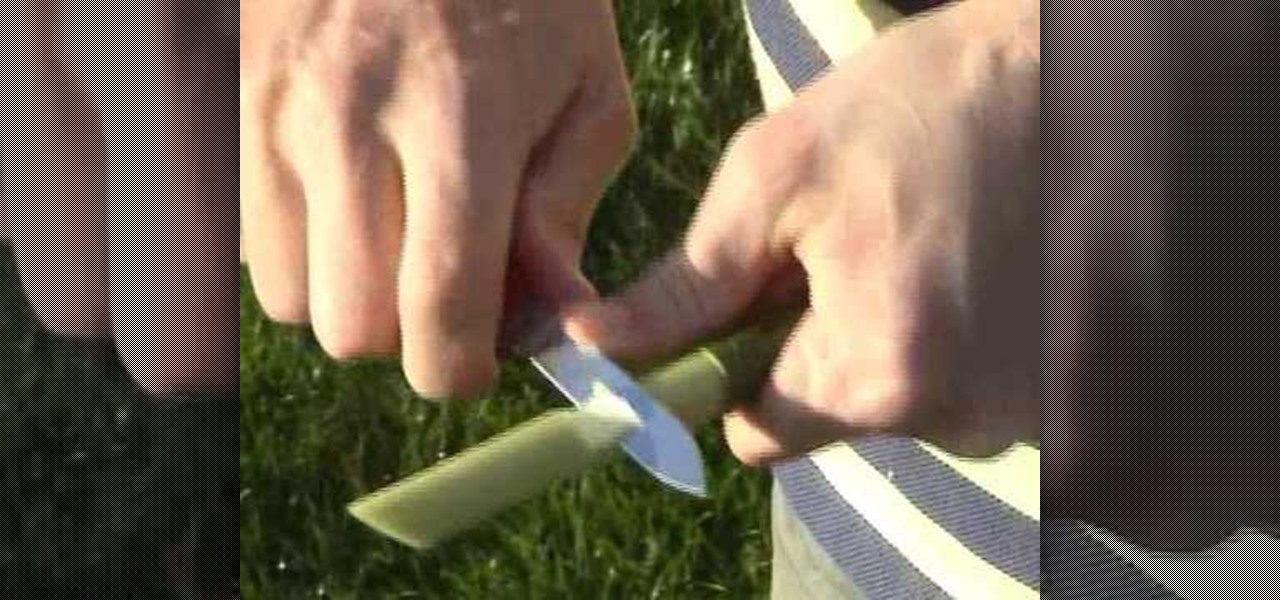
Did you know that you can use a diamond stone to sharpen up your knives? Straight edge blades have a tendency to get dull unlike serrated knives. Diamond stones are better than the typical sharpeners because they can put a nice even edge on your blade and not leave burrs. After your knife is sharpened you can test it out on a piece of paper to see how well it is cut. Knives do need to be sharpened because the duller the knife the more likely you are to cut yourself.
This video is all about how to make a bow tie within a few minutes. This bow tie is just to give an amazing look and a royal personality. In this video we are shown as how to wear a bow tie. Firstly, just wear a tie simply on the neck and take one edge and fold it now take another edge and pass it through the folded one such that it shows two wings on two sides and it will give a perfect look.
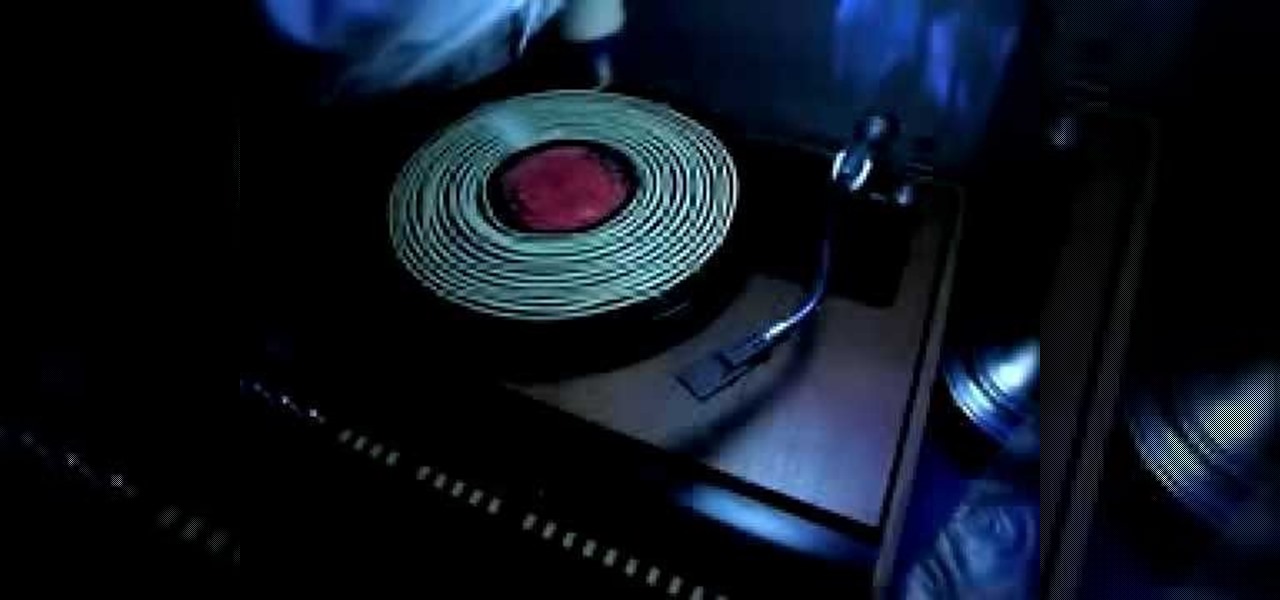
This video shows how to clean old records using Titebond II wood glue. He has the record turning slowly on the turntable, and while it's turning, slowly squeezes a line of glue around and around onto the surface of the record, starting from the middle. He explains that it takes between four and twelve hours for the glue to dry completely. After the glue is applied to the entire record, he takes an old credit card and spreads the glue evenly onto the record, all the way out to the edge. When t...
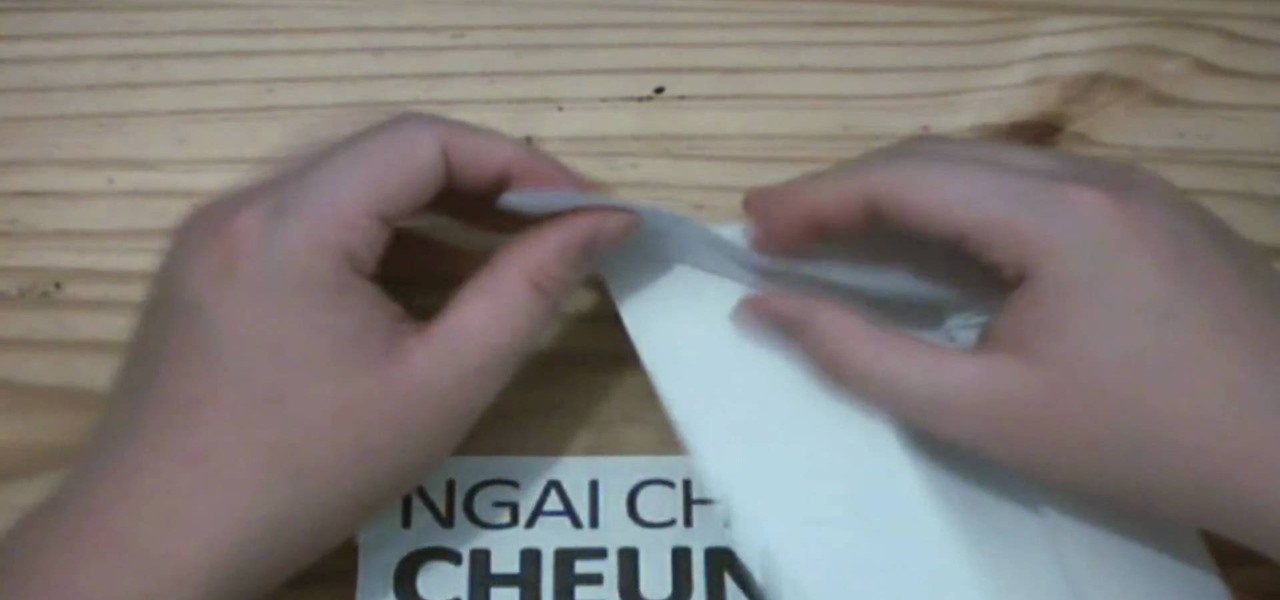
This video shows you how easy it is to cut and make holes in cement backer board. The first thing you want to have is safety glasses to protect your eyes. To make a punch out hole you have to draw an outline of the hole with a pencil or pen. Use a drill to make several holes inside your outline. A jigsaw will cut out your punch hole. Push the punch hole out. Make a straight cut by marking the front of the board with a pen and a straight edge and use the scoring knife along the straight edge t...
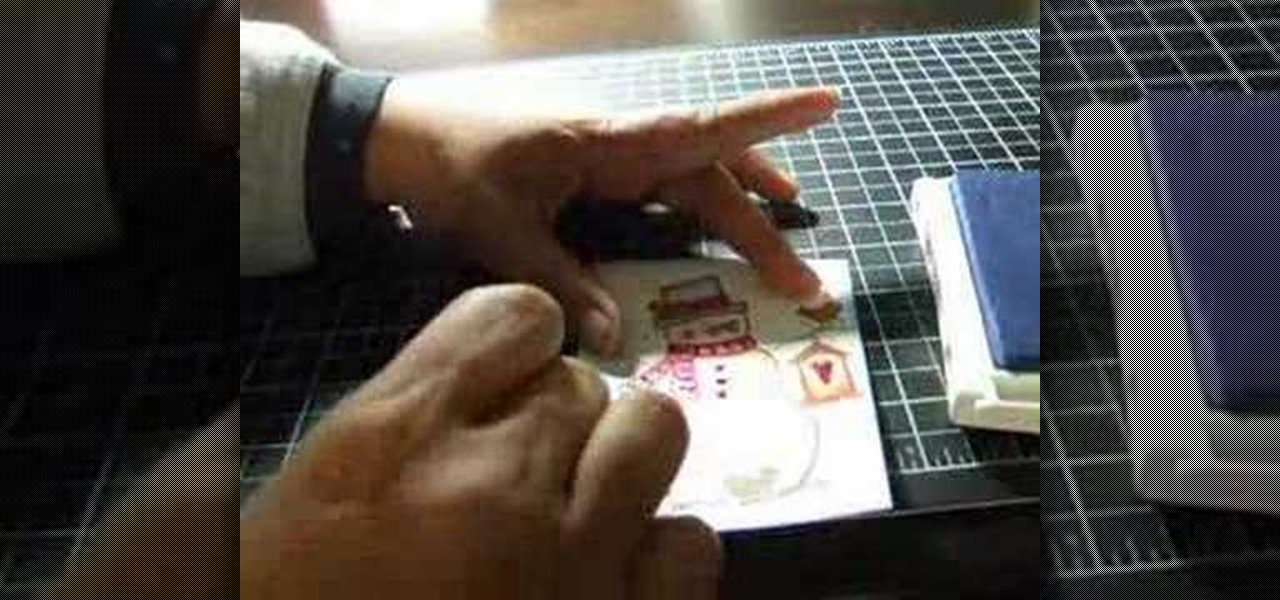
This well done video shows you how easy it is to use Stampin' Ups Scallop Edge Punch to make a really unique and stylish card. Dawn's video shows you that it much easier than you would think. In just four short punches you have gone from a simple square piece of card stock to a really fancy embellishment that you can use in your scrapbook or when making a card. The directions are so easy to follow you will be on your way in no time!
The video guide shows us how to make our very own willow whistle. -Find a willow branch with green bark, cut a small wedge into the bark and in the wood.
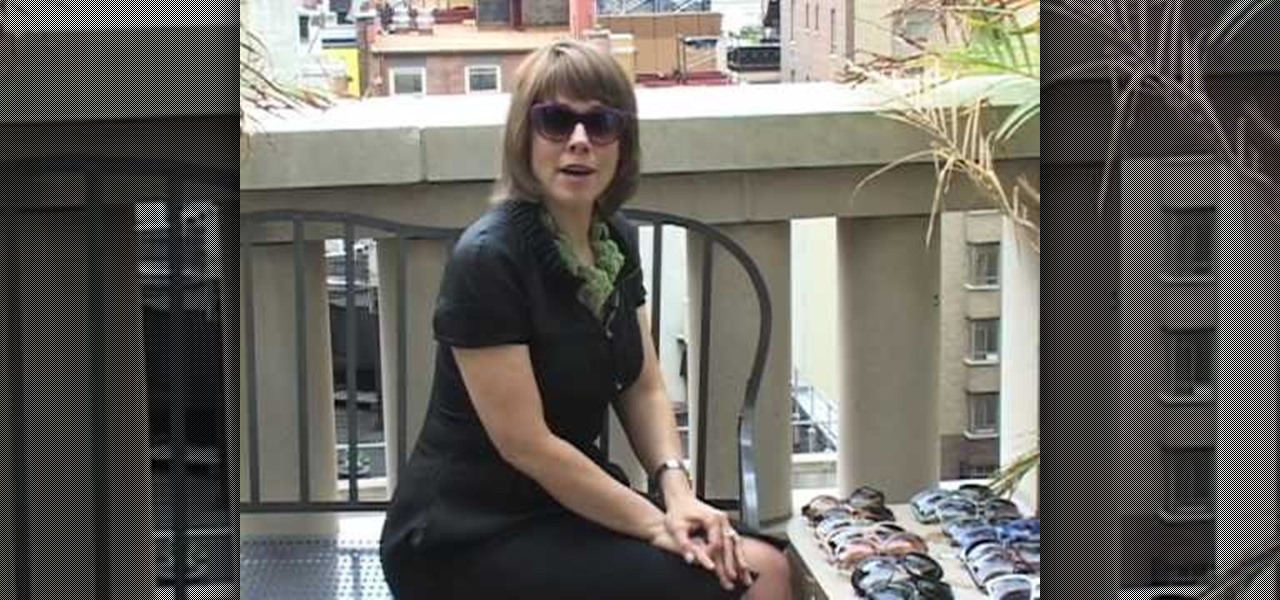
Of course Barneys New York has the most cutting-edge, fashion sunglasses around. What good is a gorgeous pair of sunglasses when they don't flatter your face?
Developed by the same team of engineers responsible for LightWave 3D, modo, lowercase, delivers the next evolution of 3D modeling, painting and rendering in a single integrated and accelerated package for the Mac and PC. And now, modo is a true end-to-end solution that includes true 3D sculpting tools, animation and network rendering! More than just features, modo is a truly elegant integration of technology, raw horsepower and refined workflow. With such a wealth of inbuilt features, however...
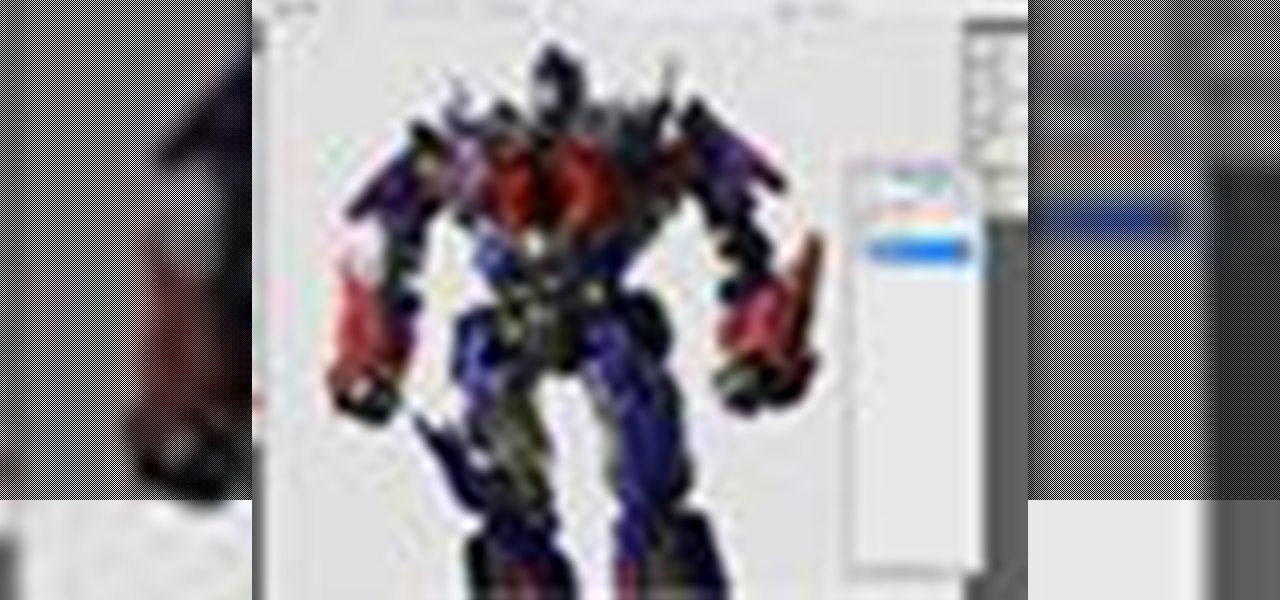
Put your character or subject in a new picture by changing the background in Photoshop. Not sure how to do this? Watch this tutorial and learn how to remove or delete the background from an image in Photoshop CS3. You will also learn how to feather the edges of your subject slightly to remove that annoying edge pixel. This Photoshop tutorial will give you a clean character with no background, perfect for popping into new images and scenes. Best viewed full screen.
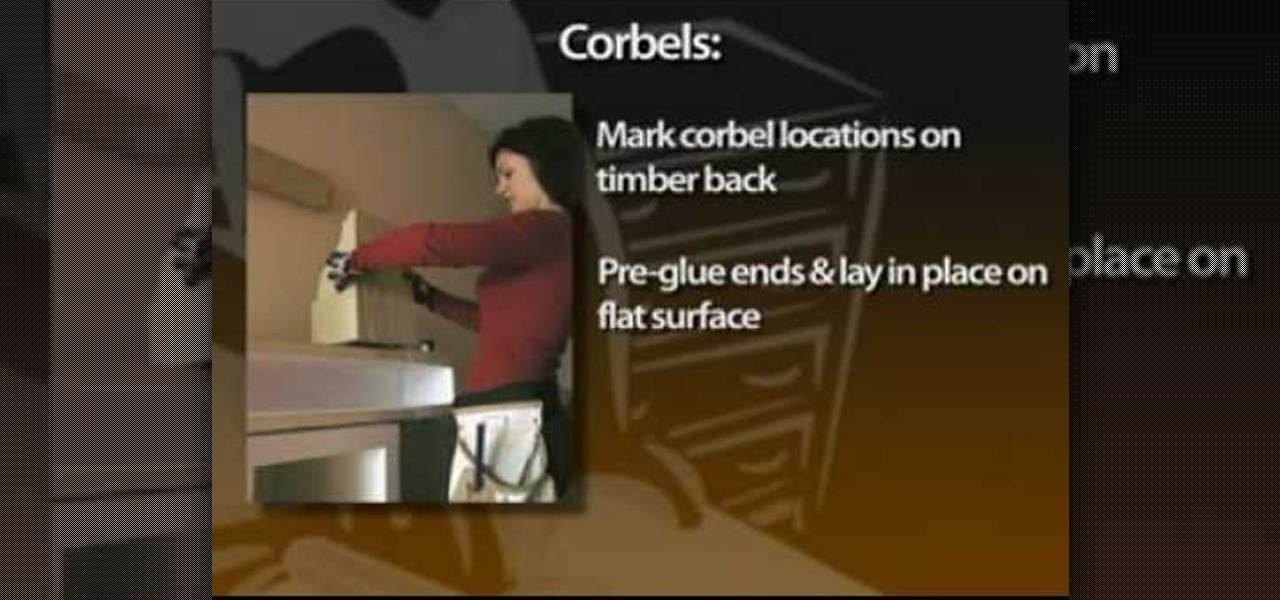
While mantel shelves provide a big visual impact, their installation is very low impact. The first piece of information you need before you can begin laying out the pieces and parts for a mantel (or "mantle" as it's sometimes misspelled) is to know exactly where you want the finished shelf to go: left, right, up and down—and what its proportions are. If it's working as a mantel, you'll want the shelf and corbels to extend proportionally past the left and right sides of your hearth. As a rule ...
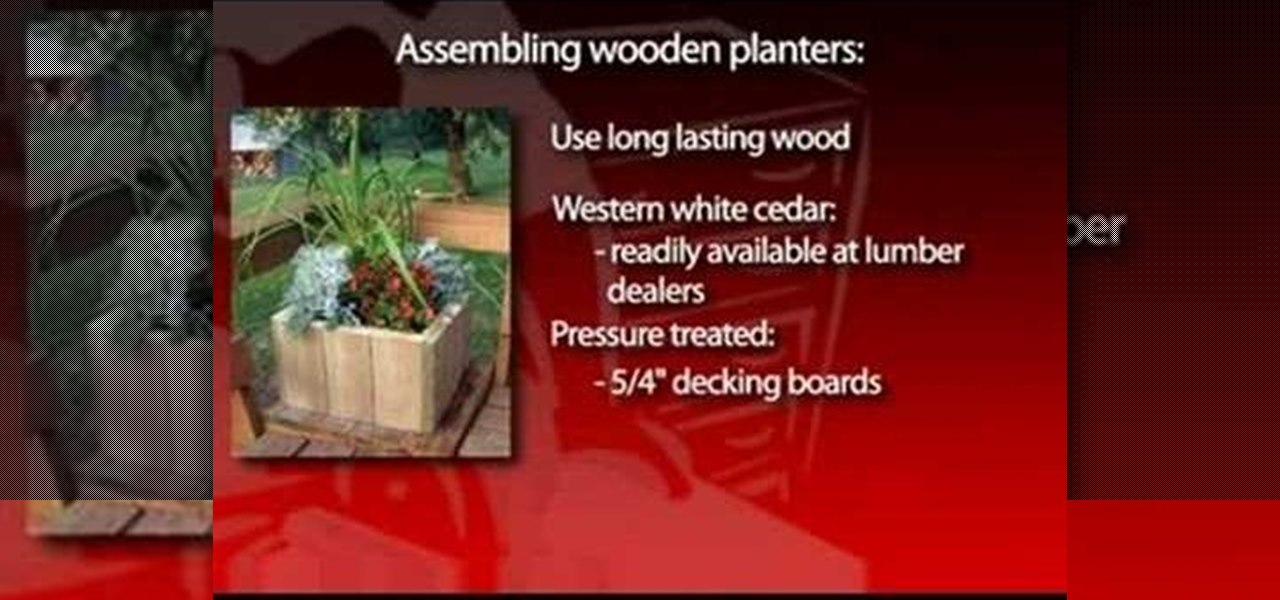
Planters or organized beds with planter borders can not only provide mowing definition, but contain the flowers and hopefully keep out weeds that may grow into them from surrounding areas. Backyard planters can be big or small, permanent or portable. The simplest planters consist of edging for flower or vegetable beds. In the past, many used recycled railroad ties for this, and they still add a distinctive rustic appeal to garden beds. In recent years, however, pressure-treated landscaping ti...
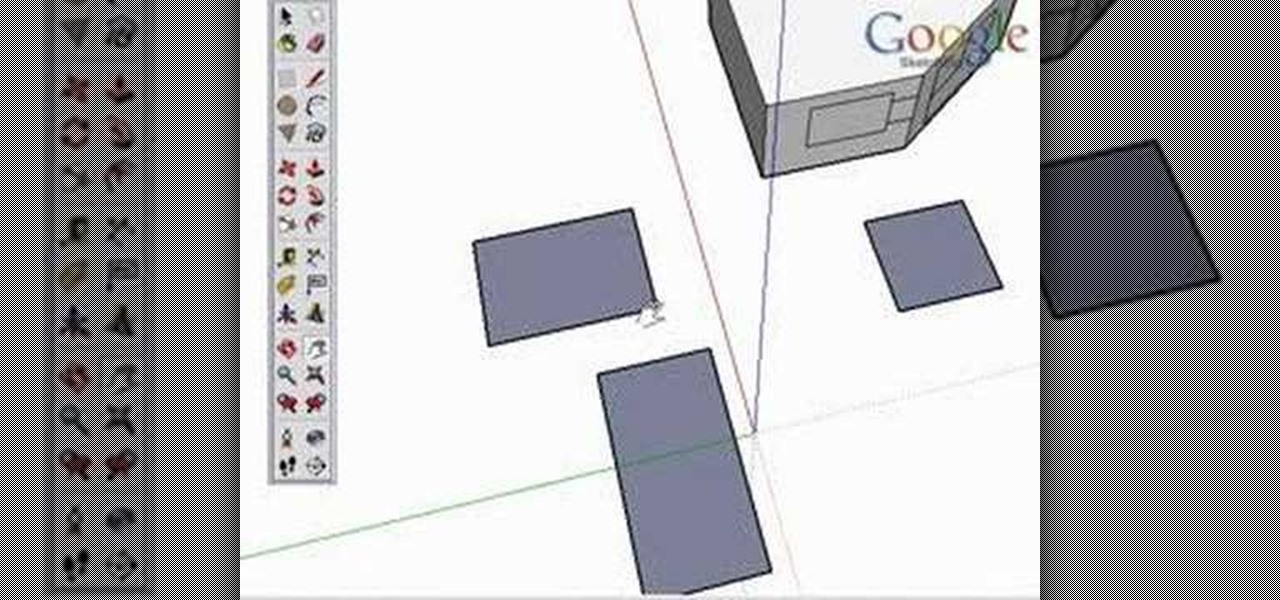
Take a look at this instructional video and learn how to use the rectangle tool in Google SketchUp. Drawing rectangles takes two clicks of the mouse. Click once to start, pull away, and click again to finish. Remember not to draw rectangles that cross over edges, but you can draw rectangles over the top of other edges. This tutorial covers how to draw rectangles on any surface, how to draw a perfect square or golden rectangle. and tips on being accurate.
Check out this magic trick tutorial video to learn how to perform a basic coin roll. This is a crash course explanation on the coin roll, also known as the knuckle roll. The tutorial is quick so you may have to PAUSE IT to read some things in the video. Just follow these simple instructions: Start with the coin on your thumb. then grip the coin between your thumb and index finger. Then release your grip so it rests on your index finger. Use your middle finger to grab the edge of the coin so i...
Tim Carter demonstrates how to use recycled cobblestones. Cobblestone can be used to edge gardens, driveways and walkways. These paving stones make a great border.
Take a piece of paper and fold it triangle wise. Then unfold it and fold two edged sides towards the center. Then turn back in the same manner and fold right there. Then again turn back and fold two sides as done before. Then straight that part and fold into two sides and then fold one side to an upside direction. Then fold it downwards holding the center part. Then again fold downward the folded portion and a little bit upward the edged part. Keep intact the edged portion. Then fold the next...
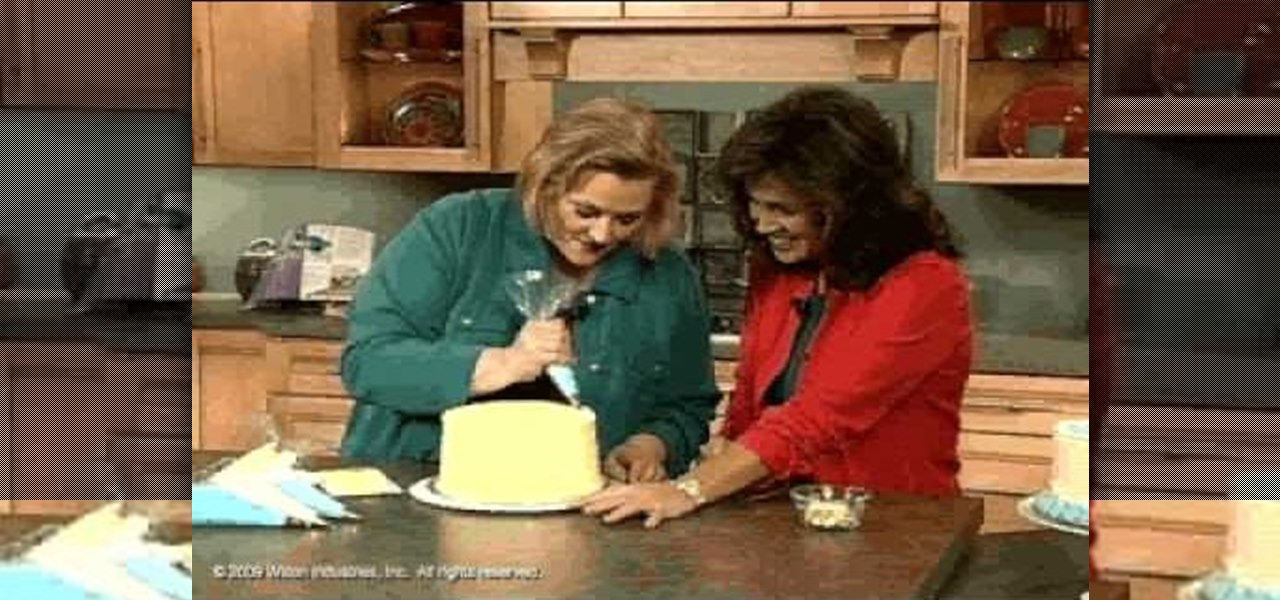
The video is a demonstration of how to decorate a cake for a baby shower decorated to look like a baby bib. For the cake recipe, use a cake mix and add 2 teaspoons of freshly grated orange zest, 1 cup orange juice, 4 eggs and 2 tablespoons vegetable oil and bake it the normal way. For the filling, 1 cup of cold milk, 1 package of vanilla instant pudding, and two teaspoons of orange zest and fold in two cups of Cool Whip. Level the cake by cutting the top off and cut it into layers. On the bot...
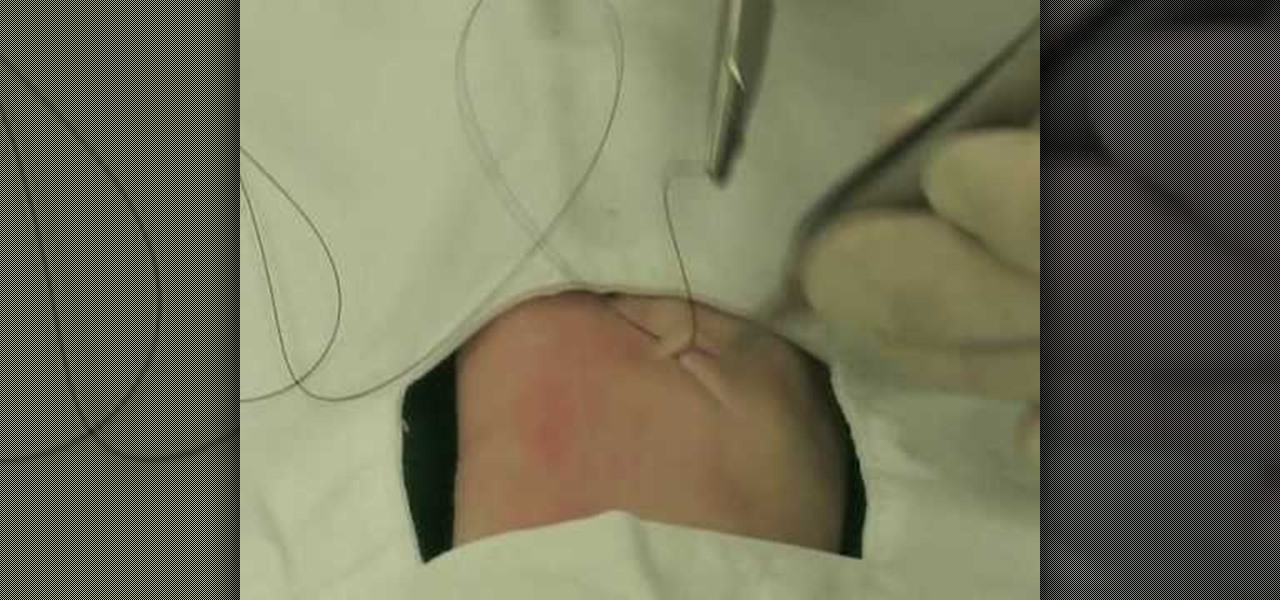
Lee T. Dresang, MD of the University of Wisconsin School of Medicine and Public Health from the Deaprtment of Family Medicine give a discussion and demonstration of suturing techniques. Before beginning a procedure, you will need consent. One should irrigate lesion before beginning. A simple interrupted suture is easy to learn and fast, but unable to withstand stress. Vertical mattress sutures provide a good eversion of skin edges, closure of dead space, and strength, but also lead to scarrin...
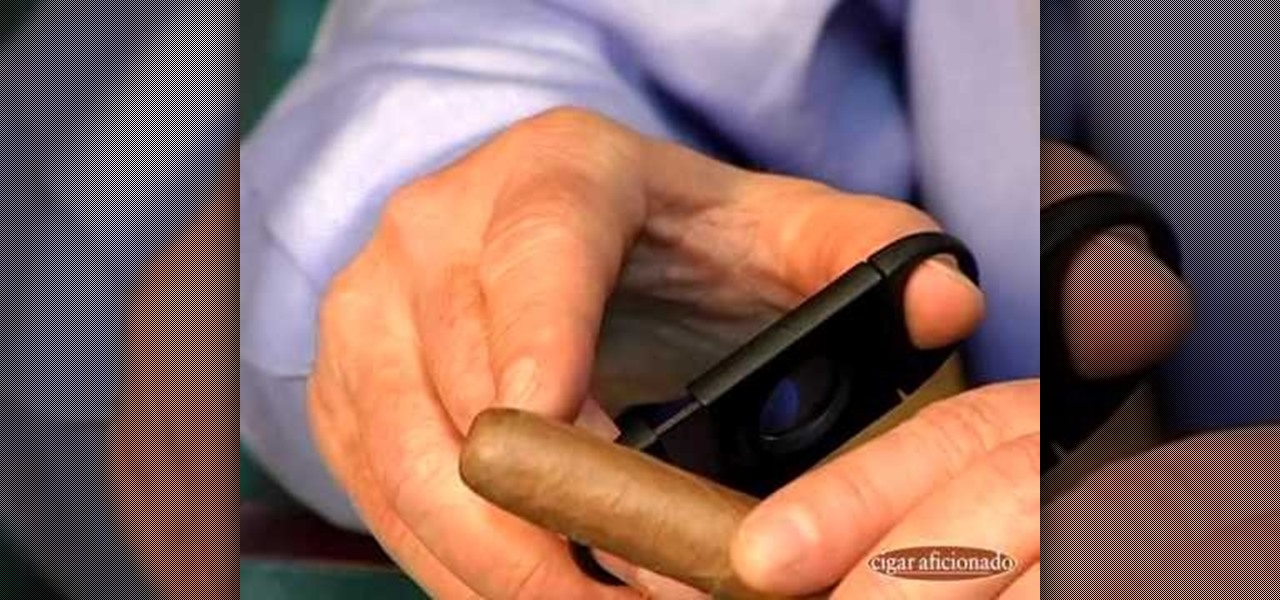
Many people ruin a good cigar by a badly placed cut. YouTube user Cigaraficionadovideo is here to help. First in order to understand the cutting mistakes you must first know how a cigar is put together. A hand made cigar is held together a the tip by, what is called, a cap. When cutting this cap you want to do it above the shoulder. Be carful here because a bad cut a little lower could result in the wrapper falling it apart can lead to a mouth full of tobacco which will pretty much ruin your ...
Whether it be for a school project or just a funky looking journal or letter, making your paper look antique is very easy. Antique paper is great for invitations, props, unique stationary..lots of things! This tutorial will teach you how to age your brand new paper instantly for a neat, old fashioned look.
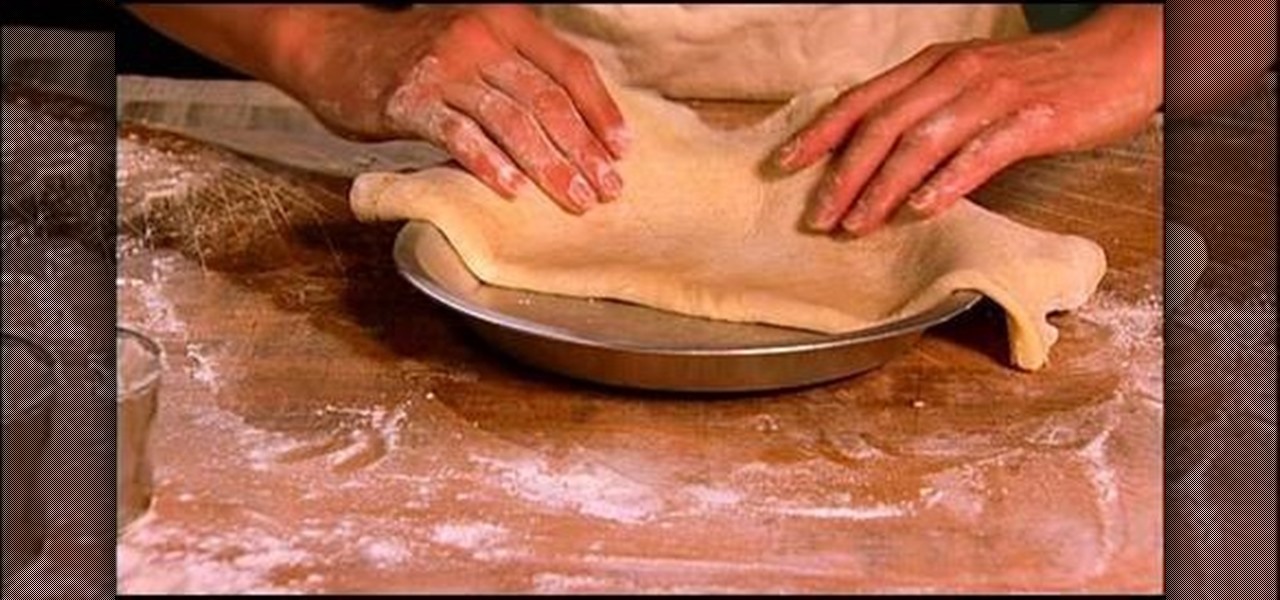
Pie crust can be tricky... If it's overcooked in the slightest, it will come out tough and break easily. In this video, learn how to make the perfect flaky homemade pie crust that will be the perfect compliment to any pie filling.
Sue McMahon, Cookery Editor of Womens Weekly, shows how to decorate your Christmas cake, in this video. She begins by turning over a rich plum cake to have a smooth surface for the decoration. Next, she pours some brandy over the cake to moisten it. She uses apricot glaze and spreads it evenly over the surface and sides of the cake. She kneads ready-made marzipan to make it smooth. Next, she dusts some icing sugar on the work top and rolls over the marzipan into a circle, large enough to cove...
Scott Cutaneo reveals how to make a flaky pie crust.
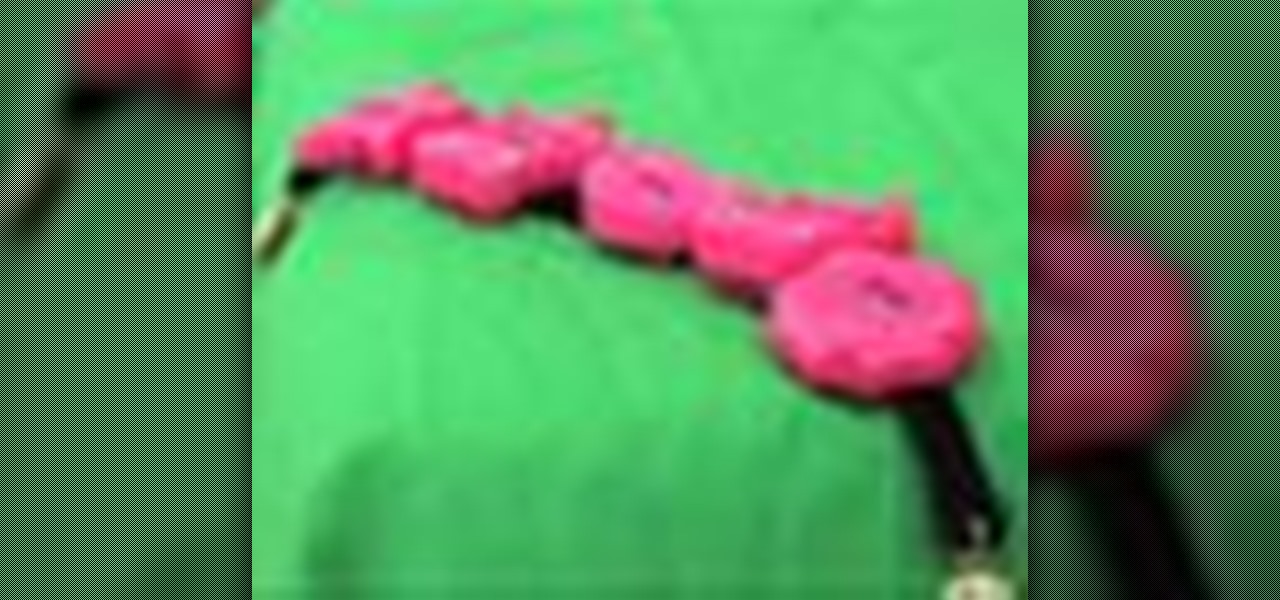
Turn old watch faces into appealing bracelets by using an eco-friendly recycling technique. You Will Need
What's a national holiday without a sheet cake featuring Old Glory? Luckily, it's simple to make….And delicious too!
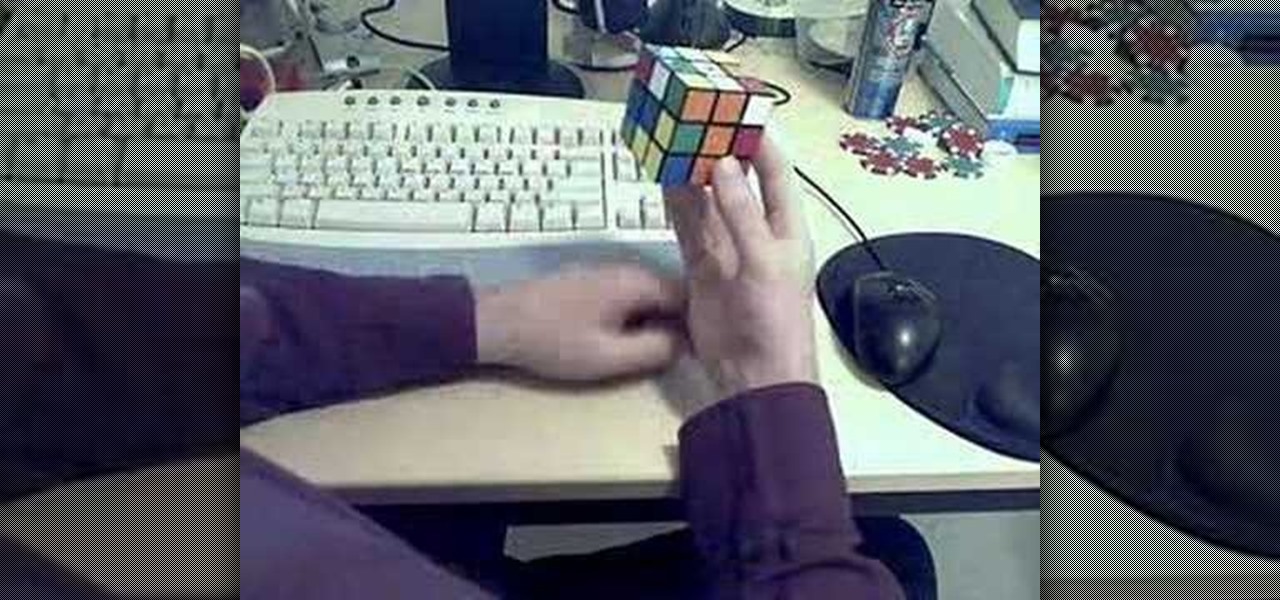
Sure, there's six steps, by why are there eight videos? Well, why don't you just keep reading, or watching?
The idea of squeezing your phone might have sounded a bit out there when it was new, but it's now a hallmark feature on Pixel devices. As useful as it is for summoning the Google Assistant, however, it certainly would be nice to be able pick and choose what action is triggered by squeezing the phone. Well, now you can.
2017 was a down year for HTC. First, the U11 and U Ultra were widely criticized. Later, Google purchased a large chunk of HTC's manufacturing division, leaving the Taiwanese company running with a skeleton crew after losing 2,000 key employees. But that's not stopping HTC — their flagship U12+ was just announced, and it's quite impressive.
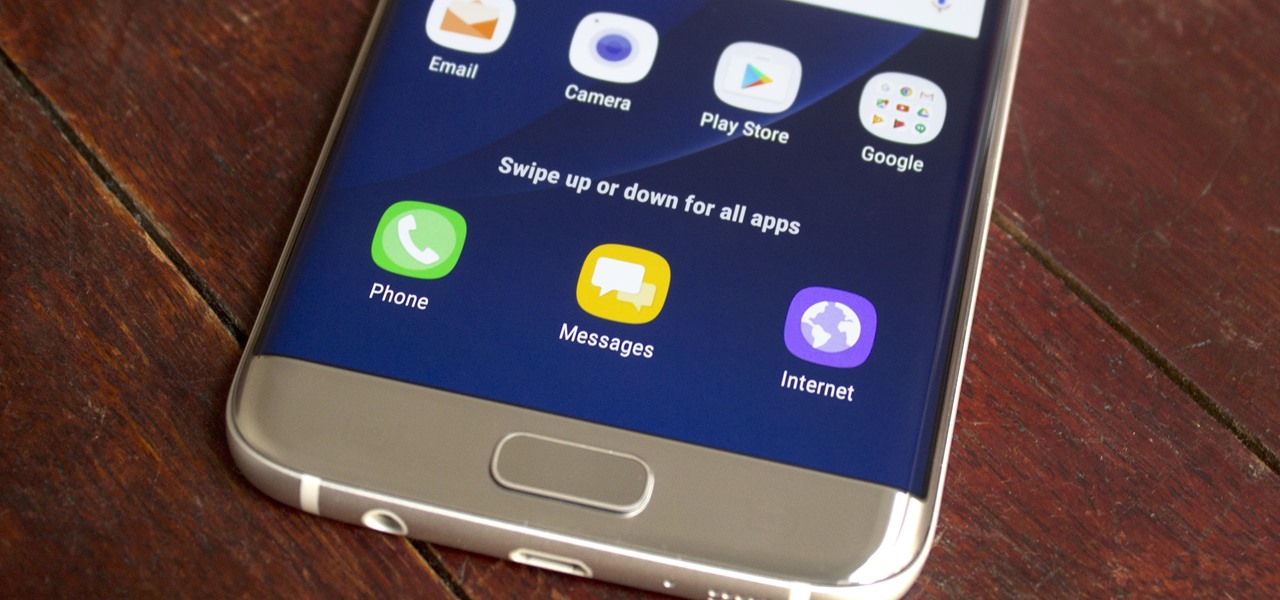
The Galaxy S8 and S8+ haven't even hit shelves yet, but some of the stock apps from Samsung's latest flagships have already been leaked. The biggest one so far is the new Samsung Experience Launcher, which replaces TouchWiz Home, and is quite a bit different from anything you'll find on previous Galaxy models.
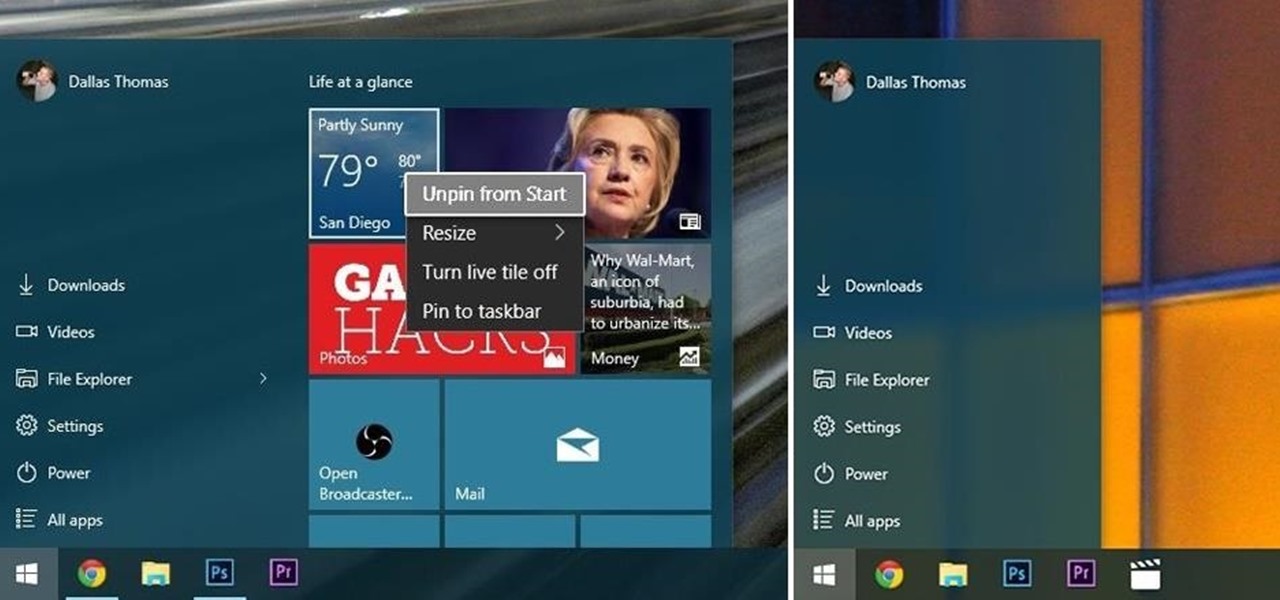
The Start menu is finally back in Windows 10, but a lot has changed since we last saw it in Windows 7. From a visual standpoint, the first difference you'll notice is the addition of live tiles, which occupy the right half of the Start menu and provide quick information from your "Universal" Windows apps.
Drawing is easy for some, harder for others, but drawing letters is pretty simple for both the pro and novice artist. There's all kind of text styles you could conjure up, and they don't have to be boring fonts. Fire up your imagination to create different styles for drawing numbers and letters of the alphabet, adding individuality and pizzazz to names, messages, greeting cards and decorated items.