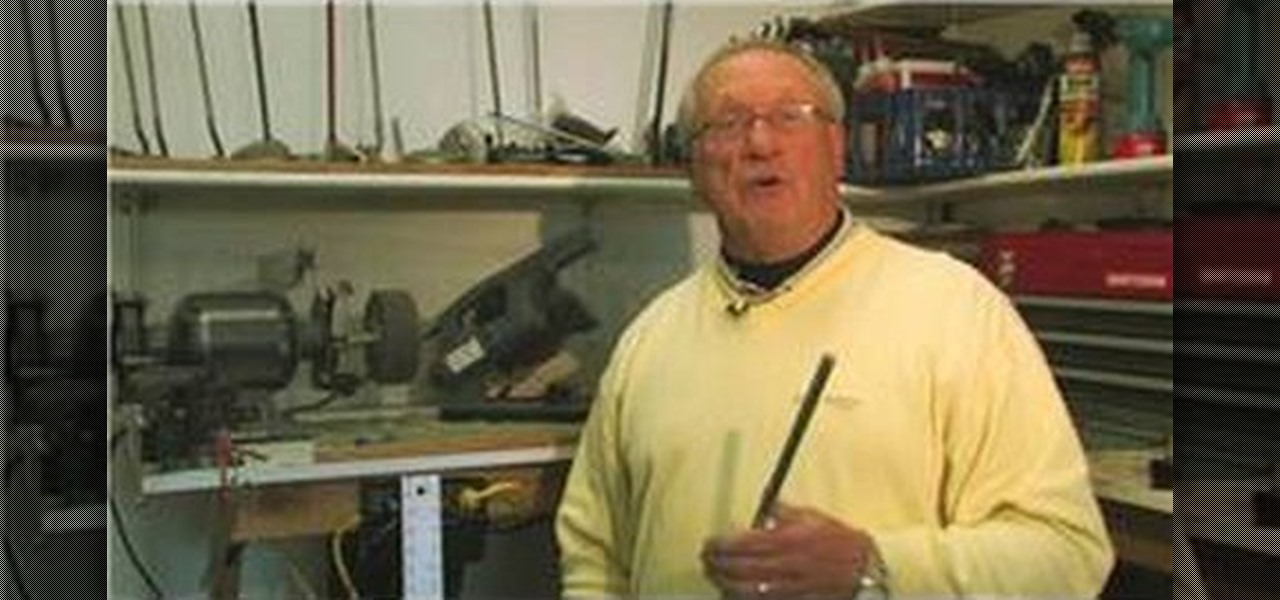
In this video tutorial, viewers learn how to trim golf club shafts. The materials required are: a golf club, yardstick, marker, chop saw and grinder/buffer. Begin by determining how long you want your golf club to be. Measure and mark where you want it to be cut. Now place the shaft in the chop saw holder and tighten it. Make sure that it's lined up with the blade and cut the shaft using the chop saw. Now smooth the rough edge with the grinder/buffer. This video will benefit those viewers who...

Vanessa is teaching you how to make arm and leg warmers for babies or toddlers. She is simply using some socks that she got by going to the dollar store and buying them. They only need one seam. You need to cut off the top of the sock first. Then you cut the heel and toe off the remaining sock piece. You need to fold the bottom part of the sock in half and make it into a loop. Put the loop over the raw end of the top of the sock. This will make it so all of the round edges are together. Stitc...

This video is in the Family category and it will show you how to use a baby sling properly so that both you and your cuddly baby have a great time. It’s really simple and easy to do this. This video is presented by Nancy Stone, parenting coach. First take the sling and find the thickest part on the edges. You fold it in half from there making a tube of sorts. The thicker portion should be outside when you put the baby sling around your neck and shoulder. Ensure that the thicker part is away f...
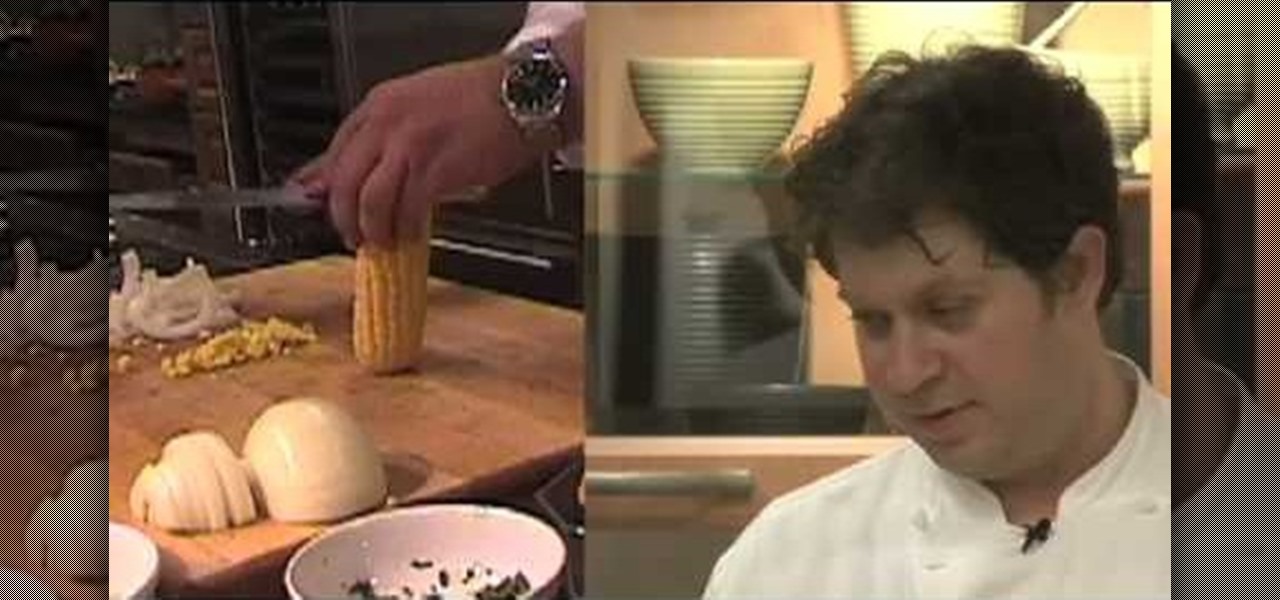
Here, Foodie tips instructs how to cut corn off the cob! First, get your corn on the cob. You will want to place the corn firmly, standing up straight, on your cutting board. Take your knife or cutting tool, place it on the edge and top of the cob and ride it down softly. You'll want to softly and slowly drag the knife down the cob so the corn does not pop everywhere. Hold the corn firmly to help the cob be stable. You can also lay a towel down to further stabilize the cob. Continue doing thi...
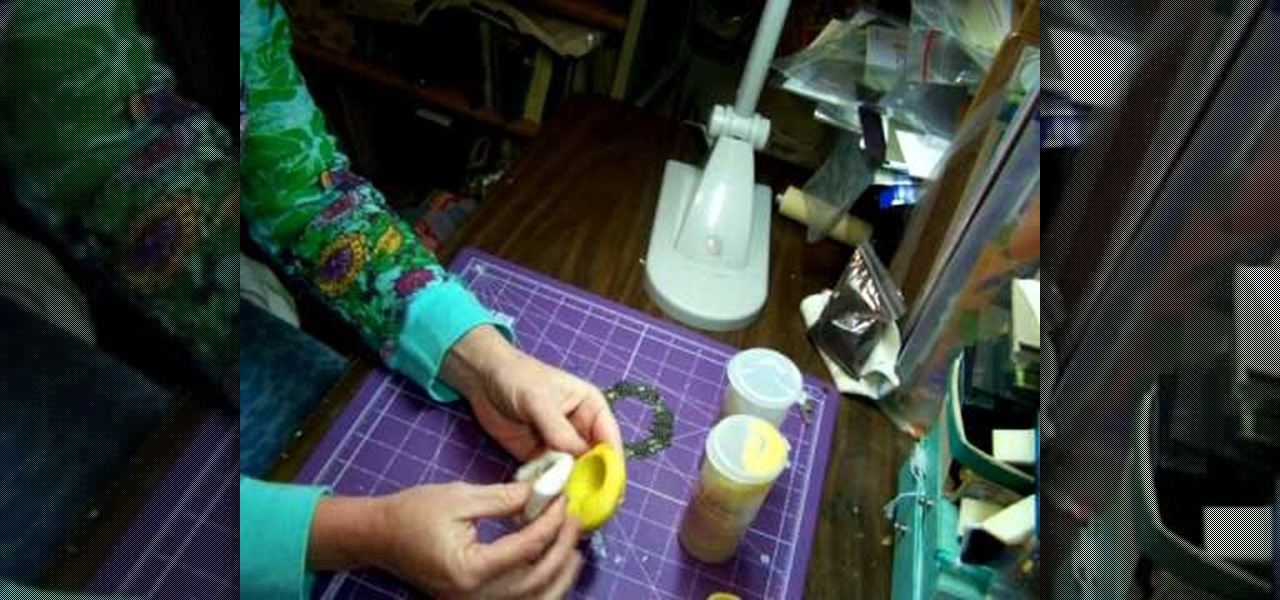
This video shows you how to make a flexible mold using Amazing Molding Putty. You can make molds of just about anything that has the desired shape and texture you want.
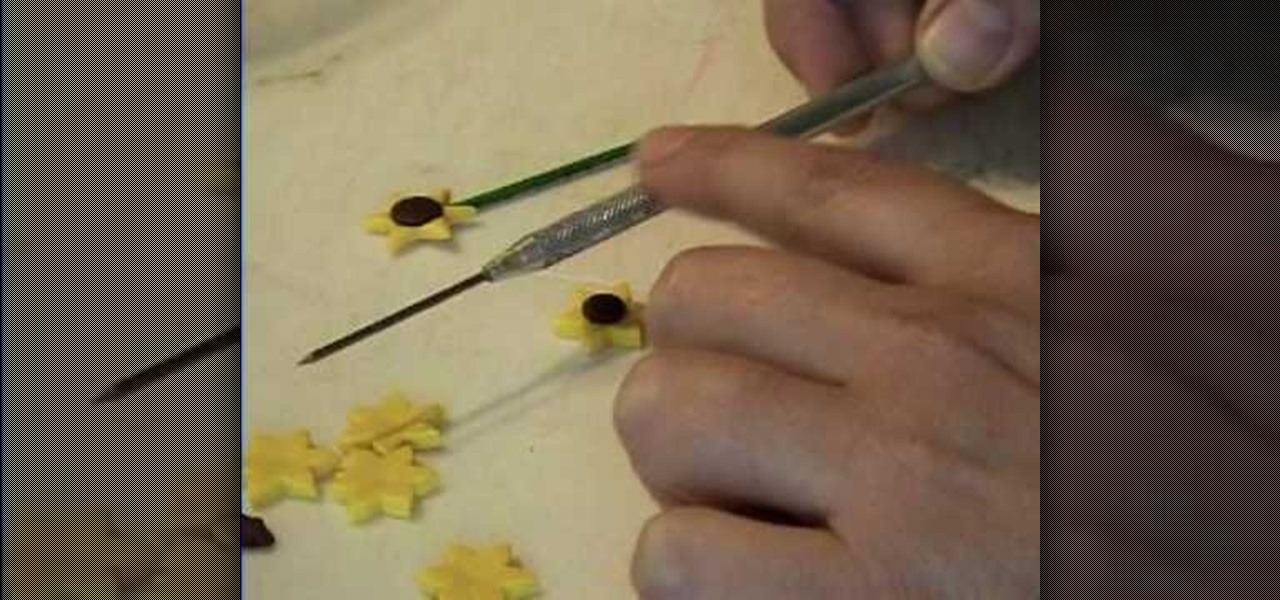
This video shows how to make a tiny sunflower from polymer clay. Start with some yellow clay and roll it out using a pasta machine using the number 1 setting on the pasta machine. Wilton cake decorating supplies makes a flower shaped cutter that is designed to cut pieces of fondant, but works well for polymer clay. Make some of the flower shapes and even out the cut edges. You can texturize the flower petals so they are not left completely smooth. Add a piece of brown clay to the middle of th...

This video demonstrates how to draw a fairy quickly and easily. We are taken through a simple step by step process that begins with the simple drawing of several geometric shapes. Using these shapes as a guide we are shown how you can quickly flesh out the distinct shape of a fairy by rounding off edges and adding small details here and there. We are also shown how drawing the hands should not be a daunting task as you are given a simple example to follow. There are several examples of minute...
For anyone looking to dress up a card, learn how to make a paper pumpkin using punches in this video tutorial. Take a white piece of paper and distress it with Memory Mist (with the pale ale color). Use a box to distress the paper, while avoiding getting the mist all over your work space. To actually make the pumpkin use a store-bought punch (either round or oval). Make the punches with orange cardstock. For each pumpkin, you will need either three ovals or circles. Using a chalk ink to distr...
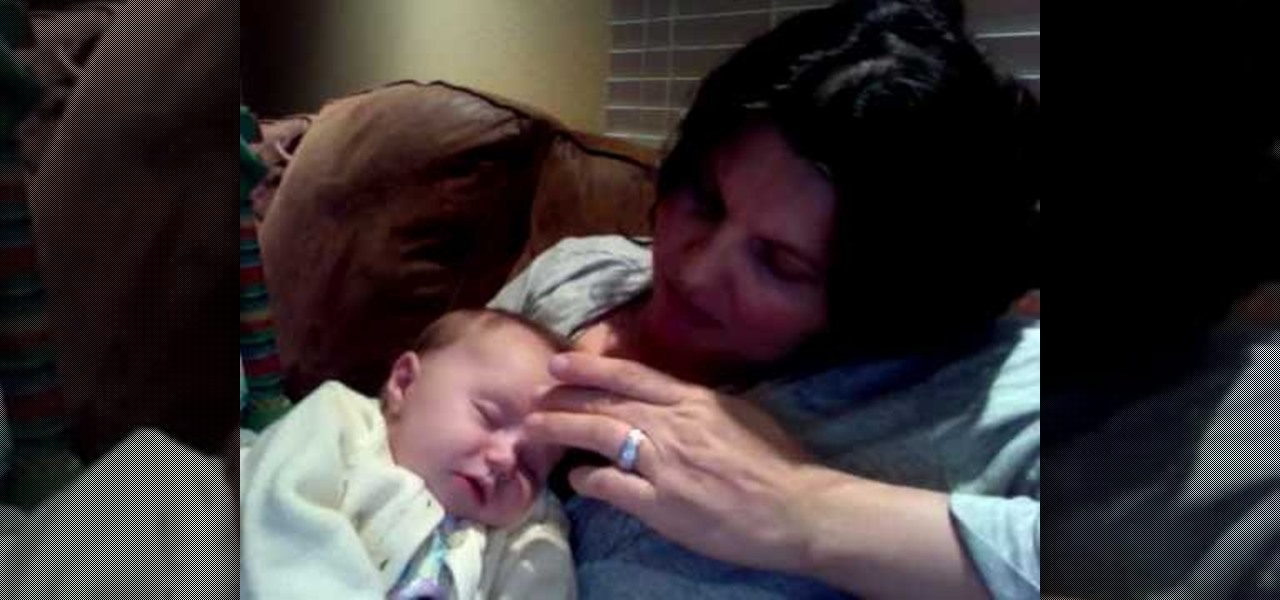
This video details the use of lavender essential oil to help get rid of eye mucus and eyes and. Gently measure out a small measure of lavender oil into your hand and use your fingertips to gently apply the lavender oil to the cheeks and carefully to the edge of the eye socket and the bridge of the nose. The presenter cautions that you must never get the oil into the baby's eyes. According to the video if you use lavender oil in this manner it should get rid of the eye mucus from around the ba...
This video explains how to create a pair of Swarovski crystal earrings. You will need a tooth headpin, two pear-shaped crystals, two spacers, two diamond beads, and sterling silver ear hooks. First, slide the pear-shaped crystal onto the head pin. Follow with a spacer, a bead, then use a pair of pliers with a side-cutting edge to cut the wire and bend at a 90 degree angle. Use round-nose pliers to then create a circle at the end of the wire, then 'squash' a bit with the other pliers. Then ope...
In this video you learn to make earrings out of guitar picks. You will need round nose and regular pliers, wire cutters, 2 regular picks, bead reamer, earring hooks, jump rings, and long silver strands. Use the bead reamer to make a nice clean hole on the top edge of the guitar pick. Use the jump ring through the hole you just made to attach the silver strand. This makes the earrings dangle. On the other end of the silver strand connect the earring hook with another jump ring. This completes ...
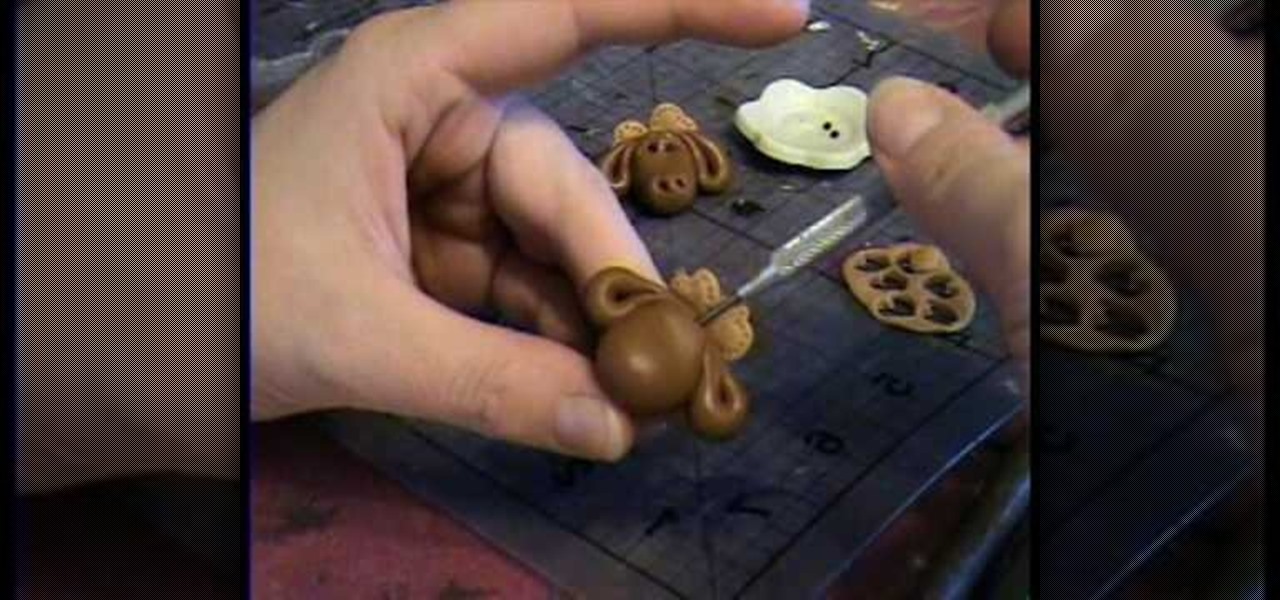
This video tutorial is going to show you how to make a Moose Bead from Polymer Clay by Garden of Imagination. You begin with clay and make a shape it like the head of the moose as shown in the video. Then take more clay and make the ears and attach them to the head. Now take lighter color clay, cut it out into heart shapes, poke around the edge with a pin, and attach them behind the head. Take a pin and make a hole at the top end of the head to make it a bead. Watch the video to finish the pr...
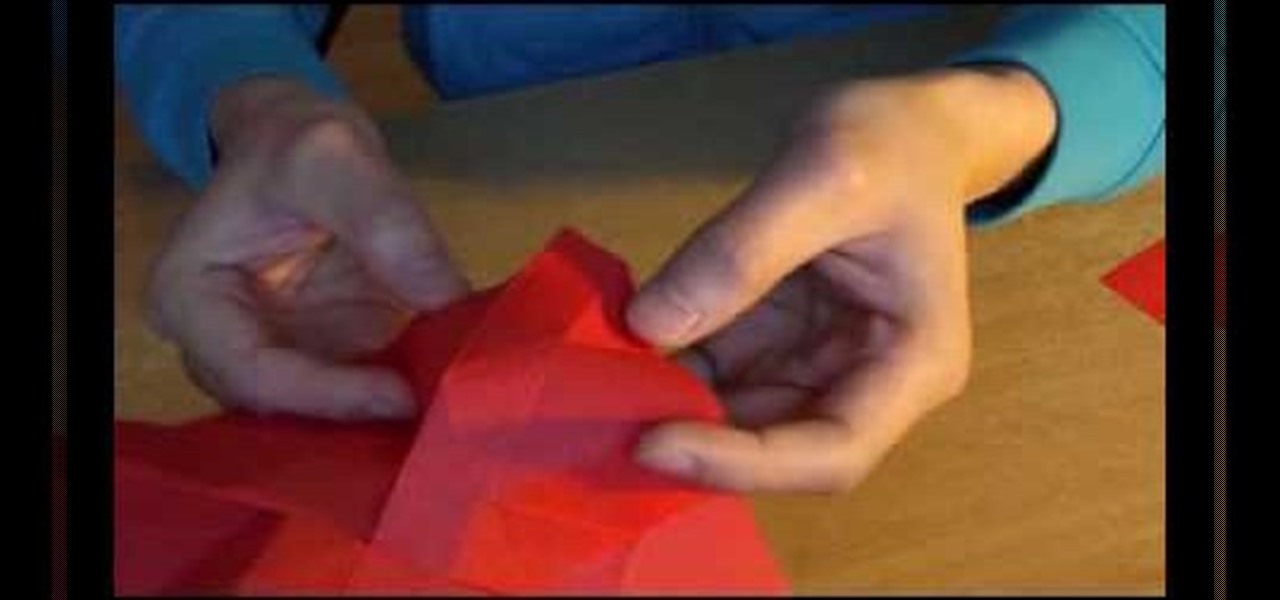
Make an origami rose for your love on Valentine's Day. This easy to follow video shows you how with romantic piano music to calm you while doing it! Start with a piece of red paper then make the initial guide line folds. You then start by folding in the corners then making more guide folds. Then the edges get folded in as you slowly start to see the flower develop. Then, you make a fold in the center and start to work your way around as the flower takes shape. A twist starts at the center the...
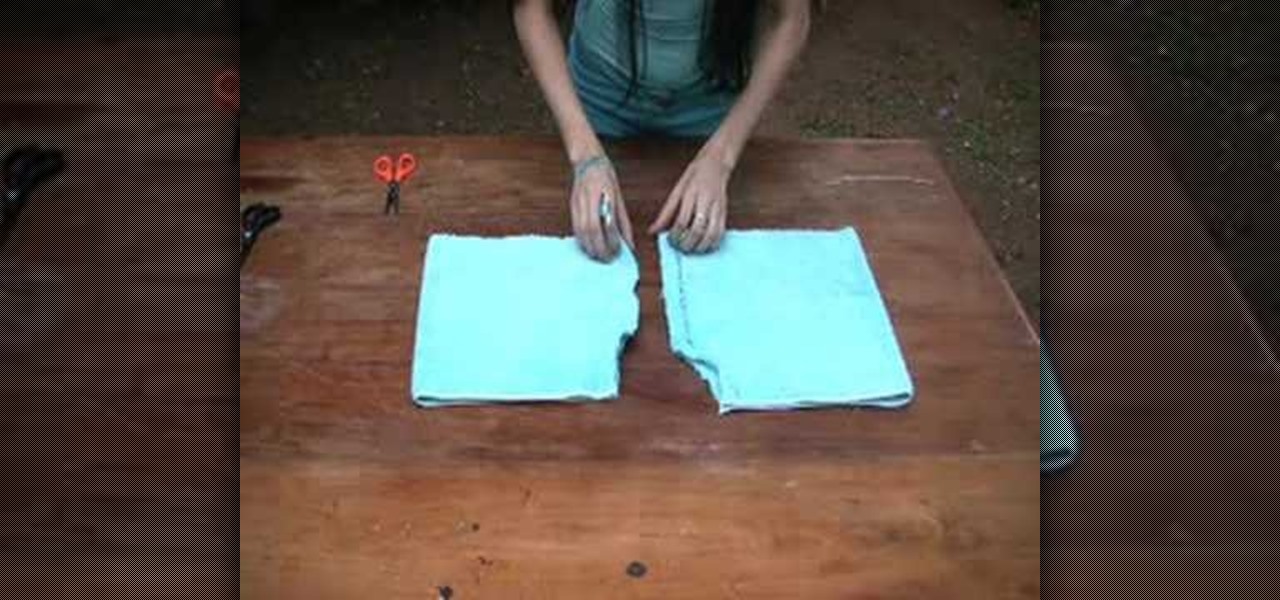
To recycle an old towel into shorts, fold the towel and cut it into a short leg's length worth of fabric. Cut another piece into a short leg's length worth of fabric. Draw a curved seam on one edge. Stack the towels and pin them to hold the fabric in place. Cut out the seam on both of the towels. Separate the towels and sew up the seams on both of the fabric pieces. Do not sew the top seam and front side seam of the shorts. Instead, sew the front and back side seams together. Thread and sew a...
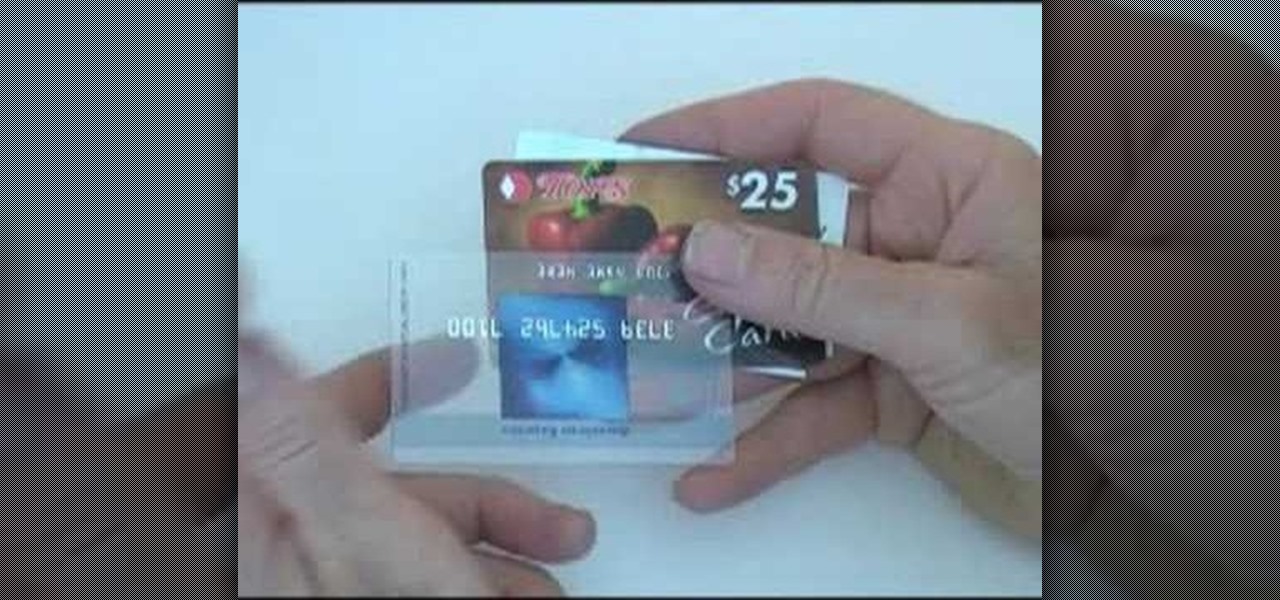
Reuse an expired credit or empty gift card to make a guitar pick instead of buying a brand new pick. You will need a pick, nail file (or sandpaper), card, and sharp scissors. Each card will probably yield about four or five picks. With a pen or Sharpie, outline your pick onto the card, centering it around whatever design or logo you want on the pick. Then, cut out this shape with your scissors. With the file, go back and file down the edges so that they are smooth, making sure that all sides ...
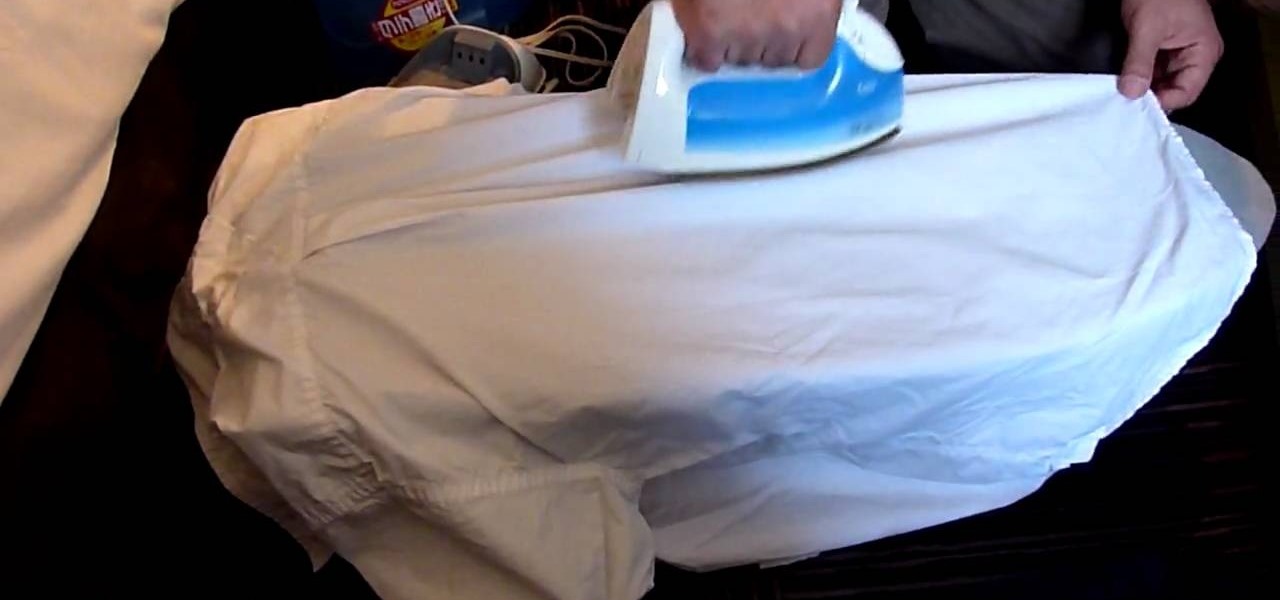
In this Beauty and Style category video tutorial you will learn how to iron a white men’s dress shirt. Place the shirt on an ironing board. Make sure the iron is warm. Then start ironing as shown in the video. Iron the edges, iron between the buttons and iron over the pocket. Apply a little bit of pressure at the thick parts of the shirt like the flaps over the pockets. Iron the sleeves on both sides. Iron the collar. And most importantly, don’t forget to iron the back side of the shirt. Hold...
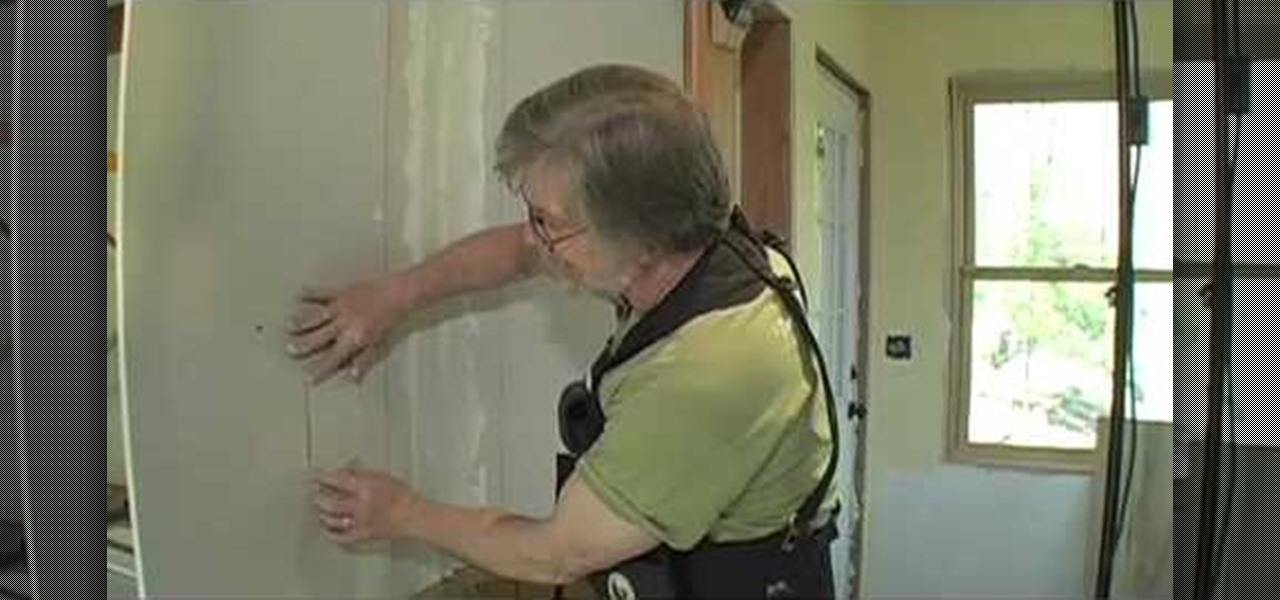
Chuck Miller gives us a great tip for patching a small hole in drywall, such as a hole from an outlet box.
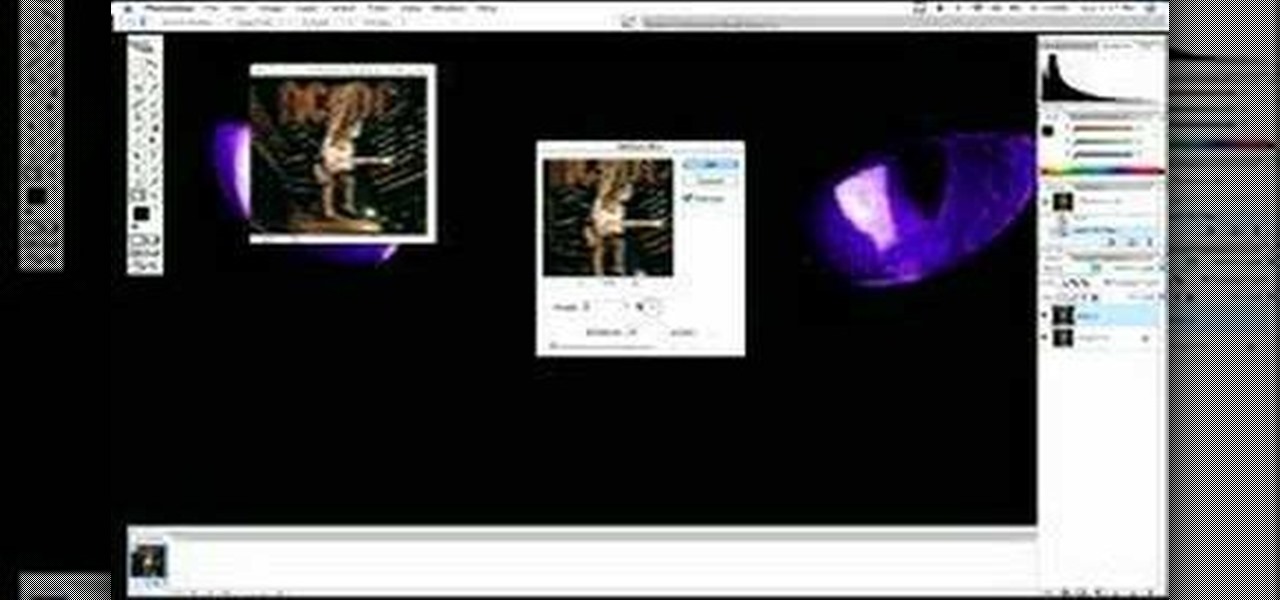
Adding motion to graphics using Photoshop can create an exciting and dynamic effects. Select a picture you want to add motion to. First, duplicate the background layer. Then under Filters, select blur, and then select Motion Blur. Then you set the angle of the Motion Blur. You can select any direction and also set the intensity of the blur by setting the distance setting. Then you will need select the eraser tool and select under Options select the brush. Chose a soft edge brush and erase ove...
Mix cinnamon brown chalk powder and clear polymer clay and roll it out flat. Paint some more powder on the flat clay. You need quite a lot of powder to create brown rings later. Roll up the flat clay into a sausage shape. Cut slices of the long sausage and lay them on a wooden tray. Blunt the edges with your finger. Put some white chalk into a blob of thick varnish to make icing. Drizzle the icing on the top of the cinnamon rolls. You can add yellow chalk to make it look dark and cooked befor...
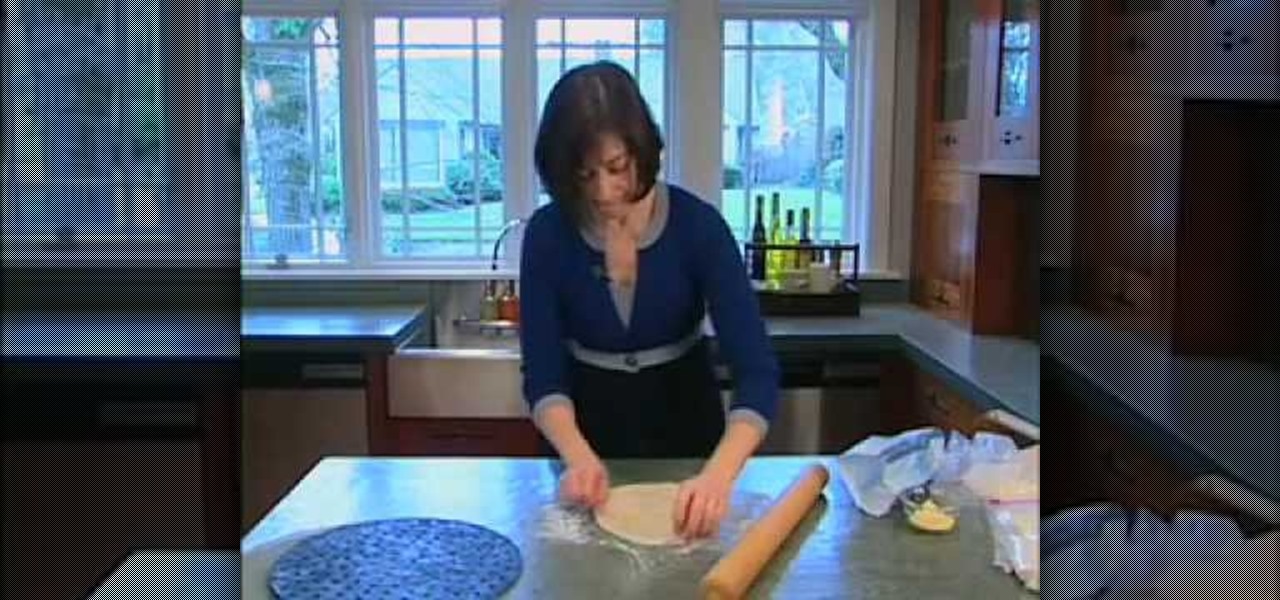
is a video presentation about "Shaping Pizza Dough" and to mastering great at home is shaping and stretching the dough. Put the dough in plastic cover for 6 to 8 hours in room temperature or 12 to 24 hours in refrigerator in an sticky form. Then, sprinkle little bit flour and peel the dough into small pieces. Then, take your fingers and punch down the dough and forming a round shape. By using the rolling pan, make smooth edge dough in round shape and then...
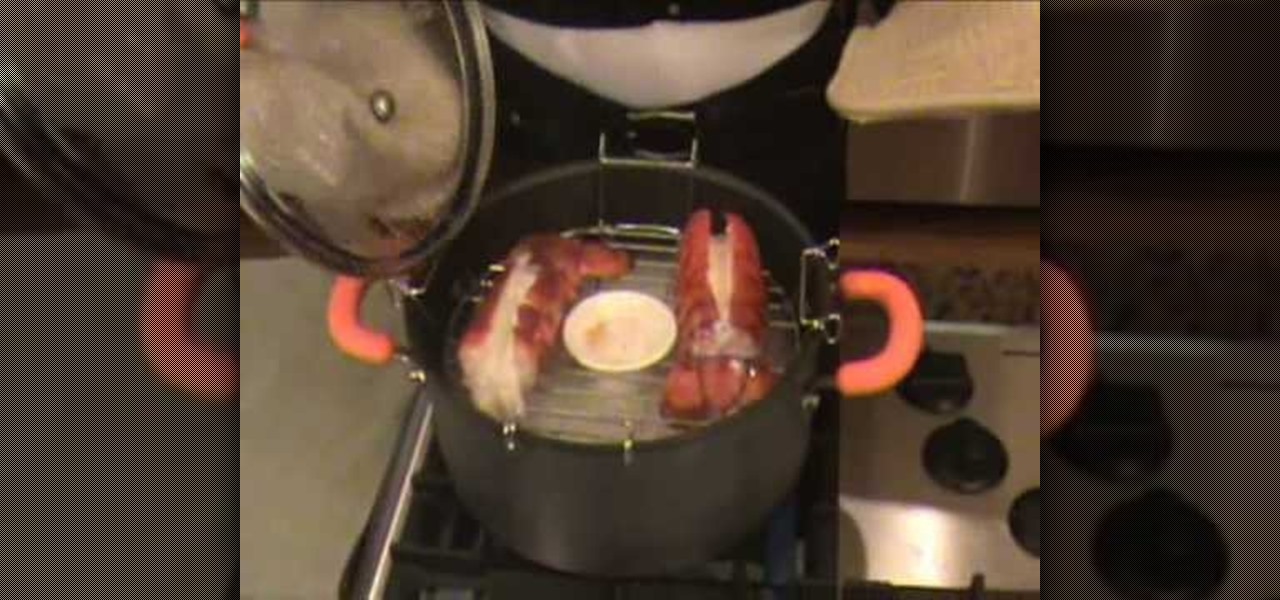
In this video, host Kim, from Cooking with Kim, demonstrates how to steam lobster tails and butter using the EZ Steam Grill. The EZ Steam Grill is a rack which sits on the edges of a pot suspended above boiling water. This quick and easy seafood recipe can be made in just minutes. Kim begins by placing the lobster tails on the EZ Steam Grill. In the center of the grill there is a spot for a small container which she fills with butter, to be melted while the lobster tails cook. She squeezes le...
Betty's Kitchen offers recipe for Cheese and Onion Stuffed Hamburgers
This is a demonstration video on how to make Mango-Papaya Salsa. The video starts out with a man in a kitchen. He begins by peeling and cutting up a mango. Next, he splits a papaya open and scrapes out the seeds. He demonstrates how to cut up the fruit into small pieces. He combines the mango and papaya in a large mixing bowl. Next he squeezes the juice of a freshly cut lime. He then mixes up the ingredients by hand. He presents the dish on a platter with a garnish of limes around the edge. H...
The video teaches you how to make mini pizza appetizers. To make this dish, you need pre-made pizza crusts. These pizzas will be white pizzas which means that tomato sauce will not be used. In the video the lady uses a ready made white dip which artichoke and other ingredients. Spread a very thin layer of this dip on to the pizza crust staying within half an inch within the edges. Keeping the layer thin prevents it from melting over and making a mess in the oven. Then take some grilled chicke...
In this video tutorial viewers learn how to draw a rose on the computer. Begin this drawing with gray guidelines. The rose is cup shaped in the center with larger petals that unfurl on the sides. Use basic shapes for each petal and stick lines for the stem and leaves, the bud is a small circle on top. Now use an opaque black pencil line to draw out the rose in detail. Carefully put in the serrated edge for the leaves. Now draw the bud with fine sepals below it. This video is beneficial to vie...
YouTube user goldiestarling teaches you how to apply a purply sugar skull makeup look inspired by Sylvia Ji's Purple Crush painting. Use a white eyeliner to create the sockets of the skull, then go around the nose area. Color the whole face using a creamy white pencil and add red blush on the cheeks. Use a creamy purple color to fill in the sockets and the tip of the nose. Draw small flower petals on the edges of each socket. Use a black color to draw a spider web on the forehead. Then draw b...
This video from Origami in 30 Seconds demonstrates how to make a paper box in 30 seconds. Start with a square piece of paper and fold it diagonally to make triangles from both corners. Unfold it, and fold each corner into the middle. Unfold two of the sides and fold the edges of the other sides toward the middle. Turn it over and fold the triangular corners back so they touch in the middle. Fold the corners over backwards. Take the two sides and pull them out, and fold the outside corners in ...
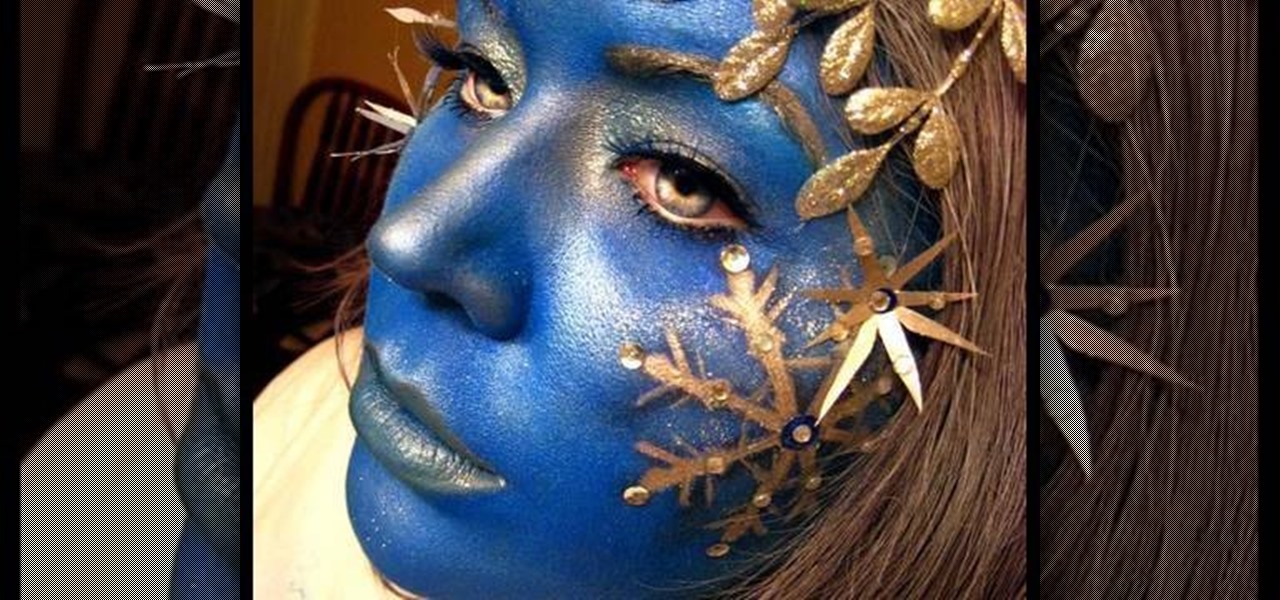
Goldiestarling teaches you how to apply a snowflake fairy makeup look. You first need to draw the snowflakes on some card stock and then cut them out. Apply those to the face using eyelash adhesive. Use a moisturizer and then a blue powder using a short haired brush. Apply a frosty white metallic color around the eyelids. Also add a darker blue around the snowflake edges. You can also add small rhinestones and glitter to the snowflakes. Use a light brown lipstick for the lips and blend it wit...
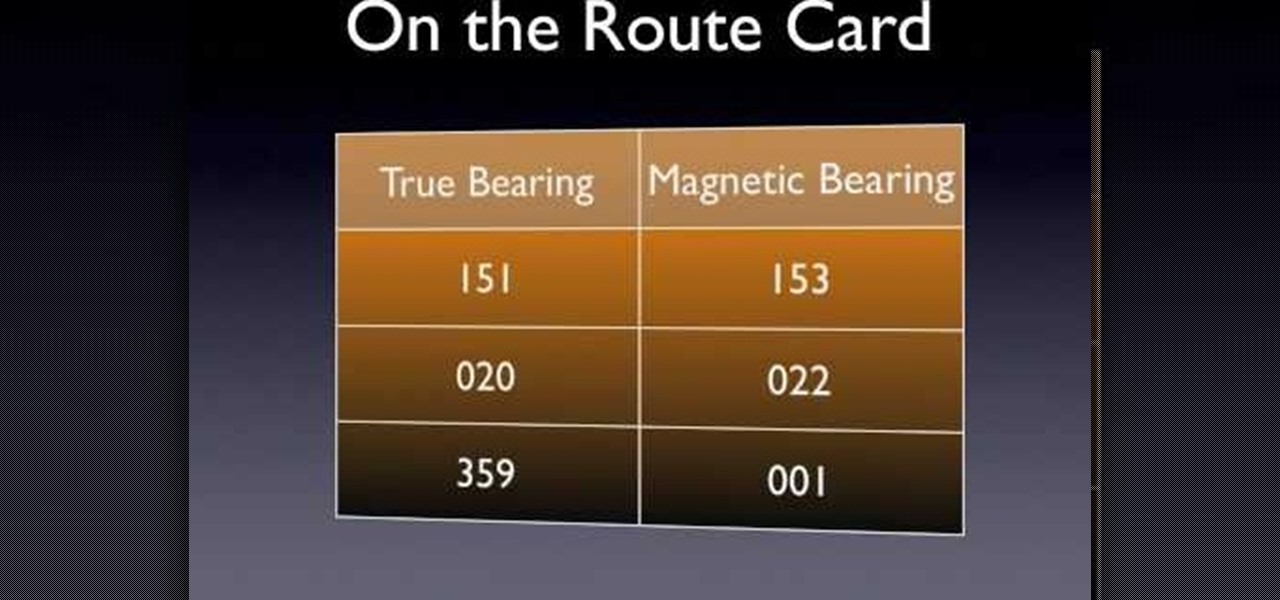
Without good navigational skills, your expedition could lead to failure or result in a dangerous situation. Try to use a laminated map which is better in wet conditions. 1:25,000 scale maps provide the greatest detail. One grid square equals 1 kilometer. Use map keys for reference. Don't mistake boundary walls for footpaths. A compass points to magnetic north and the top of the planet is called true north. Magnetic north is constantly moving and its position relative to true north is differen...
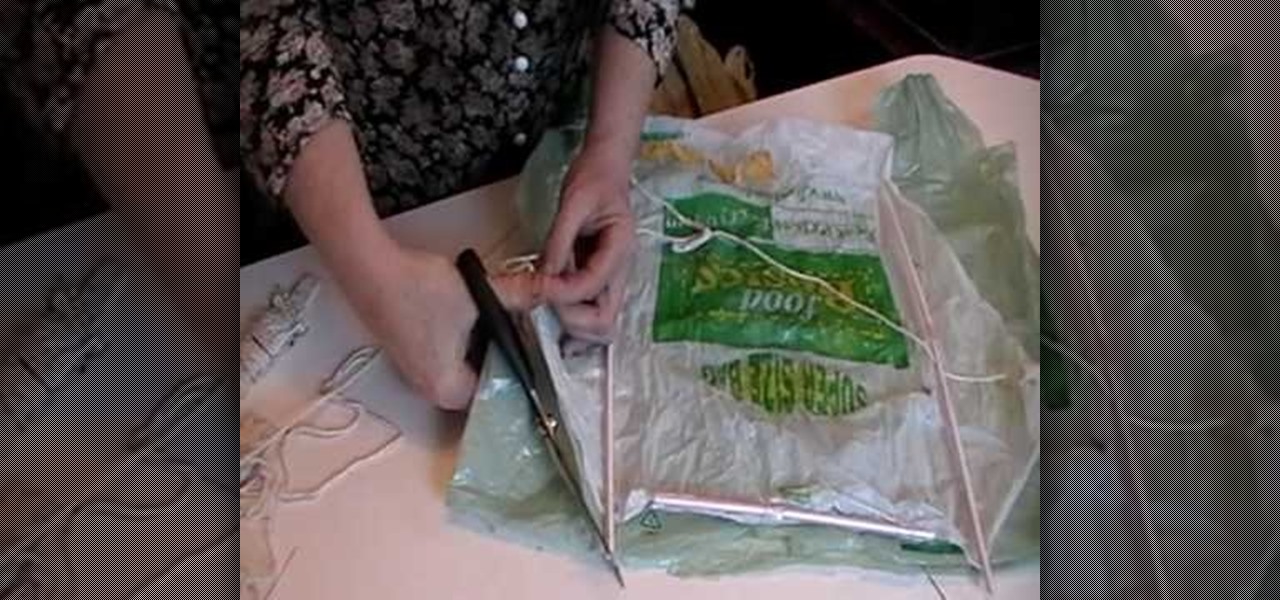
Learn how to make a homemade kite with this video. To do this you will need a regular plastic bag, some plastic straws, string and scissors. Begin by using the scissors to cut the bag in half, around the edges. Once you have this, make a rhombus shape out of it. You will need five straws and tape. Use one straw for the top and two straws on each side. Make sure that these two sides are the same side. Add clear or regular tape to stick the straws to the plastic bag. Lastly, tie the string at t...
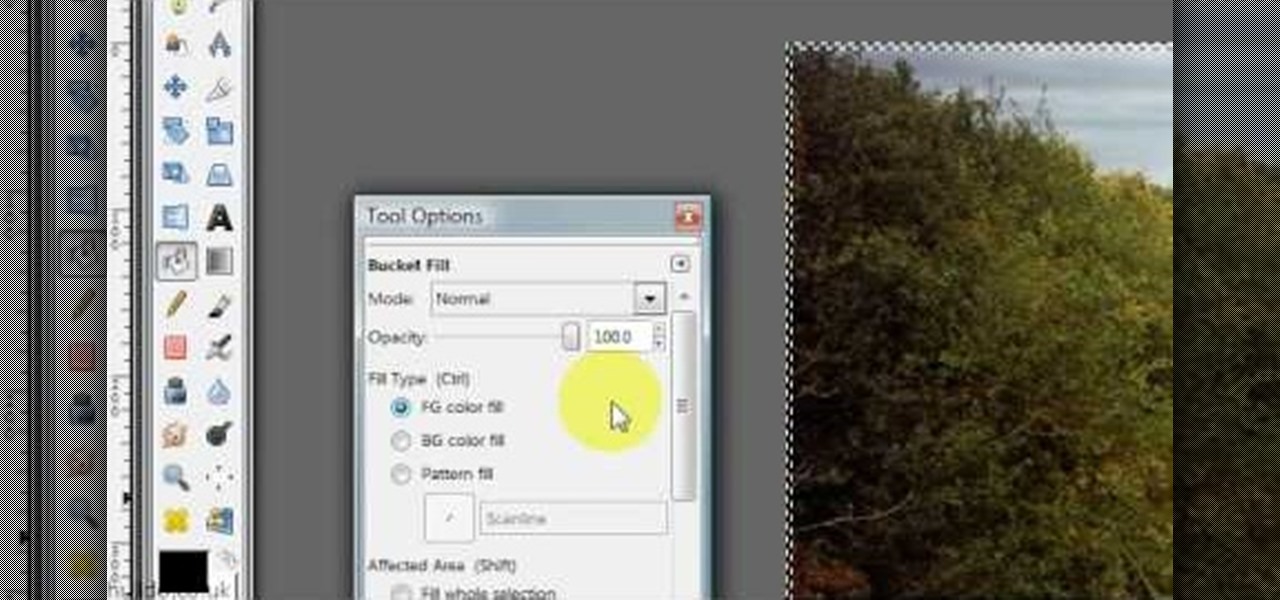
Hulldo teaches you how to give your images a widescreen border using GIMP. Open up a picture and the click new layer. Next go to select - border and make it 3 pixels. Go to tool options and use black for foreground fill. Select none and create a new layer. Go to view and make sure snap to canvas edges is ticked. Go to rectangle select tool and go to its menu. Then select 640x30 pixels. Fill that layer with black and select none. Duplicate this layer. You place this one on the bottom and you a...
Fitted sheets can be quite a hassle if you are unsure how to tame the elastic edging and odd form. Cure Wrinkles, with Erin Bried, teaches you how to fold a fitted sheet correctly. Start by having the sheet inside out and place one hand in one of the corners and the other hand in the corner closet to the first corner. Then put one of your corners into the other corner so that one hand has two corners and the other is free. Watch the rest of the video to learn how to turn that clump of a sheet...
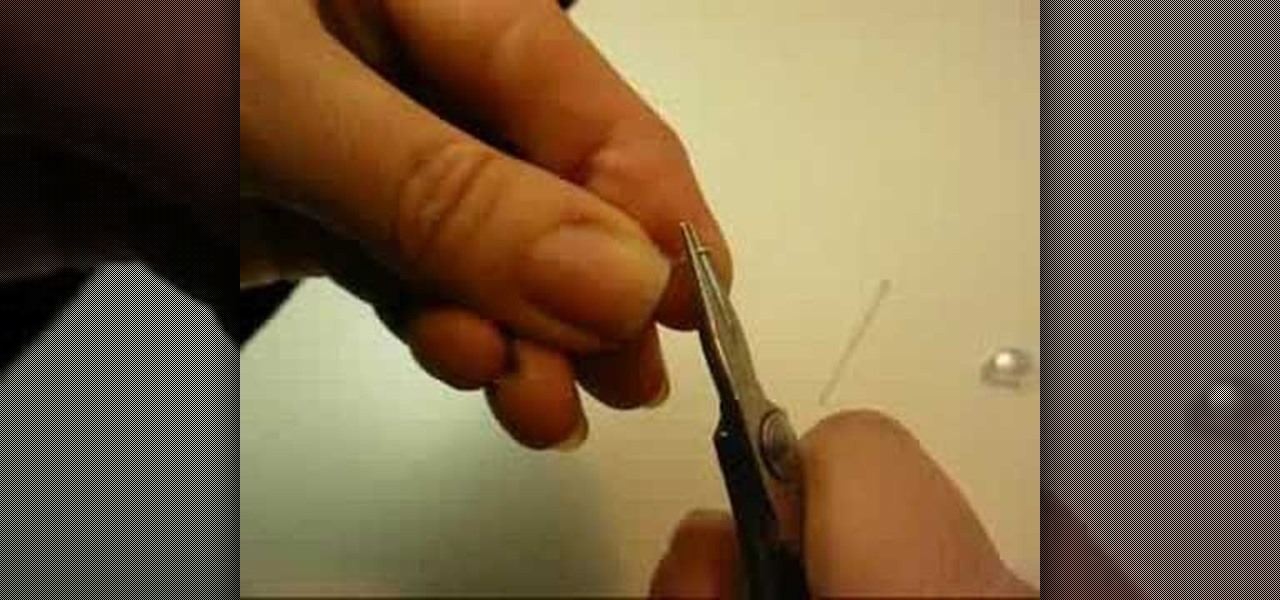
This video shows how to clip your Chihuahua’s nails. Since the dog doesn’t weigh that much you may need to clip the nails more often then a heavier dog. If you can hear the dog’s nails clicking on the floor, then it is time for a clipping. Use cat nail clippers because they are smaller. If your dog has white nails, then just clip of the edge that is clear. If you look farther into the nail you will see there is a pink part. The pink part is a nerve. If the dog has black nails then just be car...
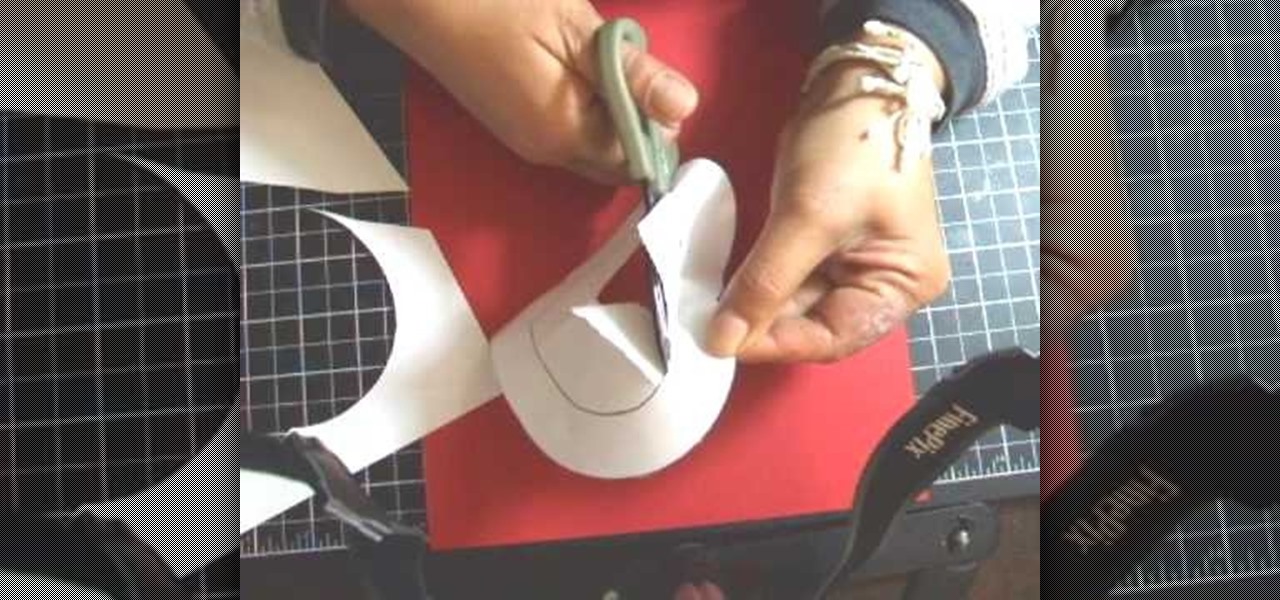
The template for this heart-shaped window card can be found at [www.stampininspirations.blogspot.com stampininspirations.blogspot.com]. You will need the template and cardstock and the other usual materials needed to make a card. You can re-size the template to about 5 1/2 inches across by about 5 1/2 inches high. Cut out the heart and remove the center heart as well. Take an 8 1/2 by 11 inch piece of red card stock and fold it in half, then trace the inside and outside of the heart-shaped te...
This is step-by-step video tutorial on how to make a basic but adorable cat puppet. The kids will have such a good time cutting and gluing the materials to make their very own puppet. The process is very quick and very easy. The materials you will need are: Felt (black, white and yellow), 2 googly eyes, scissors, and fabric glue. First cut out 2 triangles for the ears. Glue the circular edges of a half circle of felt together and glue the ears to it. Glue the eyes, nose, mouth, whiskers, and ...
The video is all about making a cat ear. The lady explained the steps we need to follow while making our own cat ears. For making the cat ears, we need fake fur fabric, which should form a square when we fold it half, a white down feather, a glue gun, scissors and a diadem.
FK describes how to make a Yoshimoto cube. First, print out the template. Then, trim the paper with scissors along the perimeter and glue the edges into a 3D pyramid. Repeat these steps until you have 48 cubes. Fix 3 pyramids together 16 times. Arrange pyramids in groups. Repeat 2 times and color 8 of the pyramids. Place adhesive on the joints of the cubes. Arrange the pyramid groups into a cube. Now, you can perform neat tricks with the cube, like changing the cube from white to colored with...
After viewing this video, making a perfect pie crust will be easier then ever. Watch this short episode and you will see the best ingredients to use and the quick steps that are needed to produce a great crust. Also included is the best way to roll the pie crust out, using wax paper on top of the dough, and also underneath. And don't forget presentation is everything! You will learn an easy way to place the dough in the pan and crimp the edges for a great looking crust!
Here Charlie will show you how to quickly set up a sleeping bad in a tent. To set up a sleeping bag in a tent, do the following: Decide on which direction you want to sleep in the tent. Remove the sleeping bag from the stuff sack. Lay it out and make sure it doesn't touch the edges of the tent. This may cause moisture that has seeped through, to dampen your sleeping bag.
EggBram walks you though changing background colors in Xara3D and shows where to find the transparency setting. This is a simple walk through in high detail, very visible. Xara has been a part of internet development from the very beginning. Xara one of the original Internet service providers when it came about in the 1990s. Xara does most of its work online and has millions of customers online around the world. Xara Online is a leading edge online web service that gives you solutions for a m...