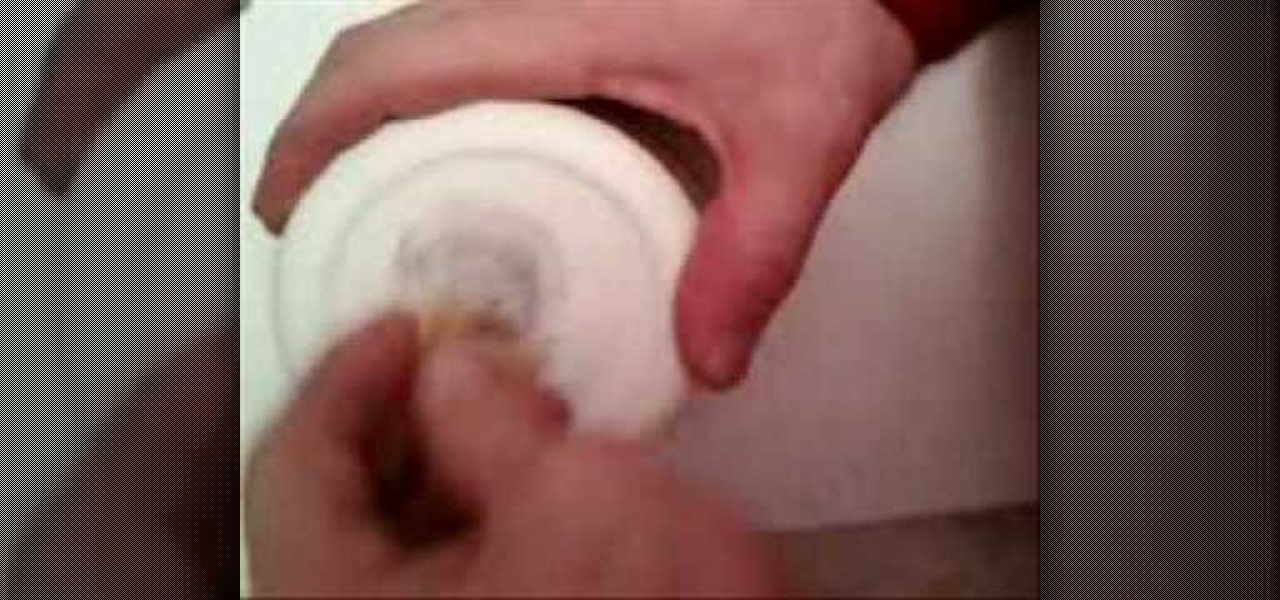
Fifty cent coins and quarters made before 1964 were made of 90% silver. This is considered jeweller's quality silver so can easily be made into a ring. Kennedy Half Dollars can be found at coin shops or on ebay for four or five dollars a piece. Begin with an anvil which can clamp onto a table. This will allow you to hammer without damaging the table. If you don't have a anvil, you can use any flat surface that is sturdy and made of metal. Next, take a small hammer, position the coin on its ed...
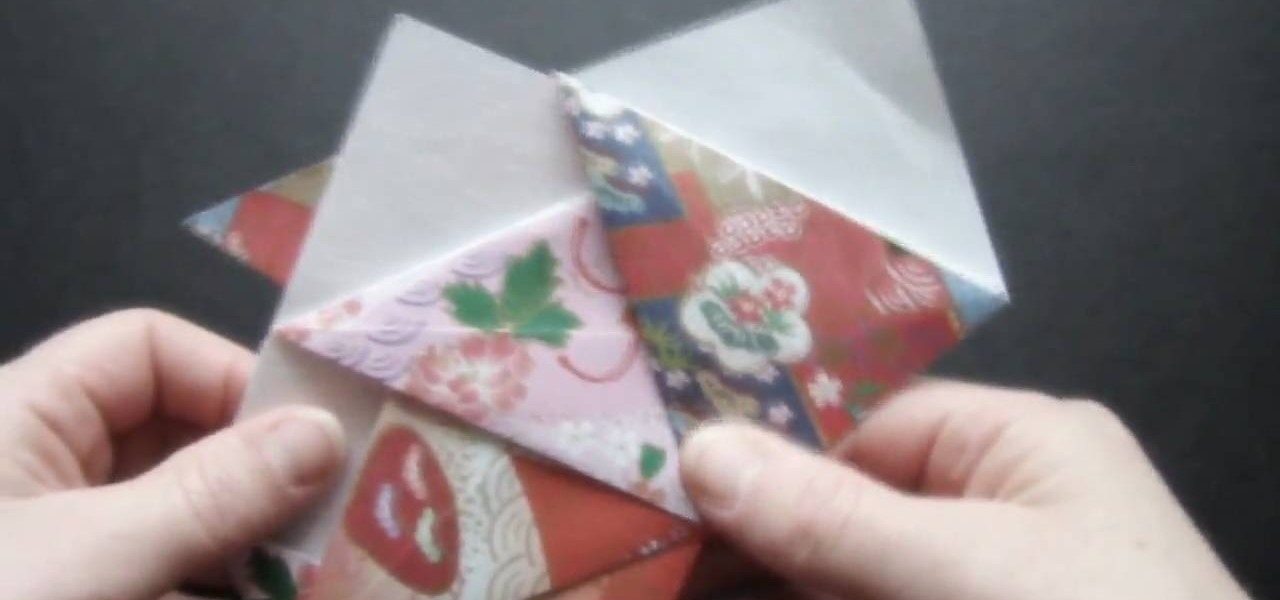
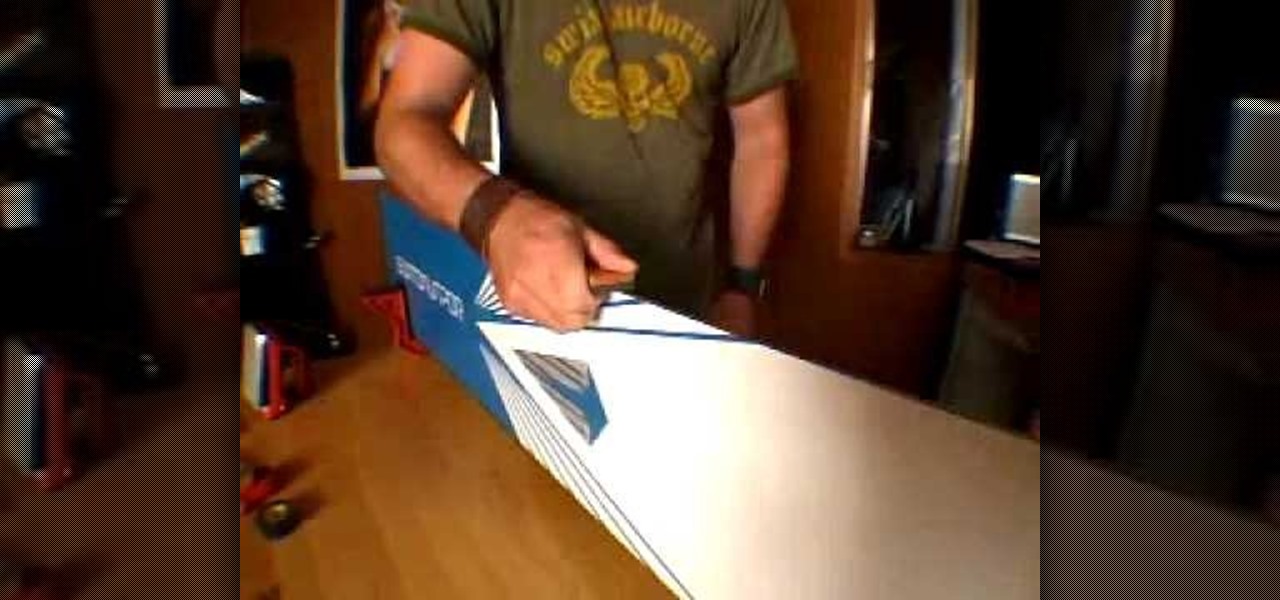
This is an instructional video that demonstrates how to make an origami spinning top. You need seven square pieces of paper, and she uses 6"x6" sheets. First fold the paper diagonally. Fold the short edges to meet the long edge. Unfold it and use that as a guide for the next fold. Fold the top triangles down and tuck on corner into the pocket. Make seven exactly the same. She shows how to slide one folded piece of paper into the next one and fold the edges over each other to hold them togethe...
We don't know about you, but making selections around oddly shaped areas of an image is one of the most frustrating single tasks in Photoshop. Odd shapes are really hard to navigate around by hand and often you can't get a perfect cut. Luckily, this Photoshop tutorial will guide you through how to make complex selections easily in Adobe Photoshop CS5.

Shane goes into detail on a specific type of boof in which the paddler comes across the drop with angle and boofs into an eddy.

Aperture 2 includes new vignette and devignette adjustments that allow you to add soft, shadowed edges to your images for an artistic effect or to correct for unwanted darkened edges of images.
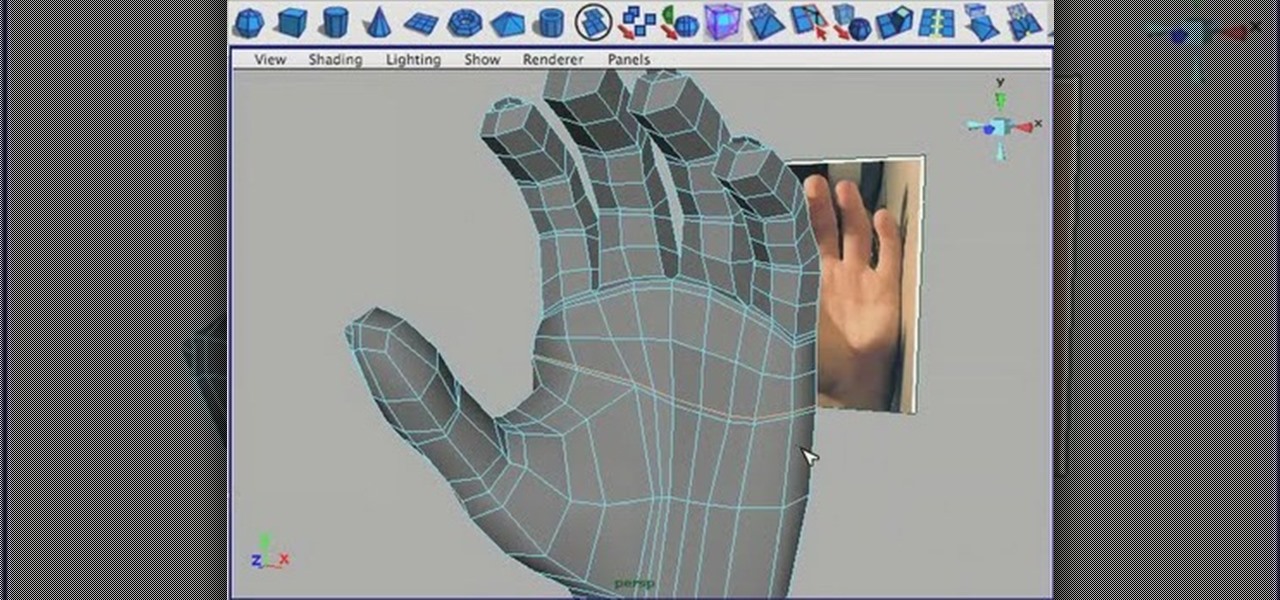
This tutorial shows the best way to model a human hand with perfect edge flow. Made in Maya but should work great in any package. This is an advanced tutorial so you should be familiar with the software and interface.

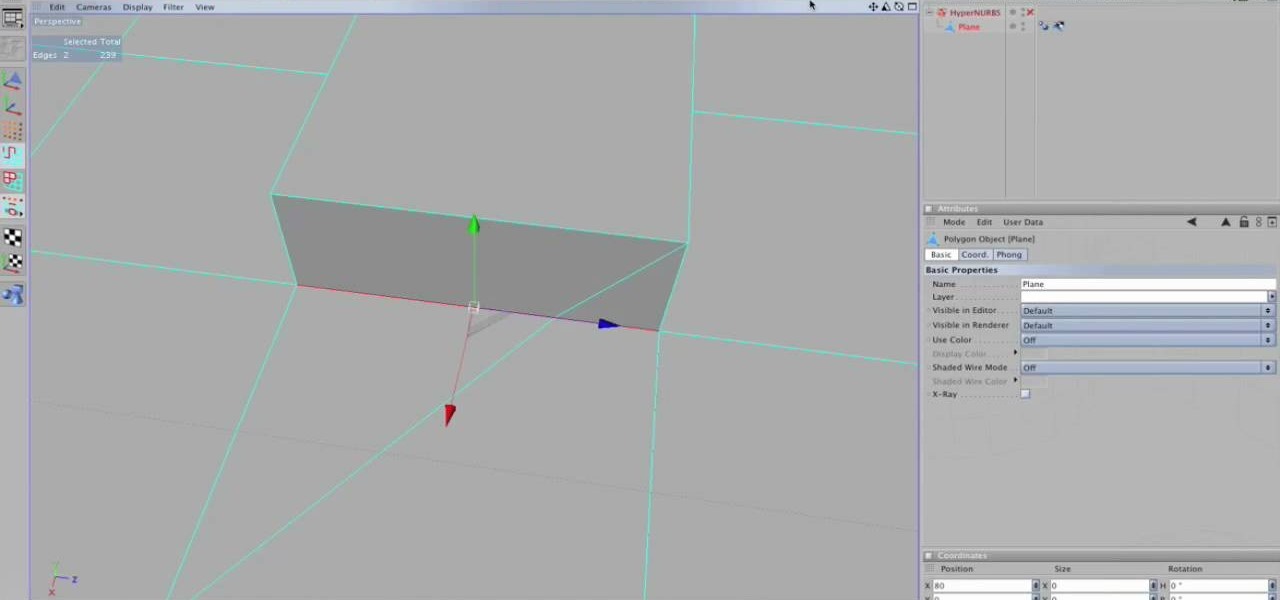
If you have Cinema 4D version 10 or below, then the lack of a spin edge tool has probably given you fits at some point. No more! This video will show you how to spin edges manually using mesh flow in Cinema 4D the old-fashioned way, without using the specialized tools in the newer software.
Watch how the F5 Networks BIG-IP Edge Client solution gets you connected automatically when you boot/start up your computer along with seeing the browser based version of the F5 BIG-IP Edge Gateway. Whether you're new to F5 Networks' popular network appliance or are a seasoned network administrator just looking to better acquaint yourself with BIG-IP, you're sure to benefit from this free video software tutorial. For more information, including detailed instructions, take a look.
This video demonstrates how to make a hexagon from a square paper. Fold a square paper into half horizontally. Fold this rectangle into half again forming a square one-quarter of the original size. Fold the open edge towards the center fold on either side forming a crease. Take the closed corner and fold towards the center crease. Open the center fold and fold it inwards. Fold the corner towards the diagonal edge on both sides, this forms a cone like structure with a paper edge at three-quart...
Stampinmama1 shows us how to soften edges of paper with ink sponges. When you sponge, you get a little softer look onto the paper. You're going to want to use a round stamping sponge and you would want to cut it up into six pieces to have more control over them. Rub your sponge directly onto the pad, grind it on pretty hard. Go right along the edge of your paper, ink it up again and keep going. You will get a soft feathery edge instead of a fairly bland edge with no soft look to it.
Take a look at this instructional video and learn how to use the eraser tool in Google SketchUp. Keep in mind that the eraser tool only works for edges in SketchUp, and you won't be able to erase surfaces with the eraser tool. This tutorial covers how to erase single or multiple edges easily and how to soften or hide edges with the eraser.
Take a look at this instructional video and learn how to use the freehand tool in Google SketchUp. This tutorial covers how to use freehand to draw free form edges. To do this, simply click and hold the mouse button to draw with the freehand tool. Like other drawing tools, be careful not to cross over edges while drawing, and draw to and from existing edges to properly break surfaces.
This is a short Blender tutorial that illustrates how to move a vertex along an arbitrary edge of an object no matter how the edge is rotated in 3D space. This 3D tutorial is from Stage6 so check it out and learn how to control the vertices on your Blender models.
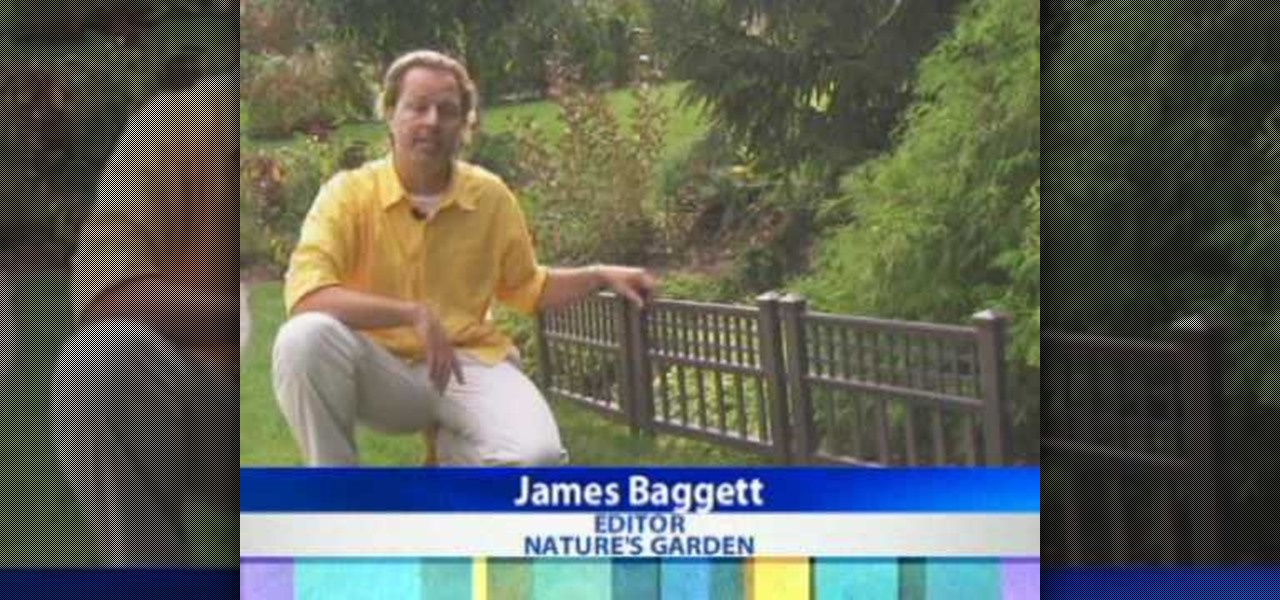
Add some pizzazz to your yard with some decorative edging. Watch this video tutorial to learn about the various garden fencing/edging options from Nature's Garden Magazine's editor James Baggett.
Improve you crocheting skills by learning different edging techniques. This how to video is a tutorial that will show you how to crochet a single crochet edging. Watch, learn and create your own decorative crochet edgings.
This video will show you two different methods of repairing the leading edge of a wooden aircraft propeller. Learn how to properly apply epoxy, clean the area of the repair, and make the edge look like it was never damaged!
Frank Crow talks about keeping the edges of your snowboard in shape. Edge maintenance is crucial to preserving your ride.
In this tutorial we learn how to edge a knitted piece with a single crochet. Start to attach the yarn to the right side, working in a forward direction. Now, work a slip stitch at the edge. From here, stick the hook in the fabric and pull through one loop. The, yarn over again and pull through both loops with the hook. After you do this, do it over again! You will repeat this process until you reach the end of the row. Once you're finished with the row, you will be finished with the edge and ...
In this video, we learn how to turn a composition book into a decorative notebook. First, measure your composition book, then measure out that same size on a piece of decorative paper. Next, put adhesive on the back of this on all four edges, then diagonally. Now, you will have a solid attachment for the paper to be placed on top of the composition notebook. Use a straight edge to push it down and it's completely flat. Then, use scissors to cut any excess paper off of the edges and corners. Y...
Missa shows how to ‘Distress Jeans’ in this video. She lays a pair of jeans to be distressed on a table. Next, the creases near the top, which are formed by bending the leg portion of the jean, are marked with a white pencil or chalk. A hard rock is then placed inside the jean, near the knee area. That portion of the jean is graded using sand paper to make holes. The pocket areas are graded next, using a nail file. A pair of scissors is scraped along the edges of the pockets to make cuts. (Al...
New research reveals how E. coli bacteria construct elaborate and effective tunnels to pump unwanted molecules like antibiotics and other toxins out of cells. The discovery could help us better understand how antibiotic resistance occurs and give us a leg-up to beat them at their own game.
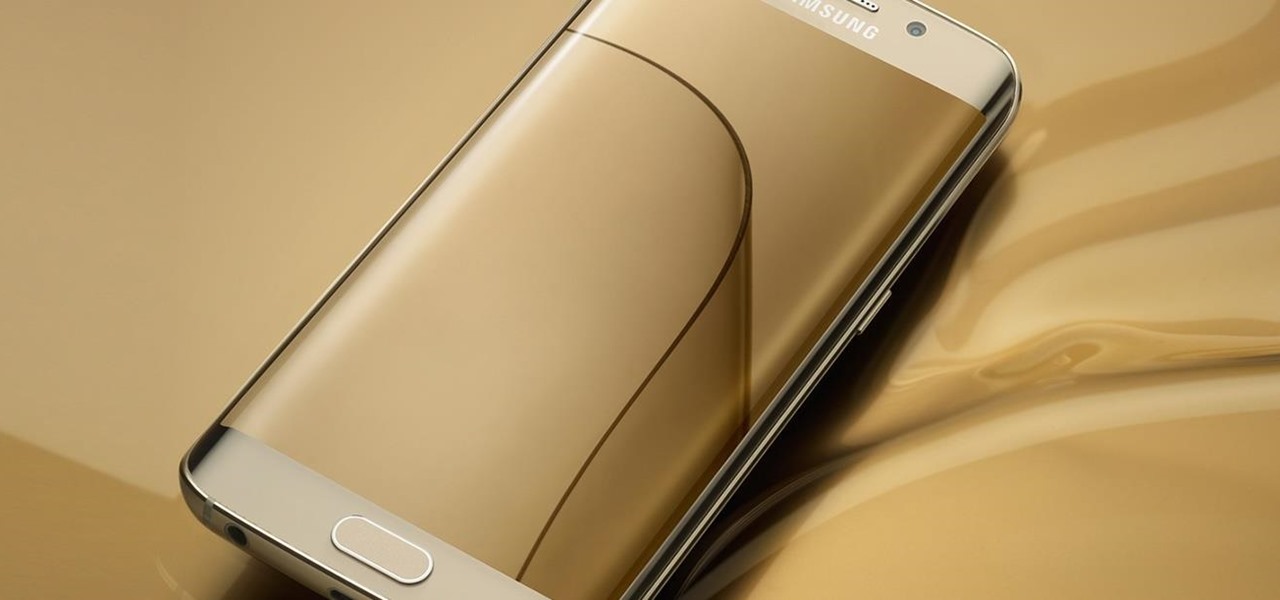
Samsung is rolling out the Android 6.0 Marshmallow update for Galaxy S6 and S6 edge today, February 15th, and with it come some good improvements to how S6 edge users can utilize the handset's curved screen.
In this video we learn how to knit a scalloped edge. This forms a shell along one edge! First, attach your needle to the yarn on the right edge. Then, make a slip stitch and yarn over. Then, stick then needle through the fabric and yarn over again so you have three on the hook. Then, yarn over and pull through the first two loops in the hook. Then yarn over and go into the fabric and over again. Pull through a loop and then yarn over through all the loops on the hook. Now, do another one foll...
This is a video tutorial in the Home & Garden category where you are going to learn how to recycle an old can to make a candle votive. Take an old can and cut it vertically along the side without cutting off the edges. Now cut along the top and bottom edges starting at the vertical cut and going outwards on each side. Cut up to about half of the circumference of the can. Now pull out the cut halves and you have the basic stand for the votive candle. Now you got to straighten out the jagged ed...
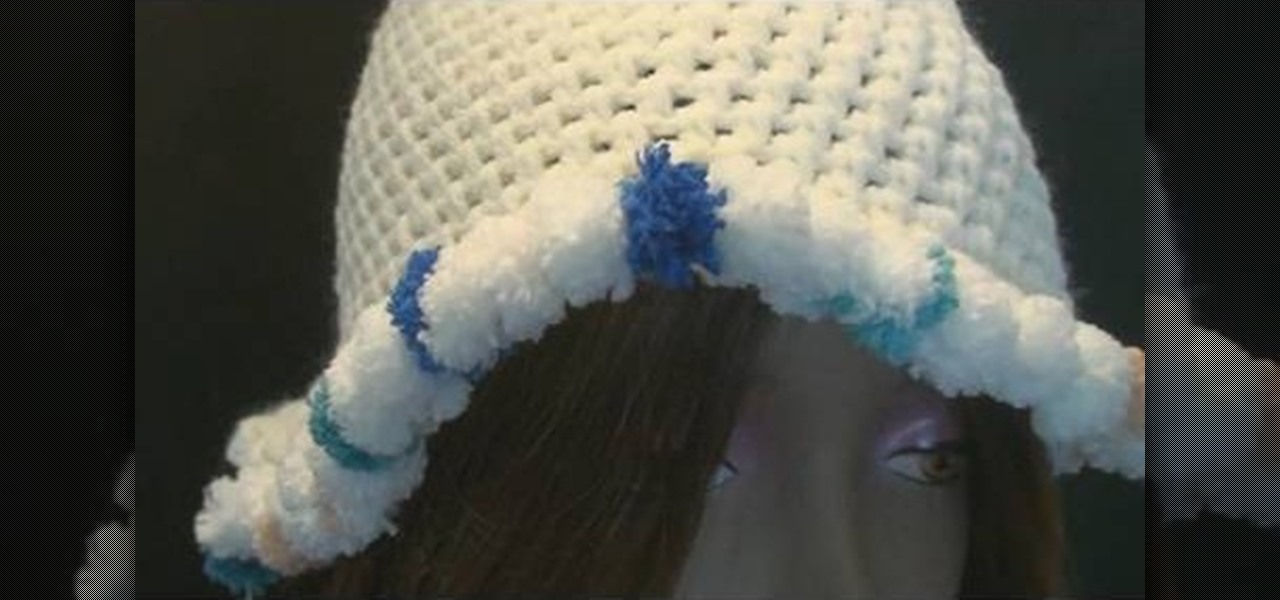
Despite what you may believe, making a crochet cap doesn't end at the last knitting row. In fact, crochet caps can be embellished in a number of different ways, including this Pomp-A-Doodle trim.
In this video, we learn how to create a fabulous purple pageant drag look. First, you will need to paint a white cream shadow underneath the eyebrow. Next, paint a dark purple cream on the crease of the eye and use a brush to fan it out onto the entire eyelid up to the white shadow. Next, paint a purple eyeshadow all of the brow and use a Q-Tip to clean up and mistakes along the way. Next, you will continue to add colors until they are filled in and bright. Now, you will need to have a silver...
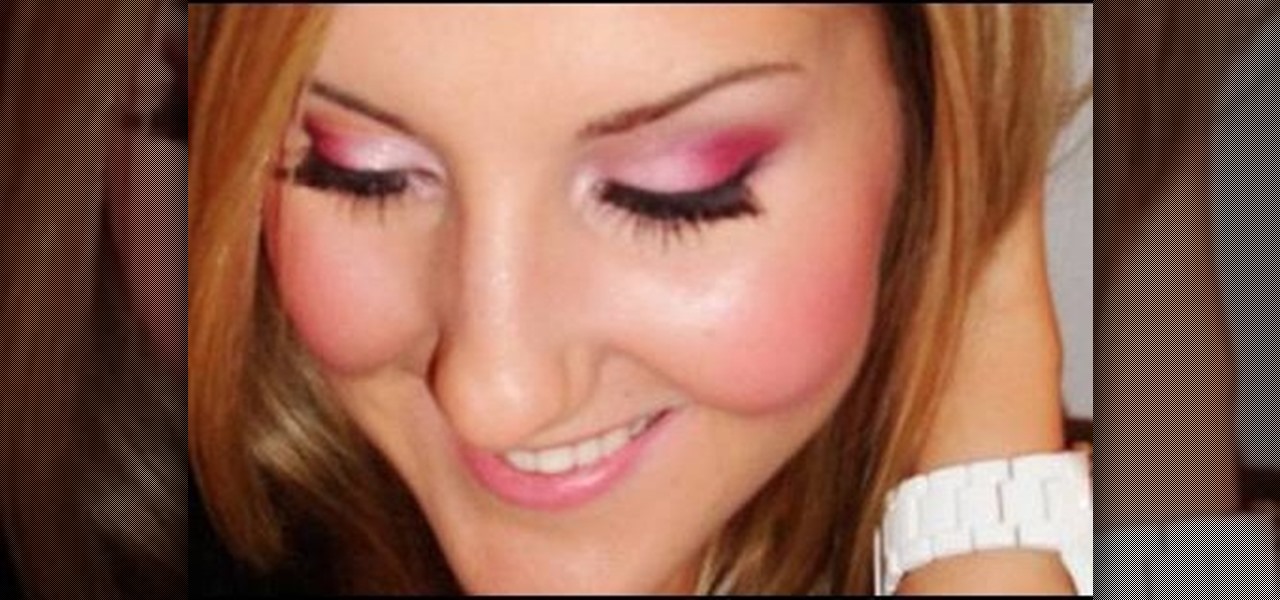
In this video, we learn how to create a flirty, pink makeup look for Valentines Day. First, apply a crease to your entire eye that prevents sticking. Now, take a pink shimmer cream eyeshadow and pat it on the lower water line and on the top of the eye. Now, apply a white luster shade to the inner crease of the eye out to the middle of the eye. Next, apply a dark pink eyeshadow to the crease of the eye with a small rounded brush, defining your outer v. Start to blend into the middle of the eye...
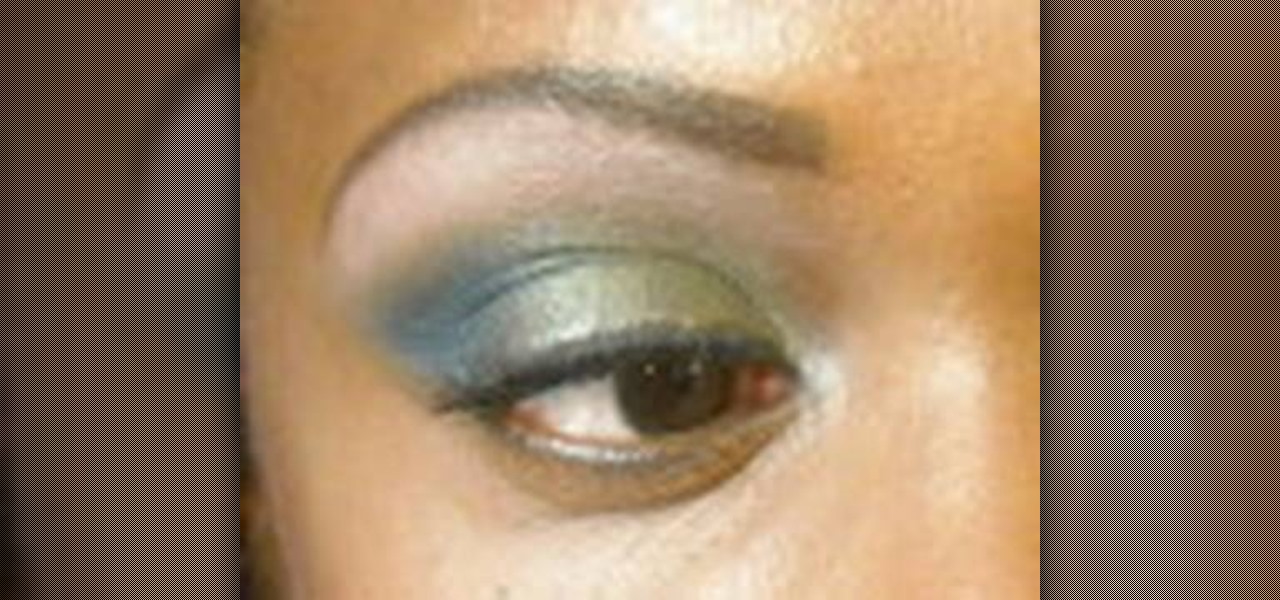
In this video, we learn how to create a basic eyeshadow look for a mature look. Start by applying primer to the eyes, then apply a light shadow to the entire eyelid. After this, use a flat brush to apply a dark gray shadow to the outer section of the eye. Next, use a blending brush to blend the dark in with the light shadow. After this, you will apply a highlight with light shadow underneath the eyebrow. Continue to add more light or dark shadow until you have a good contour, then you are fin...
Learn how to use the FOIL method to distribute two binomial expressions in algebra. The FOIL method — which stands for first, outer, inner, and last — takes two binomials and multiplies them for a single quadratic equation. Solving for binomials with FOIL takes just a few steps. Could you use a little help figuring out how to divide fractions? Watch this free video lesson. From Ramanujan to calculus co-creator Gottfried Leibniz, many of the world's best and brightest mathematical minds have b...
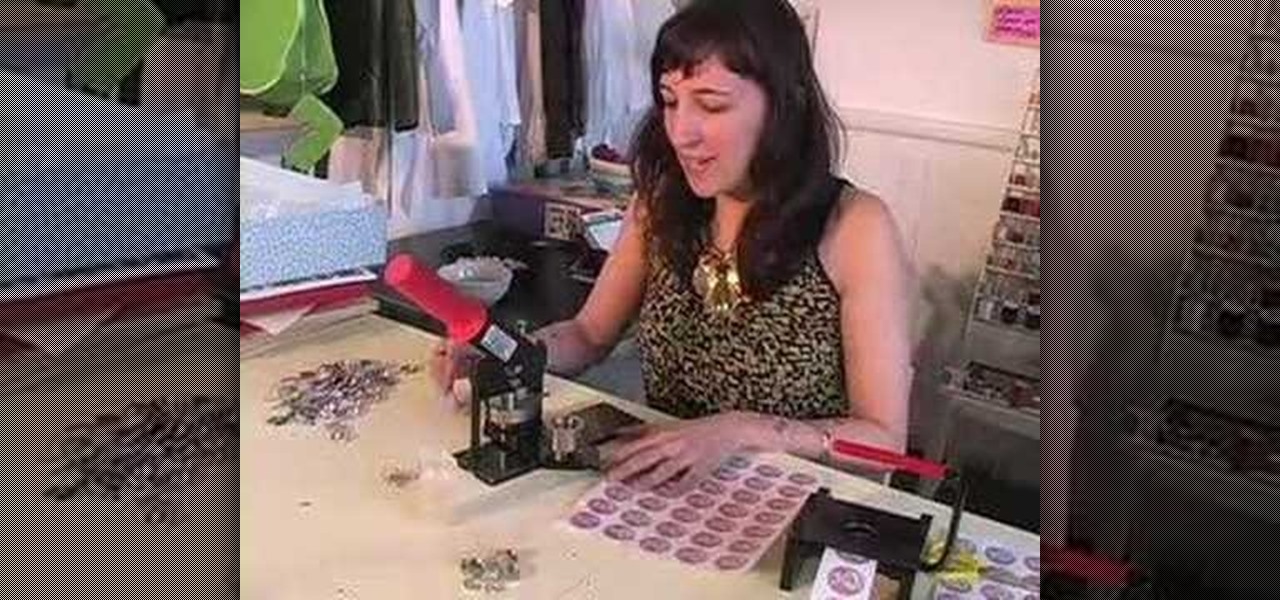
In this how-to video, you will learn how to make a pin back button. First, you will need a button and cloth. Download the sheet of buttons you want to use. Cut out each button, or use a punch. Now, take the image to the button pressing machine. Place the silver part in first, followed by the image. Lastly, place the plastic outer layer on top. Once these are set, place the ring on the other side. Press down for the first step and then rotate and press down for the second. Now your pin back bu...
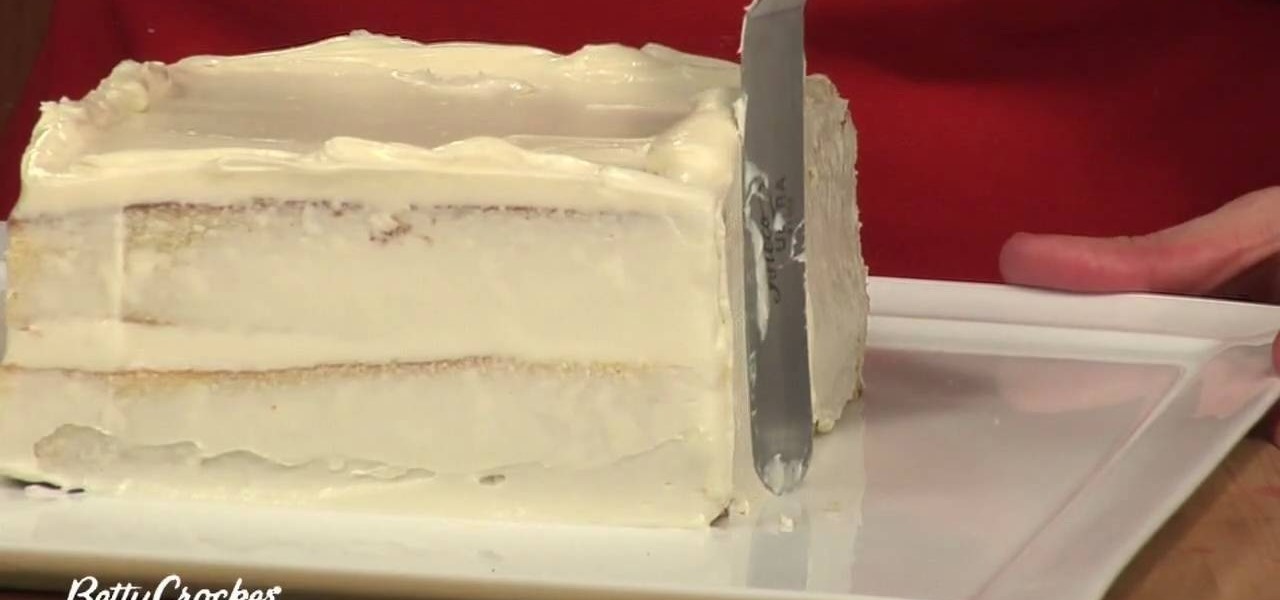
Leif Hanson for the Betty Crocker Kitchens shows how to crumb coat a cake. This is when you put a thin layer of frosting on the cake to hold the crumbs in. She starts with a square cake with exposed edges. First, you take a big scoop of frosting and put it on top of the cake. Next, you spread it around with a spatula. As you spread it evenly you want it to go over each edge and corner, but don't let the corners sag. Next, she loads the spatula, fills it from the top edge to the bottom edge, w...
The host of the video, Sara is joined by Stephen. Sara introduces Stephen, and how he has come up with a leg work out you can easily do at home, with just a chair. First off they start off with a lateral step up. With this you will be able to work the inner and outer thighs. With the chair in position, Stephen instructs Sara to put her left foot on the chair, right foot on the floor. Pushing, off with her left foot, she is completely raised, in a standing position on the chair, pulling her ri...
This video shows viewers how to use orange peels to remove permanent marker from surfaces. Use a small piece of an orange peel for this. To begin, massage the skin (outer layer) of the orange peel. This will cause the oils in the skin to rise to the surface. Once you have massaged it enough, rub the orange peel over the marker stain. Keep rubbing until the marker is entirely gone, or only faint stains are left. It may take a couple of tries, but the stain will usually be entirely removed. In ...
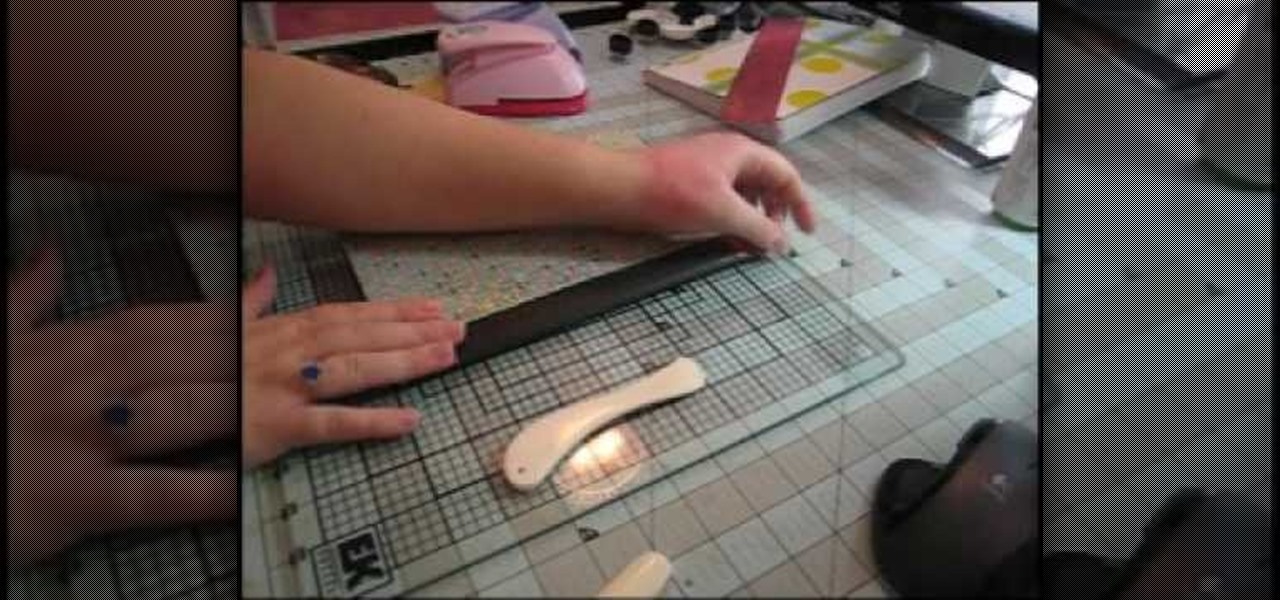
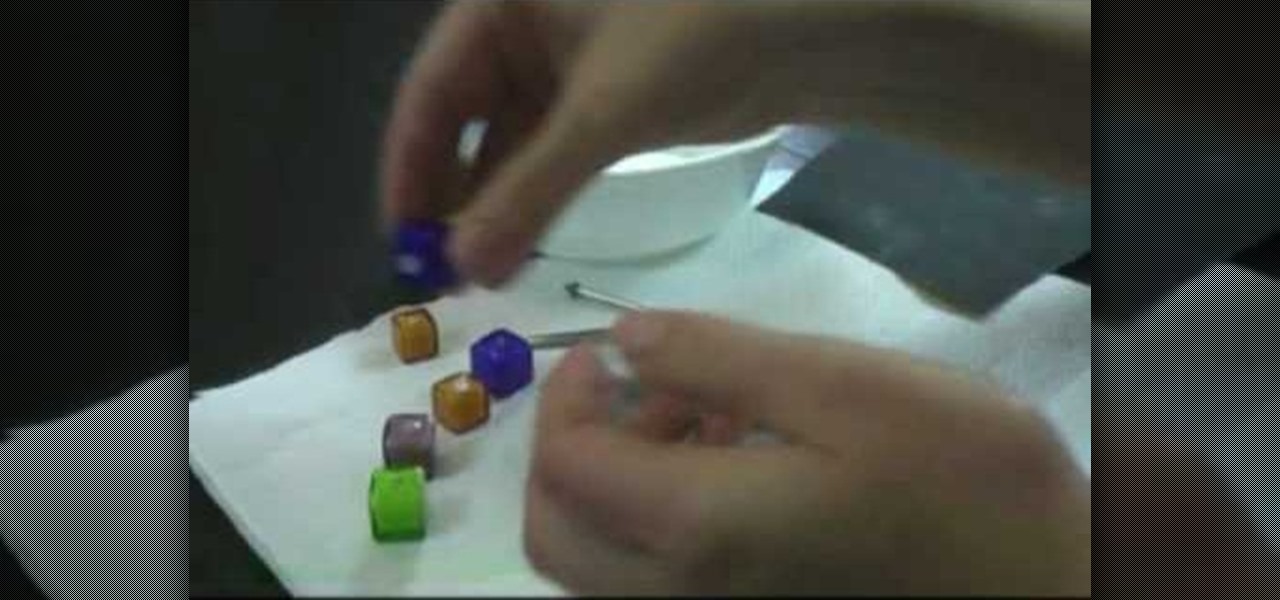
This video teaches us to use a bead reamer to smoothen sharp edges on a bead. You need a reamer, some water and the reaming tips. We need the large tip for enlarging and smoothening the holes and a 45 degree edging point for smoothening the edges of the hole. Twist the handle of the reamer and insert the tip in it. Take the bead and the reamer with the large tip & dip it into water periodically during the procedure so that the water acts as a lubricant. Begin filing the inside of the bead hol...
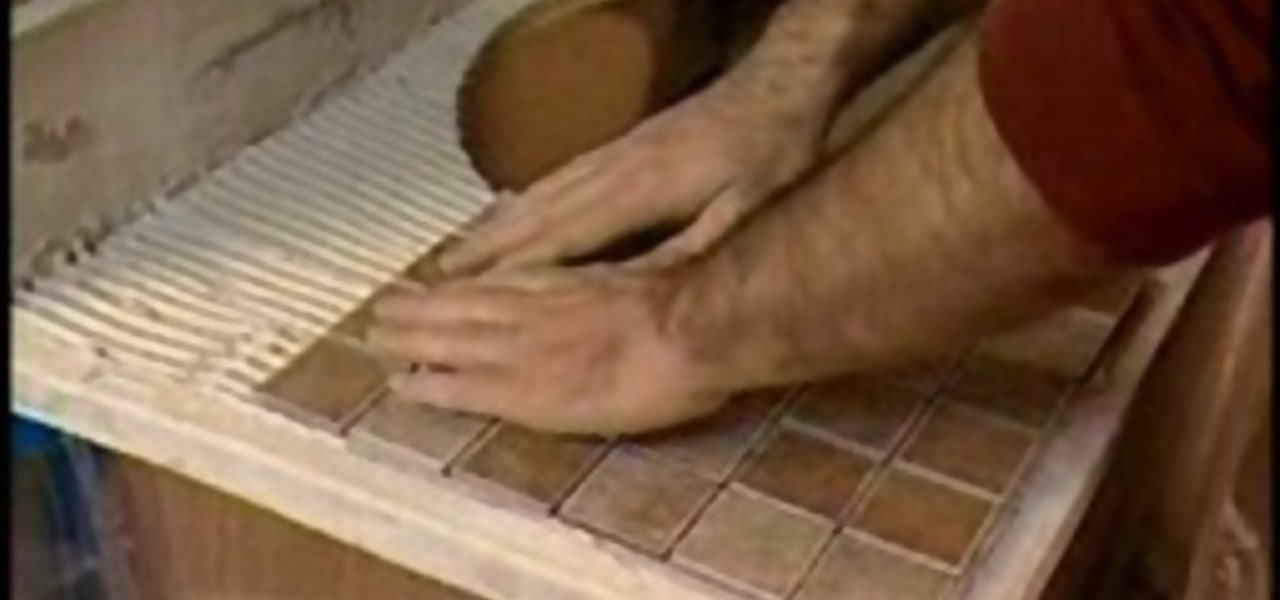
In this Home and Garden video you will see how to install mosaic tiles in your bathroom vanity using mesh pack sheets of 1 inch mosaic tiles and cap edge tiles. Hold a cap tile against the edge of the vanity and draw a line along the edge of the vanity. This will be the first joint line. Lay off the mesh pack mosaic sheets over the vanity top. The edges should be aligned with the line you drew. Mark the line near the joint on the last full sheet near the back splash. Also draw reference lines...
This video shows that how you can make plenty of delicious waffles anytime you desire. To make waffles you would require a waffle maker. First, Separate 2 eggs (yolks from the whites) and keep the same in small bowls. Put 2 cups of flour (you can use 1 cup of white flour and 1 wheat flour for more fiber and flavor) in a large bowl. Add 1 tablespoon of baking powder and 1/2 teaspoon of salt in the flour bowl. Put the egg whites in another bowl and beat the eggs for about 2 minutes. Put 2 cups ...
Learn the right way of Applying Eye Shadow using a sponge tip applicator, as shown in this video. Begin by applying a little eye primer over the eye lids, to ensure the make up stays longer. Spread it evenly using a brush or your finger tips. Always take a light shade (Bisque by MAC used in this video) of an eye shadow first onto a sponge tip applicator. Dust off the excess. Press and dab the color over the brow area. Blend it in to soften the edges. Next, choose any two dark shades, which ma...
1) Create a rectangular sheet of paper by folding the left side in, like a book, about 1-inch and remove this excess paper. 2) Fold the rectangle in half, bottom to top like a newspaper, and then unfold and lay flat. Now take the bottom edge and fold it up (again like a newspaper) to meet the center crease that you made with your first fold. Unfold again. You will now have two creases in the bottom half of your paper. 3) Lift the bottom fold (bottom forth of the rectangle) up and line it up w...
When you use your knife, you want it to be sharp. When you first buy your knife it has a factory edge, which is the sharpest it will ever be. To maintain a sharp edge on the knife you are going to need to invest in a sharpening steel. To sharpen the knife, take the sharpening steel in one hand and the knife in the other. Pull the knife toward you on the bottom and the top with gentle strokes. After you have gently pulled it across the steel a few times apply some pressure and speed up a littl...
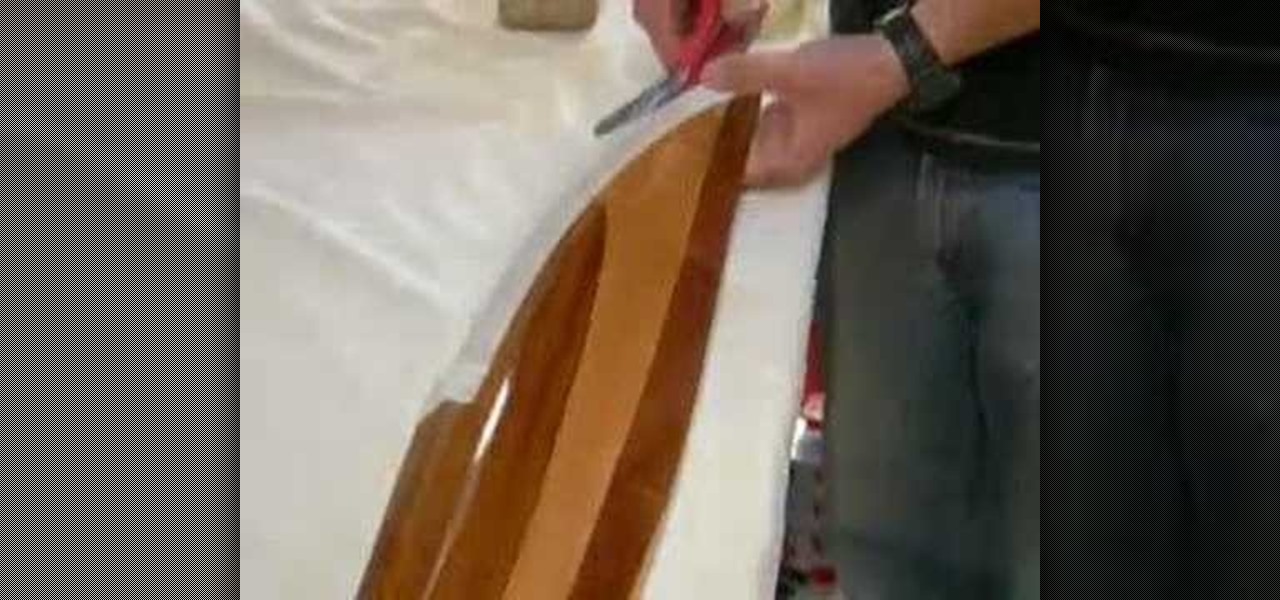
Not sure what bottle of wine to get your wine-loving friend for their birthday? Don't sweat it. Get them a wine bag, and save money by making it yourself from old clothes!! Why spend money on wine gift bags when you can craft your own from stuff you already have in your closet?