Want to dress up as Queen Cleopatra but don't want to look exactly like every other Queen Cleopatra this Halloween? Then take a walk on the colorful side by applying this super bright and highly geometric makeup look.
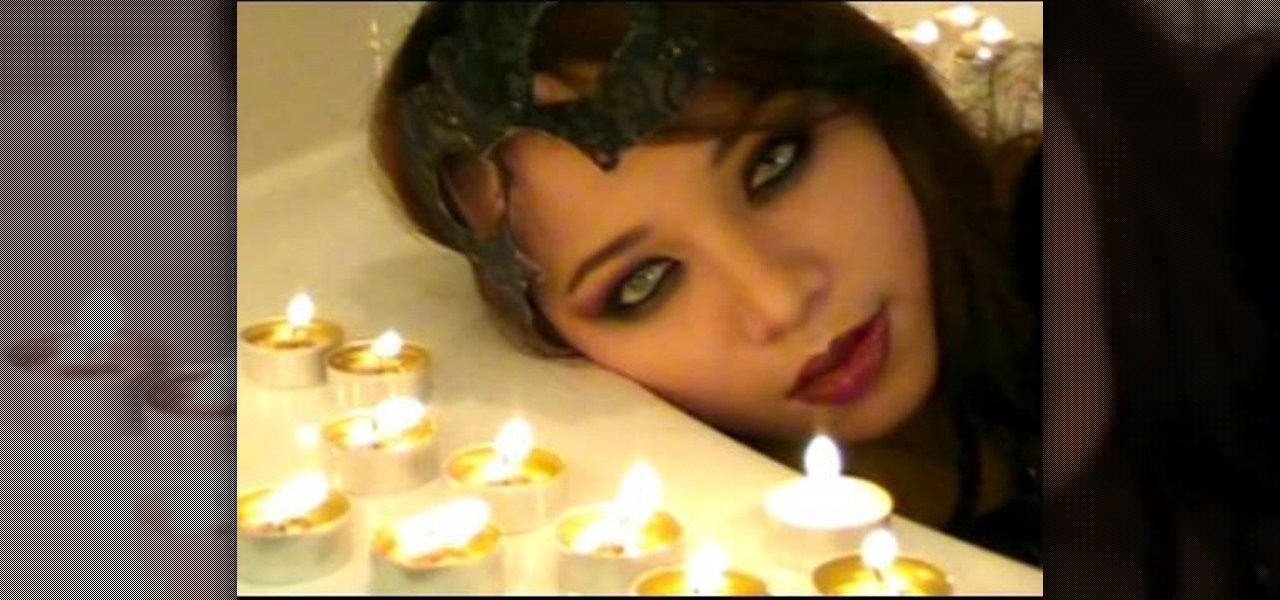
In this video, we learn how to transform into a seductive vampire for Halloween. First, apply pale foundation to the face until you have flawless coverage. After this, apply loose powder to set your foundation. Apply brown eyeshadow to the sides of the nose, then blend them out to make it look natural. Then, highlight the bridge of the nose and fill in the eyebrows. Now, apply a rust colored eyeshadow to the lids and on the lower lash lines. Apply a dark brown after this, blending together in...

In this tutorial, we learn how to create a bright and dark blue eyeshadow blend. Start off by adding primer to the eyelid. After this, use a light blue eyeshadow over the entire lid and up to the inside crease. After this, apply a medium blue eyeliner to the middle of the eye and blend in with the lighter color. Next, use a dark blue eyeshadow on the outer v of the eyelid and blend in with the other colors. Paint in a silver color right under the brow bone, then apply a shimmer color to the e...

In this video, we learn how to create a stormy eyes makeup look. First, apply a blue paint eyeshadow to the entire eyelid and on the outer corner of the eye. After this, use a hot pink eyeshadow to paint in the crease and on the inner crease of the eye. Next, use a silver eyeshadow on the inside crease of the eye and then paint a dark blue eyeshadow over the entire eyelid and over the pink. Now, blend all of the colors together with a blending brush. Apply a black gel eyeliner on the top of t...

We really hope that by now you're not careless enough to head out for a day at the beach without a single drop of sunscreen. While many gals prize deep bronzy tans that seem to make us glow and look skinnier, real tans are horrible for your skin (even if you don't get a sunburn) because anytime your skin changes your it means your skin's outer layer has been damaged and is healing itself by creating more melanin, or pigment. Which is not so attractive, right?
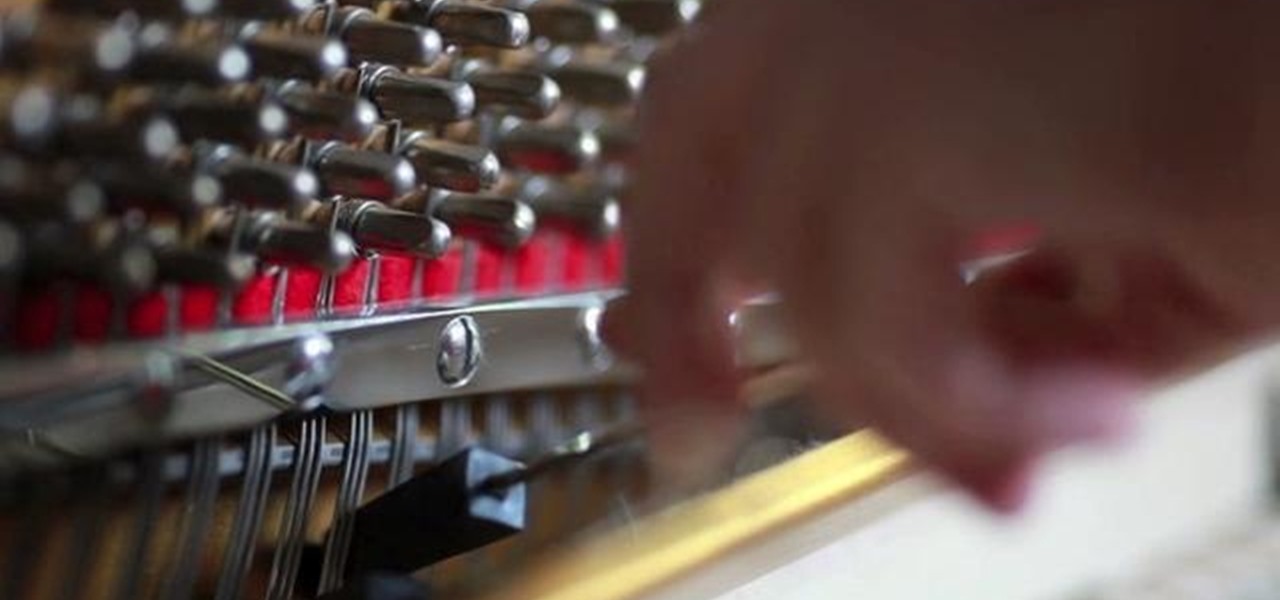
In this video tutorial, viewers learn how to tune a piano. Begin by placing a rubber tuning wedge in between to mute the two outer strings. Then tune the middle sting with a piano tuning hammer. Tune it to a strobe tuner or using intervals from already tuned strings. Now mute the right string and tune the left string. Use the middle string as reference. Then mute the left string and tune the right string. This video will benefit those viewers who have a piano, and would like to learn how to t...

This video shows how to make a paper "popper" that you can use to make a loud popping noise. Start with piece of paper. first fold it in half the skinny way, then fold it in half again the other way. Set the paper down on a table or flat surface so that the flaps of the paper make an "M" shape. Now take the paper in your hands and grab the outer sheets of the "M" with the index finger and thumb of your right hand. Pull the inner sheets out with your other hand. Take the popper in your right h...
In this video tutorial, viewers learn how to split and clean rock shrimp. The rock shrimp looks similar to the regular shrimp, except it has a hard outer shell. Begin by taking off the head of the rock shrimp. Now take a knife and cut down the middle of the shrimp to open the shell. Users may also use scissors to cut. Cut straight down into the back and crack it open. Take the vein out and remove the meat from the shell. This video will benefit those viewers who enjoy eating seafood and would...
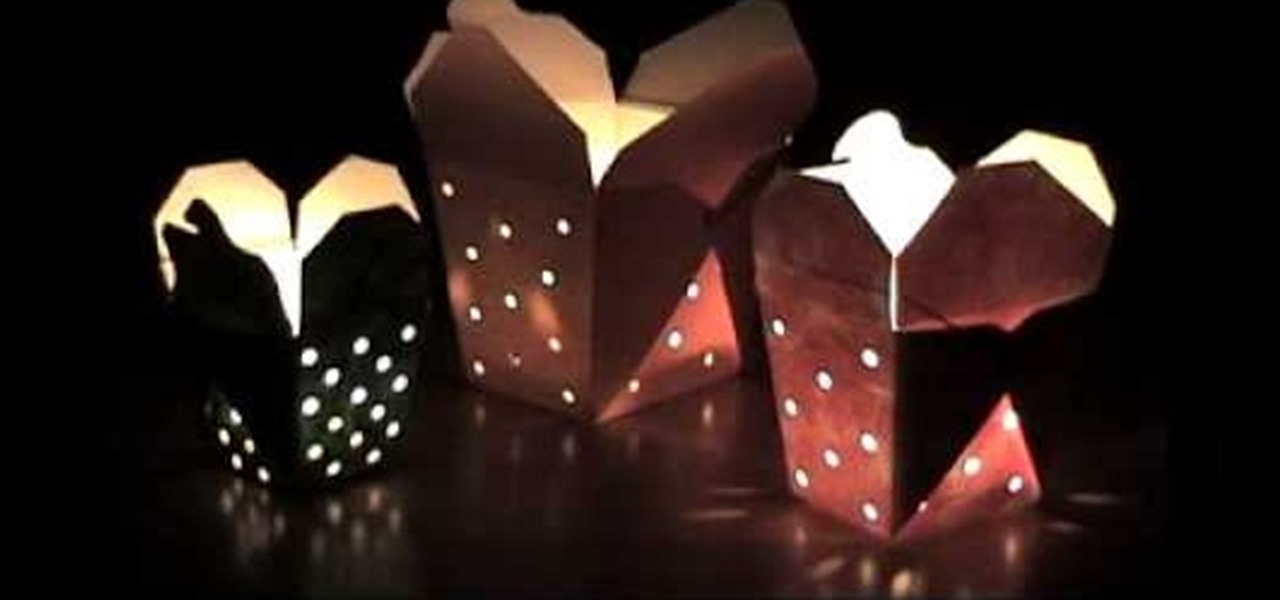
For this project you will need a Chinese takeout container, a hole punch, paint brush, paint, a container for the paint and newspaper. Flatten the Chinese takeout container. Use your hole punch to make holes in it, choosing any pattern you would like. Place the container on the newspaper and paint the outer surface, using any color you prefer. Once you have allowed the pain to dry you can reassemble the Chinese takeout container, back to it's original look. Then you simply place a tea light i...
Kandee is a makeup artist who takes us through this great youthful looking cougar makeup look. First put a primer all over the face. This is great to fill up any wrinkles or lines. Areas to highlight are the eyelids, underneath the eye, and all areas around the nose. Take the powder and only place it on the key areas which include the eyelids and gently underneath the eyelid, and around the forehead. Next pick an eyeshadow and was the entire lid in that light color. Then choose a dark eyeline...
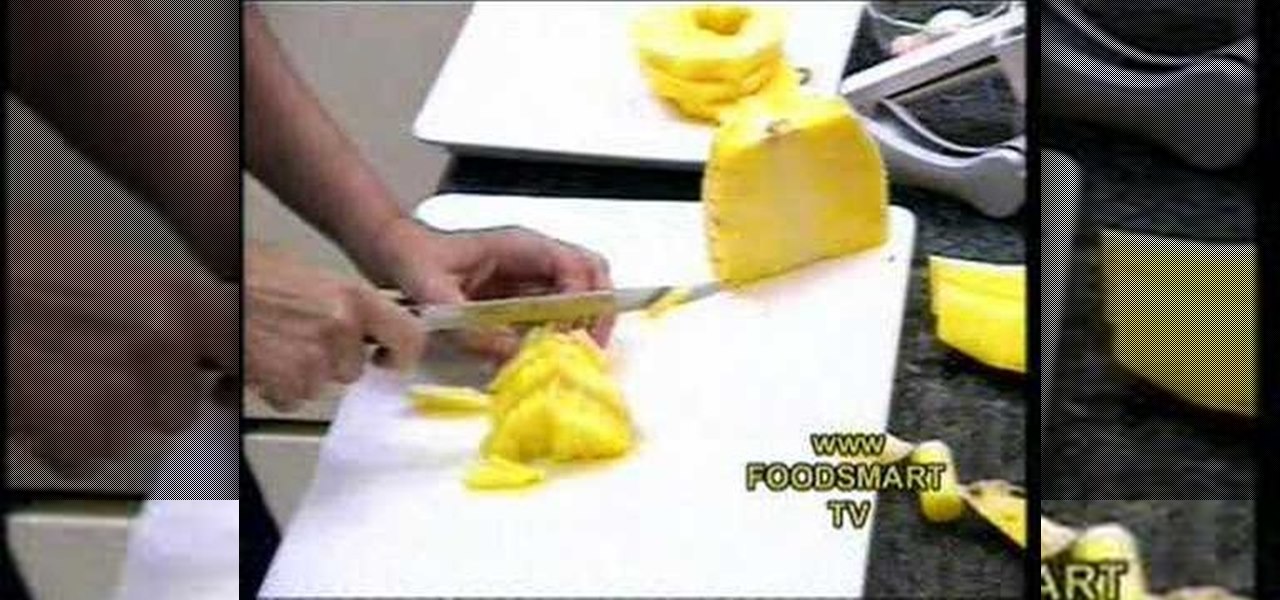
This is a video that demonstrates how to cut up a pineapple for a healthy snack. She places the pineapple on it's side and then cuts one end off and then the other. She then stands the pineapple up and cuts around until all the outer part of the pineapple is gone. She slices down the side of the pineapple in strips, turning it after each strip is removed. She then cuts the pineapple in half. She then cuts it again and removes the core, doing that to both of the larger pieces of pineapple. She...
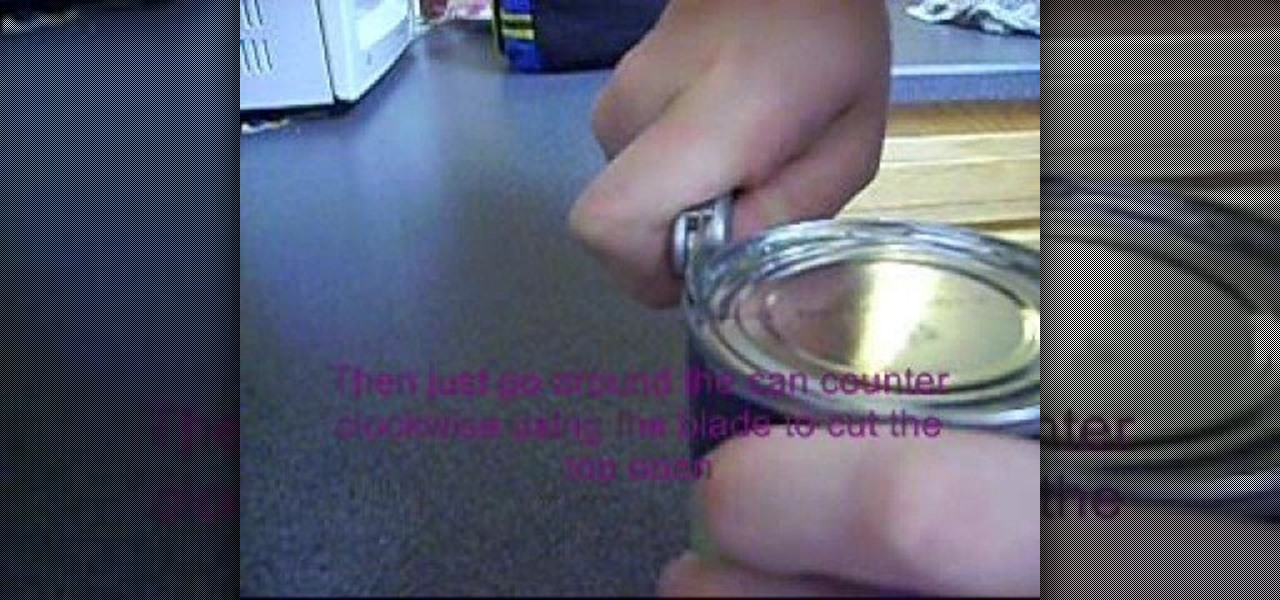
This is a video demonstrating how to open a can with a Swiss Army Knife can opener. To begin, place the can on a flat surface. Open the can opener on the Swiss Army Knife. Make sure that the hook of the can opener is on the outer ring of the can and that the cutting part is on the inside. Use the blade to puncture a hole in the can, pulling up on the handle and pushing the blade along the can. Move the can in a counter clockwise motion cutting along the way. Use the tip of the can opener to p...
A combination of red and gold eyeshadow is great for emphasizing green eyes - this is because red and gold are complementary colors to green. For the base, apply a clear or skin-colored base to the entire eye area. Use a highlight base just beneath your eyebrows. Blend it in. Use a black liquid base on the upper eyelid. For eyeshadow, start off with a shimmery gold by putting it in the inner corners of the upper lid. Take your red and start off slightly in the middle of your eye, where you le...
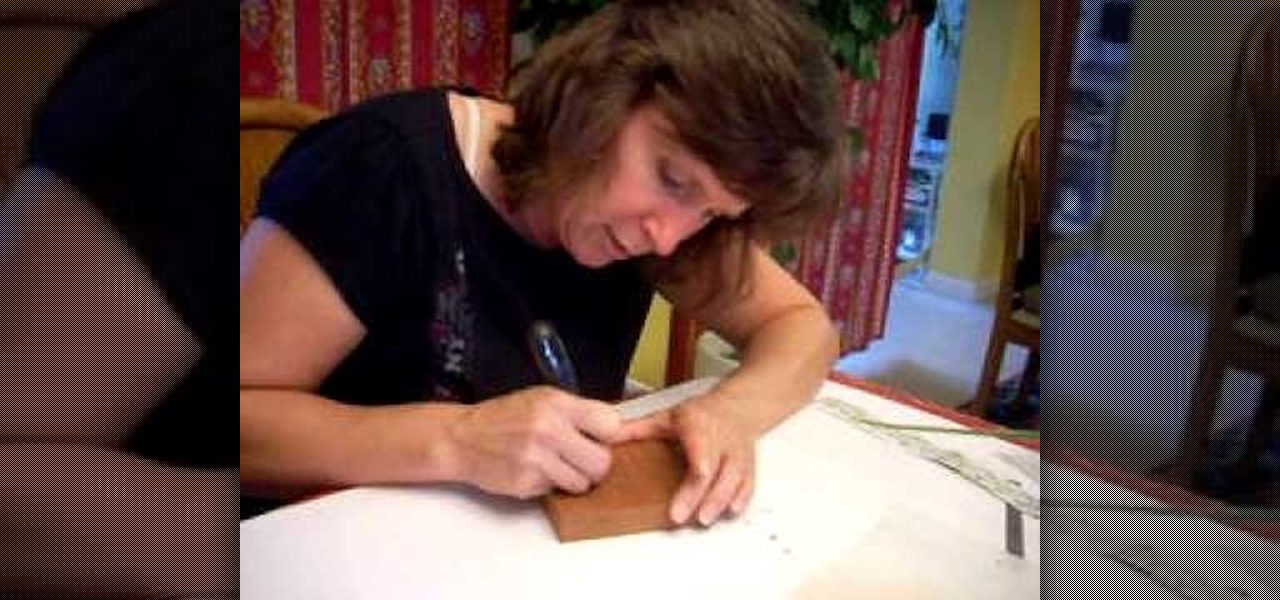
In this three-part carving tutorial, Valerie Jones demonstrates her chip-carving techniques on Mahogany wood. Using an X-acto knife, she carves the wood by hand & describes how to carve German-style, geometric patterns into the wood after stenciling the pattern on the outer wood surface. Later, Valerie talks about her methods when chip carving wood: how to hold the knife, how to guide the blade, finishing the final product, how to follow a stencil pattern & goes over more useful information.
Heat the pot and put in the cooking oil. sauté the onion until the layers separate. Add the pork belly and cook until the outer part turns light brown. Put in the fish sauce and mix it with the ingredients. Pour in the water and bring it to a boil. Add the taro and tomatoes, then simmer for 40 minutes or until pork is tender. Put in the sinigang mix and chili. Add the string beans (and other vegetables if there are any) and simmer for 5 to 8 minutes. Put in the spinach, turn off the heat, and...
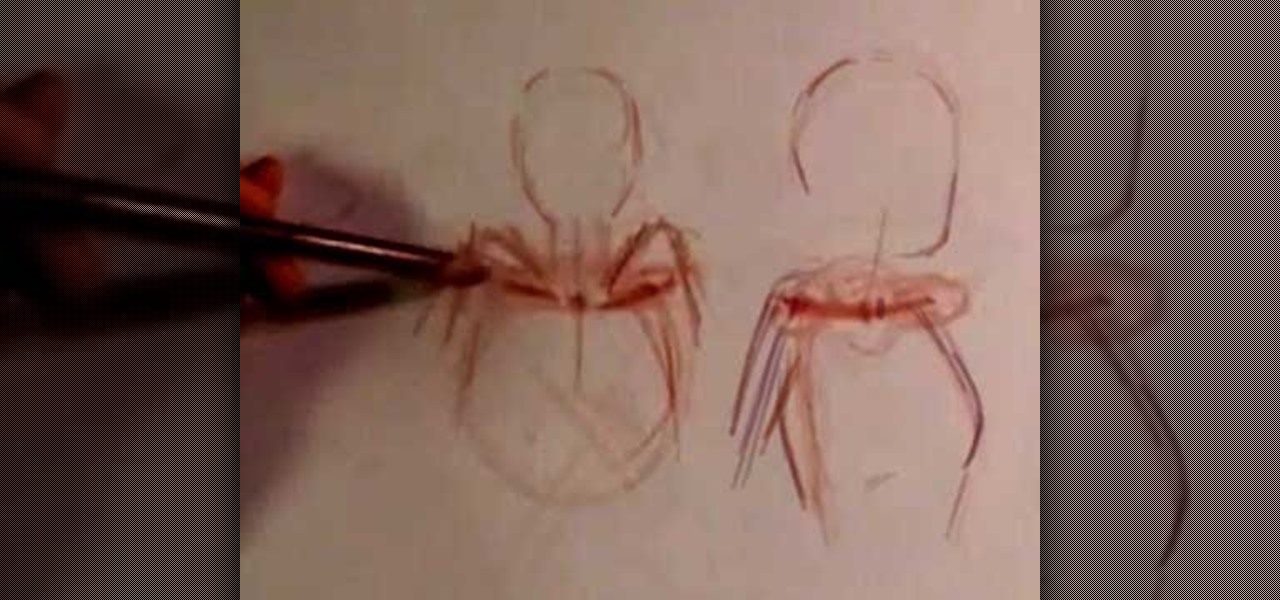
The foundation of most fine arts educations begins with the drawing of the human figure. These human figure drawing tutorials are brought to you by Cy Porter of solomation.com. Search WonderHowTo for more figure drawing tutorials by Cy.
Want to look like a superhero? Check out this very helpful beauty video for all of you who have troubles with makeup every now and then. Xsparkage shows you how to create the yellow and red Iron Man makeup look. Don't be afraid, it will be awesome! Iron Man in no time!
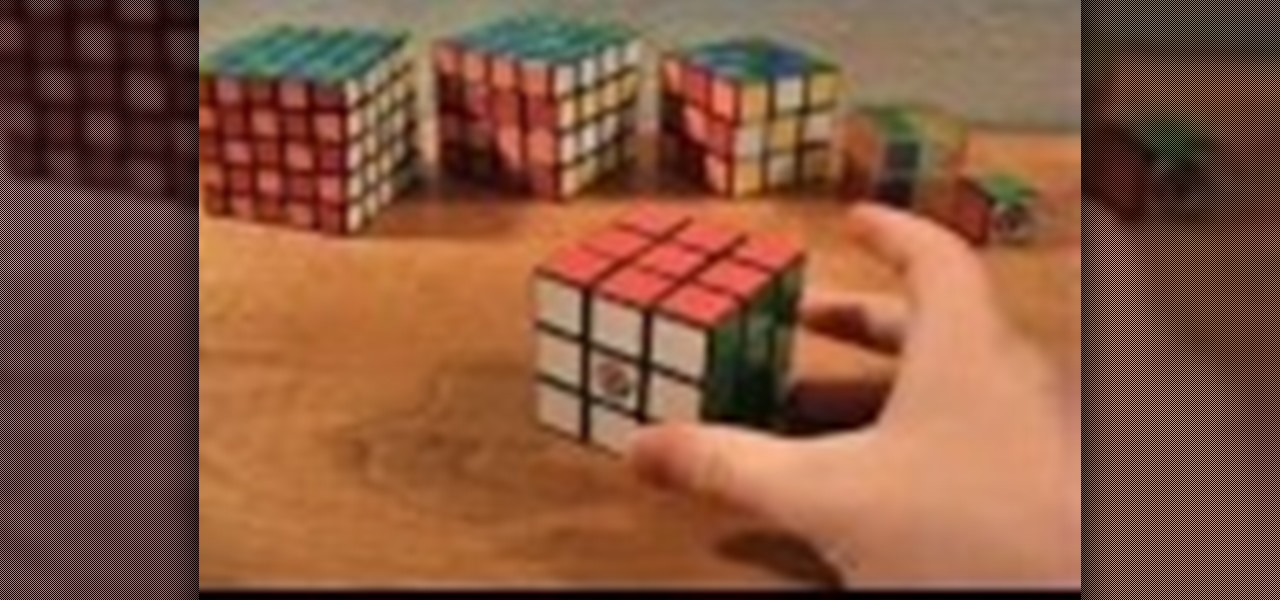
As the best-selling toy of all time, the odds of you once playing with a Rubik's Cube are pretty high. And if you're like me, or even the cube's inventor Erno Rubik, your first attempts likely ended in futility. Every twist, every turn, the cube just gets more and more mixed up. Is there really a solution?
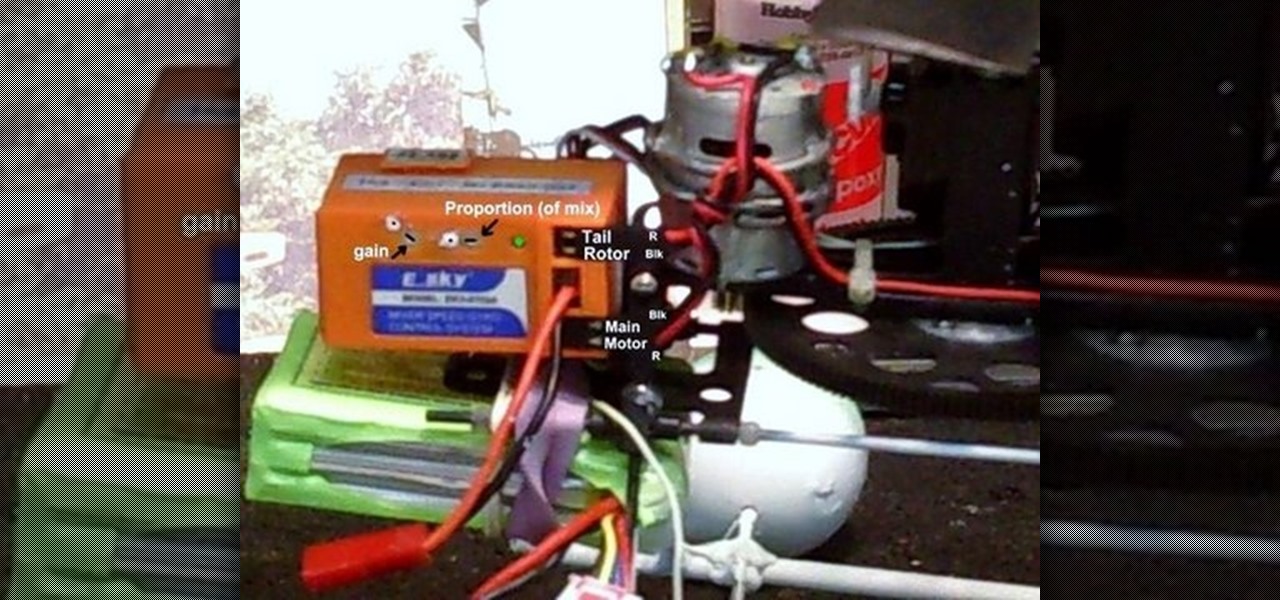
Watch this instructional hobby video to properly set up and fly a remote control helicopter. Transmitter switches and servo wires should all be set up this way. Charge the flight pack and you are ready. If you are a beginner, leaving the flybar weights at the outer position will dampen the controls and make the helicopter easier to fly. As you improve, move the weights in for quicker response. The swashplate has a metal ball for reduced wear and precise control. The servos are screwed to the ...
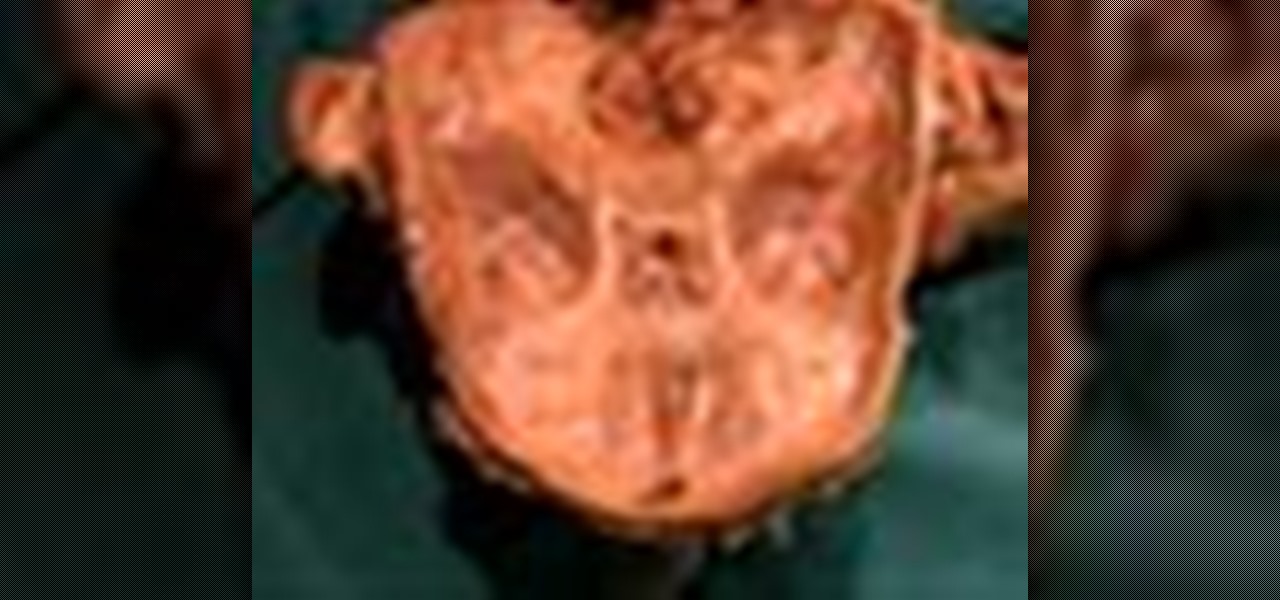
The orbit. No, we're not talking about outer space here, were talking about the cavity in the skull containing the eye-ball; formed from seven bones: frontal, maxillary, sphenoid, lacrimal, zygomatic, ethmoid, and palatine.
In this tutorial, we learn how to make an array of paper roses. Use any colors of paper you want with this to add a special touch to them! Now, you will take the pattern or color of your choice and fold it up into a square. after this, fold it into a triangle and then cut the edges of this off. After this, cut the bottom off and open it up, it should be a flower shape with a hole in the center. After this, repeat with several other papers and then cut the flowers up into halves. From here, yo...
Want to play an unplugged version of 30 Seconds to Mars' "Closer to the Edge"? See how it's done with this free video guitar lesson, which presents a complete breakdown of the song and it chords. While this tutorial is geared toward those who already have some knowledge of the guitar, players of all skill level should be able to follow along given adequate time and effort. For more information, and to get started playing "Close to the Edge" on your own acoustic guitar, take a look!
In this video tutorial, we learn how to create creases and hard edges in Maya 2011. Whether you're new to Autodesk's popular modeling software or a seasoned 3D artist just looking to better acquaint yourself with the Maya 2011 workflow, you're sure to be well served by this video tutorial. For more information, and to get started using the lessons imparted by this free video software tutorial yourself, watch this free video guide.
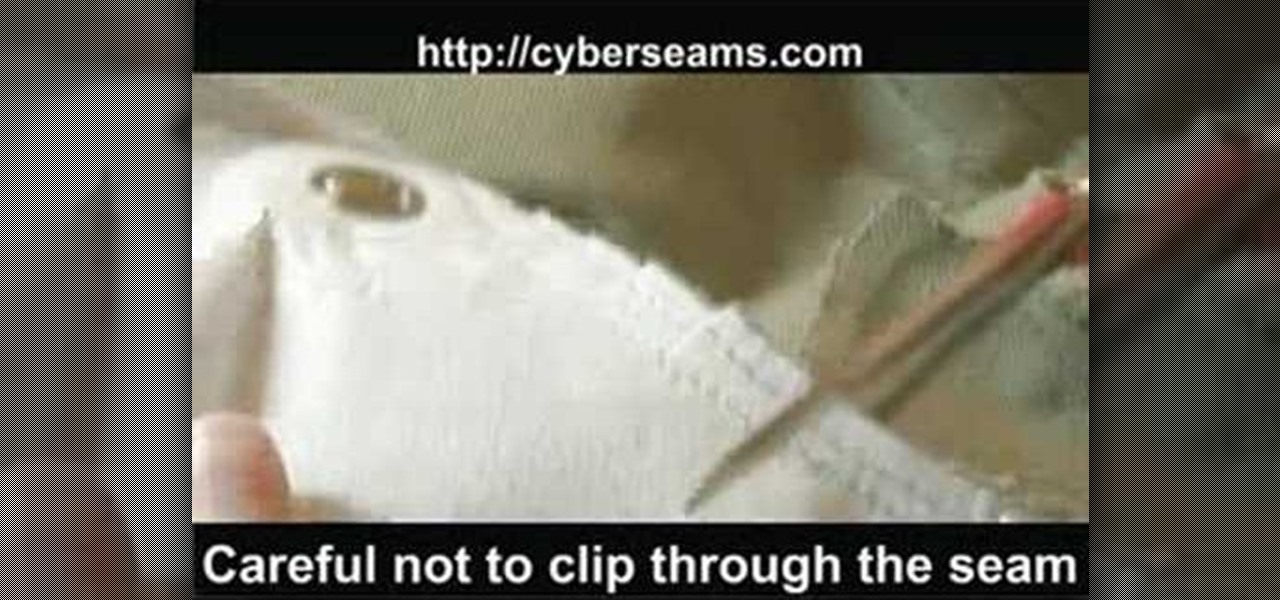
In this tutorial, we learn how to clip curves when sewing with rounded seams or edges. First, you will take your piece of clothing, then grab your scissors. Put the edge of the clothing (with the seam) and lay it flat. Then, put the scissors onto the seams with the very back of the scissors over the fabric. Clip close to the seam, but do not clip through the seam as you are cutting. Once you are finished, you will be able to sew in curves and will be able to easily get around the seams withou...
Add a little extra touch of realism to your project or image in Adobe Photoshop CS5. If you're building a digital scrapbook or photo album, you can Photoshop in a few pieces of tape at the edges, and this short tutorial demonstrates a few separate techniques to achieve this effect.
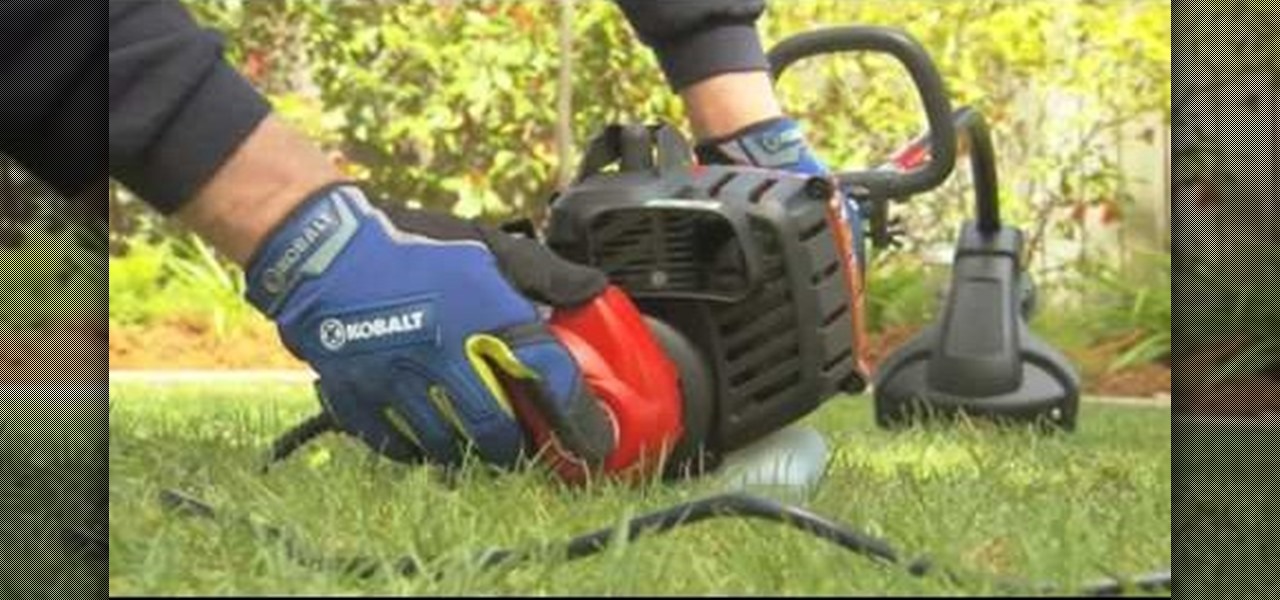
There are many tools that homeowners can use to help with the curb appeal of their own and landscape. One of those tools is a weed wacker or string trimmer. This device enables the user to get rid of weeds instantly and makes lines and edges look clean and finished. So in this tutorial, you'll be finding out how to use one in your yard today. So good luck, be careful, and enjoy!
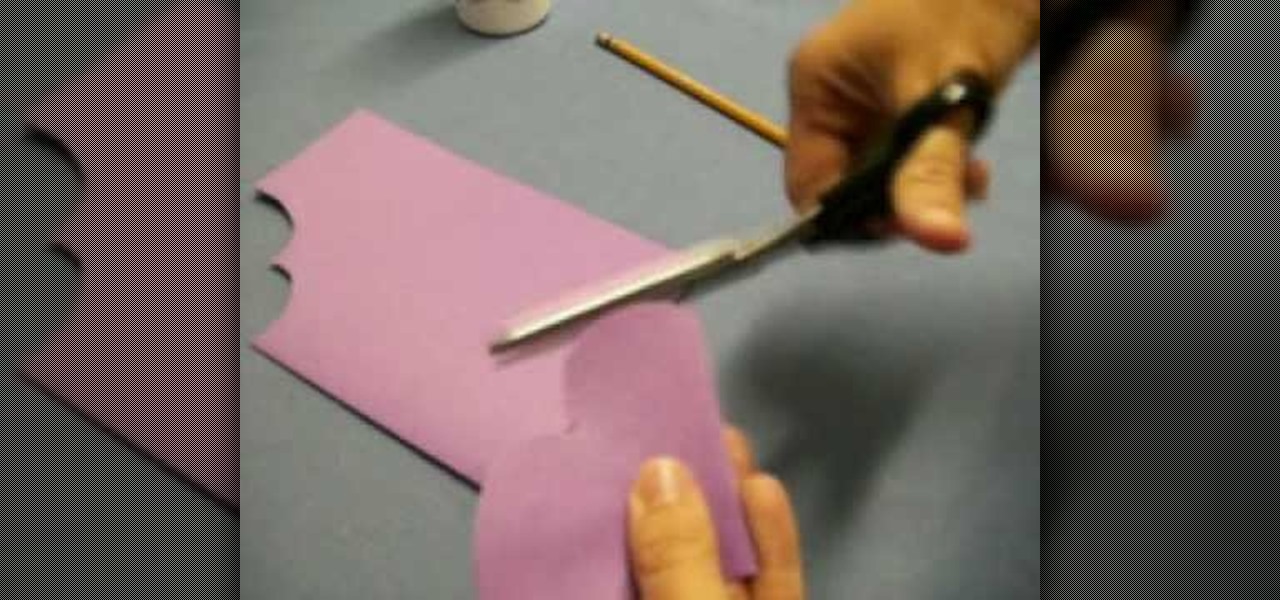
In this tutorial, we learn how to make a heart bookmark. First, take a sheet of paper and fold it in half, folding the crease. Now, take a pencil and draw two heart humps from one edge to the next. After this, cut them out, leaving the fold together. Trim any edges that aren't round, then add glue to the edge of the heart, and fold it over and let it dry. You can now decorate this will markers and ribbons. To use as a bookmark place your page in the center of the heart. This is a great craft ...
This quick AE user's guide presents a lesson in light wrapping and edge blurs in After Effects. Whether you're new to Adobe's popular motion graphics and compositing software or a seasoned video professional just looking to better acquaint yourself with the program and its various features and filters, you're sure to be well served by this video tutorial. For more information, including detailed, step-by-step instructions, watch this free video guide.
You hunt and you hunt, but you can never find the right pillows to go with you couch. Even your reupholstered chair needs a little pillow love, but it seems impossible to find the right color and design to make a perfect match. That's when you know it's up to you save the day. Why settle for simple decor when you can make your own chic throw pillow to match any room?
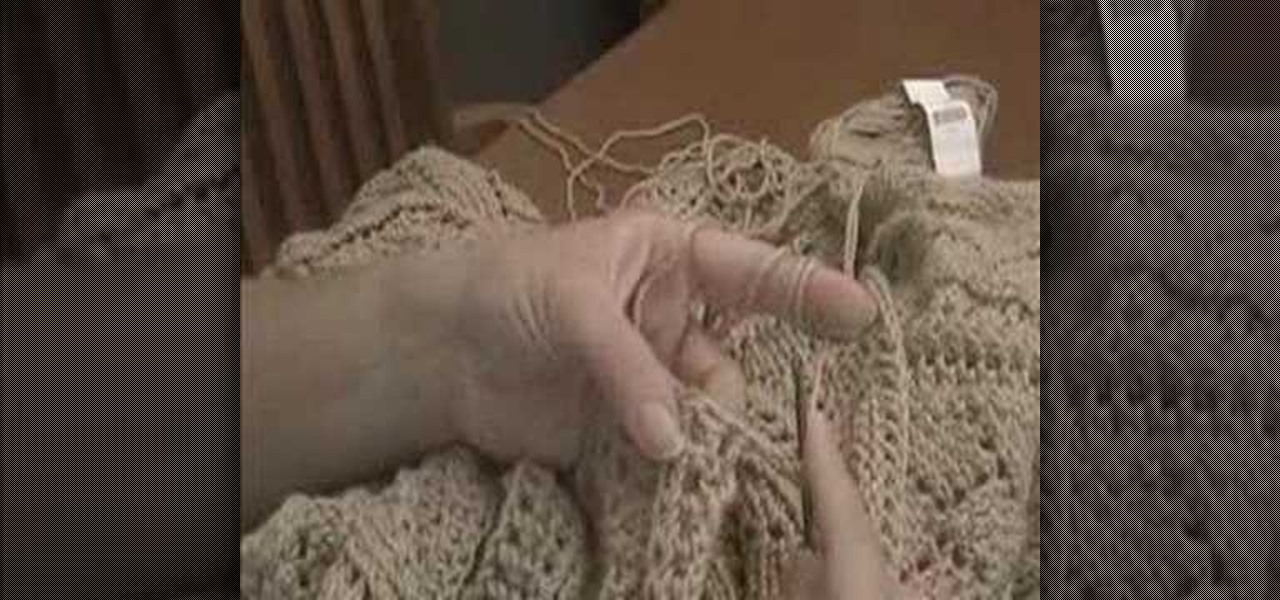
When you've mastered the single crochet and have gotten a hang of the double crochet, it's time to really step up your knitting game and start the triple crochet, a more difficult but rewarding type of stitch that creates a very tightly woven fabric.
Learn how to use the BIG-IP Edge Client and its Smart Connect, Location Awareness, Customization, Deployment features. Whether you're new to F5 Networks' popular network appliance or are a seasoned network administrator just looking to better acquaint yourself with BIG-IP, you're sure to benefit from this free video software tutorial. For more information, including detailed instructions, take a look.
Watch how to configure LDAPS Authentication on the BIG-IP Edge Gateway with BIG-IP LTM functionality. Whether you're new to F5 Networks' popular network appliance or are a seasoned network administrator just looking to better acquaint yourself with BIG-IP, you're sure to benefit from this free video software tutorial. For more information, including detailed instructions, take a look.
Crocheting is a hobby that has been around for years and years. It's a very useful practice that can be used to make material that is necessary like blankets or shirts. In this video tutorial, you'll find out howt o make a crocheted edge fleece blanket using this easy to follow instructional video. So check it out and good luck!
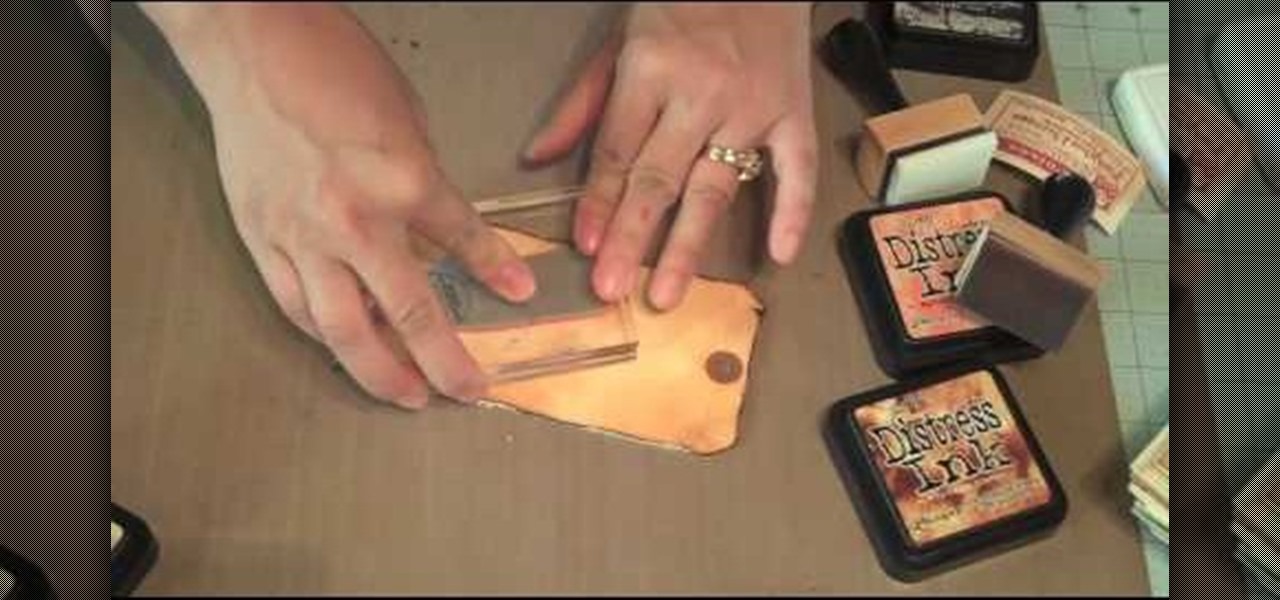
This video describes how to use distress ink. First we have to take a paper that we want to work on. Next take the distress ink colors. Spread the lighter colors first on the paper. Take the first color and spread it on throughout the paper. Next take the vintage photo and work on the edges with it. Next take the spiced marmalade ink and spread it on the edges again. Next take the paper and apply the paper edges directly to black soot ink pad. Next wait for sometime until it dry. Next take th...
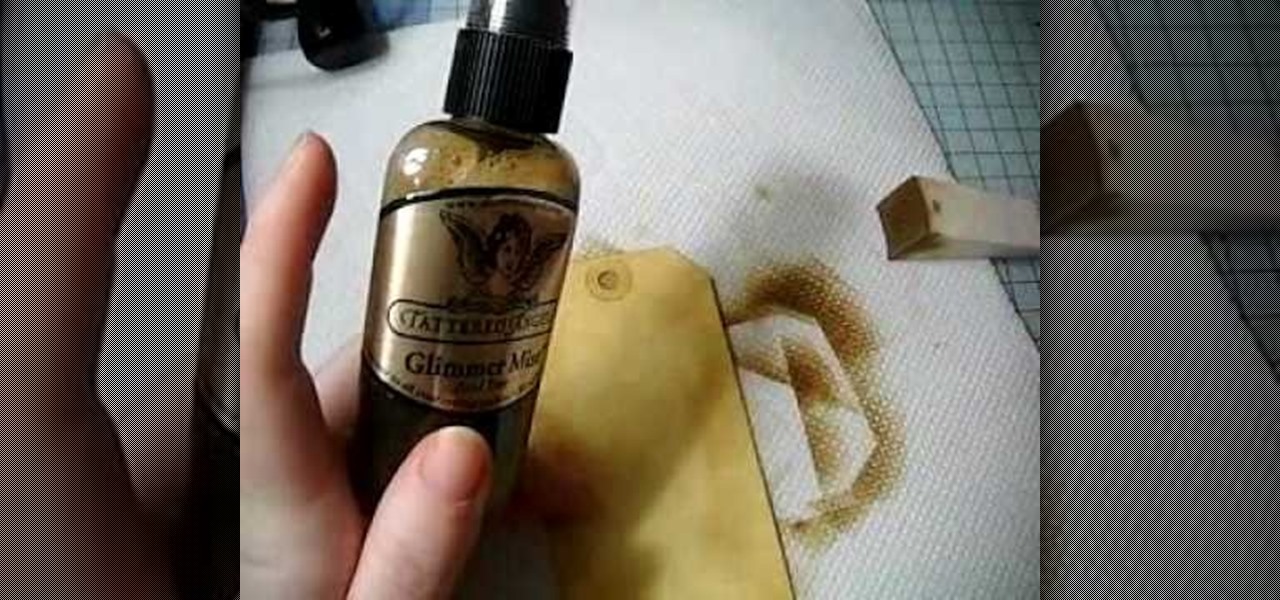
In this Arts & Crafts video tutorial you will learn how to make a distressed scarpbook tag. Take two tags, one red color and one yellow color and strip the threads off. Take a light color ‘Distress’ ink on a sponge and dab one side of the yellow tag with it to give it a light rough look. Now take little darker brown ink on another sponge and dab the edges of the tag with it. Then place the tag in a box and spray Glimmer mist on the tag. Dry the tag with a dryer. Now dab some more brown in...
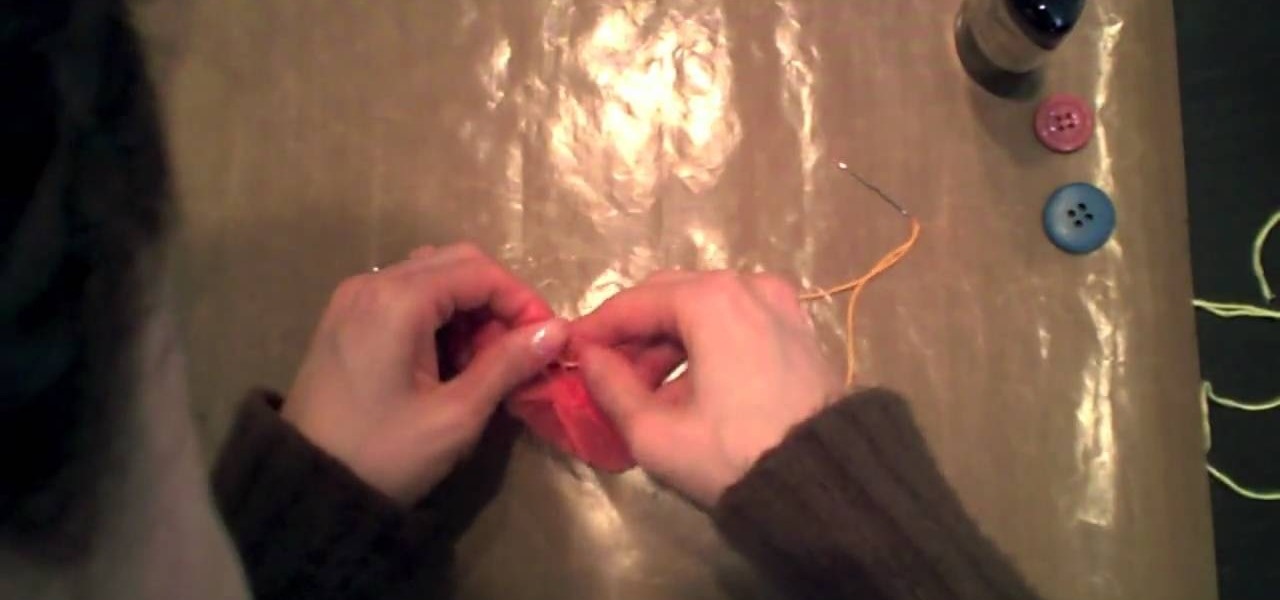
This video is about how to make flowers from recycled dryer sheets. Since the dryer sheets have already passed through the dryer it will be wrinkled but it does not matter. Cut the dryer sheets into strips 1 inch wide approximately and need not be uniform. Take a button and place the edges of the3 strips in such a way that it takes the shape of the flower and the other edge collects at the button holes. You may color the dryer sheets with dye like Ranger perfect pal mixed with water and spray...
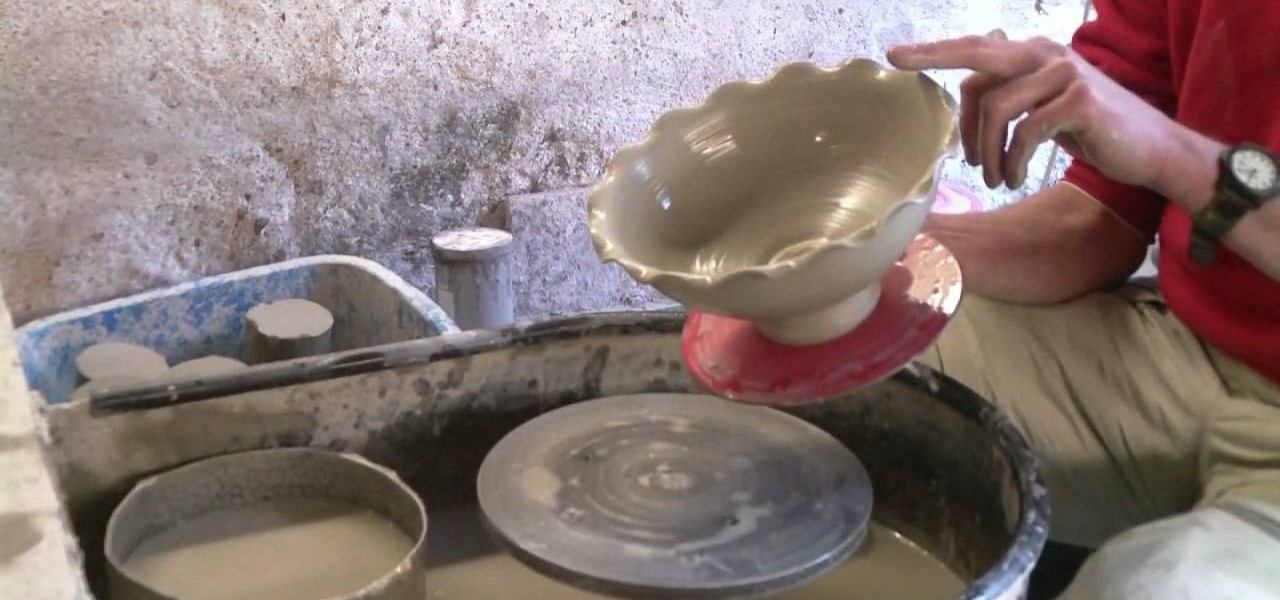
This video illustrates the method of throwing a wavy edged pottery bowl. This process comprises of the following stepsStep 1This process needs clay, pottery wheel and water in a bowl.Step 2Place the clay on the moving wheel.Step 3Now give the clay a desired shape with the help of your hands.Step 4keep wetting your hands at desired intervals and insert your fingers inside the clay so that it gives you the shape of a bowl.Step 5When your desired shape and size is ready take the clay bowl out of...
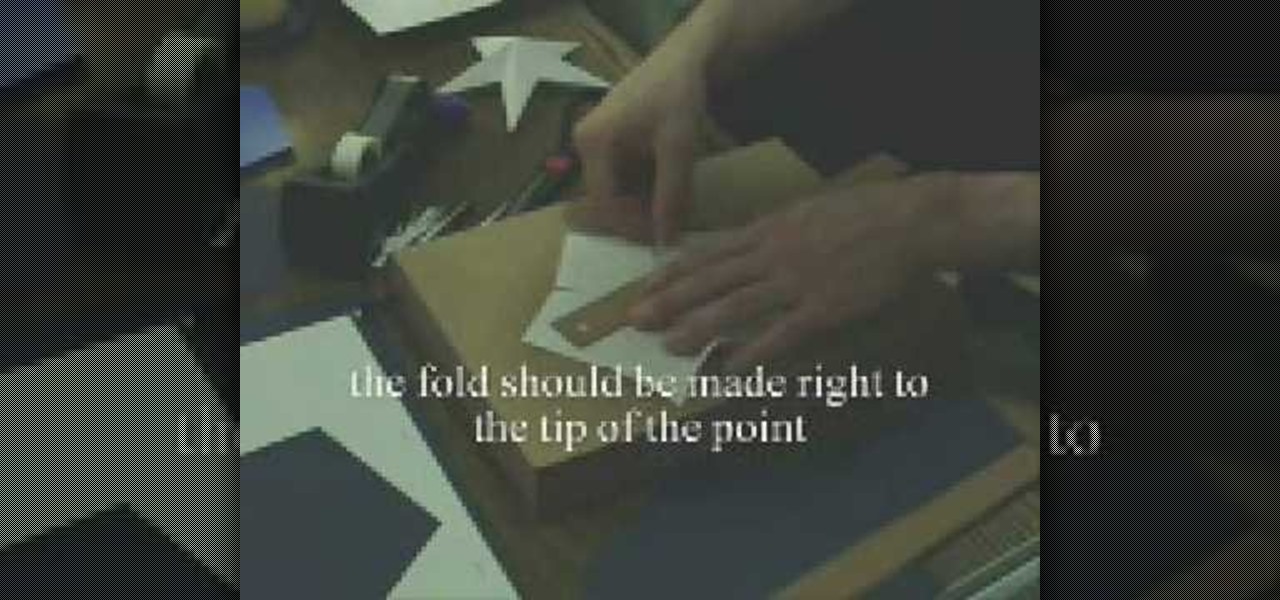
This video shows how to make a 3D five point paper star. First cut a pentagon using a sharp flat blade and a ruler. Folding halfway between each two corners to the opposite corner. These folds are the points of the star. Make a mark half-way between the edge of the paper and the center point created by the folds. Using the ruler and X-acto knife, cut straight along the fold from the mark to the edge. Cut two small triangles off of each side 1/4" up from the middle of the edge, cut a line stra...
This video demonstrates how to make a double- crochet edge. The video uses a large cardigan neck to create a double crochet edge on. First, back the yarn around the hook and go into the next stitch. Then pull through a loop on to the hook. Take another loop on to the hook. Next, go through the first two stitches at the end of the hook. Then take another loop onto the hook and go through the last two stitches. So, you wrap, insert through next stitch, pull on another loop, draw the hook throug...
Learn Wake demonstrates how to properly take-off for a tantrum wake board move. The tantrum is one of the easiest inverts to land but it has a more complicated edge than a wake jump or a back roll. It requires an edge change at the wake. Approach the wake on your heels so that the board is flattened before the wake and then switch to your toe side edge to pop the trick. First, practice the edge change and pop with no wake. Cut away from the wake, edge out towards the flats, flatten the board ...