In this video, we learn how to apply stripes and add lines to RV cars. You can do curved lines or straight lines, depending on the look you want. For straight lines, you will take tape and mark from the hood to where you want the tape to end. Use different sizes to create the look you want to achieve. To get the lines straight, place the tape on a straight surface as a guide with the clear top that goes over the vehicle. Once you do this, you can paint around this to form opposite colors. The...
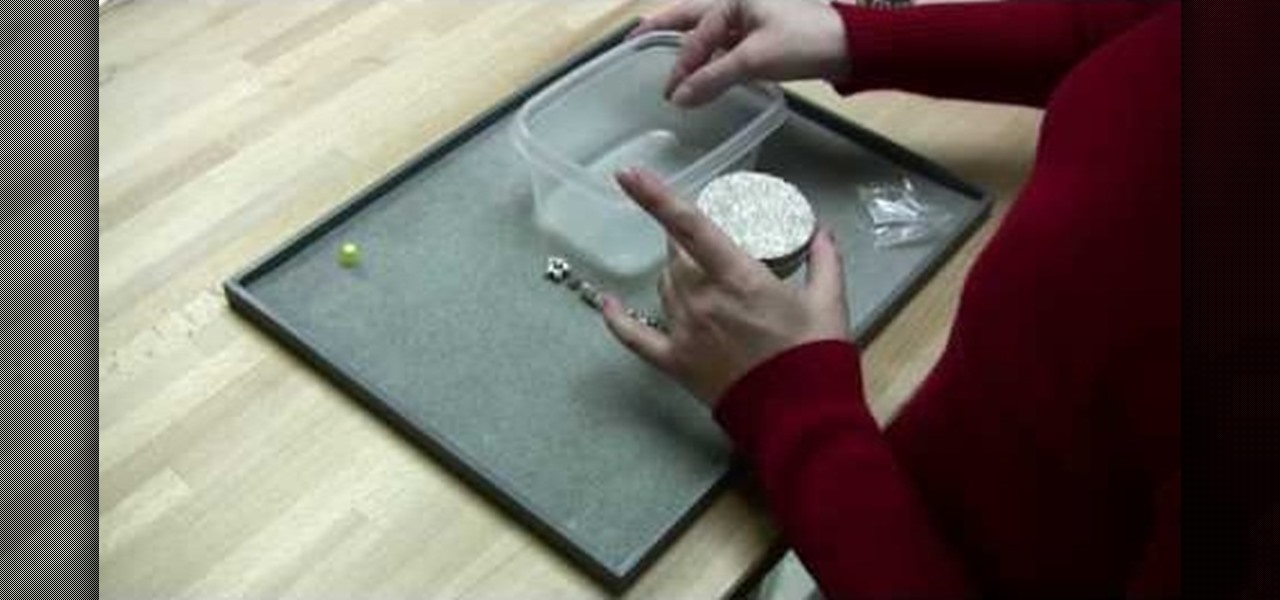
Make fine silver ball earring wires
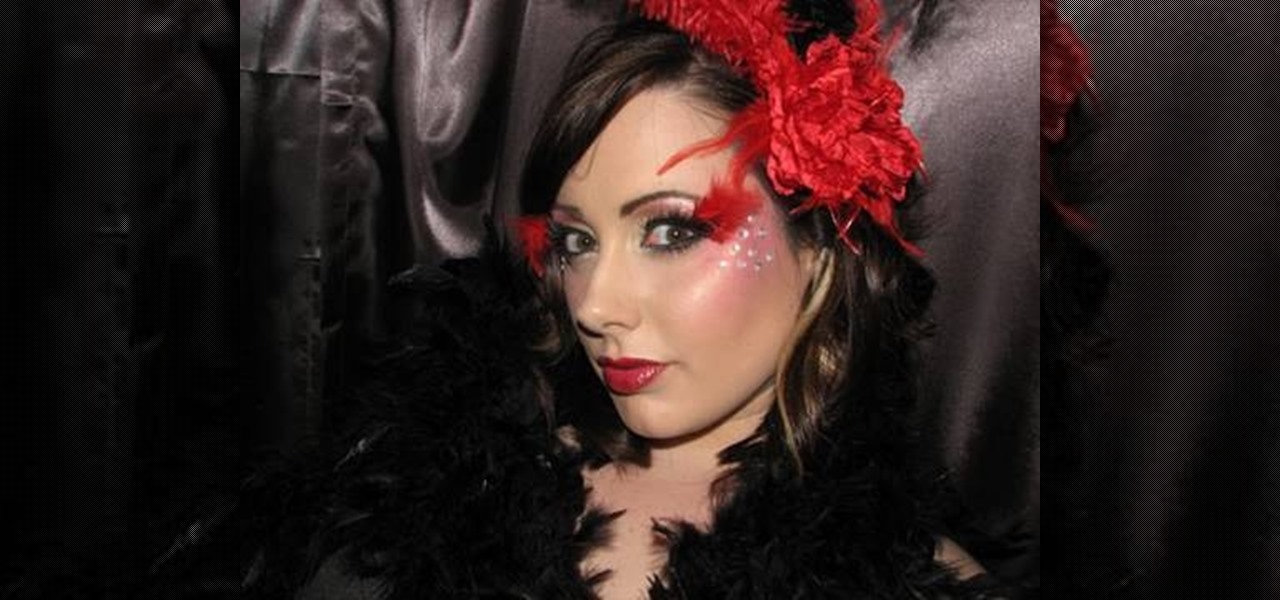
In order to Create a Moulin Rouge makeup look for Halloween, you will need the following: primer, yellow eye shadow, brown eye shadow, a red eye shadow, a light brow bone color, liquid liner, lip liner, a headband, lipstick, jewels, lash adhesive, and false eyelashes (standard and ornate).

In this video, we learn how to trick your trick or treaters on Halloween. You will need strong tape and a glove to do this trick. First, loop the tape and place it on as much surface area of the glove as you can (on the palm). Now, put the glove on your hand and wait for the trick or treaters to come. Now, take one piece of candy from the basket, making sure it's touching your hand. After this, place your hand in the bag and push it off, picking up other pieces of candy. Once you do this, you...
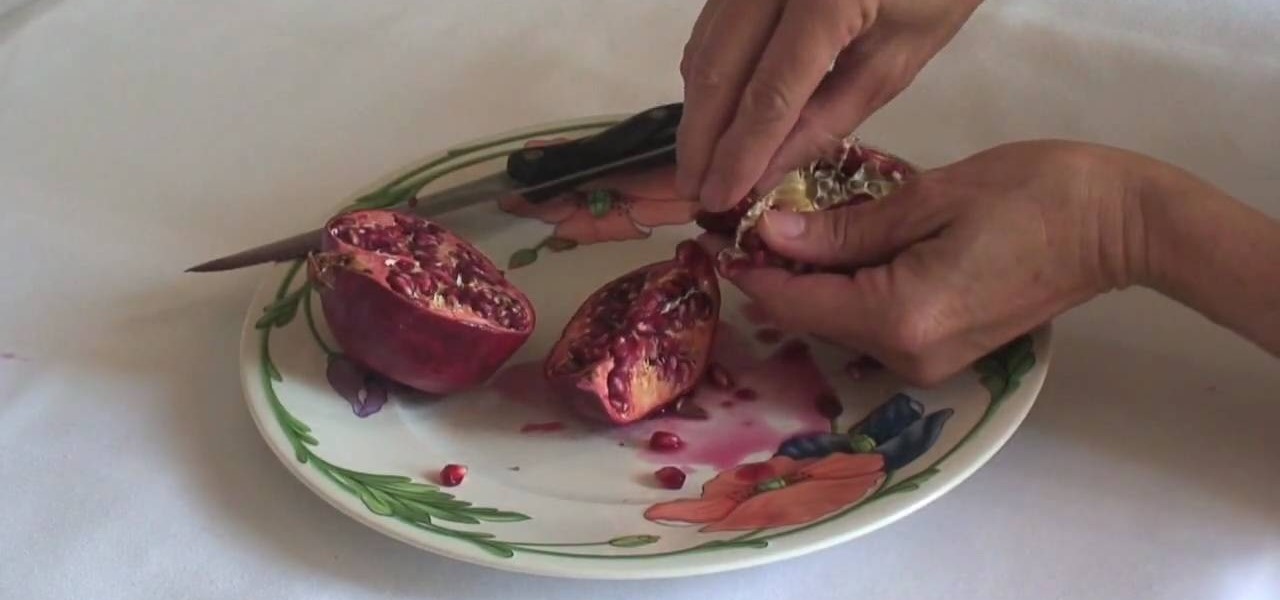
In this tutorial, we learn how to prepare a pomegranate for eating. These are very messy fruits, so make sure you place it on a surface that has a plate underneath it. Take a sharp knife and cut down the center of the pomegranate until you reach the bottom. Now, quarter the halves and push the skin back so the seeds are exposed. As you do this, you can pick the seeds off and eat them, or place into a bowl to eat later on. When finished, enjoy eating these delicious seeds with your favorite fl...
In this tutorial, we learn how to make a mosaic frog for your garden. Start by painting white glue over the eye sockets where the eyeballs will be placed. After you place the eyes on, brush on glue to all surface areas and start to place the mosaic on the glue. Follow directions that are given to you for the patterns so you know where to place each tile. You must cut the corner pieces so they fit in correctly. After two hours of drying time, you will rub a powdered solution all over the frog,...

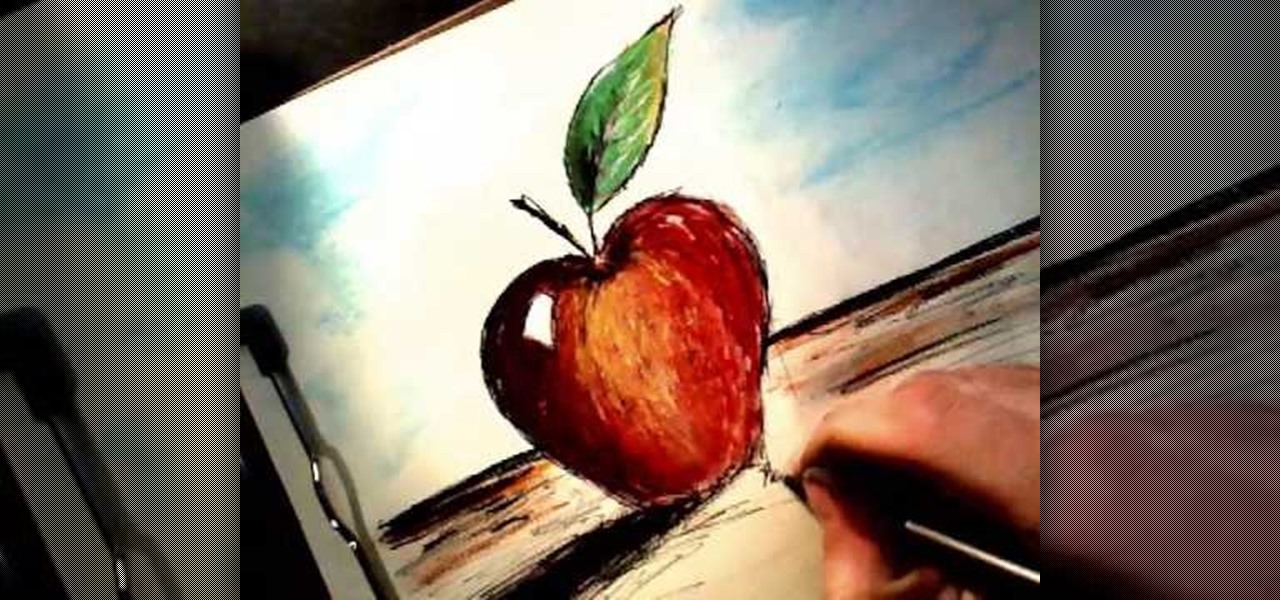
In this tutorial, we learn how to draw an apple. Start by drawing the outline shape of the apple. It looks like a slight heart shape in the middle of the apple where the stem is. After this, start to fill in the apple with lines to make it look more realistic, then draw the stem and a leaf coming out of the top middle of it. Color in the leaf with browns, blacks, and green. Then, draw lines on the bottom of the paper to make it look like the surface. Finish by coloring the apple red, making d...
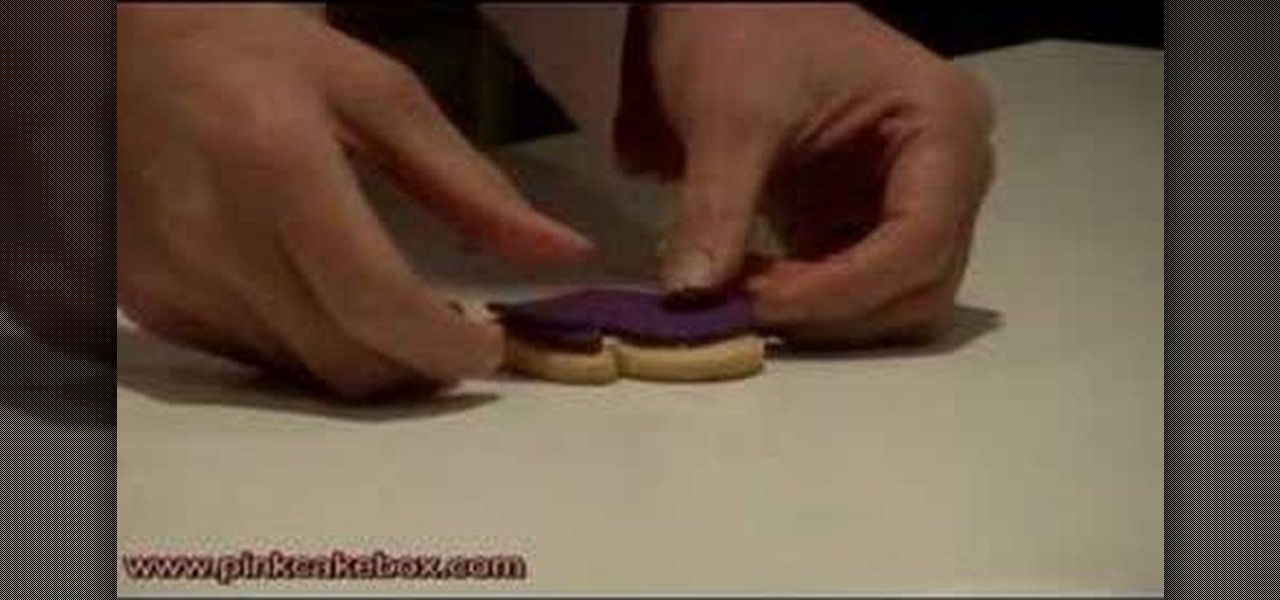
Fondant is one of a pastry chef's favorite substances because it's so versatile. You can use fondant to coat a cake with an even, smooth surface, you can shape fondant into little adornments like fish and ladybugs, and you can even employ fondant to decorate cookies.
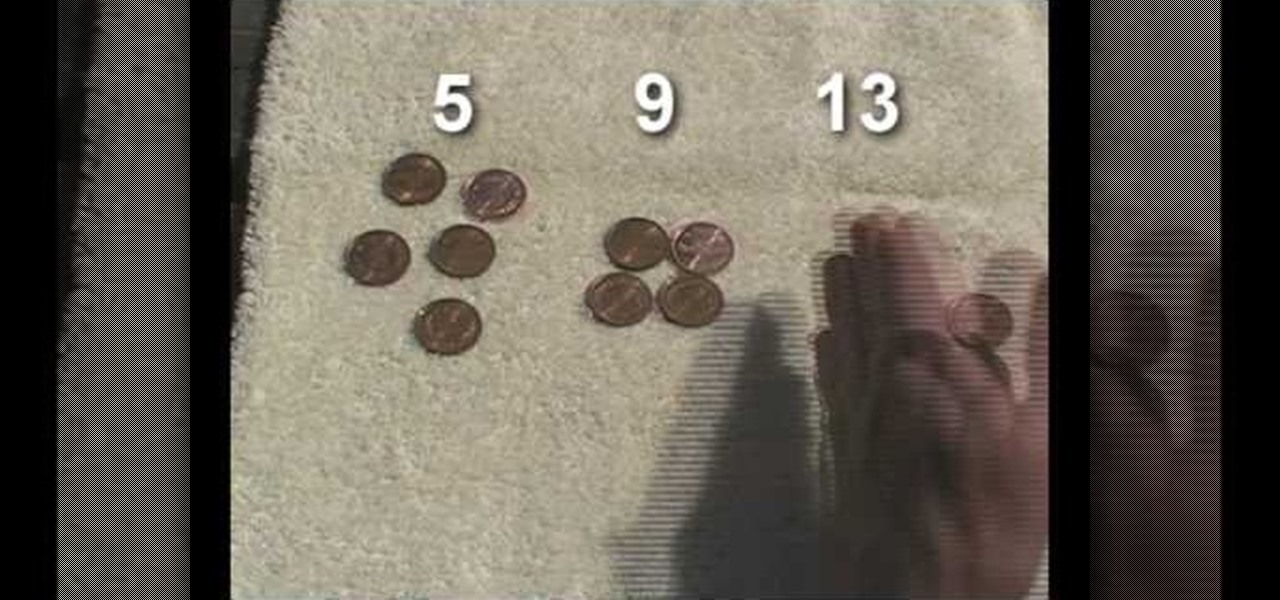
In this tutorial, we learn how to win $20 with a game you can never lose. First, arrange pennies down onto a towel on a flat surface. The goal of this game is to tell the opponent if they are the last one to pull a coin, they will win 20$. Arrange pennies down, and make sure the opponent goes first so you can control the win. You take out the amount of pennies out to make it so the opponent will not be the last one to remove a coin. Just make sure to do the simple math while you are playing, ...
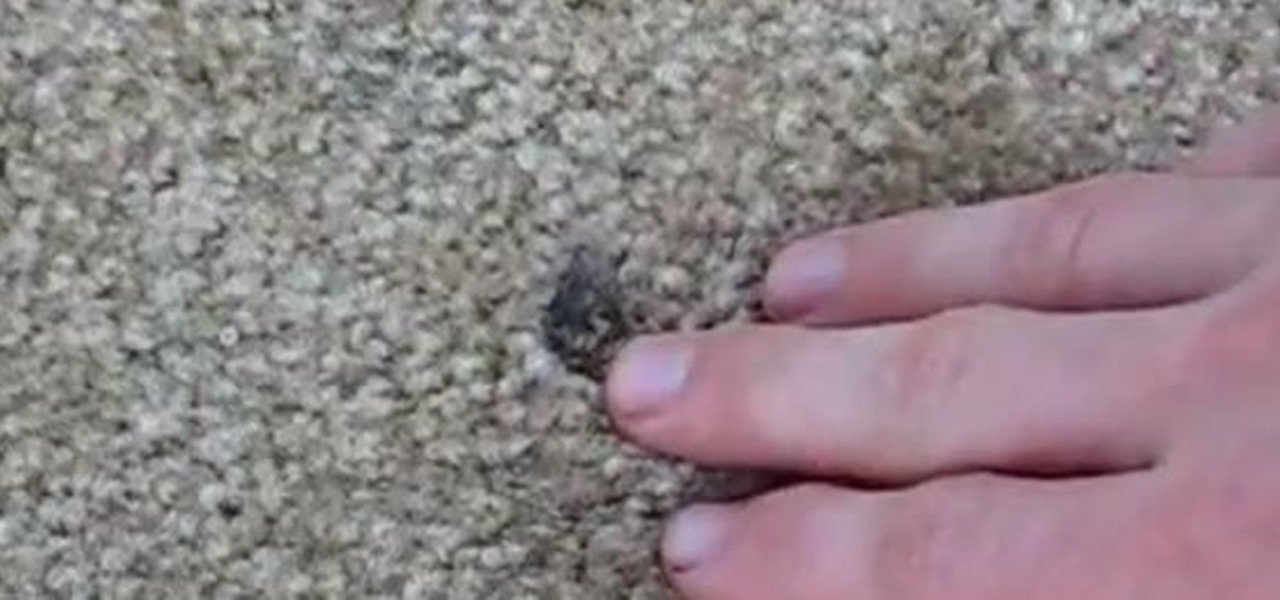
In this tutorial, we learn how to repair carpet burns. First, take some tongues and ruff up the surface to break up the burnt pieces that are inside the carpet. Next, take some Resolve and spray it onto the spot, then brush it with a handheld brush. After this, blot the area with a towel until it's nice and dry. Next, cut out a small piece of spare carpeting and then open up the area that was burnt. Cut it out with scissors, then replace this with the new carpet.
In this video, we learn how to make homemade chicken and dumplings from scratch. Cook your chicken the night before so it's ready to go the next day and is already torn apart. Next, make your dough by mixing in eggs, milk, flour, pepper, and salt. Mix this together until dough forms, then roll out the dough onto a surface powdered with flour. Now, roll the dough up and cut it into small balls that will make the dumplings. Now, place the dumplings into a pot that is filled with chicken stock a...
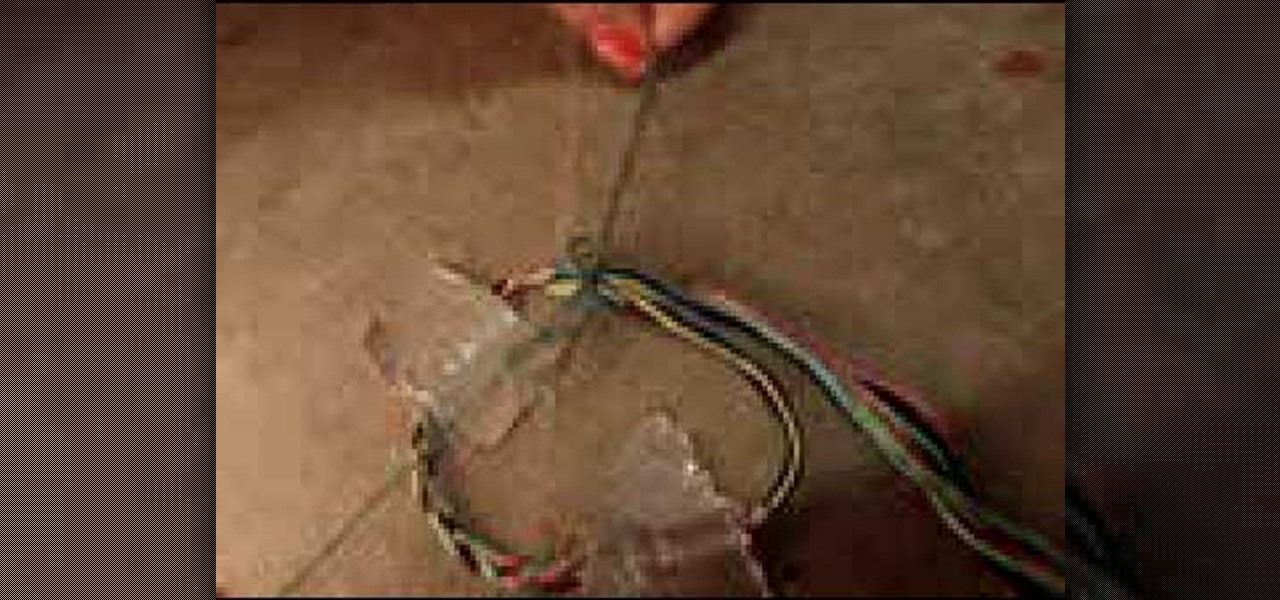
In this tutorial, we learn how to solder with a soldering iron. You will need: tinning pads, desoldering braid, and an adding component. Start off by heating the copper, before you add the wire. You need for the acid to flow from the core onto the copper to create a surface that will accept the solder. A cold solder will break or cause burn. If you use too much solder, use the braid to remove it. Next, place the wires onto the holes and heat them onto the circuits where you want them to be pl...
In this video, we learn how to make a tee a stylish one shoulder tank. First, lay your shirt down on a flat surface. After this, cut the shoulder off one side, then cut a diagonal line down the other side, removing the other shoulder completely. Next, take a round brass ring and attach it to the first shoulder to connect the front and back of the shirt. When you are done with this, you can wear your shirt and enjoy! If you want more of a professional look, you can sew the ends of the shirt so...
In this video, we learn how to make friendship bracelets adjustable. First, tape both sides of your bracelet onto a flat surface. After this, bring both ends into a circle shape at the ends. Now, take any color of string and make a loop with it over the ends of the bracelet. Now, put one end over the other and then put it through the bracelets and into the loop. Then, pull the end of the thread and put the bottom over and under the top piece. Then, put it through the bracelet and tighten it. ...
In this tutorial, we learn how to cook beef with pan-to-oven roasting. First, place your piece of beef on a flat surface and coat with olive oil, salt, and fresh pepper. After this, take the beef to a hot skillet and cook it on each side until slightly browned and charred. Next, place the beef on a baking rake and bake in the oven until it's just about cooked. After this, take the beef out and wrap it in foil, then continue cooking until it's cooked to your liking. When finished, let sit for ...
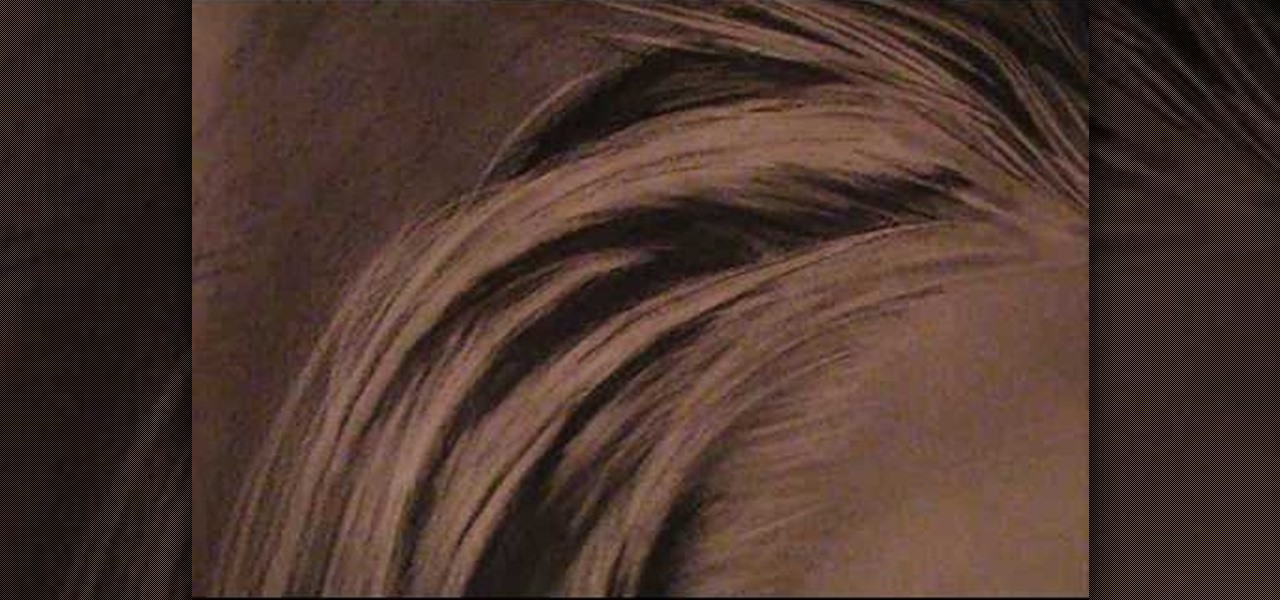
In this tutorial, we learn how to draw realistic hair. Start out with a rough outline and look where the hair is clustered together. Draw the clustered area first. Then, cross hatch over the entire surface of the area and blend in. Add hair to the forehead area, then use a darker pencil to form the shape of the hair. After you do the clusters, start to draw the hair that is separated from the rest. Keep looking at the picture you are drawing, then use an eraser to change the drawing to match ...
In this video tutorial, viewers learn how to make stop motion animations. Begin by mounting the camera onto a stable surface position, such as a tripod. Then layout the figure to a desired position for the first frame. Now take a picture and slightly move the figure for the second frame. Continue moving the figure and taking frames until you have completed your animation. Then upload the frames onto your computer. Open the images in a movie editing program and make sure to set the picture dur...
In this tutorial, we learn how to decorate your jeans with embroidery. First, you will lay your jeans flat on a surface, then trace out the space you want to make on a piece of paper and cut it out. After this, place the paper on an embroidery sheet to transfer the design. When finished, cut the embroidery out. After this, use a needle and the same color thread as the design to sew it onto the desired spot. When you are finished, you will have a unique embroidery that you designed! This can b...
In this tutorial, we learn how to tie a necktie the easy way. The first step is to take your tie and estimate how long you want it to be. Now, lay the tie on a flat surface and take the bottom of the diamond on the tie and flip it under to create a loop. Now, take the long end of the tie and create a loop the opposite direction. Now you should have two loops. Next, turn the second loop upside down and twist it into the other loop. Pull the fabric through the top hole on the loop and then slid...
In this tutorial, we learn how to make beeswax candles. To make this, you will need thread for a wick and a small bucket of beeswax that is melted on a hot surface. To start, cut the wick thread into even strings, you will only need two of them. Next, place the strings into the wax and dip them in until they are coated. When finished, let the strings dry and continue this will several other strings to make even more candles. Continue dipping the strings and letting them dry so you collect mor...
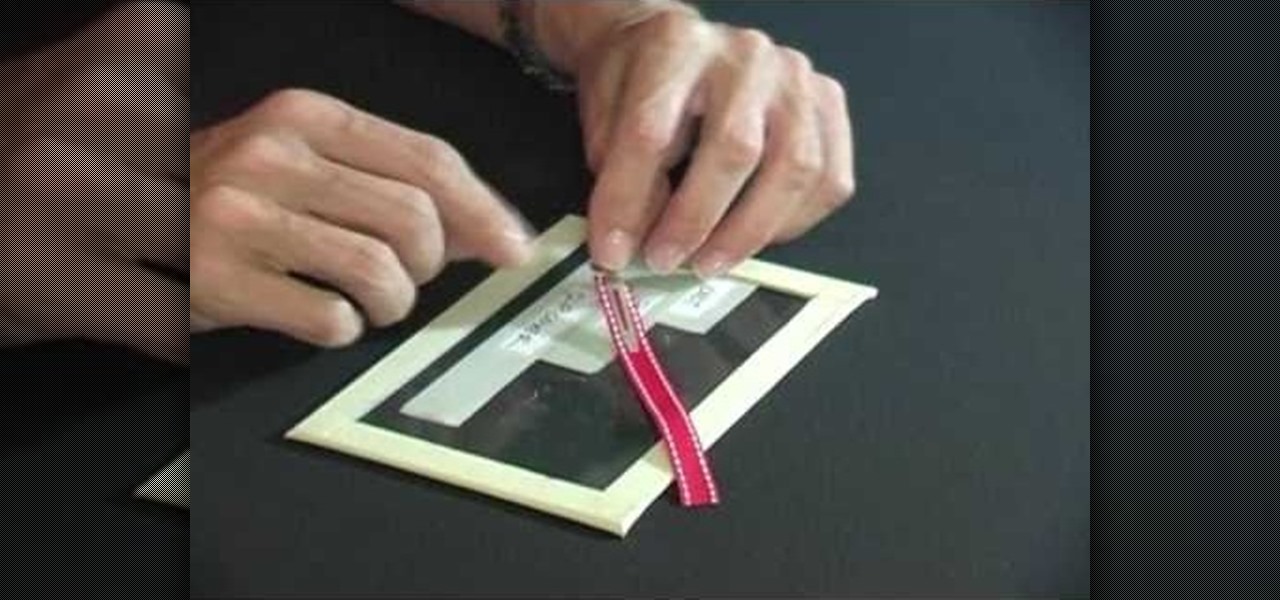
This video tutorial is in the Arts & Crafts category which will show you how to create a floral antique photo stand. The photo stand can be used to place photos or picture cards and it also doubles up as a candle stand. A picture holder measures 4 1/2 inches from top of the ring to the top of the stand. But, you can have different length. Take a lid of a tin and drill a small hole in the center. Place a wire through the hole. Apply generous amount of glue on the outer side of the lid. Sprinkl...
In order to wash your American Girl Doll's hair, if she has short hair, you will need the following: Scotch tape, cotton balls, a towel, and Johnson and Johnson baby shampoo or wig shampoo.
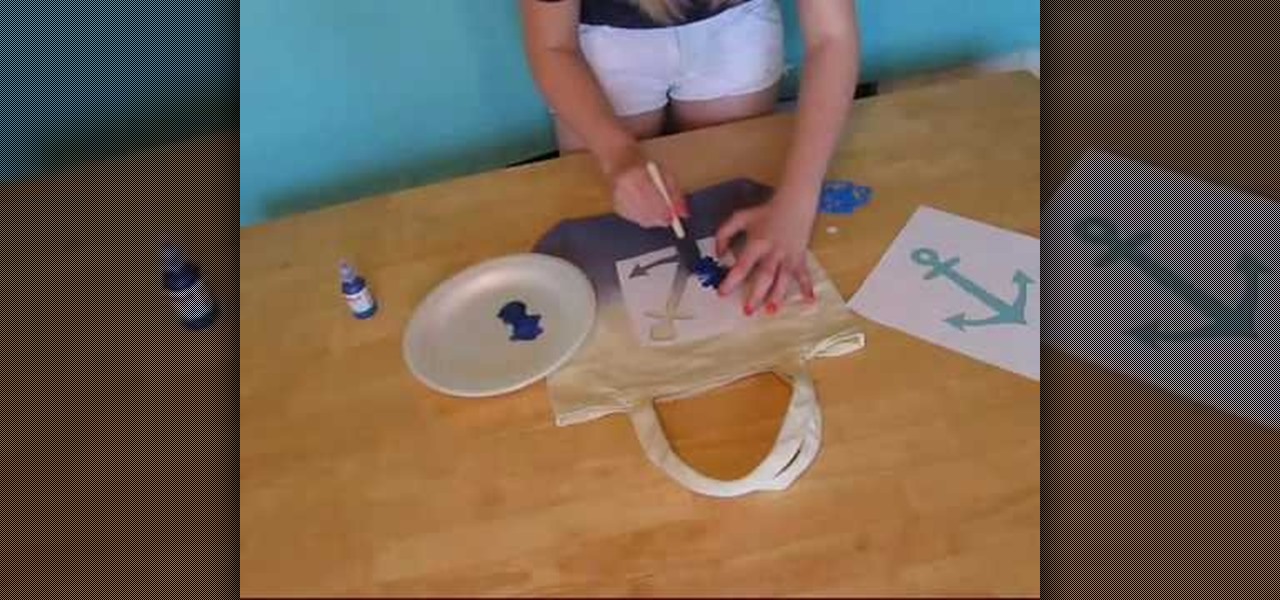
In order to make an ombre style custom beach bag, you will need the following: a canvas tote bag, dye, gloves, a paper place, sponge brush, stencils, fabric paint, containers, white vinegar, and water.
In this video tutorial, viewers learn how to make a stencil. The materials needed for this project are: contact paper, scissors and a pencil. Begin by drawing the design, shape letter or number on the contact paper. Make sure to draw the stencil on the back of the paper and make it reversed. When finished drawing, carefully cut out the design. To use it, simply peel off the invisible paper and place it onto the surface of the artwork. Then trace over it. This video will benefit those viewers ...
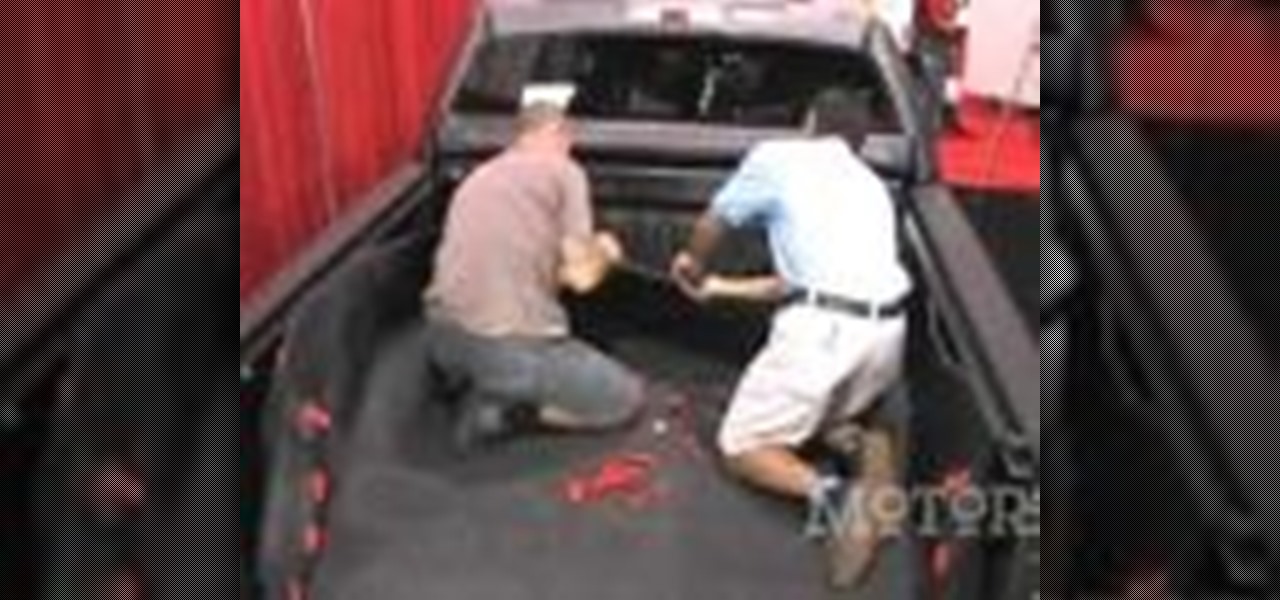
In order to install a BedRug pickup truck bedliner, you will need the following: a BedRug, Rubbing alcohol, and cloth rags.
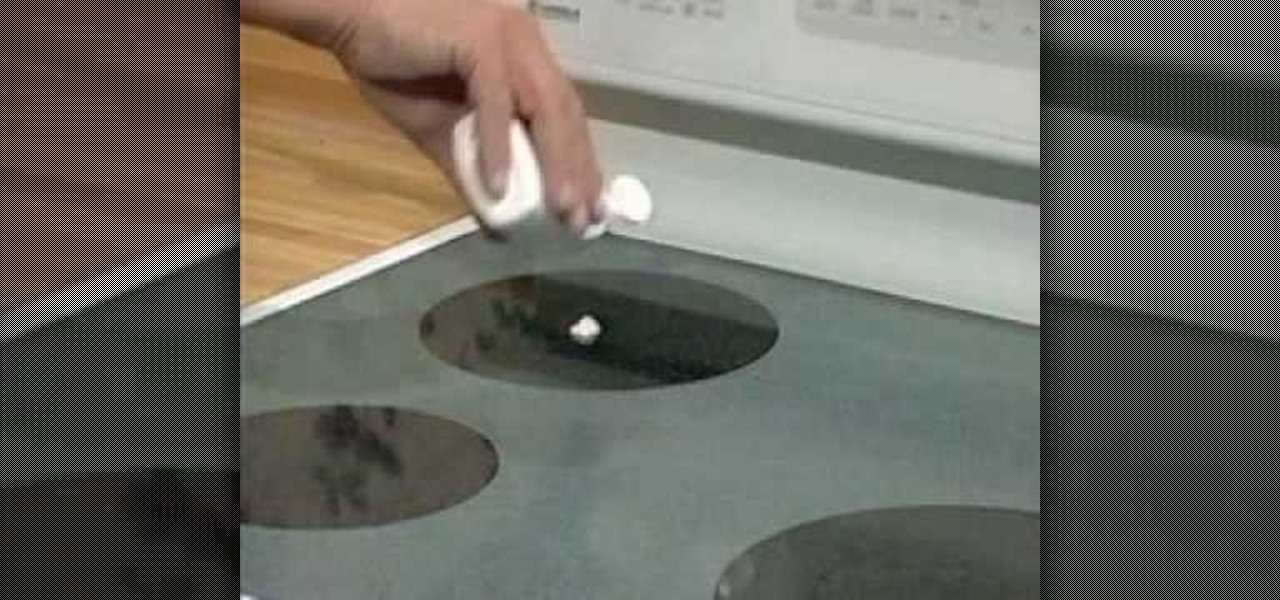
If you own a radiant cooktop, it's important that you know how to properly clean it. Not cleaning it on a regular basis or not at all, can result in damage to your beautiful surface.
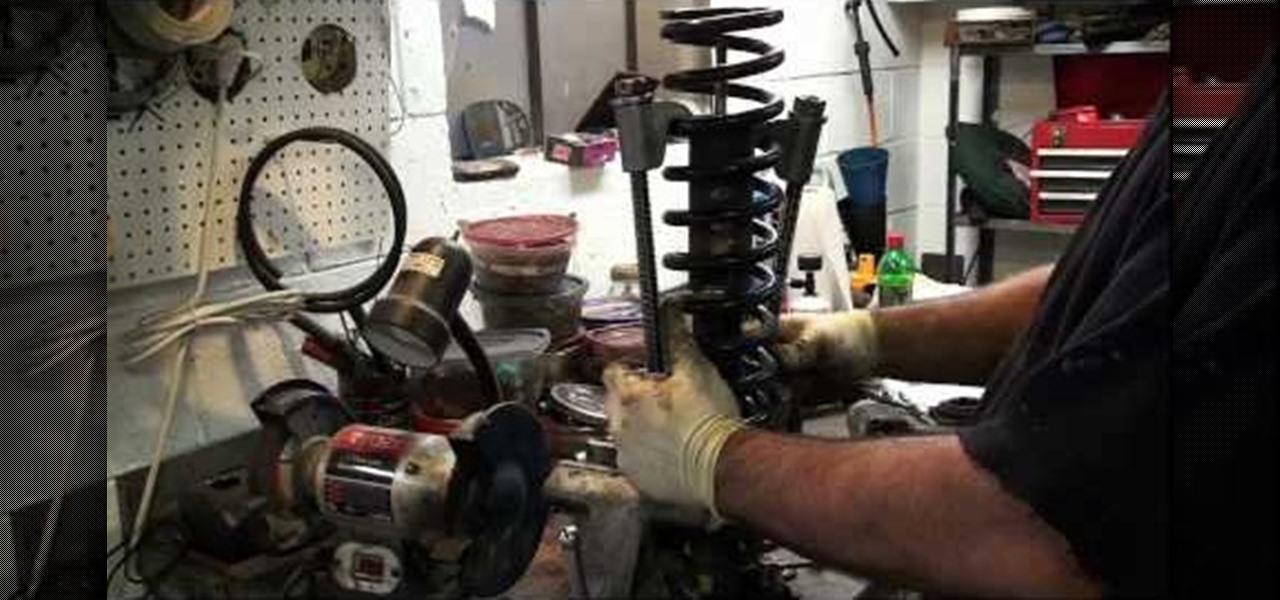
There are so many important pieces that make up an entire car, struts can be seen as one of them. What struts do is that they help soften movement when a car s driven on an uneven road or rough surface.It's important to replace struts when they may be leaking oil or they don't help soften movement.
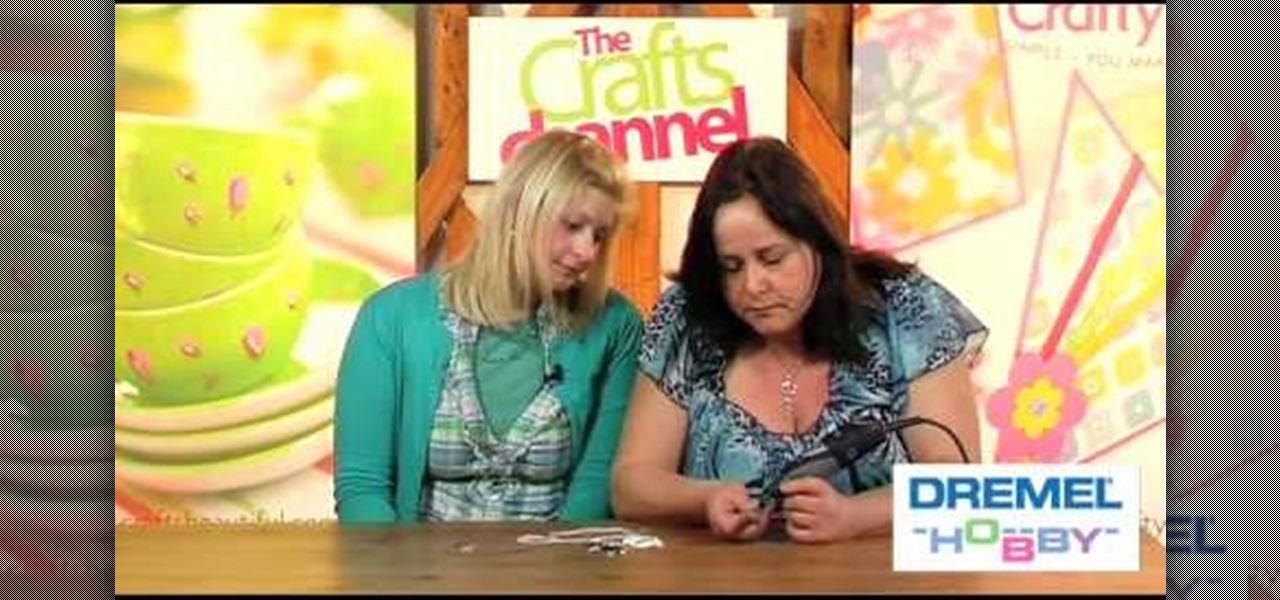
The Dremel 300 series multi tool is basically a shrunken down version of a power drill. With a tinier drill and several different speeds, this tool can be used to create holes in even the toughest of surfaces.
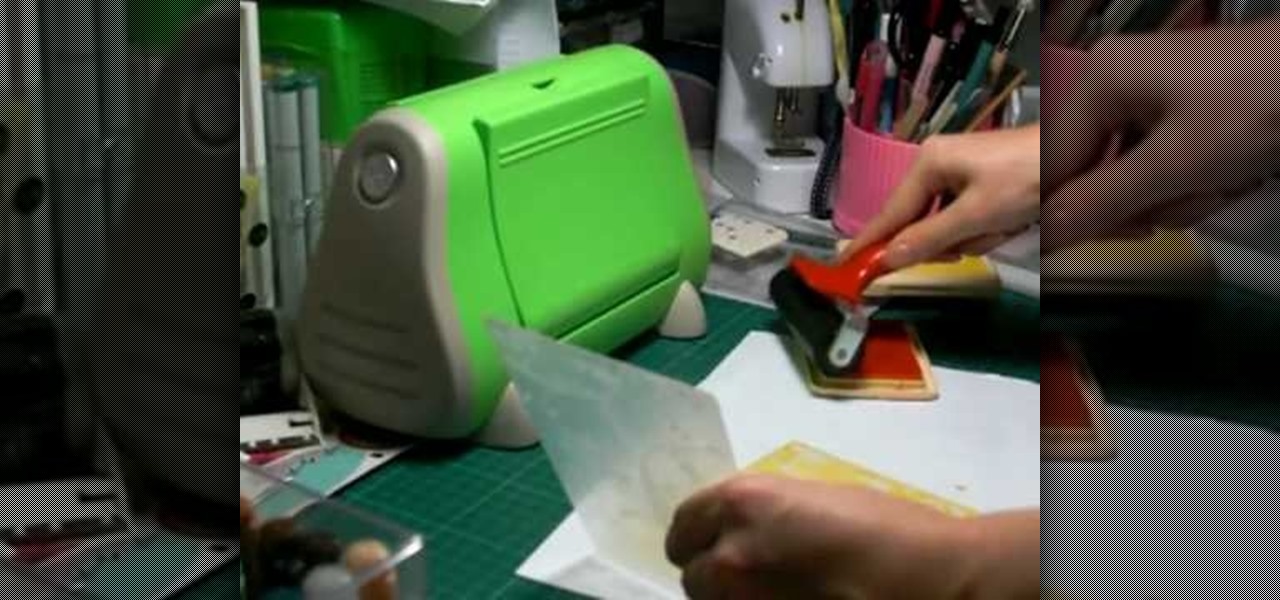
In this Arts & Crafts video tutorial you will learn how to do the Cuttlebug 'smoosh' technique. For this project you will need a brayer, ink pad, an embossing folder and a Cuttlebug. Ink the brayer well and with it apply the ink on the embossing folder. Make sure the ink is applied thoroughly on the whole surface. Get the Cuttlebug ready, place the card stock inside the embossing folder, place a couple of ‘C’ plates in the Cuttlebug, put the embossing folder with one more ‘C’ plate ab...
Bobbers are a very important part of fishing. Bobbers allow you to keep track of your line and know exactly when you catch something. In fishing, a bobber keeps the bait on the surface and away from the bottom, and when a fish bites the bobber will pull down. In this tutorial, find out how to set up a fishing rod to use a bobber with help from a fishing trainer.
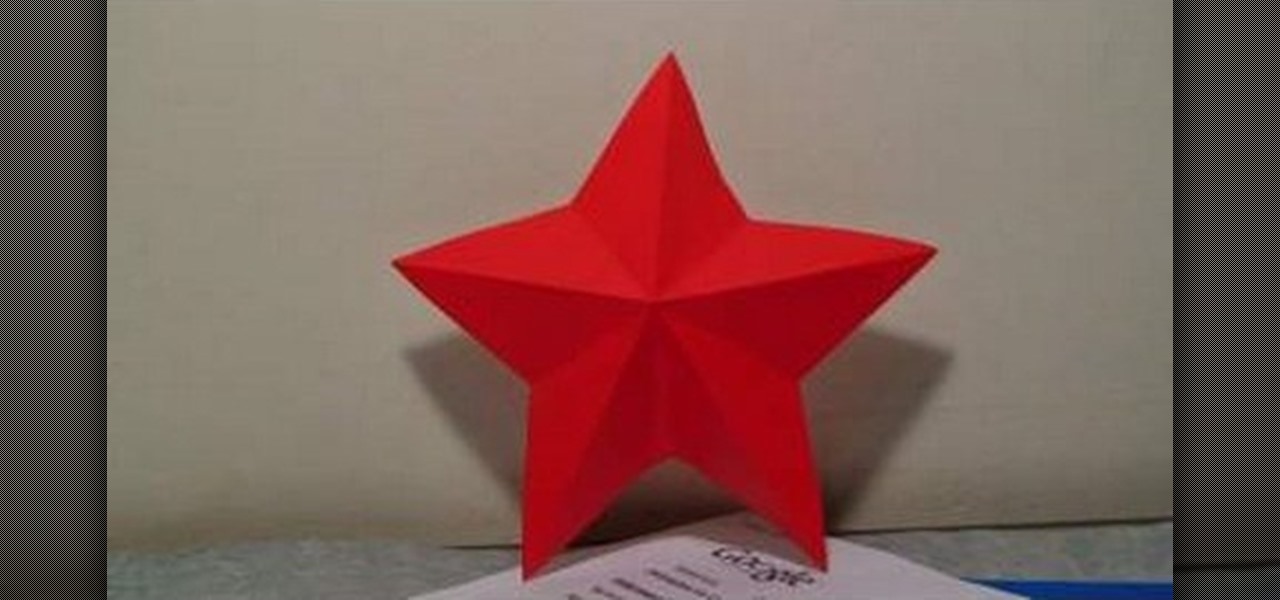
This video is about making a kirigami simple star. The materials required are two sided piece of paper, a scale and a cutter knife. Fold the piece of paper in half to form a rectangle. Now fold the upper and lower half of one end to form triangle. Make sure when you fold the paper it is in a clean line and the unfold the paper. The paper will have a square with four triangles in it. Now bring the other end of the paper such that it fits into one of the triangles of the square. Now fold the pa...
In this video tutorial, viewers learn how to make a ribbon covered pinch clip. The materials required for this hair clip are 4 1/2" x 3/8" of ribbon, glue gun and an alligator clip. Open the pinch clip and place the ribbon inside it. Align it to the clip so that it is straight. Then apply some hot glue onto the surface of the pinch clip and then fold the ribbon to glue it. Alight the ribbon to the top of the clip and flatten the ribbon. Now apply some more glue on the ribbon and push it into ...
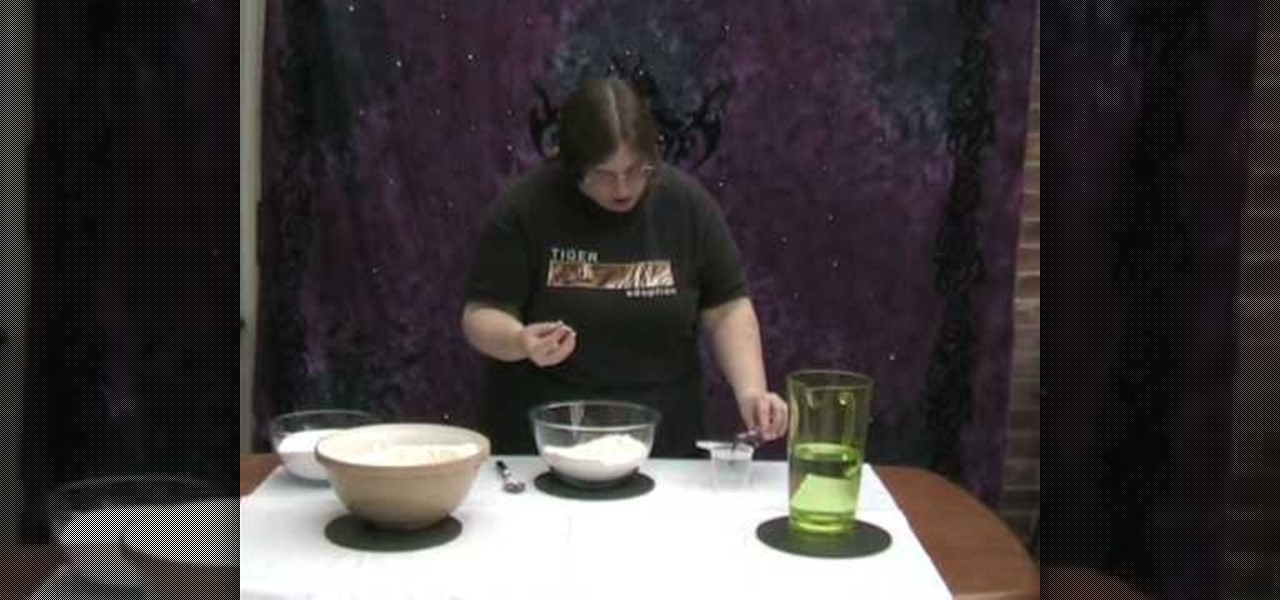
Salt dough can be used like clay for craft. This video demonstrates how to make salt dough. The ingredients required to make salt dough are a cup of salt, two cups of flour, a cup of water and food coloring. Make sure to cover your working surface with old newspaper and use a painting apron as this can get messy. Add the salt and flour in a bowl and mix with a spoon. Then measure one cup of water and add quite a good amount of food color to get the desired color and mix it into the salt-flour...
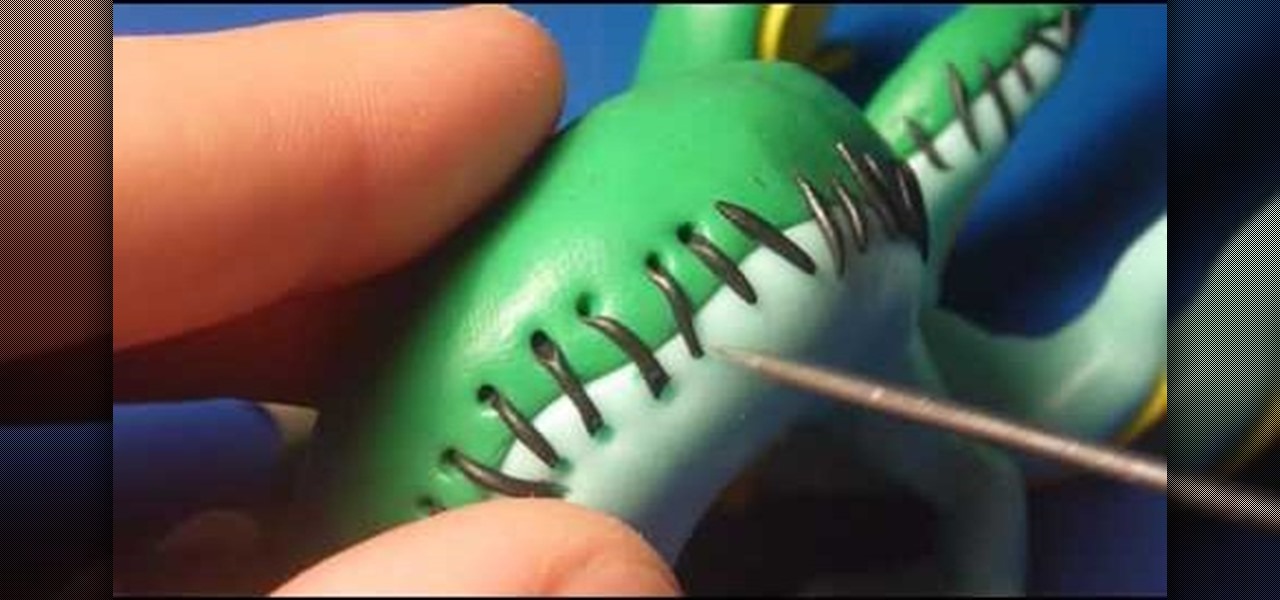
If you would like to create the look of stitches or sutures on your clay sculptures, you will need the following: clay, a toothpick or sharp implement, and a cutting tool.
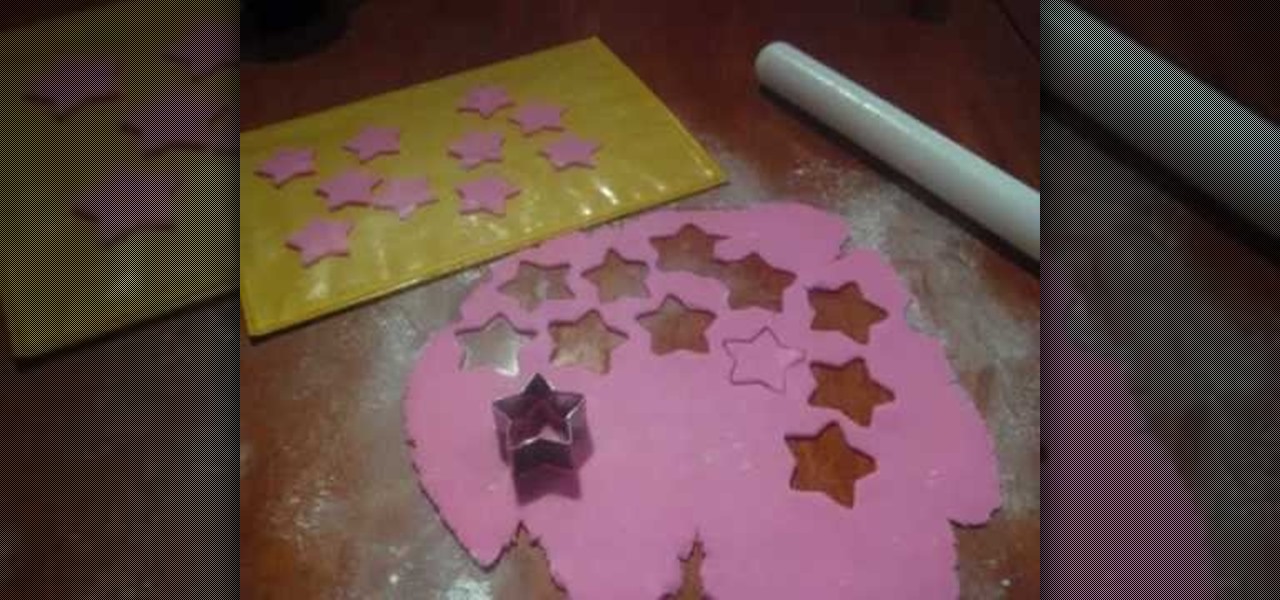
In order to make Shooting Stars for Cakes made from Fondant Icing, you will need the following ingredients and supplies: fondant cookie cutters, wire cutters, gumpaste, a pastry brush, icing spatula, glue (or gumpaste with water), a paint brush, a fondant rolling pin, powdered sugar, floral wire, and a cookie sheet lined with wax paper.
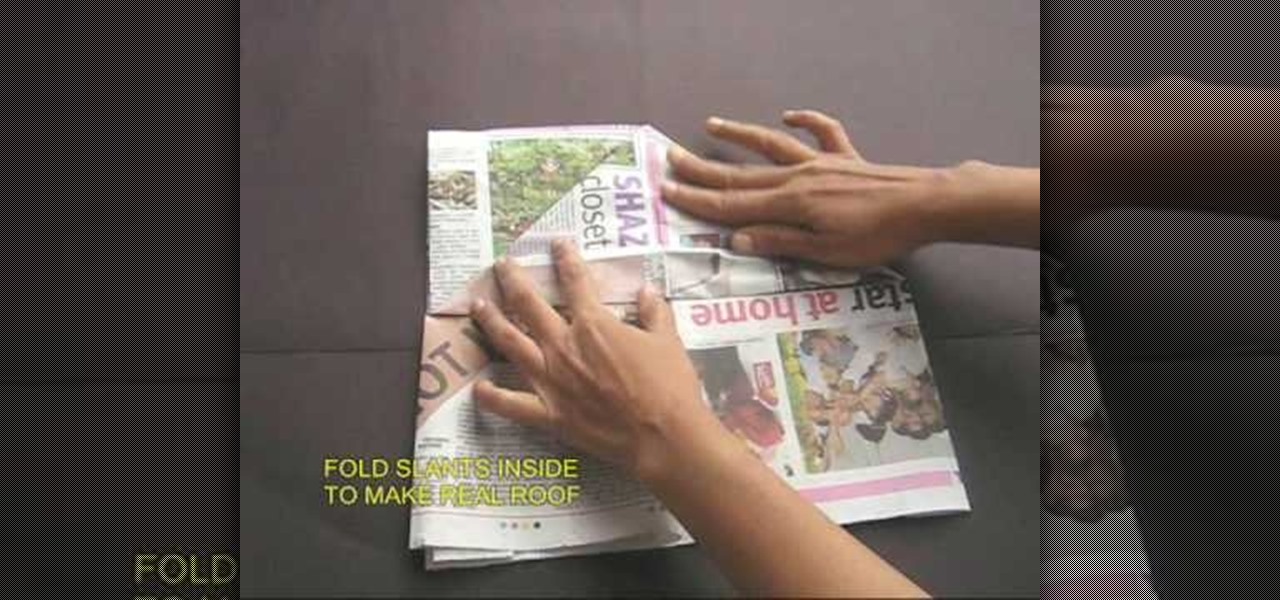
The man on the video explain how to make a cricket cap from just a half sheet of newspaper. You start off with a half sheet of news paper, and fold the sheet in half, and then fold it again into a quarter. Then it shows you to fold down the two tops sides as if you were making a "roof". Then you are to fold the roof to the mid point of the base. You are then told to open the whole sheet of newspaper again, fold in both of the long edges to about 4 cm. You are then to fold the sheet in half wi...
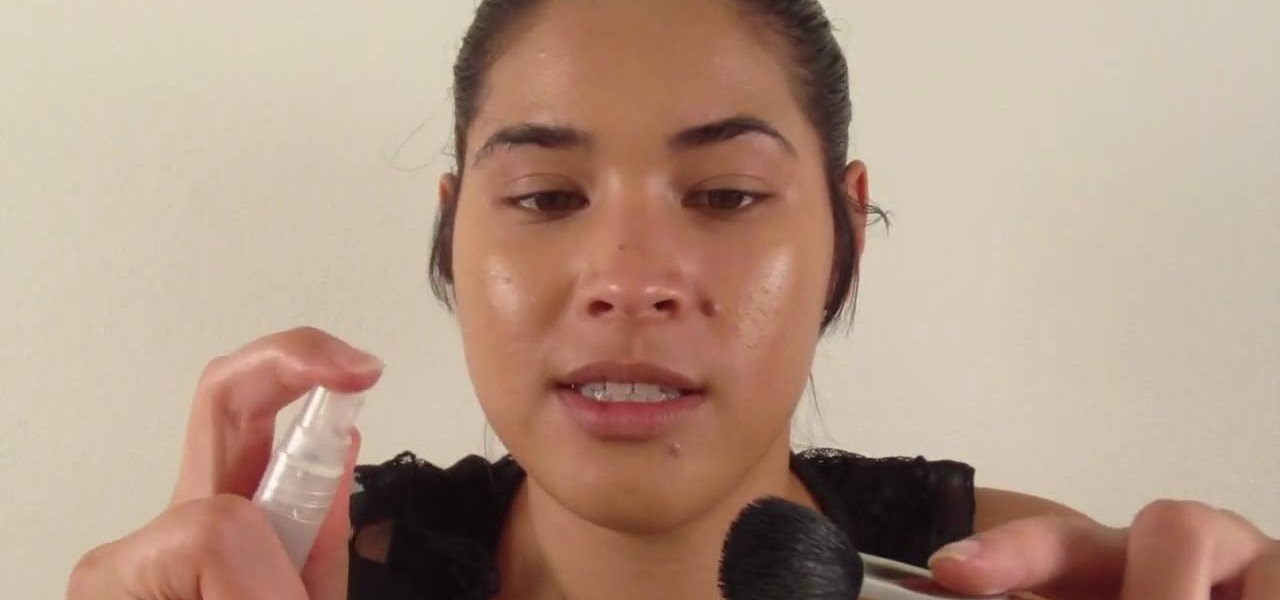
This YouTube video is of Christine from Temptalia.com demonstrating how to apply basic foundation with a 109 brush by mac that is small. First take face primer, try silicon free primer. Apply to your entire face. This helps to keep make up on for longer and is suggested for period that are special are require you to have makeup on or look fresh for longer periods of time. Also suggested for oily skin types to use a modifying cream and primer. It is best to put your primer or moisturizer 10-15...
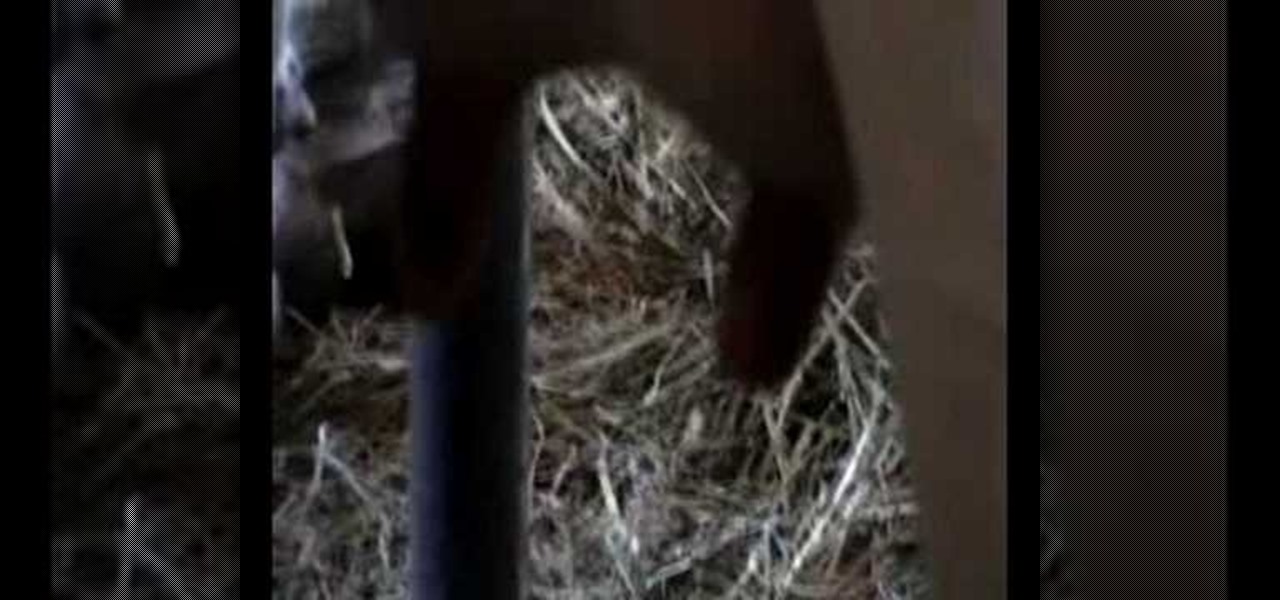
Veterinarian Mark Lopez of Wholesome Dairy Farms demonstrates how to milk a cow. Use a teat dip to wet the teats. Then, massage in the fluid so it loosens up the surface dirt and kills bacteria. Stimulate the teat end with your fingers. Next pre-strip the cow by gently pulling on the teat and mimicking the suckling action of a calf. Let the iodine teat dip to sit on the udder. When the cow squirts milk out of the teat, it means that she is stimulated and comfortable. Take a clean towel and wi...
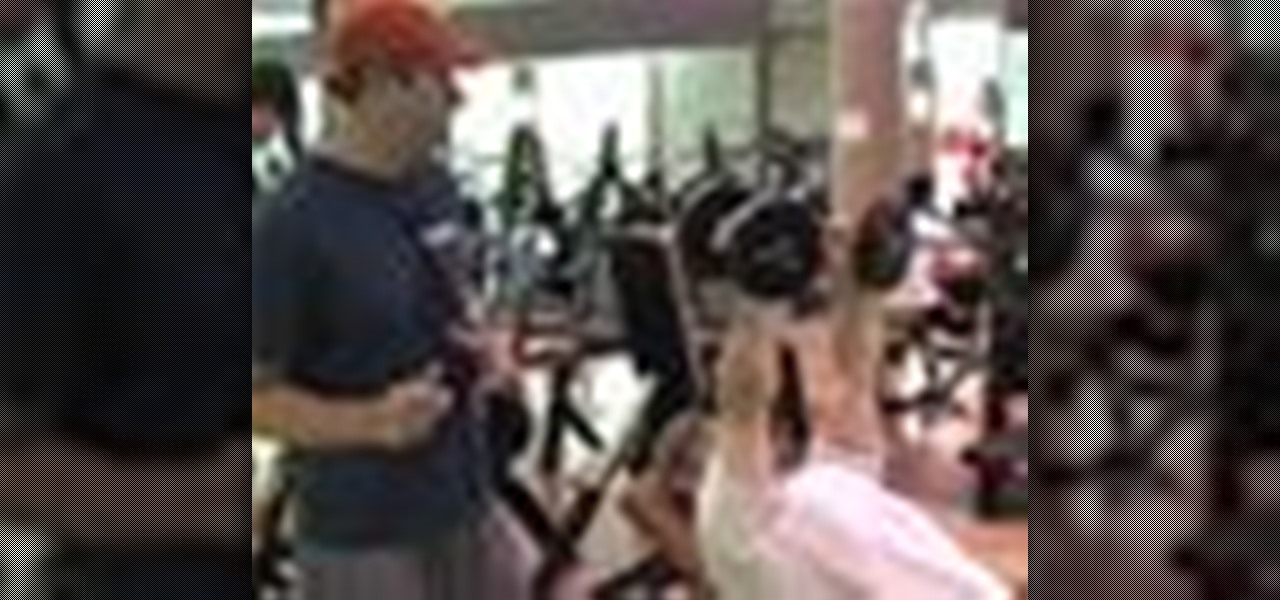
First of all you have to understand that this exercise is very versatile and you can actually target different areas of your chest just by twisting your wrists. First of all lie down on the bench and hold the dumbbells in your hands. You can do this upper chest exercise to build your upper chest muscles using dumbbells. Now bring your dumbbells down and then again take them up. While bringing your dumbbells you have to twist your wrists towards inside such that your palms are facing away from...
This video shows how to make a real 3d text in Photoshop. First open up Photoshop. Create a new document File > new. Then select width then OK. Fill the background with black. Then go to the text tool and write whatever we want. Choose a font with fat letters. Right click on the text layer and go to "Blending options". Then edit the text in our way. We can create a Gradient Overlay, Contour, Stroke and Outer Glow. We can add any effect we want. Again right click on the text layer and click "R...