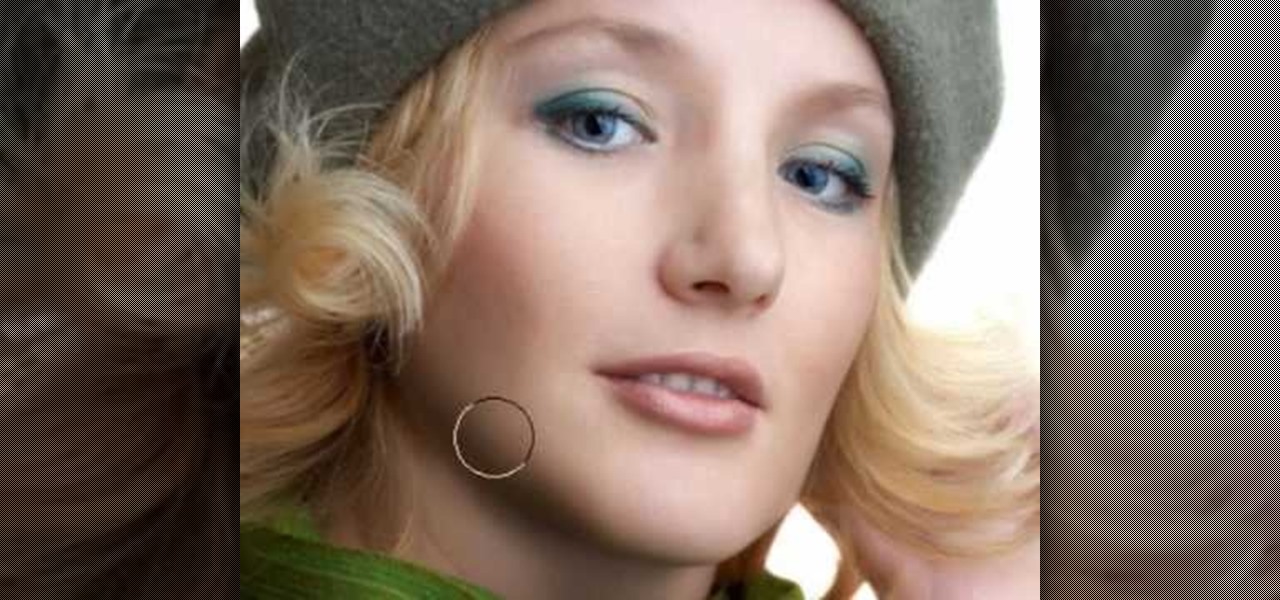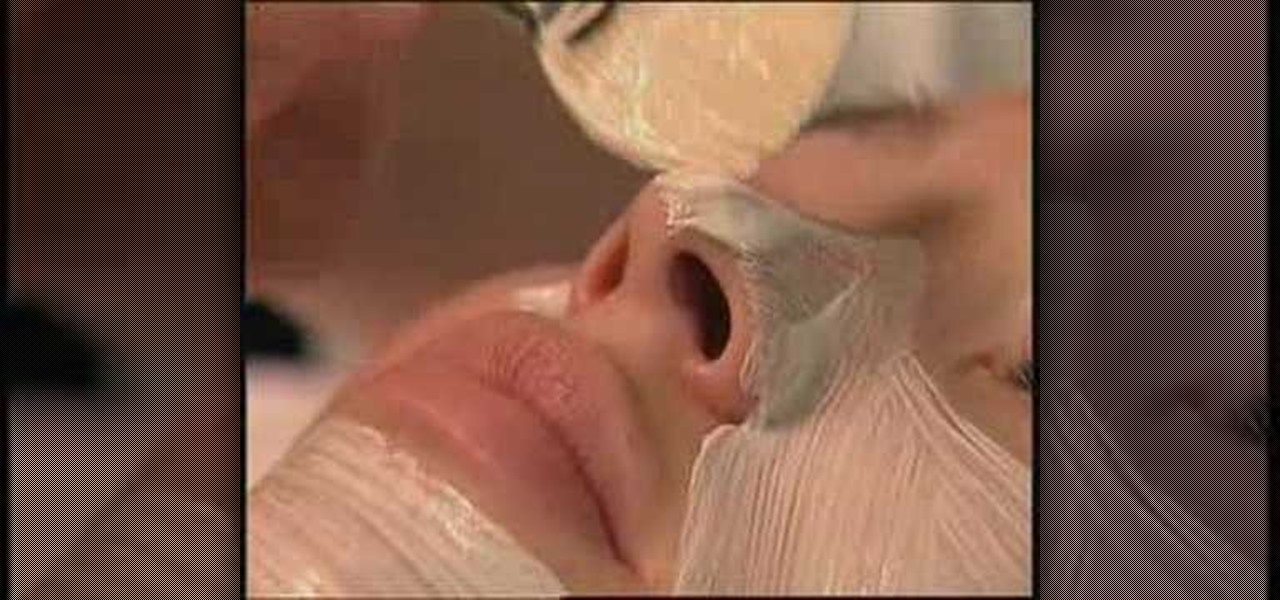
Get the lowdown on all the ways to remove pesky facial hair—from the brand new to the tried and true. Different options: threading, laser hair removal, intense pulsed light treatment, electrolysis, facial bleach, a waxing treatment or kit, tweezers, and prescription cream Vaniqa (optional). There are many hair removal options, so watch this video and choose the one that is best for you.

This video illustrate us how to draw Toad from Mario Brothers with a sharpie. Here are the following steps:Step 1: Take a piece of paper and pencil and start by drawing a face. Draw two eyes and a tongue by drawing three circles.Step 2: Now from the down side of the face draw an oval egg shape structure bigger then the face ,this is the toads belly.Step 3: Draw two lines cutting half through the belly and without joining them with little space in between draw these line upwards.Step 4: Draw t...
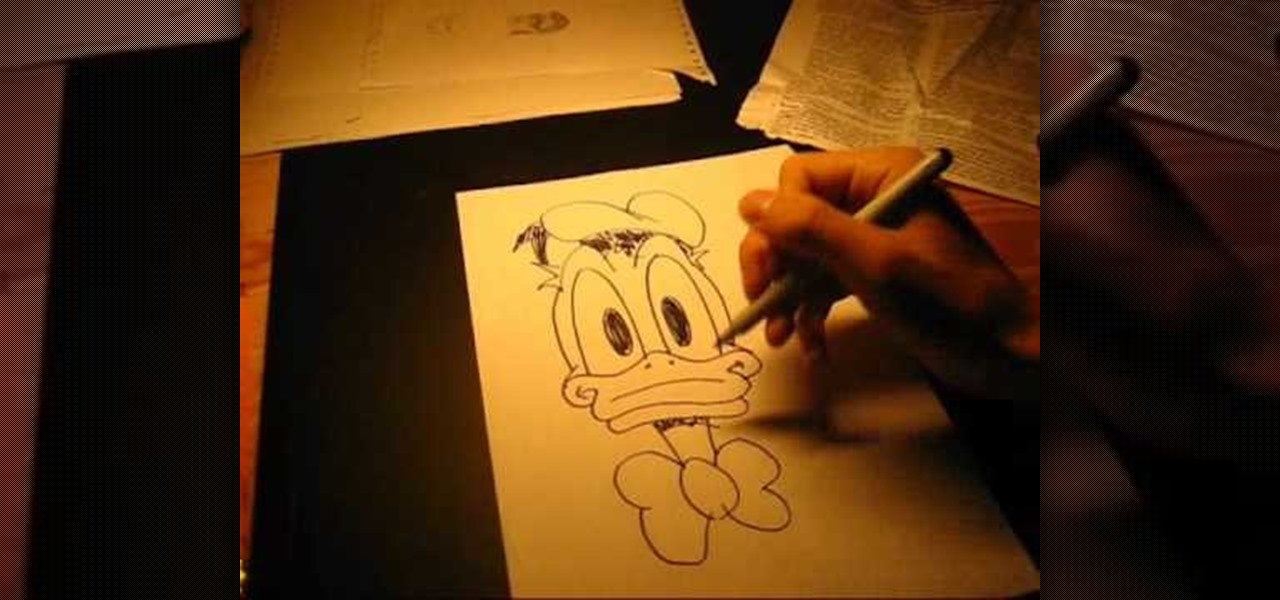
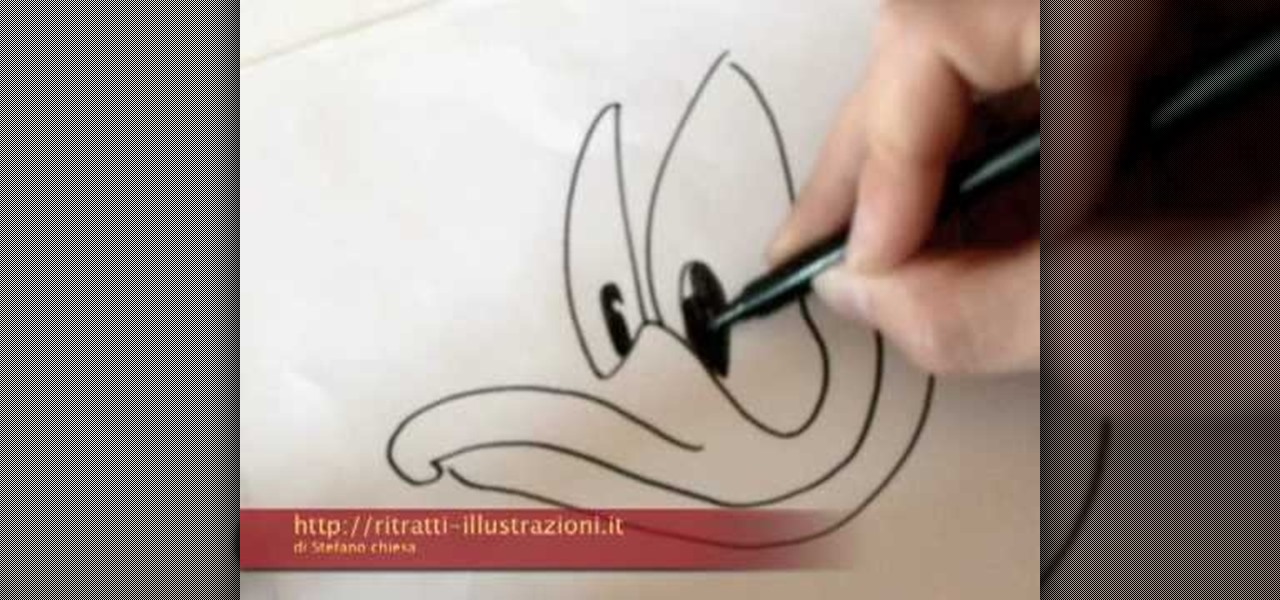
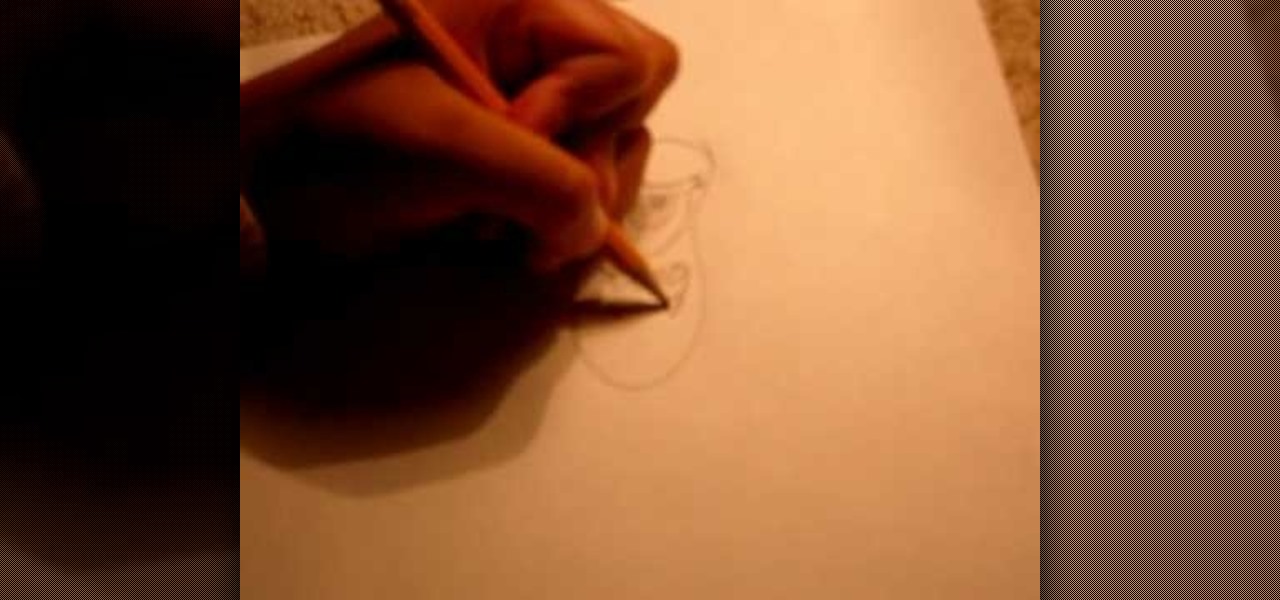
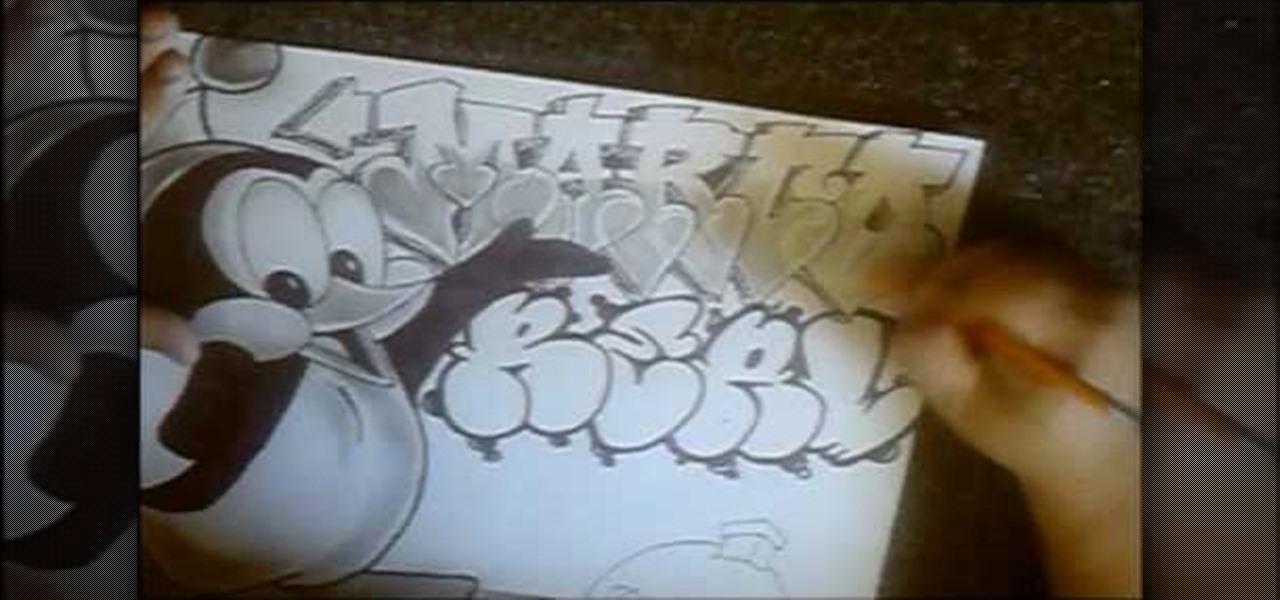
This video illustrates the quick and easy method to Draw Donald Duck on your own . The process is comprised of the following steps:Step 1: Take a blank sheet of paper and a HB Bonded lead pencil.Step 2: Draw a face that resembles a duck's face. Make sure you don't make the ears too large as Donald Duck has got small ears.Step 3: Another point to consider is the length of the beak. Make sure it is elongated and oval shaped.Step 4: Now , make a oval shaped figure and shade it's outline to form ...
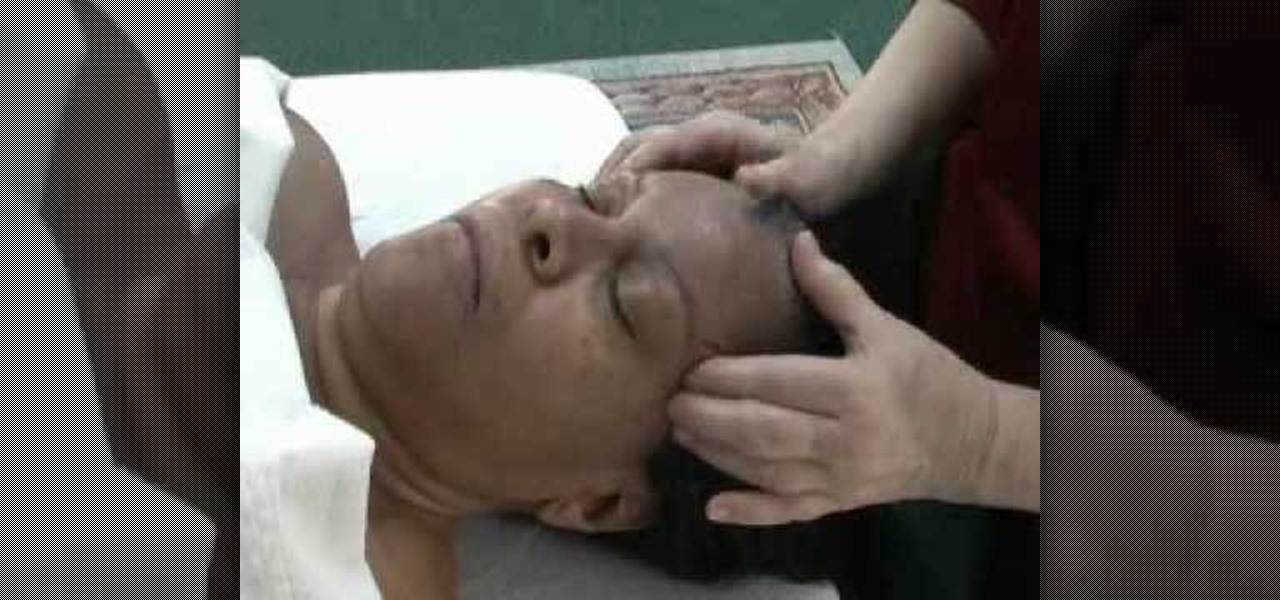
Georgia Koons demonstrates how to give a relaxing and holistic facial massage. A facial massage has many benefits. It can be anti-aging because it causes the blood to better circulate in your face. It can be relaxing by massaging in soft circular motions. Any type of massage is sure to relieve tension and a facial massage specializes in ridding the body of tension cause by squinting and straining the facial muscles. This type of massage is great for headaches or to help you fall asleep faster.
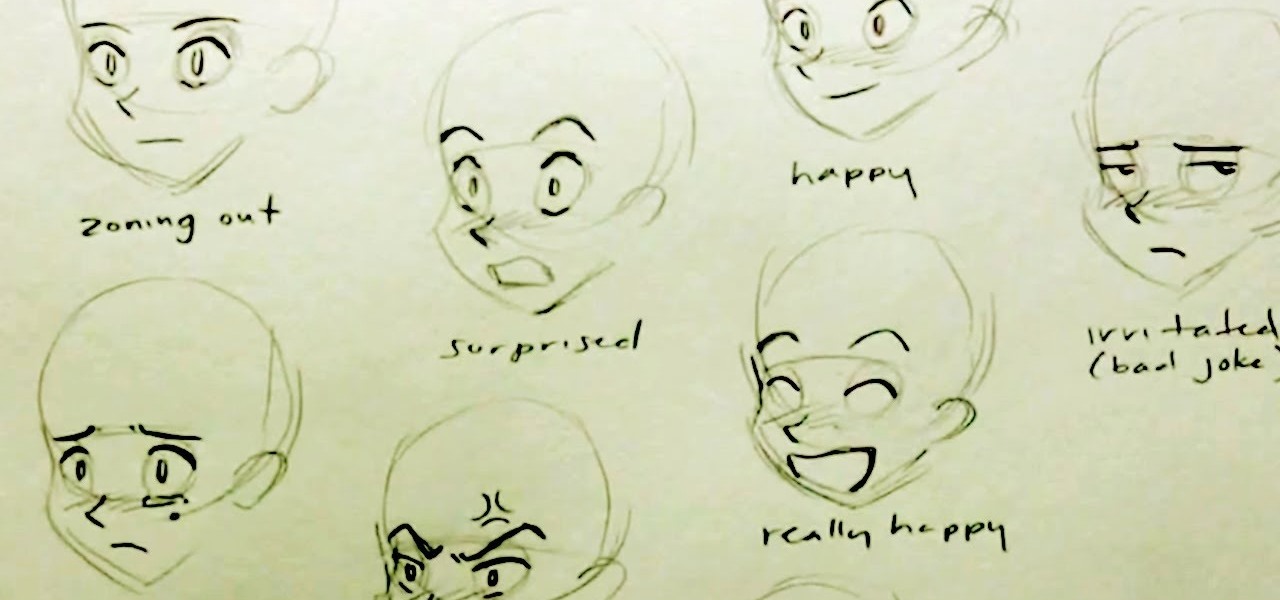
Koizu brings you another lesson in how to draw manga. He describes how he begins with the eyes as guidelines that are used as the base for each facial expression. This immediately begins to capture and illustrate the specific expression for which you are going. Multiple facial features are illustrated in the manga style of drawing and range anywhere from angry to happy and beyond. This video will definitely either teach you how to draw the facial expressions using simple features or help you ...
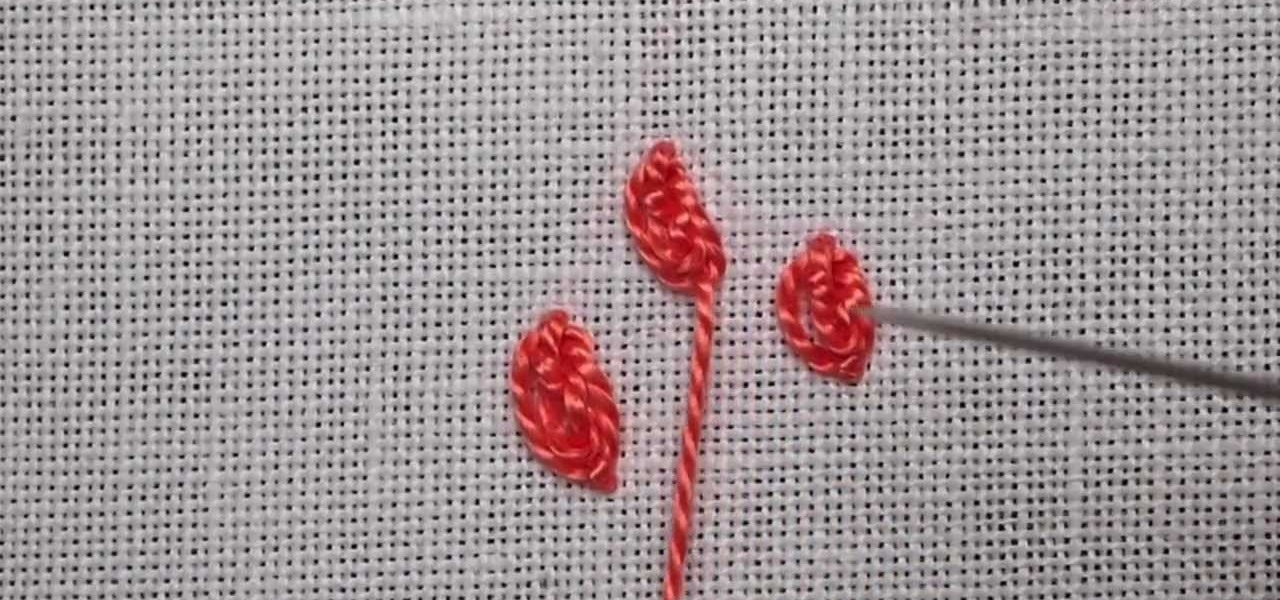
The oyster stitch is an isolated stitch. It is a combination stitch using the twisted detached chain stitch which is "surrounded" by an "open" chain stitch, or even a fly stitch. The oyster stitch makes a filled oval shape, suitable for flower petals or individual buds and accents. Watch this video from Needle 'n Thread to see how it's done.

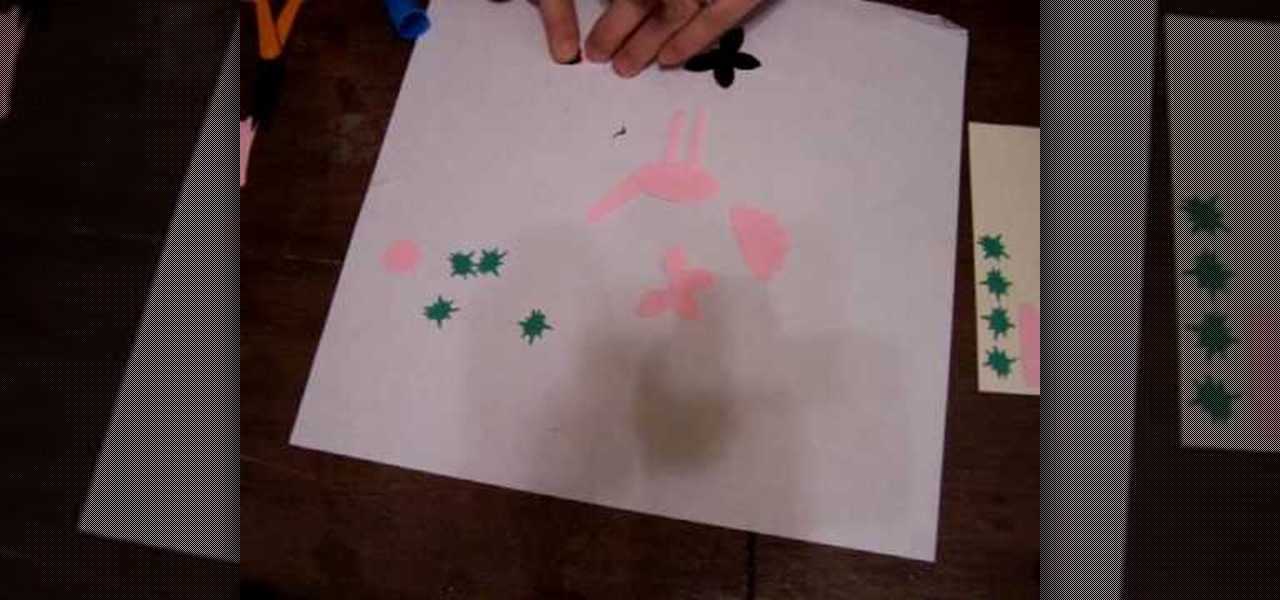
In this tutorial, we learn how to make a flamingo using Stampin' Up punches. First, you will need to punch out two five petal punches (black and pink), pink scalloped punch, large oval pink punch, 1/2" circle punch, and 2 long window punches in pink. Also, four green star punches. First, put the long lines together to make the legs, then attach to the oval shape and another long one to make the neck. After this, make the beak, head, and wings of the flamingo as well. To finish this, draw on e...

This video illustrate us how to draw Donald Duck. Here are the following steps: Step 1: First of all take sheet of paper, pencil and colors.

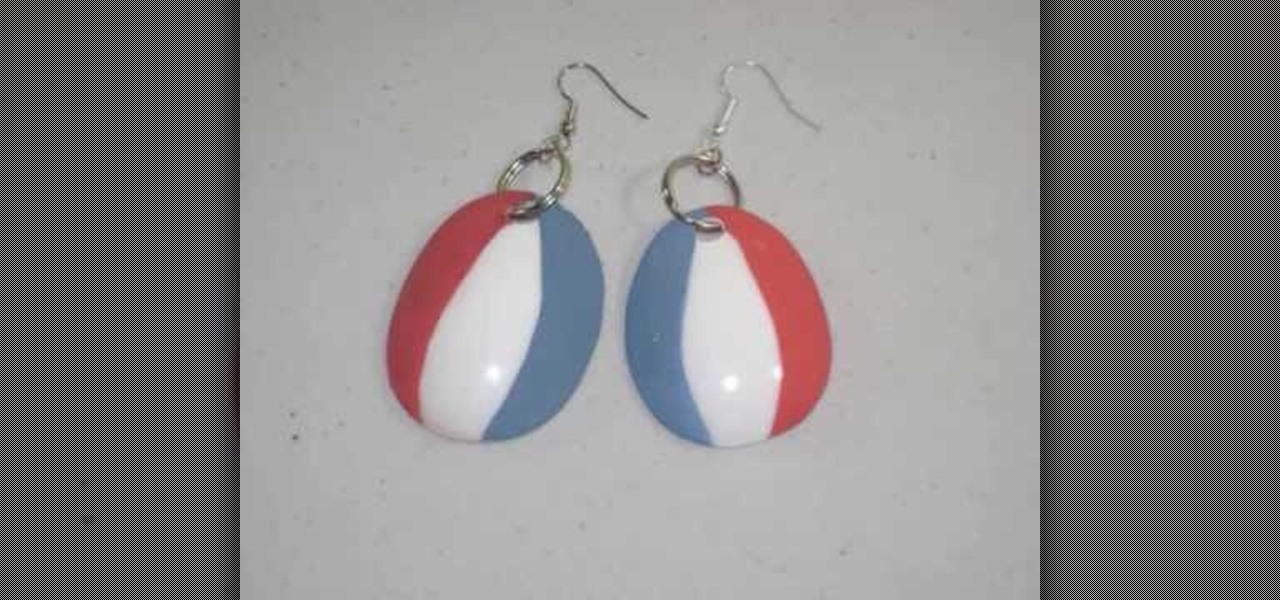
This video is about how to make earring from spoons. So to do this, just follow these simple steps. Things you'll need:

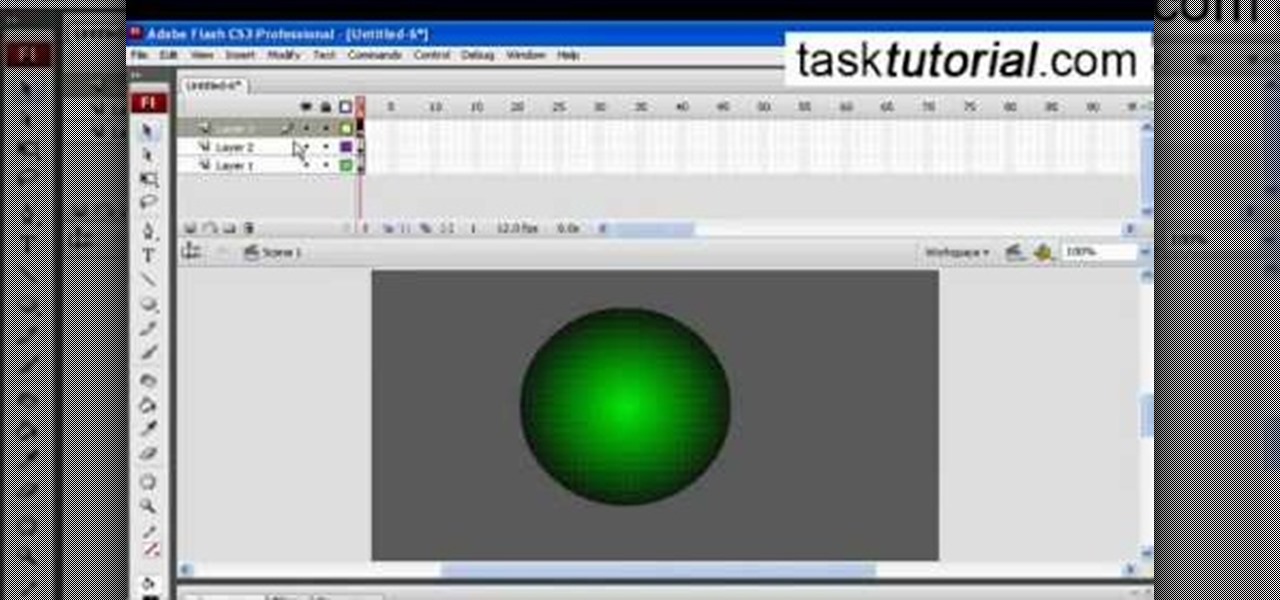
In this video tutorial the instructor shows how to create a text on a rotating sphere in Flash. To do this first create a gray background in the flash tool. Now make a new layer, select the oval tool and set the color gradient to green color and select the oval shape on the gray background. Similarly create an another sphere which will act as a mask for the text. Now create a new layer and add text to layer in white. Now move to frame 20 and make a key frame with all layers. Now drag the text...

In this Photoshop tutorial the instructor shows how to create a glossy sphere. Now to get started open the tool and select the oval tool. Using the oval tool create a sphere shape. Draw holding the shift key button and set it to green color. Now similarly draw ellipse and give it white color. Create a few more ellipses this way. Now go to filers and then glowers and then Gaussian glower. Now go to shape free and select gradient and set the gradient. Now you can apply color changes to it and g...

In this video tutorial, viewers learn how to make a homemade carrot face facial mask. The materials required are 2-3 large carrots and 4 1/2 tbsp of honey. Begin by peeling the carrots and cut them into round slices. Now boil the carrots until they are soft. Then mash the carrots and mix it with the honey. Apply the mask gently on the skin and relax for 10 minutes. Then rinse it off with cool water. This video will benefit those viewers who are beauty and skin, and would like to learn a home ...

Save yourself a fortune by making your very own homemade oatmeal facial mask. Place 6 teaspoons of sweet almond oil into a small bowl. Add 2 drops each of pure violet oil, lavender, neroli oil to the bowl. Add enough oatmeal to the mix and make a paste. Pat onto your face and lay down for 20 minutes. Rinse clean with warm water.

Nili Nathan demonstrates how to create your own homemade rosemary facial spray. 1. Start by adding 3 oz of distilled water to a spray bottle. Add 1 tablespoon of olive oil. 2. Take rosemary essential oil and add 6 drops to the bottle. 3. Gather up some fresh rosemary (possibly from your garden or a friends garden or a nearby store) and add that to the bottle. Close the bottle tightly and shake it up. 4. Now you are ready to spray desired amount to body and face!

This Photoshop tutorial shows you how you can actually reshape or define someone's facial structure. Want to get rid of that double chin, or perhaps get a more pronounced jawline or lose that large nose? Check this tutorial out and learn how it's done using Liquify and Curves.

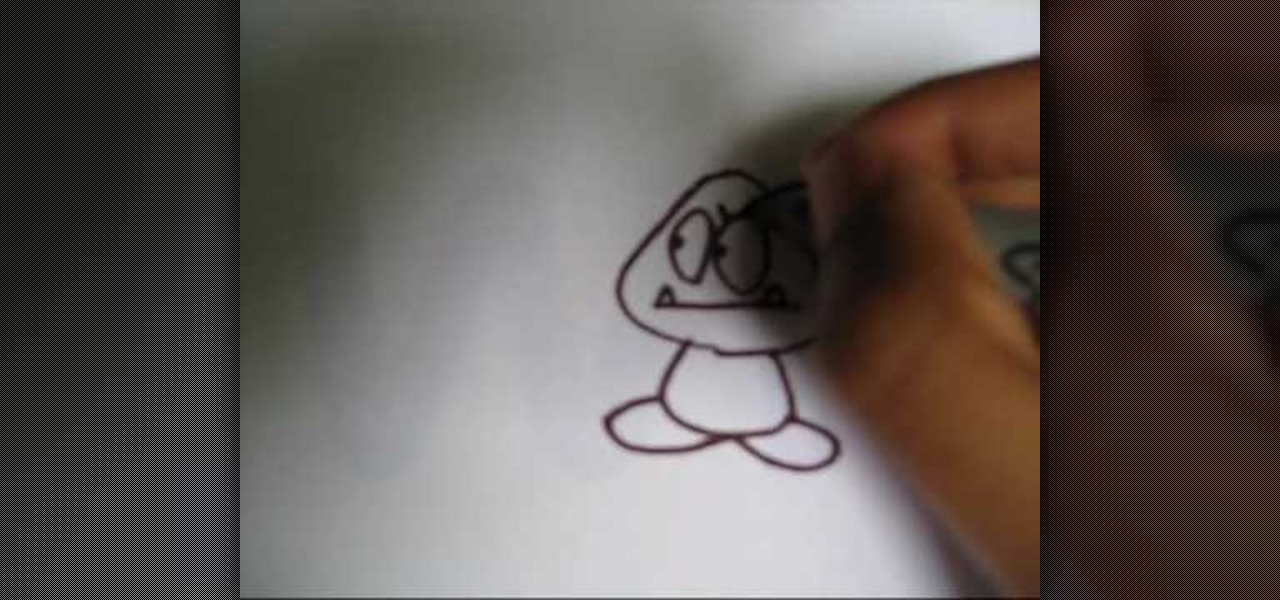
In this tutorial, we learn how to draw a Goomba from Super Mario. First, draw the softened triangle shape of the top of the head, then draw the body and the oval feet at the bottom. After this, draw on the oval eyes and then a flat mouth with two triangle teeth on both sides. From here, draw on the eyebrows to Goomba in thick lines. To draw another type of Goomba, draw the same basic shape, but then make the eyes squished into small lines and then draw the mouth with crunched teeth on the ins...

In this tutorial, we learn how to draw Plankton. Start out by drawing a long oval shape for Plankton's body. After this, draw on a large eye to the upper middle section of the eye. Next, you will draw in the mouth underneath the eye and make sure to draw in an angry expression and pointed teeth. Next, draw in the eyebrow on top of the eye followed by legs on the very bottom of the oval. The legs should be soft triangle shapes and nothing more. You can color this green to finish up the drawing...

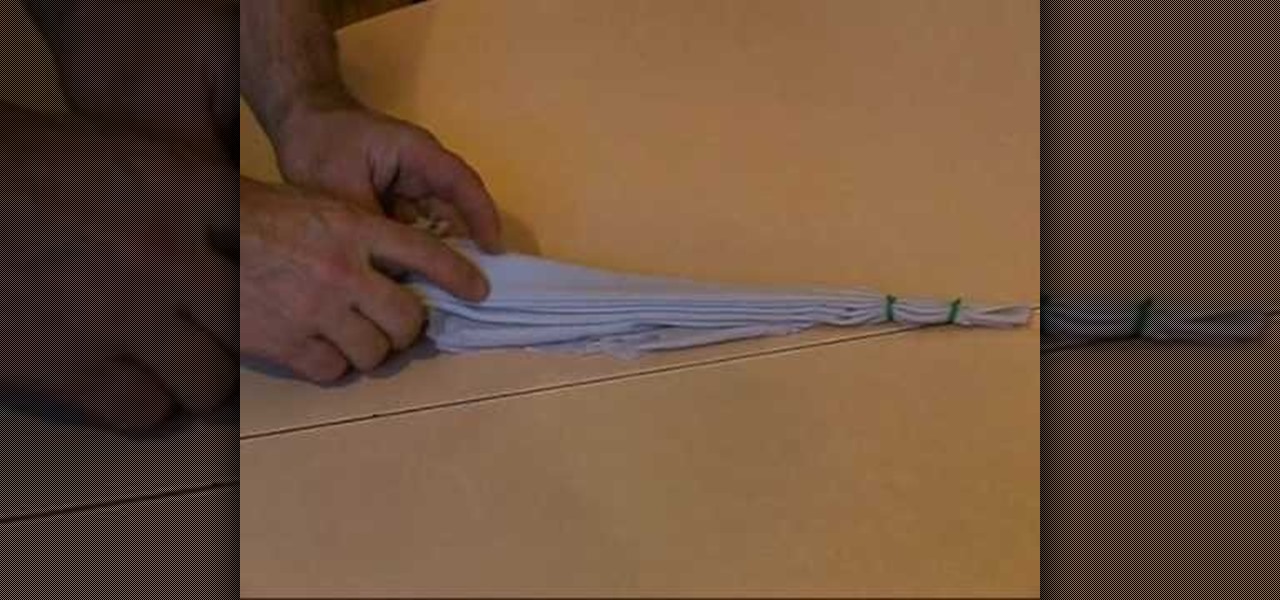
In this tutorial, we learn how to tie dye an oval style shape. Start with a square piece of a shirt that is damp, then fold it in half. Then fold it in half again, then in half again. After this, fold the shirt accordion style, paying attention to where the main corner of the shirt is. Once finished folding, tie two knots in the bottom, then fold the fabric up until you reach the ties. Now, tie or secure this bundle tightly with rubber bands. Apply your favorite colors of die on the shirt, ge...

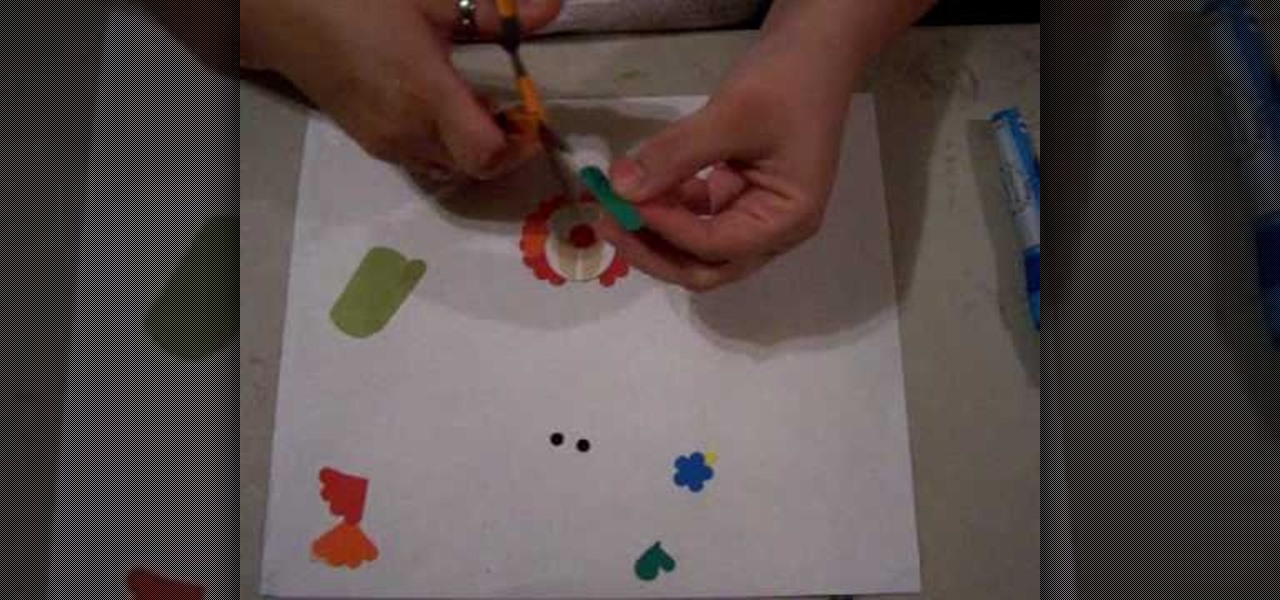
In this tutorial, we learn how to make a clown punch using Stampin' Up! products. You will need: a red scallop circle, green key punch, orange scallop circle, heart shape, circle, oval, red circle, flower, black eyes, and a yellow small circle. After you have these punched out, make the hat out of the green large and oval shapes, then apply the flower to the top of the hat. Next, glue the circle behind this, then cut up the orange and red scalloped circles to create hair on the sides. Next, a...

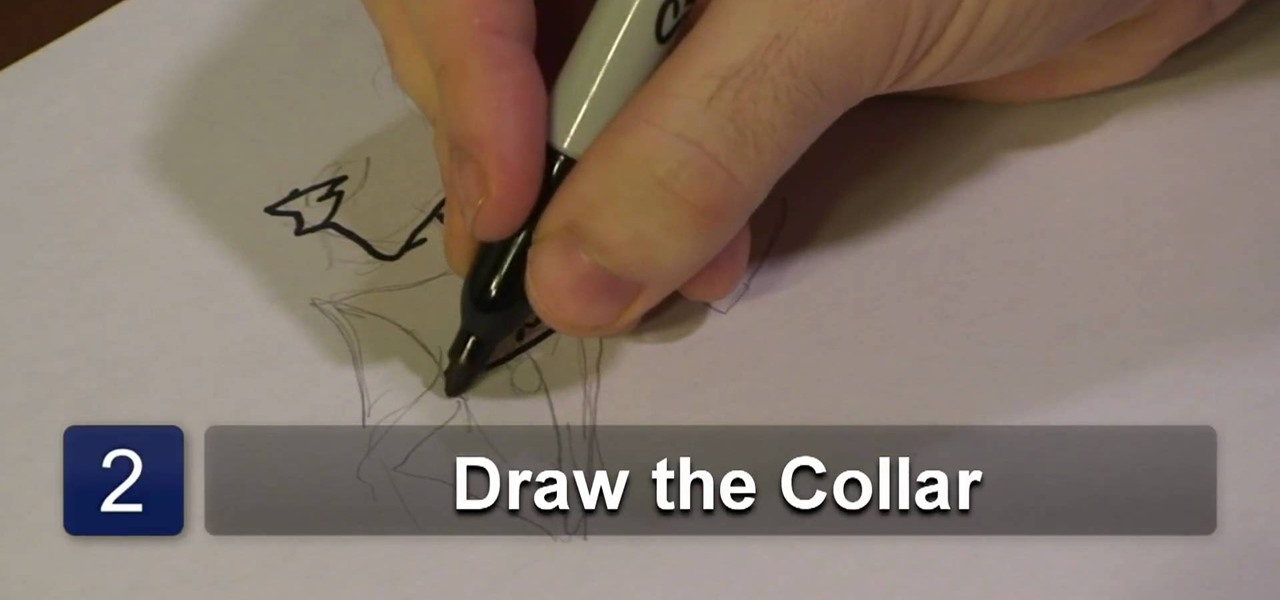
In this video tutorial, viewers learn how to draw an animated shirt collar. Users will need a sheet of paper and a drawing utensil. Begin by drawing the neck of the figure and attach the head to the neck by connecting it with a chin. Add some lines on the neck for details. At the bottom of the neck, draw an oval shape to close the neck and draw another oval outside of it for the collar. Finish by adding a few lines in the collar for detail. This video will benefit those viewers who enjoy draw...

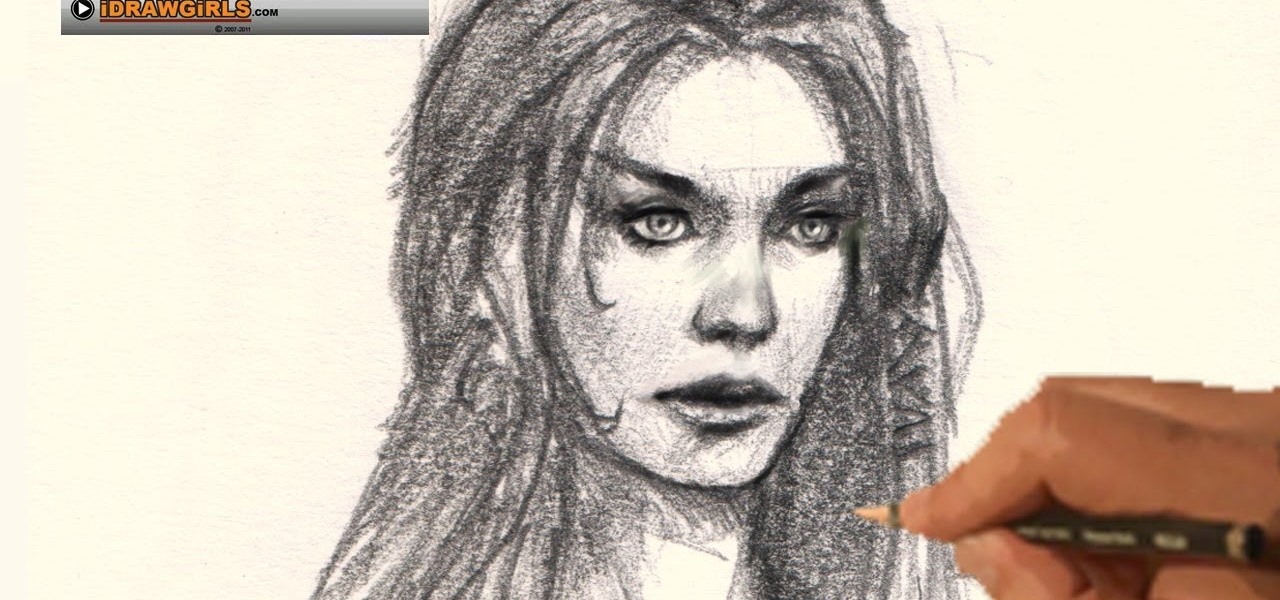
Draw a persons face with this lesson by a professional artist. Start with a basic oval shape. Draw a light guideline through the middle of the face, then a cross line where the eyes might go. Then, draw a line for the nose and mouth. This will leave your drawling divided in three sections. Next, you begin the eyes. Draw oval shapes on the eye line. Then, draw the circles for the middle of the eyes. Then draw in the brows. Next, begin drawing the nose then the mouth. Now you're ready to draw t...

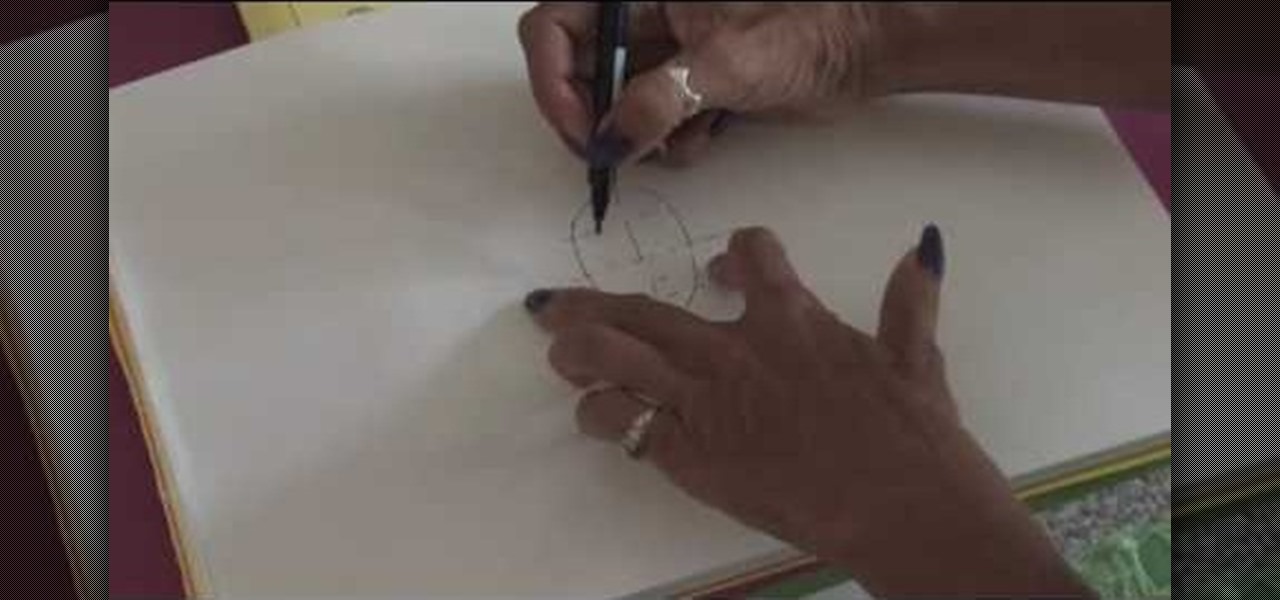
This video illustrate us how to draw a face. Here is the procedure for the following: Step 1: First of all take a sheet of paper and start by drawing a oval representing the outline of the face.

In this how-to video, you will learn how to quickly draw a Shy Guy from Mario Brothers. You will need a piece of paper and a pencil or pen. First, start off with the face of Shy Guy. Draw an oval shape and two really long ovals for his eyes. Now draw his mouth, which is just a little circle. You can shade in the eyes and mouth. Draw the strap and then move on to the hood. Move onto his arms, which are very simple. Next, draw his belt. Remember that the robe hangs over the belt a little bit. D...

This video illustrates the method to Make a nuno felt purse. You need colored paper, a piece of cloth and a pair of scissors to make it. This process is comprised of the following steps -Step 1Cut a oval shaped figure from the sheet of colored paper. Make a crease in the middle and fold the paper.Step 2Cover the paper with the cloth piece. Stitch the end of the piece of cloth and cut the cloth in a proper manner.Step 3Make the oval shaped figure into a rectangular figure. Add some nuno paste ...

TVLessonDotCom teaches you how to draw a person's face from the front. Start with a basic oval shape. You can do this part in pencil and then erase it. Use a vertical cross line and a horizontal one. Add two more horizontal ones to break the face into sections: hairline, eyes, nose and mouth and then chin. The eyes are small oval shapes. You can also create a small circle in the middle and then eyebrows. Draw the nose next and then add the mouth. Everything must be in proportion, so the verti...

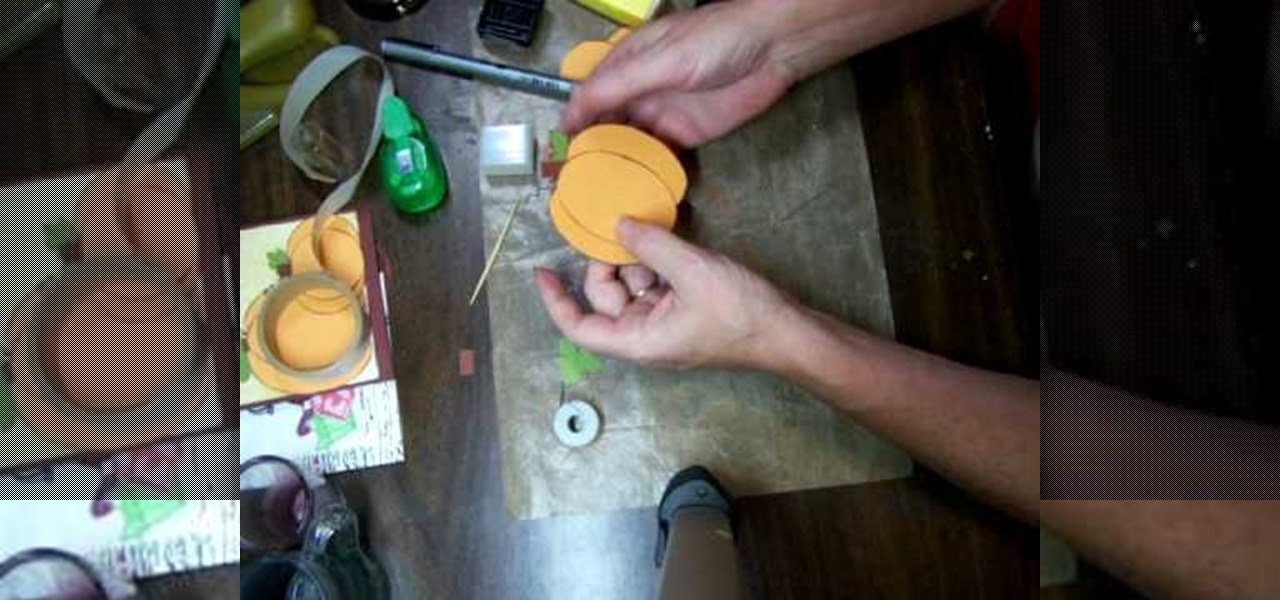
For anyone looking to dress up a card, learn how to make a paper pumpkin using punches in this video tutorial. Take a white piece of paper and distress it with Memory Mist (with the pale ale color). Use a box to distress the paper, while avoiding getting the mist all over your work space. To actually make the pumpkin use a store-bought punch (either round or oval). Make the punches with orange cardstock. For each pumpkin, you will need either three ovals or circles. Using a chalk ink to distr...

In this video cholowiz13 teaches you how to draw Chilly Willy. You start with a big circle for the head. Inside, draw two ovals and two smaller circles there. These will be the eyes. You then create another oval adjacent to that which will be the cheek. Draw a triangle facing outward, which will be the beak. Draw the body next and two flat feet at the bottom. One arm should be behind his back and the other extending, showing the letters you will draw. Also add a hat on top of his head and dra...

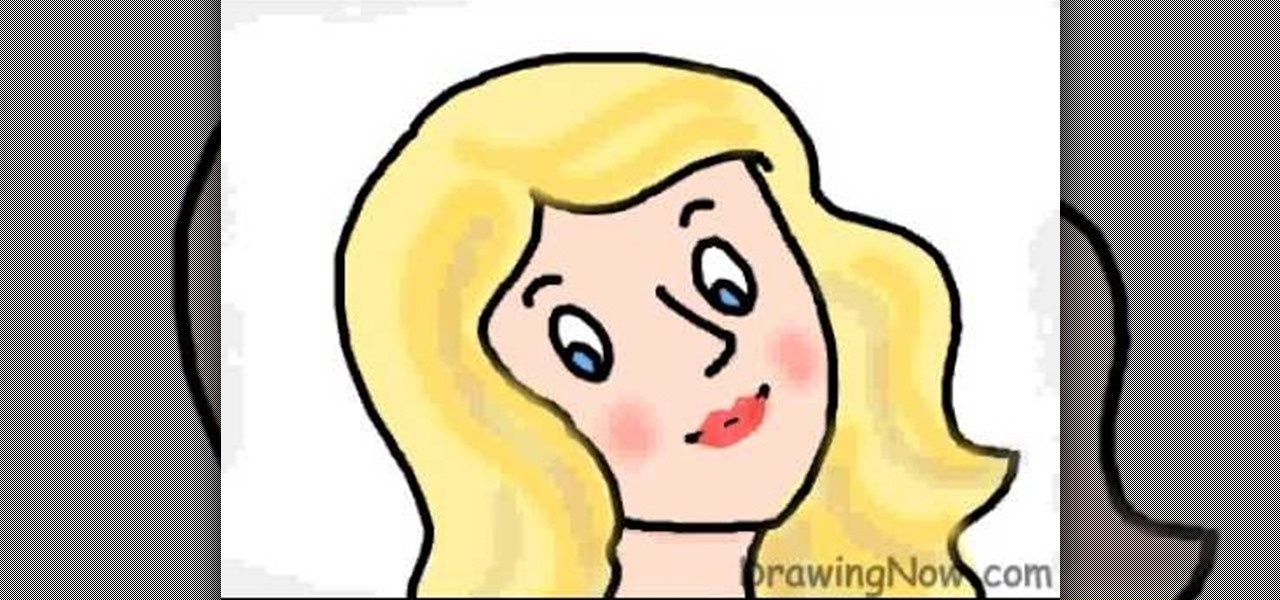
DrawingNow teaches you how to draw a cartoon mom on a computer in Microsoft Paint or any other drawing program. You start with a basic oval, but tilted to one side. Then, add the contour of the long hair. Next, you can start adding details to the face. Draw a nose and two equally spaced ovals with circles inside each one. These will be the eyes. Draw eyebrows and full lips. Now that you are done with the sketch, you need to color it in. Use yellow for the hair, blue for the eyes, a pink flesh...

Don’t squeeze that blackhead! There’s a gentler way to get rid of it, and several steps you can take to prevent new ones from forming.

Doing Facial Morphs within Zbrush has never been easier now that we have the use of layers. Find out how its done in this video.

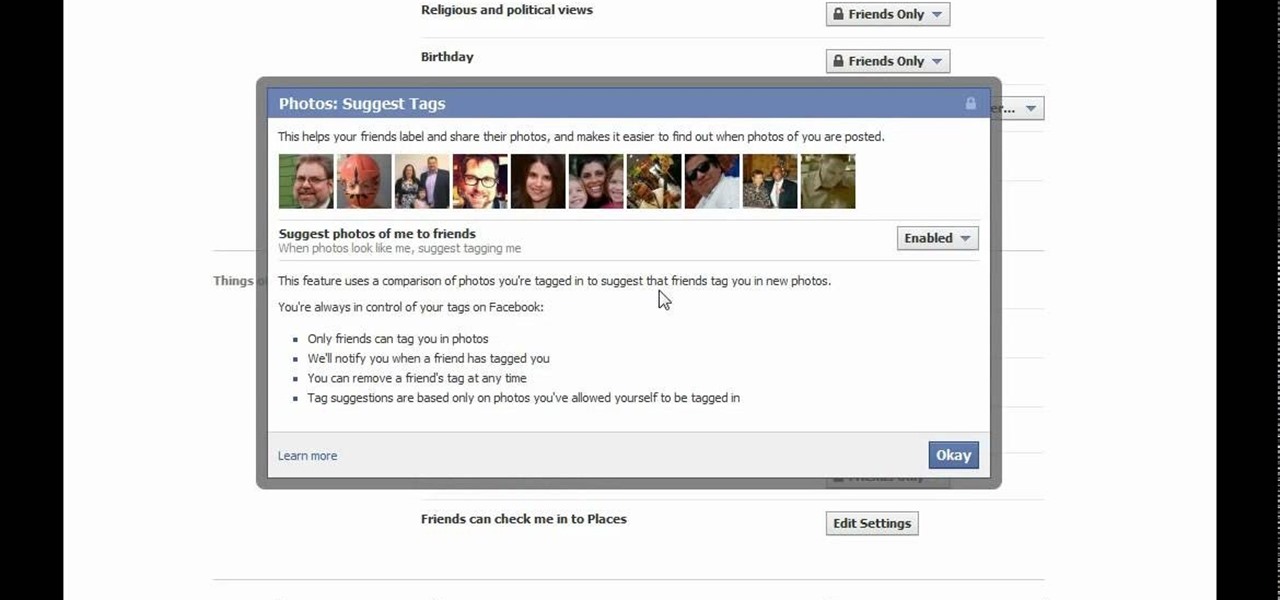
Don't like the idea that Facebook could recognize your face in a friend's photo and suggest they tag you? Take control of your privacy and learn how to disable Facebook's facial recognition feature for photos. You should know when you're going to be tagged in a photo.

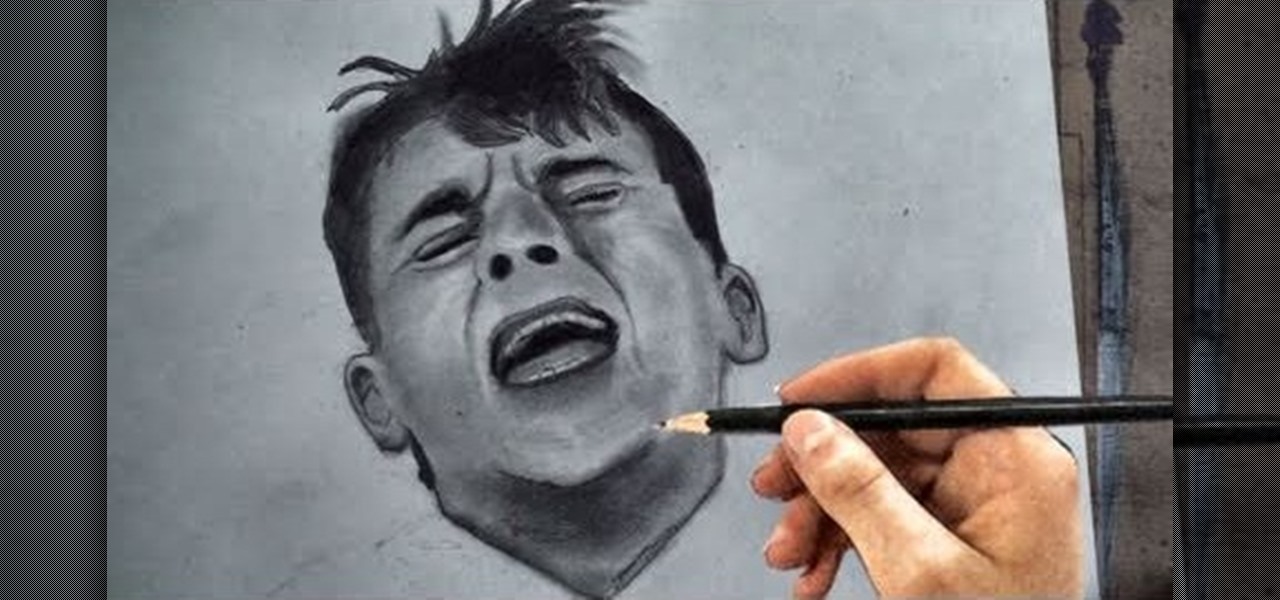
Grief is a particular painful kind of sadness that can sometimes be difficult to capture in a simple pencil sketch. This tutorial shows you how to perfect mourning facial expressions using a few good techniques and showing you how to shape the features.

In this video tutorial, viewers learn how to eliminate facial imperfections using Adobe Photoshop. Begin by opening the image in the program. Then select the patch tool. Now draw a circle around the imperfection and then move it to an area of the skin that has no blemished. Continue doing this for all the imperfections. This process can be done to eliminate pimples, moles, blemishes, scars and wrinkles. This video will benefit those viewers who enjoy editing images to enhance them and would l...

In this video tutorial, viewers learn how to do a hair transplant them self. Users will first need to let their beard grow 2 months or more, depending how fast their facial hair grows. The beard should be long and thick. The materials needed for this are glue and hair clippers. Begin by shaving off all the facial hair. Now evenly apply some glue on the bald spots and place on the pieces of facial hair. This video will benefit those viewers who are balding and would like to learn how to do a h...

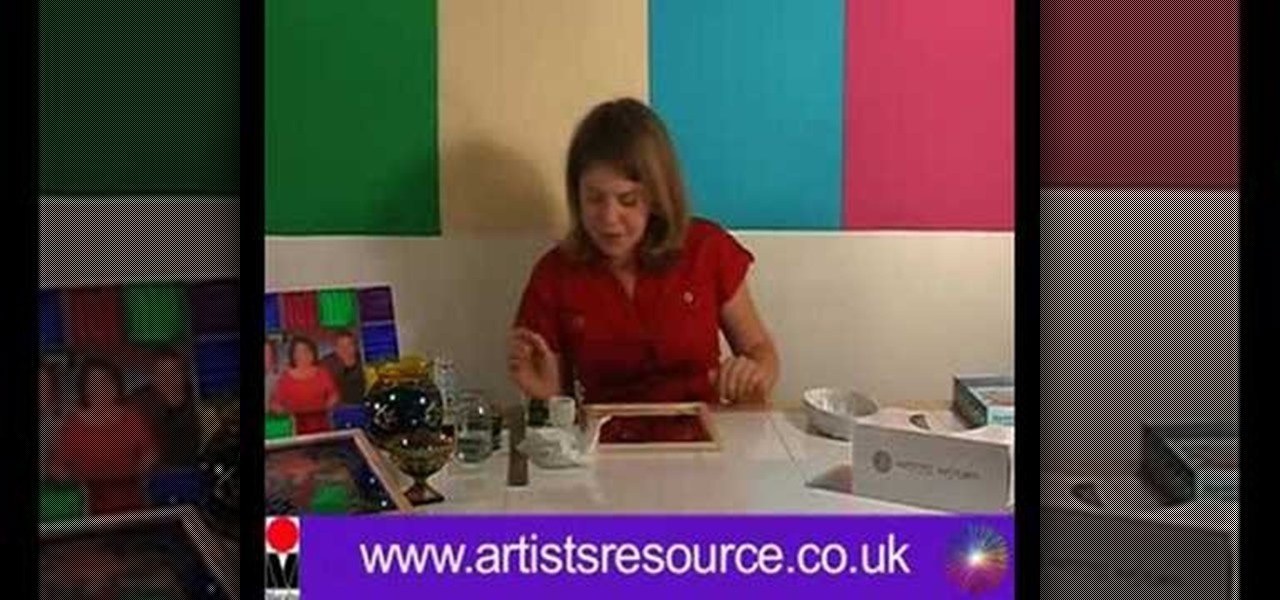
In this Arts & Crafts video tutorial you will learn how to make a stained glass mirror. This video is from Artists Resource. You will need a Marabu GlasArt kit, some spirit, a china graph pencil, scissors, a ruler, masking tape, a container to mix your paint, an object to draw an oval shape, Marabu outliner paint, a mirror and peel off dolphin stickers. Take a few dolphin peel offs and stick them on the face of the mirror; on the edges, to form a design. Place the oval shape object in the cen...

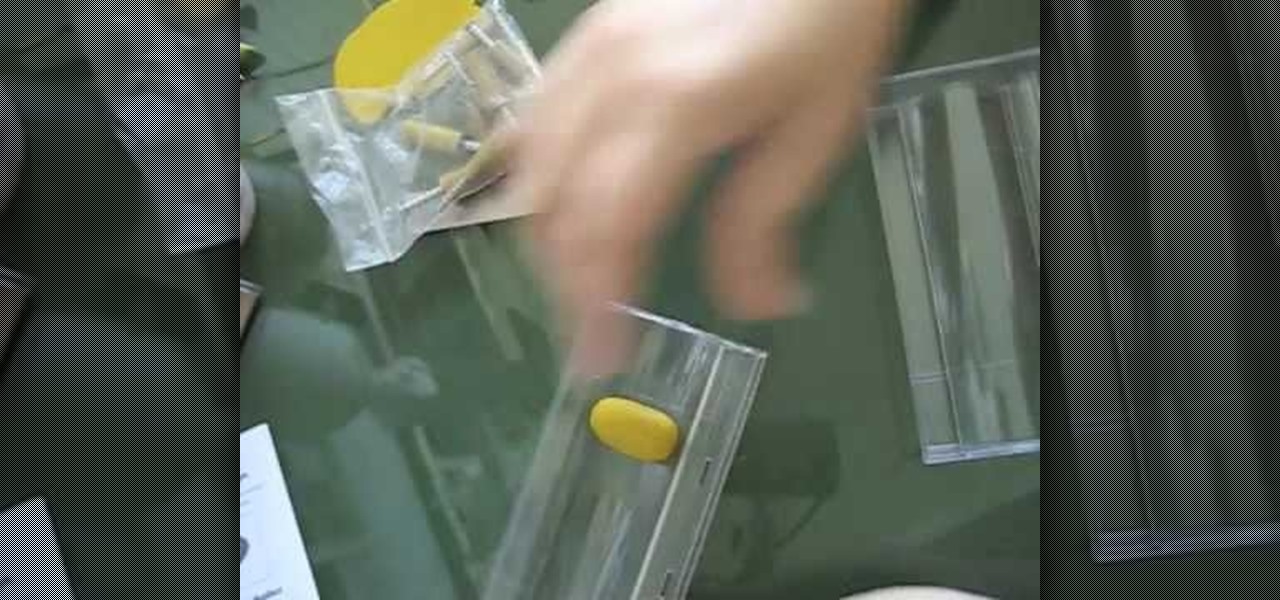
Our instructor will choose set 2, 6 and 8 to show you what the company offers. On the wrappers are pictures of the types of beads possible with each set. She will create from set 2 today, which makes oval beads. Inside of the packages, such as this package which holds set 2 are several items. First is the thin metal pins or rods that can go into the baking oven with the polymer clay molded around them. Next, two pieces for the mold, a bottom and top that fit together with grooves. There are a...

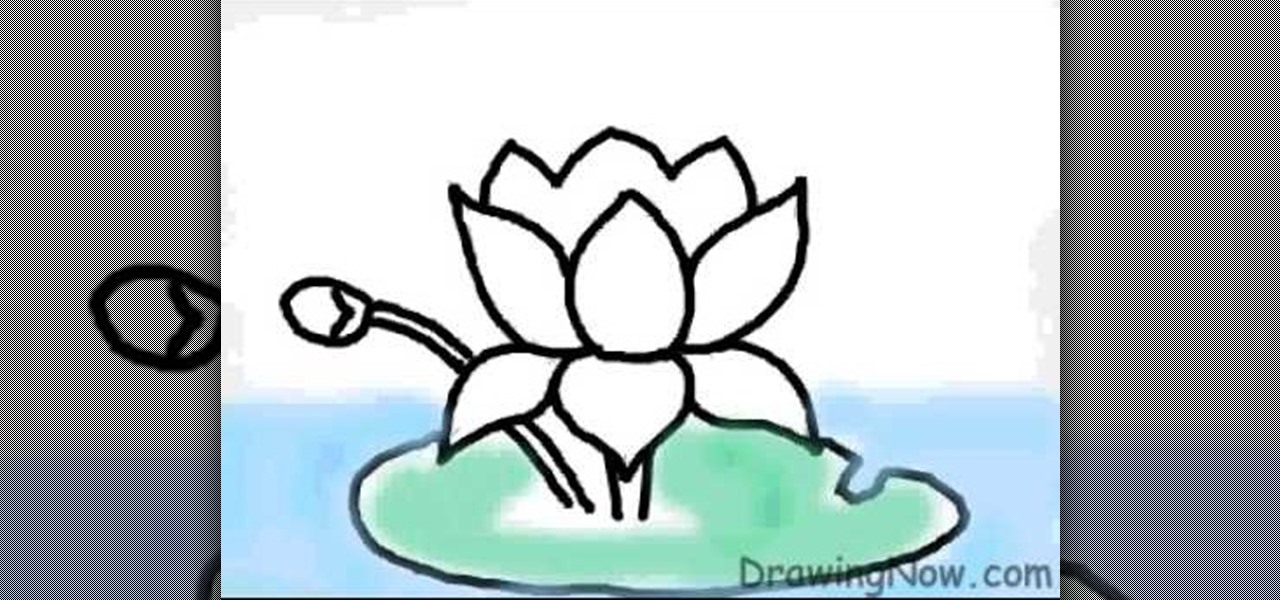
Learn the art of drawing a ‘Lotus Flower’ on your computer, by watching this video. Begin by drawing a faint outline of the flower at the outset. This is done by drawing an oval shape first. Then a straight line is drawn below the oval, along the center. A semi-circle comes next, touching the extreme ends of the oval shape. Similarly, a mirror image of the semi-circle is drawn, below it. The petals of the lotus flower are then outlined in dark, from the center and on either side symmetrically...

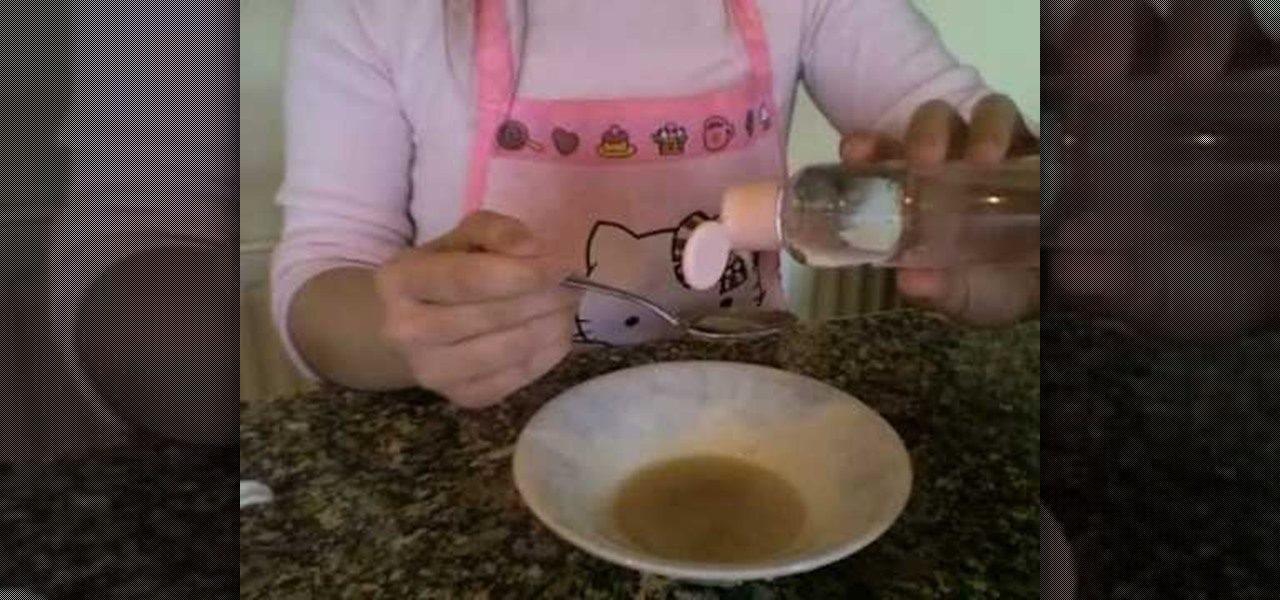
No need to spend money at the beauty shop when you can make your own green tea facial scrub at home. This video tutorial demonstrates how to mix together a homemade facial scrub that you can store and use multiple times. This homemade mask is inexpensive and great for getting rid of dead skin cells (which can pile up giving you a dull complexion). By using the scrub when it is slightly warm, it opens pores allowing the nutrients of the mask to cleanse deep within.

Master this essential salon service in the comfort of your own home with this how-to video from Elle magazine. Instead of spending lots of money on a professional spa treatment, do one yourself. Watch this video skin care tutorial and learn how to give yourself a facial at home.

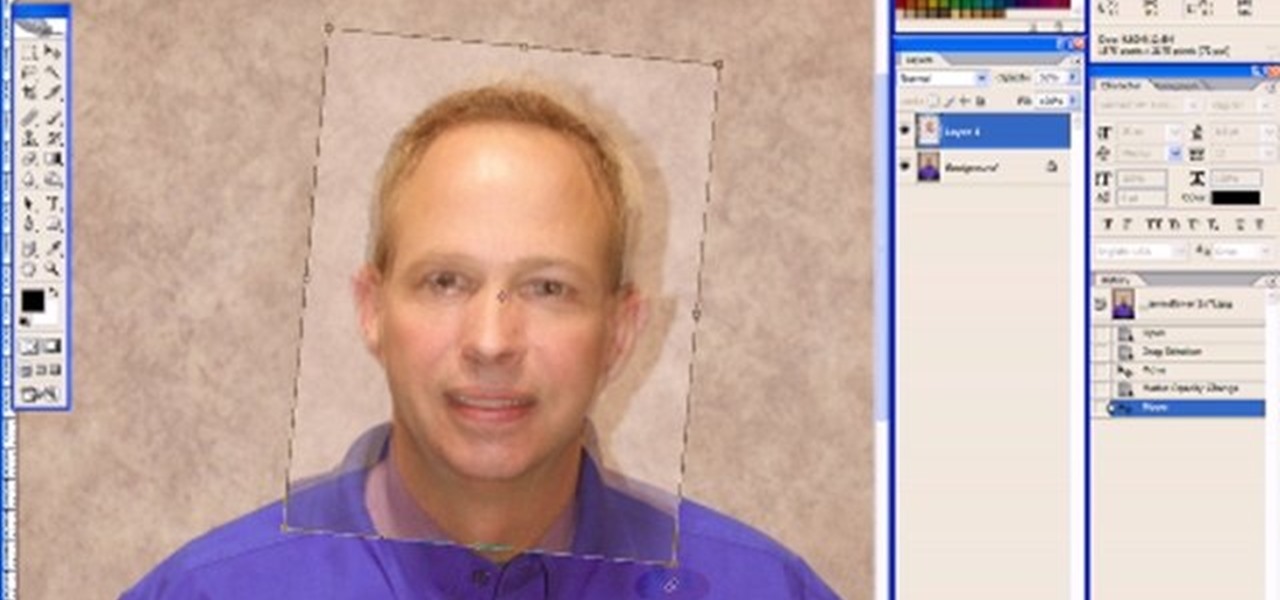
Using Photoshop CS2, we demonstrate how to take facial features from one photograph and drop them into another. Learn how to use layer masks to do some creative face swapping in Photoshop CS2.


