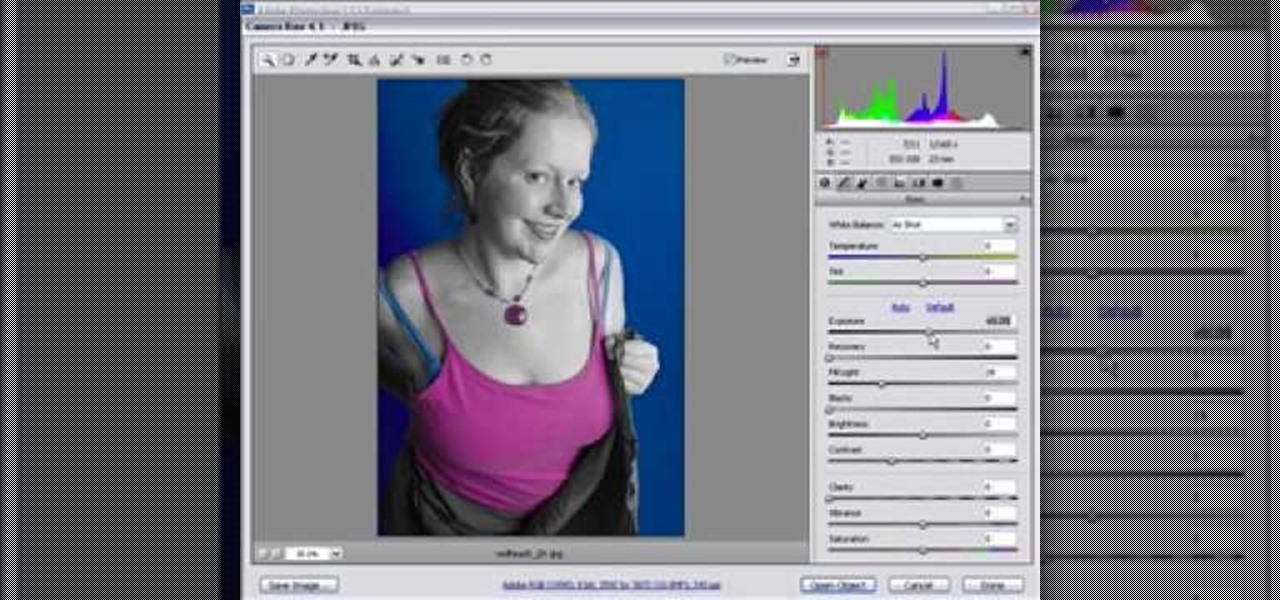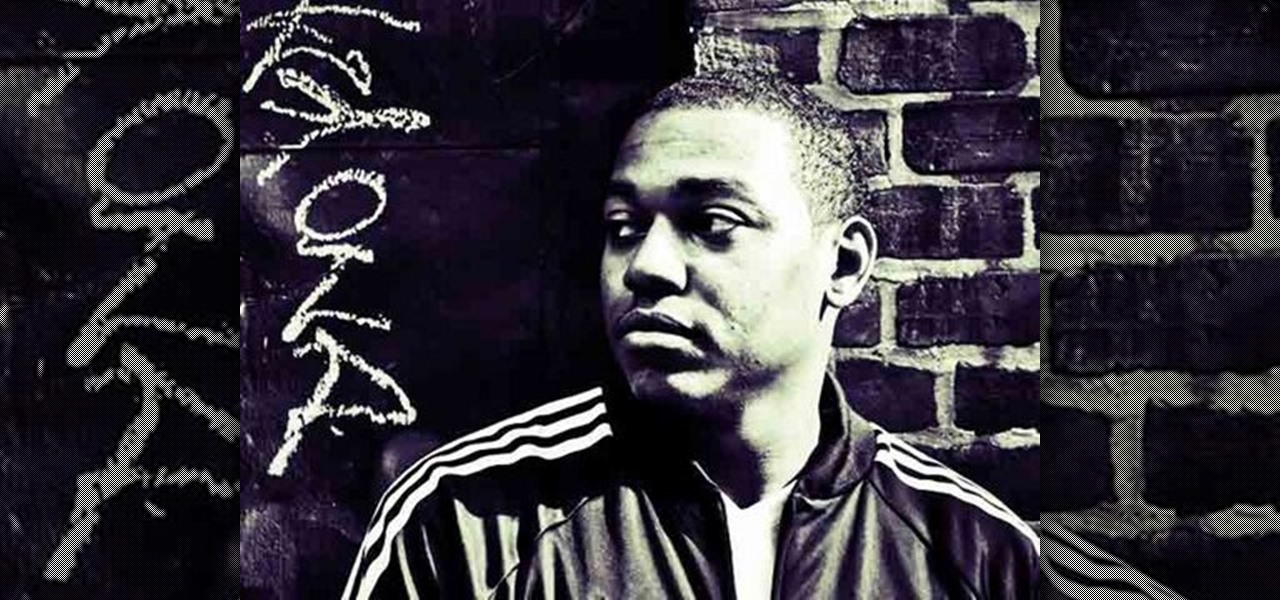
This tutorial explains how to create a multi colored eye effect. First open the image in Photoshop and unlock the layer. Make a selection of the eye with either the lasso, magnetic lasso or pen tool. If you are using the pen tool, like in the tutorial, right click and choose mark selection, feather radius of three pixels. Now copy and paste the eye. Go to File and select New. Create an image of 1000 by 1000 pixels. Unlock the layer and make sure tea background and foreground colors are black ...

Ash Davies teaches us how to Photoshop digital bokeh with this tutorial. First, open up Photoshop and create a new canvas with your width at 1920 and your height at 1200. Now, create a new layer and set your background layer as invisible. Now create a medium size circle and reduce the fill to 50%. Now enter blending options and add a stroke of 10 pixels to the inside with the color set to black. Now define the shape as a brush and then click "edit" and "define brush preset" name this, "bokeh"...

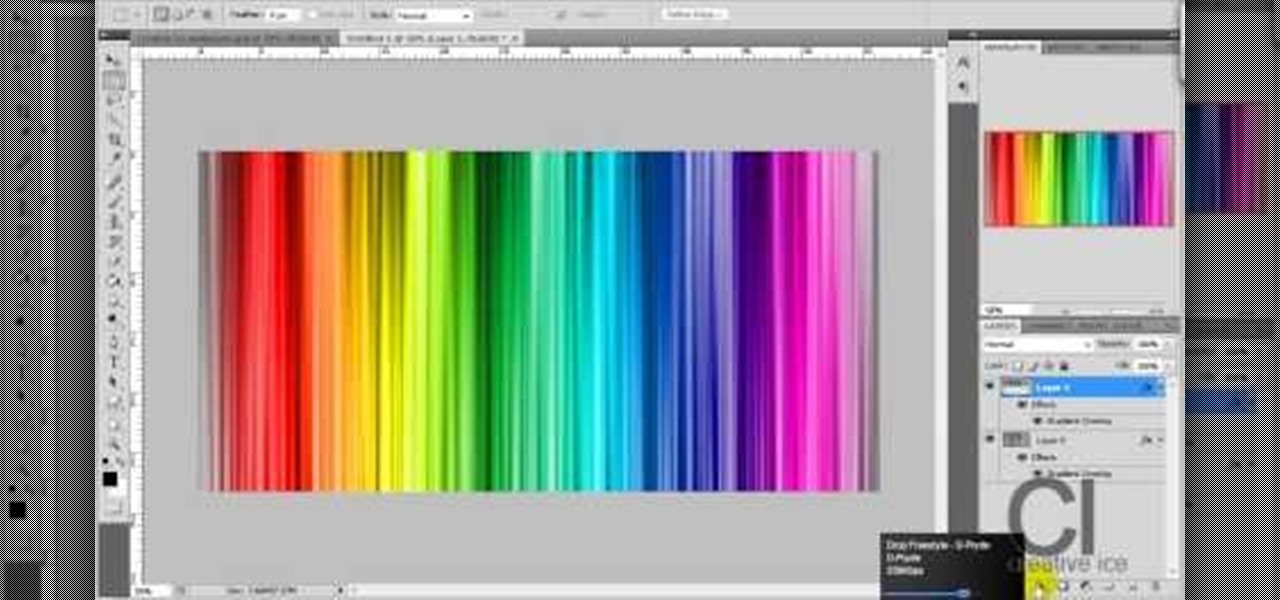
pbj746 is here to teach you on how to create a glossy rainbow effect using Adobe Photoshop CS4. This can be easily done in a matter of minutes and you can try experimenting with other colors and effects to get variant number of sassy backgrounds.

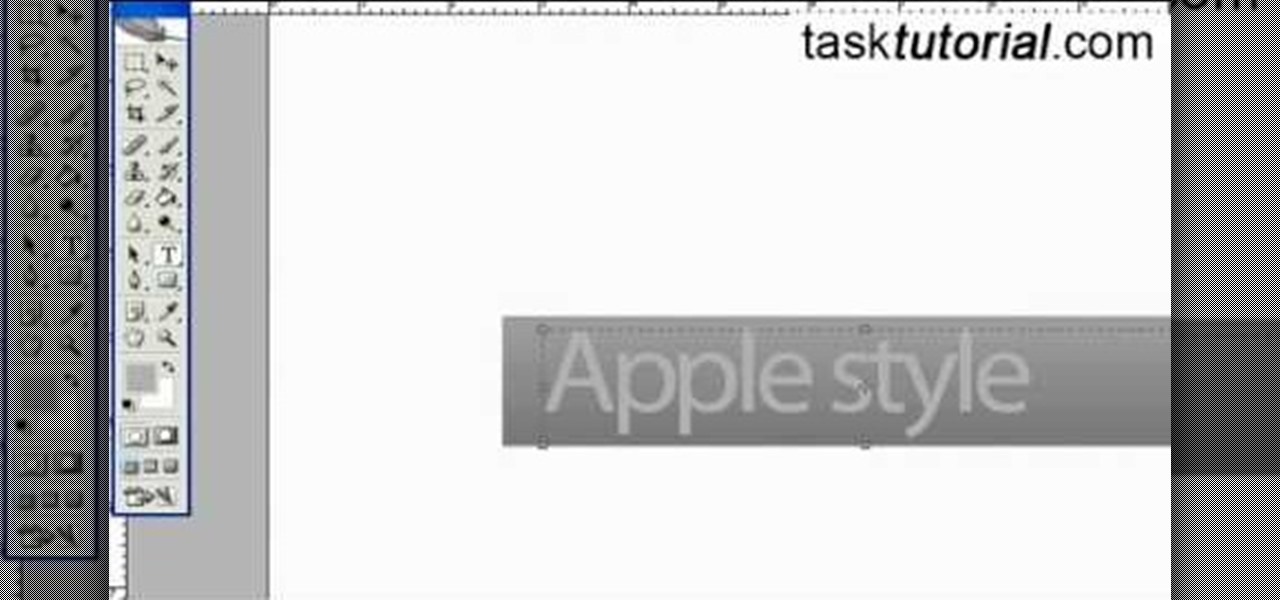
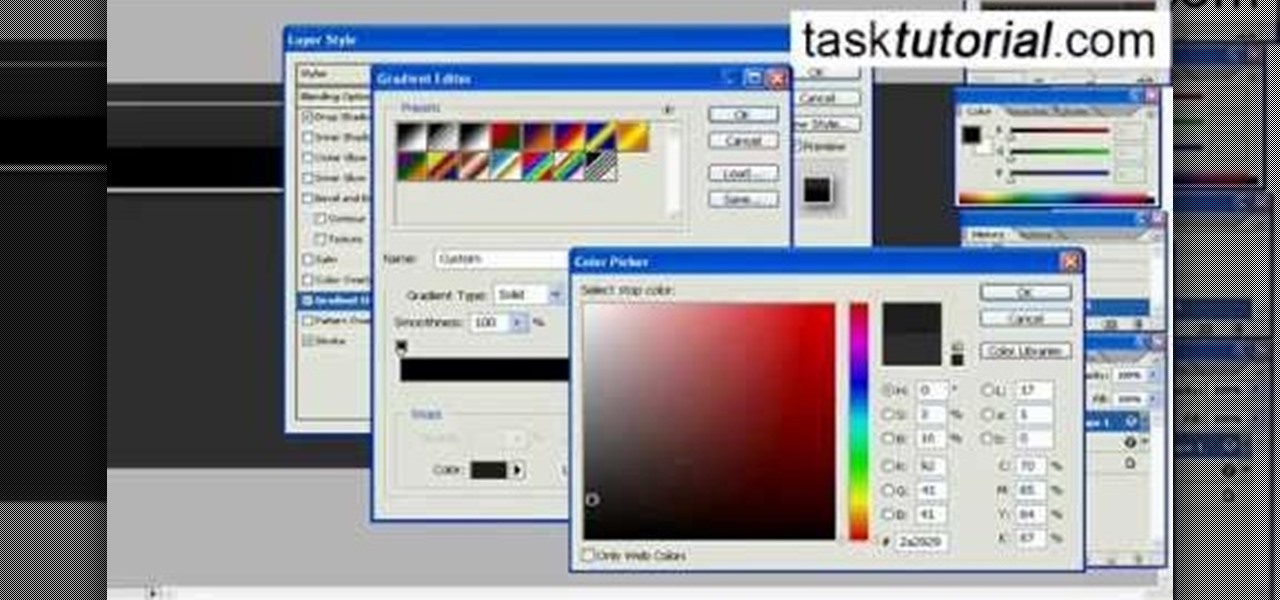
First select the rectangle tool and draw the bar. Now you have to open up the layer style and choose gradient overlay. Now you need to edit the colors as showing in the video and then go to drop shadow option, you have to change the opacity of it to 20%, distance to 2 and click ok. Now type "Apple style" in new layer as showing in the video, set the size of text to 72pt. Now open layer style for the text and choose color overlay and set its color to dark grey, go to drop shadow and choose nor...

Adobe Photoshop CS4 lets you create images and graphics that represent your personality. This video tutorial demonstrates how to make a quick, cool, and easy wallpaper design for your personal computer desktop. Either copy the provided example, or make your own tweaks and come up with a cool custom design.

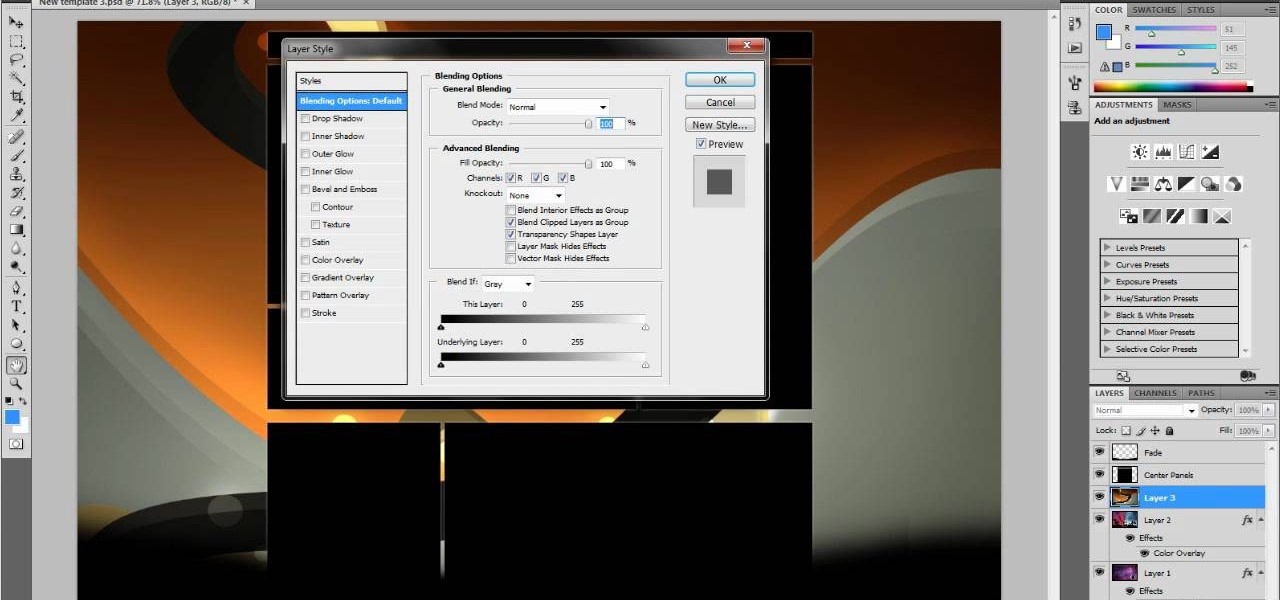
This tutorial takes four separate photographs and then uses several Adobe Photoshop techniques to blend them into a single background image. Using the layering and color overlay technique, this video demonstrates how you can get this unique and clever photo effect.

This video will walk you through the process of creating your very own icon to use for your email by using Adobe Photoshop. Photoshop is a great tool to use for a variety of purposes and in this instance can make the perfect icon in just minutes.

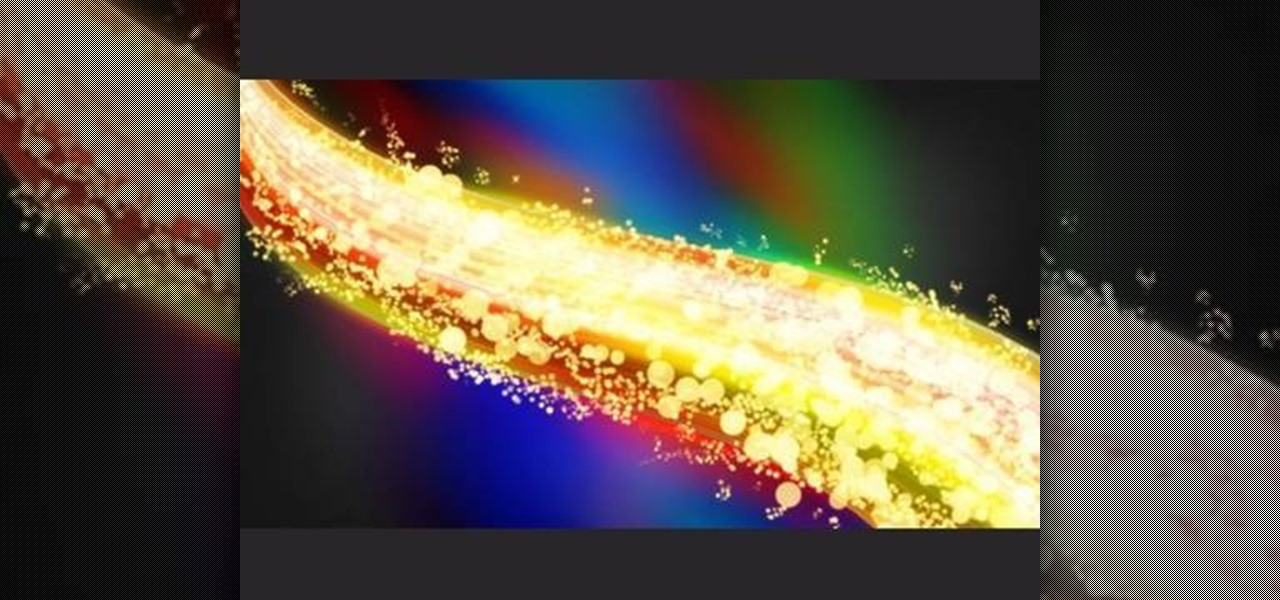
This video will help you learn how to create an Explosive rainbow color swath in Photoshop. First open a new file, keep the width 845, height 475, RGB color mode and white background.

Open the picture you want to edit. Right-click on the main picture layer in the box and then select "Duplicate Layer". Then, in the same box, go to the drop-down menu that says normal, and change it to "Overlay". Then, select Filter>Other>High Pass. In the box that comes up, set the radius to 7.4 pixels. Next, go to Layer>New Adjustment Layer>Gradient Map. Then, when the box comes up, click OK. Then click on the main gradient in the Gradient Map. In the new box, there is a bar that goes from ...

TutCast shows viewers how to create the blood spatter from Watchmen in Photoshop! First go to TutCast.com/watchmen and download the given file that will provide you with the layers needed for this project. First, click layer and click bevel and emboss. First, start with Inner Bevel, Keep it smooth and leave depth at 100. Direction is up and change the size to 8 and soften to 10. Now, set the angle to -70 and altitude to 30. Now, the gloss contour you should pick the fourth option and the high...

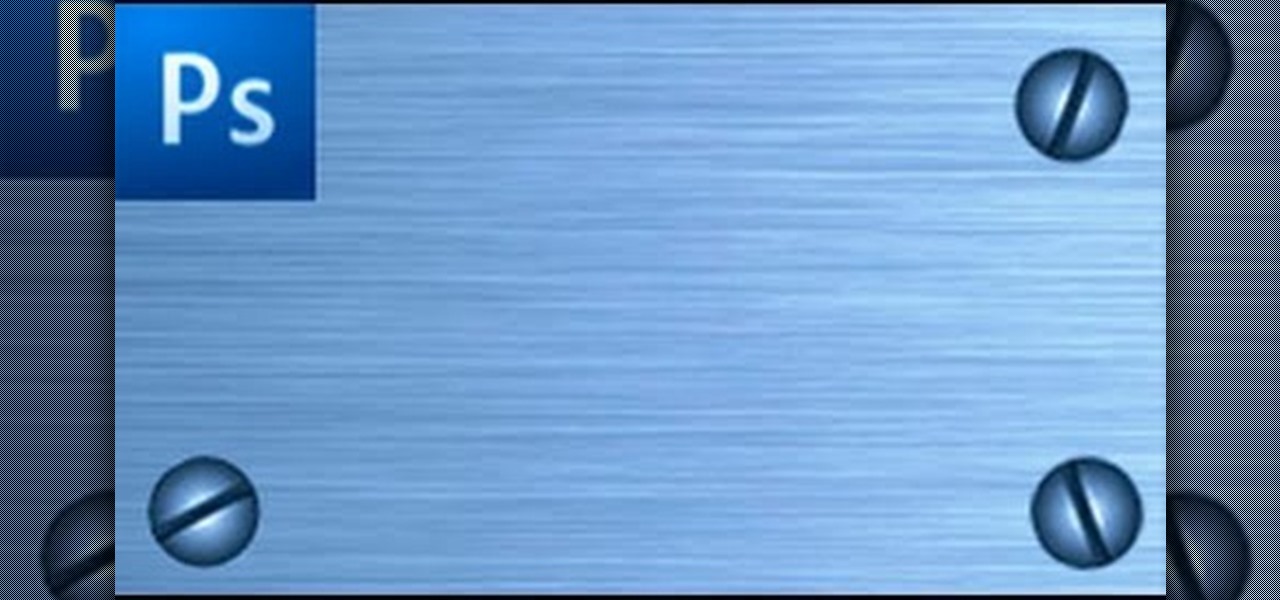
In order to make a brushed metal effects in Photoshop you should first go to your gradient tool and select a dark grey or a black and click okay. Shift and drag your mouse to create the gradient. Next, go to filter, Noise, and then add noise and change the percent to 40% and click okay. Now, go to blur and ocean blur and change the angle to 0 and distance to 100 pixels. Now, for the sides to look like brushed metal, crop those sides out. Now you have a metal effect. To make a screw, click on ...

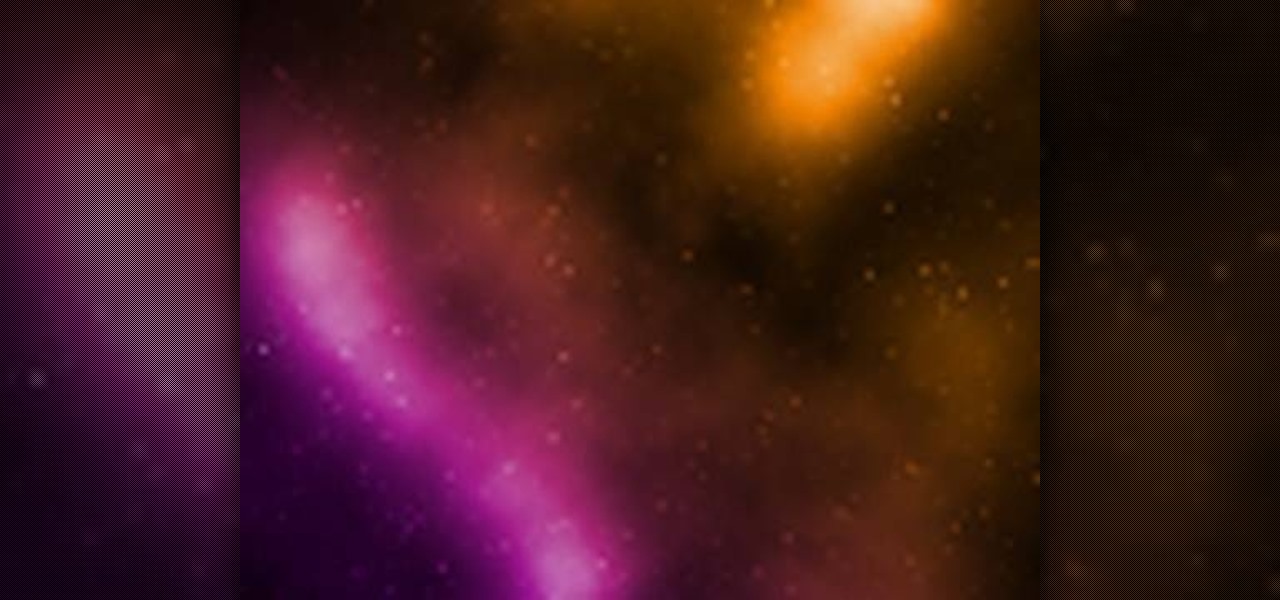
This how to video shows you how to create a nebula star scene in Photoshop. First, create a new image in Photoshop. Fill the background with black. Next, create a new layer and call it stars. Go to filter and select noise. Choose Gaussian and click monochromatic. Click okay to add the noise. Once that is done, go to adjustments and levels. Change the settings so that you have less clutter. Next, make a selection in the middle. Copy and paste it as a new layer. Go to edit and select free trans...

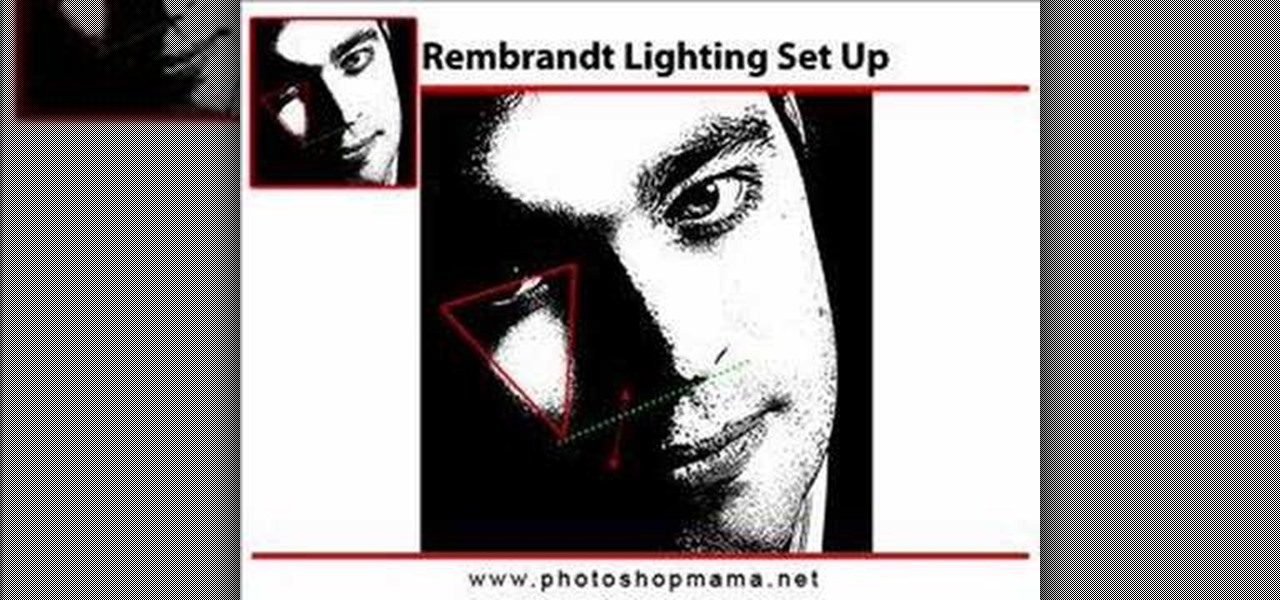
This Photoshop video series is going to explain how to create a chiaroscuro lighting effect on an image. This art form was made famous by the Italian artist Rembrandt. Part one covers the origin of terms and how to create chiaroscuro dramatic lighting. Part two has instructions for downloading the image, and some very basic workspace and preferences instructions for beginners. Part three covers Duplicate Image, File Info, File Size, Eyedropper Sample, Doc Status Bar, Panels/Palettes. Part fou...

In this tutorial, we learn how to create a warm grunge background in Photoshop. First, create a large circle on a burnt orange background in Photoshop. Now, go to layer, adjustment layer, then levels. Hit "ok" then the level's adjustment layer will be masked. Now, go grab the bottom black slider and brighten up the middle. Use the overlay to create a center glow. Next, bring in texture using a brushed metal texture from this photo. Now, even the image out by going to image, then image rotatio...

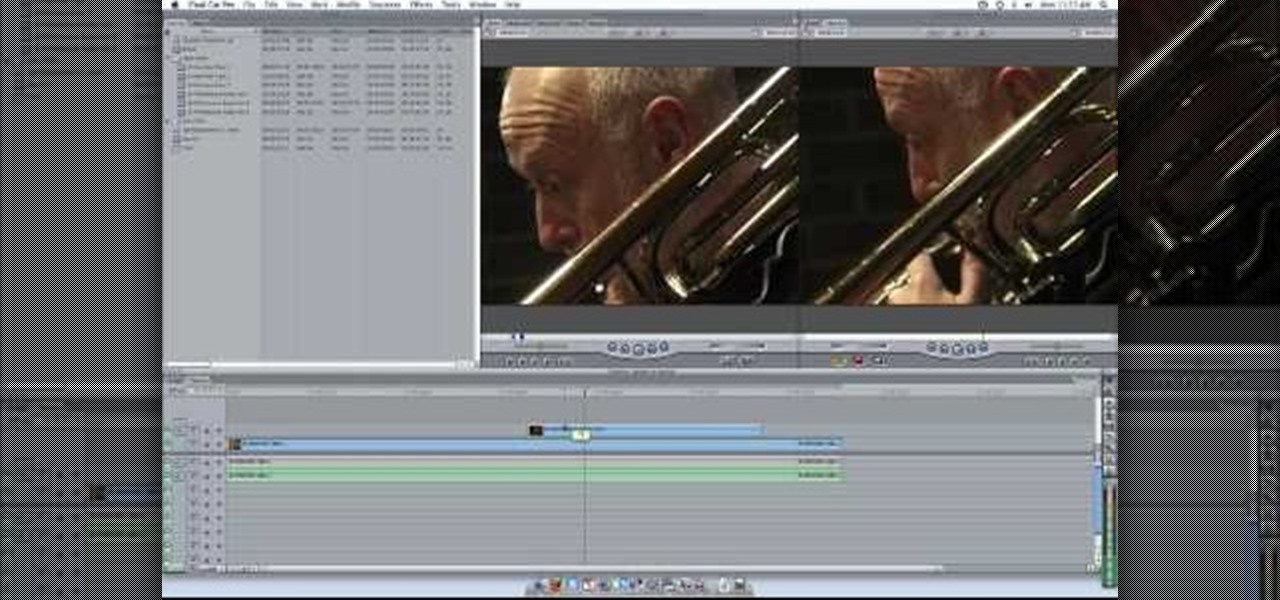
Plangere Culture Lab demonstrates how to use the opacity feature in Final Cut Pro. The opacity feature is a beneficial tool to use when working with layers. Opacity is an attribute which relates to how much you can see through a clip. To layer clips, create a new video track on the timeline. Make sure that the source tab is in the right position. The track on the top of the stack is the dominant track and will be shown. Select the volume and opacity overlay button. Click on the line over the ...

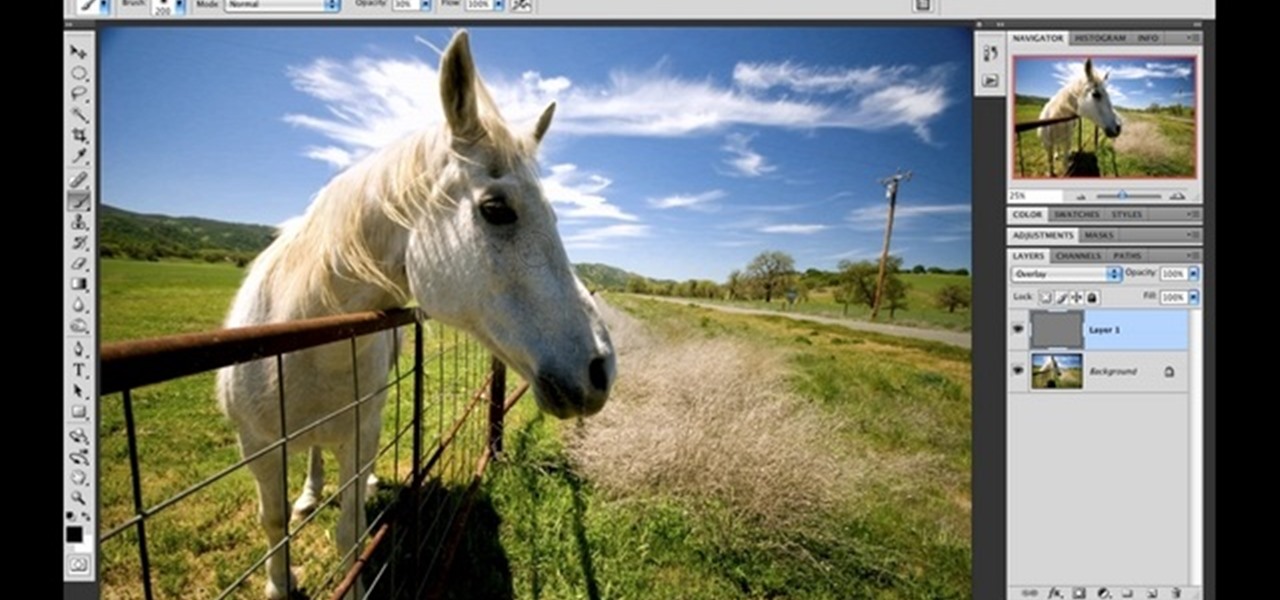
Nicole Young demonstrates how to use non-destructive dodging and burning using layers in Photoshop. Your first move is to create a new layer and then hit shift + delete to select the level of opacity. You want the layer to be fifty percent grey. Now select overlay from the menu which will make anything that is fifty percent grey will be transparent. You will be dodging and burning with white and black brushstrokes. To switch from black and white background colors just hit x. Other keyboard sh...

Open a document and change the background to black. Make sure the foreground color is white, now simple use the text tool and write whatever you need to.

First of all open an image which shows many different lights in a night background. Now make a new layer now set the color of background to black by first and the foreground color set to white. Click the background for the bottom of the left bar and then pressing 'd'’. Next select the 'gradient' tool. Make sure to select the style from the foreground to background. Select the 'mode' to 'normal' and ‘opacity’ to '100%'. Now drag the top right hand corner to the bottom of the left hand corner. ...

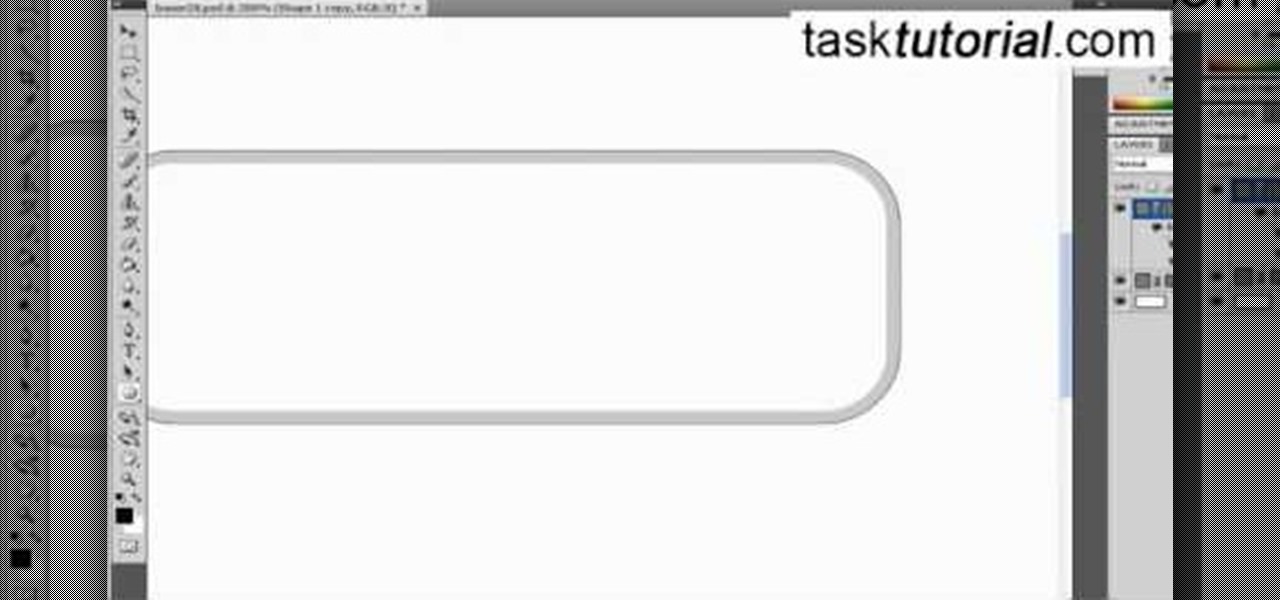
If you ever wondered how to create a buy now button for your website this video shows how to do it using Photoshop. To do this open Photoshop and start with a new file. First draw a rectangle which will be now modified into the buy now button. Set the radius of the rectangle to forty pixels. Fill it with gray color. Duplicate the layer. Open the layer options of the duplicated layer and set the stroke position option to inside. Set its weight to 6 pixels and set its colors to light gray. Now ...

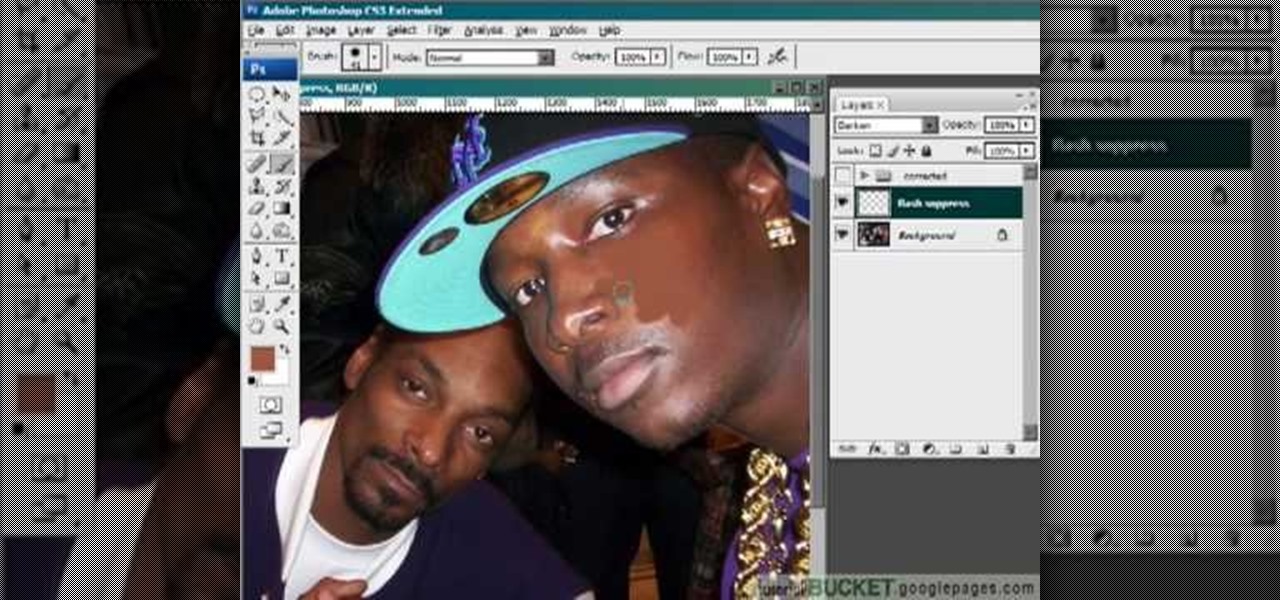
This video gives detailed instructions for removing a hotspot or flash reflection in a photo by using layers and masks. Start by adding a new blank layer and naming it something like Flash Suppress. You will use a special blending mode for this layer called darken. With your paintbrush you will loosely paint out the hotspot, having selected the color tone that you need with the eyedropper tool. Later on you can use layer masks to clean this up. Adjust the opacity of the layer until you have t...

This tutorial teaches you how to create a mosaic photo made up of many smaller photos in Photoshop. It explains the use of the crop tool, image resizing, use of sharpen filters and of fading command. It also handles creation of custom patterns with the use of the define pattern command as well as later use of the said pattern for a custom pattern fill. Finally, it describes the use of the overlay blend mode for achieving the desired effect.

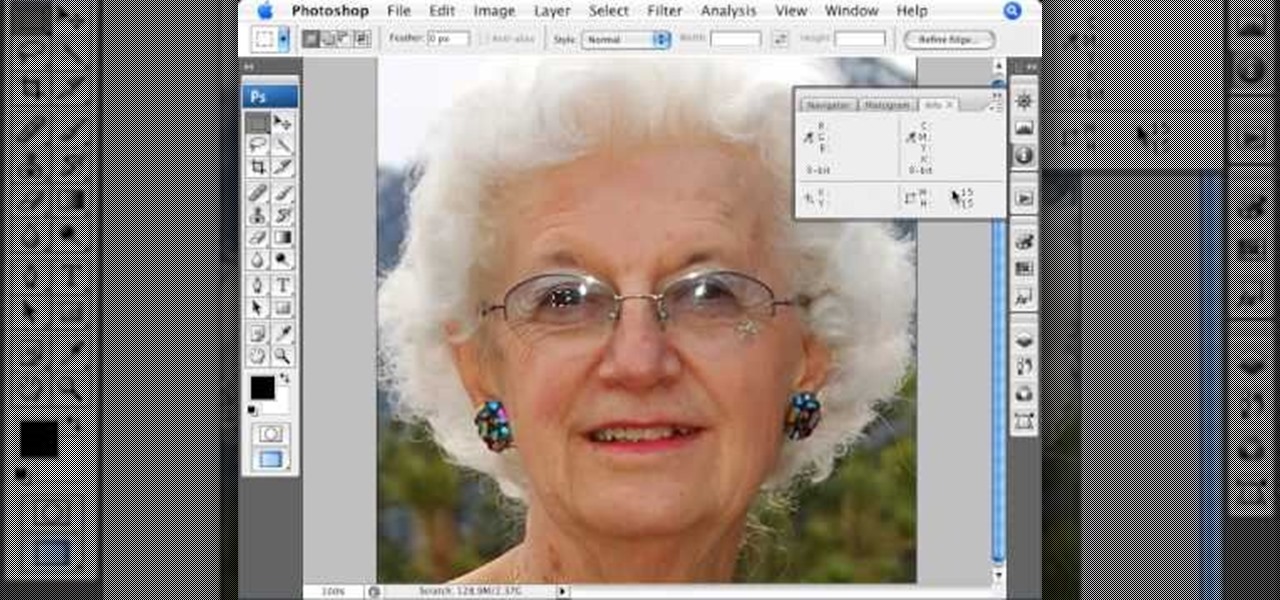
Open the Adobe Photoshop program. Choose a picture with a head shot. This maybe something that is already in your pictures folder on your computer, downloaded from the internet or transferred from your flash drives, and those photos you may have scanned and saved in your computer.

When you link your calendar from a Microsoft Windows SharePoint Services 3.0 site to Microsoft Office Outlook 2007, you can view and work with the SharePoint calendar right alongside your Outlook calendar. When you make changes in one calendar, the two calendars are synchronized automatically. Take a look at this tutorial and learn how to overlay the calendars to make viewing your complete schedule even easier.

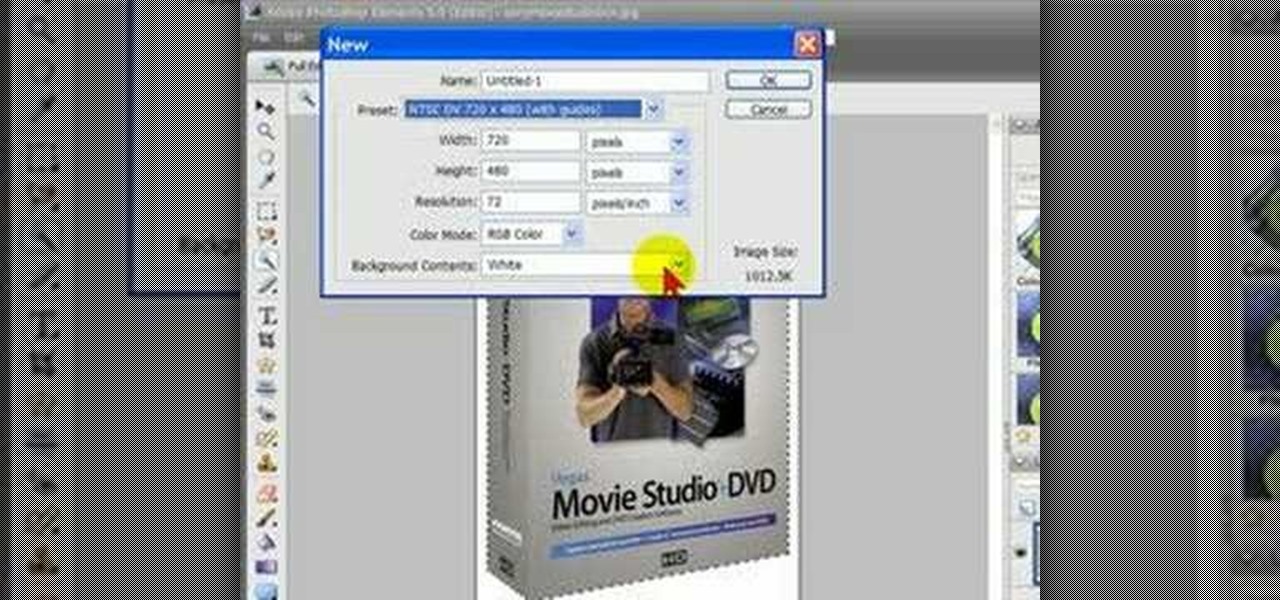
Bill Myers shows how to quickly extract an image and paste it on a transparent background in Photoshop Elements.

Learn to use a Layer Style, Color Overlay to create variety on a 1 layered document in Photoshop and generate a PDF slide show presentation containing 4 color variations!

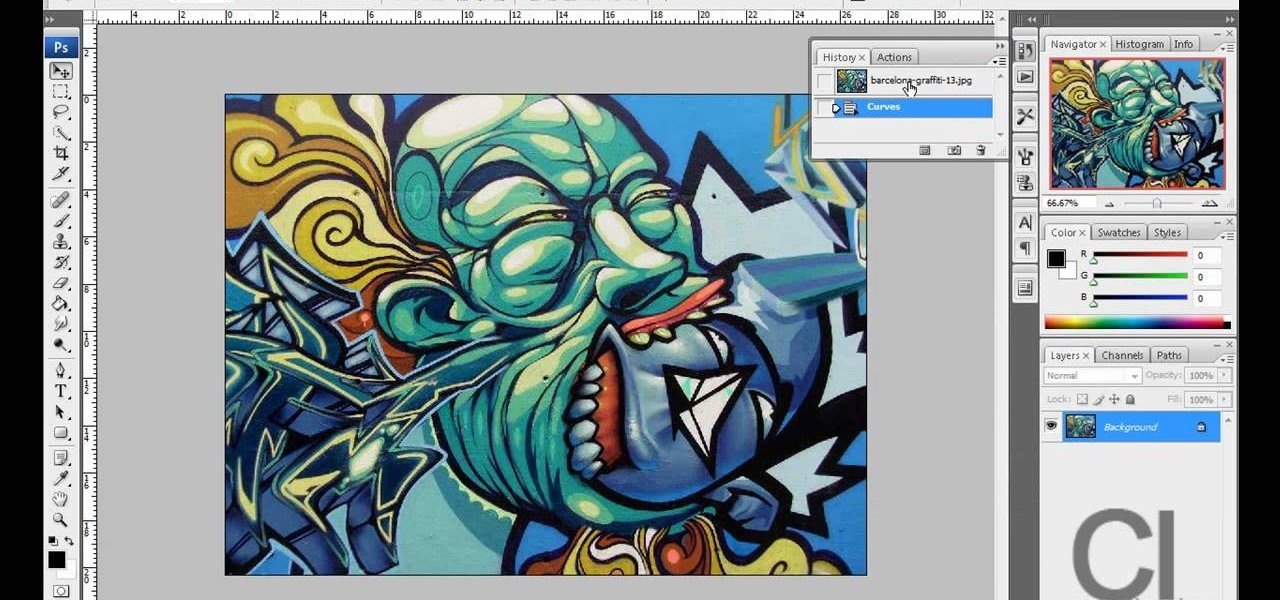
In this tutorial, we learn how to create a Lomo effect in Photoshop. This is a contrast that gives the photo a "cool" vibe and change up the effect that you see. First, load up your picture into Photoshop and then go to adjustments, then curve. From here, add a slight s-curve and then add a green channel with the same s-curve that you just created. Go to the blue channel and create the opposite s-channel from the others, then click "ok". Now, go to layer, new adjustment layer, then gradient m...

If you need to display thumbnails on a WordPress page and link the smaller thumbs to the original larger pictures, this post shows the process involved, using the Lightbox plugi,n which creates a special overlay effect when an image link is clicked on. Every version of WordPress brings with it new features, new functions and new ways of doing things. Fortunately, the very same technology that allows an open-source blog publishing application like WordPress to exist in the first place also mak...

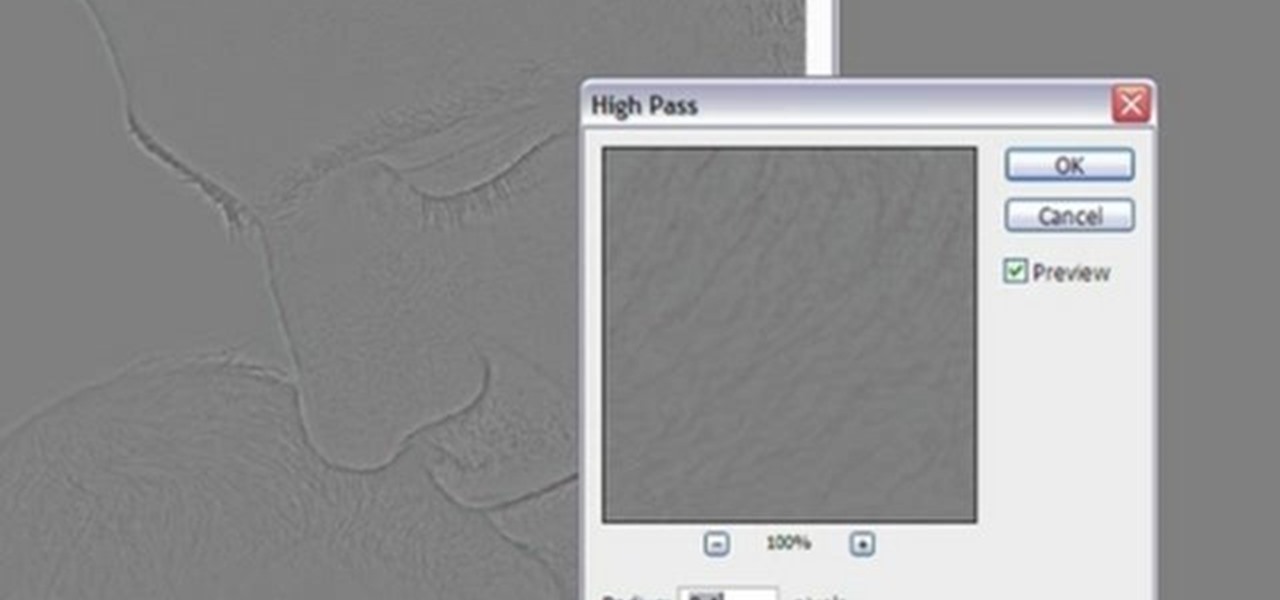
In this Software video tutorial you will learn how to sharpen blurry images using Photoshop. Open the image and duplicate the original layer. Then go to filter > other > high pass. In the window that pops up, enter a value of 4 – 6 pixels. Now simply change the blending mode of that layer to overlay by clicking on ‘layers’ and selecting ‘overlay’ from the dropdown menu. You will notice that you have a much clearer picture. Then go to filters > sharpen > ‘unsharp mask’ to add som...

In this video, we learn how to created a chilled look on a photo using PhotoShop. First open up PhotoShop and open up the picture you want to change. First, duplicate the layer on the photo. Then press "control" then "u" and make the picture blue. Now, click "filter" then "blur" and add a small amount of blur to the photo. Now you can click on "overlay" and you can see the photo change. If you want to make it look more blue, duplicate the layer again and you will see more of a chill factor on...

In this video tutorial, viewers learn how to sharpen photos in Adobe Photoshop CS3. Begin by opening the image in the program and duplicate the image layer. To duplicate, press the control and J button. With that images, go to Filter, choose Other and select High Pass. The images will now be covered entirely of gray. It is recommended to set the radius as 5-6 pixels and then press OK. Change the layer blending mode to overlay, soft light, hard light, vivid light or linear light. This video wi...

First add video to the video section. Then take what we want to add and place it just below the video in the video section. Now look at the bar just over the video section. There will be a video camera sign. Click on it. There will be many tabs. Click on the "overlay feature tab" then click on the "Enable picture in picture" option. Now choose "Full Screen" in the drop down menu in the preset options. Now set the Video Transparency option to whatever you want.

This video demonstrates a way to use the lomo effect on pictures in Photoshop. The effect makes colors stand out more, thus making the picture stand out more. The first step in adding the lomo effect is to change the color curve levels of the picture by going to Image > Adjustment > Curves in Photoshop. They should be changed very slightly, from a straight line to a slight "s" shape curve. After this, the gradient map should be changed to a black to white gradient. Finally, the mode of the ne...

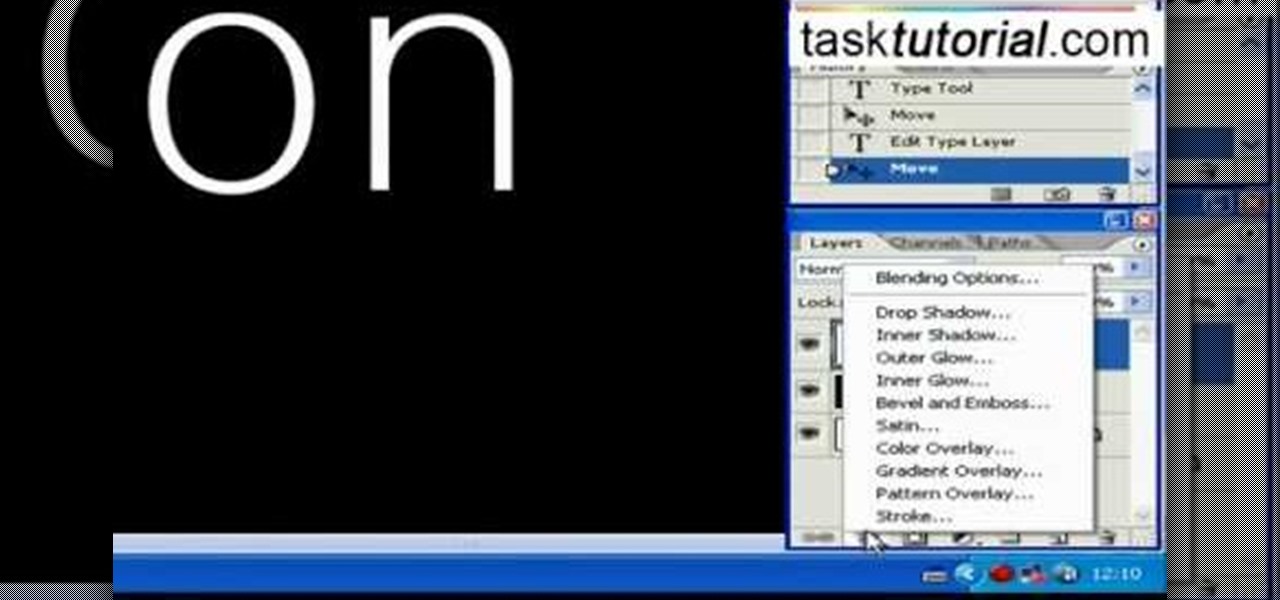
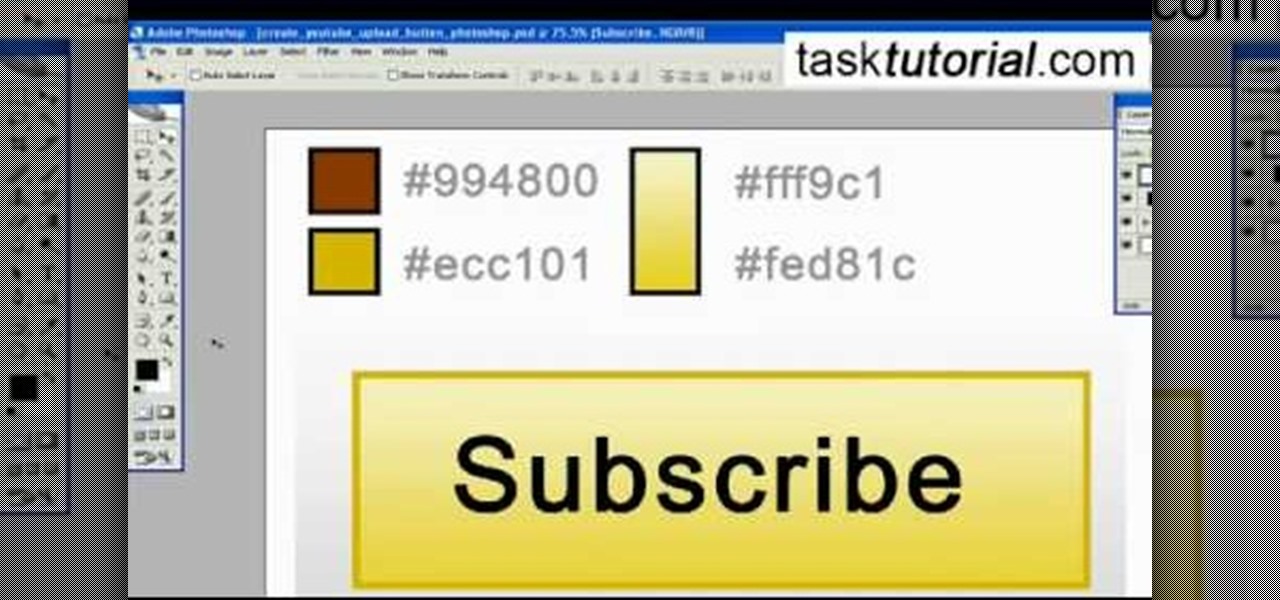
This task tutorial explains how to use Photoshop to create a YouTube subscribe button. First, select the rectangle tool and draw a bar. Select color options and deselect the color overlay. Then, go to gradient. Using the dropper tool, select the first and second color. Open layer options again and select the stroke color using the eyedropper tool. Increase the stroke size and change the position to inside. Click okay. Select type tool, create text field and type in the text. Open layer style ...

This video instructs you on how to make a stylish bar with metallic text in Photoshop. First, you create a rectangular bar. Then create a layer with a stroke size of two pixels and a white color. Using the drop shadow on the menu, you set the opacity to sixty percent, distance to five pixels and size to about fifteen pixels. You will select gradient and create a gradient overlay. Then adjust your gradient and the text. Move it to the place you like best and you will have a bar with metallic t...

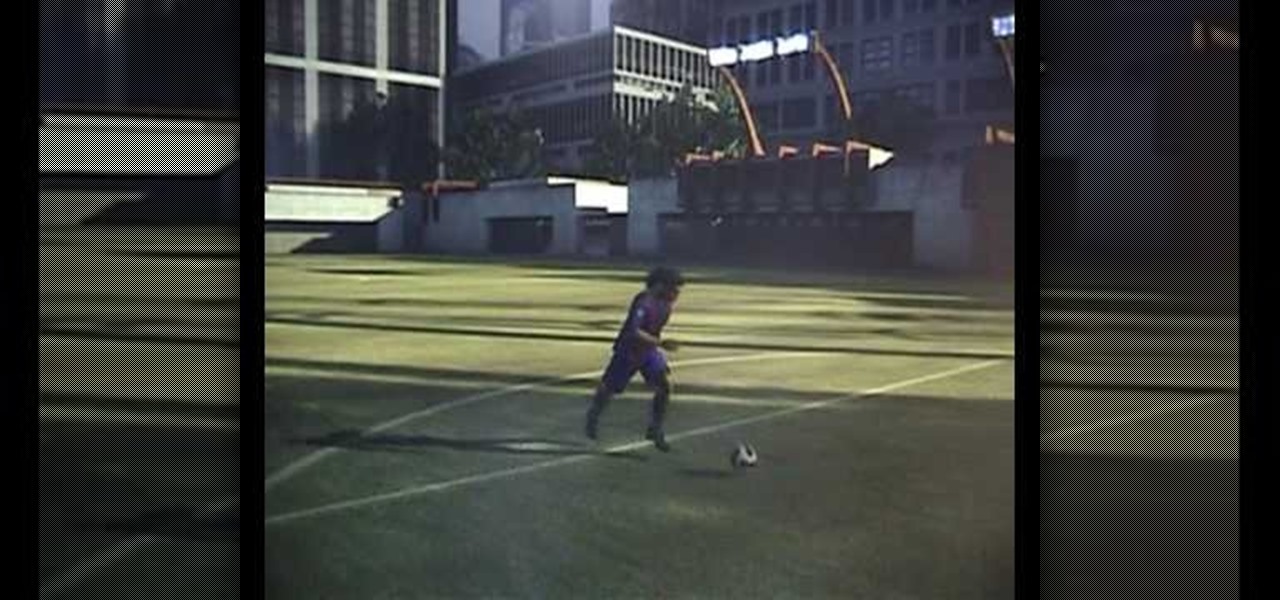
Here's a video tutorial of EA Fifa 08. (Xbox 360) This tutorial shows you how to do tricks in Fifa 08. This overlay of controller with slow mo moves help you learn the basic skills of FIFA 09.

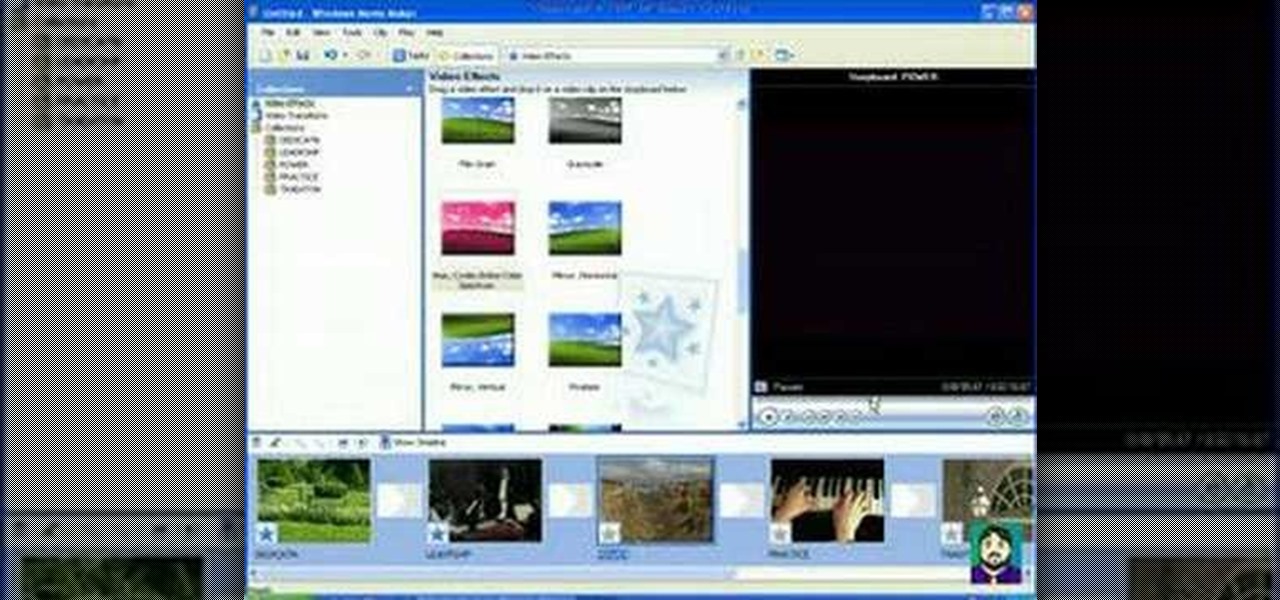
This 3 part Movie Maker tutorial explains all the main functions of Movie Maker and how to use them. Part one starts with importing video clips, editing clips, adding video effects and transitions, etc. Part two covers basic sound control, adding titles and credits, and putting in overlay credits. Part three shows you how to take a pile of pictures and music and instantly create a musical montage.

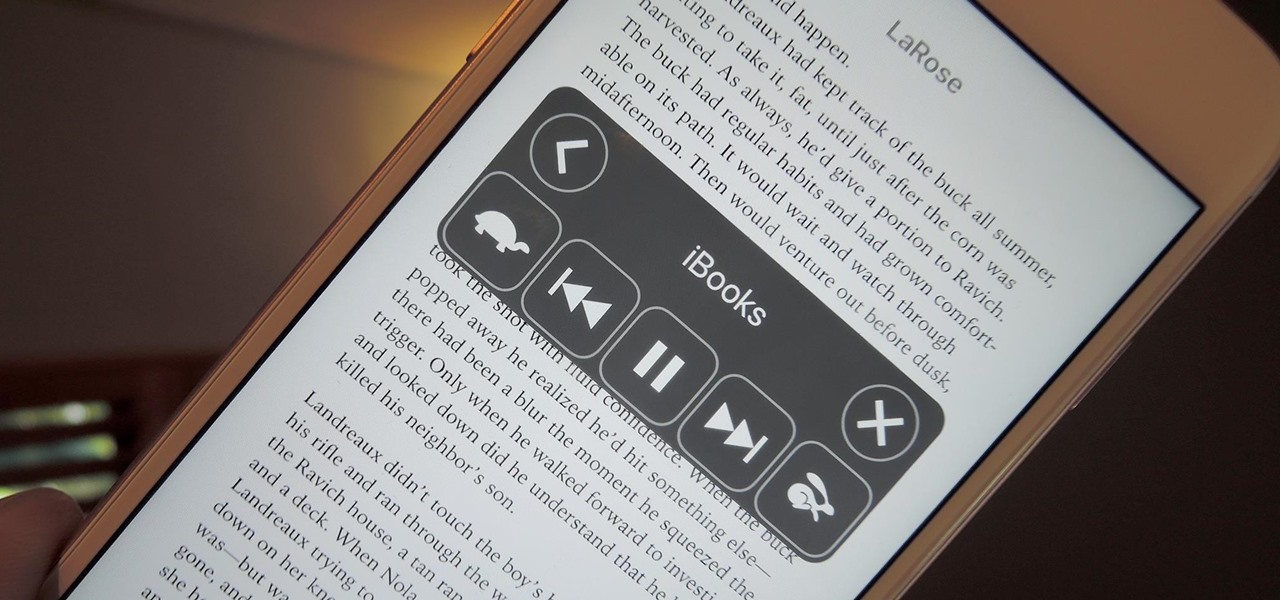
I often read ebooks on my iPhone while I walk, but being glued to my screen is a good way to get run over or cursed at. To save my physical and social hide, I use this trick to get my iPhone to read ebooks and articles out loud, turning my whole text library into de facto audiobooks.

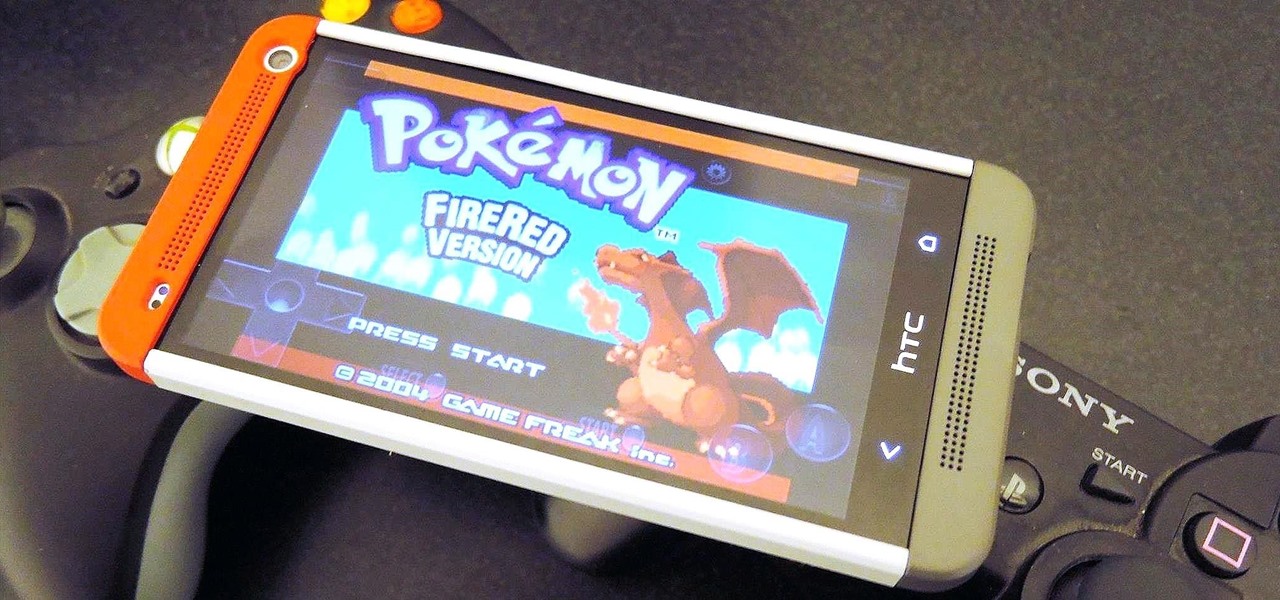
What's the point of having a 1080p screen if you're not using it to get in some quality gaming time? Google Play is great for downloading games, but you probably already have an extensive library of games for your consoles, so use those!

Open your video in Final Cut Pro. Go to Effects>Video Generators>Boris. Then drag the option called Title 3D over your video. Then select Title 3D and go to your controls. Then click on "Title 3D Click for options". Now a new box should be open. Type your text into it. Then, highlight your text and pick the font size, then hit enter. Next, select the font. After that, go to the bottom test menu, and select Drop Shadow. Make the shadow distance 2. For the shadow opacity, turn it up all the way...

This how to video shows you how to create wallpaper for your computer desktop. Open Photoshop and create a new file. Change the dimensions to the size of your desktop. Click okay and go to edit and fill. Choose color and select black. Click okay to fill the screen with black. Duplicate the layer. Once this is done, go to filter, render, and lens flare. Make sure the lens flare is in the center. Edit the settings to your liking. Click okay to add the effect on to the image. Go to filter, disto...


