This video tutorial will teach you a simple hack that will allow you to hide a secret message in any digital picture. Who knew a picture could actually be worth a thousand words? Real words, embedded within! For detailed, step-by-step instructions on recreating this hack yourself, take a look. Keep your messages on the Internet secret with this how-to.
This lesson explains a very complex left foot clave pattern for drums that was performed by Heracio Hernandez at Modern Drummer festival 1998. The instruction is very detailed.

In this episode practice using "how" "which" and "what" in the English language to get details from another person. This video is great for advanced, intermediate, and beginner learning to speak the English as a second language (ESL).

Time flies. Particularly when it's projected. The magical box in this how-to uses light and mirrors to project the image of a working clock face on any wall. To build your own working clock projector, you'll need the following materials: a mirror, a jeweler's loupe, a clock and a flashlight. For detailed, step-by-step instructions on the assembly process, and to get started on this Daliesque hack yourself, take a look!
Wondering how to most effectively combine ice cubes and a simple USB-powered computer fan into a fully functioning air conditioning system? In this video tutorial, you'll learn how to hack a coffee can and USB-powered fan into a simple, but effective, air conditioning unit. For detailed instructions on hacking together your own tin-can AC unit, watch this über-short how-to.
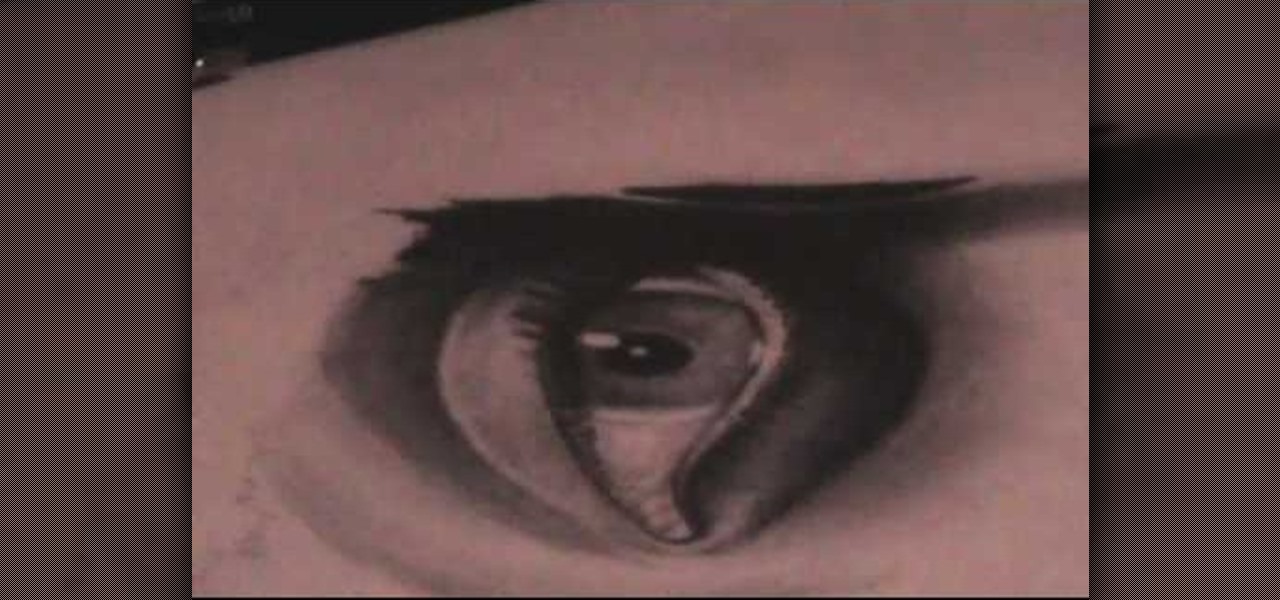
Take a journey deep into the details of a human eye, all the way down to the atomic level. Understand this visually stunning wonderment.

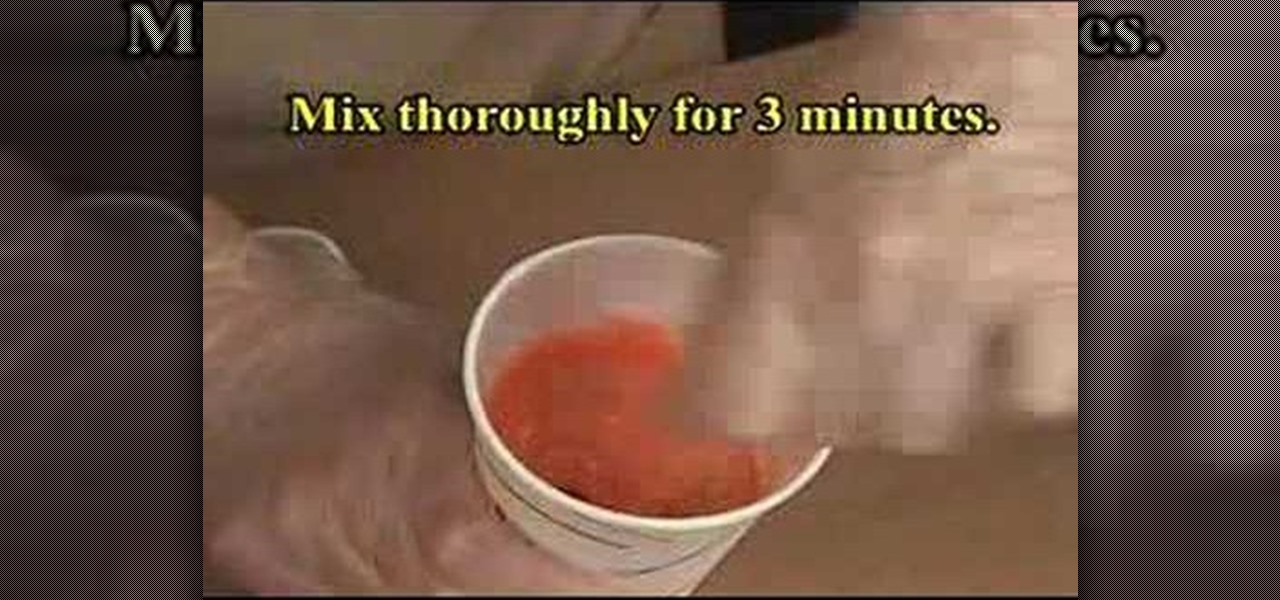
Watch this video to learn how to use Rebound 25 brush-on silicone rubber to make a mold. This two part video series is very detailed and helpful! You could make a mold of anything you choose!

Watch this video to learn how to use silicone putty to repair a broken or damaged antique picture frame. Make a mold with the putty and make a reproduction. Great visual demonstration and detailed instructions!

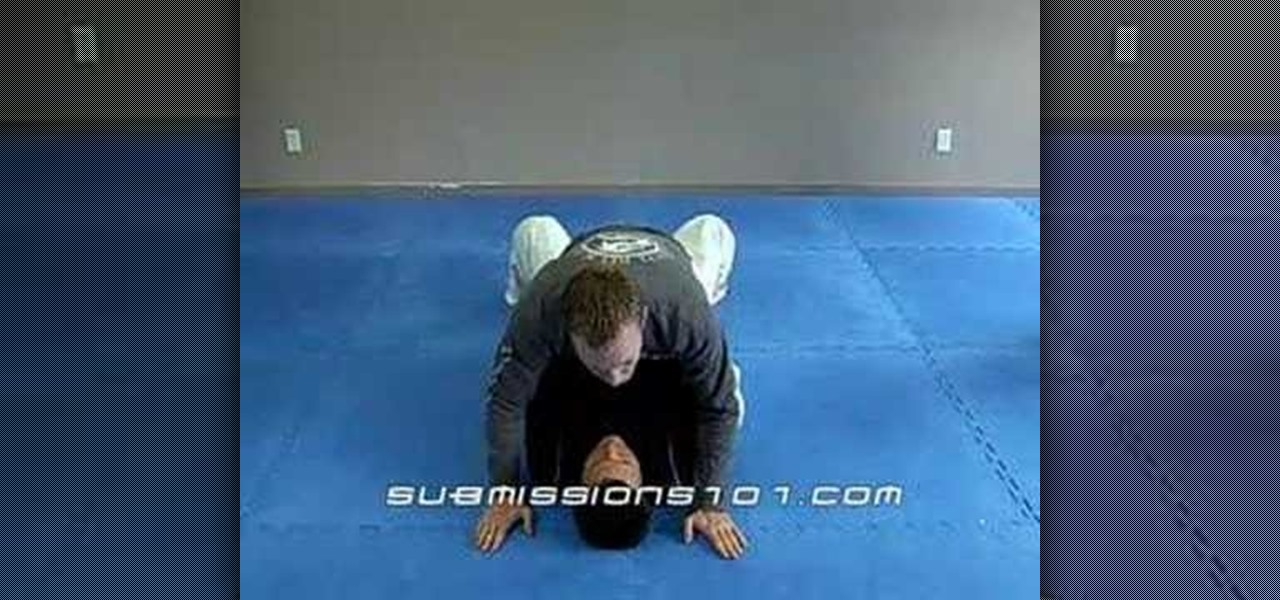
The video discusss "Position before Submission" and details common mistakes made by beginners in Jiu Jitsu.

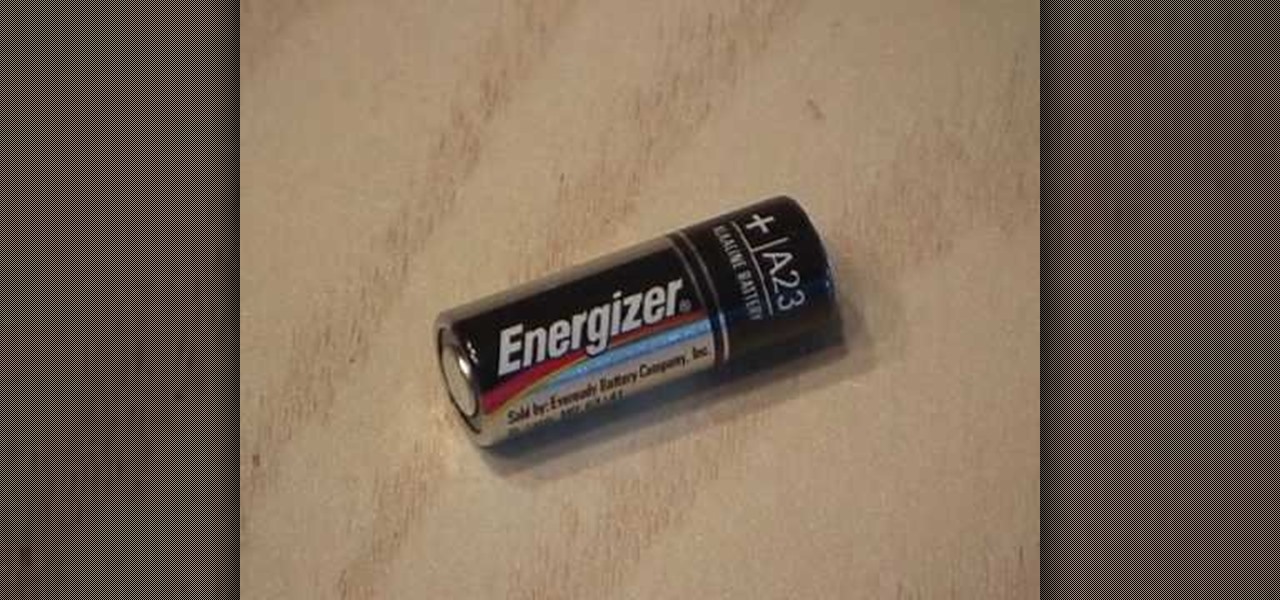
Interested in getting 1.5-volt button cell batteries for pennies on the dollar? Kip Kay, of Make Magazine, is here to show you how. The trick is to buy Energizer A23s, each of which contains 8 1.5-volt button cells. For detailed instructions on this straightforward money-saving hack, take a look!

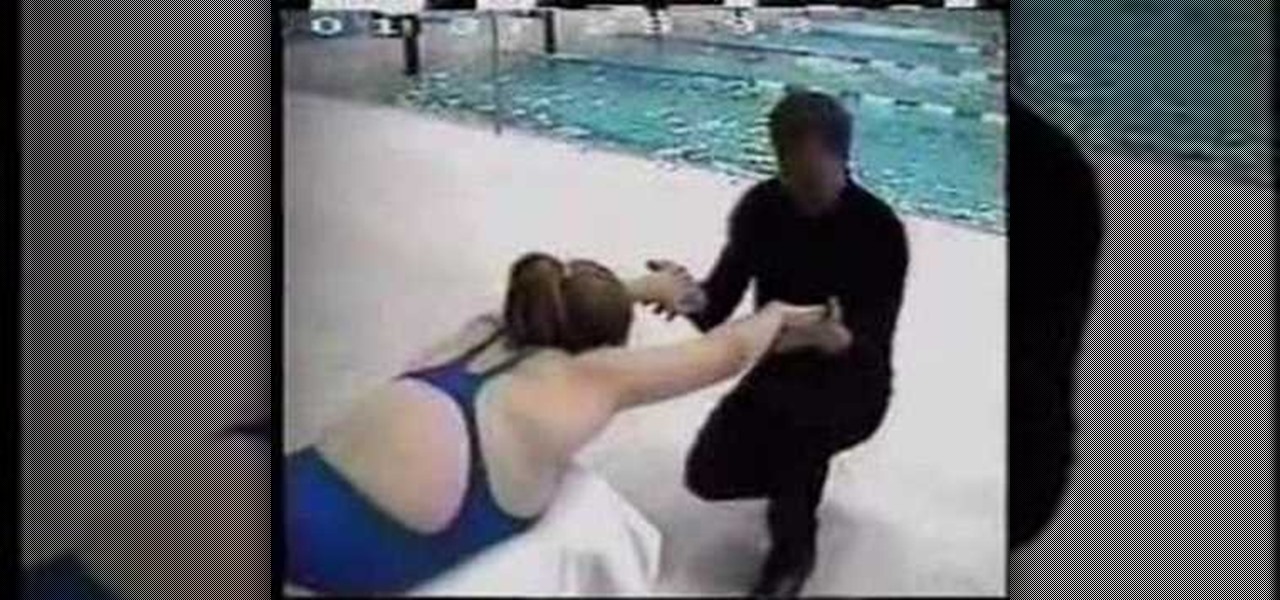
Dr Haljand instructs on position your elbows and shoulders for the butterfly stroke. This is a dry land exercise for perfecting the entry of your hands for the butterfly in swimming. This is a very detailed breakdown of how your body is positioned in the water.

This is a dry land tutorial on backstroke swimming technique. Learn proper form for your stroke, broke down to entry and exit positions of stroke. This is an incredibly well detailed breakdown by Dr Rein Haljand.

This video is fantastic and very detailed on how to mount deer antlers. He carves the antlers off a deer head, then boils them to remove the meat, finally he mounts them on a piece of wood. For this professional taxidermy tutorial you may need a hack saw. Oh also, you need a deer head.

Learn how to take photographs without a lens and develop film in your bathroom. Taken from the masters of the "weekend project", Bre Pettis and Make Magazine, you are sure to get some entertainment out of creating a camera and darkroom. Make sure to download the PDF to get all the details.

We already know that Microsoft has something big planned for later this month, and now we have details on how to watch the company's big reveal.

How can you tell if the pair of Ray-Ban Wayfarer sunglasses that you are about to buy online are not a fake? Follow these 9 simple steps to verify the authenticity of your purchase. Always ask the seller to use the youVerify app prior to purchase. It's Smarter Selling & Safer Shopping.

Video: . Step 1: Today We Are Going to Draw an Airplane. Let's Start with a Rectangle in Two Point Perspective. Before We Begin We Need to Figure Out Where Our Horizon Line and Vanishing Points Will Be. Sit Back and Think What Kind of Look You Are Going for.

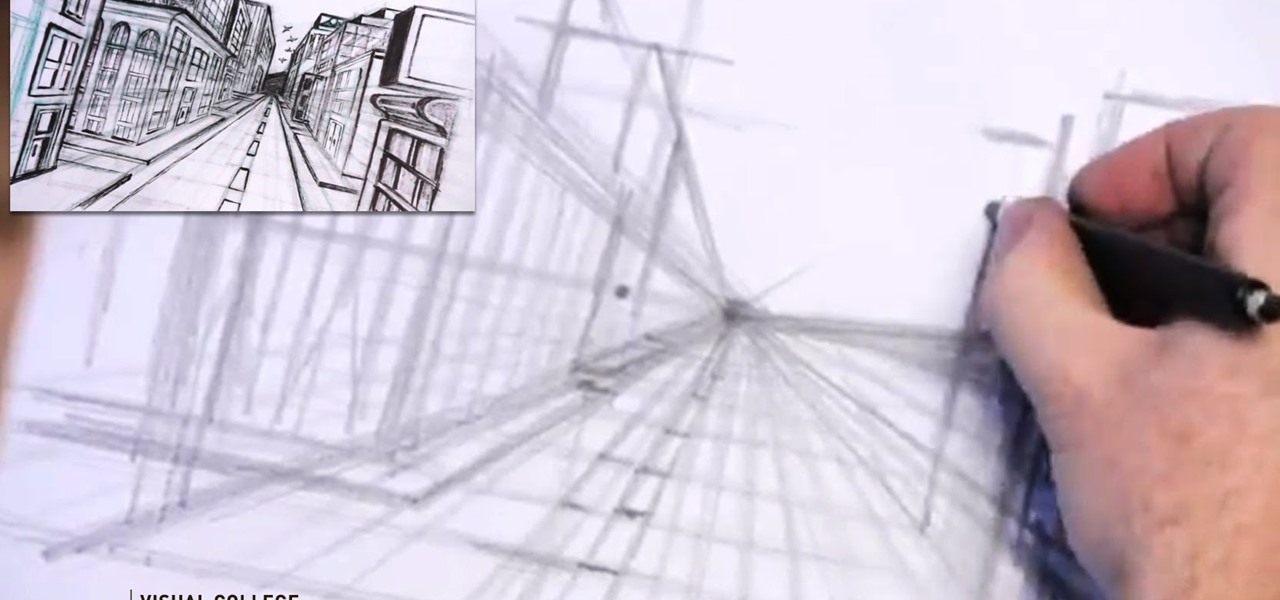
Video: . Step 1: Today We Are Going to Draw a City in One Point Perspective -- Buildings in the City Going into One Point Perspective. Let's Start Our Drawing with the Vanishing Point and Horizon Line. In Order to Get the Feel of the Drawing We Need to Determine Where Vanishing Point Will Be. Feel Free to Improvise and Change It Depending on What You Want to Achieve. Start Mapping Lines in.

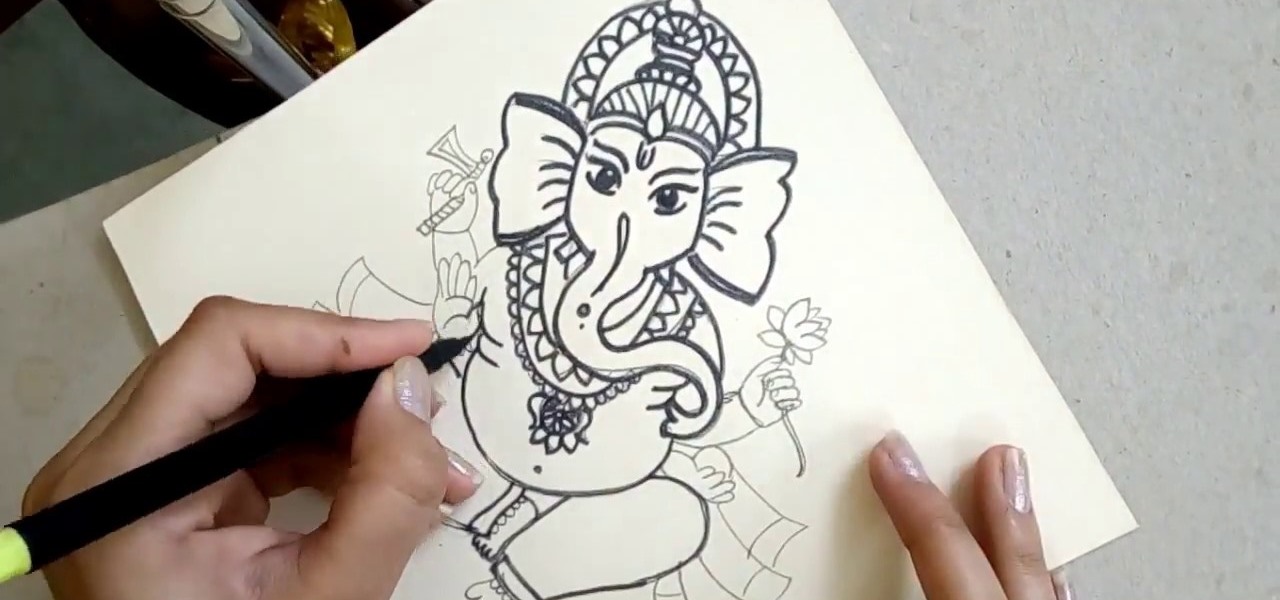
Personification of the Infinite Consciousness. Lord of Hosts. Master of the Universe. These are just three of the hundred-odd titles of the Hindu god Ganesha. Luckily, drawing the Hindu deity Ganesha isn't so complicated.

In this tutorial, we learn how to draw small faces on paper. This is best for drawing on comic books, because the faces are smaller than on regular drawings. First, give yourself a scale size to see how large you want the faces on the paper to be. If you are new at drawing, use the square method to learn how to measure the face and learn how to draw the face so the body is scaled to the size of the head. Start out by drawing the head and adding in shading details. You will start with the guid...

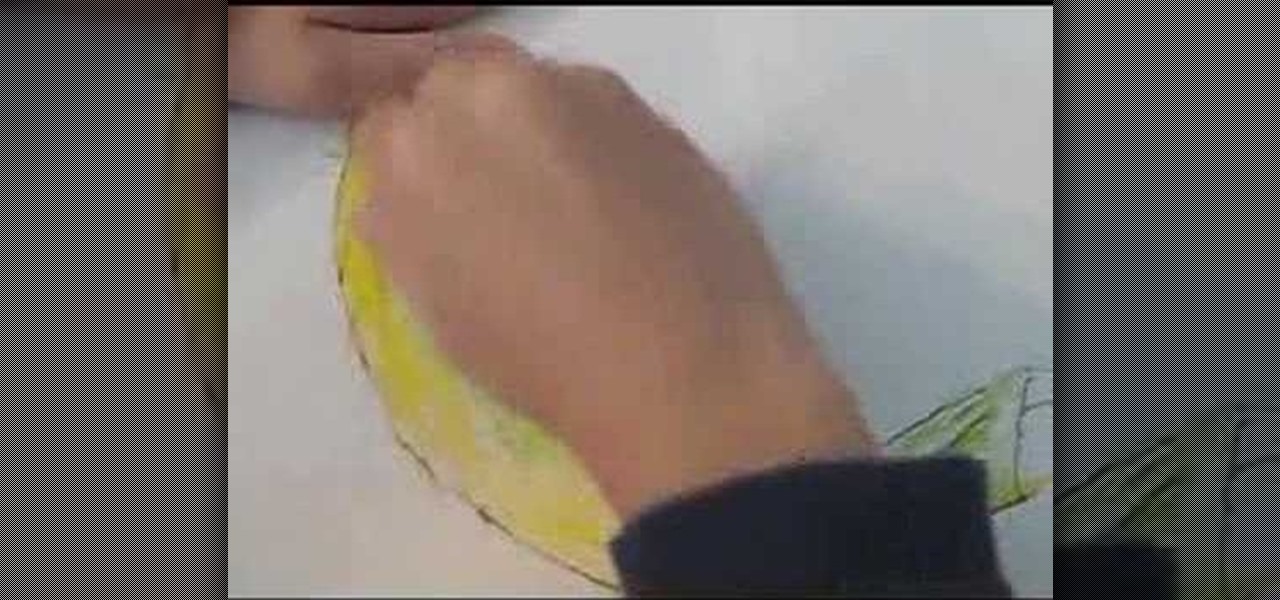
If you want to color with oil pastels you should first make sure you have a sketch book, oil pastels, cotton swabs and an eraser. First, you should place a banana or your choice of object on the sketchbook paper and trace the outline. Next, you should color in the banana or object the color you want to. You should add in detail to your object, by first coloring along the bottom of the banana with yellow. Next, add in a little green to add detail to the banana. You can blend the two colors to ...

This how to video shows you hot to draw a cartoon alien. First, draw a circle and another circle inside. Draw two oval on the inner circle for the eyes. Draw an oval shape for the body. Next, add simple feet and arms. Make sure one arm is sticking out. You can add an antenna shape to the top of the large circle. Fill in the details of the inner circle, such as a mouth, nose, eyebrows, and pupils. Draw a gadget with an antenna sticking out in the hand that is sticking out. You can also draw a ...

You will need a sketch book and various pens. Start by roughly sketching the head. Next draw a center line that will become the center of Xena's torso. Sketch the arms, legs, breasts, and the ring that she is holding. Remember, this is the first draft and it doesn't need to be perfect. Next, flip another page down on top of your first draft. On this draft begin to add more details and proportions. Start with the head forming the shape of the jaw and the size of the head. Work your way down to...

In this video we are shown an easy way to draw a fox using Photoshop. First, start with a rough sketch on a separate layer. Rough in the head, ears, snout, and eyes. Make a new layer and outline your previous drawing. In this layer put in more detail such as the jagged outline of the fur and the details of the face. To colorize your fox, put in a new layer under the outline layer. The fox should be colored a dull orange, with dark brown shadows for the ears and white under the muzzle and on t...

In this how-to video, you will learn how to draw Madara Uchia. First, start off with an oval shape for the face. Next, draw several spike shapes for the hair and bangs. Now, move on to the armor of the character. From here, draw a circle behind the body. Now you can fill in the details of the character. Move into the face and draw the eyes, nose, and mouth. Outline the armor in more detail so you can see straps and metal folds. Erase any of the previous lines that were used for guides. Once y...

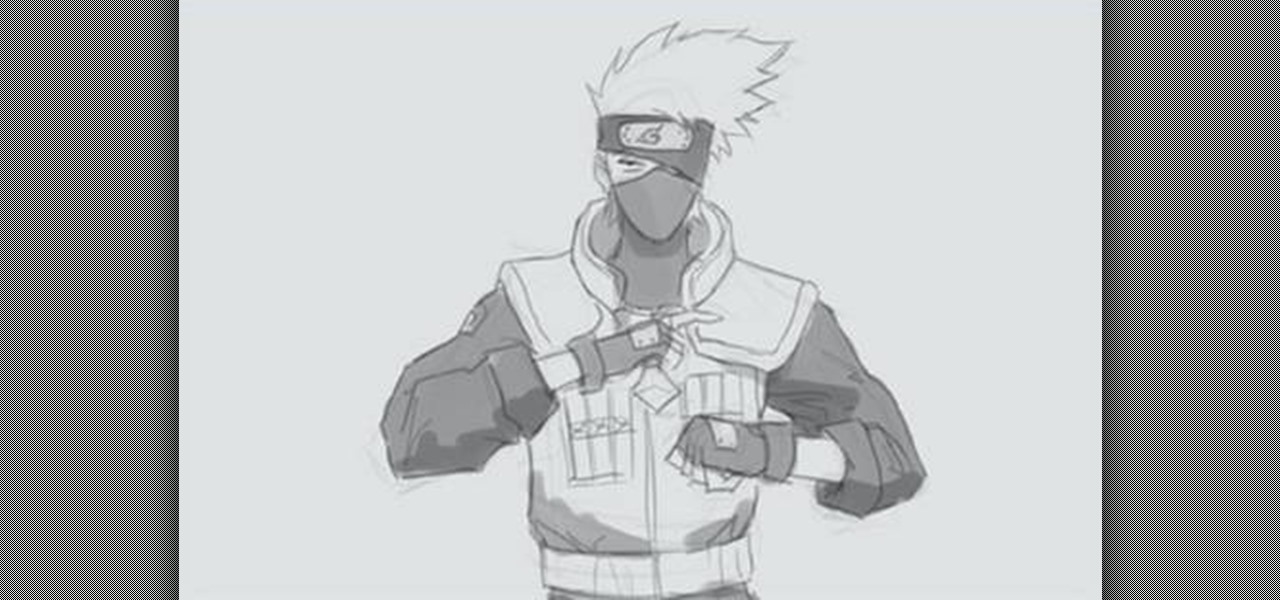
This video will show you how to draw the Japanese anime character Kakashi. You don’t have to be an artist to do this but is perfect for beginners too. This will show you how to sketch and some information on how to get the best results.

This is a three-part 3ds max video tutorial that takes a look at using reference photos for creating a head texture. If you have photographs that can work, there really isn't any reason not to use them since they can often provide plenty of subtle details that would be very time consuming to add otherwise.

In this tutorial, we learn how to draw a vintage car. This car will take a lot of detail, so make sure you take your time with it. Start out by drawing the hood of the car, then work your way to the back of it. Once you have the basic outline of the car finished, add in the details! Don't forget the windshield, side mirrors, paint, wheels, tires, etc while drawing. To finish this up, start to shade with the pencil and then use the eraser to create a shined appearance as well. Add in colors if...

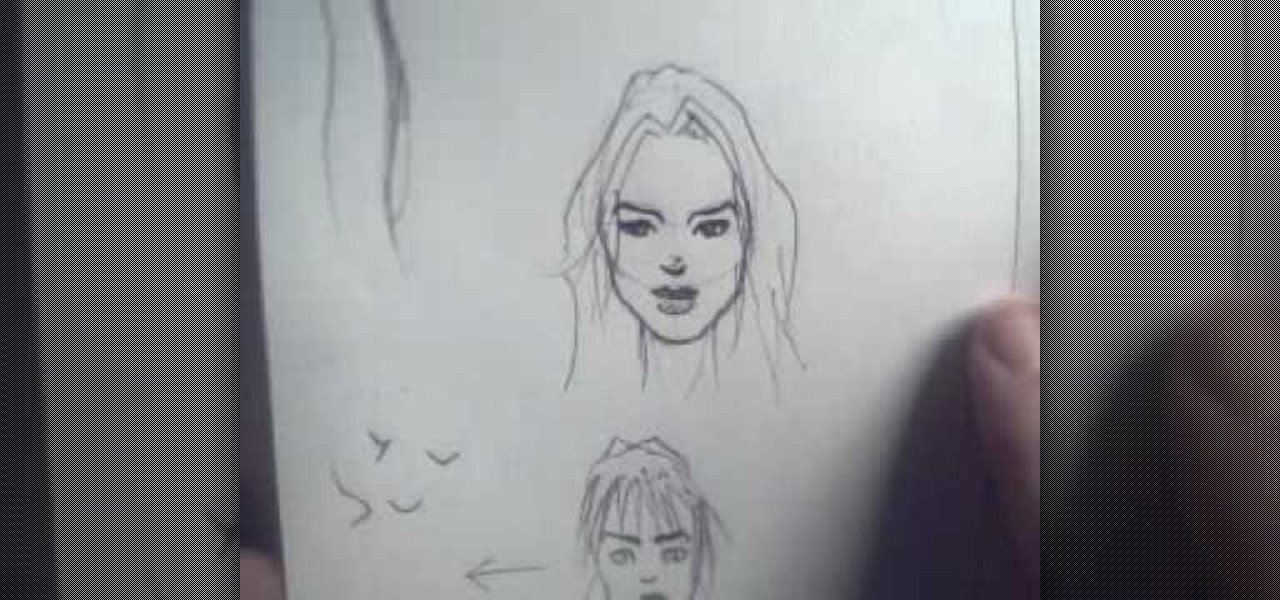
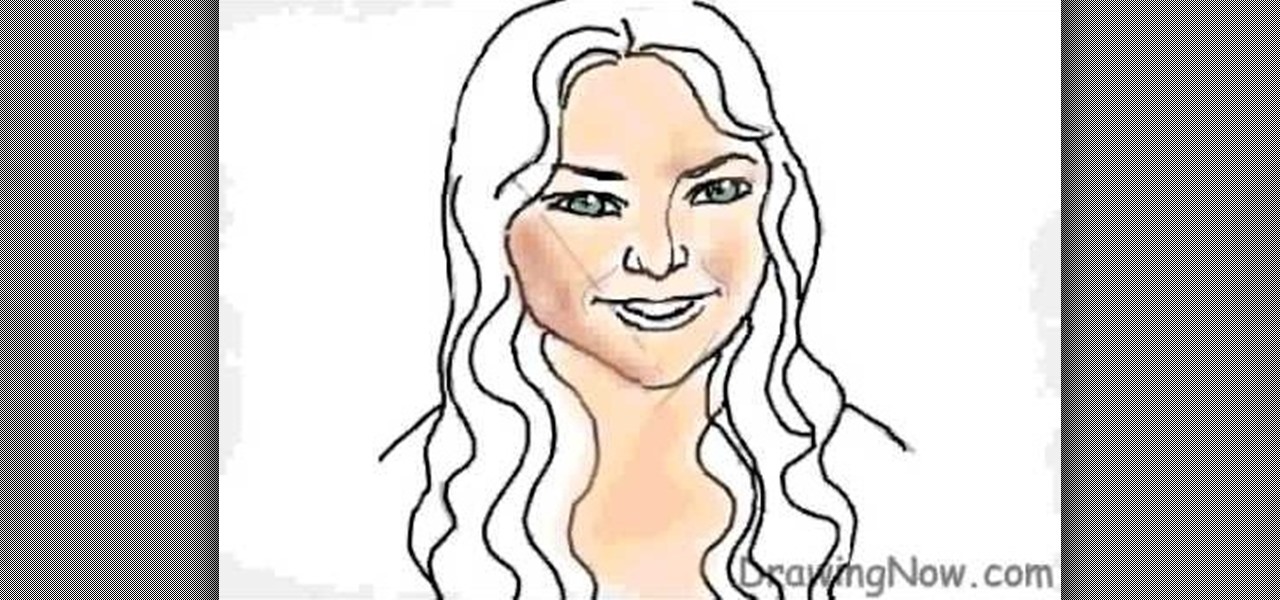
In this tutorial, we learn how to draw a female face with hair. First, draw the head and then draw the shape of the chin. From here, you will draw the bangs and the hair. Draw the hair with wavy lines to make it appear curly. After this, draw on the features of the face with a darker marker. Make sure to add in small details and lines to make the face appear more realistic. Then, start to add in the details of the hair and give her a smile on the face. Finish the upper body and then add in so...

In this video, we learn how to do a quick draw of Sonic the Hedgehog. First, use your pen to draw the nose and the mouth. After this, draw in the eyes and the eyebrows above them. From here, draw in the spiky hair on top of the head, using big spikes. Draw in the ears in the hair and then draw in lines to create more details. Next, draw in the arm and the hand, with a glove on the hand. After this, draw in the details of the clothes, drawing in folds on them. From here, draw in the legs and t...

In this drawing tutorial, we learn how to draw a chibi Sokka. Start off by drawing a round circle for the head of the character. After this, draw on the ears to the sides of the head. Then, draw on the hair on the back of the head followed by the facial features. After this, draw on the body, but don't draw a neck because this character doesn't really have one. Once you have the outline finished, start to use a darker marker to create the clothing and other details onto the character. Clean u...

In this tutorial, we learn how to draw a gangster M&M graffiti character. Start out by drawing the eyes and the mouth for the character. Fill in the eyes and the mouth, then add in more details. Next, add in eyebrows to the M&M, then draw the body around the face. Draw a beanie hat on top of the head, then draw arms with a spray paint can in one of the hands. Add in the additional details for the hands and arms, then draw in the legs on the bottom. Add in the shoes, then finish with additiona...

In this video, we learn how to draw a realistic mouth, nose, and eyes. Start out by drawing the outside shape of the eye, then draw in the details inside the eye. After this, shade in the pupil and add a white circle to make the eye look glossy. From here, add in the eyebrows and add darkness and lines to make it look more realistic. For the mouth, you will first draw the outline of the lips, then draw the teeth on the inside followed by additional details. Make the teeth different shapes and...

In this tutorial, we learn how to draw a realistic portrait. Using a pencil, you will first draw the out line of the face. After this, add in the details and bold lines to the eye. From here, you will add in the details and shading to the rest of the face. Use your eraser to create smooth lines and white lines to make the features look glossy. Draw in a white line on the bridge of the nose to make it look more realistic. Also make sure to add in lines that are on the face as well as hair that...

In this tutorial, we learn how to draw a dragon in profile. Start with a pencil on a white piece of paper and draw out the outline of the profile for the dragon. After this, start to add in the details for the side of the face, this includes the horns, teeth, nostrils, and scales for the dragon. Work your way into the middle of the dragon, drawing in different details, including the eyes and the mouth. Continue to shade and add different lines to the dragon, then finish it off with a horn or ...

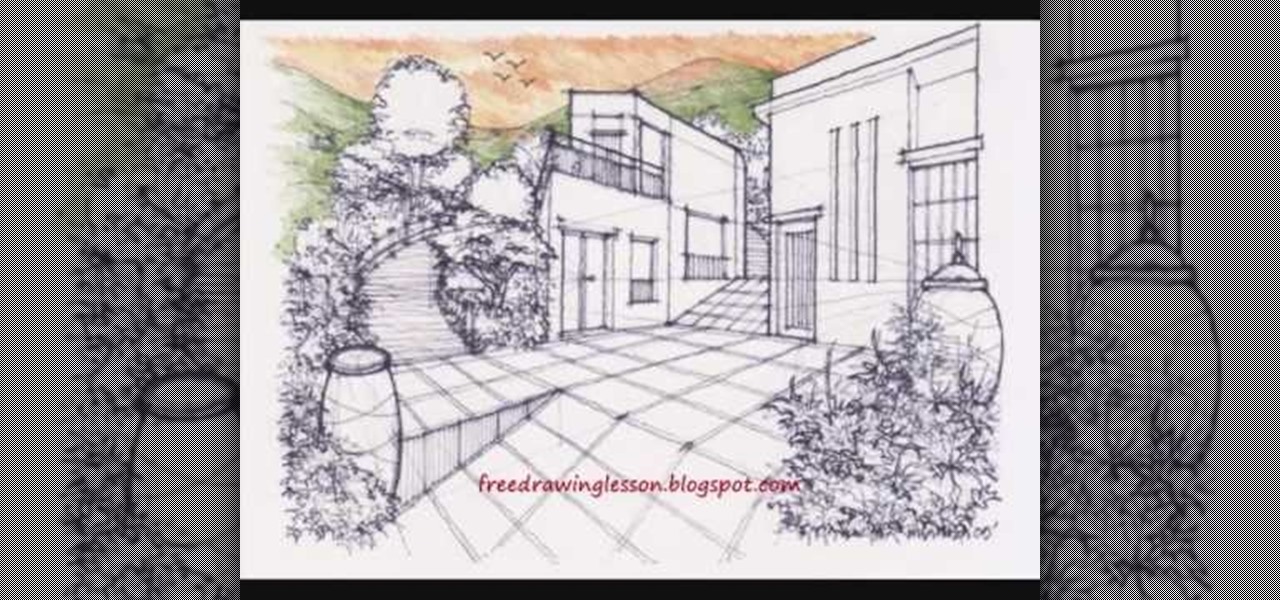
In this video, we learn how to draw and color landscape scenery. First, draw your starting point, making a horizontal line. After this, draw other reference points on the paper, then start to draw in lines to see where your structures are going to be. After you do this, make trees on the paper, then start to fill in details of plants and flowers around the trees. Draw in buildings and stairs, making mountains and hills in the background. Add as many detail as you feel needed, and then start t...

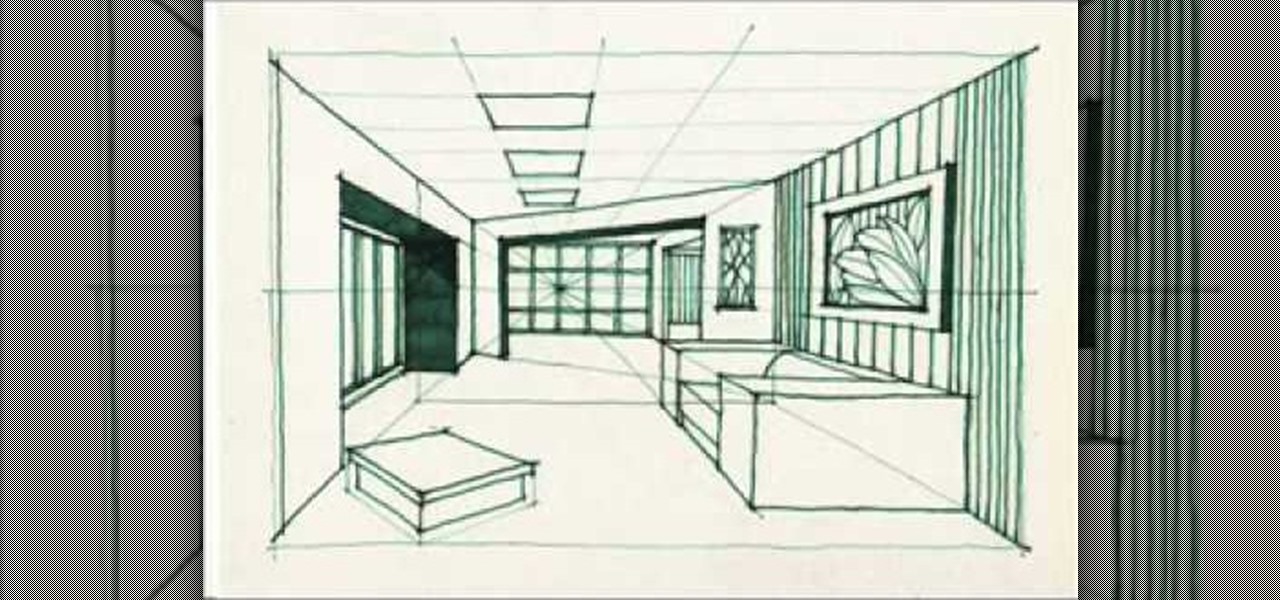
In this tutorial, we learn how to draw an interior perspective of a room. First, draw a horizontal line, then start to draw squares around it, then add in the back doors and the shelves, counters, windows, and more. Add in details using vortex lines as your focal point. You can use this technique to draw several different perspectives of different rooms. You can draw kitchens, mudrooms, living rooms, bedrooms, and more. You can also add in the little details, including couches, artwork, thing...

In this video tutorial, viewers learn how to draw a cartoon bird. Using the gray pencil tool, draw an oval shape for the body of the bird. Then create the lines for the wing and tail. Now add the details with black outlines. Then use transparent colors to fill the body, tail and wing with different shades of color. Add details to the wing by drawing some lines. The beak should be short and sharp, and the eyes should be highlighted in white. Color the branch with the brown paint tool and the l...

In this video you will learn how to draw a Dragon. To do that just follow these steps and instructions: The first thing that you need to draw is the head of the dragon. Make the eyes, nose, ears and all the other face details. Now continue with the body and with the arms. Make the wings of the dragon big and draw the claws too. Now make all the details of the body and complete the sketch. You can try to color the dragon and you can try to make some flames too. In the end you will create a gre...

Miandza teaches you how to draw a complex room. You will start with two rectangles, one smaller than the other. Also draw 3 perspective lines - one horizontal and two diagonal, meeting in the middle. After that, start creating objects and pieces of furniture. Also add walls, doors and windows, according to the perspective lines. Use a darker pencil when you're sure of the things you are drawing. Now you start working on details. Don't forget about the floor and ceiling and add details and obj...


