This image editing software tutorial shows you how to use the healing brush tools in Photoshop CS3. Think of them as first aid for your photos! Watch and learn how to use The Clone Stamp, Spot Healing Brush, Healing Brush, and Patch Tool to retouch photos in Photoshop CS3.
This clip presents an introduciton on how to create and bake brushes within most versions of Blender. Whether you're new to the Blender Foundation's popular 3D modeling program or a seasoned graphic artist just interested in better acquainting yourself with the application, you're sure to be well served by this free video tutorial. For more information, including detailed instructions, take a look!
Walagers helps us learn how to make graffiti in Photoshop. First, go to "Select" and click on "Color Range". Use the eye dropper tool to select the color of the background, then press delete. Next, press "alt" and double click on the background layer to convert it to a normal layer. Using the brush tool, select the type of brush you want and the brush's size. Brushes can be downloaded from Brusheezy.com. Use the eyedropper tool to select part of the graffiti. It is recommended to use the same...
Peter Erskine is best known for his versatility and ardent love of working in various musical settings. In this indispensable installment from his video lesson series in which he covers basic brush skills on the drumset, Peter will guide you through playing time with the brushes.
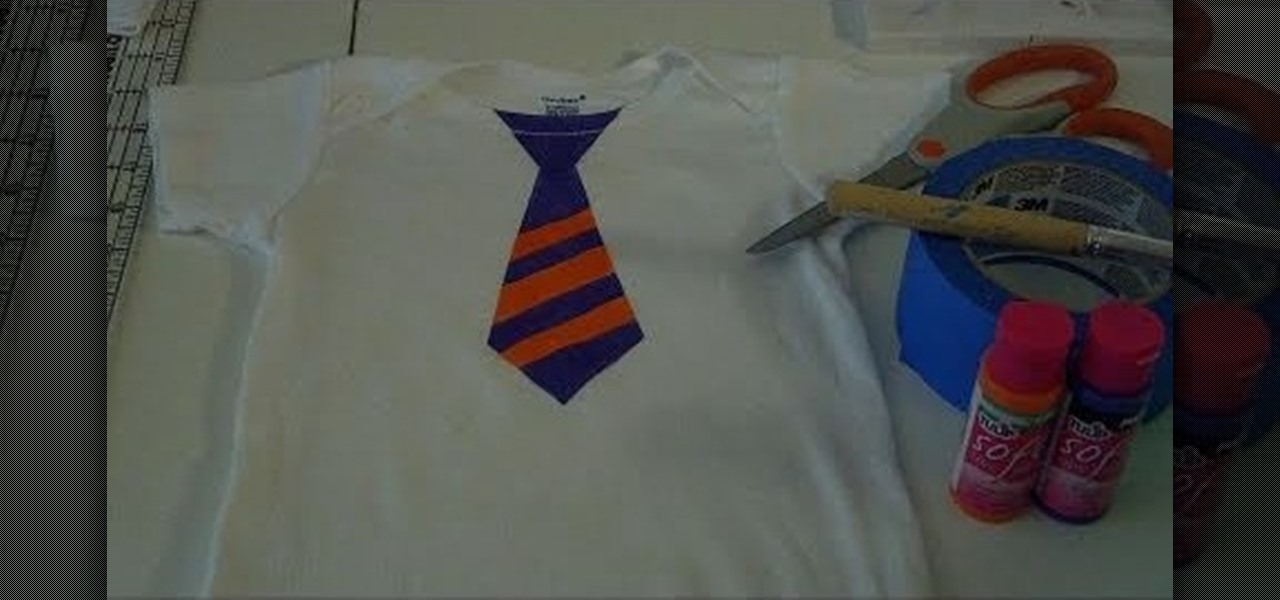
Daddy doesn't have to be the only man in the house who wears a tie. Let your little one engage in some debonair "Mad Men" action by making this super easy stenciled necktie onesie.
Take it from us: Quality makeup brushes make all the difference between an uneven, lightly pigmented makeup look and a beautiful, expertly applied one. Great brushes allow you to use less product (saving you $) and to apply makeup with more precision.

In this video, we learn how to draw Darth Vader from Star Wars. Start out by drawing the outline for the body, then draw in reference lines around to figure out where the facial features will go. From here, use a darker paint brush to make the outline darker and then erase any background lines. Then, start to add in the details to the body as well as to the outfit of the costume. Color in the background and then draw on the muscular details to the body. Add in color to the body and the cape t...
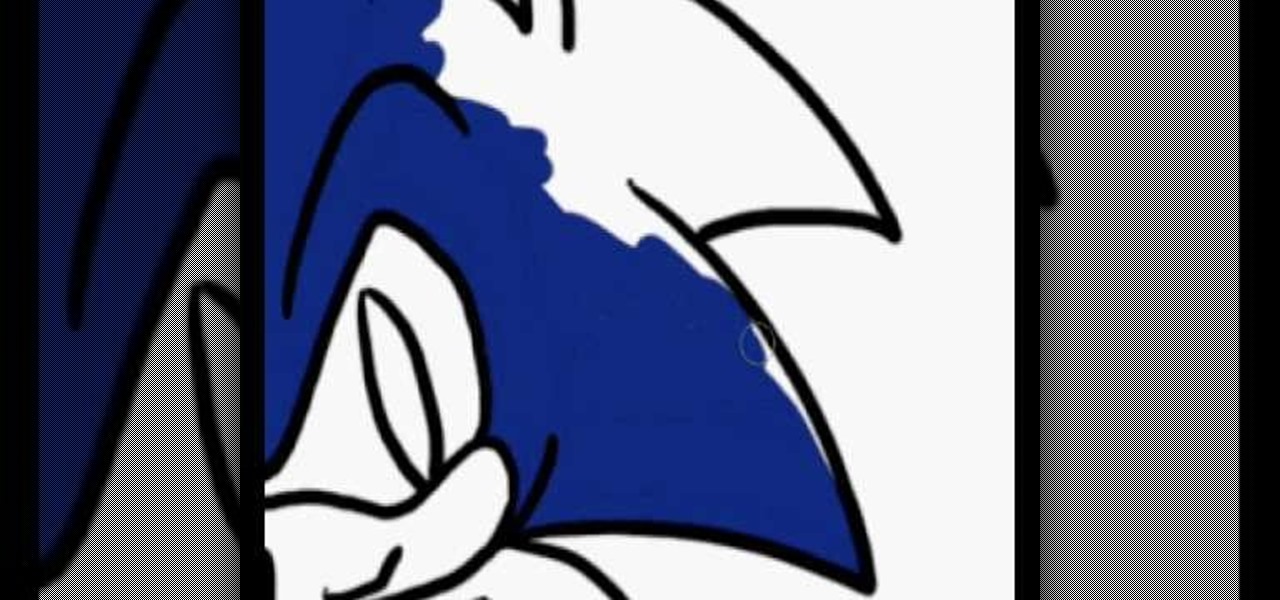
In this video, we learn how to draw Sonic the Hedgehog in Photoshop. First, draw a circle on the page and then draw the eyes onto him. After this, draw on his ears and then his hair around his head. After this, draw in the rest of his body and his feet. From here, use a darker paint brush to create the final outline of the character. Draw in the lines around Sonic to make him appear more realistic. Then, color him a dark blue color with red on his shoes. When finished, save this drawing and y...
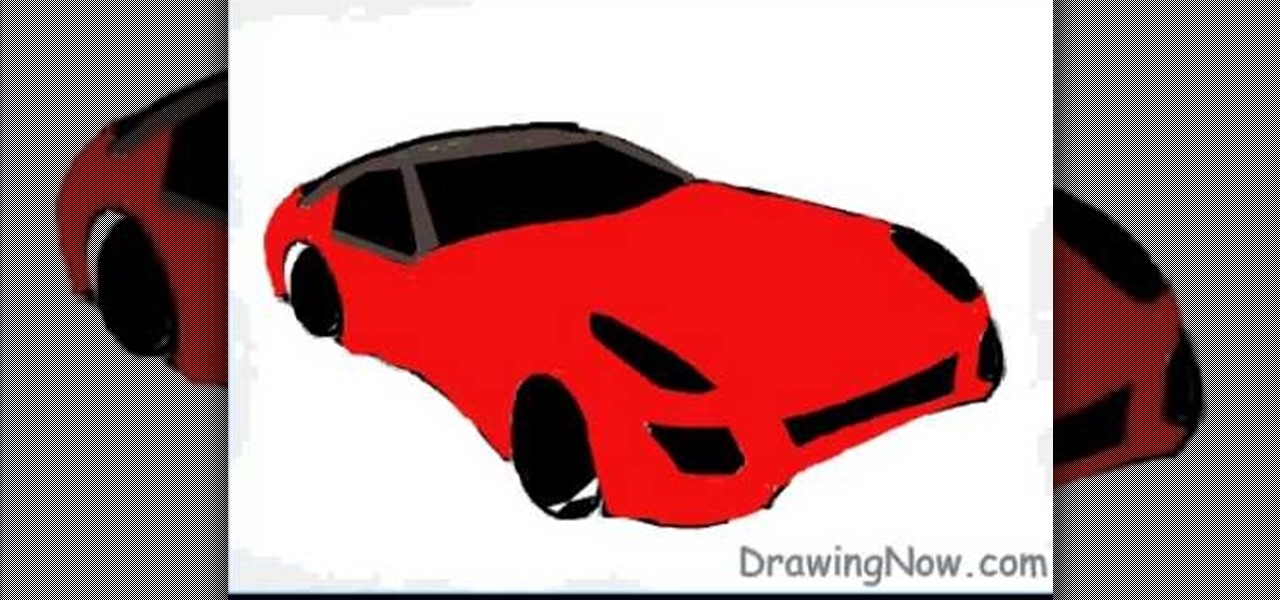
This video will show you how to draw a Ferrari sports car using MS Paint or a sheet of paper, a pencil and some colors. Just follow these instructions from the video. First you will need to draw the sketch of the car, the wheels and the mirrors. Now use a brush or a marker over the sketch of the car and then erase the pencil sketch. Color the wheels and the windshield with the black marker and the car with a powerful red color. Now complete the drawing by making all of the details like in the...
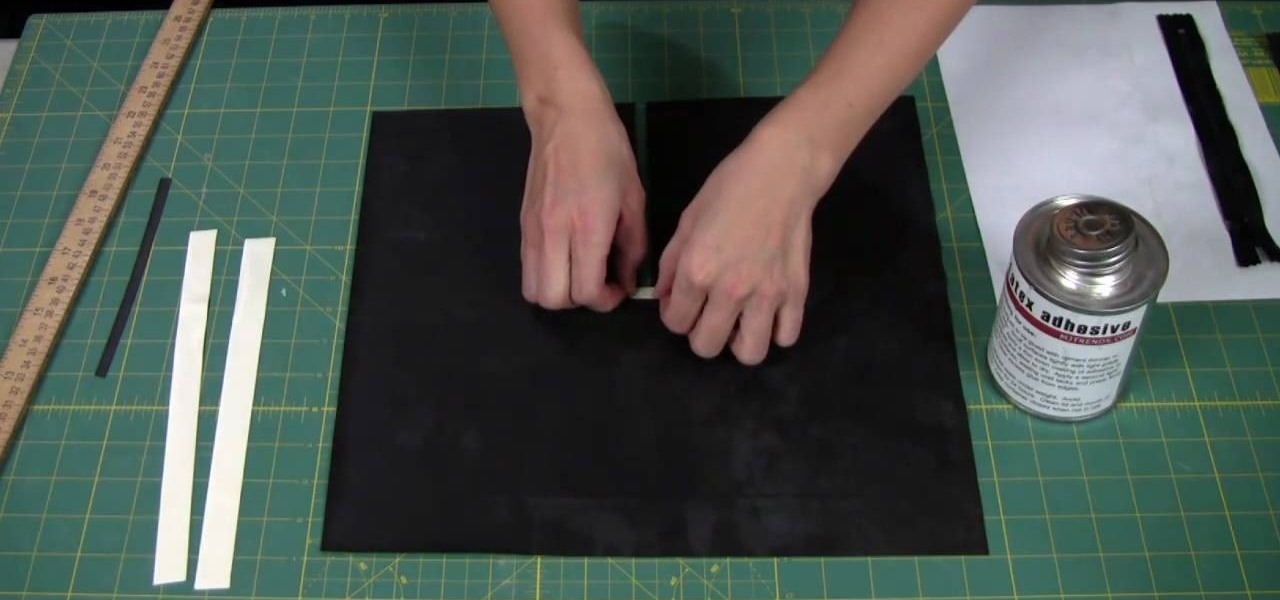
In this video, we learn how to add a zipper to a latex garment. First, apply glue to the zipper, using an ammonia based adhesive in one coat. Next, take a small paint brush from any store and apply a thin layer of adhesive to the zipper. The top will take about 45 minutes to dry, then turn it over and apply another layer of glue to the back. After this, cut two 1/2" strips of latex a little bit longer than the zippers. Also cut a 1/4" wide and 1" long piece of latex as well. Now, apply these ...
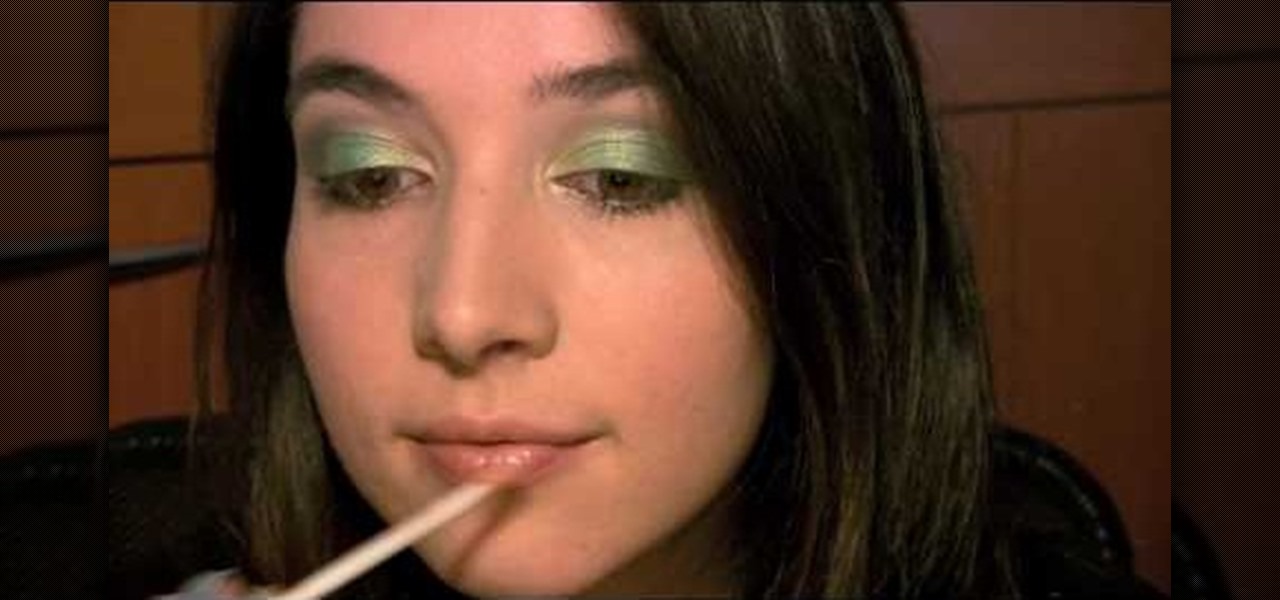
This makeup style was inspired by the Irish folklore creatures called Leprechauns, with their greens and pots of gold. Marinshe shows you this green makeup look that's perfect for Saint Patrick's Day, with a little bit of gold to top it off!
In this video, we learn how to transform into a witch doctor for Halloween. Start by using a white foundation all over the face, avoiding the eye and eyebrow areas. After this, apply bronzer to the cheekbones. Next, apply a black or dark brown color on the entire eyes, smudging it on the edges. Next, apply brown lipstick on the lips and mark lines with black paint on it. When done with this, start to draw a tribal design on the chi, then underneath the nose. Define the cheekbones further with...
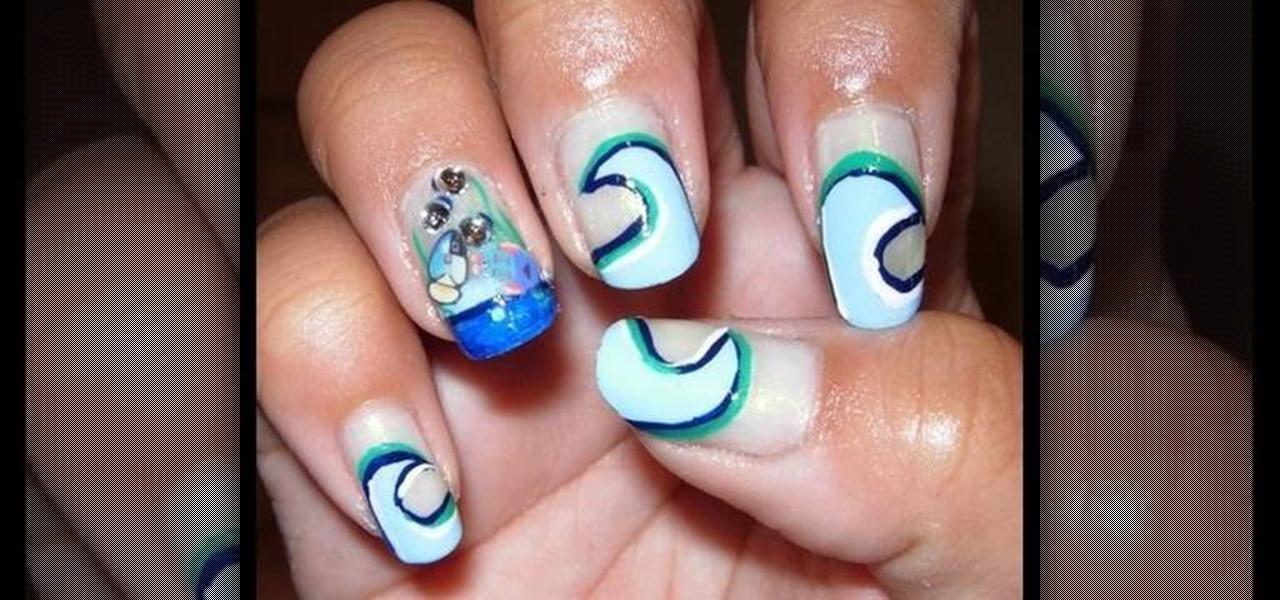
Not that we have anything against painting on an aubergine nail polish for a night out on the town, but why not get a little inventive next time you do your nails by creating unique designs? Become a nail Picasso by checking out this nail tutorial for creating nautical-inspired nails featuring ocean waves, jumping fish, and pretty rhinestone air bubbles.
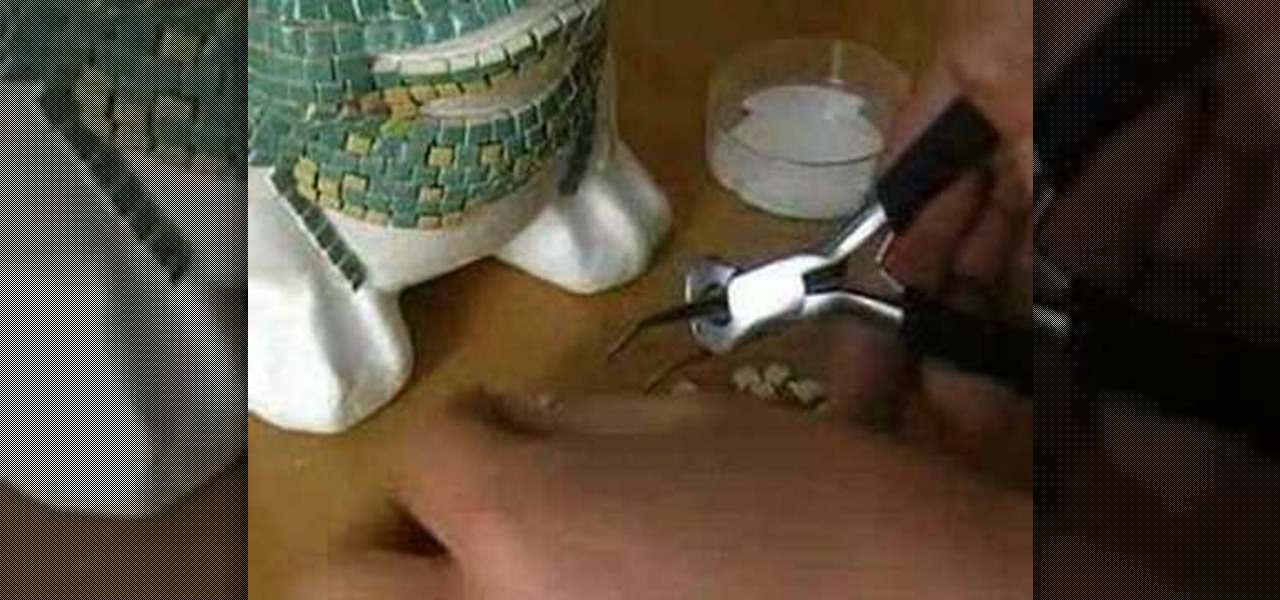
In this tutorial, we learn how to make a mosaic frog for your garden. Start by painting white glue over the eye sockets where the eyeballs will be placed. After you place the eyes on, brush on glue to all surface areas and start to place the mosaic on the glue. Follow directions that are given to you for the patterns so you know where to place each tile. You must cut the corner pieces so they fit in correctly. After two hours of drying time, you will rub a powdered solution all over the frog,...
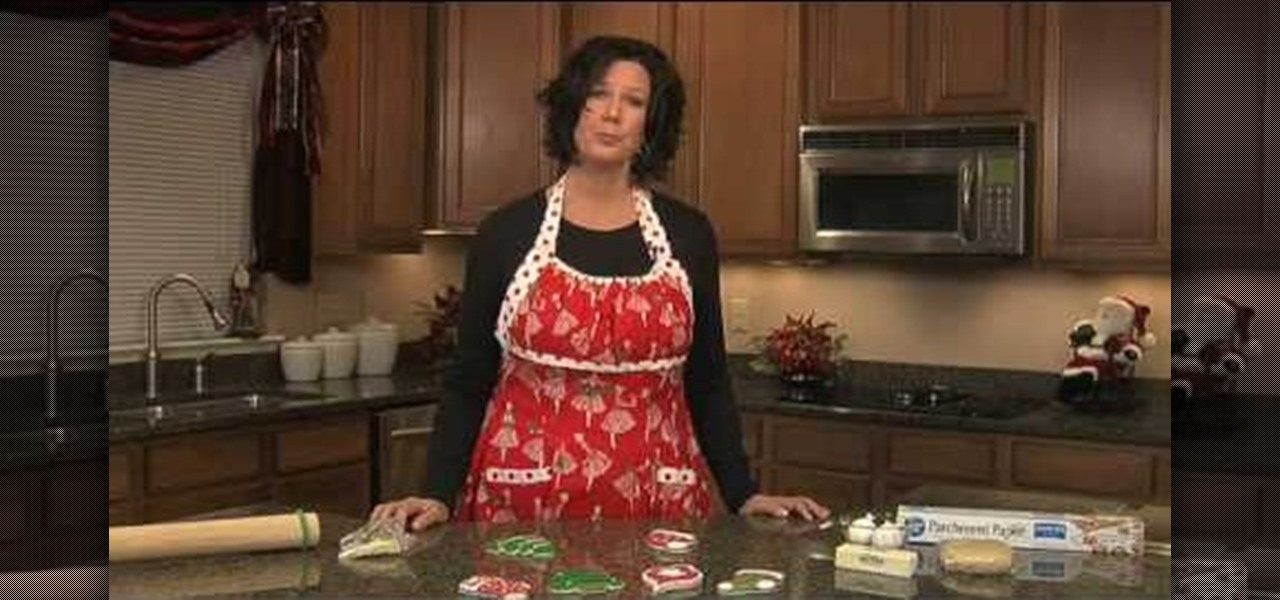
Ask any pastry chef and he/she will tell you that cookie and cake decorating is an art. Instead of paint you have all different types of icing and fondant, and instead of brushes you have your dexterous fingertips. And all these things go toward creating a crowning masterpiece.
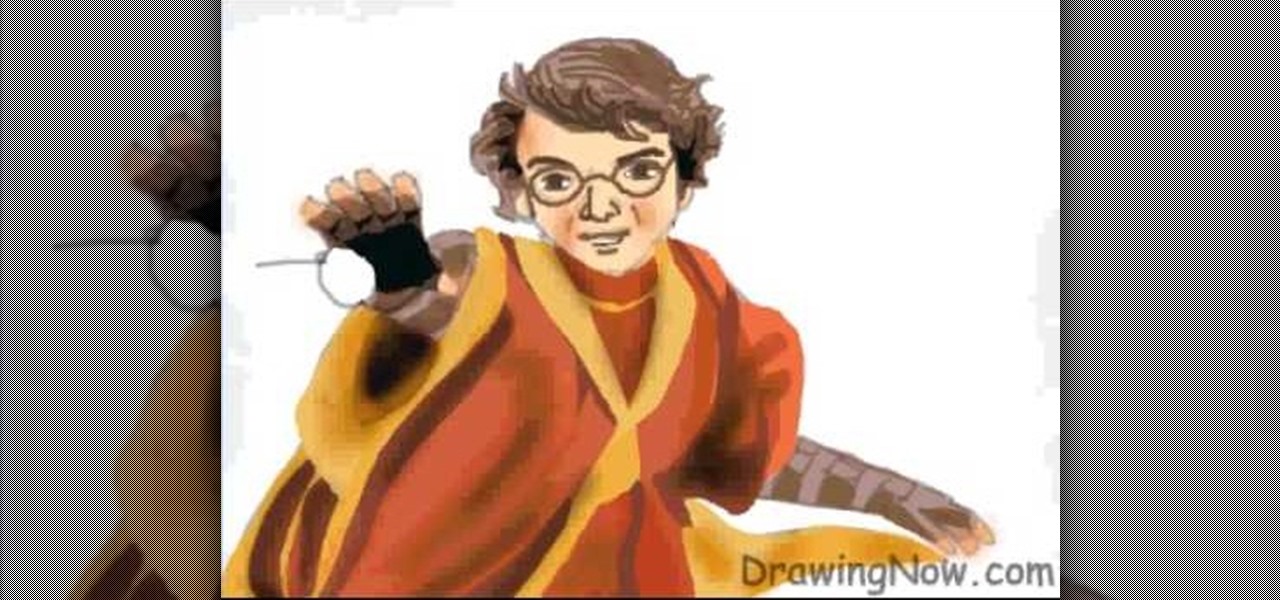
In this tutorial, we learn how to draw Harry Potter. Start out by drawing Harry's face, adding in all the details, such as: his hair, eyes, glasses, nose, and mouth. After this, start to draw his upper body wearing his Quidditch robes, and draw his arms. One arm should be reaching in the air for the ball and the other should be to his side to balance him out. After this, start to add colors to the picture. Add in his skin color, then add in his brown hair and gold and red for his sports robes...
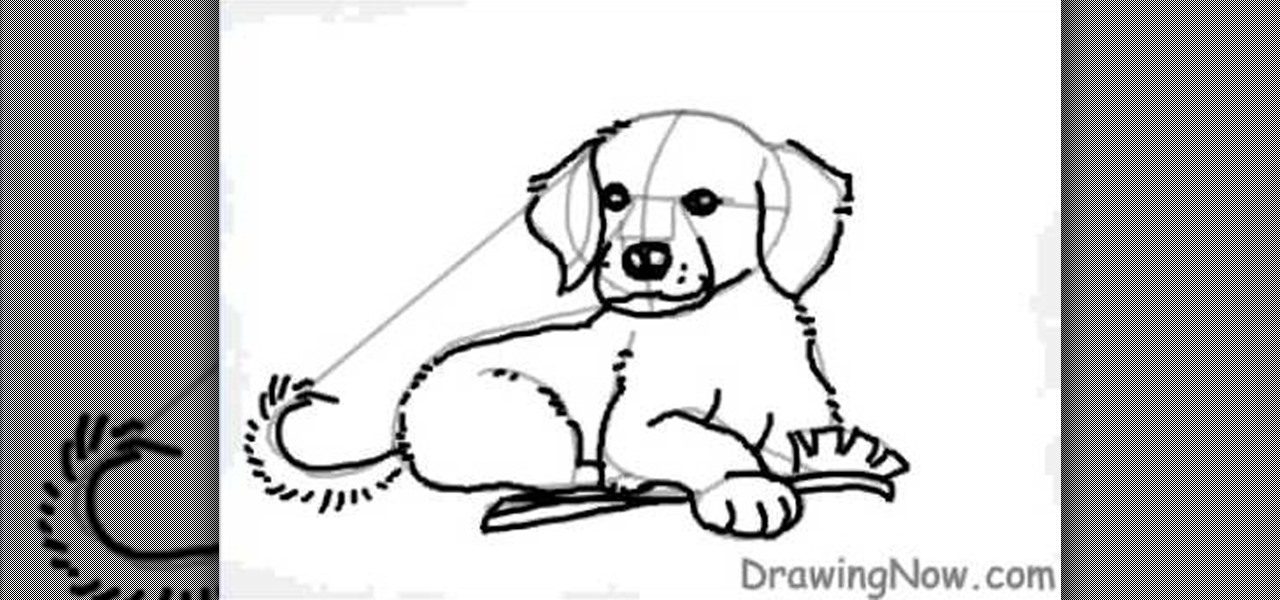
In this tutorial, we learn how to draw a cartoon golden retriever puppy dog. Start off by drawing the face with intersecting lines on it so you know where the nose, eyes and mouth go. Then, keep outlining the rest of the body including the legs and tail. Next, use a darker brush to go over the lines and make more of a detailed outline, including fur and eyes. Make sure to use lines on the side of the dog to make the hair look more realistic. After this, paint the inside of the dog using a lig...
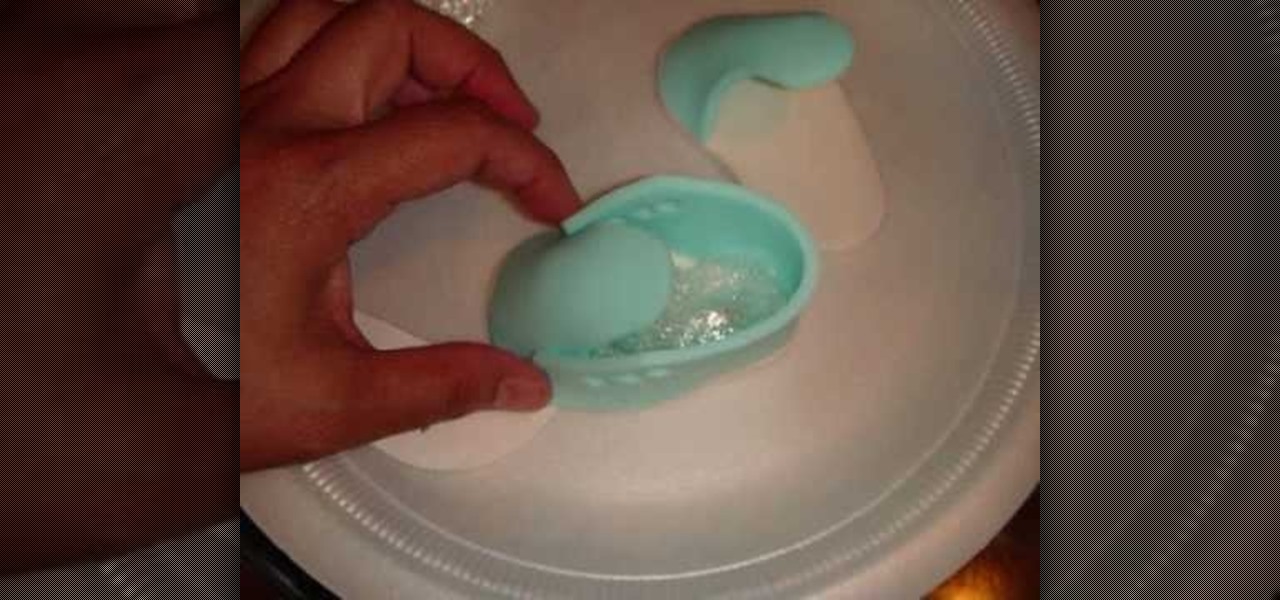
In order to make baby converse sneakers out of gumpaste, you will need the following: fondant cutter or a pizza cutter, a paint brush, an X-acto knife, edible glue, a small circle cutter, and templates.
This video tutorial is in the Software category which will show you how to download and install Photoshop brushes. Go to DeviantArt. Here you will find a lot of professional Photoshop pictures and also a bunch of brushes. Download the brush that you want and save it. Then right the Photoshop icon on your desktop and go to properties, copy the brush and close the window. Then go to my computer and copy it there as shown in the video. To work with the brush, open an image in Photoshop, select t...
Photoshop is a useful software program that allows its users to make any photo look better or different using a couple of easy techniques. You can turn one of your favorite photos into a comic book, add some clouds in a cloud free sky, and even show you and your favorite celebrity sitting next to each other side by side. In this video you'll be taught the steps of making stencils using the tracing method and brush tool in Adobe Photoshop, version CS3. Enjoy!
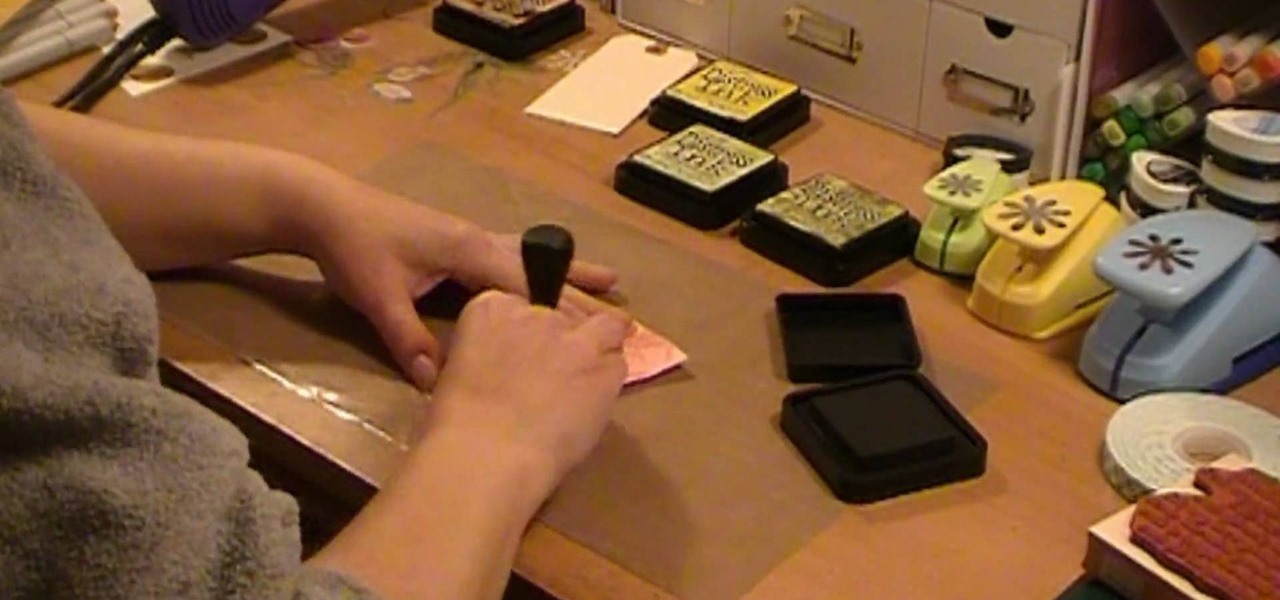
Donna50242 shows us how to make an amazing looking tag to use on different things. This video is in response to another one posted earlier. This tag is made be crinkling up an ordinary brown paper tag and then flattening it out to create the worn out wrinkle effect. Using a distressing inking tool with a foam pad, we apply the ink in a swirling motion. using different colors from the ink set (Mahogany, Mustard seeds, green etc), we can create amazing effects. And that's it, your done! Try exp...
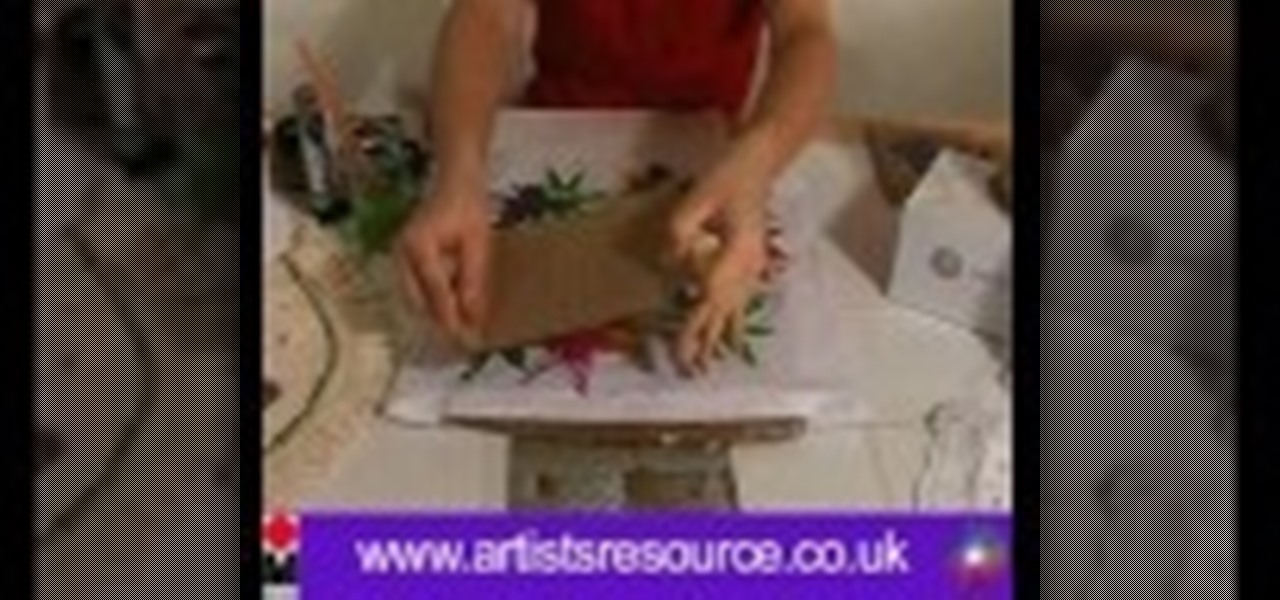
Leona from Artists Resource shows us how to decorate cushion covers with a beautiful multi-colored leaf design. You will need textile paint, metallic pens, scissors, glue, paintbrushes, masking tape, a marker pen, cardboard, scrap paper, and some cling film.
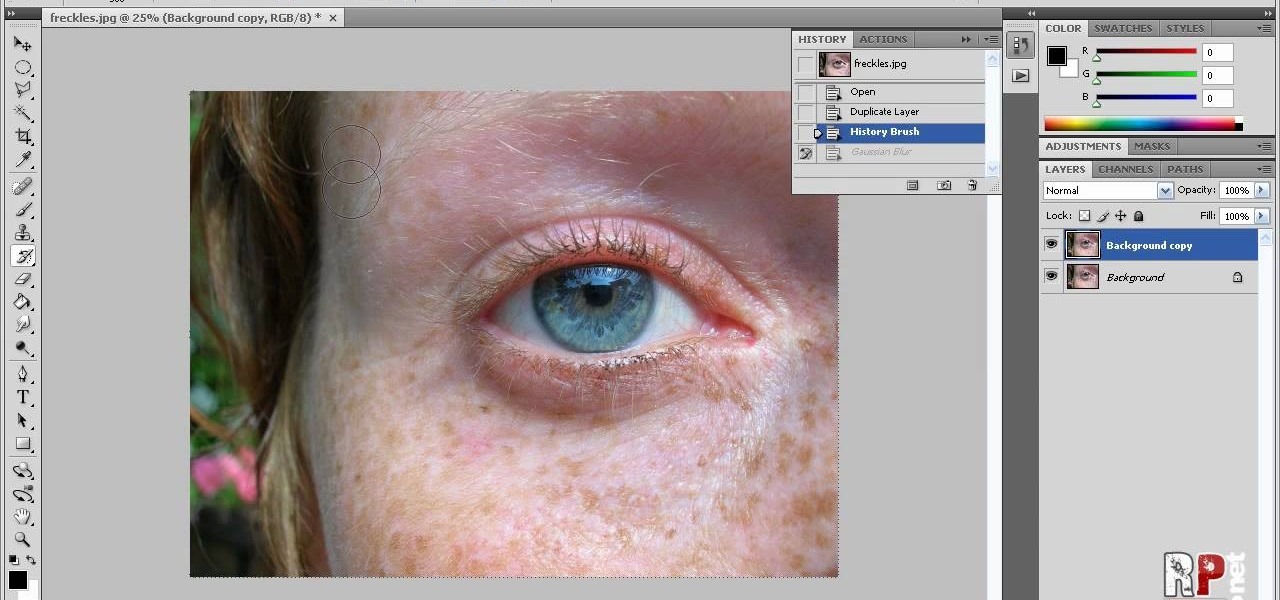
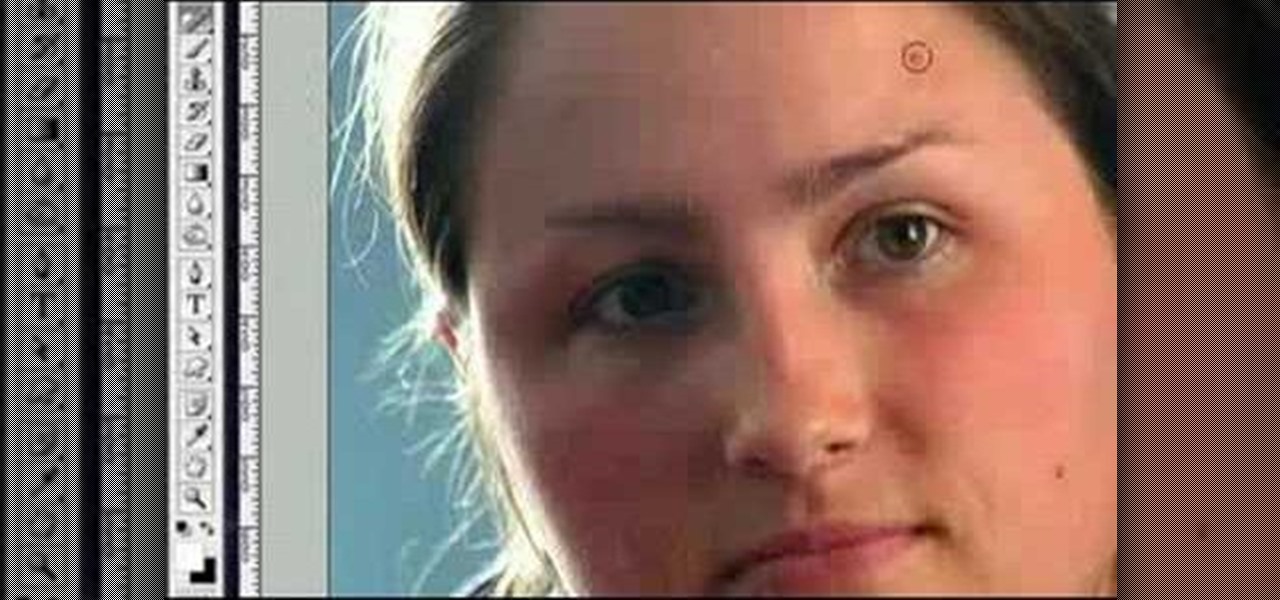
In this how-to video, you will learn how to reduce freckles in Photoshop. This is useful for editing people who have a lot of freckles. First, open the file in Photoshop and copy the background layer. Apply a Gaussian blur to the layer. Adjust it so that the freckles are no longer visible. Click okay and then open up the history palette. Click on the duplicate layer in the history window. Set the source for the history brush. Set the mode to light. Next, paint over the freckles. Now the freck...
Make sure you nails are already clean and dry. Choose you colors. Add the lightest color first. Using a makeup sponge works great to apply the fading effect. Apply to French manicure area not straight. Reapply pink polish just at the tip of the nail. Apply glitter polish over the pink on the tip of the nail. After applying the shimmer get the nail art polish and make your deign. Make sure your brush is thinned out. Add your design then you can add your gem stones and finish it off with some c...
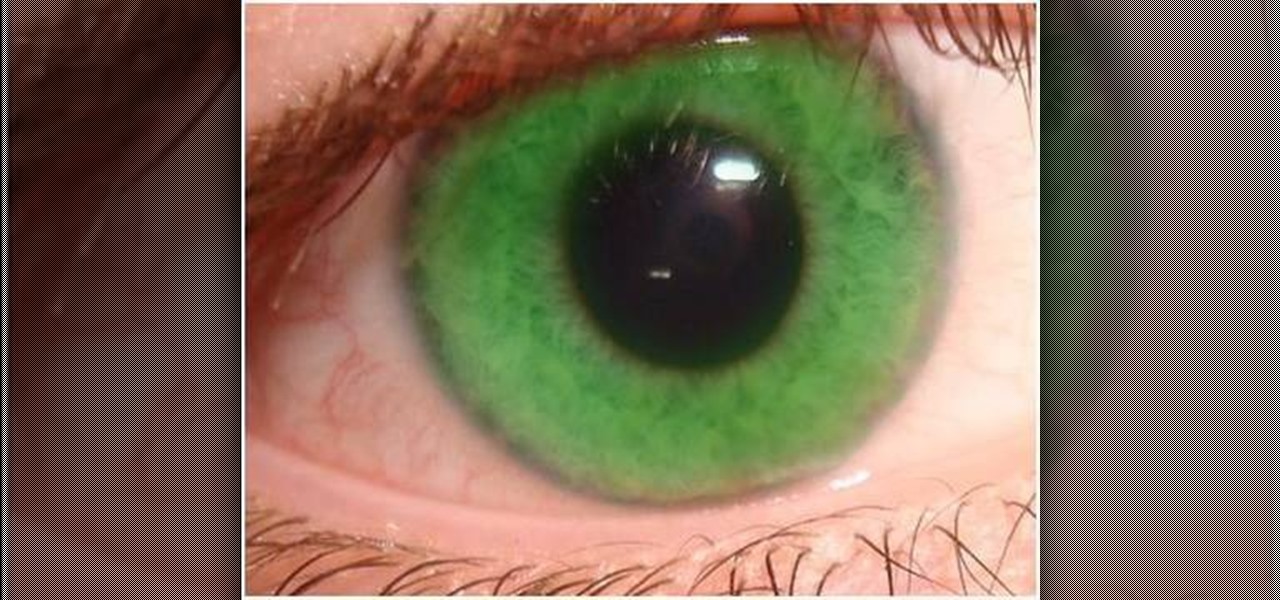
Stevmay09 will be teaching you how to digitally modify your eye color for free using GIMP. First you need to zoom in on the eyeball then click on the free select tool. Then start on the corner of the eye and make your way around the entire eye. Once you have the area around the eye selected you need to create a new layer. Make sure its filled with transparency then select the color you would like the eye to be. Then get the paint brush tool and select the icon shown then increase the scale an...
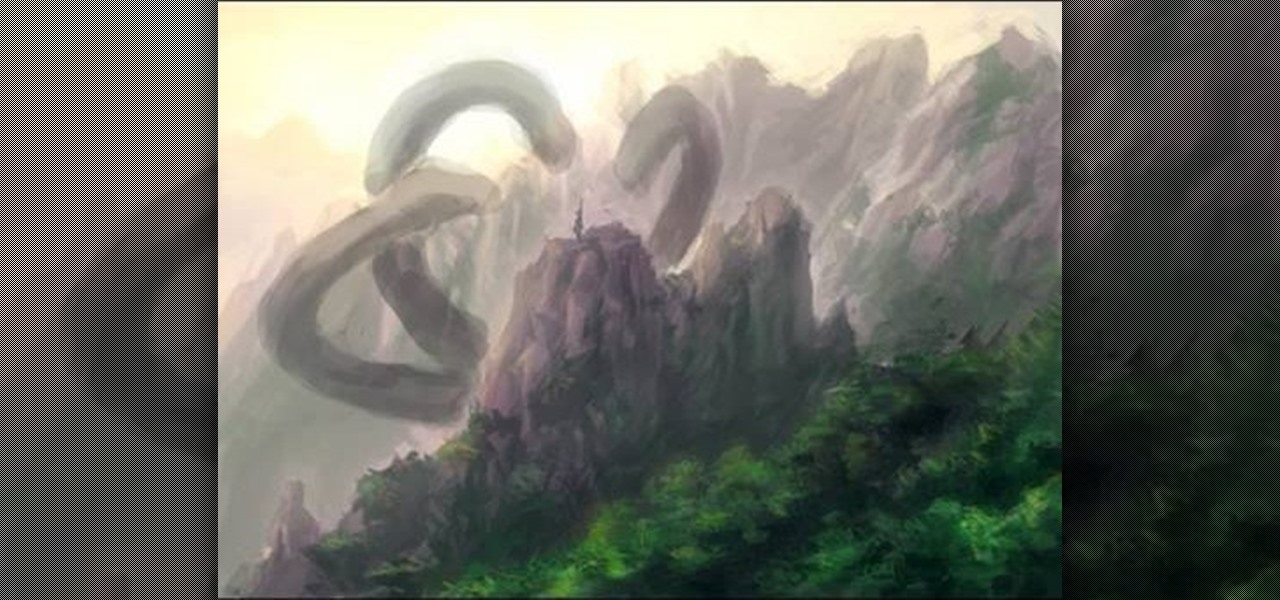
Mastering Adobe Photoshop is quiet challenging and artists can find the transition from brush and canvas frustrating. Learning how to transition your artistic skills to the electronic arena can really offer a vast array of opportunities. Follow our artist as he takes us through the steps of creating a mountain landscape using the common tools in Photoshop. You will be amazed as our expert Photoshop artist creates an attractive mountain landscape in less than ten minutes, taking the viewer thr...
This video is about how to create a "tropical bird" eye makeup look. Add your powder foundation and concealer. For a base use Two Faced Shadow Insurance. Pat on a yellow color to the entire lid. Now take MACs mixing medium and primary yellow pigment and mix them using a small angle brush start from a point near the tear duct create a shape over the eye going up at an angle at the outside of the eye. Take orange color paint the same shape as the yellow right above it. Above the orange do the s...
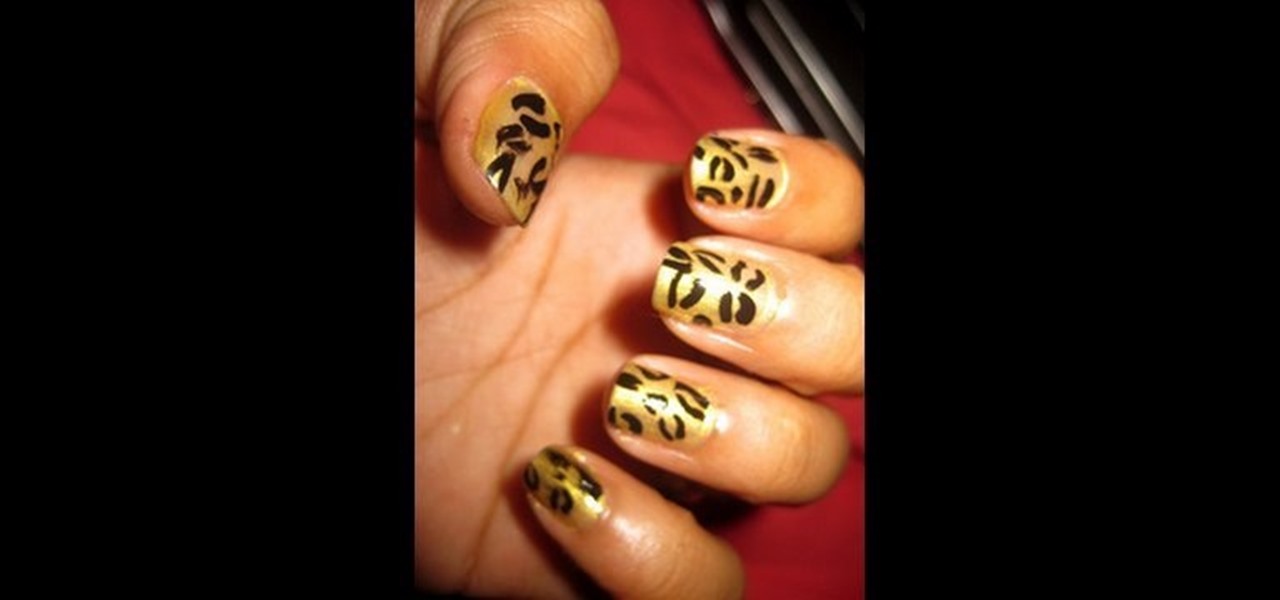
For a unique style on your nails, consider these cheetah print nails. After applying a base coat, you should simply apply a gold-yellow nail polish as a background for your cheetah prints. With little artistic skill required, you should be able to make a perfect cheetah print using a thin brush with black nail polish. Simply make small C's on your nails that join to make a small oval. Repeat as necessary until you have the desired number of cheetah spots on each of your nails. With this simpl...
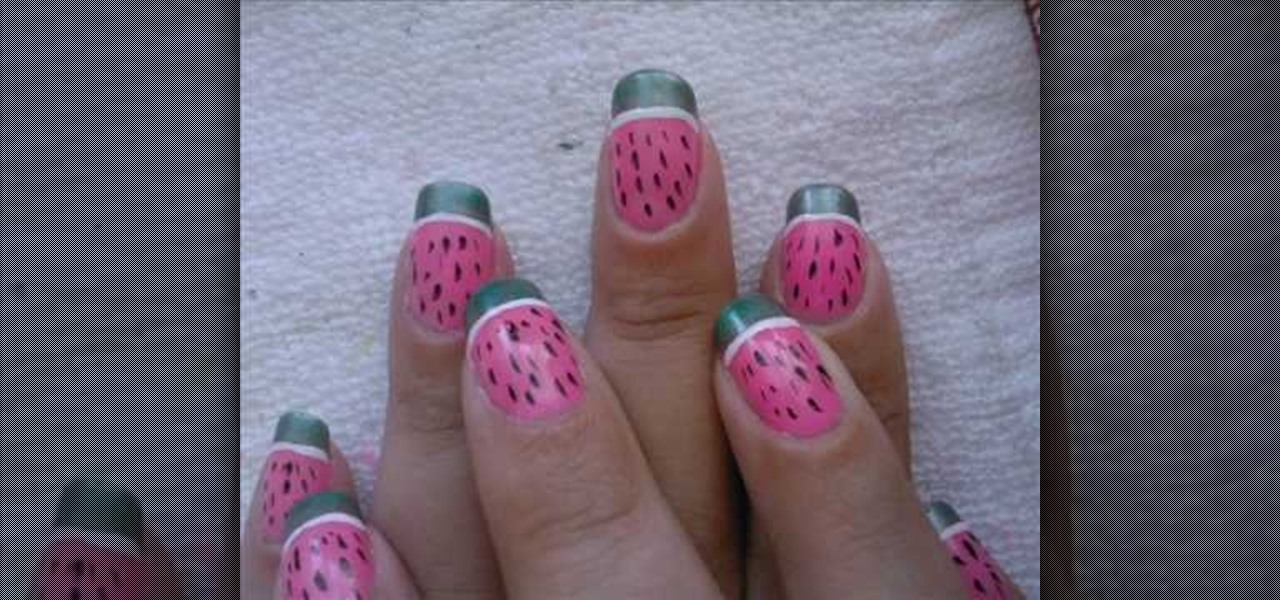
Watermelon end of summer nails! All the things you need for this super easy design. apply your base coat first for nails. Apply neon pink base color it is not very watermelon like but it is so summary. Make a French tip with a green nail polish. It divides the pink and green with a thin white line. It is best to use a thin art brush. It make the seeds with black art polish and enjoy the last days of summer time hope you liked this design to you.
Don't know what to get your sweetheart this Valentine's Day? Why not something sweet? In this how-to, we get a step-by-step process on how to turn a regular old chocolate bar into a sparkling 24-carat bar of gold! Materials you will need include chocolate candy, gold leaf, and a paint brush. The finished project also makes for a great goody for a gift bag or perhaps a pirate-themed birthday party!
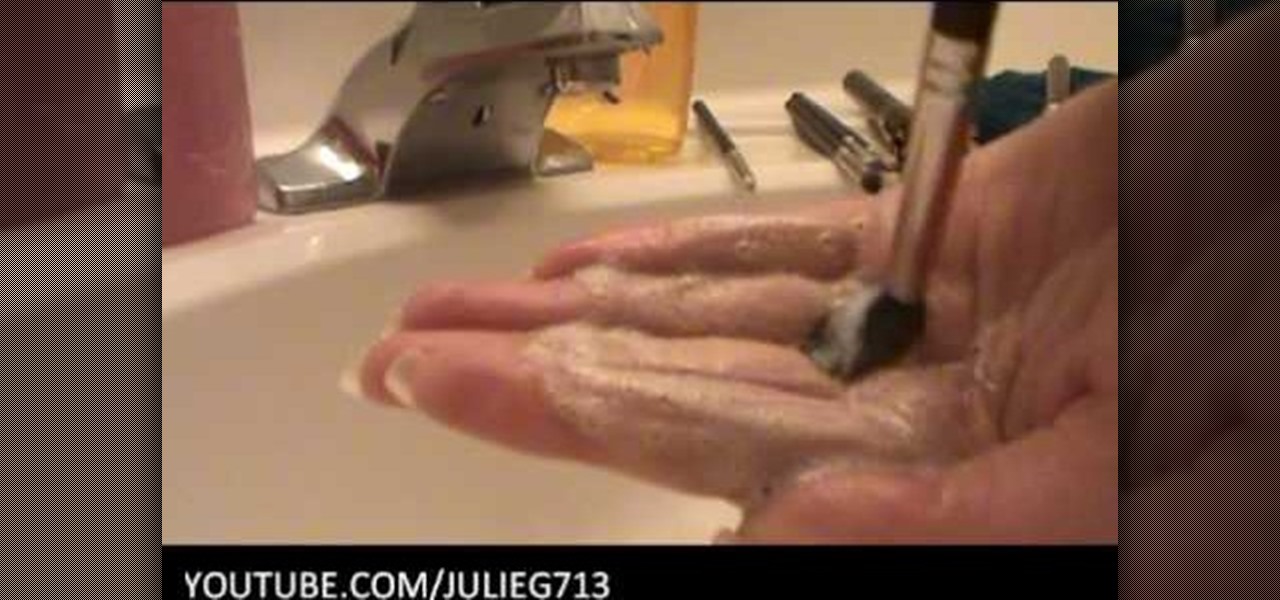
Makeup brushes accumulate a lot of bacteria and dirt. Keeping your makeup brushes clean should be an important part of your makeup routine. And it doesn't have to take very long. Julieg713 has some great advice on how to deep clean your makeup brushes efficiently. Deep cleaning makeup brushes is recommended at least once a month to keep your brushes in top form and bacteria-free.
This lesson is the second of a series exploring alternative process photography. In this lesson, learn how to create a Cyanotype using a digital negative. Step by step instructions are included with samples and illustrations. Follow along with this photo lesson and learn how to recreate this old-fashioned print technique. You'll need a cyanotype kit, a fine bristled paint brush, a watercolor rag, a contact printer, a pair of clamps, a large tray, a UV light source, and a digital negative.
Learn how to make a salt dough sunflower with this tutorial. This is a simple kid craft idea that is safe for almost any age.
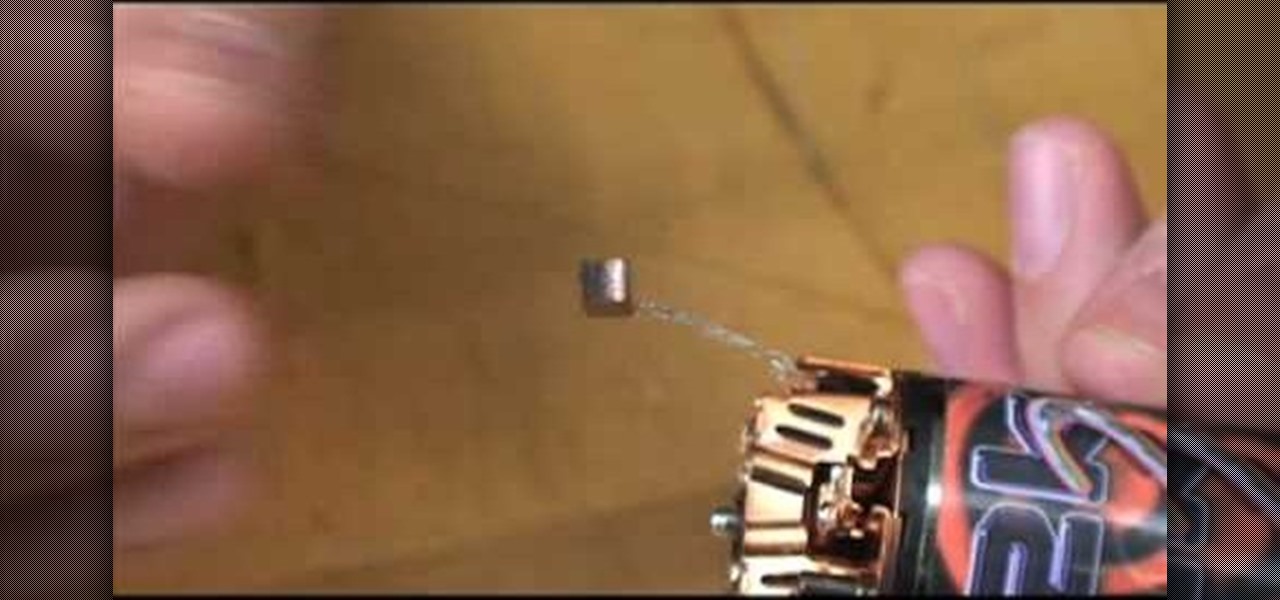
RC Car Action Magazine Editor Matt Higgins, shows you how to identify and fix a 'hung brush' in a traditional brushed motor. A mystery stop could be from a hung brush, when the brush of the motor gets clogged with dirt. Watch this video tutorial and learn how to repair a hung brush on the motor of an RC car.
Chrome yellow and electric combine to create a ravishing, attention grabbing makeup look. PRODUCTS USED
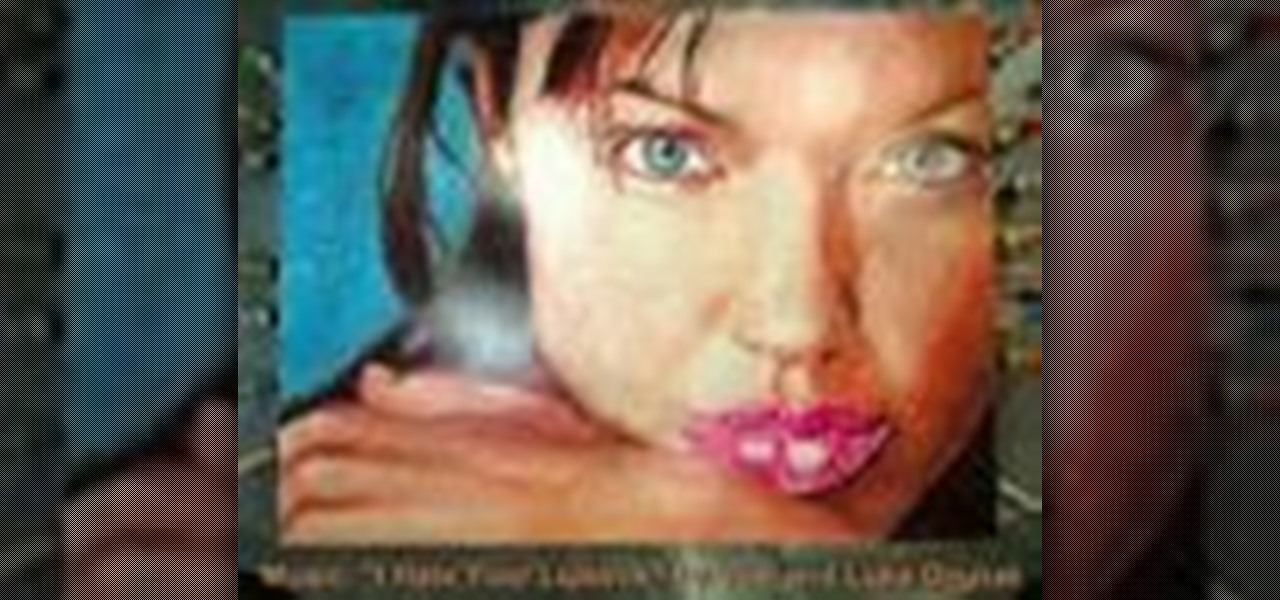
Did you wake up this morning and think to yourself, "I really want to paint Angelina Jolie on paper... not with paint, but with lipstick!" Well, as you can see from this tutorial someone's been there and done that.
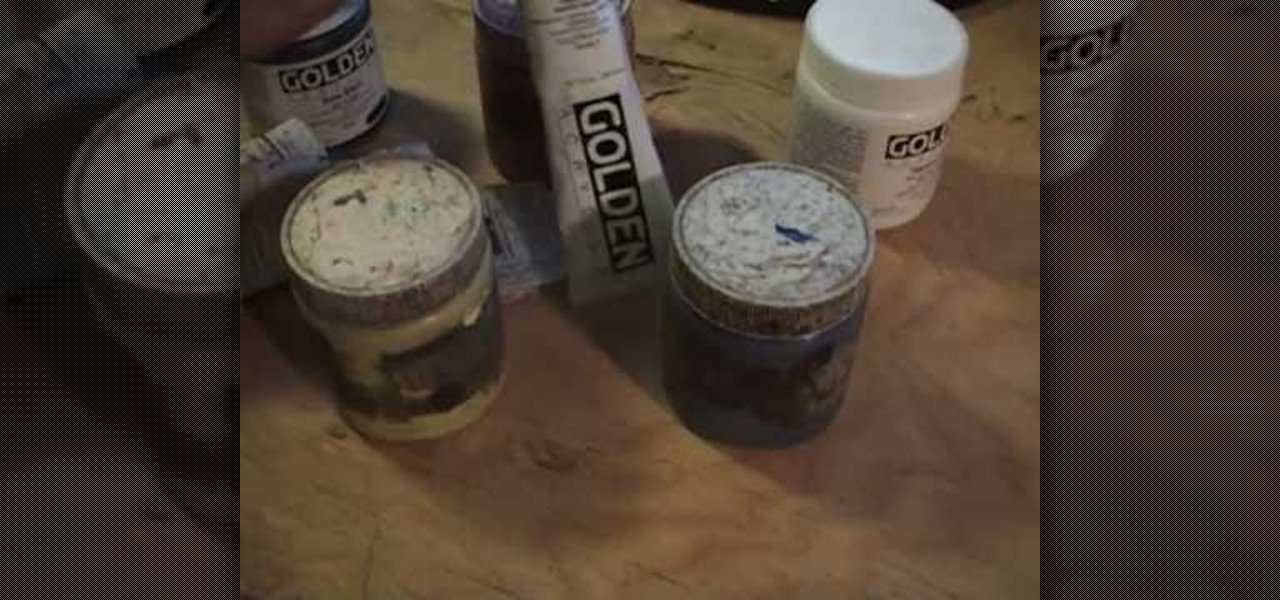
This introduction to acrylic painting will help you decide what paints you need to get started. Cy Porter of Solomation.com gives seasoned advice on thich acrylic paints to choose.
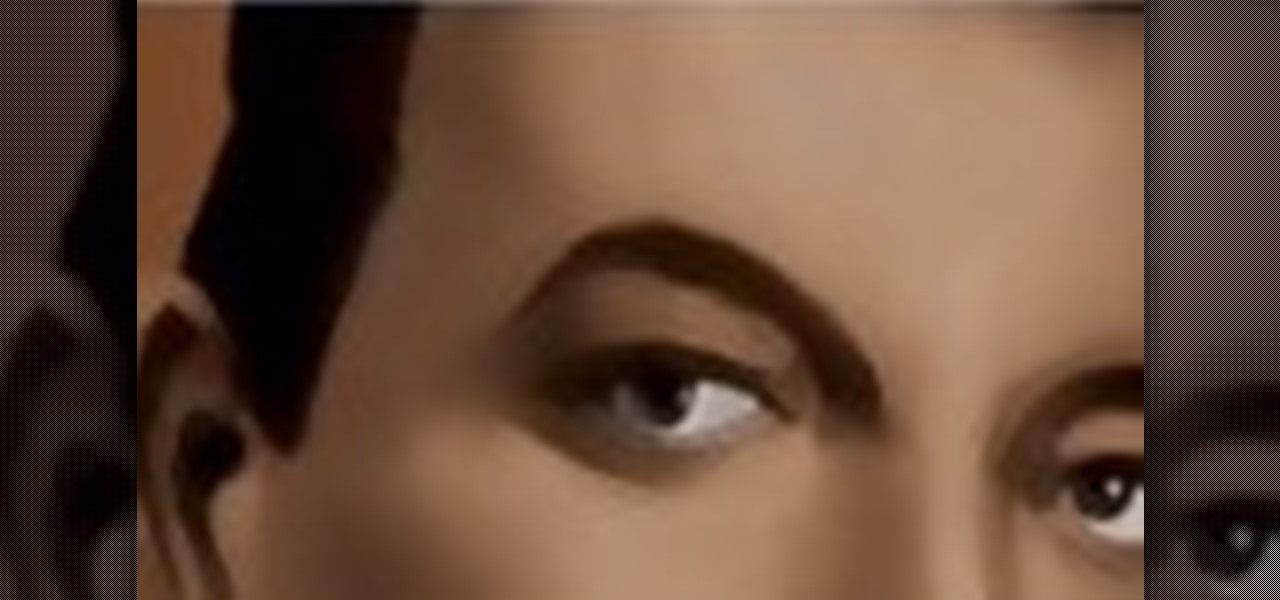
The video Photoshop painting tutorial shows a great technique for creating a beautiful portrait as well as some great general tips for painting in general. Learn how to paint a digital portrait on Photoshop by watching this instructional video.
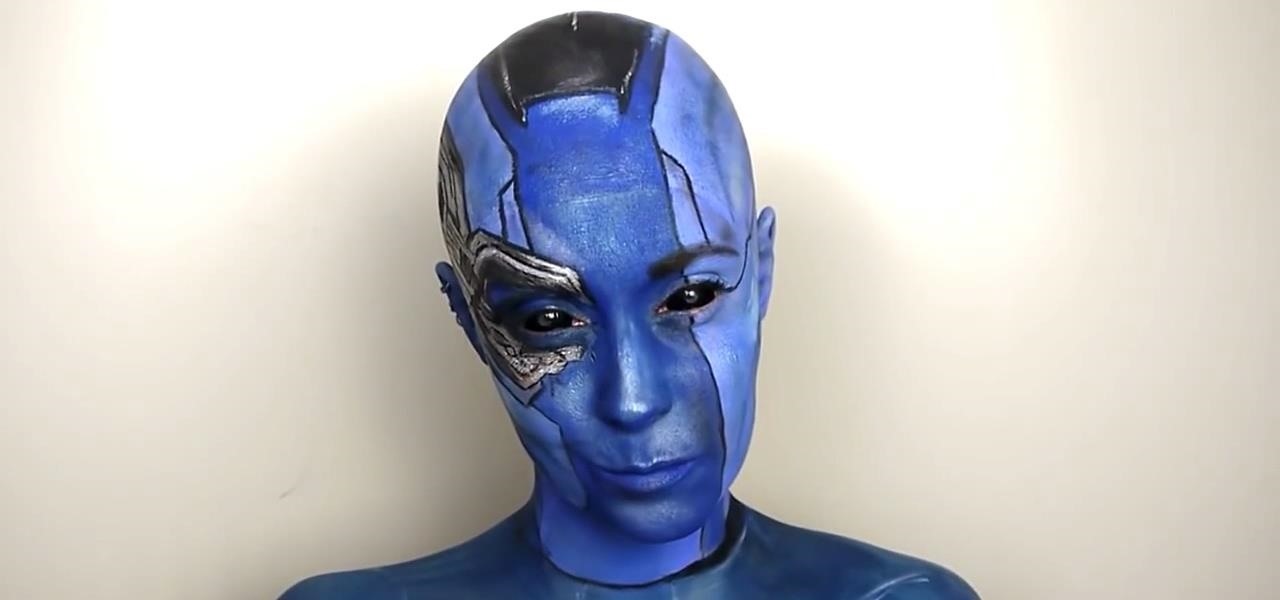
Karen Gillan must have had an absolute blast chewing the scenery as Nebula in Guardians of the Galaxy Vol. 2, seeing as how Nebula is a ball of pure, seething fury pretty much 24/7. Combine that larger-than-life personality with her iconic blue and silver cyborg look, and you have a guaranteed hit for cosplay or Halloween.
In this how to video series, learn how to paint landscapes from artist Matt Cail. Matt will give you landscape painting tips such as what supplies you need and what types of brushes and canvas to use.