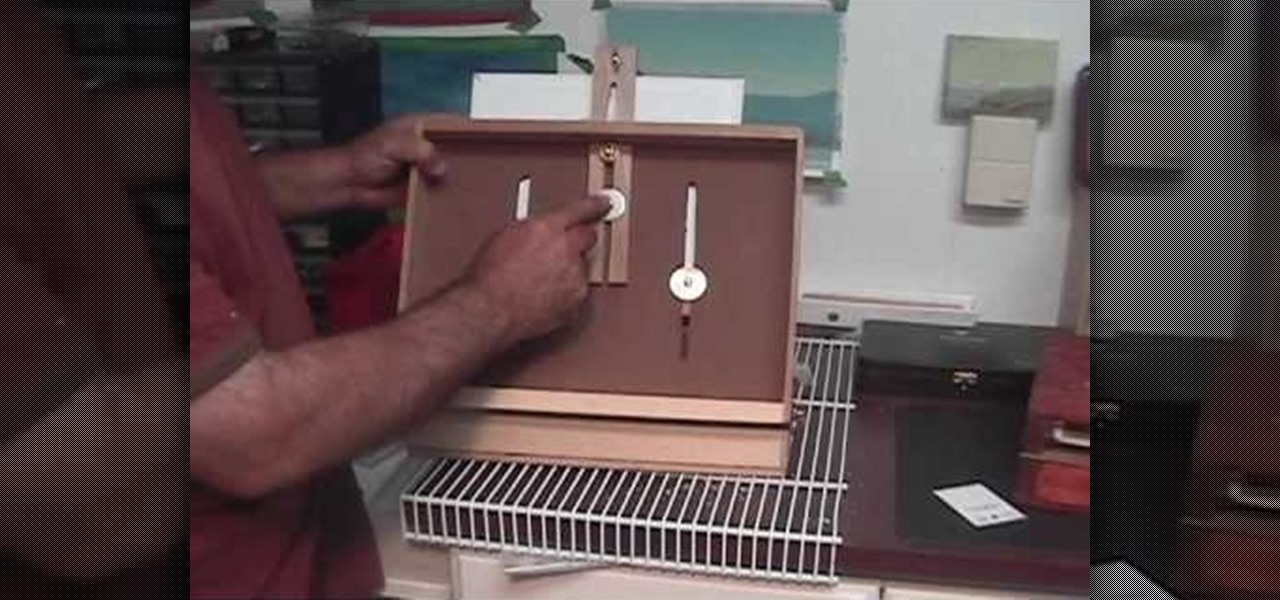
In this video, we learn how to build a pochade box for outdoor painting. This box will hold two wet panels in the back and help you hold other things you need to carry. You will need a medium sized box first, then you will need to cut the back and sides of the top to make slits where you can place in the panels. After this, you will create a barrier for the middle that has two slits in the bottom of it where you can slide it. On the bottom of the box you will have a hold where you can thread ...

Whether you are just starting out doing Chinese calligraphy and painting or a have been doing it your whole life, practice is crucial. Rather than wasting ink, paint, and paper on practice pieces that you are going to discard or throw away afterwards, now you can use a Buddha Board! These devices allow you to use a waterbrush pen and water, no paper, ink, or paint, to create images that will disappear after the water dries! No mess, no waste, just an effective way to practice your art and sav...
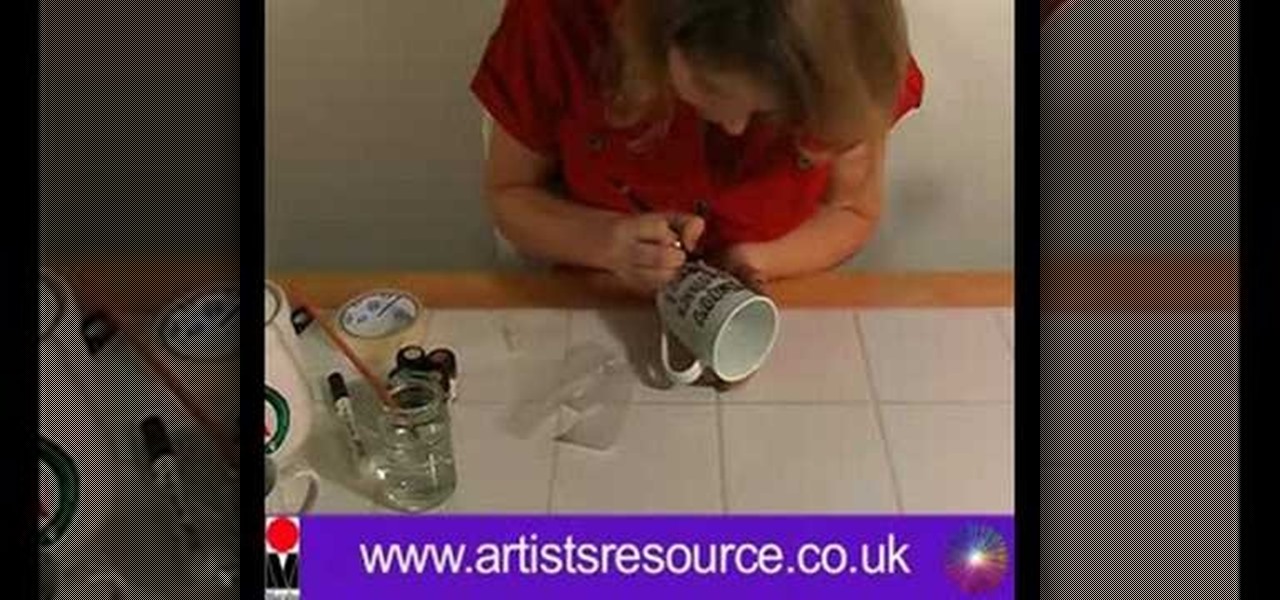
This video demonstrates how to paint Mother’s and Father’s Day mugs. This is a ceramic painting project. For this project, you will need the following supplies: 2 mugs, a Marabu ceramic kit, a paintbrush, a soft pencil, tissue, masking tape, a marabu porcelain paint pen, a jar of water, paper, scissors, tracing paper, and a sheet of paper with the lettering that you want to use on the cup. On your PC, use any decorative font that you like.

In this how-to video, you will learn how to build your own custom Pochade box for oil painting. You will need 10 feet of 3/4 x 1/2 trim, 1/4 underlayment plywood,, a table saw for squared cuts, a cordless drill, a dowel no smaller than 3/8, a set of hinges and screws, an Allen bolt and nut for triPod mounting, a piece of glass for the palette, gorilla glue water, and chemical proof. Pre-drill everything to make sure the wood does not split. Make sure that when you drill the hole for the dowel...
In creating the Style D One Sheet movie poster for REVENGE OF THE SITH, Artist Matt Busch begins painting and takes you through the complete process. Learn how to paint a lightsaber from Star Wars by watching this video art tutorial.
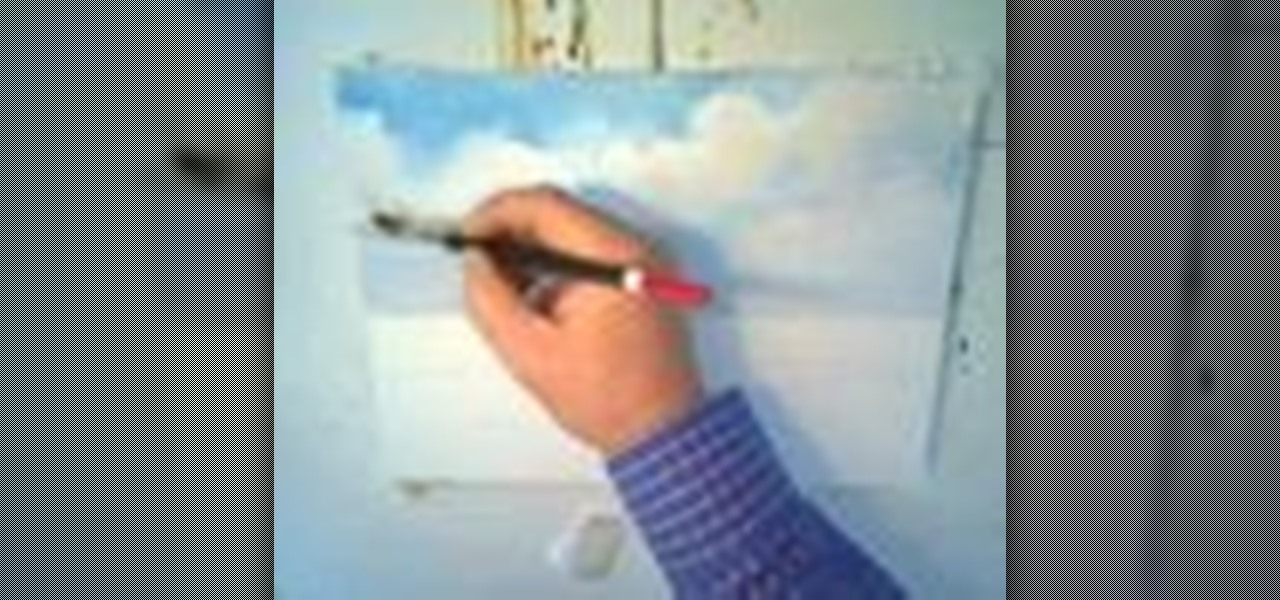
A quick demo from my studio on how to paint a summery sky. Blue skies with clouds can be a problem for some, so watch this real-time demo to help learn how to do it.

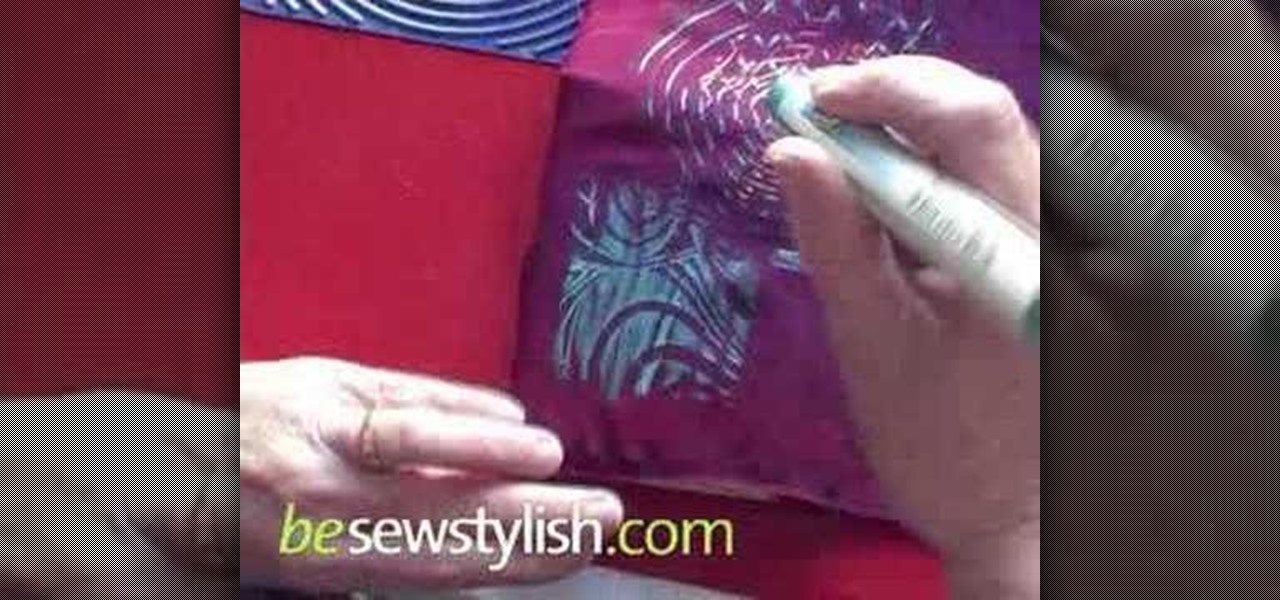
Transform any fabric in minutes by using paint sticks to transfer a surface texture to the cloth. Watch as Laura Murray shows you how to use surface rubbings over a textured surface to create original and creative fashions.
Demonstration of Helen's unique acrylic pouring technique. This technique comes to life when the acrylic paint is mixed with water and, literally, poured onto the canvas, creating free-flowing shapes and forms.
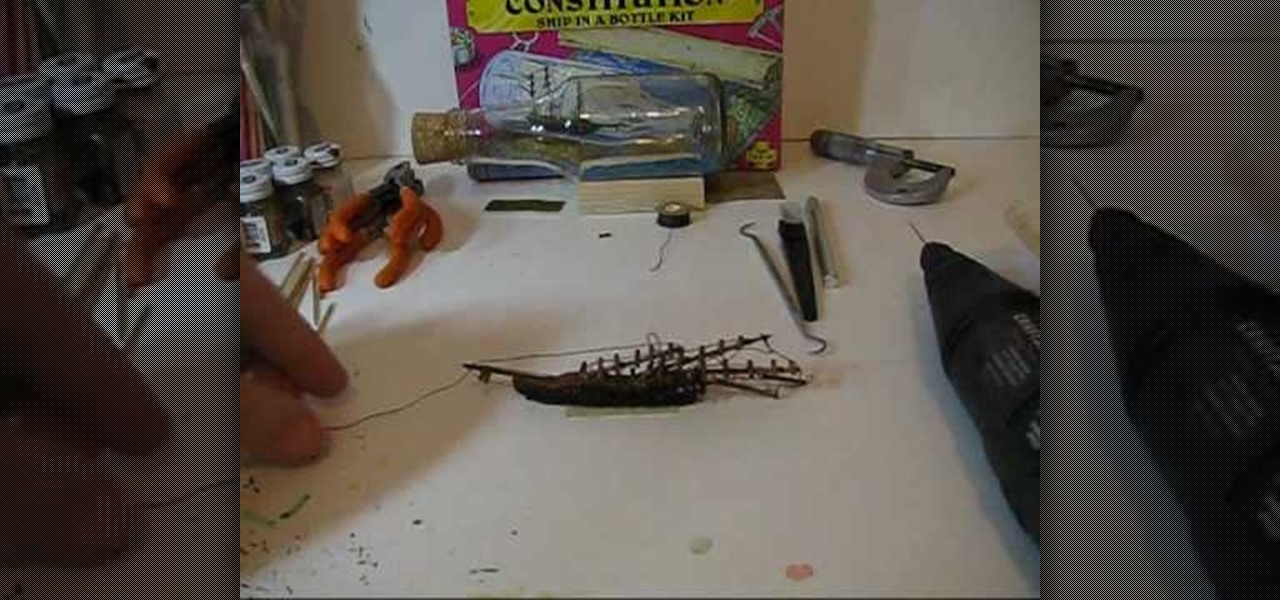
Have you ever wondered how your grandfather constructed the ship-in-a-bottle on his mantlepiece? Are you frustrated by the poor instructions that came with the kit you bought at your local hobby shop? The people at Storm the Castle certainly were, and so they made this video to show you how to complete your ship-in-a-bottle kit using basic hobby tools, including a very small drill bit, very small clamp, and very small paint brushes. No hobbyist's collection is complete without one of these.
1985rey teaches you how to draw SpongeBob Squarepants on your computer, using Paint. To start with an existing picture of the character to get the look and feel, use the brush tool, using black and make a large spongy head. Add circles on the side to make it look like 3D. Draw the eyes, eyebrows, nose, cheek and mouth with teeth and tongue. Once you're done with the head, continue drawing the body, with legs and pants and also the hands. Now you can start coloring in with a yellow for the who...
In this video, we learn how to make a miniature medieval flail. You will need: glue, string, scissors, drill, paper, cardboard, paints, masking tape, electrical tape, plastic chain (optional), a brush, and a wooden handle. First, crumple up a couple sheets of paper to make it into a ball. Wrap masking tape around it so it keeps its shape. Next, wrap your string or twine around the ball several times at various angles, tying it each time at the bottom. After this, tape it again with masking ta...
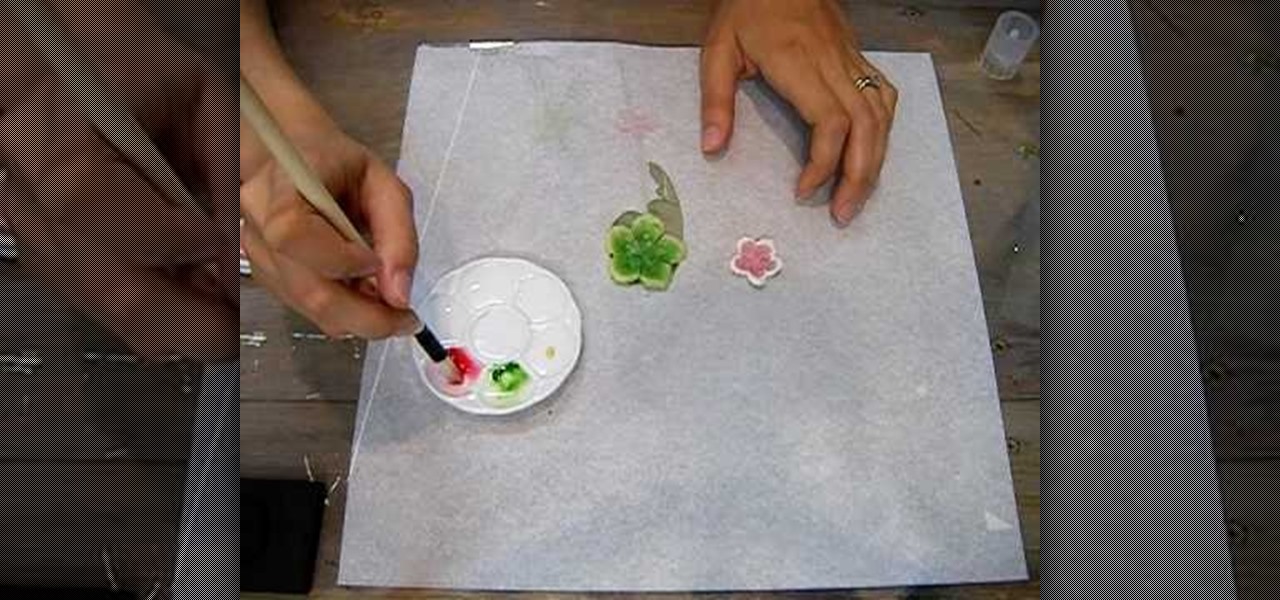
Supplies needed1. flower cut outs (you can buy them from A Piece of Craft)2. Water colors3. paint brushes4. clean water5. heat gun5. Water color pallet
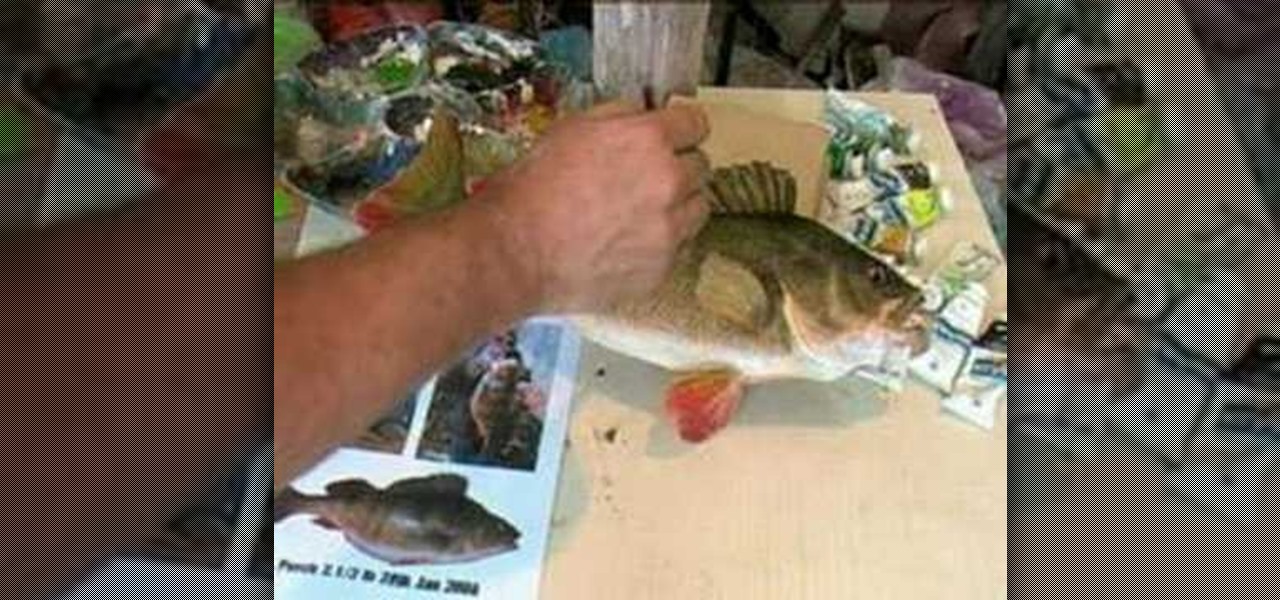
The colors on a dead fish can get a bit dull, but a little bit of acrylic paint will add a life-like vibrancy to the stuffed taxidermy mount. The demonstrator walks through the steps of adding fresh and realistic color to a perch mount with the help of some paint. Watch this video taxidermy tutorial and learn how to paint a stuffed perch with acrylic paints.
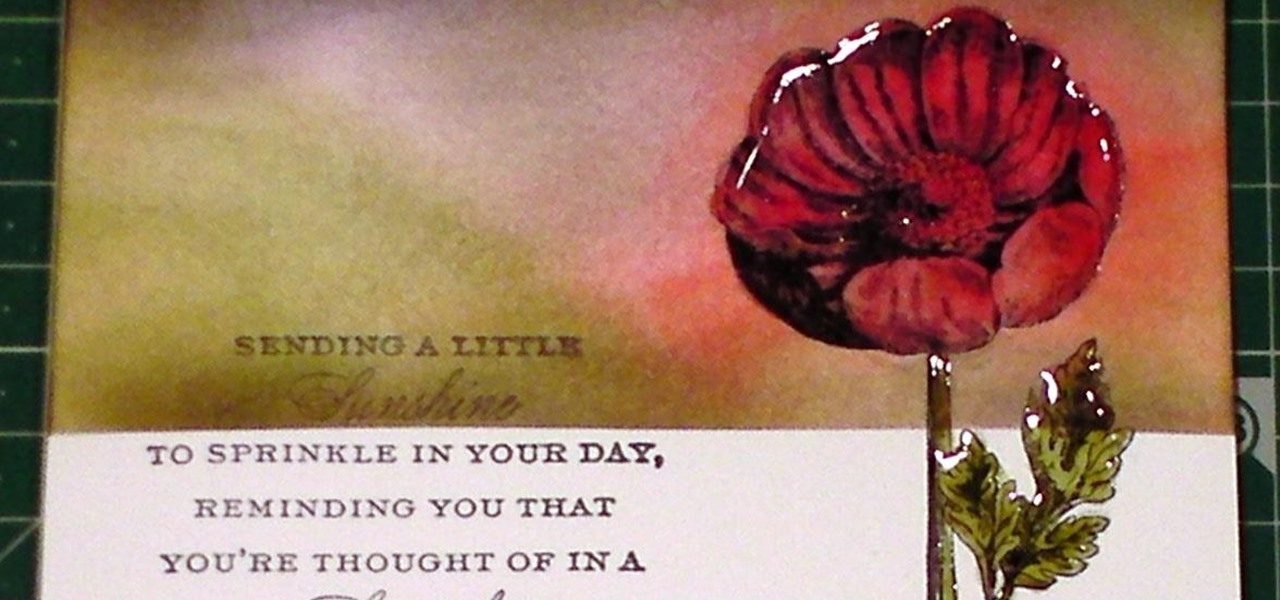
This tutorial is quite an epic, so get a cuppa, kick off your slippers, sit back and relax as we go through a few great inking & blending techniques.
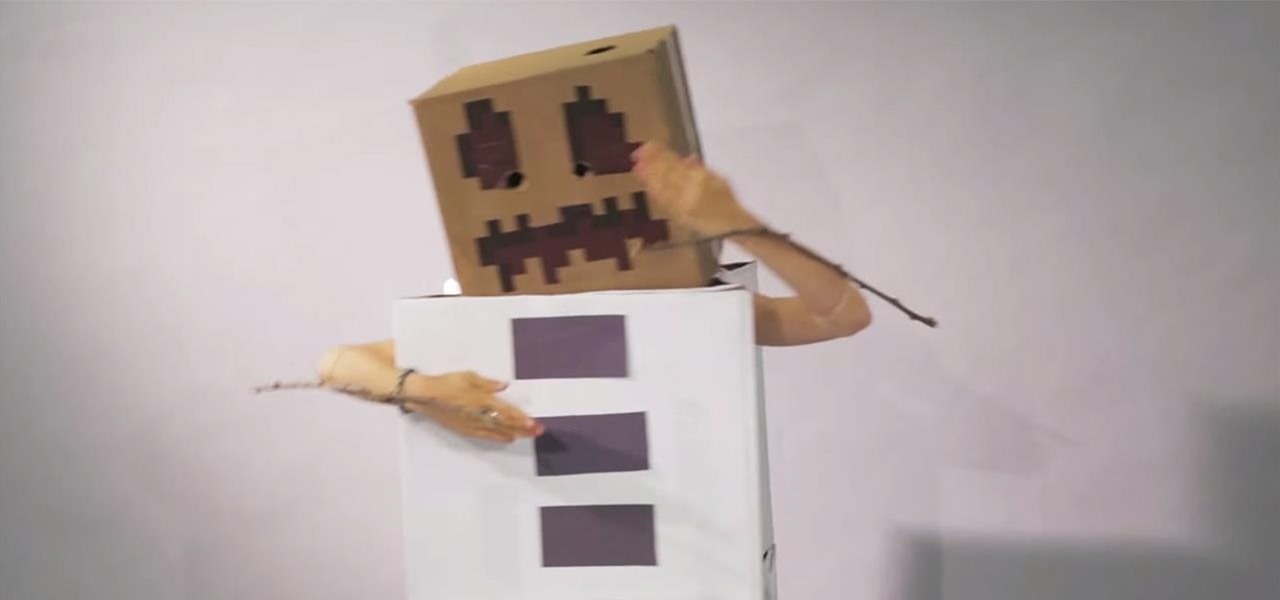
Minecraft is a simple game with a huge following, and is a great inspiration for easy, DIY Halloween costumes. We've already shown you guys how to make a Simple Steve costume and a Creeper costume—now it's time for a new Minecraft-inspired one.
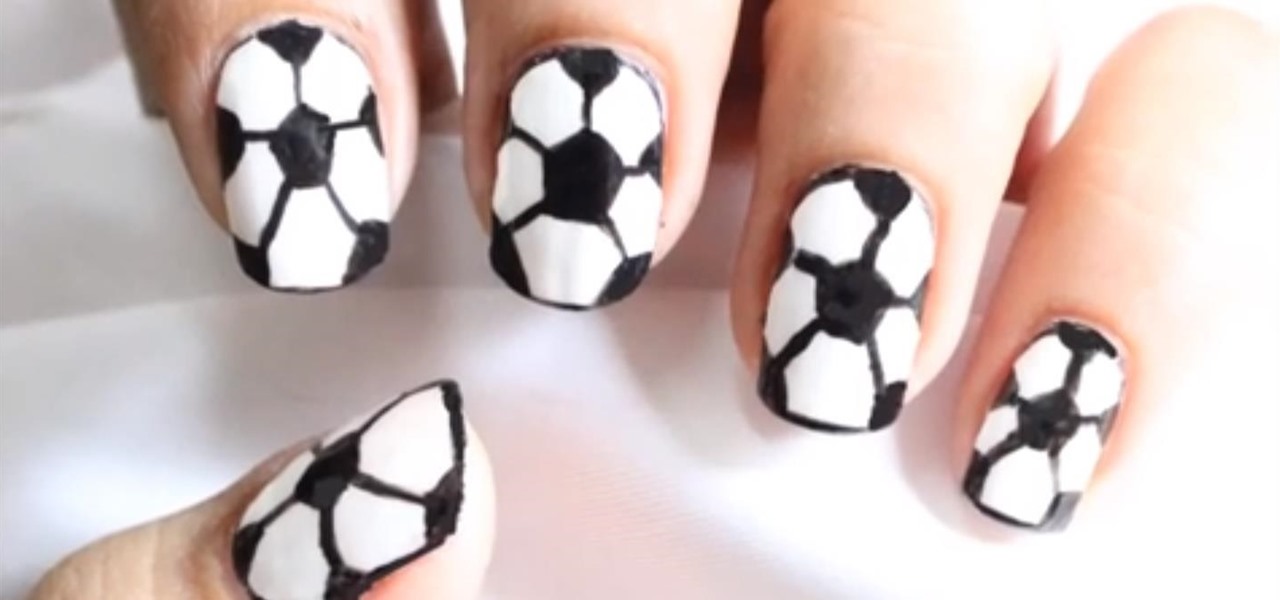
Hi! So in this video, I shall show you how you can create simple football (aka soccer) nail art in just 6 steps!
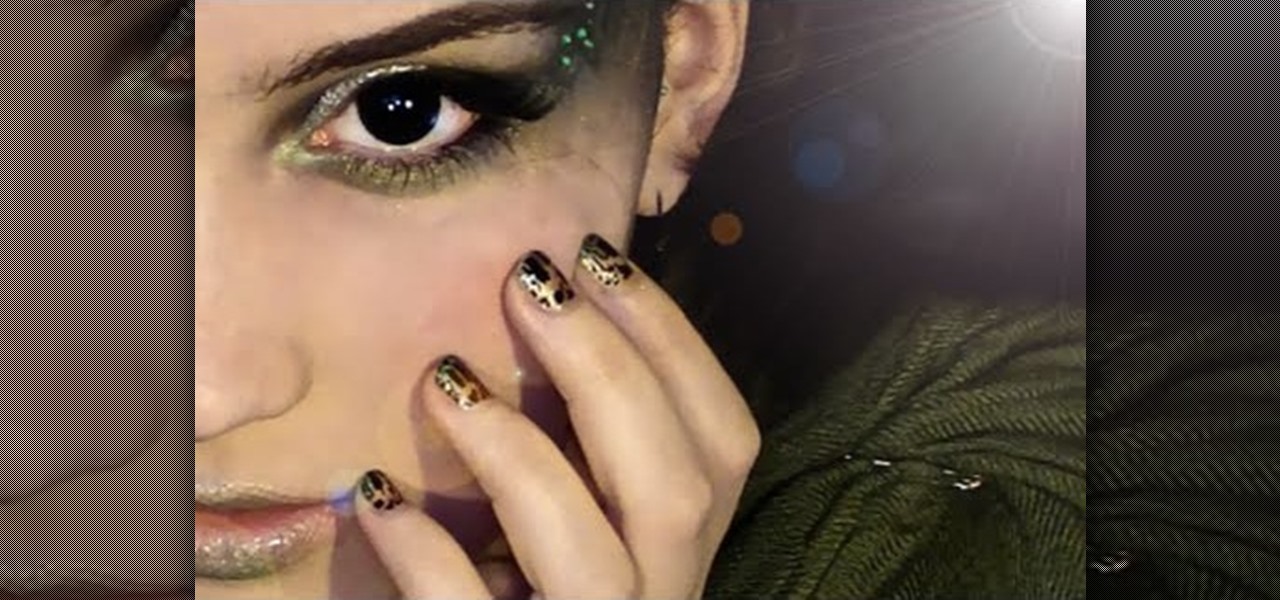
Bird's Feather Nail Art Tutorial For Beginners. Video: .
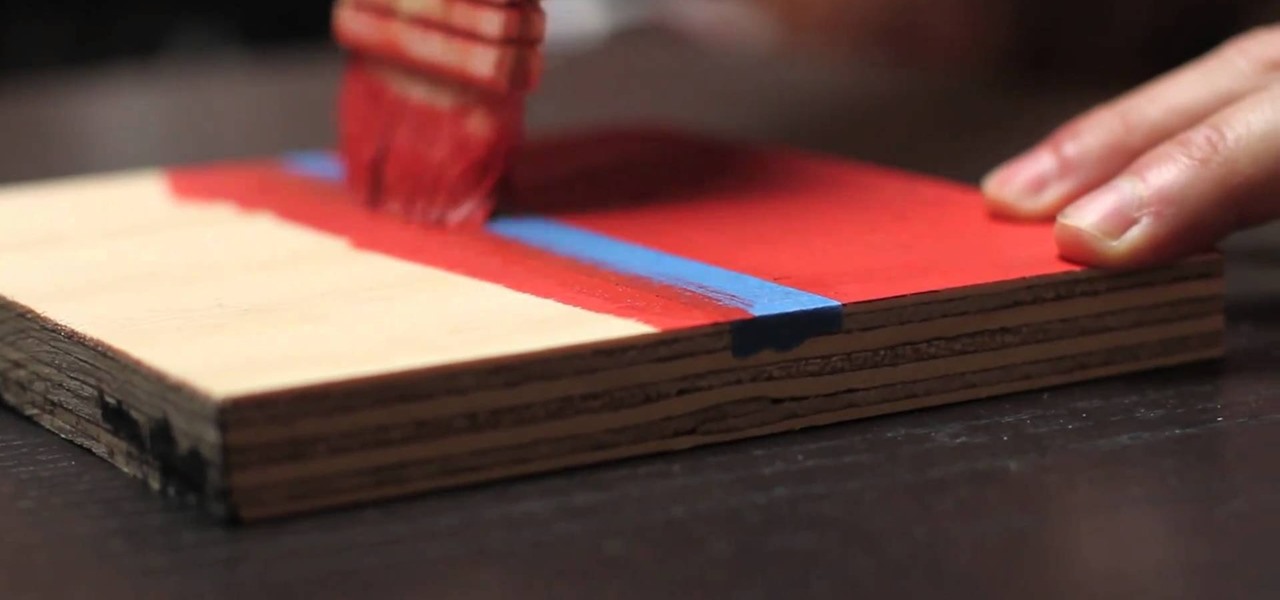
Most home interior painters, professional and ameteur alike, rely on painter's tape to get around edges without splattering paint everywhere. But painter's tape allows for little air bubbles to form, meaning paint can easily seep below and ruin your work.
Just because Greek monster and general bully Medusa had yucky snakes slithering out of her head doesn't mean a Halloween look based on her has to be disgusting and scaly. Bring out the beautiful side of the myth by creating this gorgeous stonelike Medusa look.
Even during the first Halloween celebrations, masks, disguise, and deceit were the focus of the holiday. Commemorate those tender beginnings by dressing up as a masked masquerade attendee. Wear whatever fancy ball gown you want and then check out this Halloween makeup tutorial by Michelle Phan to learn how to create a drop dead gorgeous masquerade look.
Mod Podge is well known in the world of crafts, and if you haven't used it yet for your découpage needs, then you have to check out this video tutorial from Mod Podge Rocks. You'll learn a simple frame project, in which you'll make a beautiful DIY handmade frame with Mod Podge in a matter of minutes.
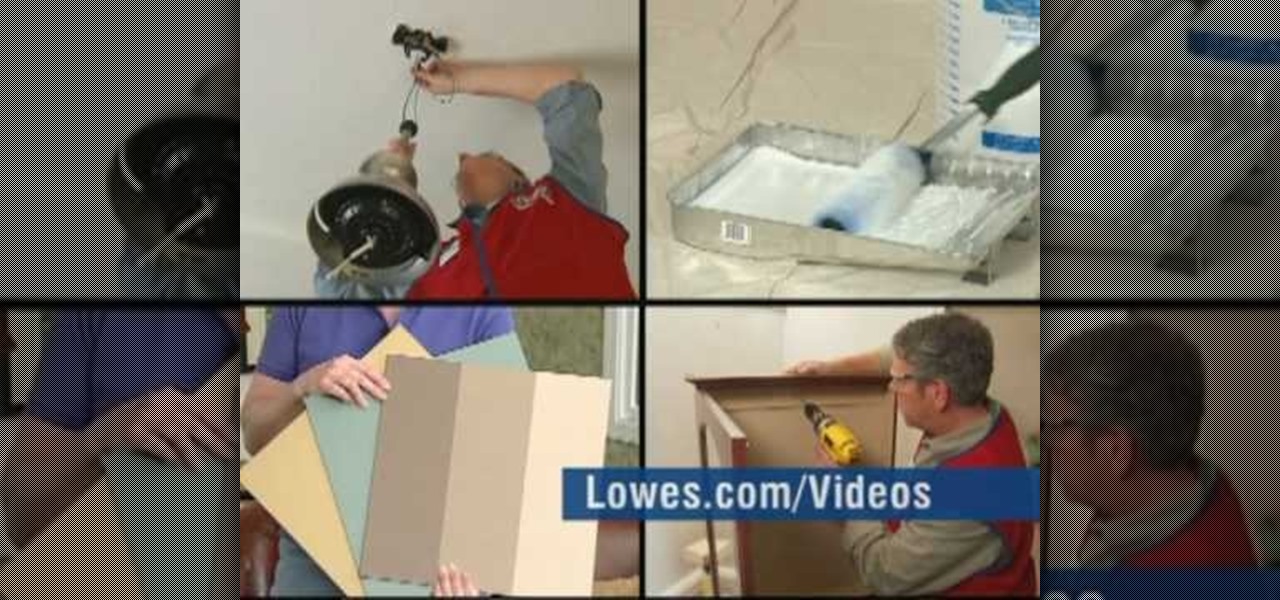
In this tutorial, we learn how to paint with basic latex painting techniques with Lowe's. First, you will need to determine how much paint you need by figuring out the room size. Next, you will need to paint the ceiling and apply blue painter's tape to all the areas you don't want paint to touch. Make sure to stir the paint before you use it and open up windows and fans to circulate the air. Cut the edges by painting around 2" inside first. Once finished with the ceiling, start cutting the ed...
In this tutorial by Lowe's, we learn how to prep and paint kitchen cabinets yourself! First, you will want to make sure you don't have laminate or tile countertops, because these can simply be replaced. After this, you will need to use sandpaper to sand down the surface of the cabinets. Next, you will need to paint primer on the surface of the cabinets, making sure you get into the creases of them as well. Now, paint over the primer once it has dried with your choice of glossy paint. After th...
Usually people associate pet tooth-brushing with dogs. Cats eat a lot of gross stuff too and can easily get bad breath. Watch this video to learn how to successfully brush your cat's little teeth without making it plunge them or their claws into you.
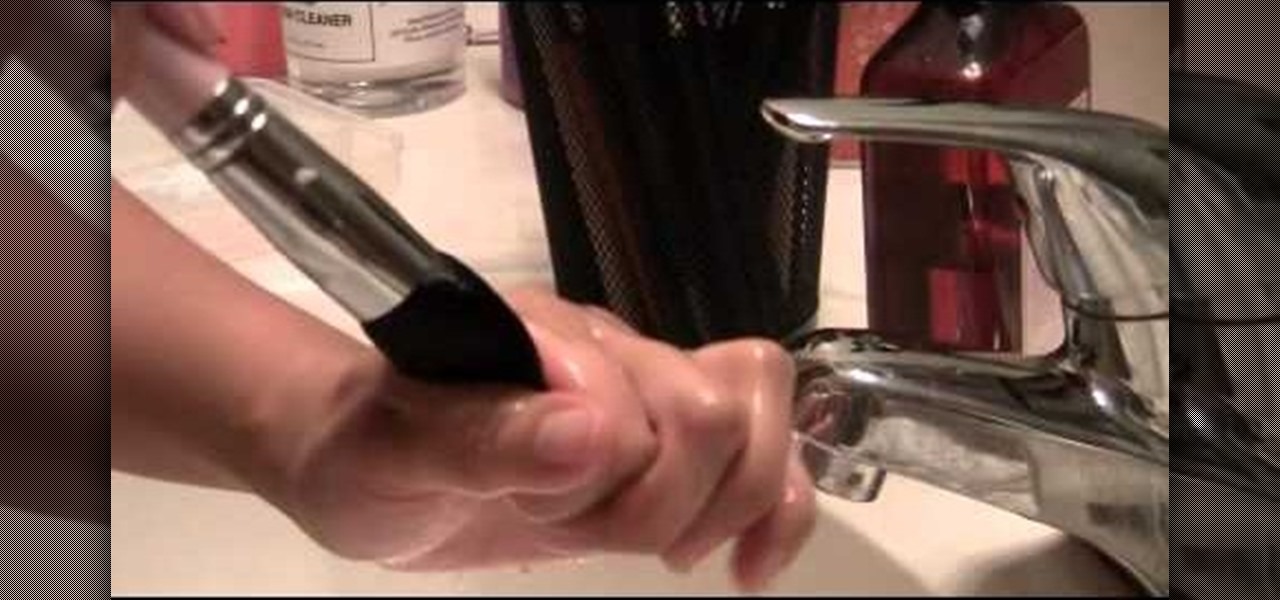
Cleaning your makeup brushes at least once a week (if you use makeup regularly) is as important as washing your face daily: If you skimp on removing the dirt and oil from your face, your pores get clogged, dirty, and no makeup you put on will look good on bad skin.
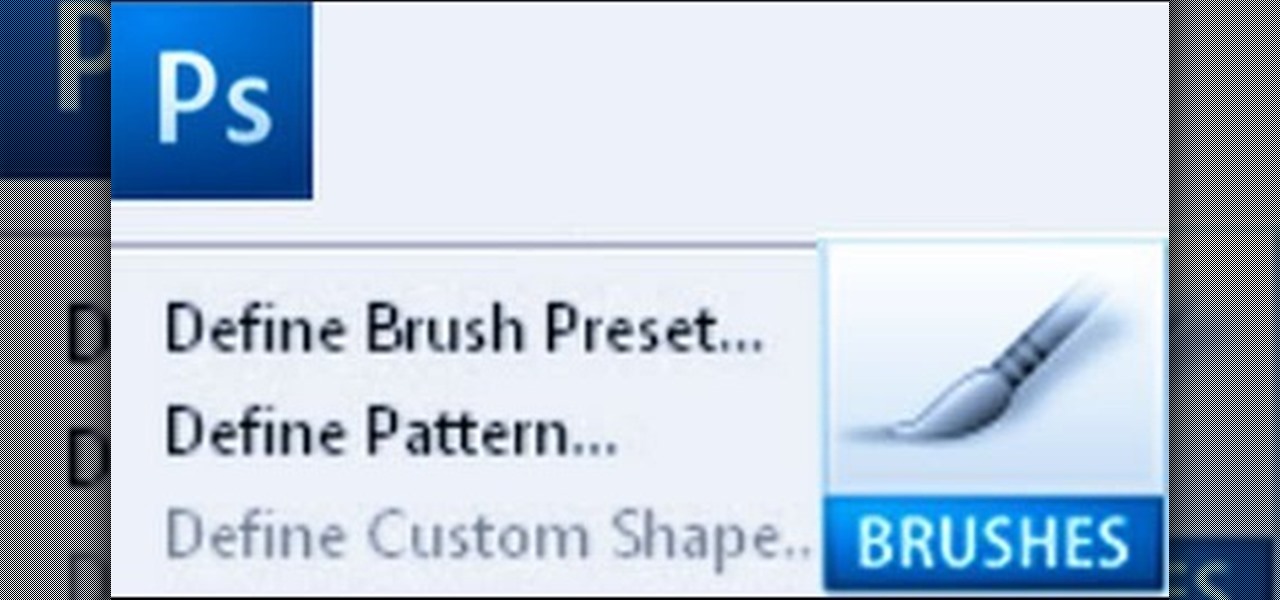
Importing custom brushes and patterns into Photoshop is not too complicated, you can probably handle that already. But what if you want to create your own? This video will teach you how to create your own custom brushes and patterns within Photoshop, which you can then use yourself or make available to others on the web. The former will save you lots of time when you find yourself making the same pattern over and over again because you can make a brush that will draw it automatically. How handy!
Hordes of women live and die by their Clarisonic brushes, which they claim speeds up their cell turnover rate and decreases hyperpigmentation as well as old acne scars, creating fresh, youthful skin. But Clarionic newcomers may find this vibrating brush to be a little intimidating.
Overplucked eyebrows never look attractive (just think about the shaved-off eyebrow chola look with thin lines drawn in to replace the natural brow), but neither do full on bushes.
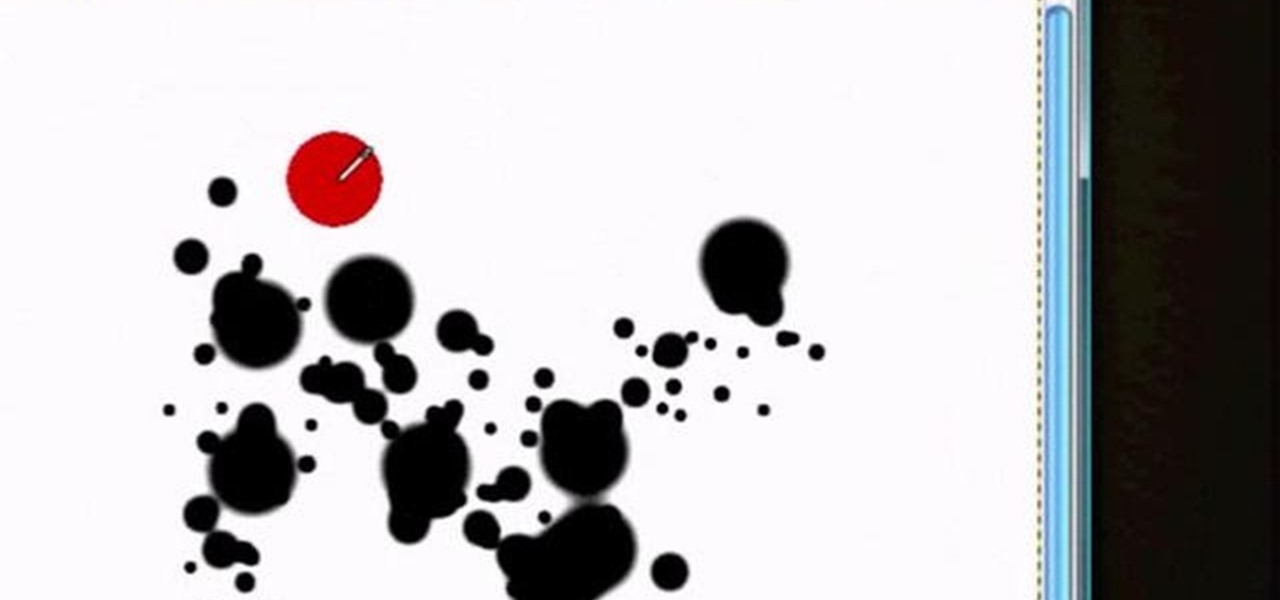
See how to create a splatter brush within the GIMP image editor. Whether you're new to the GNU Image Manipulation Program, GNU's popular free graphics editor, or a seasoned designer just looking to pick up a few new tips and tricks, you're certain to enjoy this free video software tutorial. For more information, including detailed, step-by-step instructions, and to get started making your own custom splatter brushes, take a look.
Take full of Photoshop CS5's retooled brush palette. Whether you're new to Adobe's Creative Suite or a seasoned graphic design professional after a general overview of Photoshop CS5's most vital new features, you're sure to be well served by this video tutorial from the folks at Brusheezy. In it, you'll learn how to fully utilize Photoshop's new brush palette system.
Howard demonstrates how to control sharpening on your image in Photoshop. First, you want to copy your layer by dragging to down to the new layer icon at the bottom of the box. Next, go up to the menu bar at the top of the screen and click Filter, select Sharpen, and go to Unsharp Mask. A dialogue box will pop up so that you can adjust the how sharp your image is by using the sliders. Click OK when you are done. If you want adjust where you sharpen the picture go to the right side and click o...
This video shows how to make a real 3d text in Photoshop. First open up Photoshop. Create a new document File > new. Then select width then OK. Fill the background with black. Then go to the text tool and write whatever we want. Choose a font with fat letters. Right click on the text layer and go to "Blending options". Then edit the text in our way. We can create a Gradient Overlay, Contour, Stroke and Outer Glow. We can add any effect we want. Again right click on the text layer and click "R...
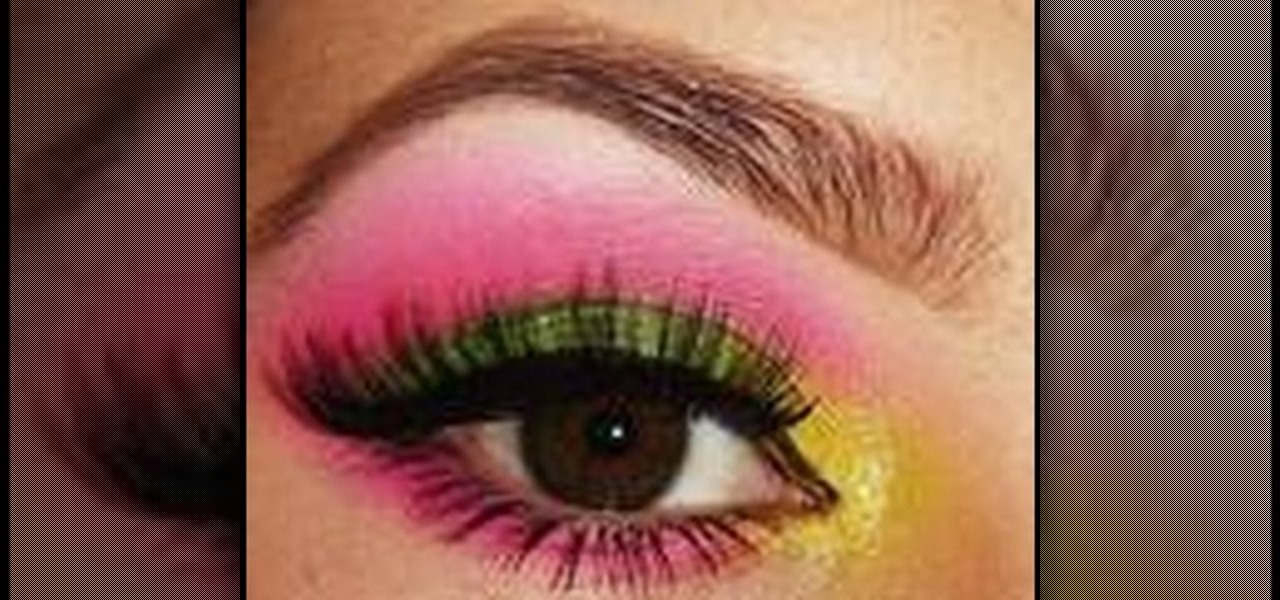
This is a video tutorial showing its audience how to apply glam couture make up by using green, yellow, and pink tones. The first step is to apply your base over your eye lid. Next take one side of your brush and put some of your yellow eye shadow onto your brush. Then put this into the inner 1/3 of the eye and do this on both eyes. Next you need to flip your brush over and apply the green pigment to the brush. Next apply it to your eyelid and overlap the the green with the yellow just a litt...
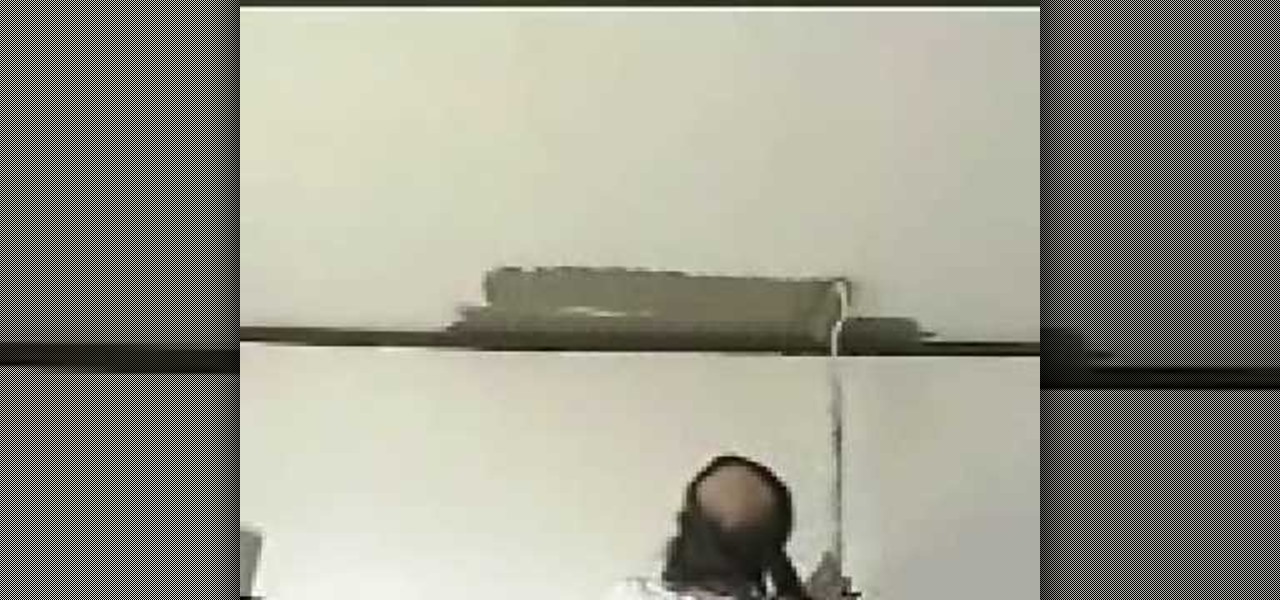
Paint A House demonstrates how to roll paint the ceilings in your home. To roll paint your ceilings, first paint the edges of the ceiling where it meets the wall. Then, make sure you have enough paint on your roller. Raise the roller to the ceiling, making sure that you stand to the side and a little bit backed away from the paint roller. Move the roller across the ceiling in a sideways motion. Don't walk forward with the paint roller to apply paint to the rest of the ceiling. Instead, back u...
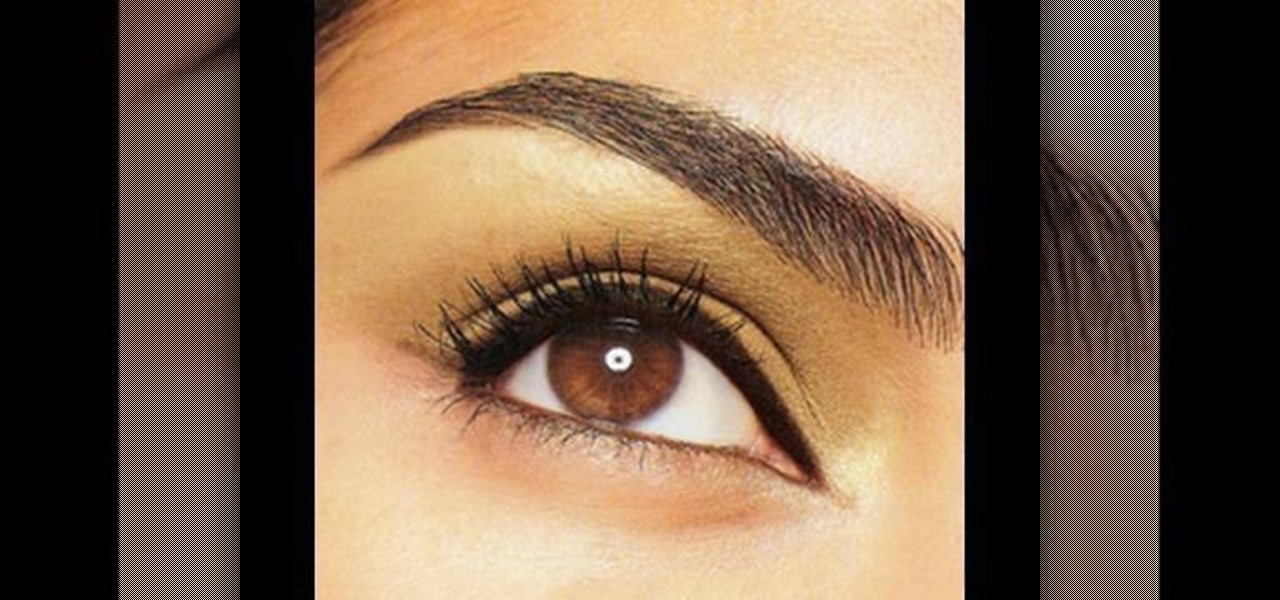
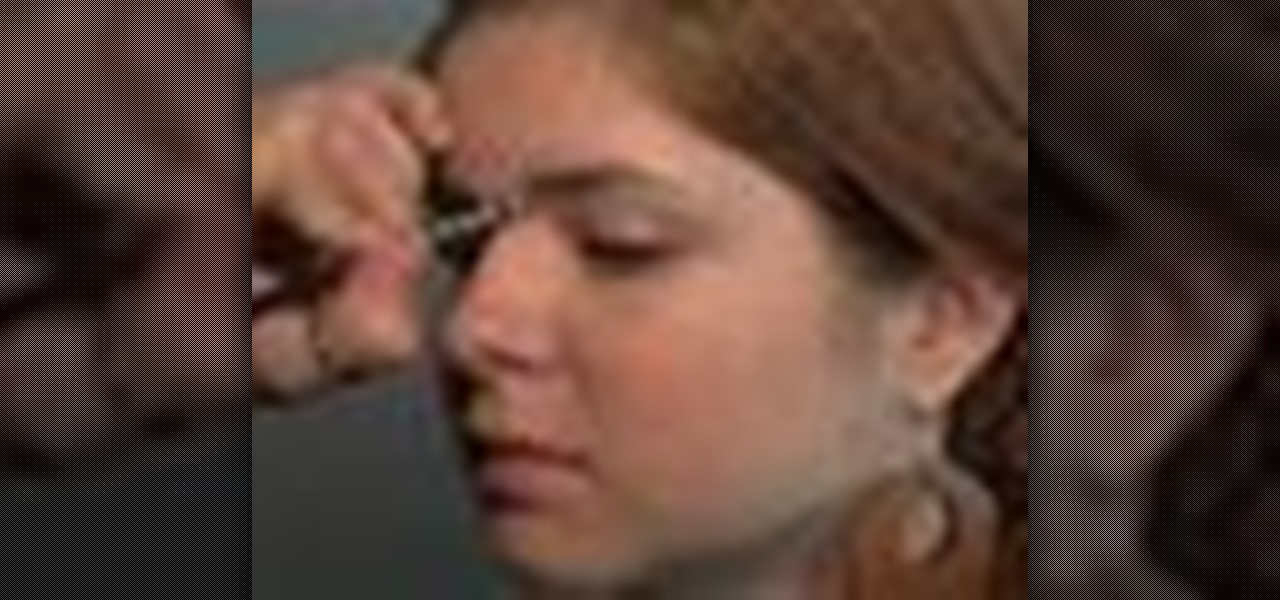
Beau Nelson gives tips and a demonstration on eye brow make up. He says that brow trends change often, but right now the style is to have a more full looking brow. To accomplish this, he says that the first thing you need is a good brow brush. To the brush you apply a shadow color that is a shade or two lighter than your hair color. Start with just a little shadow on the brush, you can always add more. Brush upward for the inside half of the brow, and outward on the outside half of the brow. ...
Expert Real Estate Tips and Andy Sjostrom with The Good Handyman demonstrate how to prep for painting. A good handyman will handle your items with care. Be sure to remove light fixtures. Before you begin to tape off an area, take a damp rag and clean the areas that will be taped so the tape will adhere to them. Use latex gloves to keep yourself clean during the painting process. Then, tape off the area needing painting and put down a drop cloth. If you get your paint from a big box store, mak...
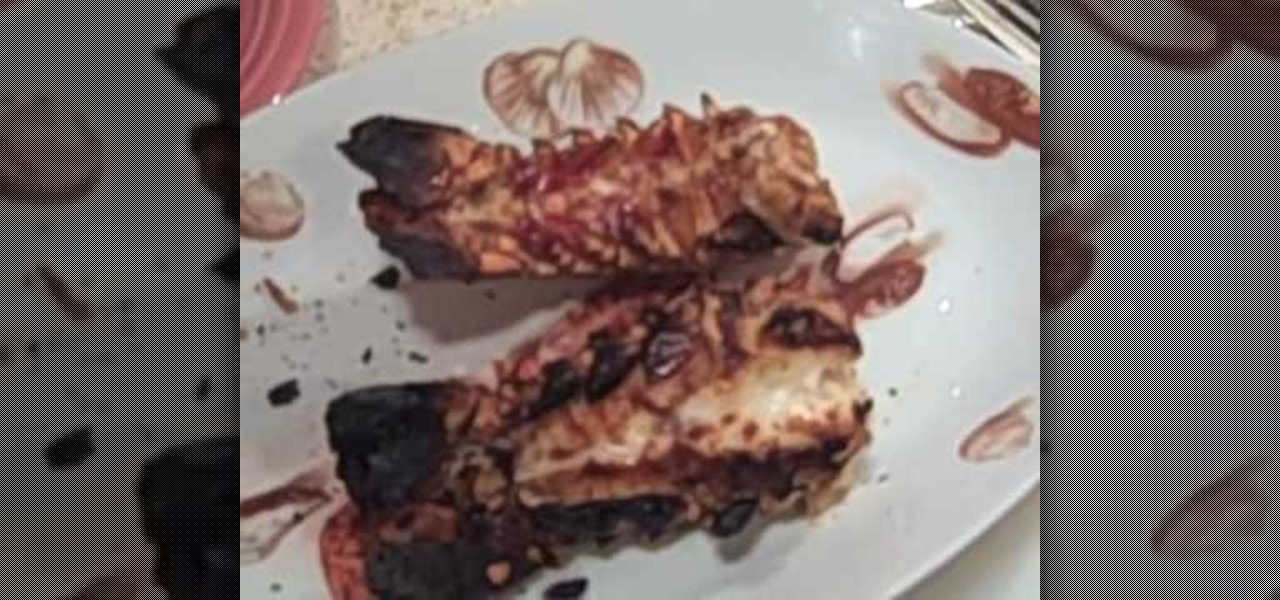
Beryl Stokes shows us how to make ‘Grilled Lobster’, in this video. She begins by making butter sauce, taking some butter in a saucepan. As the butter melts, she adds the juice of half a lemon and a tablespoon of minced garlic. Subsequently, some chopped green onions are added and the mixture is sautéed for a couple of minutes. Next, she takes two lobsters tails and turns them over. Using kitchen scissors, she cuts them open from the center (you could cut the topside if you prefer). Using a k...
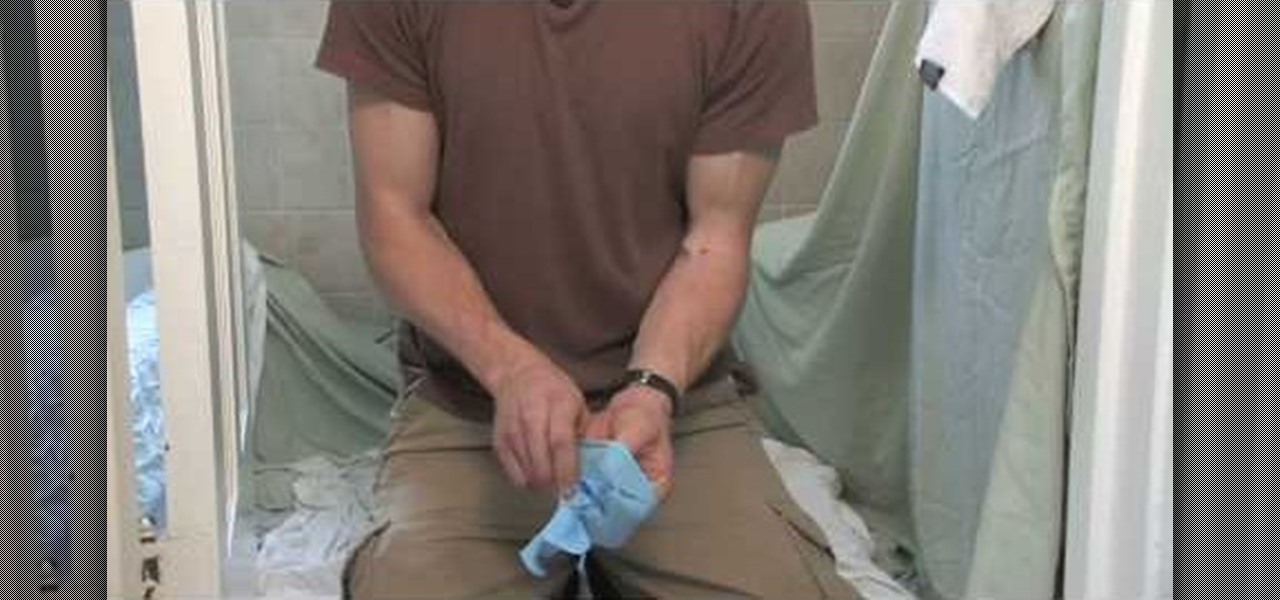
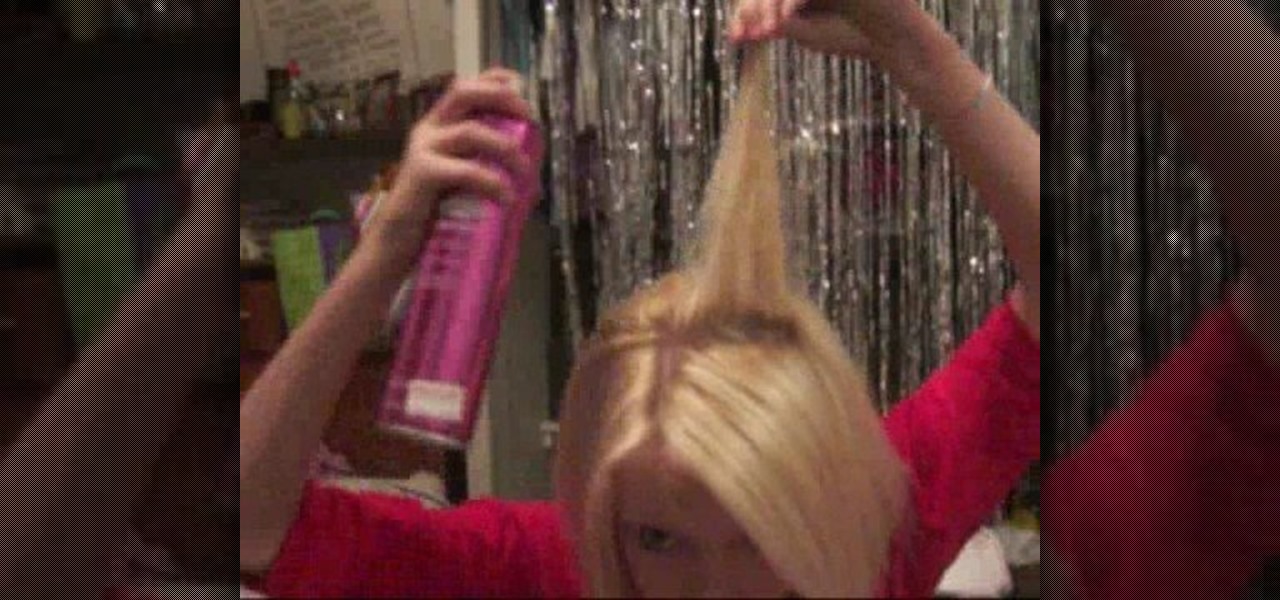
This video shows how to tease your hair for any occasion. Make sure that your hair is dry before starting and brush it well. Separate a section of your hair. Hold the section up firmly with one hand and hold a brush gently against the strands. Lightly brush towards the scalp while continuing to hold up the strand firmly with your other hand. Repeat the teasing motion until the strand has the desired volume. Spray Ion and Herbal Essences. Do it again with the other strands of your hair at the ...
StephanieValentin teaches you how to draw a realistic ear in Adobe Photoshop. You create a new document of 1300x1900 pixels and then create 9 layers named L00, L01 and so on until L08. The first layer should be black. On Layer 01 use a soft round brush with a white color, 100 pixels width and 50% opacity. This is the base sketch of the ear. You then apply a gaussian blur of 30 pixels. For Layer 02 you use a soft round brush with a white color, 50 pixels width and 50% opacity. Apply a gaussian...
It's simple: if you've got a brushed motor, you'll want to break it in under controlled circumstances before taking it out into the world. Why break in your engine? The main idea of breaking in your engine is to wear down your engine's brush so as to maximize surface contact with the commutator, reducing resistance (and therefore waste energy) and thereby increasing power. For detailed instructions on breaking in your remote control vehicle's engine, watch this RC hobbyest how-to.