In this Electronics video tutorial you will learn how to take a picture with your LG GW620. First you got to press and hold the camera key on the side of your phone. This will open up the camera options. If you tap the screen you will see the options icons on the side. The various icons are zoom, exposure, flash, macro and settings. On the right hand side you have the back, camera mode and the gallery icons. To take a photo, tap on the camera mode icon. The photo will be clicked and then a li...
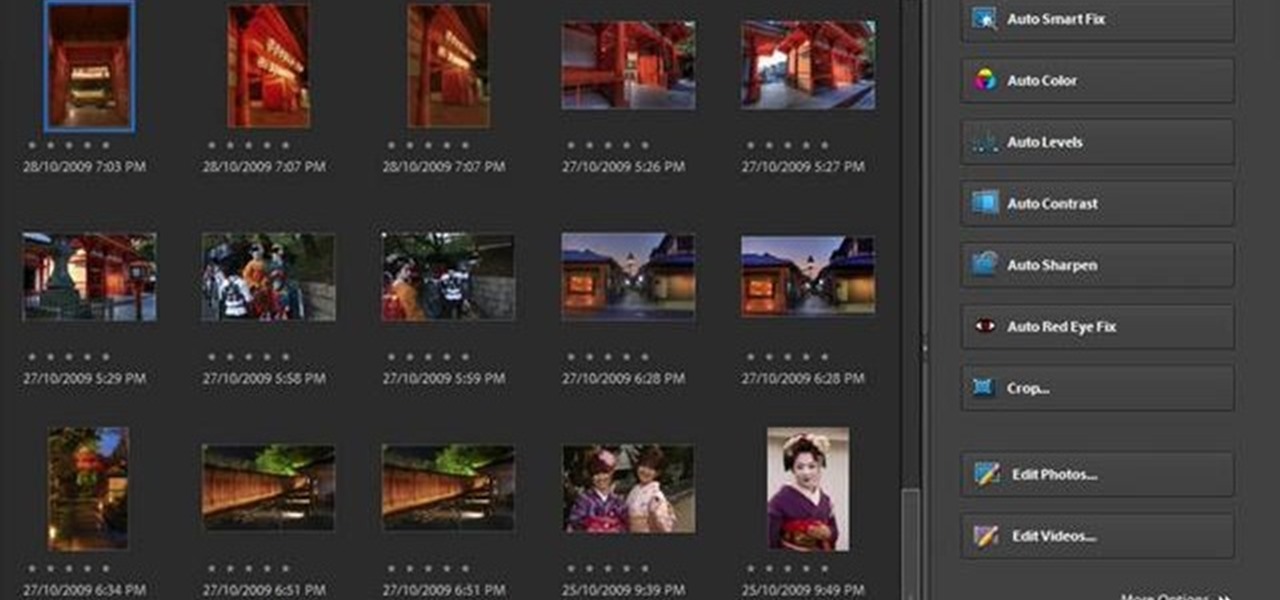
One of the most frustrating things about learning Adobe Photoshop is that there are multiple ways to do the same thing. Here are the six most obvious ways to open a photo in Photoshop Elements, CS4 or CS5. Whether you're new to Adobe's popular raster graphics editing software or a seasoned professional just looking to better acquaint yourself with the program and its various features and filters, you're sure to be well served by this video tutorial. For more information, including detailed, s...

See how to do localized image distortion using Blender. The rig is a simple UV-textured plane filmed using an orthographic camera. You then subdivide the plane, add some curve guides, and use proportional editing to alter an image. The above before-after shot shows a nose job (rhinoplasty), teeth filing, raise cheekbones, enlarged eyes, and a lengthened face. Whether you're new to the Blender Foundation's popular 3D modeling program or a seasoned graphic artist just interested in better acqua...

One of the most popular applications of the cheating tool Cheat Engine 5.6 for the Facebook game Wild Ones allows you to change your pet's color to whatever you want. This video will teach you how to do so by using Cheat Engine to hex-edit your character. This video demonstrates how to make your character blue, but you can use this technique to make them any other standard color.
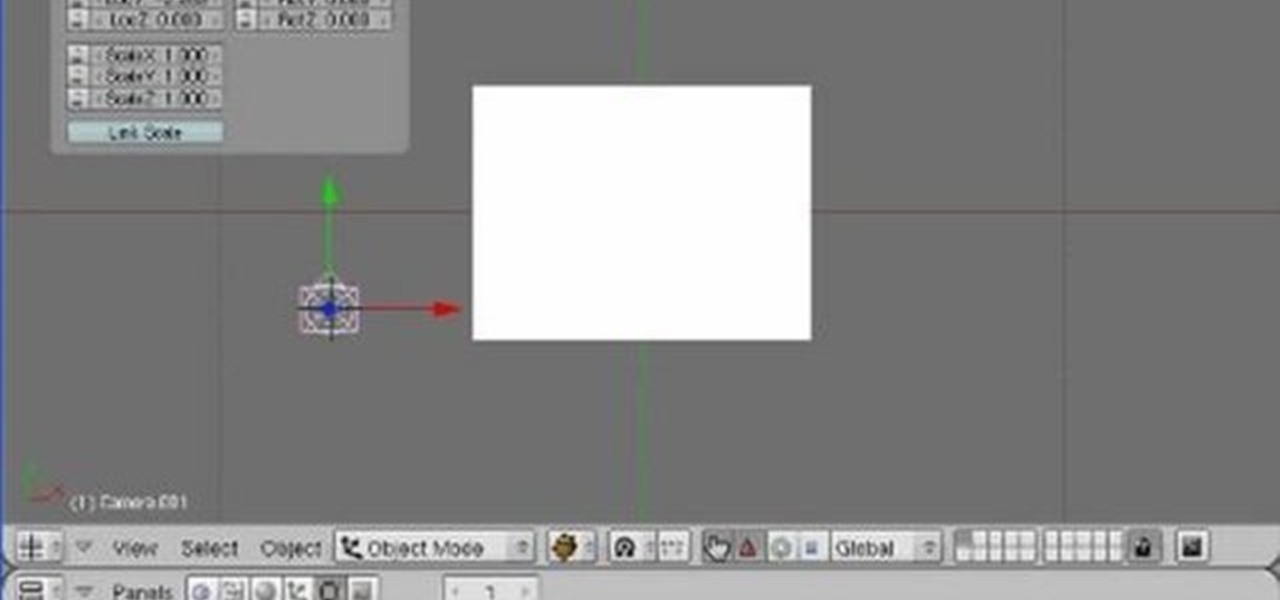
Blender is really cool in that you can mix your modes of editing between projections of that video in 3D space, 2D-based compositing, and 2D-based mixing in the VSE, all at the same time. An über-cool idea is to use your video to texture something - a plane, or a sphere commonly, and then film that texture using the camera (orthographic or lens-based) to get all sort of very cool distortion effects. Whether you're new to the Blender Foundation's popular 3D modeling program or a seasoned graph...
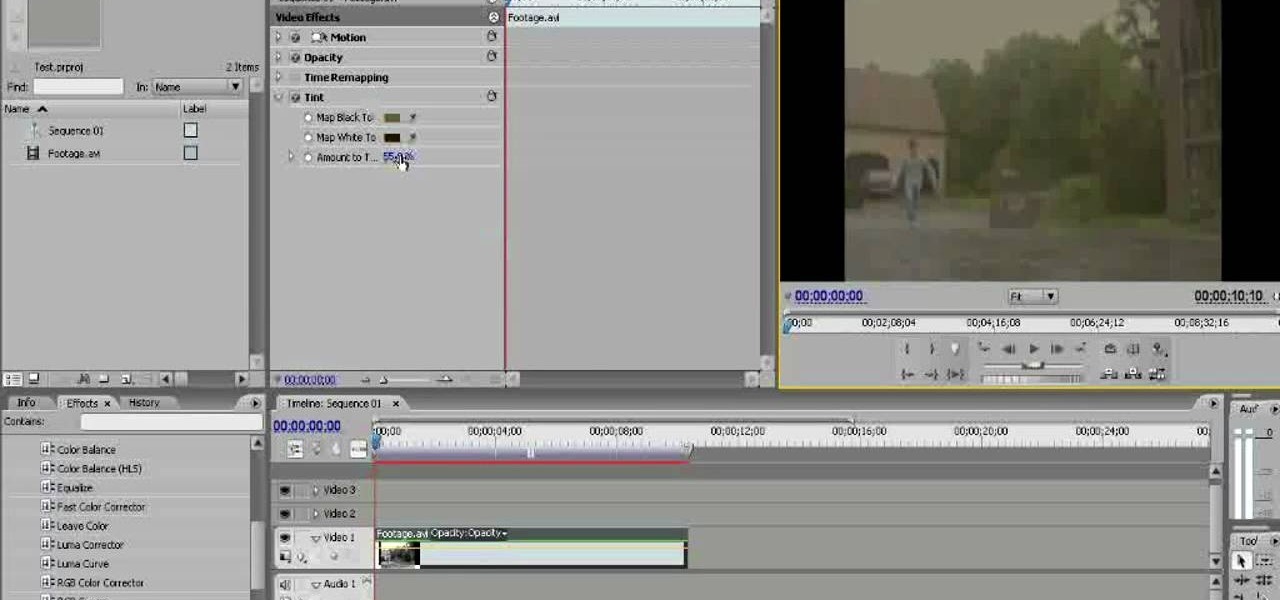
Old TV's were not famous for their high-fidelity color, but the brown-saturated look they made standard now evokes a lot of nostalgia among viewers. Because of this, it may behoove you, the filmmaker, to know how to simulate that color effect without having to actually use crappy cameras or televisions. This video will show you how to create an old TV effect while editing using Adobe Premiere Pro CS3. Embrace the nostalgia!

Creating cool background for videos is just one of the many awesome things that you can do using Adobe After Effects to do your effects editing. This three-part video will teach you how to create animated backgrounds and add additional text with flare. The results look very cool, as will your video after your apply these lessons.
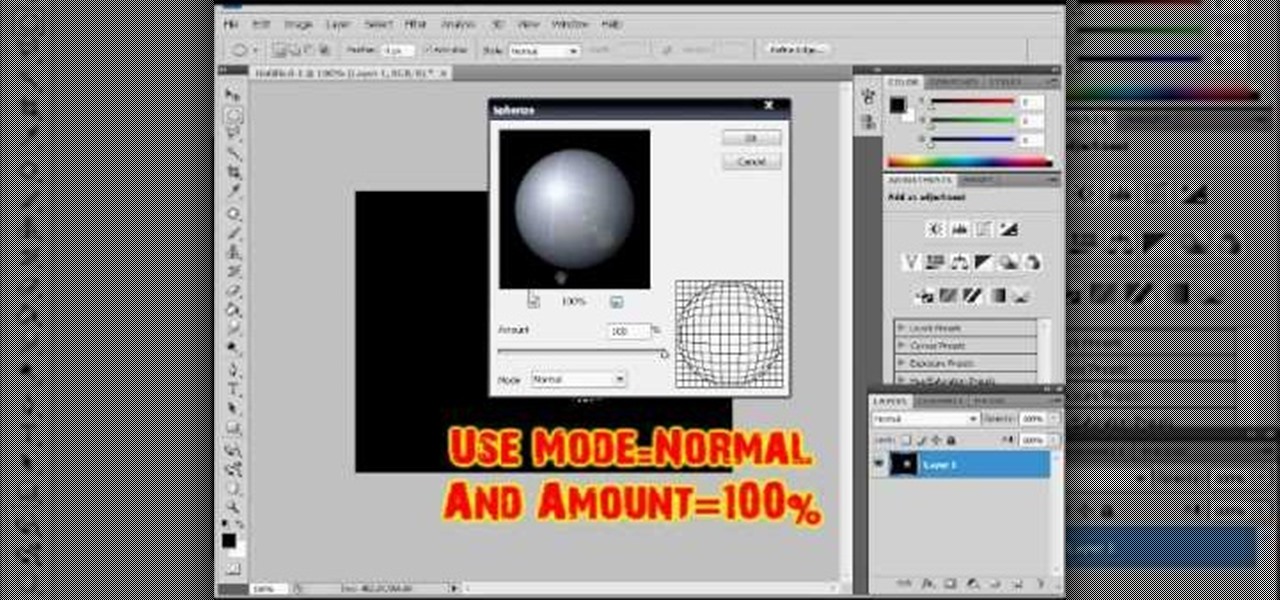
In this video tutorial, viewers learn how to make a shiny glass ball in Adobe Photo-shop. Begin by creating a new document with the default size and a transparent background. Then paint the entire background in black. Now select the marquee tool and create a circle anywhere in the background. Now go to filter, click on Render and select Len Flare. Make the lens flare 105 mm prime with 141% brightness. Then go to Filter, click on Distort and select Spherize. Use normal mode and set the amount ...
In this video tutorial, viewers learn how to make a red-cyan anaglyphic 3D photo, using Adobe Photo-shop. Begin by taking two pictures of the same image. The second picture should be 6,5 cm to the right of the first picture. Now load both images onto Photo-shop and drag the second picture over the first one. Select Layer, click on Blending Option and uncheck Channel R. Place the red on the left side and cyan on the right side. This video will benefit those viewers who photo editing and would ...
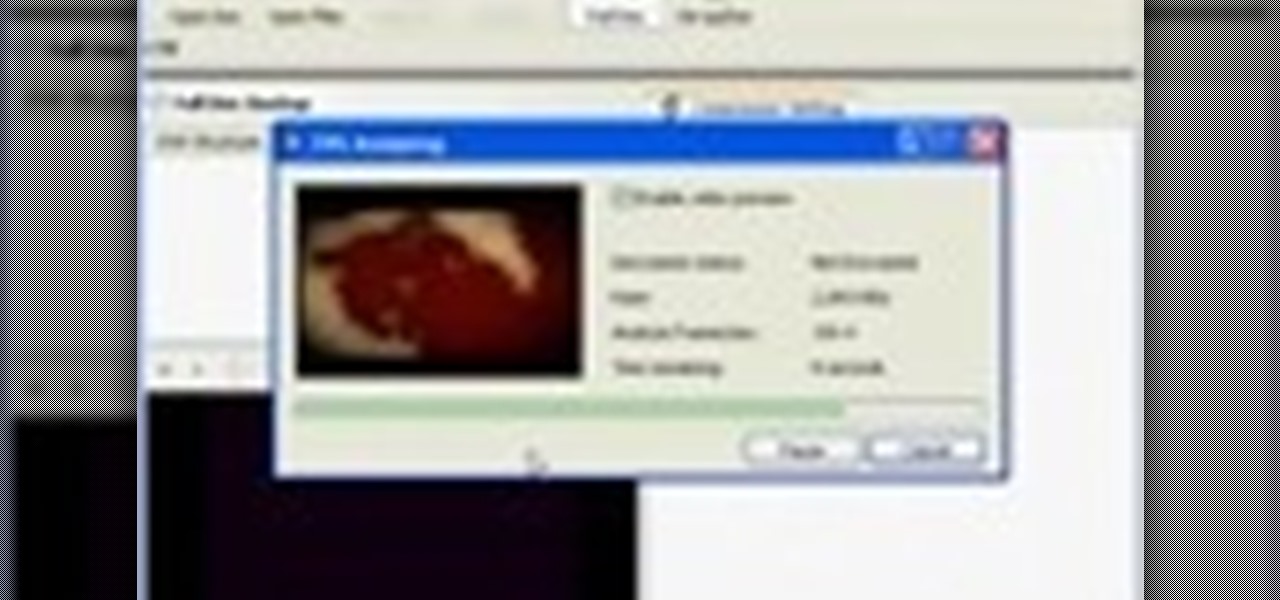
In this video tutorial, viewers learn how to copy DVD videos with DVD Shrink. This task is very fast, simple and easy to do. Begin by opening the DVD Shrink program and make sure that you have inserted the DVD into the disc drive. Now click on Open Disc and select the DVD drive from the drop-down menu. Click OK. The program will begin to analyze the DVD. When finished, click on Full Disc, select a folder destination and click OK. Now wait for the DVD to finish encrypting. This video will bene...
This video will show people who are switching from a PC to a Mac how to move your iTunes playlists to your new computer. From your PC, you should go to the File tab of iTunes and go to your library, choosing "Export Playlist". Next, go to your Mac and select the "Import Playlist" option on the drop down menu. On your Mac, open the file for the PC playlist and use the "Find" option from the Edit menu in order to replace the parts of the address which are different from that of the format which...
If you want to take a boring photo and pump it full of life, Photoshop CS5's two methods for making a High Dynamic Range image will do just that. The first is a streamlined and improved merging tool, and the second is a new HDR tool that turns a single image into a trendy HDR masterpiece. Whether you're new to Adobe's popular image editing software or a seasoned graphic design professional just looking to better acquaint yourself with the unique features of Photoshop CS5, you're sure to find ...
Skip out on the pain and sheer torture of reading through the Sony Vegas manual and start using the program from day one by watching this tutorial.
Interested in synchronizing audio and video in Final Cut Pro? Learn about the sync menu in Apple's Final Cut Pro 6 with this video editing tutorial. Whether you're new to Apple's Final Cut Pro non-linear video editor or just want to better acquaint yourself with the Final Cut Pro 6 workflow, you're sure to benefit from this free video tutorial. For specifics, including a step-by-step overview of how to use the sync menu, watch this Final Cut Pro lesson.
Polish those not-so-pearly whites! With Adobe Photoshop CS4, it's easy to digitally brighten your smile. See how it's done with this video lesson. Whether you're new to Adobe's popular image editing program or a seasoned graphic design professional just looking to your bag of tricks, you're sure to be well served by this video tutorial. For more information, including step-by-step instructions, and to get started digitally whitening teeth yourself, watch this free video guide.
Learn how to use the Gaussian blur tool to add mood to your digital photos while maintaining sharpness and detail. Meet the Adobe Photoshop pen tool! Whether you're new to Adobe's popular image editing software or simply looking to pick up a few new tips and tricks, you're sure to benefit from this free video tutorial, which presents a complete overview of how to use the Gaussian blur filter when touching up a photo. For more information, and to get started using the Gaussian blur tool yourse...
Dislike the color of the sky in a certain digital photograph? Change it with Photoshop. Whether you're new to Adobe's popular image editing software or simply looking to pick up a few new tips and tricks, you're sure to benefit from this free video tutorial, which presents an overview of how to turn unwelcoming skies a deep, saturated blue. For more information, and to get started adding dark blue skies to your own digital photos, watch this graphic designer's guide.
If you've ever had a friend who was unable to make a birthday party or graduation due to scheduling, sometimes it can depressing. Especially if you always take pictures with each other for any occasion. Well in this tutorial, you will find out how to Photoshop a person into a picture easily. It's just a cheap, easy way to show that no matter what, nothing can seperate you two. Enjoy!
Photoshop is capable of doing so much in such a single program, it's amazing. You can easily create images as well as edit and enhance some of your own photos. But another great thing is that you're able to save certain files a certain way, that you couldn't normally do without using Photoshop. So in this tutorial, find out how to make a hdr image (high dynamic range) from a single raw file. Enjoy!
Do you enjoy taking pictures of bodies of water such as lakes, rivers, adn even oceans? Do you find imperfection in these photos such as bubbles, dust, and other thigs? Do you wish that there was something out there where you could get rid of it all? Well there is! Photoshop is a piece of software that enables you to edit photos at your pleasure. You can take things out or add them to it, whatever you like. So in this tutorial you'll find out just what it takes to clean up murky water using t...
You will get the best images possible if you learn to maintain your camera and keep the lens clean. In this tutorial, learn how to clean the lens of an SLR camera like a professional. With a clean lens you will be able to take crystal clear photos and avoid any blur or unwanted blemishes. So, follow this step by step and keep your camera in top shape. You will save yourself tons of editing time if you just keep a tidy lens.
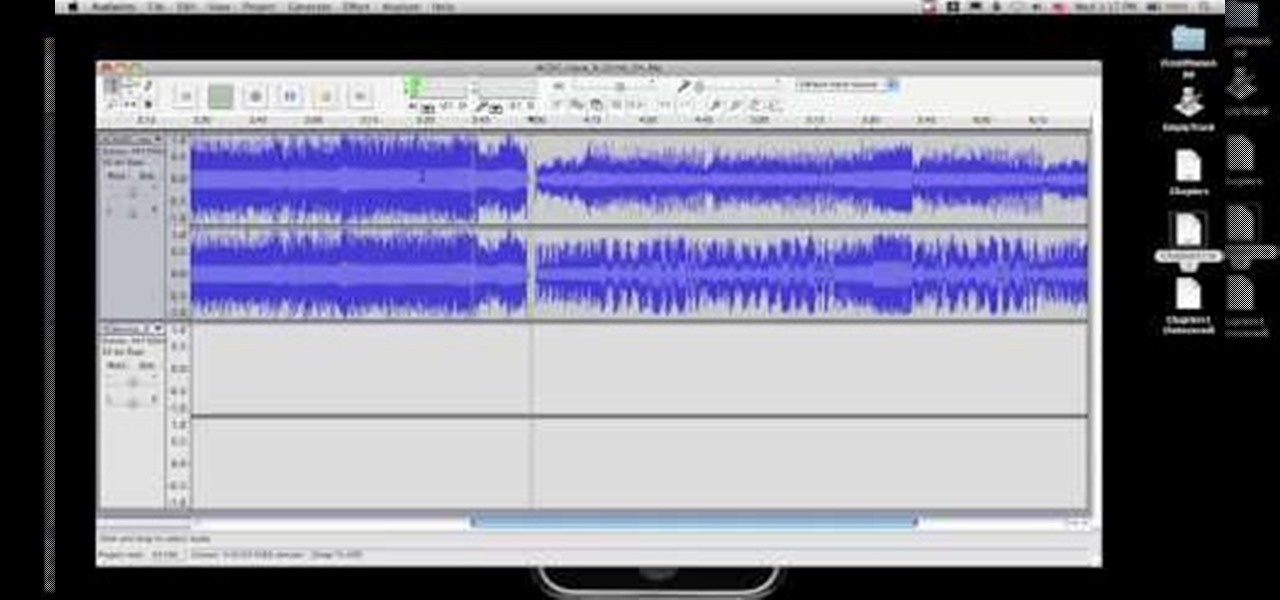
If you have more than one audio track that you need to splice together, check out this tutorial. In this video, you will see just how easy it is to combine audio tracks using Audacity. Audacity is similar to Garage Band and is a way to edit and save music and other audio files. This software is widely used for podcasts as well.
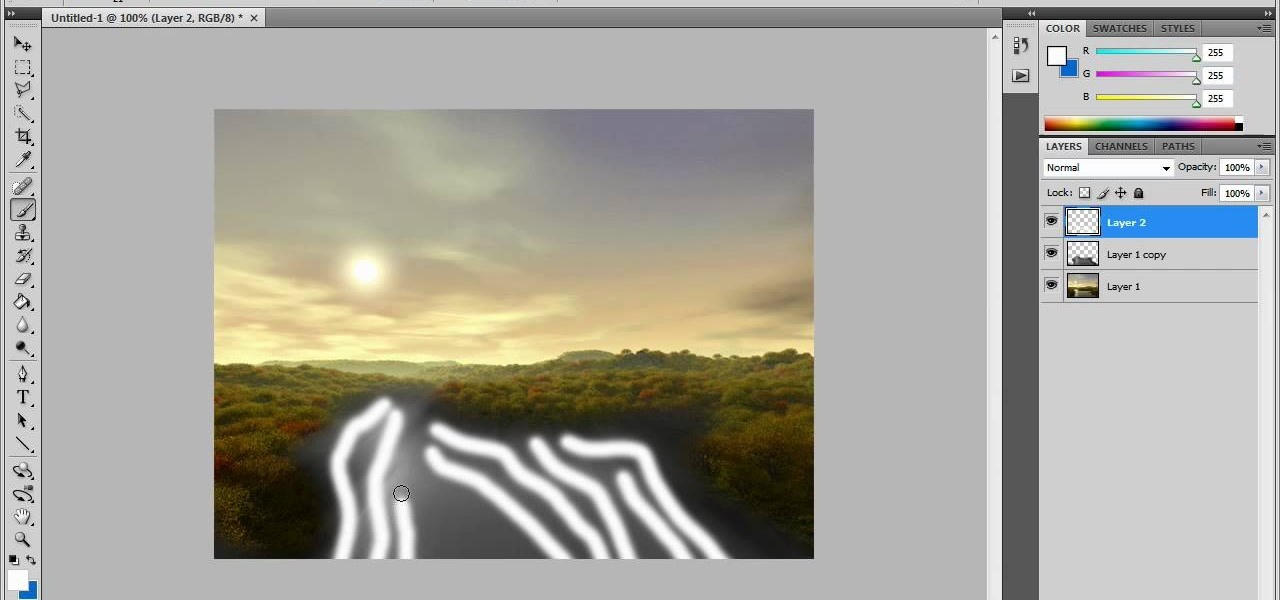
In this video tutorial, viewers learn how to create fog using Adobe Photoshop. Begin by importing the image into the program and duplicate the image. Now go to Filter, select Blur and select Radial Blur. Set the amount to 100, Blur Method to Zoom and Quality to Best. Now select the rectangular marking tool and select the sky. Then open the Hue/Saturation menu and set the Saturation to -100. Use the eraser tool to remove the gray from the edges. Now use the paint tool and paint white streaks o...
In this video tutorial, viewers learn how to eliminate facial imperfections using Adobe Photoshop. Begin by opening the image in the program. Then select the patch tool. Now draw a circle around the imperfection and then move it to an area of the skin that has no blemished. Continue doing this for all the imperfections. This process can be done to eliminate pimples, moles, blemishes, scars and wrinkles. This video will benefit those viewers who enjoy editing images to enhance them and would l...
In this how to video, you will learn how to install Mac OS X on Windows XP. First, download and open PearPC. Also make sure you have the Mac OS X CD or installation files on your computer. Next, select edit and navigate to the Mac OS X file. Click okay and then press configure. From here, change the settings to your liking, such as the screen resolution, and click finish. Next, click browse and go to the Mac OS X ISO file. Open it and the installation for the operating system will start. This...
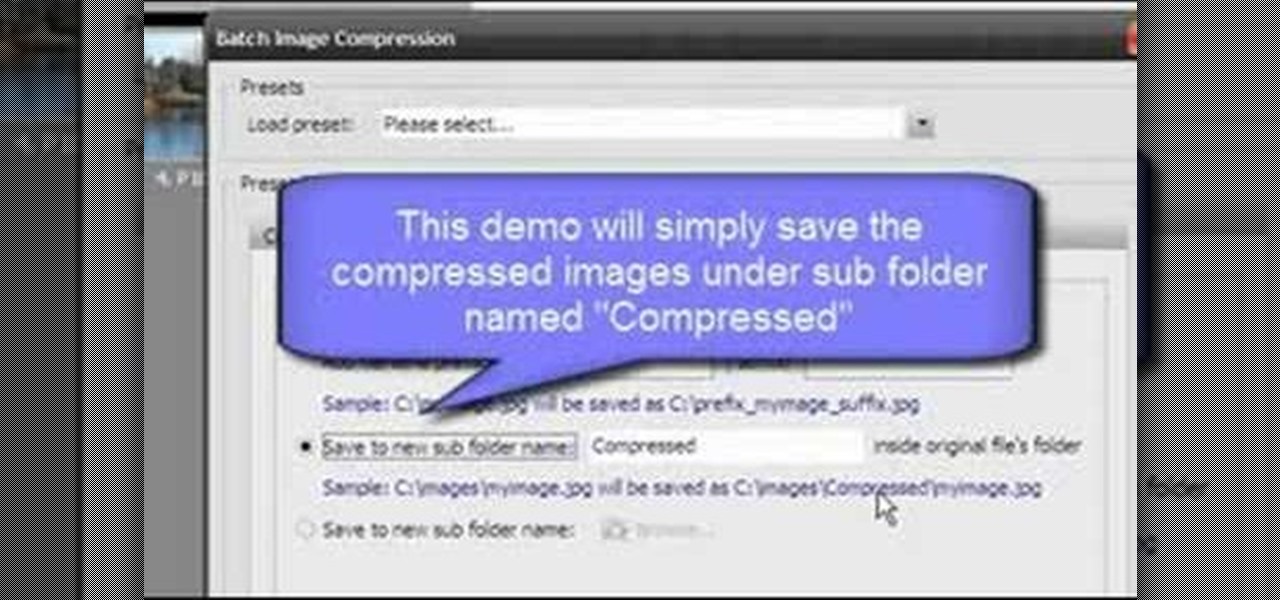
Open Image Compressor 2008 and go to the Image Tray. Pick the images you want with the image selector and click on them to add them to the Image Tray. If you want to add every photo in a certain folder, you just click on the Add All button. Once you have the photos you want, you can batch compress them. You can go to File>Batch Compress to start the process, or just click on the Batch Compress button in the toolbar. Then, pick the compression options you want, or edit the images. You can also...
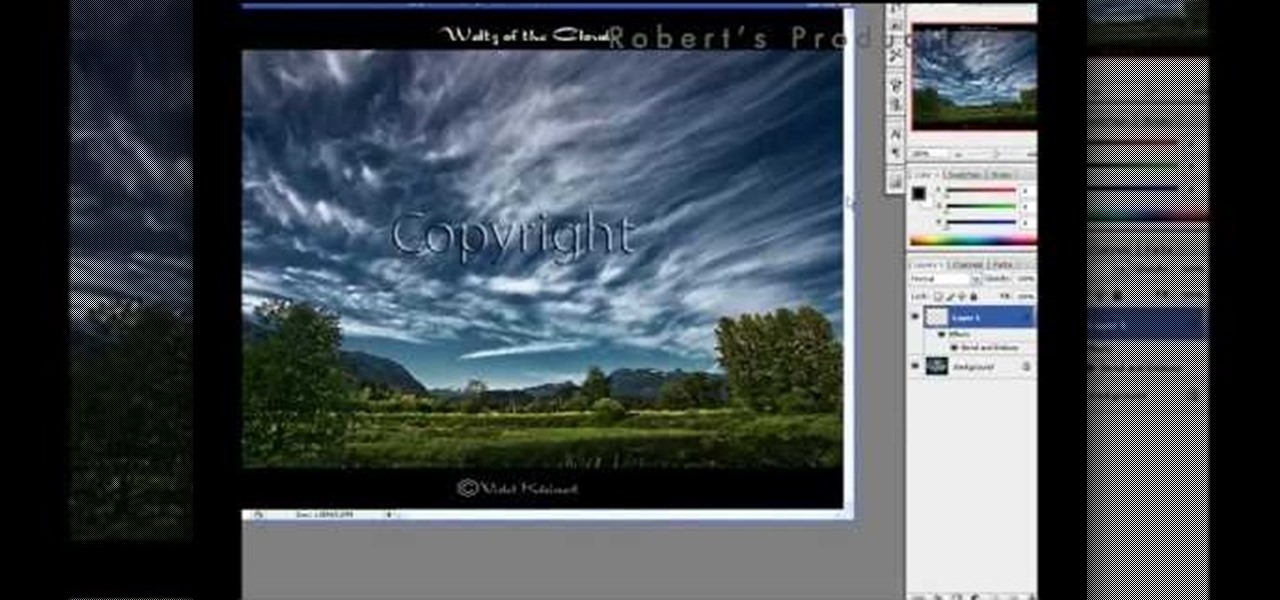
In this video tutorial, viewers learn how to add a watermark to an image using Adobe Photoshop. Begin by importing the image into the program. Select the Horizontal Type Mask Tool under the Text tool. Then select the font color, type and size. Now type in the text and click out of it when finished. Then press the Control and J key to open the text into a layer. Click on the layer and select the style. Now finish by editing and customizing the text. This video will benefit those viewers who ha...
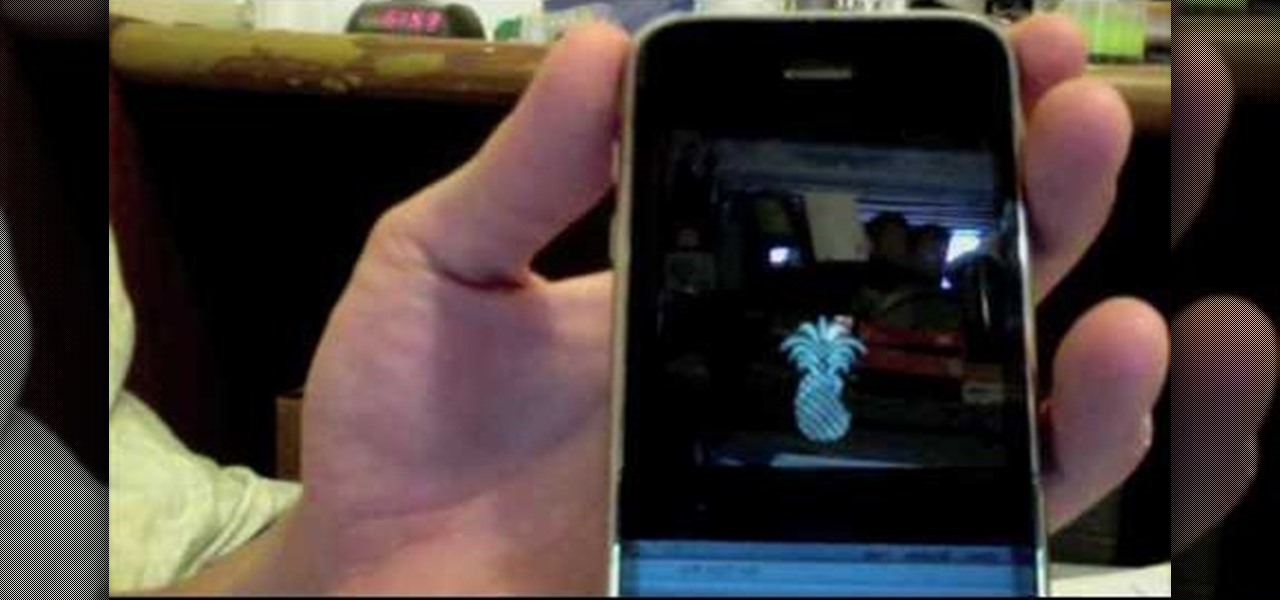
In this how to video, you will learn how to unlock your iPhone 3G 3.0 firmware with Ultrasn0w. First, turn on your device and go to Cydia. Click manage and sources. From here, go to edit and click add. Enter repo666.ultrasn0w.com here and click add source. Once that is done, go back to Cydia. Go to search and look for Ultrasn0w. Click install and confirm to install it. Now you have Ultrasn0w installed. Reboot your iPhone. Next, insert your SIM card. Go to your settings to confirm that the SIM...
In this how to video, you will learn how to re-size an image for printing using Photoshop. First, open the image you want to re-size in the program. Next, go to image and select image size. From here, you will see the current size of the image. You can change the units of the sizing. The resolution is the number of dots printed per inch. De-select re-sample to change the resolution of the image only when printing. 300 is the standard resolution. When you re-size the image, make sure constrain...
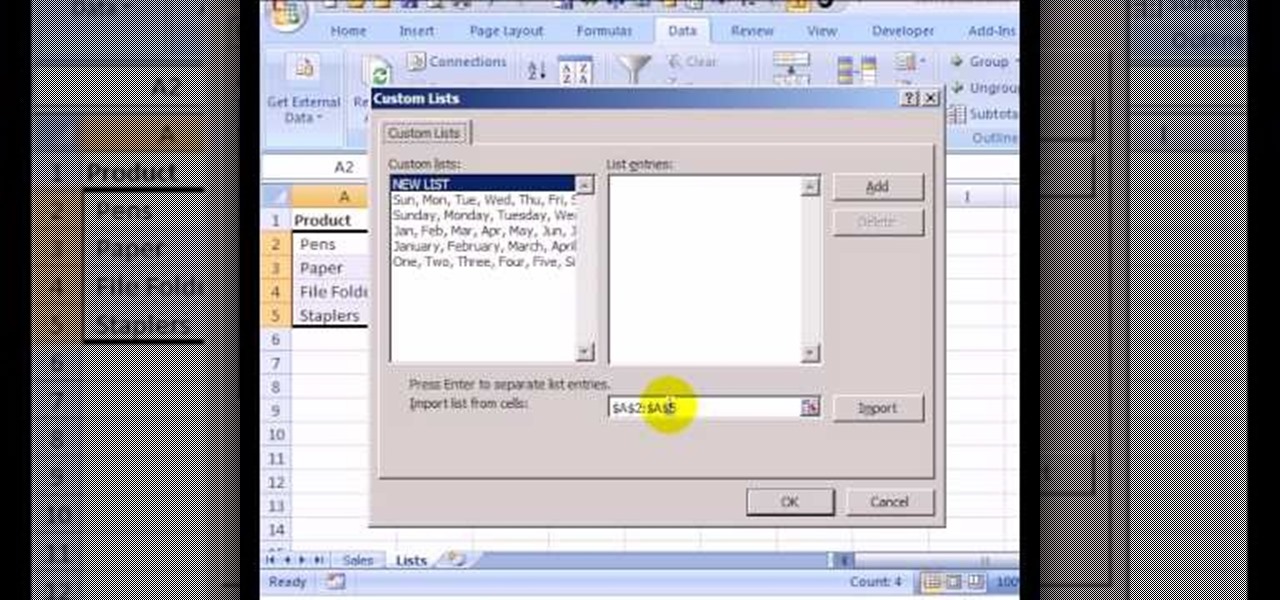
This how to video shows you how to sort data in Excel in a custom order. First, open a spread sheet in Excel. Select a column of cells with words that you want sorted. Click the office button and select Excel options. Go to edit custom list. You will see different custom lists. Click import to import your selection as a custom list. Next, you can go back to a sheet with those words that you want sorted and click the sort command. Select custom list on the order tab and select your new custom ...
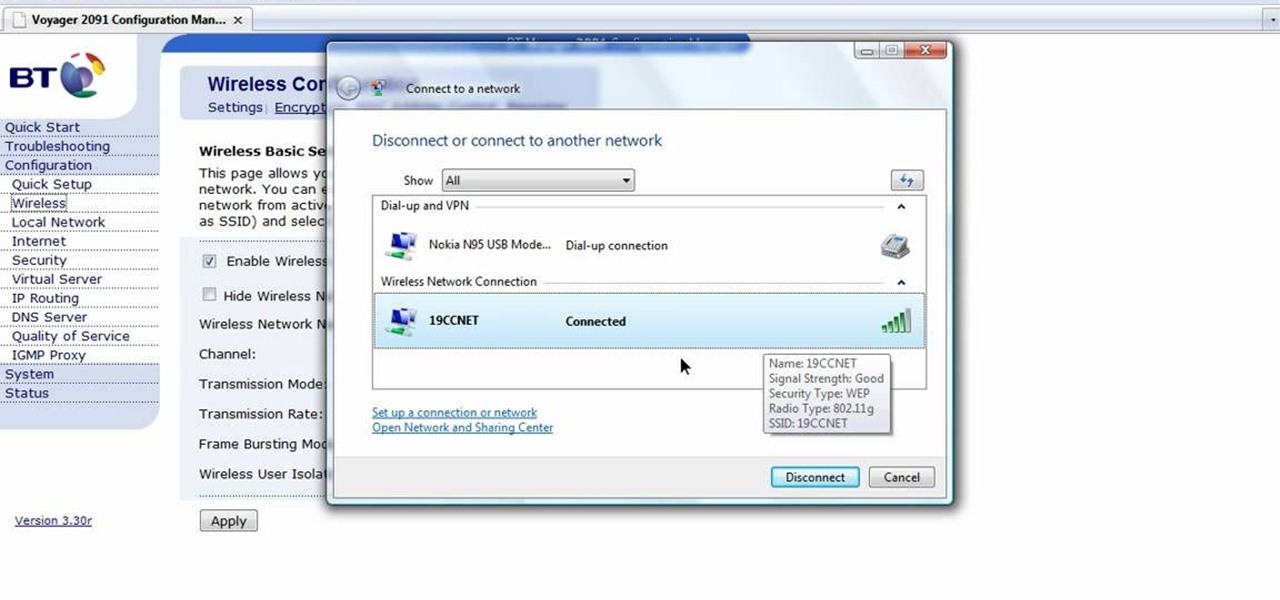
In this how-to video, you will learn how to configure and change the settings of your wireless router. If you have a bt router, go to api.home. This will bring up your wireless ADSL configuration. Click on advanced to change the advanced settings. You must enter your user name and password. The default for these are admin and admin. Now you can edit the settings. Go to MAC address control to block certain devices. If you are running a non BT router, go to run and type in cmd. Now, type in ipc...
This video shows us the method to transfer files between iTunes libraries in iTunes 9. First step involves downloading iTunes 9 from apple.com. Go to the 'Edit' tab and 'Preferences'. Go to the 'Sharing' tab and select the 'Share selected playlists'. Select the playlists you want to share and click 'OK'. Now go to 'Advanced' and select 'Turn on home sharing'. Make sure that both are under the same account. Type in the password and you will see an icon in the shape of a home in the left side. ...
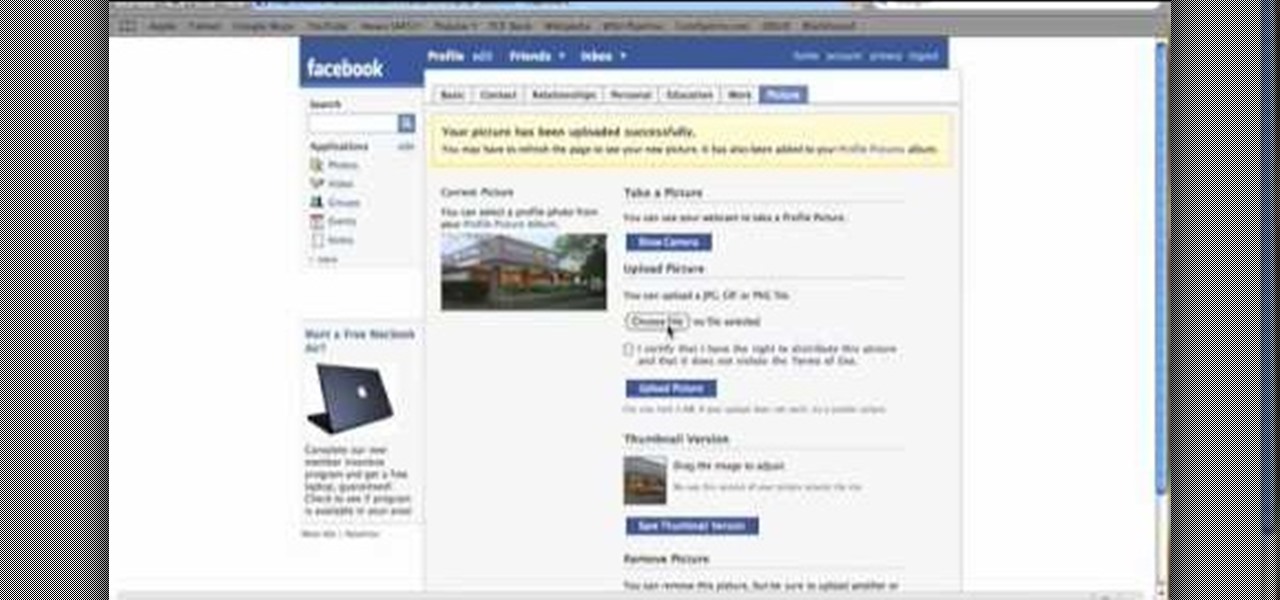
In this tutorial, we learn how to join and use Facebook. First, go to www.Facebook.com and sign up with the website, you will have to enter some personal information as well as your e-mail address. Once you've confirmed your account, log into Facebook. Once in your account, you can click edit and change your personal settings. This includes birthday, hometown, sex, relationship status and more. You can also click on the photos button and upload photos of you and your friends. If you want to f...
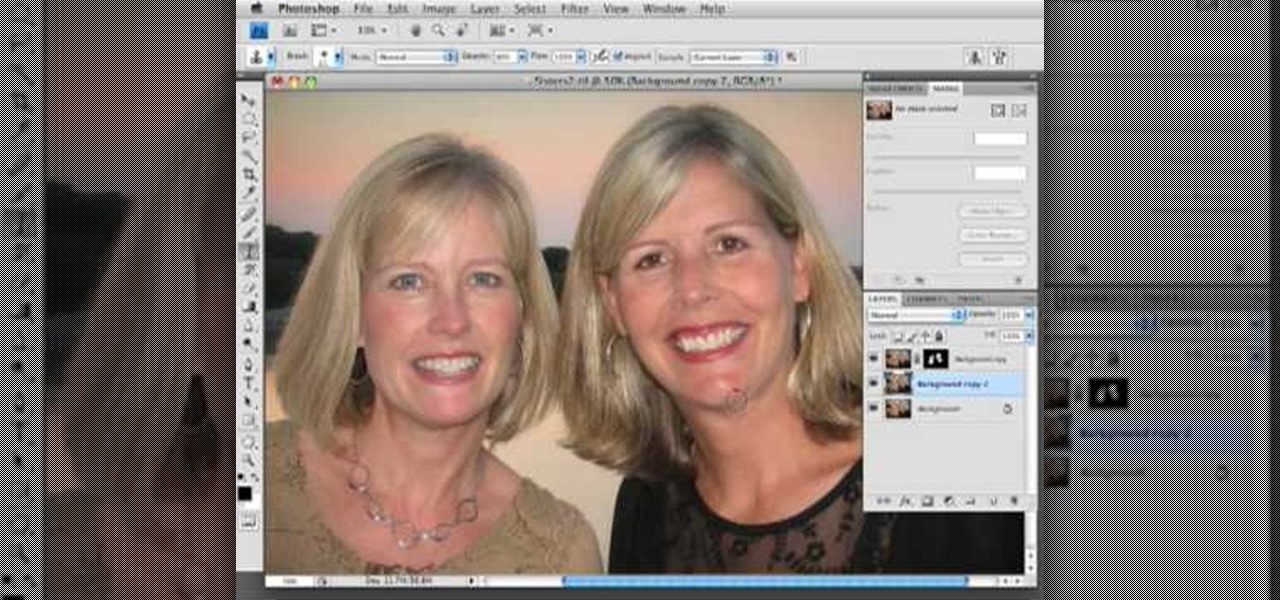
In this how to video, you will learn how to get rid of shine using Photoshop. This is useful if you took a picture using too much flash, causing shine to appear on the faces of those in the photo. First, open the image in Photoshop. Duplicate the background layer. Select the clone stamp tool on the left and select a brush with no hardness. From here, change the opacity to 80 percent. Click the option key on an area of cheek. Now, click on the dots of shine on the faces. This can be used on wr...
In this video tutorial, viewers learn how to automate tasks in a Mac OS X computer. This video will show viewers how to create a simple application, that when double-clicked, will open a new message that's already addressed to a specific person. Begin by clicking on the Macintosh HD and click on Applications. Open Automator. Users will be able to create a template for different work flows. Select Application and click Choose. On the left side of the window, there will be a list programs that ...
In this video tutorial, viewers learn how to apply a digital tattoo using Adobe Photoshop. Begin by adding the image and tattoo image into the program. Then drag the tattoo image over the image. Now in the layer menu, change Normal to Modify. Now re-size the tattoo image to a preferred size (PC: Control and T, Mac: Command and T). Now right-click the tattoo image and select warp. Form the image so that it is perpendicular to the skin and decrease the Opacity. This video will benefit those vie...
In this video tutorial, viewers learn how to import and render footage in Adobe Final Cut Pro. To import files, begin by going to File, select Import and click on Files. Then browse for the file and click Open. Now drag the clips into the time line to edit. To render the footage, begin by selecting it. Then click on Sequence, select Render Selection and click on Both. This video also shows viewers how to cut a clip and add effects. This video will benefit those viewers who are just beginning ...
In this video tutorial, viewers learn how to make a real flame text in Adobe Photoshop. Begin by opening a flame image in the program and select the text tool. Type in the text and position it over the flame. Now go to Select and click on Load Selection. Once the selection is created, delete the letter. Then select the marquee tool. Right-click above the selection and select Feather. Now create a new sheet and fill it in black. Using the move tool, drag the selection to the new sheet. Go to F...
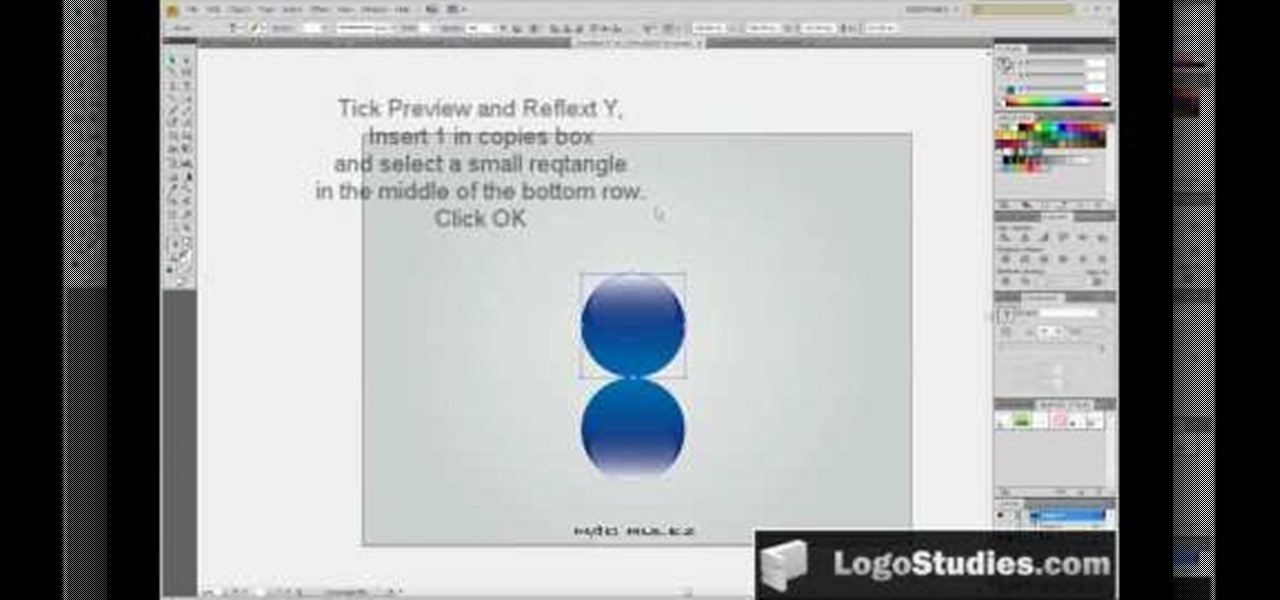
In this video tutorial, viewers learn how to create a 3D sphere and reflection in Adobe Illustrator. Begin by using the ellipse tool and create a circle. Select the black and white gradient, and drag the colors that you want into the gradient panel. Now hold the Alt key and draw a smaller circle inside. Fill it with white/transparent gradient. Select the sphere and go to Object/Group. Now go to Effect/Distort and Transform/Transform. Tick the Preview and Reflect Y, insert 1 copies box and sel...
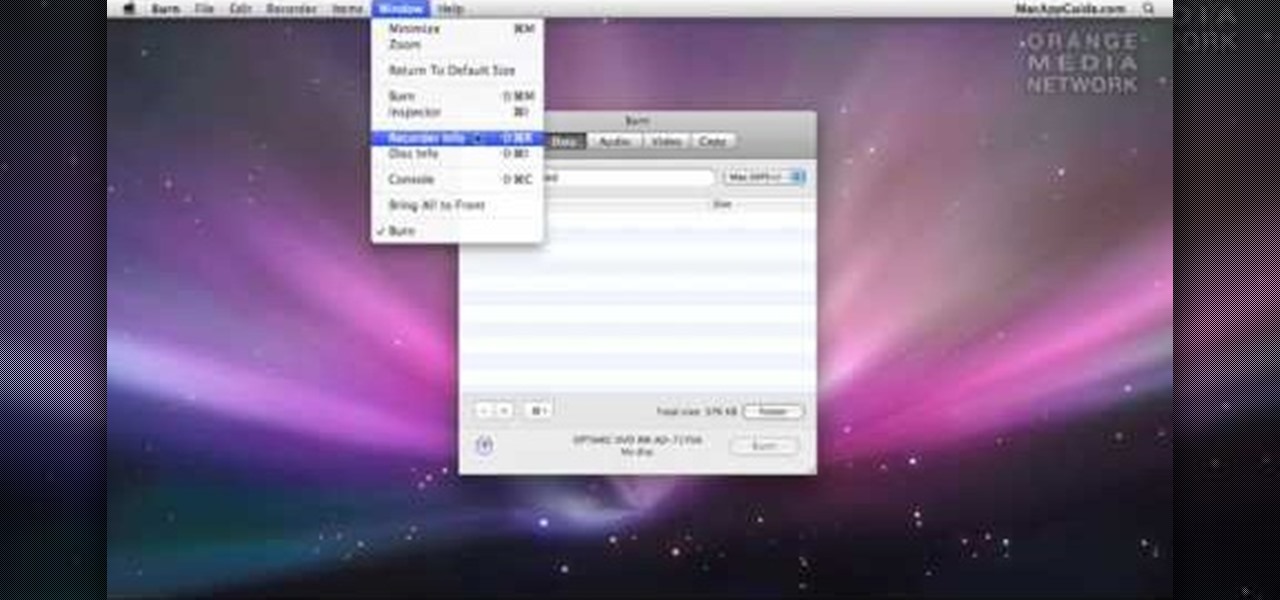
In this video tutorial, viewers learn how to burn a CD or DVD on a Mac computer with the Burn application. Burn is able to create data, audio and video discs. The Inspector window allows users to edit extra information about the disc. To open Inspector, press the Command and I button. It is also able to create disc copies. To burn a disc, name the disc and select a format. Them simply drag the file(s) into the program and click Burn. This video will benefit those viewers who have a file on th...