This video shows the method to create a photo montage in Sony Vegas. Go to 'Options' menu & Preferences. Go to the 'Editing' tab & 'New still image length (seconds)' and put the corresponding value and hit 'OK'. Open the pictures from explorer and you have a montage in which pictures last for a few seconds when another one comes up. Go to 'Tools' menu and 'Scripting' option. Click on 'ApplyTransition_1_2'. Choose 'Standard Cross Fade' from the drop down menu. Fill in 'Overlap Frames' which te...
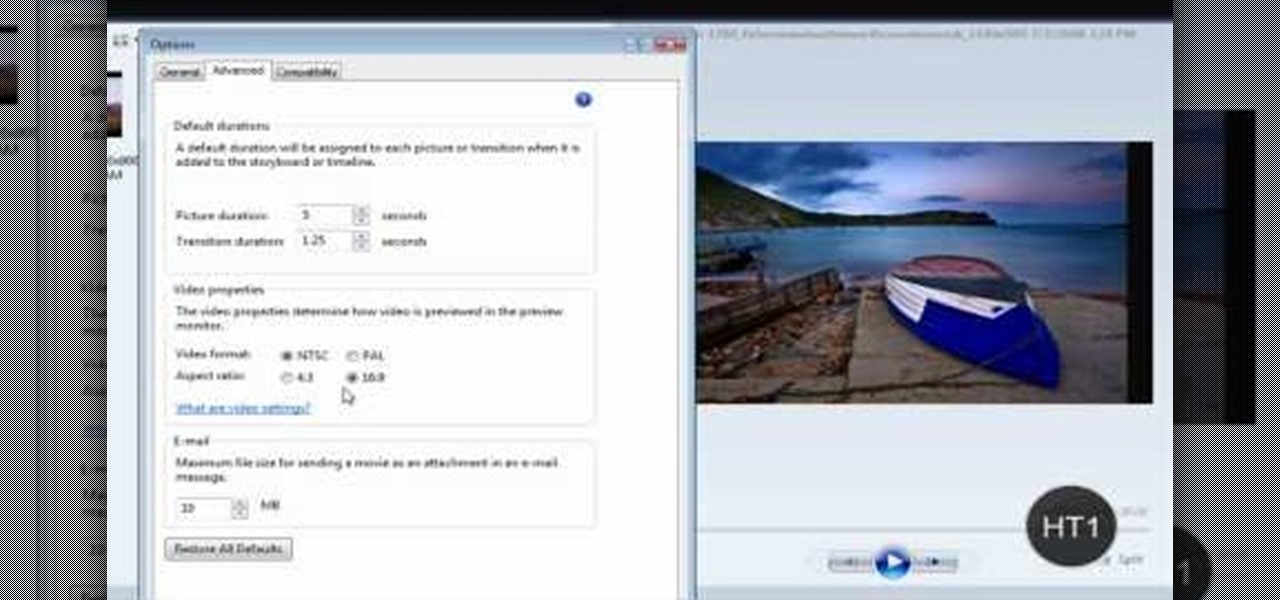
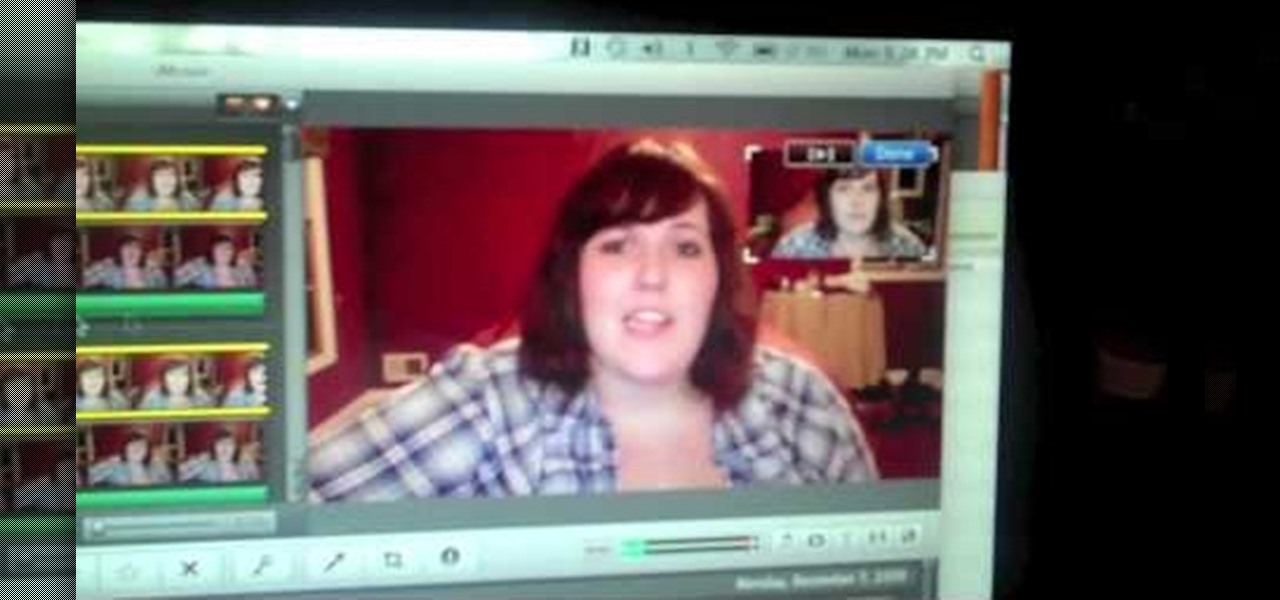
Windows Movie Maker can be used to make HD movies. This step by step clip shows you how. The first step is to import your picture or video and make sure they're in your timeline. When you've finished editing, go to tools and options and choose the advanced tab. In video properties there's video format and aspect ratio. Select NTSC and 16:9. If you're using a cell phone or video camera, you'll be using 4:3 which is pretty small for YouTube and similar sites in order to get full screen. Save th...
In this video the instructor shows how to map a network drive in Microsoft Windows XP. Network drive is similar to the disk drive that is present on your computer like C drive, D drive but instead of pointing to a hard disk on your computer it points to a server that has enabled shares. Shares allow you to create or edit files and folders. By mapping that server share to a folder in XP you can use that share as a normal drive. To do this go to start menu, right click on My Computer and select...
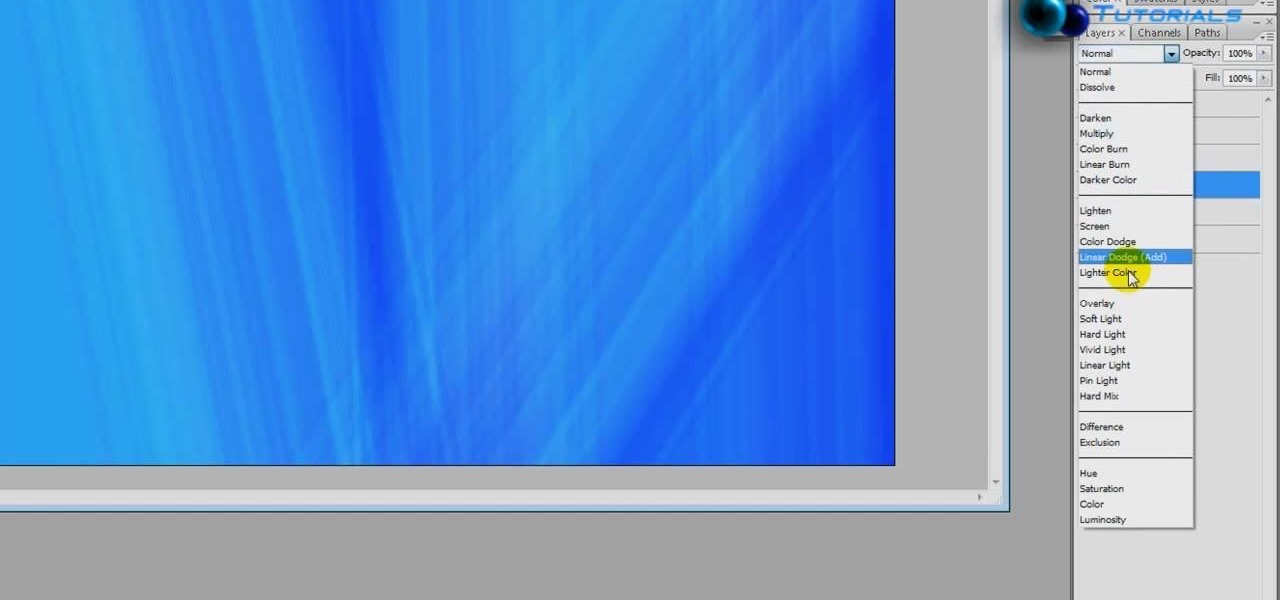
The video opens up with an introduction from the video sponsor, "Godly Tutorials. It then goes to a screen displaying the basic Photoshop screen. Once there, he opens up an image that is completely black. After that he opens up an image editing window that displays the color scale and also displays various effects. He then picks one of the crystal like effects displayed in the window as well as a color described as baby blue. Once the he changes the layer and adds another crystal effect to th...
Learn how to add special lens flare effects to a logo in Pinnacle Studio with this tutorial. You will select the picture to be edited and drag it to the video screen. Select the lens flare effect from the Studio Plus RTFM which is standard with the program, you don't need to purchase any additional effects to create the lens flare. You can preview the effect and change the direction and color of the flare. Once you are happy with how the flare effect looks on your logo, you can save it to a f...
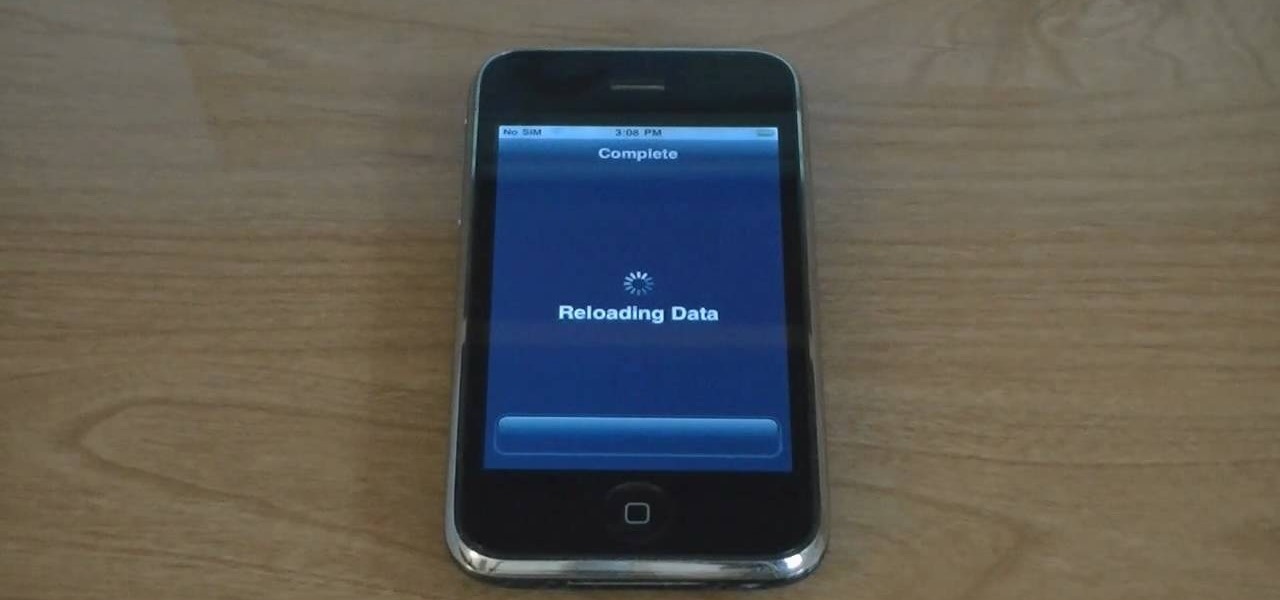
This is a video tutorial on how to unlock an iPhone 3g or iPhone 3gs with Blacksnow. Tap on Cydia and select manage>sources>edit>add and add the source Now wait for loading to complete. Then tap on blackrain.com>blacksnow>install. You need to install blacksnow to unlock your iPhone 3g or iPhone 3gs. The installation may make a few moments. Once the software is installed to your iPhone 3g or iPhone 3gs, insert your SIM card. Now you can see the service provider's lo...

This tutorial shows you how to use Pinnacle Studio to add a menu screen to your video for a DVD. They have a list of preset menus you can use, which each have different appearances. First you select the menu you would like, and drag it to the start of the "video line" which is where the movie you want to add a title screen to sit. After you have selected a menu, the how-to show you how you can edit the menu items and change the titles of the chapters. It then shows you how to write your disk ...
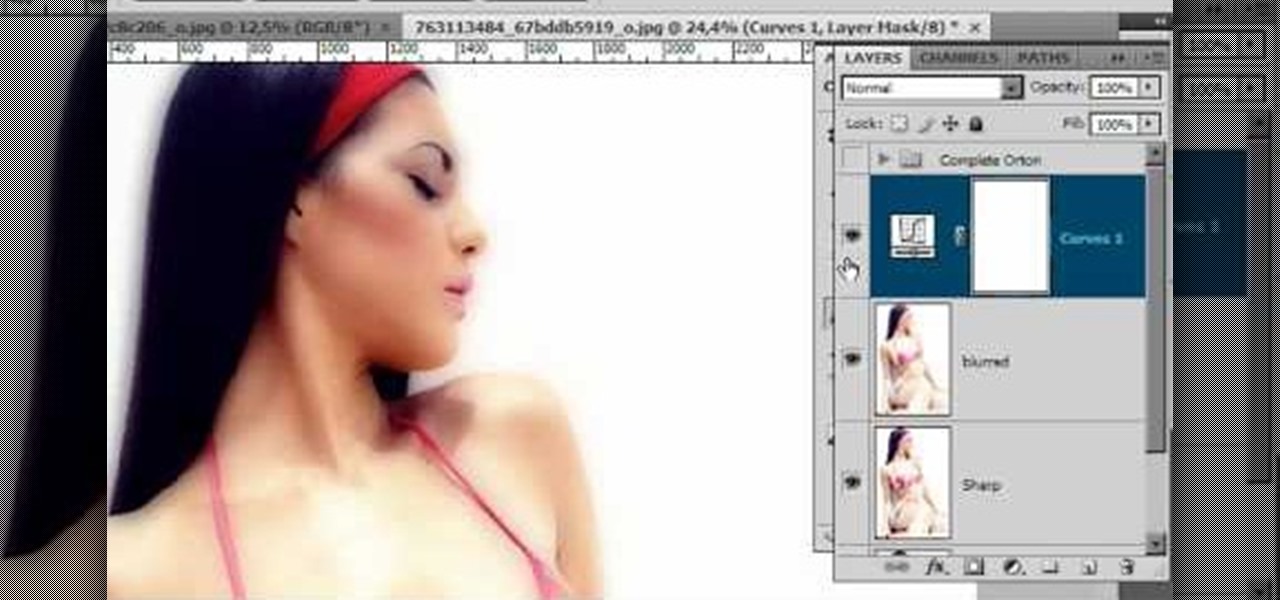
In this video tutorial, viewers learn how to create the Orton glow effect using Adobe Photoshop. The Orton glow effect is achieved by combining a sharp image with a duplicate that is deliberately blurred or softened. The overall result is often characterized as a dreamscape, diffusion, or softening glow. It is an effect used for landscapes and portraits. This video provides voice narration and step-by-step instructions for viewers to easily understand and follow along. This video will benefit...
Xara Xtreme works with 2D image rendering and comes with a number of features to support your tasks. Removing a background in a bitmap can be done with ease. You can either fill the background with a solid color or just delete the space around it. You can also overlap the image and delete the remaining background then finish editing your image. There are a number of ways to remove space in your image and this video will demonstrate how to remove the background from a bitmap in Xara Xtreme.
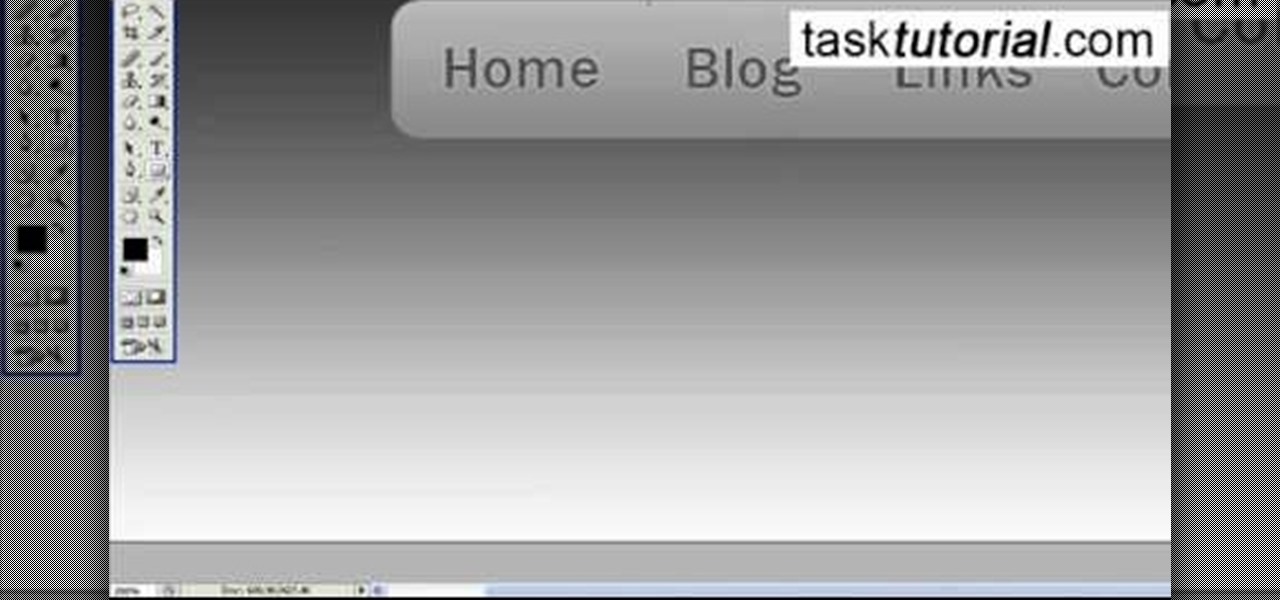
In this video tutorial, viewers will learn how to create a navigation bar, using Adobe Photoshop. Adobe Photoshop is a graphics editing program. Viewers will learn how to use multiple layers, layer effects, gradient options and drawing tools. Viewers will be able to customize their own color and designs. This video provides voice narration and a visual demonstration that allows viewers to easily understand and follow along. This video will benefit those viewers who design websites and web pages.
This video will show you how to use video and audio to hide your identity. After you have your audio and video you will need a converter program, for example Format Factory which will convert the audio and video into the necessary formats. You will be encoding your clip as an AVI Video, as well as MP3. To start you will need to change the pitch of the audio track. A good program to use for this is Audacity. Play around by making the pitch either higher or lower. Save it as a Wav file To edit ...
This video teaches the secrets of cheating on any test with a soda bottle. You will need: a beverage bottle, glue, scissors. First remove the brand label from the beverage bottle. Now scan the label to your computer or take a picture of it and use it. With any photo editing software remove the nutrition facts from the label and replace it with your notes. Now print it horizontally by adjusting the page setup for the full label to be printed. Use a quality glossy paper for printing to make it ...
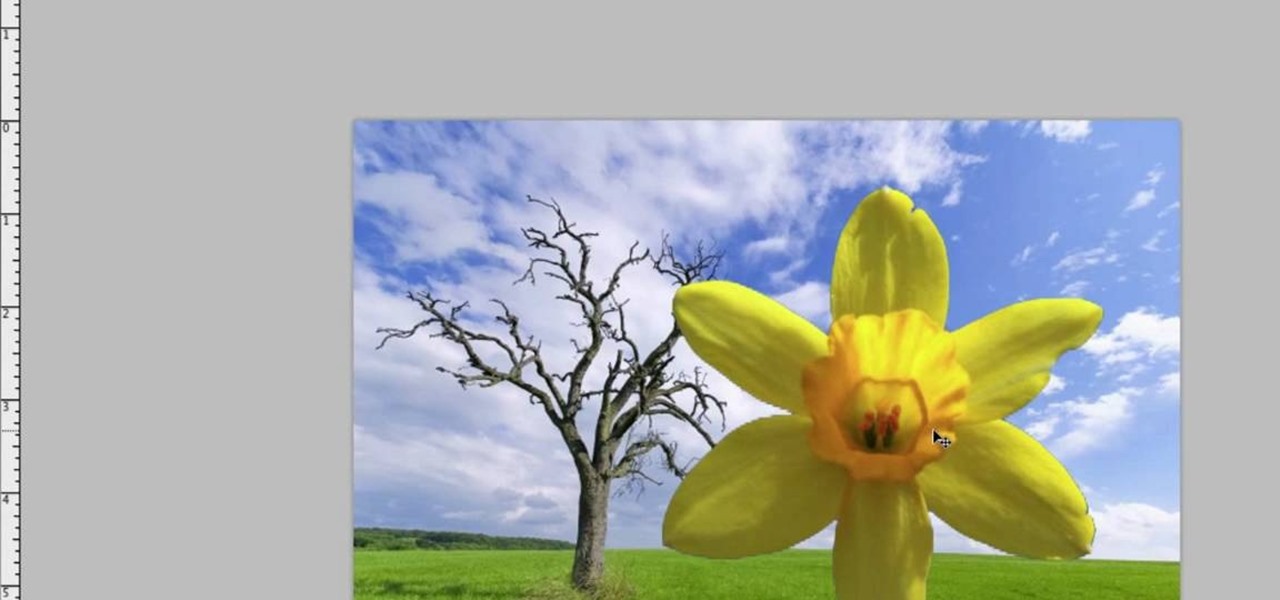
Learn how to edit a picture to alter the color of the sky using Photoshop's selective color adjustment layer. This tool allows you to change a color in a photo. A good example of what this tool can do is to change a sunset to a sunrise in a photo. To begin with, you will need to open the selective color adjustment layer under the layer tab. Under the color menu, select the color that you want to alter. The tutorial goes over how much of each color to add or remove to get the desired effect. W...
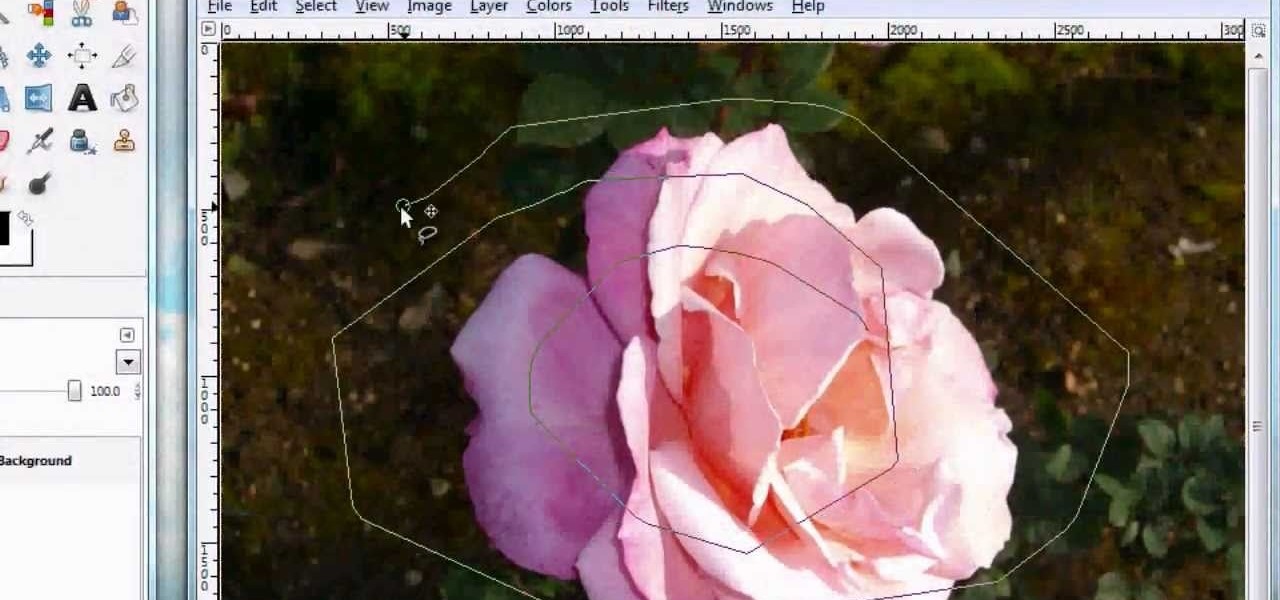
For anyone looking to edit a picture with one or more persons down to just a single person in the picture, you can use GIMP. This video tutorial goes over how to utilize the paths (or pen) tool and foreground select tool. The paths tool allows a person to select a part of an image to create a series of lines, or paths, that allow you to create a path around whatever you want to select in a picture. This item can then be moved and copied to a completely different photo. The foreground select t...
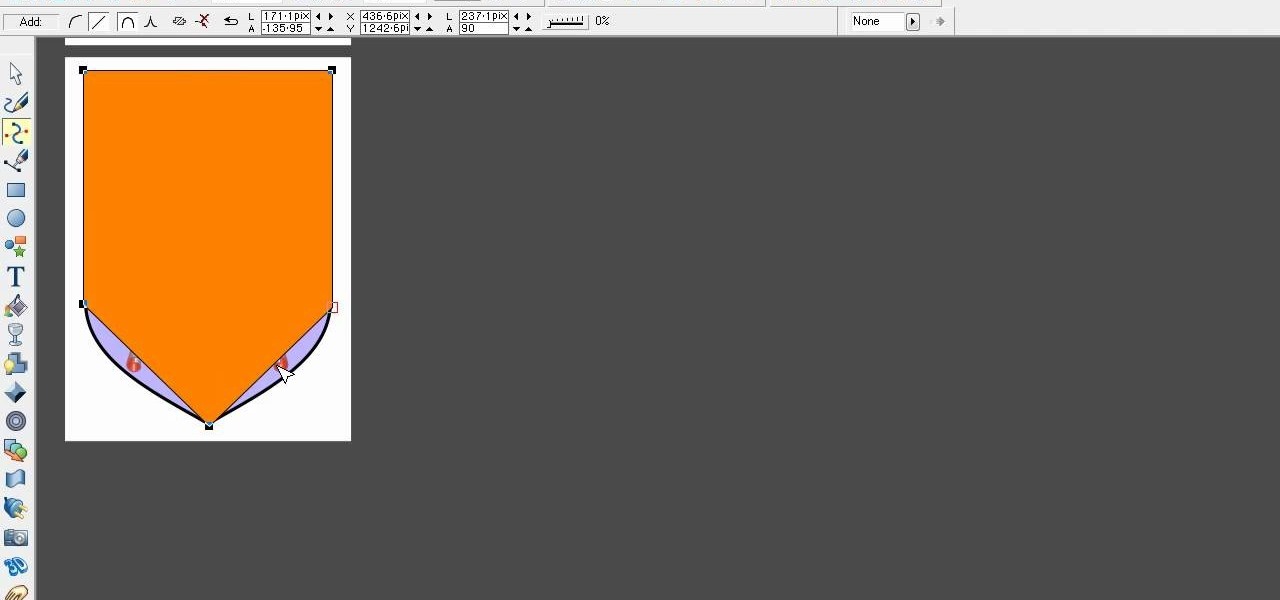
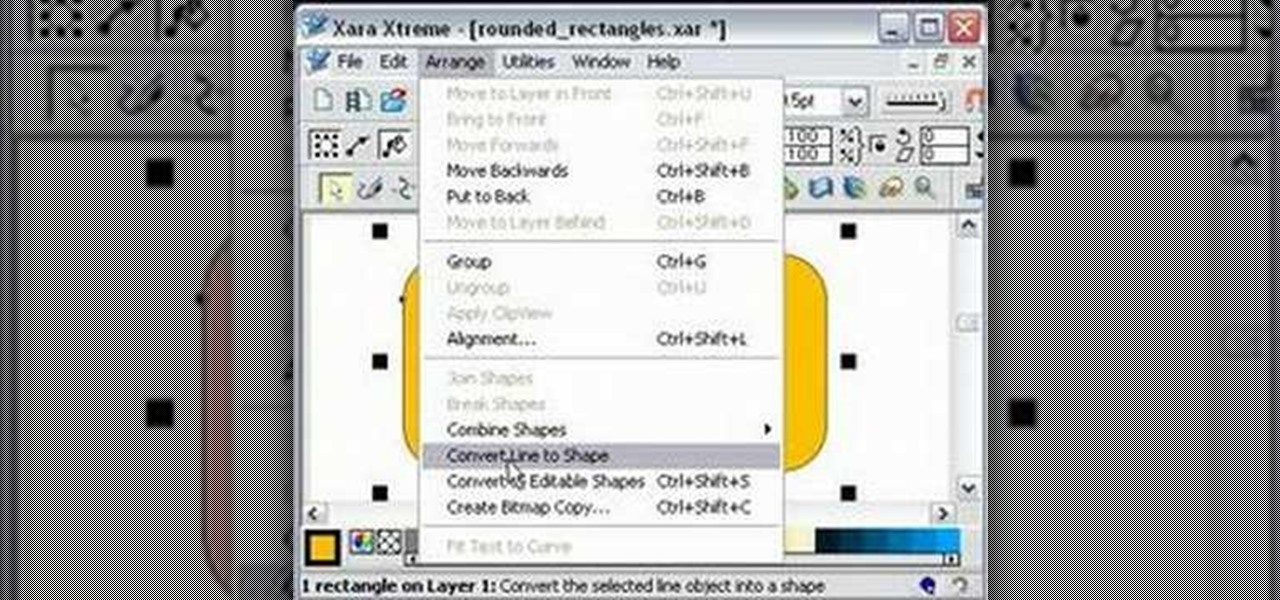
One must have often wondered how to create rectangles with smooth rounded corners. Open Xara Xtreme and create a rectangle on the stage. To change it to rounded corners, click on 'curved corners'. Then one can edit how much curve is required on the rectangle. If we scale the rectangle, then it will lose the curve path. So it should be converted to 'editable shapes'. This will maintain the curves, even if scaled from one angle. This will be helpful to create those party fliers.
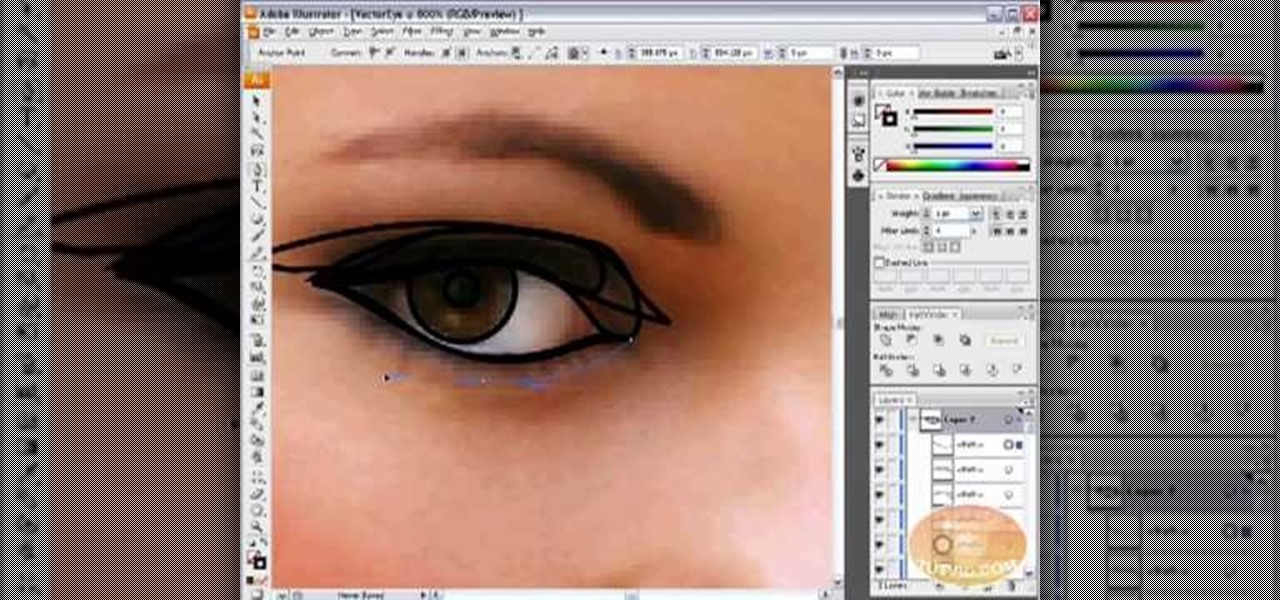
This is how you can vector an eye in Adobe Illustrator. You will first want to upload your photo to PhotoShop and then increase the contrast to highlight your picture better. Increasing the highlights is not a necessary step however. This is an intermediate process but the end result with be a cartoon looking eye on a real person. If you used this effect for the whole picture it would look very neat like your own cartoon character! If you only subtly vector the eye then you still have an edit...
In this tutorial the instructor shows how to use commenting tools in Adobe Acrobat 9. He says that the look and feel of the commenting tools are very similar to the previous version tools which were used to mark and comment documents. He shows how to open the comment button from the menu bar and explains about the options present in there to use the commenting features. He demonstrates many ways to enable comments and markup tool bar in the application. Now he shows about the various ways of ...
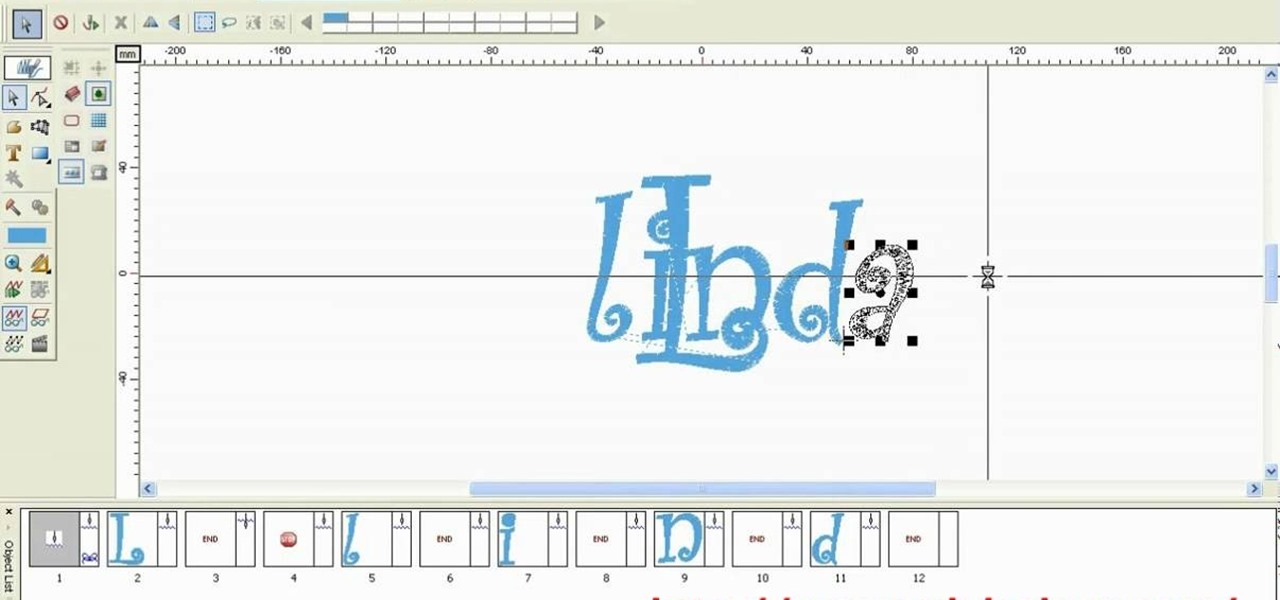
Make your embroideries more accurate and beautiful by designing the letters and words on a computer software called Compucon EOS 3.
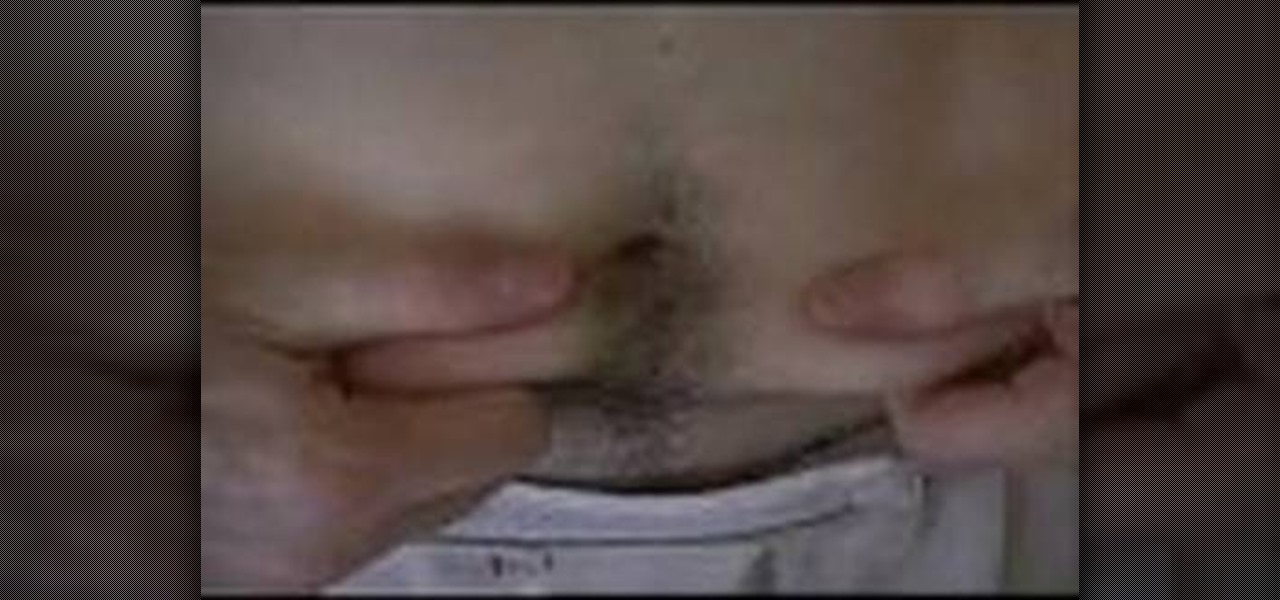
This is a comedic look at how body fat burning works according to our host Crazy Chris. This home video is edited together to give us some tips on how to burn fat in a pretty humorous way. Chris goes for a more goofing around and recreational approach to staying in shape rather than normal exercise. He recommends your favorite activity for 30 minutes twice a day. His happens to be swimming. Crazy Chris basically tells us to burn body fat you need to burn energy by playing sports and having fun!
In this Adobe Photoshop tutorial the instructor shows how to turn on headlights of cars realistically. To do this open the image of a car in your Photoshop software. Now select the dodge tool and choose a brush size that you want to apply. Now click on the head lights of the car a few times using the dodge tool to make it appear as if the lights are turned on. Now after doing this it appears as if the original lights were turned on and never looks like it was edited. This video explains how t...
This video is a step-by-step tutorial about Photoshop, in which the creator shows you how to create the text "Twilight" the way it is done in the movie-title. It offers a perfect image of the capabilities of this program and the way it can be used. Even if you're completely new to Photoshopping this video is likely to teach you how to use it by just showing you the basic elements, which makes it ideal for people who are capable of picking up things quickly. It's also handy if you're already a...
Getting errors when trying to crunch your numbers in Windows Excel can be frustrating, but with this fun and easy to follow guide to remove the "#DIV/0!" error. When the computer thinks you're trying to divide by zero, it produces an annoying error, but by following this video guide you can be free of that irritation. He goes step by step on how to edit the formula calculator so that it no longer produces the error, and even explains in detail why this is solving the error problem. You don't ...
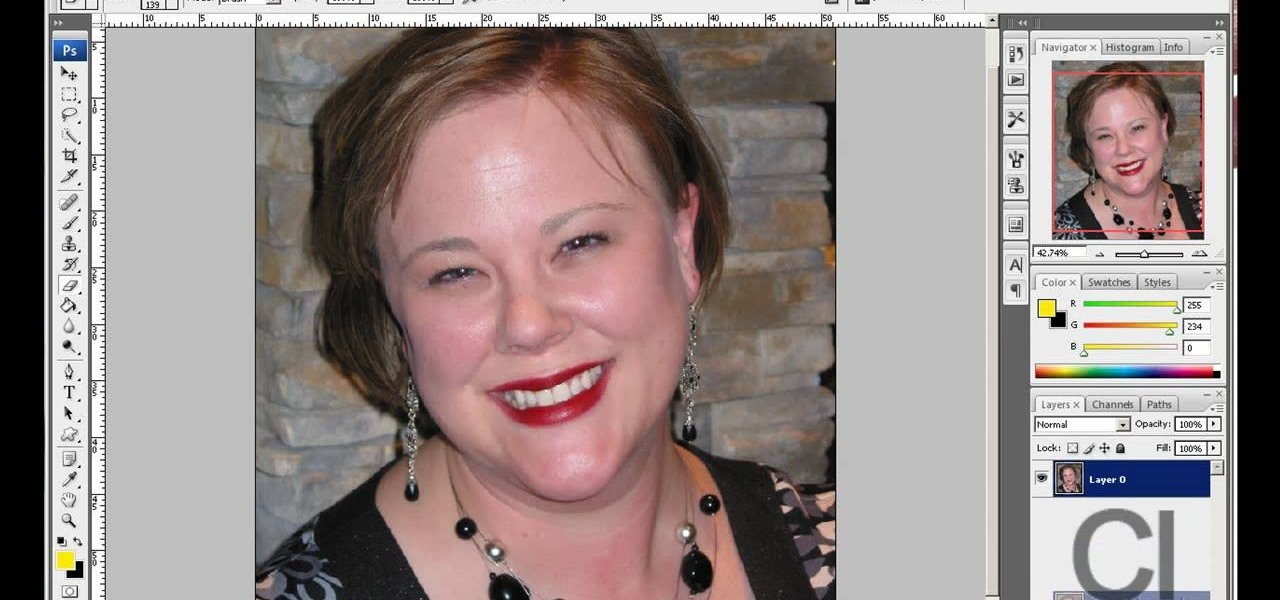
The author of this video takes us through the process of smoothing the skin in Photoshop. The video helps you to conceal blemishes in your photos. It is an easy way to soften and smooth someone’s skin in a photo without blurring out any important image details. One would definitely look few years younger after this editing. Though the sound quality for the video was somewhat less, the explanation was so clear that one could understand the entire process very easily.
Thanks to technology, art savvy users can visually edit pictures with the click of a button. This video tutorial demonstrates how to color hair in Adobe Photoshop CS. In Quick Mask Mode, color over the hair area with a fairly large brush. Under Filter, select the Blur category and apply a Gaussian Blur to soften the edges of the mask. Revert back to Standard mode where the mask will appear as a selection, and under Select, choose the Inverse option. Finally, adjust the hue and saturation to s...
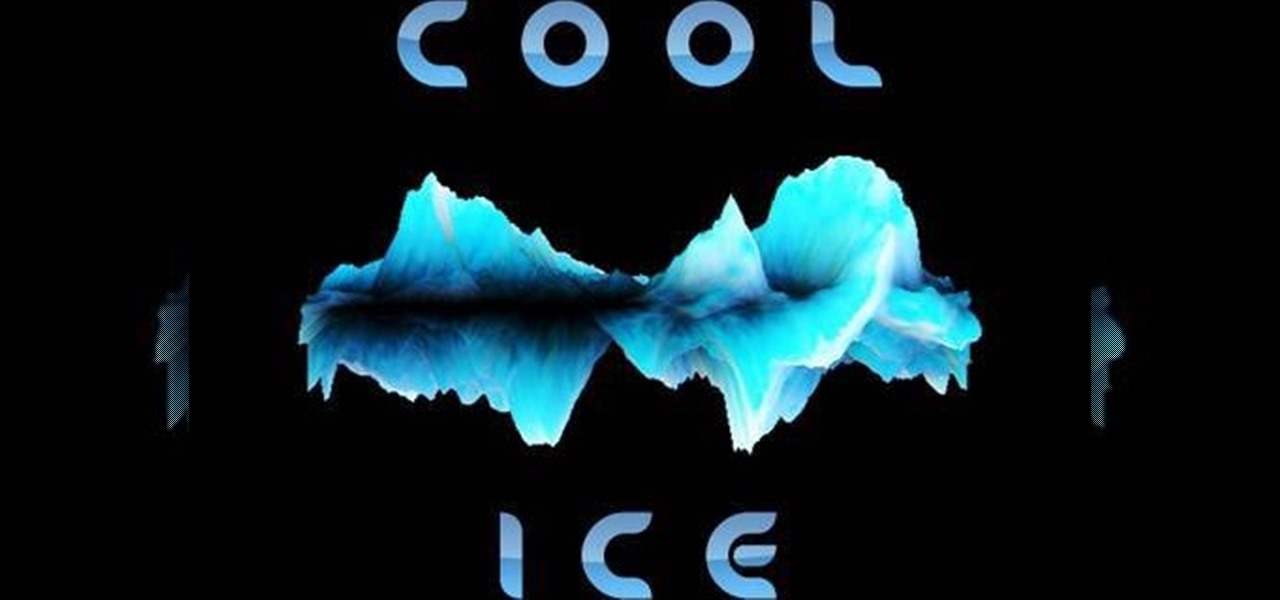
In this video, viewers learn how to work with Photoshop CS4 Extended, specifically the 3D construction and editing engine. This video contains voice narration for guidance and a visual demonstration for viewers to easily follow along. Viewers will learn how to create a cool abstract 3D shape which is different every time it is made and some cool techniques on how to convert it to a smooth icy looking shape. This will benefit those viewers who use Photoshop and wish to create an realistic icy ...
This is something you will need to know how to do if you have a bike in case you get a flat. . First you will make sure all the air is out, and take the tire off the rim and take the tube out.
Photo editing expert Chad Troftgruben teaches the viewer how to effectively use the quick selection tool in Adobe Photoshop. In Chad's opinion, the quick selection tool is quite similar to the magic wand tool in the same software, except for one major difference: one can select a particular object, even in a complex picture, simply by holding down the left key of the mouse and moving the pointer over the object. Chad also points out that the quick selection tool saves a lot of time and is ver...
Learn how to turn off automatic page translation when you visit pages in other languages. Click the toolbars Wrench icon.
Have an idea that you want to share with the world? YouTube is your best answer to reaching everyone from New York to Zimbabwe. But how do you make a YouTube video?
Taking photos is great, but what about being able to share them with the world wide web? There are countless of image hosting options out there to get your photos on the internet, but imgur is probably one of the simplest and easy image uploading sites out there.
New to Audacity? Audacity is a free, open source software for recording and editing sounds. It is available for Mac OS X, Microsoft Windows, GNU/Linux, and other operating systems.
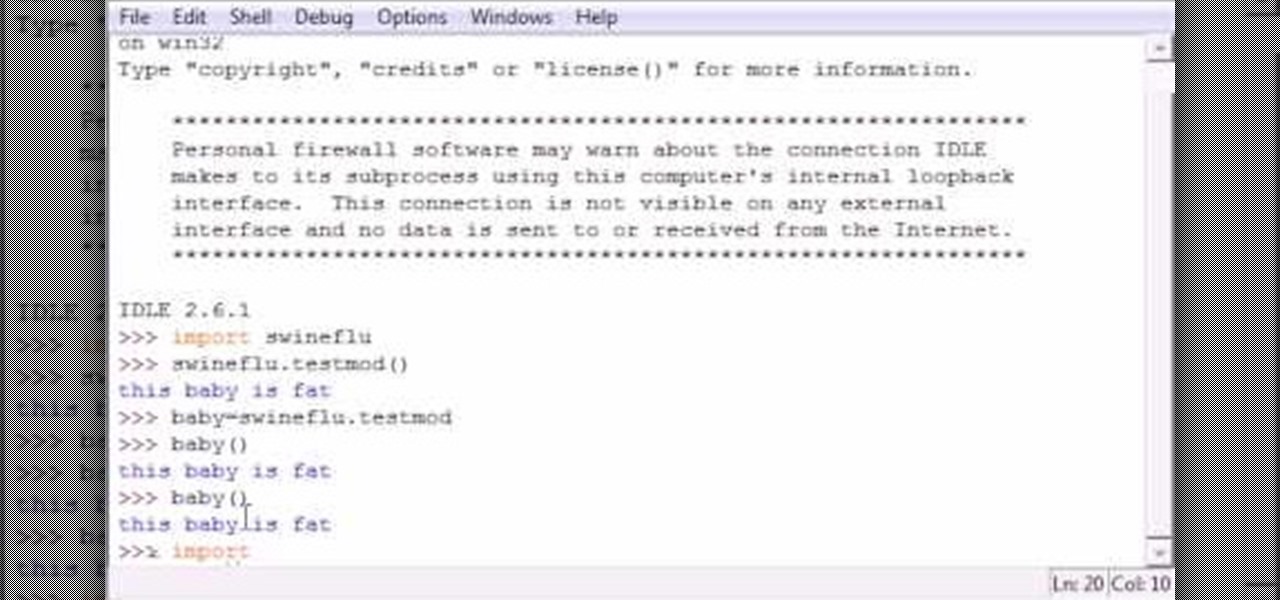
Bucky from The New Boston serves up this Python video tutorial on how to reload modules in Python. This is the program you use to write all of your Python code down. Learn how to reload modules once your source file has been edited!
There's a lot of questions floating around about Magic Bullet Looks and color grading. Here is a brief run through and then the "A Day At The Beach" clip with before and after shots of each clip.
Check out this video from Chemical Reaction Tutorials (CRTutorials). If you love filmmaking, prop making, editing and everything else that goes along with making movies, then you'll want to see what Adam has to say about laser guns.
Check out this video from Chemical Reaction Tutorials (CRTutorials). If you love filmmaking, prop making, editing and everything else that goes along with making movies, then you'll want to see what Adam has to say about lightsabers.
Check out this video from Chemical Reaction Tutorials (CRTutorials). If you love filmmaking, prop making, editing and everything else that goes along with making movies, then you'll want to see what Adam has to say about lightsabers.
Go beyond the traditional 3D workflow to an immersive creative experience with the software Modo, created by Luxology. Modo is the next evolution of 3D modeling, painting and rendering for Mac and PC. Modo includes 3D sculpting tools, animation and network rendering, and advanced features such as n-gons and edge weighting.
This image editing software tutorial covers resampling an image down to an optimal print size in Photoshop CS3 so you can bring it to a lab for printing. It's nice to take pictures as large as possible, but it's not always so easy to get that data out of your computer and into print. If you don't have a nice photo printer at home and need to transfer your images, you may want to watch this video and learn how to resample them down to a good print size in Photoshop CS3.
Final Effects Complete 5 AVX brings Ball Action, Mr. Mercury, and 100+ other legendary visual effects to Avid editing and finishing systems as an AVX 2.0 plug-in set. Supporting both Windows and Macintosh (Universal Binary), the new FEC 5 AVX takes full advantage of AVX 2.0's power and performance. New features include support for 16 bit-color processing, AVX 2.0 real-time filters, native on-screen controls, multi-processor acceleration, a number of new wipe transition filters, and hundreds o...
Take a look at this instructional vidoe and learn how to use the paint bucket tool in Google SketchUp. Selecting the paint bucket tool will open the materials browser. The materials browser is different for windows and mac users. On windows, the browser has two main tabs to select and edit materials. On the mac, you have several tabs giving you different ways to paint colors into your model. To start using the paint bucket tool, simply pick a material and choose a surface to paint it into you...