This is Part 1 in a series from FollowThePaperTrail. In this arts and crafts how to video the host will lead you through the process of preparing the materials necessary to create paper roses, from punched or die cut flower patterns. She teaches you how to soak the materials, once they've been cut, and spray them with starch so that they retain their shape. Following up on that she demonstrates the techniques she uses to form the flower patterns into a more three dimensional shape.
Watch this video as it gives easy instructions on how to make a mini paper airplane that flies far. -Get a small piece of paper. 4X8" would be best.
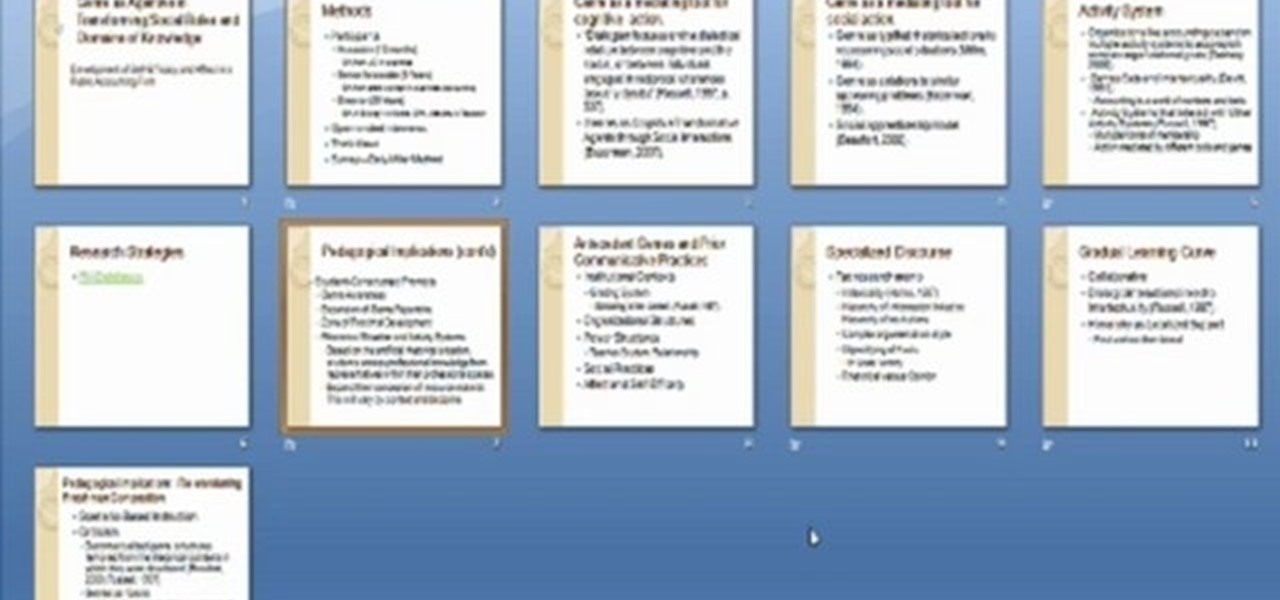
Mary Silva teaches us how to organize and research materials for writing. First, copy and past all of your different references from the exact order that you wrote about them. A great way to help you organize all of these is to use notecards. If you don't want to do all that writing, then you can make your notecards on the computer! With this, you can make different notes on the bottom of the cards to help you remember things, as well as different citations. This is a great tool to help you o...
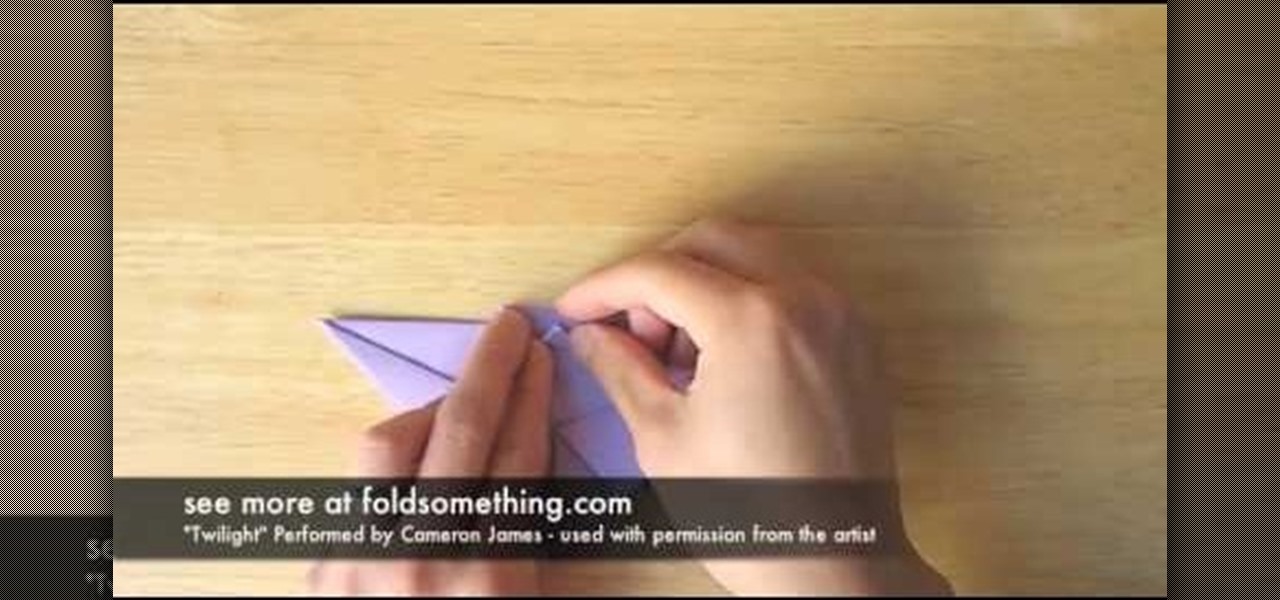
Fold a paper bat! With this guide, you'll learn how to make a simple paper bat using origami, the traditional art of Japanese paper folding. For more information, including a step-by-step overview of the folding process, as well as to get started making your own paper bats, watch this free origami lesson.
Want to add an avian specimen to your paper menagerie? Have extra paper and time to match? This video tutorial presents a complete, step-by-step overview of how to make a crane using origami, the traditional Japanese folk art of paper folding. For more information, and to get started making your own paper birds, watch this arts-and-crafts guide.
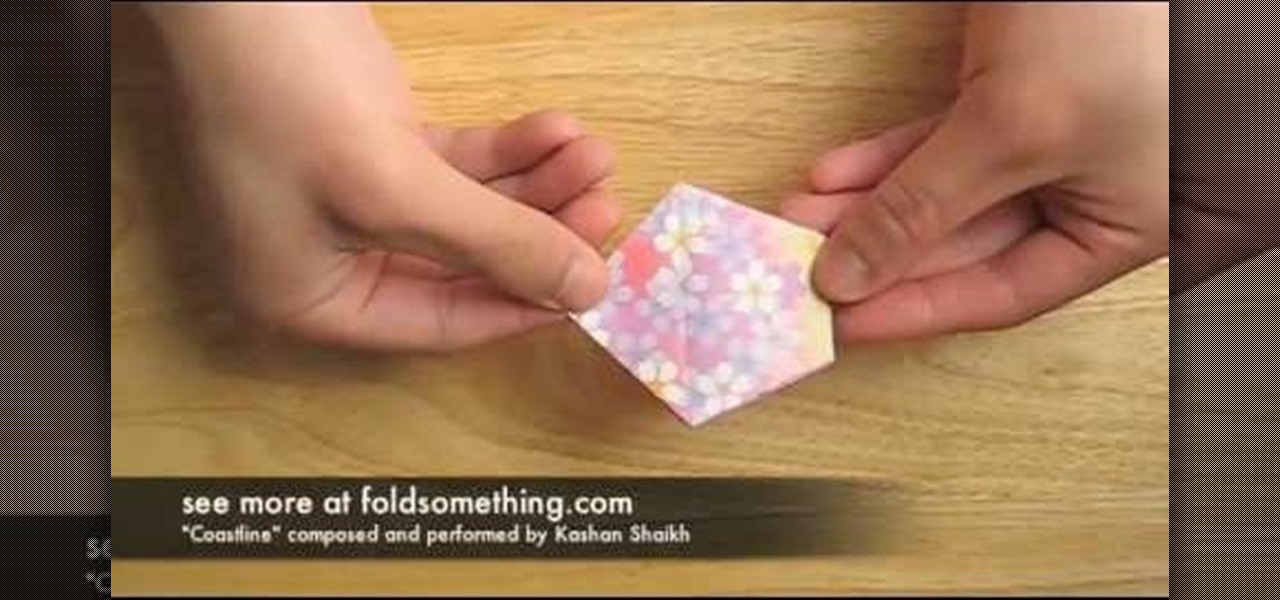
Looking to add a rare and exotic specimen to your paper garden? Make a paper cherry blossom (or sakura) using origami, the traditional Japanese folk art of paper folding. This free origami video lesson presents complete instructions on how to make your own cherry blossoms from folded paper. For more information, and to get started making paper flowers yourself, take a look!

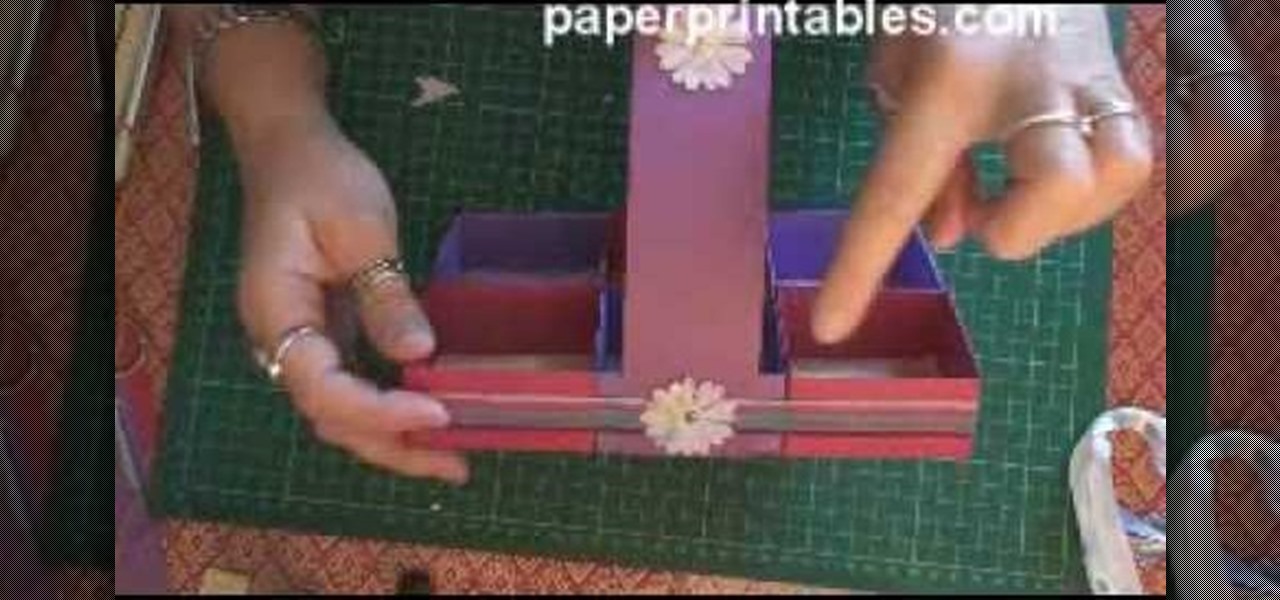
In this tutorial, we learn how to make a paper cup cake/muffin basket. First, take a piece of paper and fold it in half. After this, curl the edges up from each of the corners until you end up with a small square in the middle of the paper. Use scissors to create slits where you will make the tabs to construct the box. After all the tabs are cut, push them together so you have a small basket with a neat line. To finish this up, add a handle to the top and push into the sides. Then, draw on an...

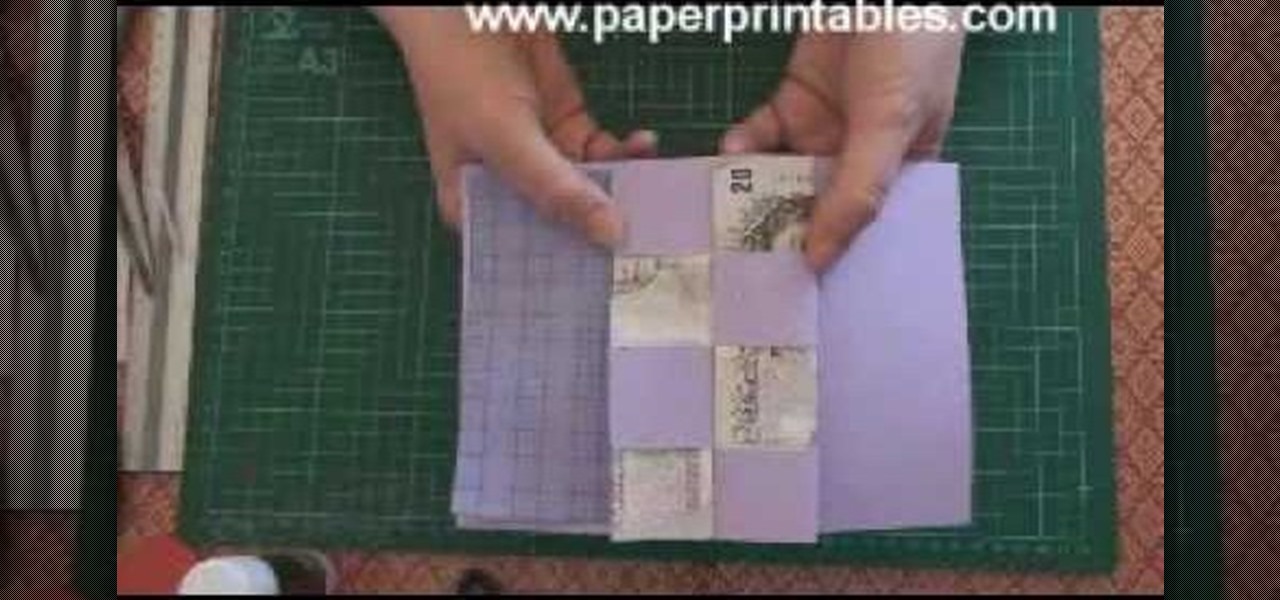
In this video, we learn how to make a pop-up concertina money card. To start, you will first need to take a piece of paper and measure your money on the inside of the paper. Then, cut this out in a strip and cold your money in half lengthwise. After this, measure the depth out from the center using a ruler. Then, fold the paper in half and on the sides where you marked. Then, you will cut three holes in the middle of the paper and these will hold the money in. Stick the bill in the middle of ...

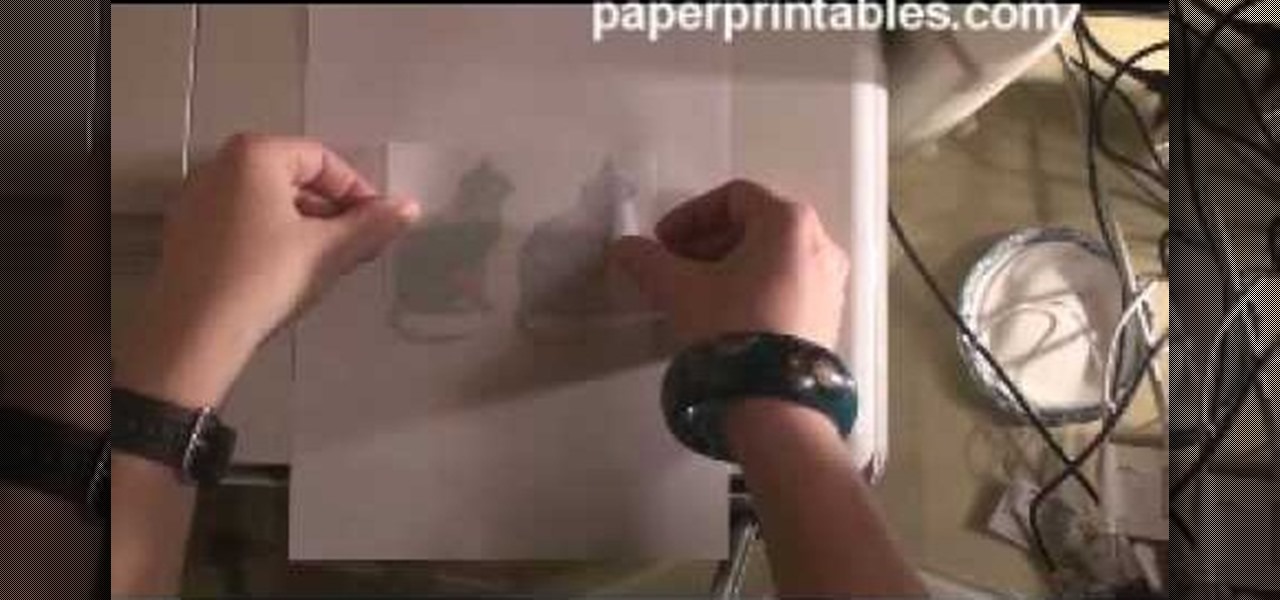
IN this video, we learn how to use your inkjet to print on a shrinkle. To start, you will grab the paper for the shrinkle. Then, you will print the outline out on a normal piece of paper. From here, stick the shrinkle over, frosted side up, on the paper. Then, feel the piece of paper back through the printer and print exactly the same image over again. Don't print anything too dark, or it will bleed out on the back. From here, you can peel off the shrinkle and then cut it out. This will finis...

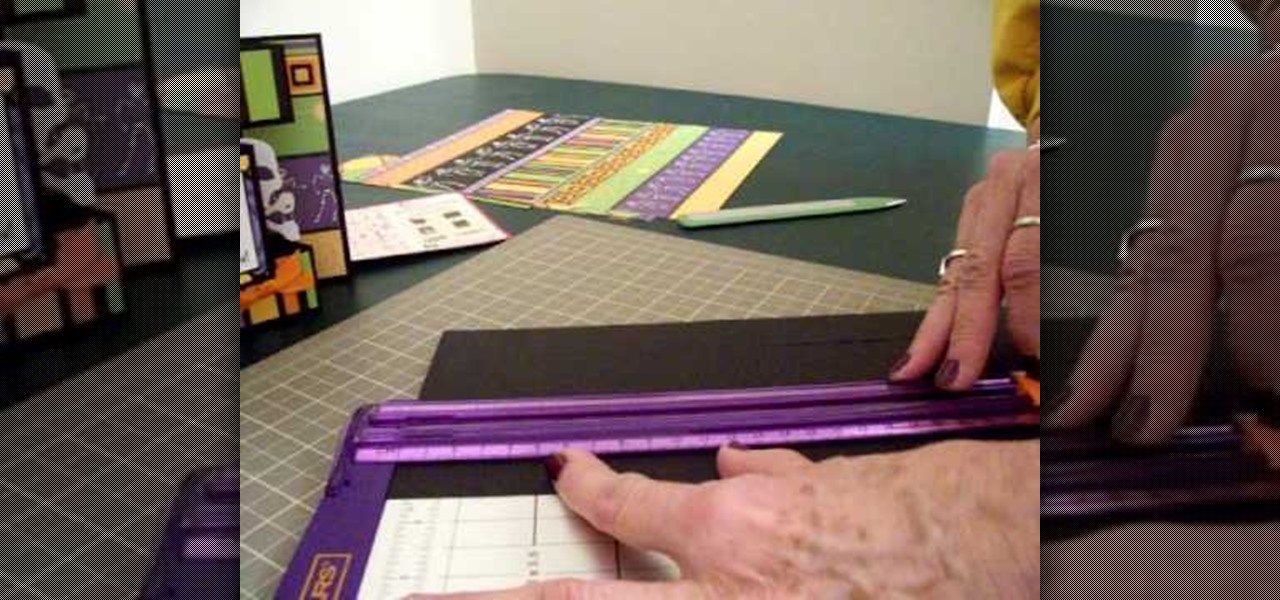
In order to make a Tri-Shutter Halloween Card, you will need the following: card stock, fishing line, ribbon, paper trimmer, printed/decorated paper, and adhesive.

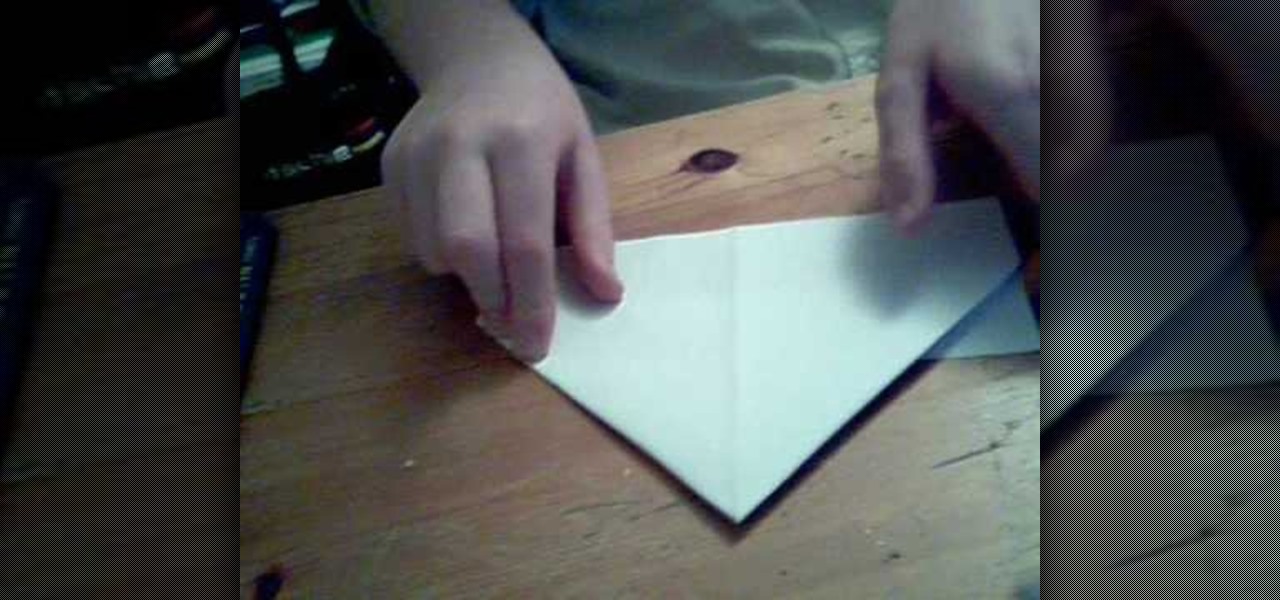
In this video, we learn how to make a box. First, fold the piece of paper into a triangle, then another triangle. Now, unfold the paper and fold all the sides into each other, making a square. After this, fold in the sides once more, making sharp creases on the edges. Now, open up the paper and do this again on the other sides, opening up again when finished. Now, fold the sides of the paper and turn it upside down. Follow the creases that you just made to fold the box up into a secure box. M...

In this tutorial, we learn how to make a paper turkey. You will need: a pen, tape, scissors, and papers. First, outline your hand on all the pieces of paper, then cut them out. After this, stack them together and then tape them. Next, cut out and apply the wattle of the turkey. Next, draw in eyes and feather details on to the turkey. When you are finished, you will have a cut turkey made in just a few minutes. This is a great project to do with children and only takes a few short minutes. Whe...

In this tutorial, we learn how to fold a Christmas tree. First, start with a square paper and fold it in half, then open it and fold it corner to corner. Open the paper again, the turn it over and fold it side to side. Open it once more and fold again side to side. The paper will not automatically fall into the shaped creases and you will have four flaps. Take your finger inside and flatten all the flaps. You should have four flaps on each side and then you can cut the bottom to form a trunk ...

In this video tutorial, viewers learn how to make a stencil. The materials needed for this project are: contact paper, scissors and a pencil. Begin by drawing the design, shape letter or number on the contact paper. Make sure to draw the stencil on the back of the paper and make it reversed. When finished drawing, carefully cut out the design. To use it, simply peel off the invisible paper and place it onto the surface of the artwork. Then trace over it. This video will benefit those viewers ...

In this video tutorial, viewers learn how to make a 3D flower pop up card. The materials required for this are 5 pieces of paper, scissors and glue. Begin by folding the paper in half 3 times and then fold down the sides to a triangle. Now fold a bit of the triangle flap up to make a slimmer triangle. Then cut around the top with a half circle shape. When opened, it will be a flower shape. Cut one of the pedals off and decorate it. Make 7 more flowers and glue the points together. Now take a ...

In this video Jennie shows us how to make a perfect spiral paper rose. All you need for this is a piece of 6X6 inches of paper, scissors, some glue and, if you really want to be creative, some ink. For starters you're going to need a 6X6 inch piece of card stock. Jennie chose a double-sided card stock because she thinks it will look more interesting but you can also use a plain piece of paper. The first step in creating your rose is making a spiral patterned cut alongside the paper. The ideal...

That Paper Guy shows you how to make a simple paper airplane. First, get a piece of paper 8 1/2" x 11" and fold it in half lengthwise. Then fold on one side a triangle. Flip to the other side and fold a triangle as well. Fold the corners down in the same direction on both sides, making sure the edges meet the center fold. Fold the corners down one more time on both sides, again in the same direction. Open up the finished airplane so that you're able to grab the center with your thumb and inde...

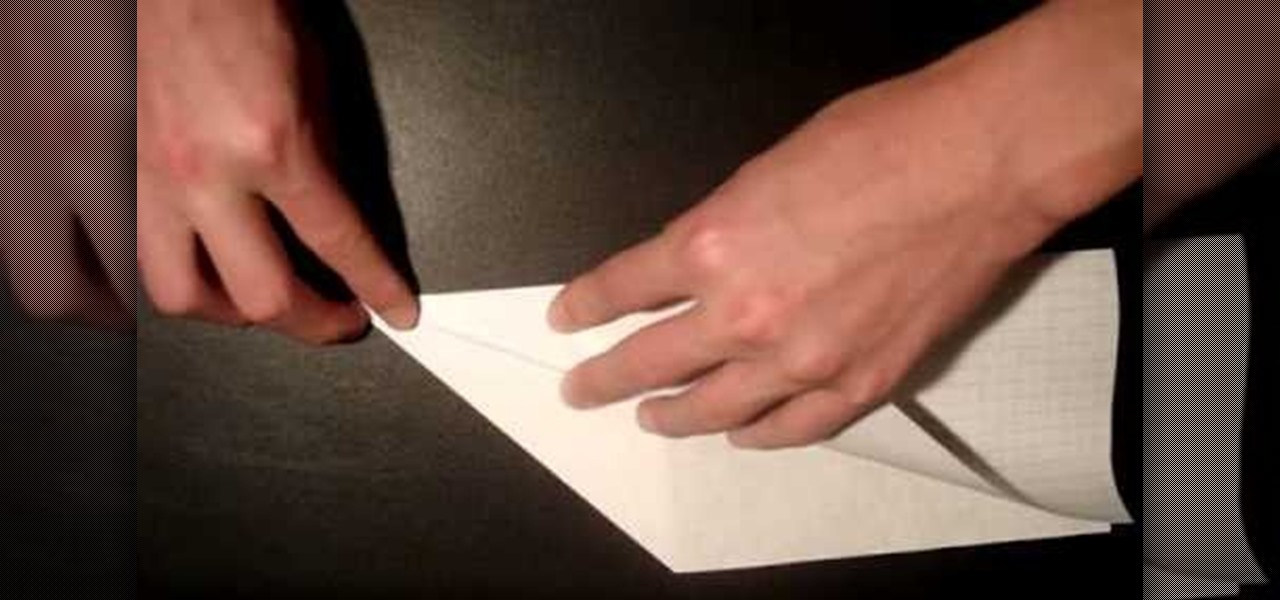
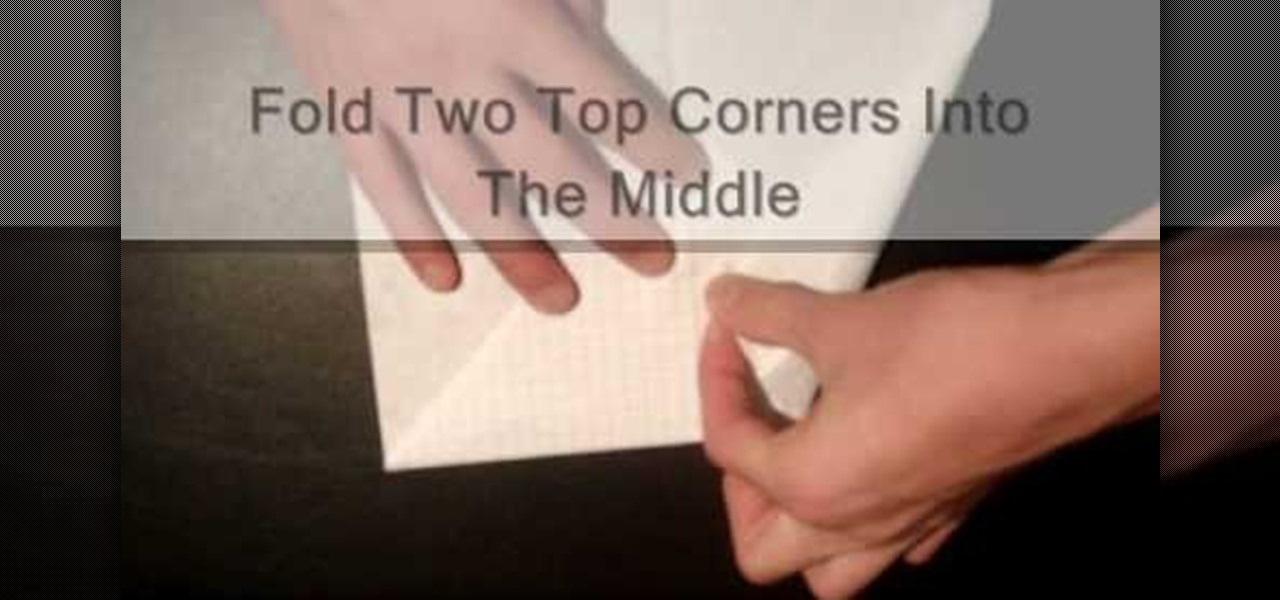
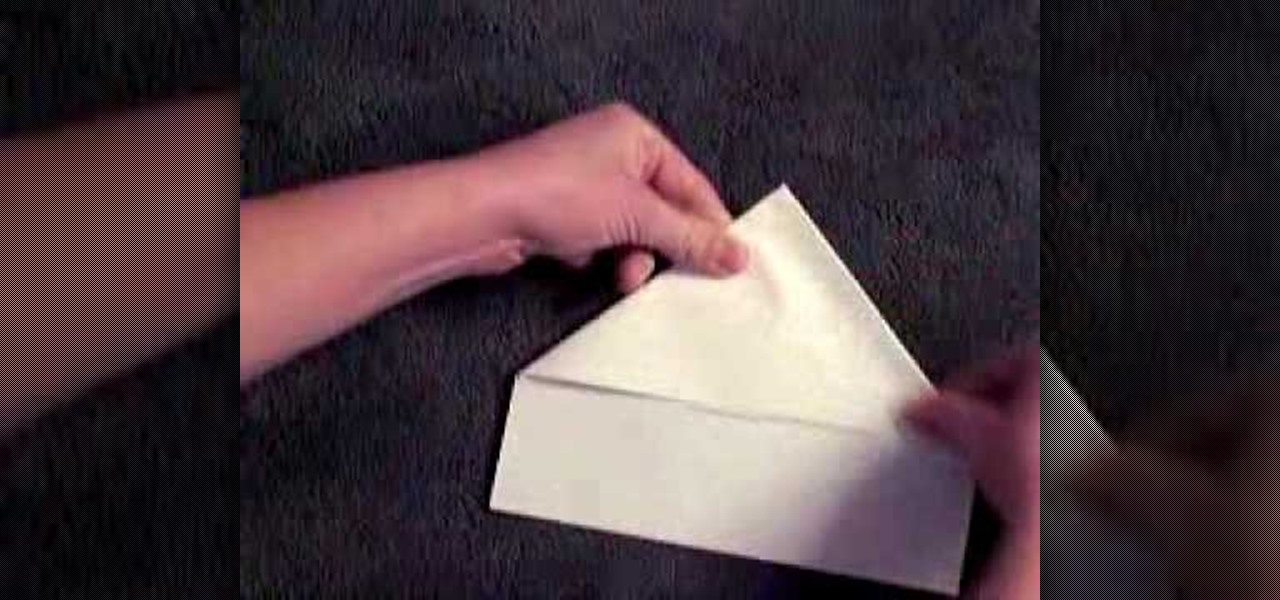
This video shows a step-by-step demonstration on how to fold a moth style paper airplane. First fold the paper in half the long way. Unfold the paper, and fold the two top corners into triangles toward the middle crease. Fold the triangle down. Fold two top corners into the middle and fold the triangle up. Fold the plane in half and fold the wings up. Flip the plane and fold the wings again. Open the plane and you're done. This demonstration is easy to follow, with words on screen, so you'll ...

How to make cool paper claws:Flameboy2202 shows us how to make cool claws with paper. They are really simple and can be used at Halloween. All you need is a eight and half by eleven sheet of paper. Take the paper, fold the top right corner; try to make it as even as possible. Now, take the top point and fold it to make a pyramid kind of formation. Now take the bottom two corners and fold them in. Fold the bottom upwards so that you have a perfect triangle. Flip it over and see, you have a per...

Artful Paper Doll demonstrates how to make a mini paper corset for a paper doll. Take two rectangular piece of hard paper which is of measure 4 by 5 centimeters. Cut the edges of the breadth part make it round. Cut the length part inward to make it into shape of a waist. Take a pattern cloth and paste it to shapes. Now take a lace with one end trimmed. Fold it in zigzag way. This should be pasted beautifully to the bottom of the corset. Now take a thin lace and paste it over the zigzag lace i...

Decorating using tissue paper is an inexpensive and it is much prettier than streamers. To make tissue paper flower, all that you need is tissue paper of your color. Have two shades of color for contrast to make it more attractive. Cut the tissue paper into half. Take eight sheets and cut them half which gives you sixteen sheets. Take six to eight of those and lay them on top of each other and make corners match up. Now take the tissue paper and fold it over half inch to one inch and then fol...

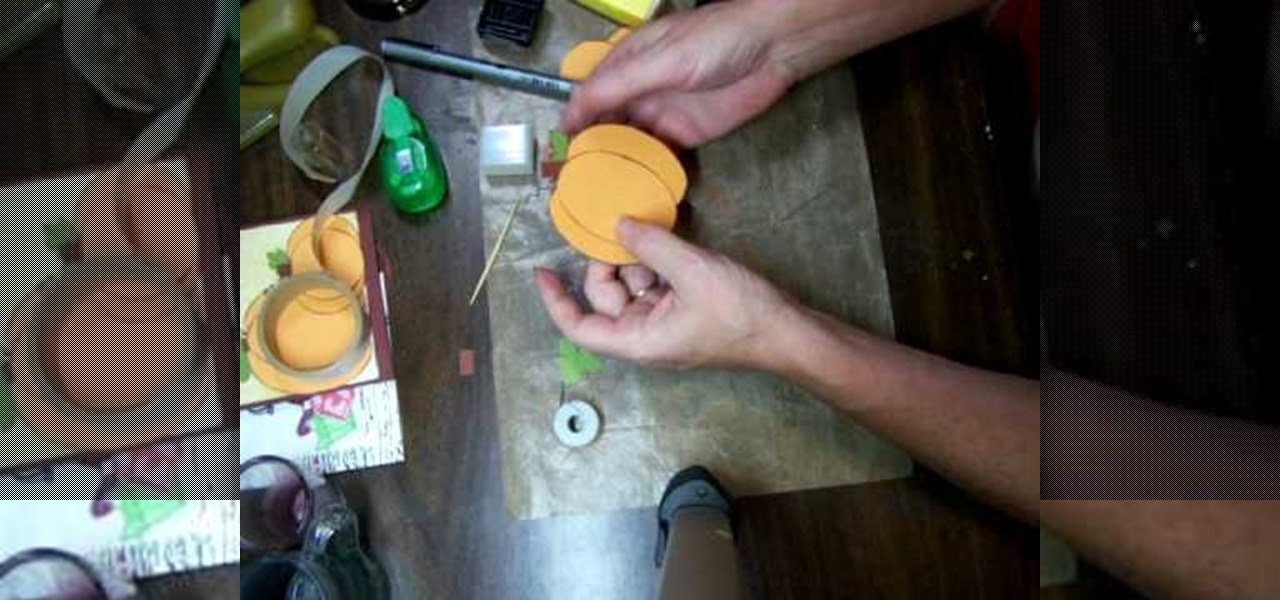
For anyone looking to dress up a card, learn how to make a paper pumpkin using punches in this video tutorial. Take a white piece of paper and distress it with Memory Mist (with the pale ale color). Use a box to distress the paper, while avoiding getting the mist all over your work space. To actually make the pumpkin use a store-bought punch (either round or oval). Make the punches with orange cardstock. For each pumpkin, you will need either three ovals or circles. Using a chalk ink to distr...

In the video, a boy named George explains how to make a paper box for wrapping gifts in it. For that, first we need two square color papers of any color, and a pair of scissors. In the box making procedure, first place a paper on table, face down. Now fold it diagonally, twice. Unfold it. Then fold the sides twice, to make regular square shapes. Unfold it. Mark the center part using a pen. Cut the paper leaving two folds on four parts, fold it in. Then fold the rest of the part of the paper o...

Learn how to make a pop-up snake in minutes and surprise your children. 1) Get two pieces of paper of the colors you want. Also get a CD or something similar. 2) Get a paper and fold it in half. 3) Draw a circle on the paper using the CD and a marker or pen. 4) With the help of scissors start cutting the circle in a spiral fashion. 5) Fold the other paper in half. 6) Glue the tail of the snake on one side of the paper and glue the head of the snake on the other side. 7) You can use the other ...

This video will show those who are interested how to make paper mache and how to use it in artwork as well. A quick and simple way to make paper mache starts with nothing but common newspaper. After soaking your newspaper in water for a while, place the newspaper in a blender with some more warm water and blend it into a fine paste. After this, you should strain out the excess water and then mix this solution with some whiting powder, or chalk, in order to get your finished paper mache, which...

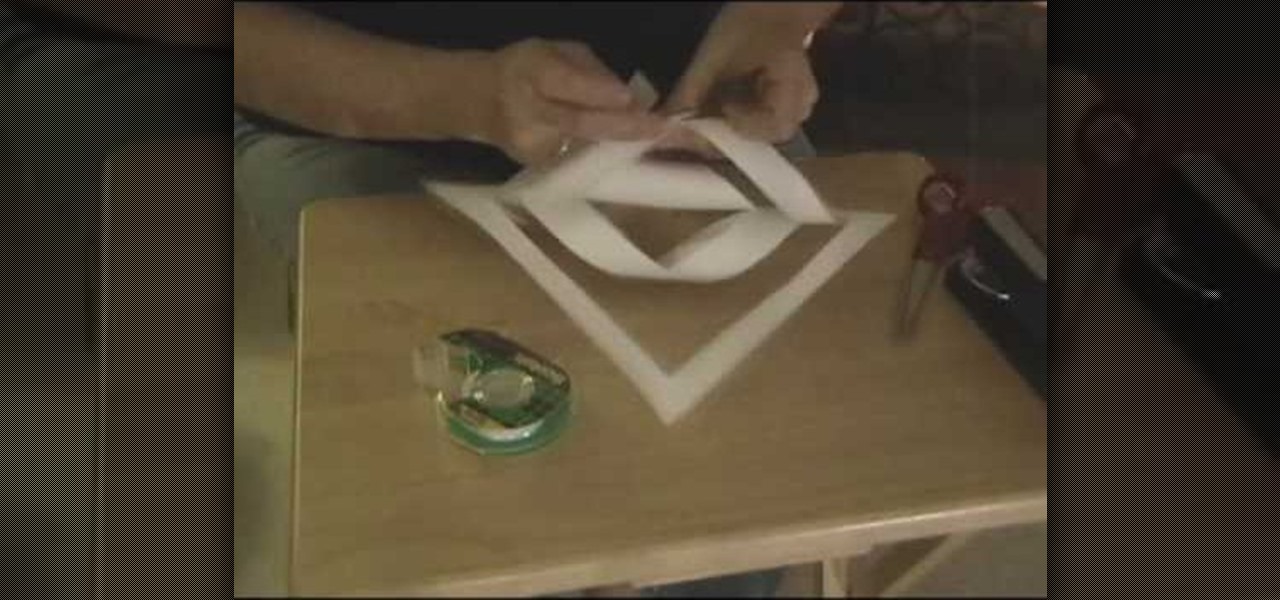
Steps on how to make 3D paper snowflakes for decorating your home. Things you need: 6 pieces of square paper of equal size. scissors. gum. stapler. Steps: 1. Fold one paper to make a triangle. 2. Make three uniform cuts from both directions towards the center leaving a gap along the center. 5. Unfold the paper, let the edges of the inner cuttings meet to make a tube-like appearance and gum the edges together. 6. Turn over the paper and do the same on the second cutting. 7. Turn back again to ...

Learn to make a beautiful spiral rose of paper, by watching this video. Things you will need to make this rose are: Red colored paper (or any color of your choice for the rose), a toothpick or small stick, glue, scissors. Begin by drawing a spiral on a square piece of red colored paper. With the help of scissors, cut along the lines of the spiral till the centre. Next, begin winding the spiral strip onto one end of a toothpick, from the outer end. Keep winding till you reach the other end of ...

Take one large newspaper sheet that consists of two pages on each side. Fold in half lengthwise (the way it comes in the newspaper). Fold in half again (bringing the top of the paper to the bottom). Fold corners (on folded side) to middle. This will make a pointed top to paper. Fold one piece of bottom of paper up to the bottom of the pointed fold. Fold bottom again until it overlaps a little of the pointed part. Turn hat over. Fold sides in about 1 1/2 to 2 inches (it will look like a house)...

This video is about how to make a paper floating boat by using only a single paper. These boats are really liked by the children in rainy season and they play with them where water gets collected or some kind of lakes or ponds. It can be made by just folding the paper in three folds and opening it to make a boat. This boat is easy to make and can be used as toys ,decoration material etc. boats are just childhood memories.

Need some affordable Christmas decorations? This is an instructional video that gives step by step instructions on how to make a paper snowflake. Viewers will learn how to make easy to make decorations for the holidays. You will need scissors, plain white paper, a stapler and tape to complete this projects. These are three dimensional paper snow flakes, not the typical two dimensional ones you probably made when you were in elementary school. Directions are easy to follow, and the video is cl...

A detailed and easy-to-follow video on how to create snowflakes from any square sheet of paper, quickly and inexpensively. Using the technique shown in the video, you will be transforming any plain square sheet of paper into a finished snowflake, with a custom and unique design using just scissors. You can make hundreds of different designs with this technique; just like in real life, no two snowflakes you create will be the same! Get into the holiday spirit yourself, or spread some holiday c...

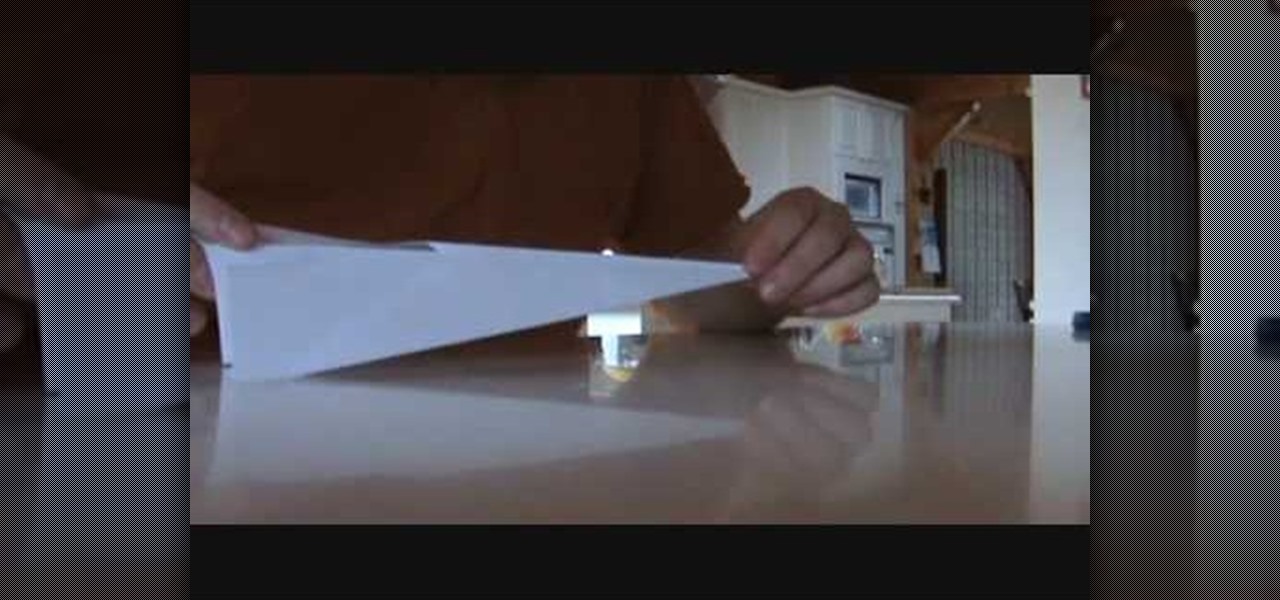
In this video, you are shown how to create a paper airplane and most importantly, how to make it fly farther. You will need a paper airplane, a stapler, and some tape and scissors. You staple the paper airplane all the way to the back without hitting either wing. You create three rows of these staples. This will make the airplane "closed" so it will glide farther. To get even balanced weight which will make it glide further, first tape along the entire top ridge, then you use scissors and mak...

Looking to make some affordable winter decoration? Need a winter's day craft for the kiddies? Learn how to make a paper snowflake. In this video our hosts Lauryn and Cameron show you step be step how to make the perfect paper snowflake. With just a piece of paper and a pair of scissors they will instruct you on how to correctly fold and cut to make original and creative paper flakes. They will give you tips on how to make different shapes and more complicated types of flakes.

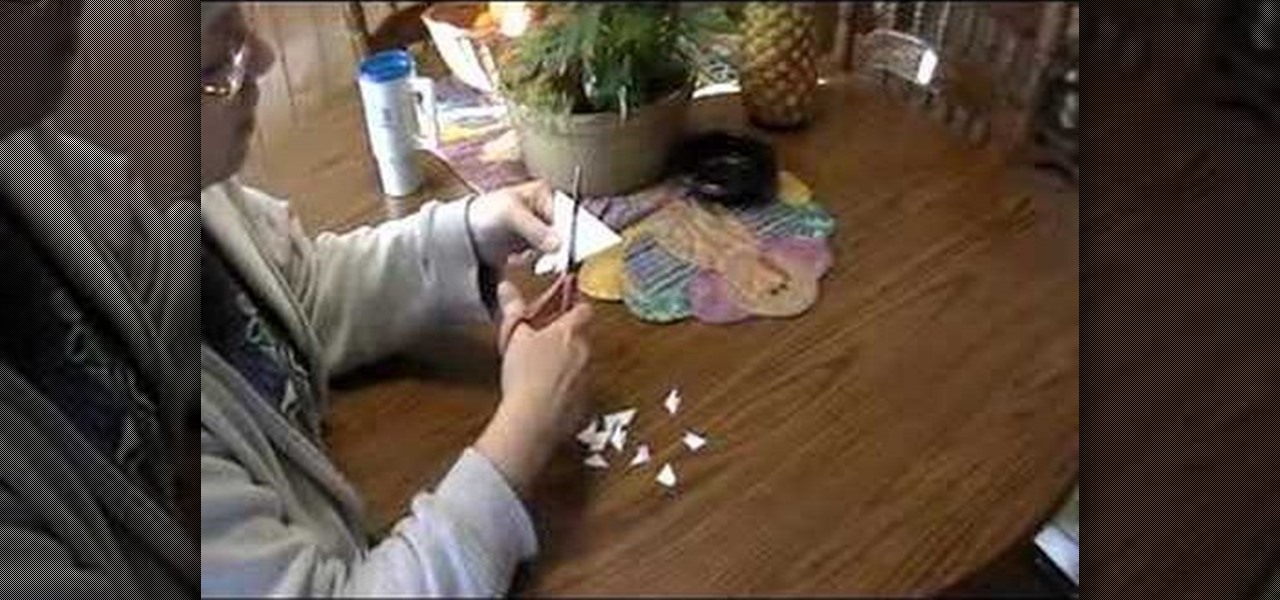
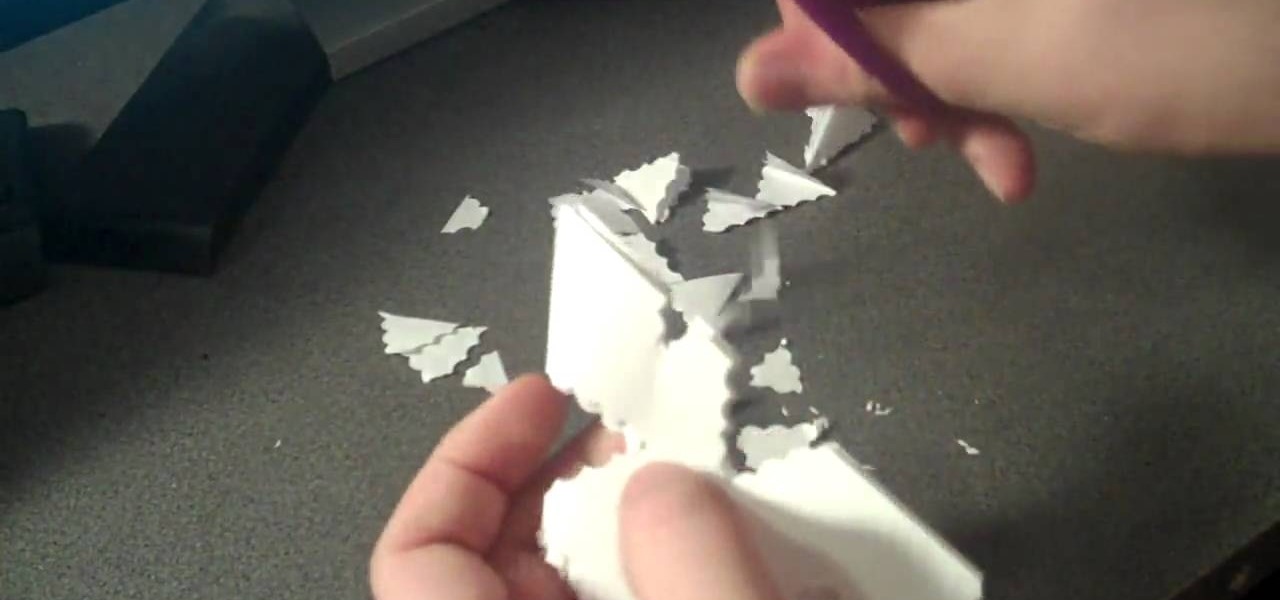
This video is about how to make a snowflake using only scissors and paper. For this you have to go through a few simple steps: (1) Take two plain sheets of paper. (2)Fold them into the shape of triangle. (3) Fold them again up to three triangles. After making a small fold of triangle (4) cut the triangle using scissors. Make any shape of your choice and cut carefully and neatly. Now just open the shape and the snowflake is ready. You can use colorful paper also.

Need a way to keep the kids busy on a rainy day? Making a pop-up card is quick, easy, and will entertain them for hours! Watch this video to learn how to make a pop-up card.

Learn how to create and design your own paper handbag.

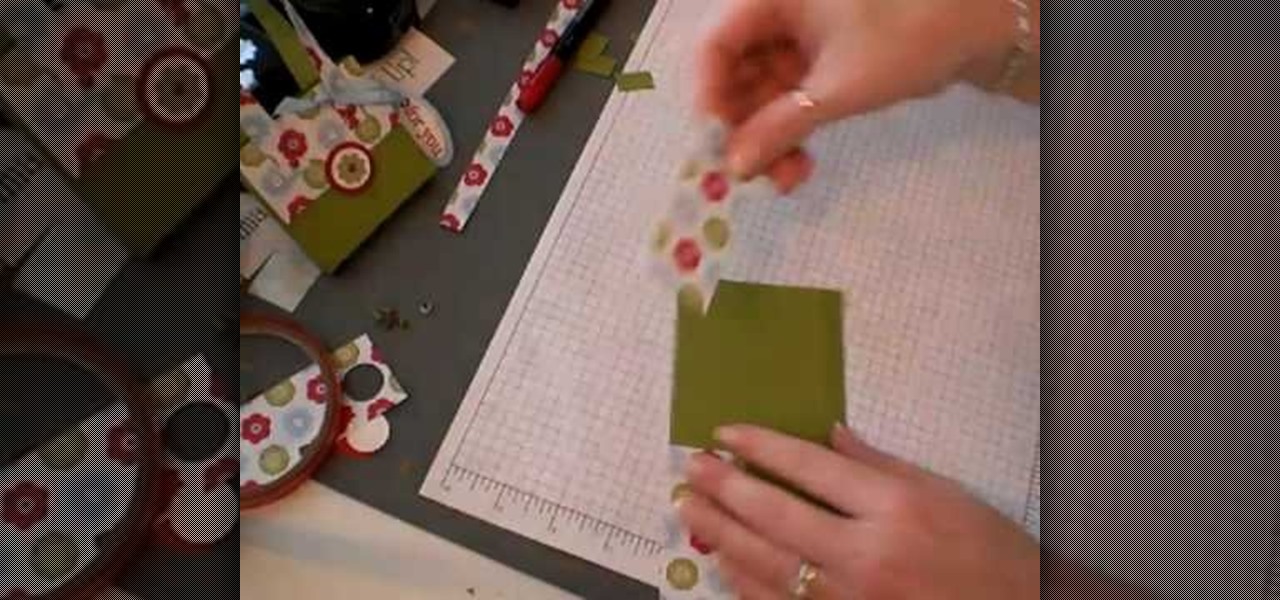
The card stock used is a celery card stock that is 2 by 7 and 3/4. You then fold the ends of the card 2 inches into the card on both sides. So now it should look like two 2 inch squares on the ends that are folded and then a rectangle in the middle. The designer paper used measures 3 and a 1/4 by 1 and 7/8 inches. To make the decoration on top you use the paper punch that punches a 1 and 1/4 inch circle in the paper and then you use the scallop punch around the area of that same punched out h...

This is no paper gun like you've ever seen before. Seriously. Tacome1942's homemade paper shotgun is a life-sized, fully functional Remington 870 replica. It would be hard to tell it apart from the real deal, not to mention it practically sounds like an authentic shotgun, too. The shotgun is made of approximately 97% paper, the remaining 3% consisting of pins, wires, and springs. Check out all the videos below to see the finer details, including the trigger group, shell stop, and disassembly ...

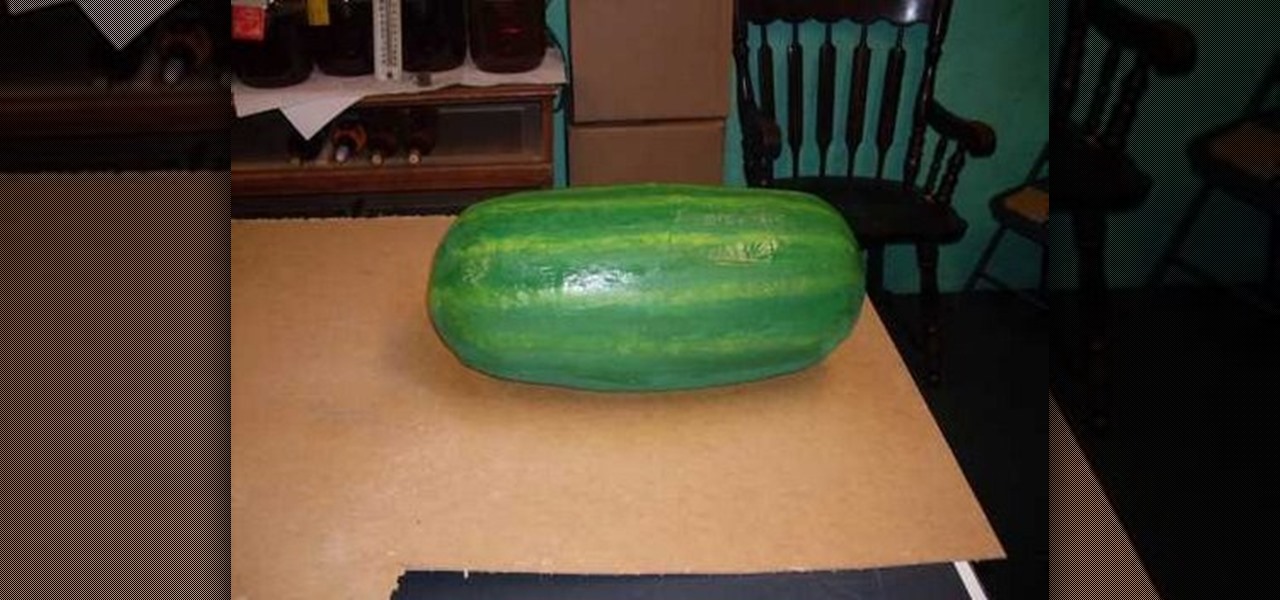
These paper mache techniques are solid and will help you with other paper mache projects. (In case you don't want to make a paper mache watermelon).

This tutorial video will show you how to make your very own paper wallet. This wallet is simple and extremely nifty.


