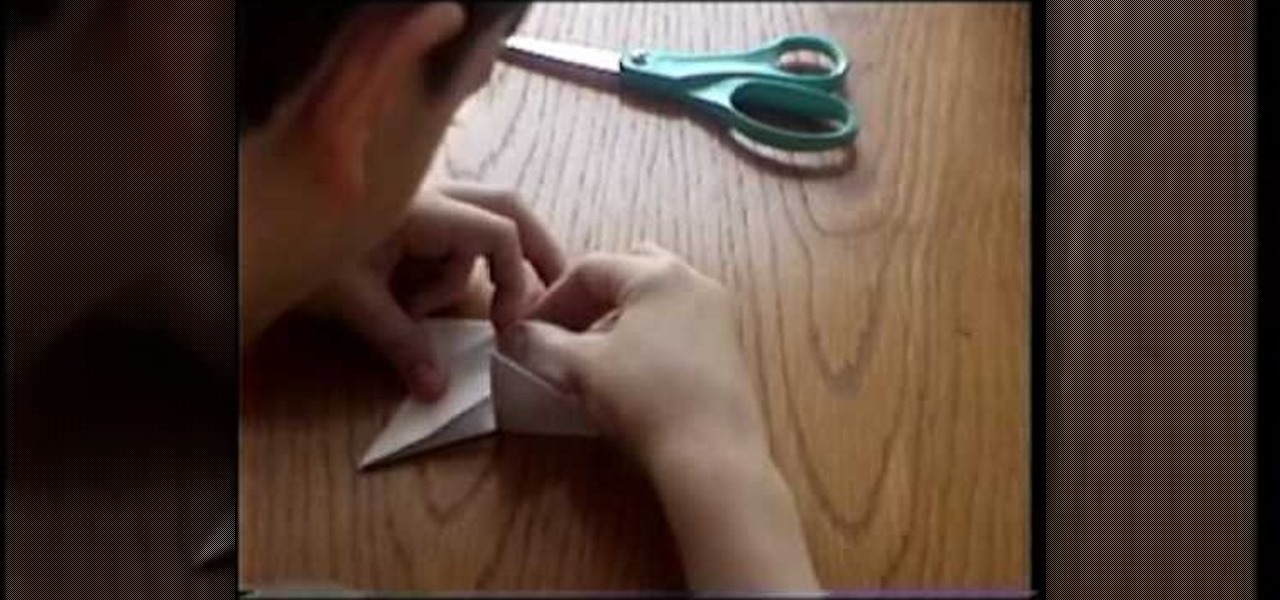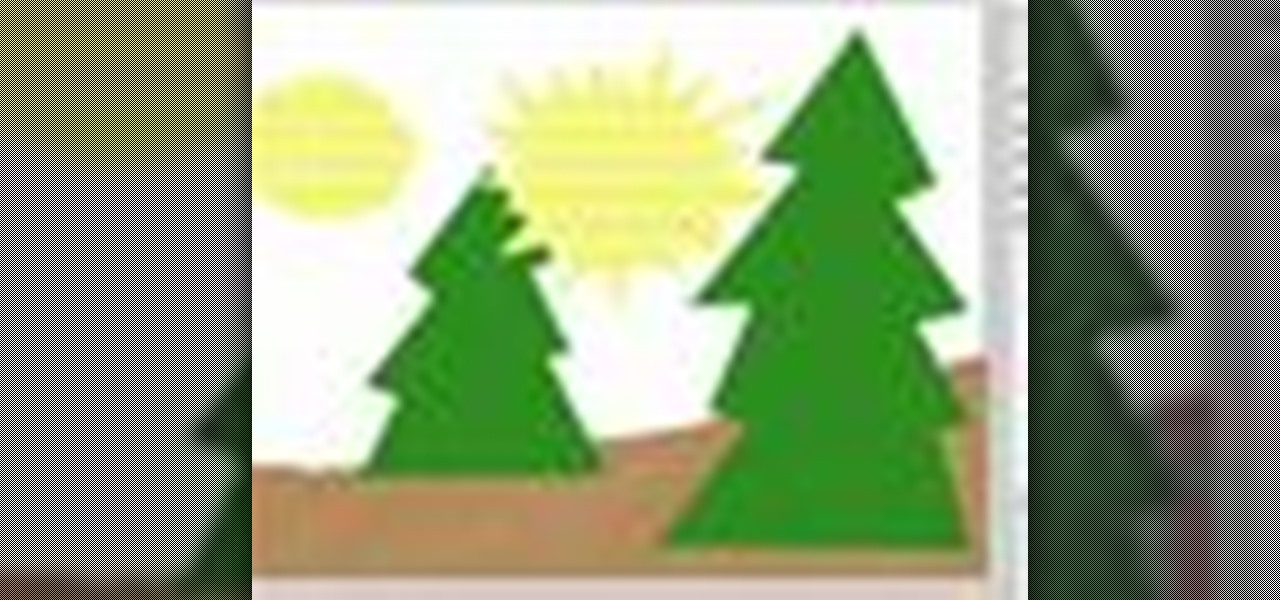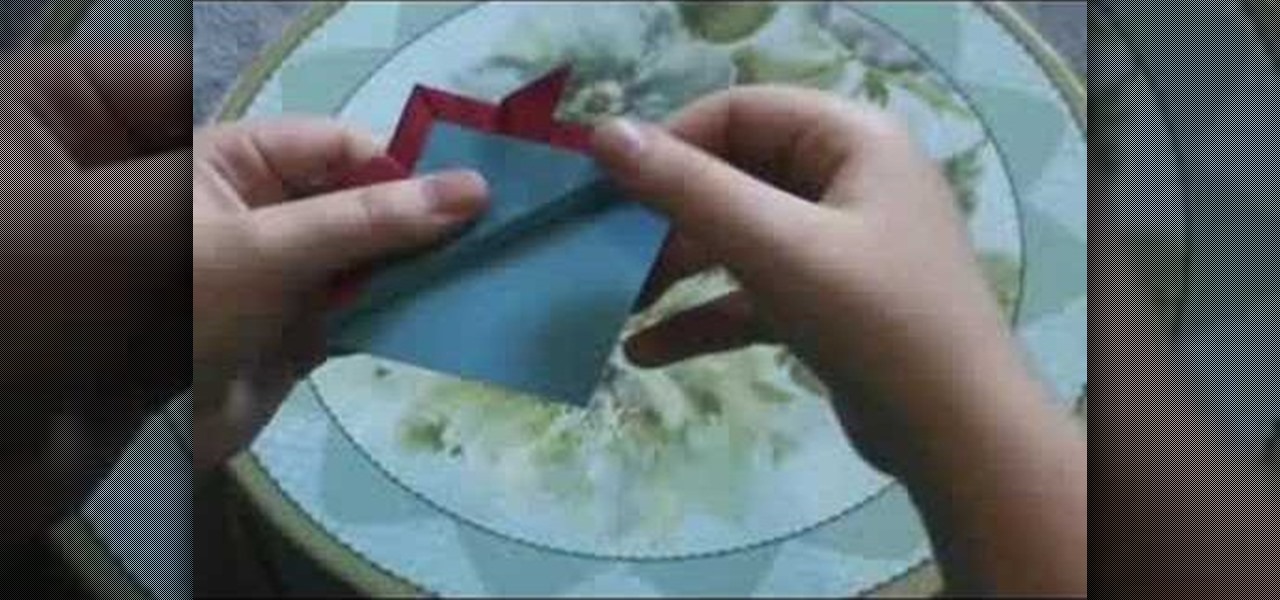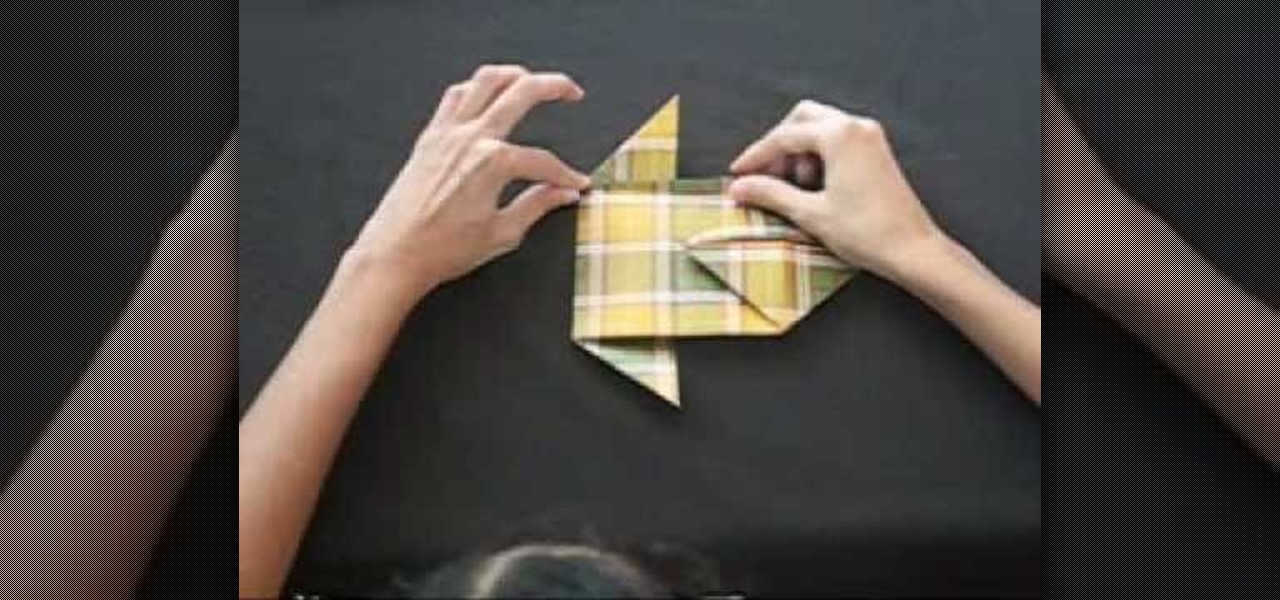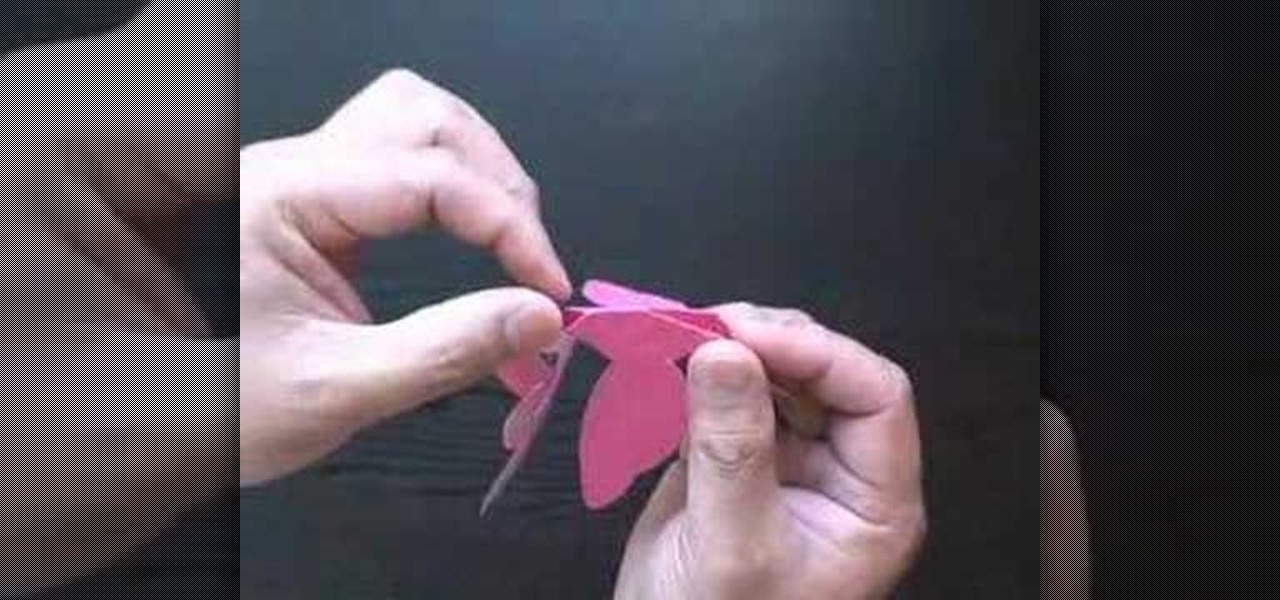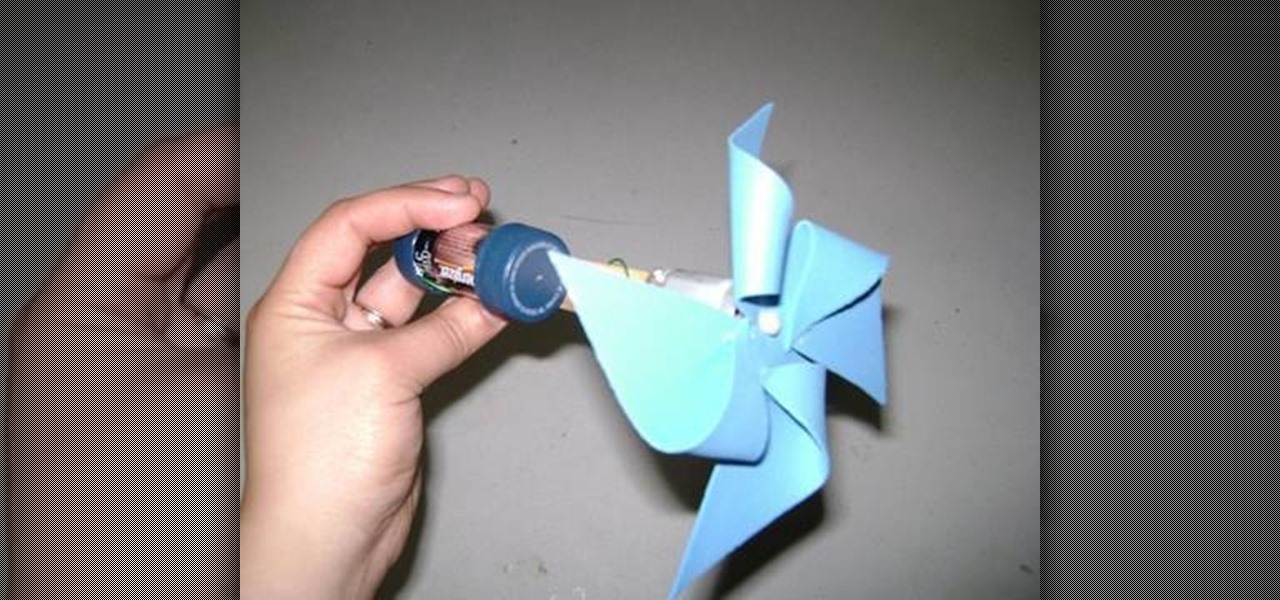
Here's another fun summertime craft for your budding engineer - make a spinning paper pinwheel or fan! You'll need a C-battery, a toy motor, two soda caps, a popsicle stick, foil paper, copper wire, a small sheet of foam, a sharp pencil, a hot glue gun and some safety scissors.
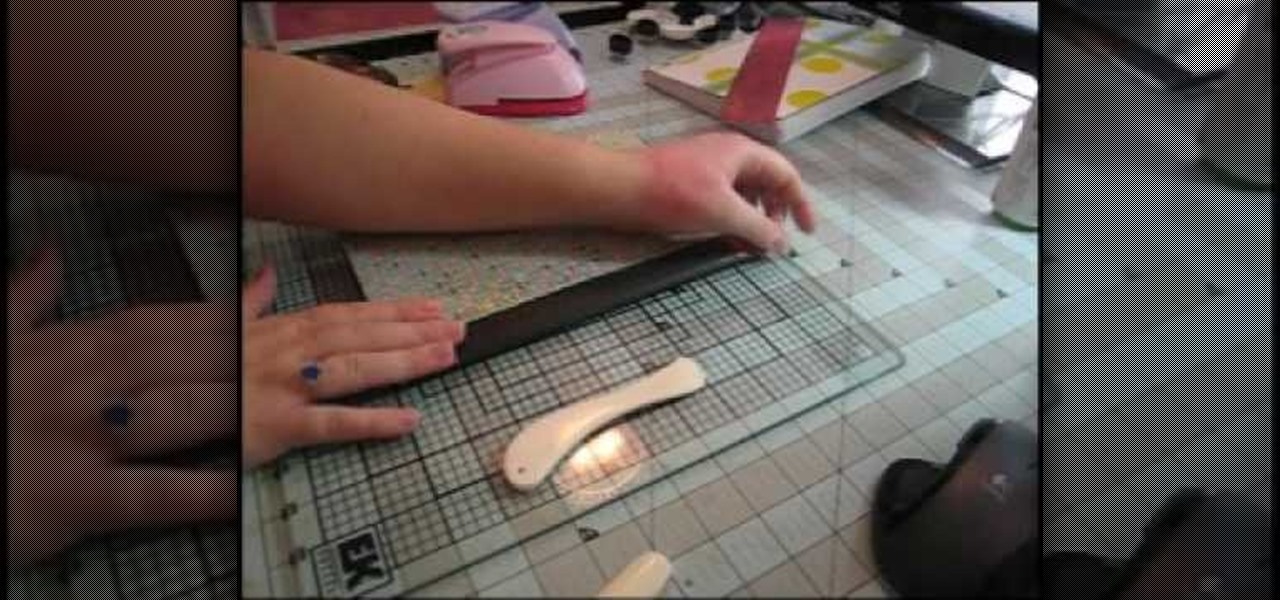
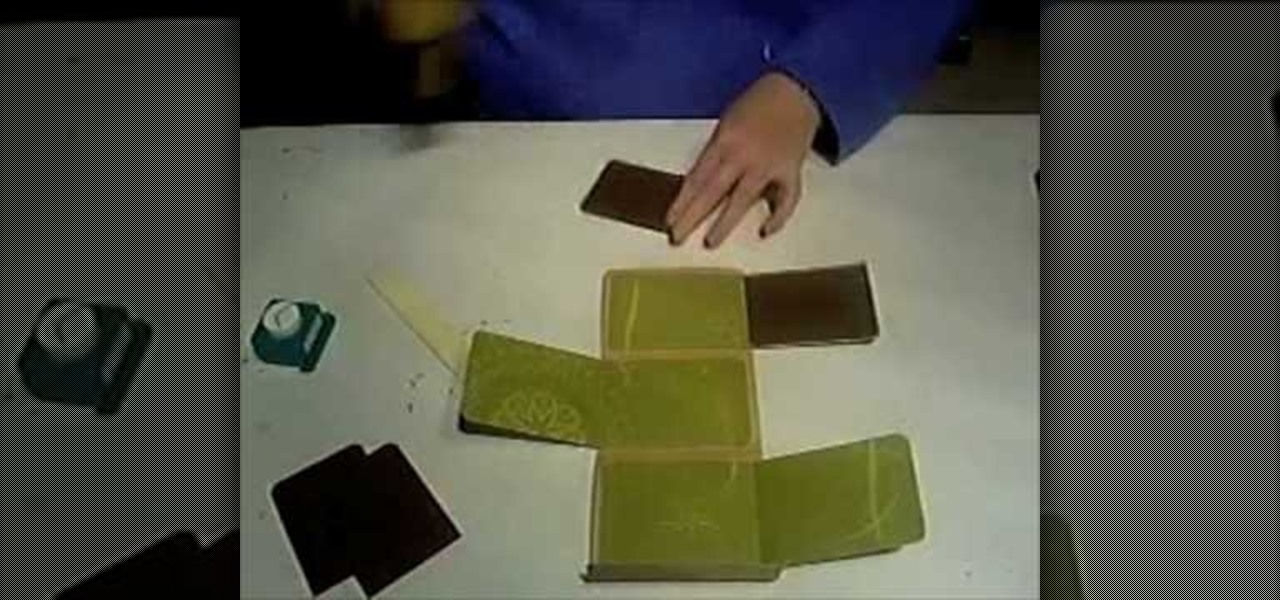
In this video, we learn how to turn a composition book into a decorative notebook. First, measure your composition book, then measure out that same size on a piece of decorative paper. Next, put adhesive on the back of this on all four edges, then diagonally. Now, you will have a solid attachment for the paper to be placed on top of the composition notebook. Use a straight edge to push it down and it's completely flat. Then, use scissors to cut any excess paper off of the edges and corners. Y...
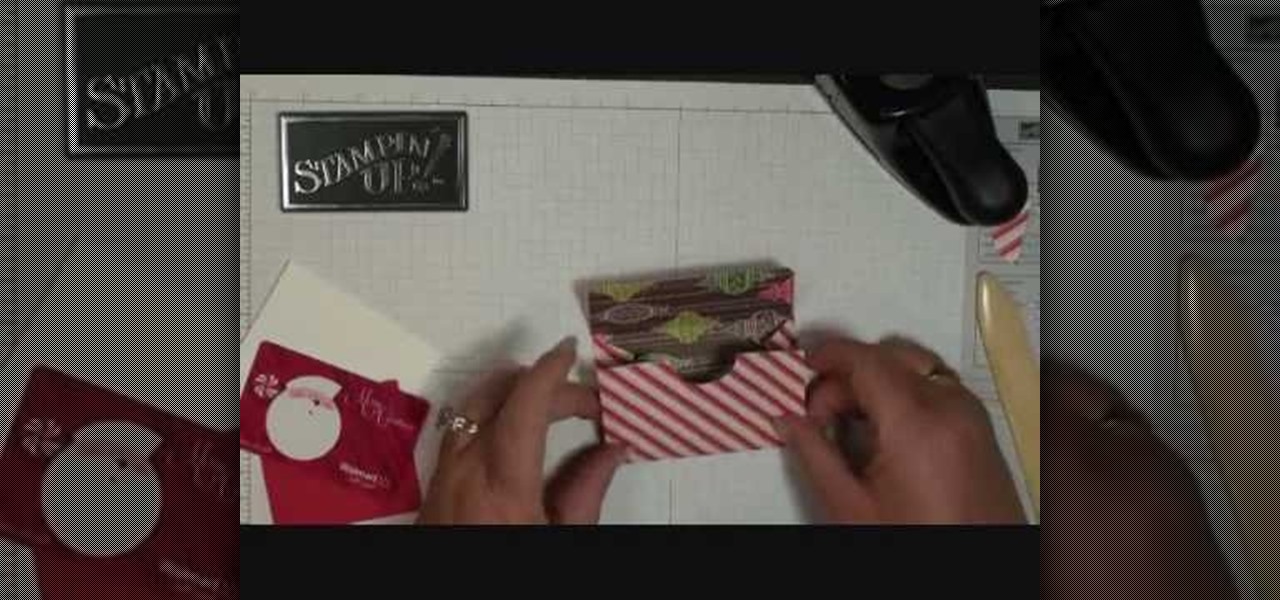
In this tutorial, we learn how to make a mini gift card envelope with Stampin' Up!. First, take a piece of card stock that is red and white. Score this 3/4" on both sides, then turn on the 6" side and score at 1 1/4" and 3 3/4". Once finished, fold this up and cut along the sides that you have scored. Put adhesive on the bottom of the gift card holder to seal up the bottoms so you can place the gift card in. Now, punch a hole in the bottom of the paper so you can see the gift card peak out of...
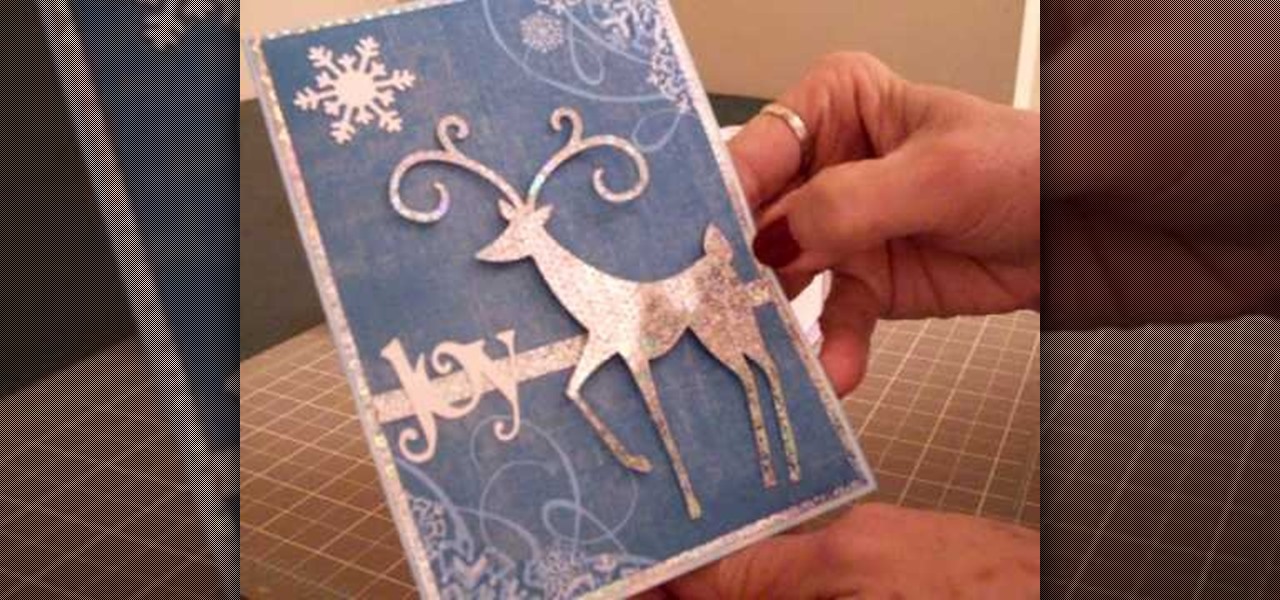
In this Arts & Crafts video tutorial you will learn how to make a Christmas card using Cricut Winter Woodland. The card is 4 1/2 x 6 1/4 inches and it has a picture of a deer and the word "Joy". On page 56 you will find the picture of a deer. Cut it out at 4 1/2 inches and the word "Joy" is on page 78. Cut it out at 1 1/4 inch. Use the snow flake punch to cut out a snow flake. From "The Winter Matstack" choose a paper that has some snowflakes on it. Then you can cut out thin strips of some or...
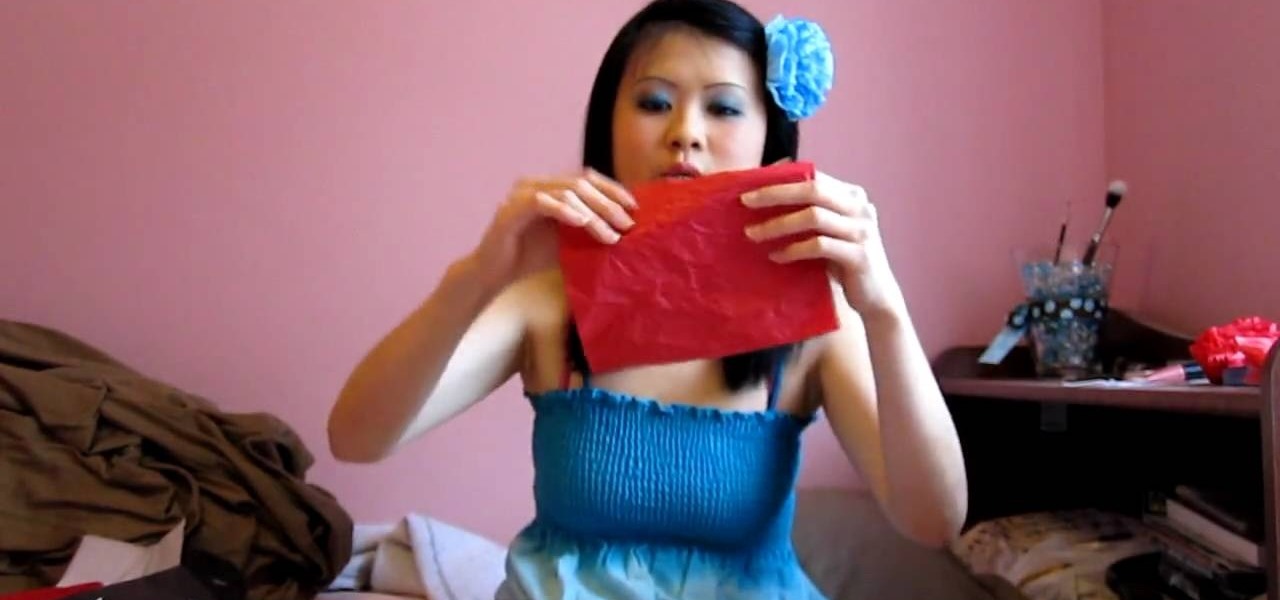
In this video, we learn how to make a flower hair accessory from shopping bag tissue. First, grab your tissue from any shopping bag and fold it down until you have a rectangle, then cut on the sides to make several different rectangle shapes. Next, start to accordion these together until you reach the end of the papers. After this, grab the middle of the tissue paper and tie a rubber band around it. Next, start to push up the tissue from both sides until you reach the bottom. After this, you ...
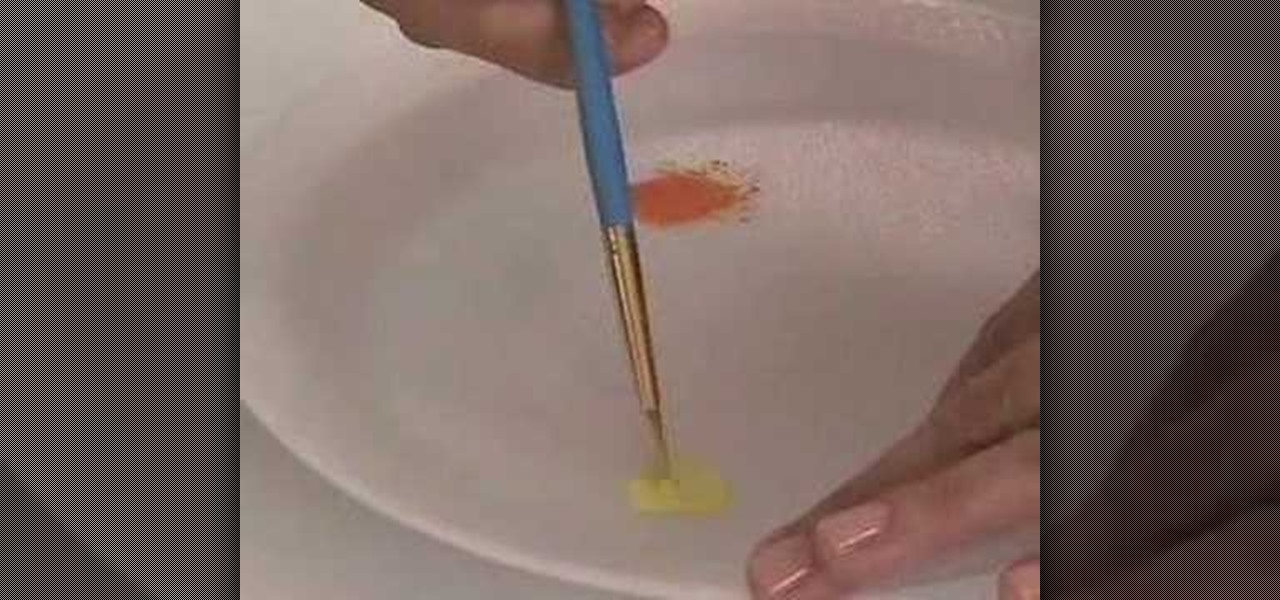
In this Arts & Crafts video tutorial you will learn how to use the cross stitch 'n paint technique. It combines simple back stitching and water color painting. Most of the materials are found in your kitchen. You will need wax paper, paper towels, and a plate to use as your paint palette, some water colors and paint brushes. After choosing your design, back stitch the outline on the fabric. Place the white paper towel over the wax paper and spread the stitched fabric over it. Now you are read...

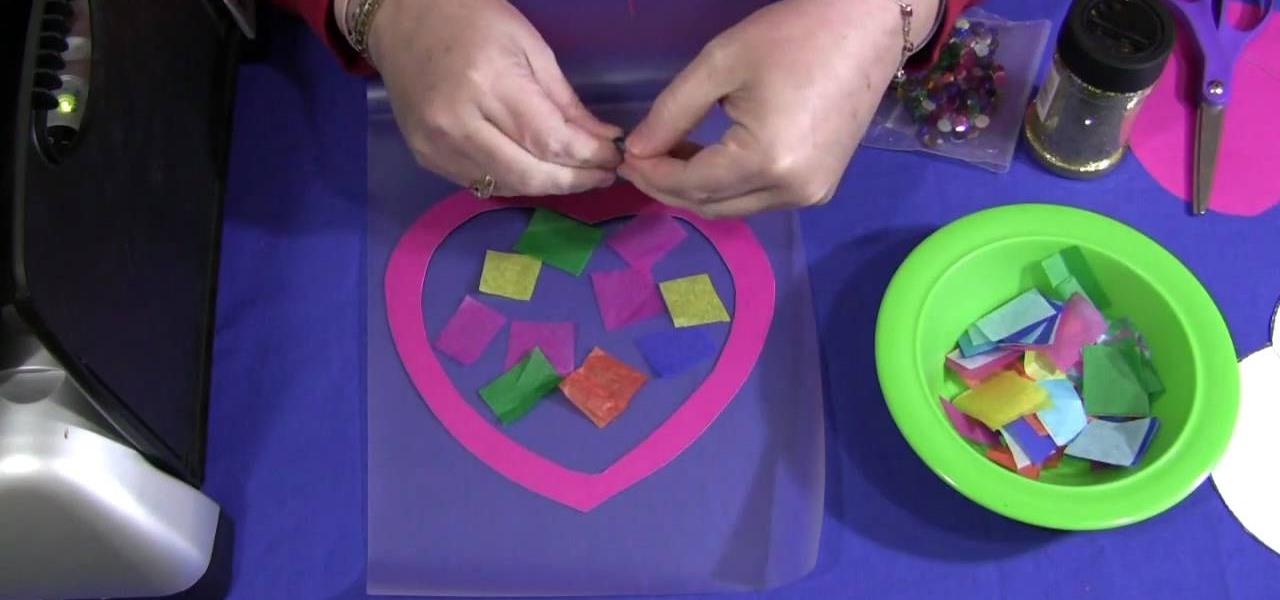
In this video, we learn how to make a sun catcher with your kids. First, you need laminating paper, two paper hearts, and scissors. First, cut the center of one heart out by sticking your scissors in and making your way around the heart. Next, place the outline of the heart inside of the laminating pouch, then decorate the inside of it how you prefer. You can use whatever you want to decorate the inside, including: glitter, crayon shavings, tissue paper, etc. Next, place the paper inside of a...

Sure, there are other origami fish tutorials out there, but they're usually either difficult and long, or short and unsatisfying. Find the perfect medium with this origami video. You just need one sheet of origami paper, like most paper folding projects, and the instructions in this video. Try pausing after each fold to make sure you learn this fish properly.

Your conclusion paragraph is incredibly important to a research paper. This is where you get the chance to sum yourself up and really make your point hit home for the reader. The last paragraph is your last chance to really make your paper stand out and be memorable. In this video, you will learn exacly how to craft a fantastic conclusion so that your reader is left on a powerful note, instead of a boring one.

Grow your paper menagerie as well as your knowledge of origami. This video tutorial presents a complete, step-by-step overview of how to make an impressive 3D rabbit using origami, the traditional Japanese folk art of paper folding. For more information, and to get started making your own paper bunny sculpture, watch this arts-and-crafts guide.

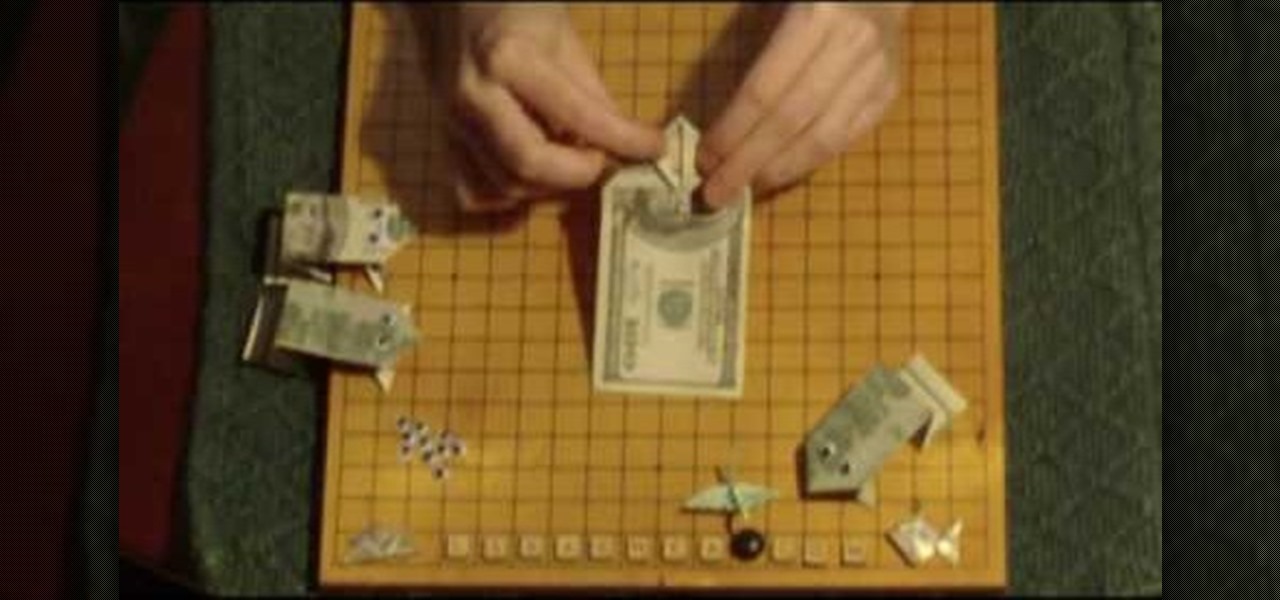
Grow your paper menagerie with this crafty how-to. This video tutorial presents a complete, step-by-step overview of how to make a paper money frog from a bank note using origami, the traditional Japanese folk art of paper folding. For more information, and to get started making your own dollar-bill frogs, watch this arts-and-crafts guide.

Want to make your own confetti? With this guide, you'll learn how to make miniature paper stars ring with origami, the traditional art of Japanese paper folding. For more information, including a step-by-step overview of the folding process, as well as to get started making your own paper stars, watch this free origami lesson.

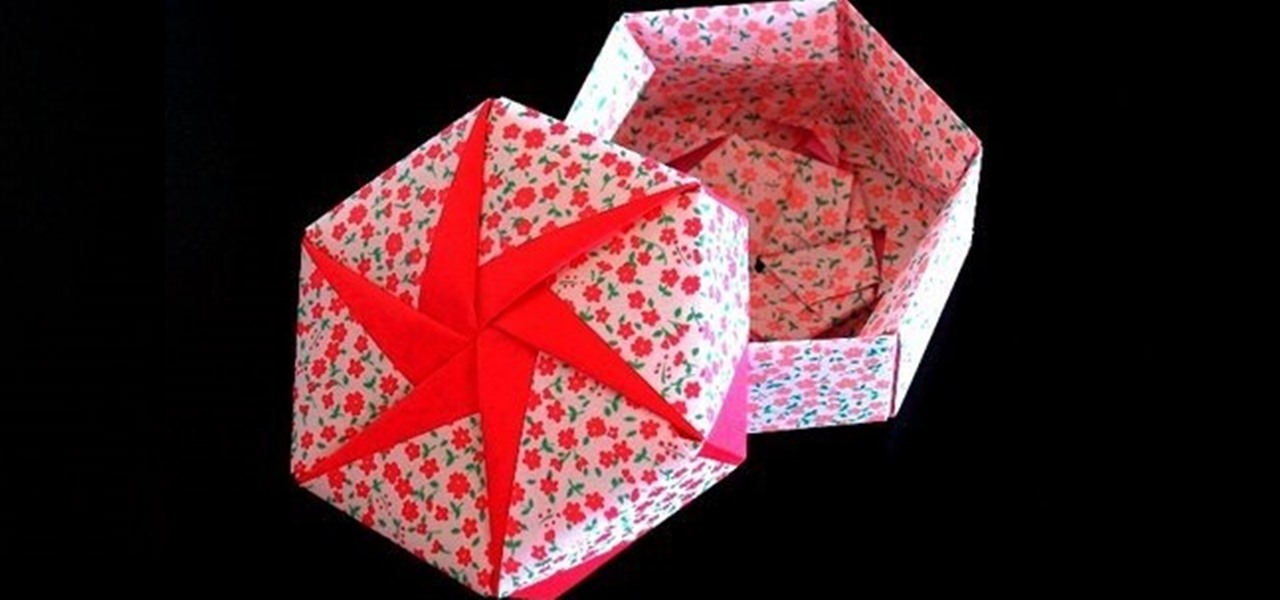
Want to make a next-level origami gift box? This video tutorial presents a complete, step-by-step overview of how to make a hexagonal sonobe paper gift box using origami, the traditional Japanese folk art of paper folding. For more information, and to get started making your own paper cubes, watch this arts-and-crafts guide.

Looking to add a rare and exotic specimen to your paper garden? Perhaps something in the orcidacae family? You're in luck. This free origami video lesson presents complete instructions on how to make your own decorative orchids from folded paper. For more information, and to get started making paper flowers yourself, take a look!

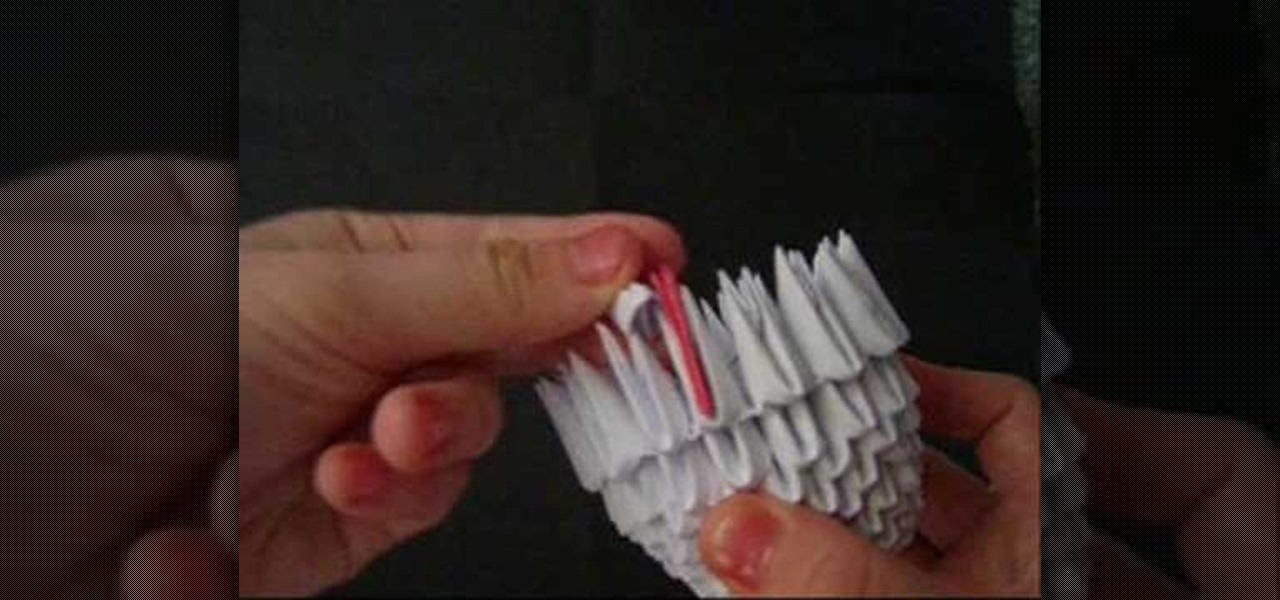
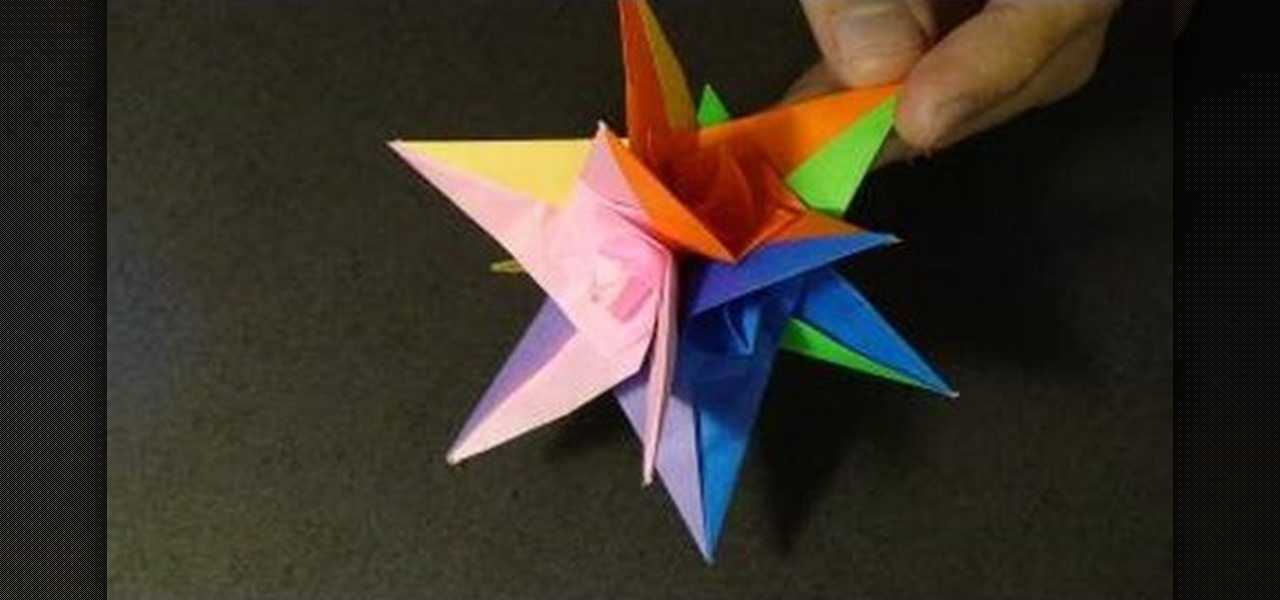
With this guide, you'll learn how to make a 3D spiral star from six sheets of folded paper using origami, the traditional art of Japanese paper folding. For more information, including a step-by-step overview of the folding process, as well as to get started making your own folded-paper spiral stars, watch this free origami lesson.

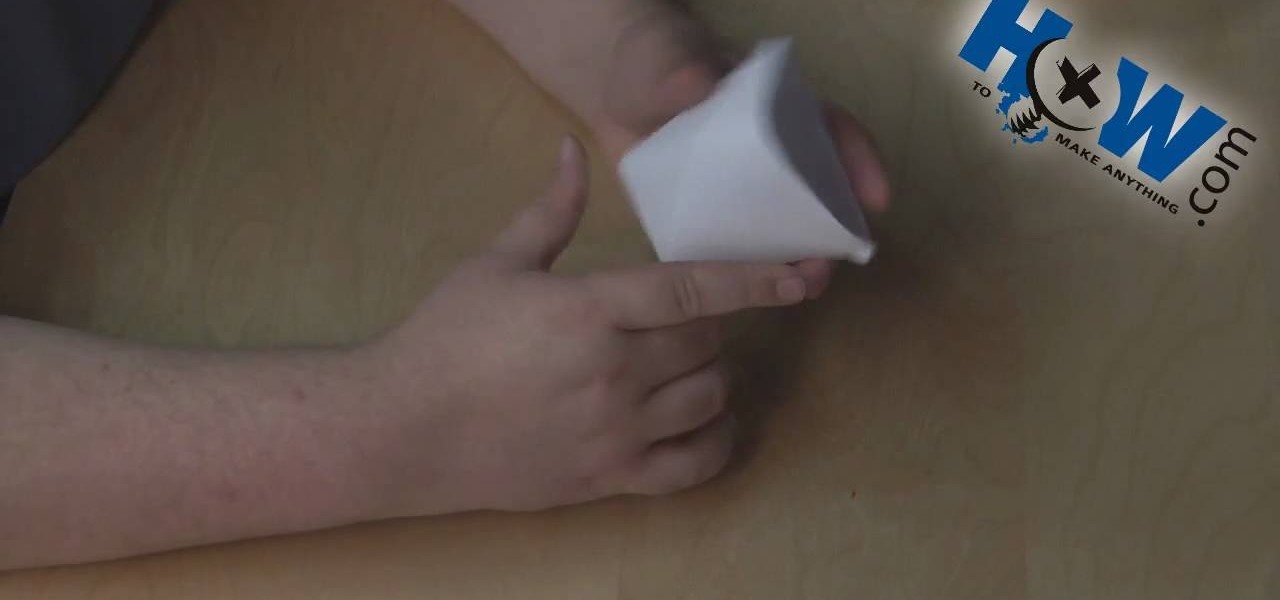
If you're finding yourself without dishes due to the fact that you're packing or unpacking, getting a quick drink can be a pain. So instead of rummaging through all those boxes try this quick nifty tutorial. This video shows you how to make a paper cup using just a couple sheets of regular paper. It's so easy and efficient you'll be sipping water in no time. Enjoy!

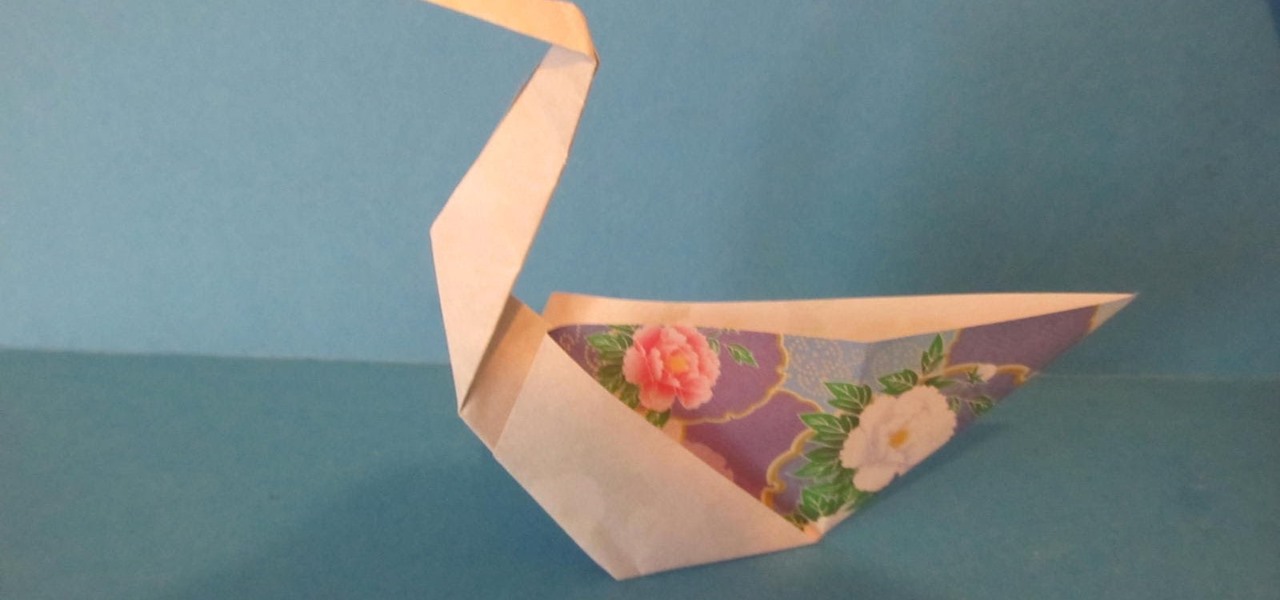
This video shows us how to fold a simple origami swan. Here are the following steps: Step 1: First of all take a paper and then crease it diagonally and then open the crease and then fold the paper on the crease line so that a cone is obtained with a triangle on the top.

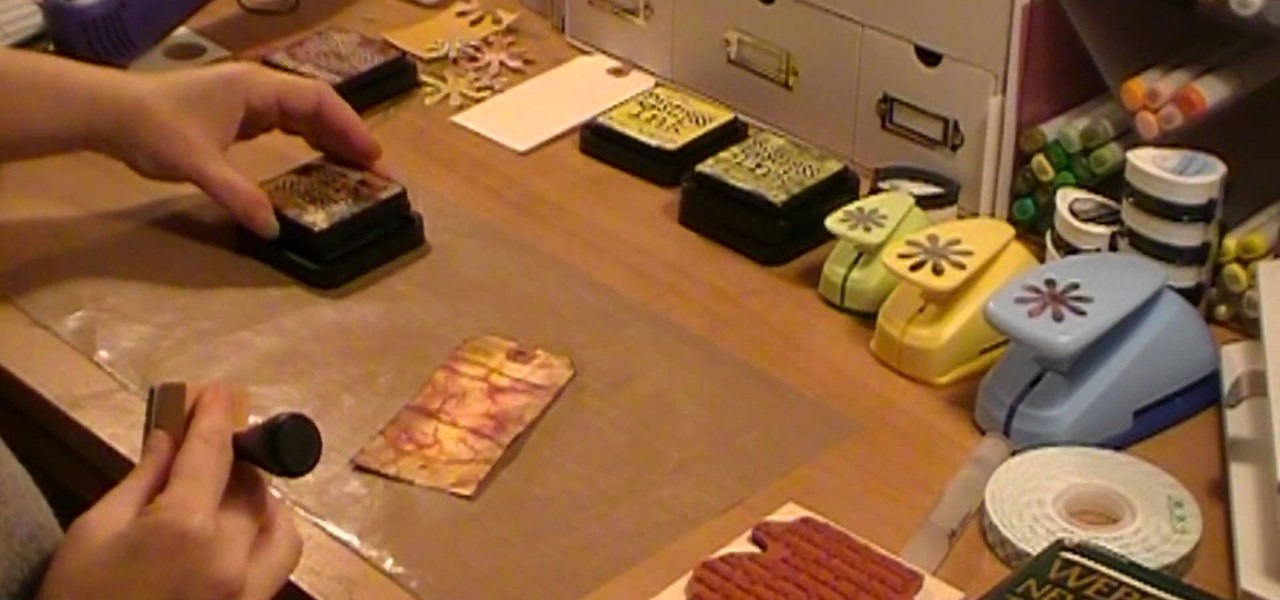
This video illustrate us how to make a Tim Holtz inspired tag with distress inks and water. Here are the following steps:

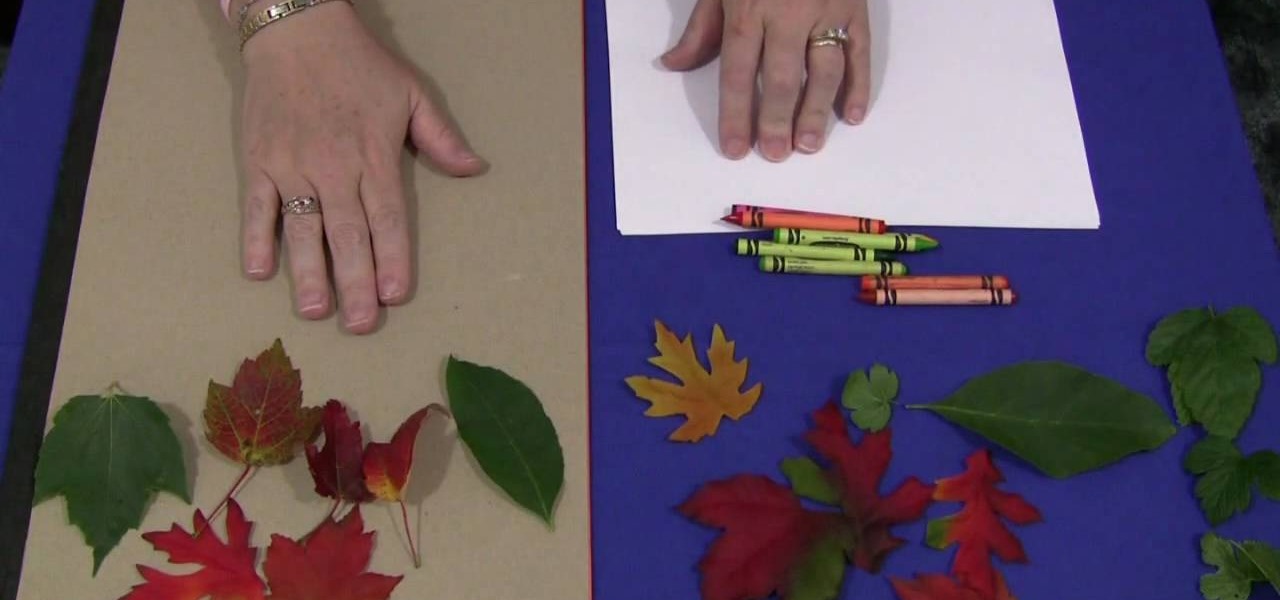
In this Family video tutorial you will learn how to do leaf rubbings for a children's activity. For this you will need a flat surface. If the table top in slightly uneven, put a sheet of construction paper on it. The materials you will need are sheets of paper, crayons and leaves. You can also use fabric leaves if your area doesn’t have any leaves. Take a leaf; put it upside down on a flat surface so that the veins are on top. Put a sheet of paper over the leaf and hold it down with one hand....

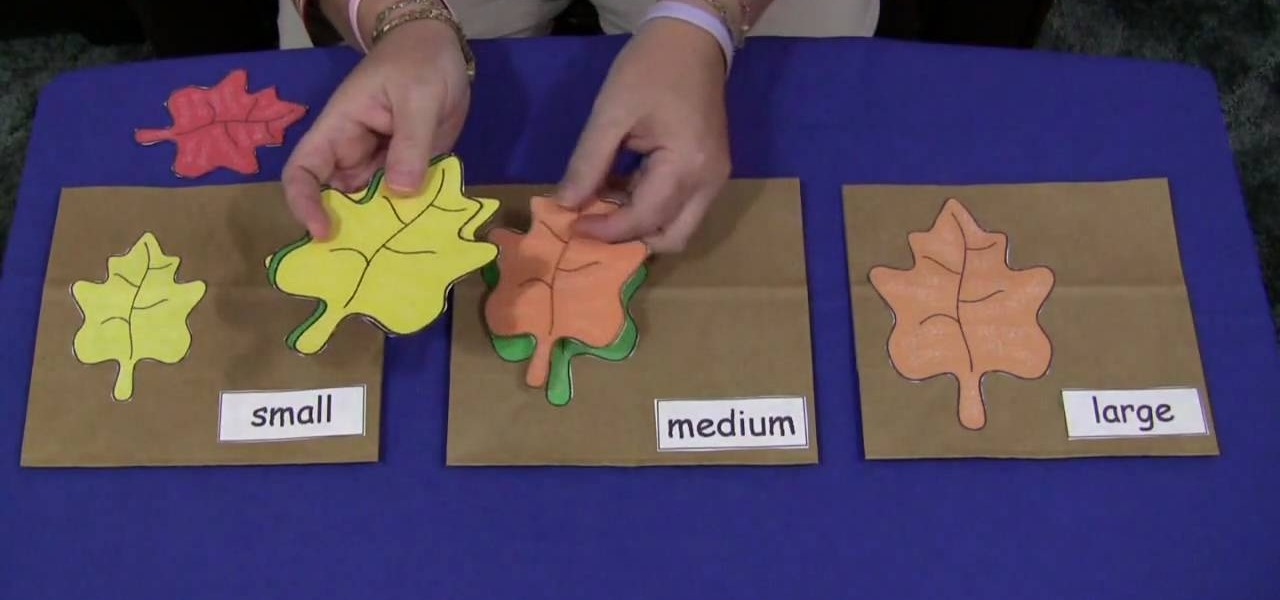
Shelley Lovett shares a great children's fall activity to help develop math skills - leaf size sorting bags. All that is required is three paper bags and some construction paper. Use the construction paper to cut out three different-sized leaves, and to make three labels saying 'small', 'medium', and 'large'. Then simply glue the small leaf and small label on one bag, medium leaf and label on the next bag, etc. To make the loose leaves of the three different sizes they place into the bags, si...

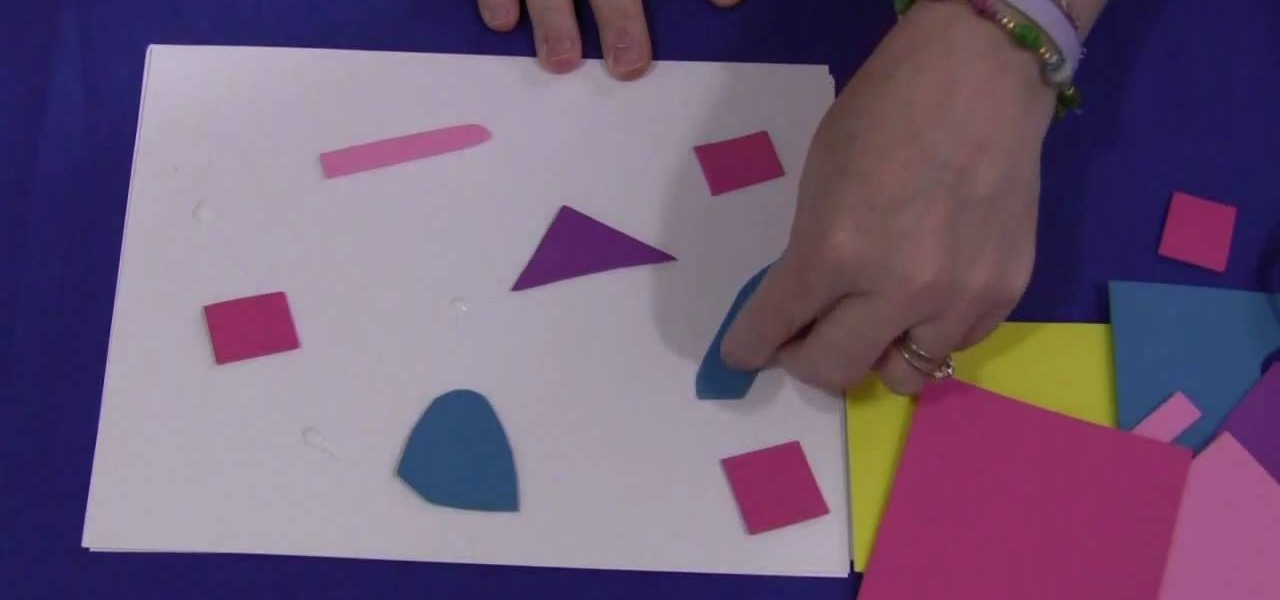
In this video tutorial, viewers learn how to make a foam collage. The materials required for this project are: card stock paper, several different colors of foam paper, scissors and glue. The project focuses on preschool, kindergarten, and elementary school crafts. Begin by cutting the pieces of paper foam into different shapes and sizes. Then simply apply glue on the pieces and stick it onto the card stock paper. Continue doing this to cover the entire sheet of card stock. This video will be...

Adorn any headband, broach, pair of earrings, or pendant with these adorable handmade paper flowers! Learn how to make these precious accessories step by step using this two-part video tutorial as a guide. Step out in style & unique to your friends by dressing up regular store-bought accessories with your own hand crafted creations!

Learn how to wrap a textblock in this video tutorial. Wrapping the block allows you to protect the book's inner pages while you are working on the outside of the book. All you need to do is use some butcher paper, or any other kind of heavy duty paper you may have on hand. Lay the spine flush against one side of the paper. Open the front cover and fold the bottom sides into the book. Tape these ends together. Then, with the excess paper on the non-spine portion of the book, fold those ends in...

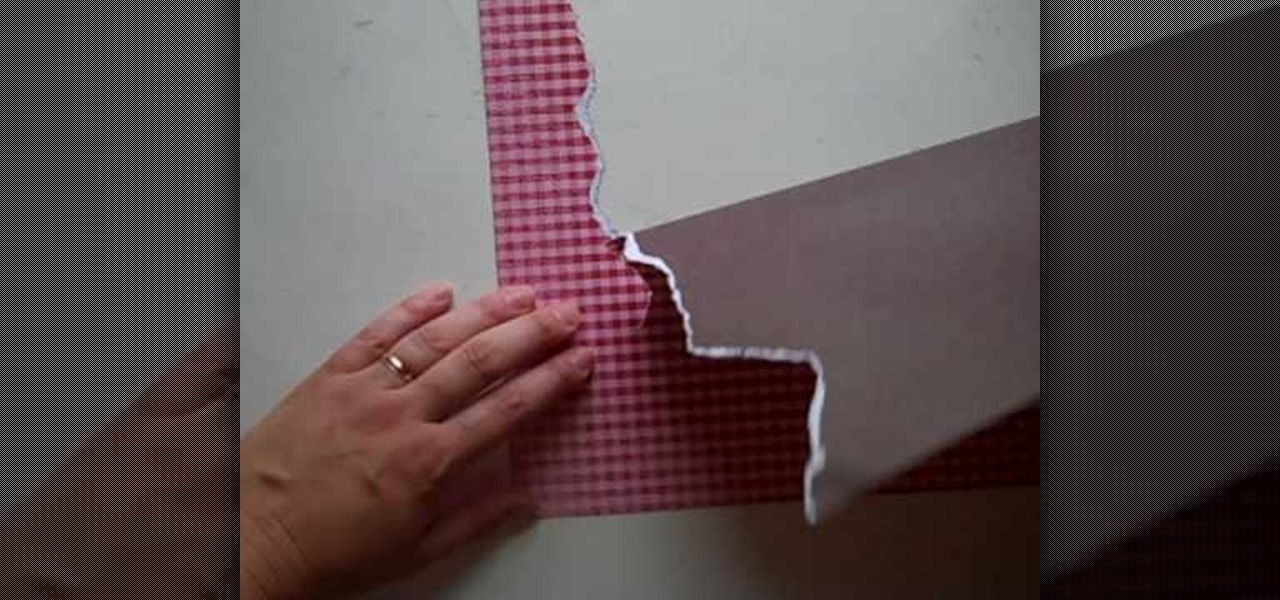
Want to create scenery to decorate your scrapbook? You can use torn paper to create this effect cheaply and easily. This video describes how. For example, if you want to create mountains, choose some brown paper, and tear in a jagged pattern, using your finger as a guide. If you want white-capped mountains, tear with the front side facing you. If you don't want white-capped mountains, turn the paper over and tear. You can also create other scenery. The woman in the video creates scenery such ...

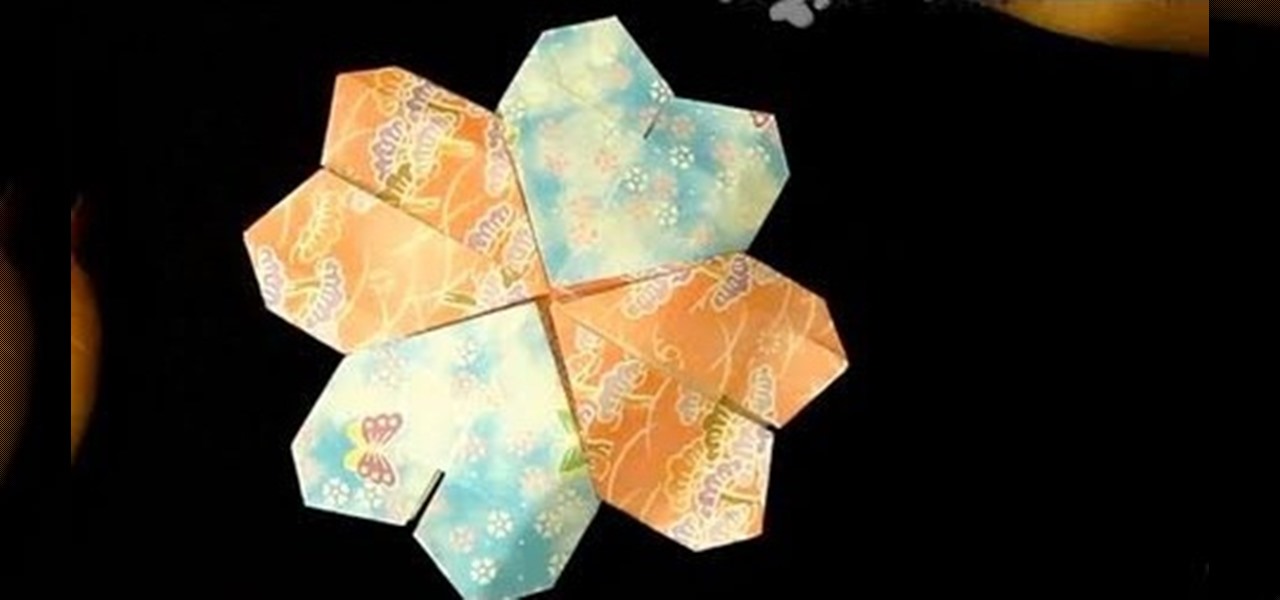
To fold an origami mandala heart you need to follow the steps below. First cut 2 triangles out of the paper you have, fold one of the triangles in half. Then, unfold the folded in half triangle and fold the top of the triangle down about two thirds of the paper. In this stage you will be making folds 3 and 4. Next, fold both of the side corners of the paper up to the top, creating the picture below. Now you will make folds 5 and 6. Then, turn the paper around. Now just fold the top flaps into...

This video illustrates the transfer of paper patterns on woodworking projects with Lowe's. If you have a pattern in a piece of paper for the woodworking project. Draw the grid for the pattern in a piece of paper. Even though, the piece of wood is six times larger than the pattern in paper. Draw the grid in the wood with One and half inches by the use of ruler. Then check out each and every box of grid in a pattern, trace the shape of each boxes in the wood. After finishing all the grid boxes ...

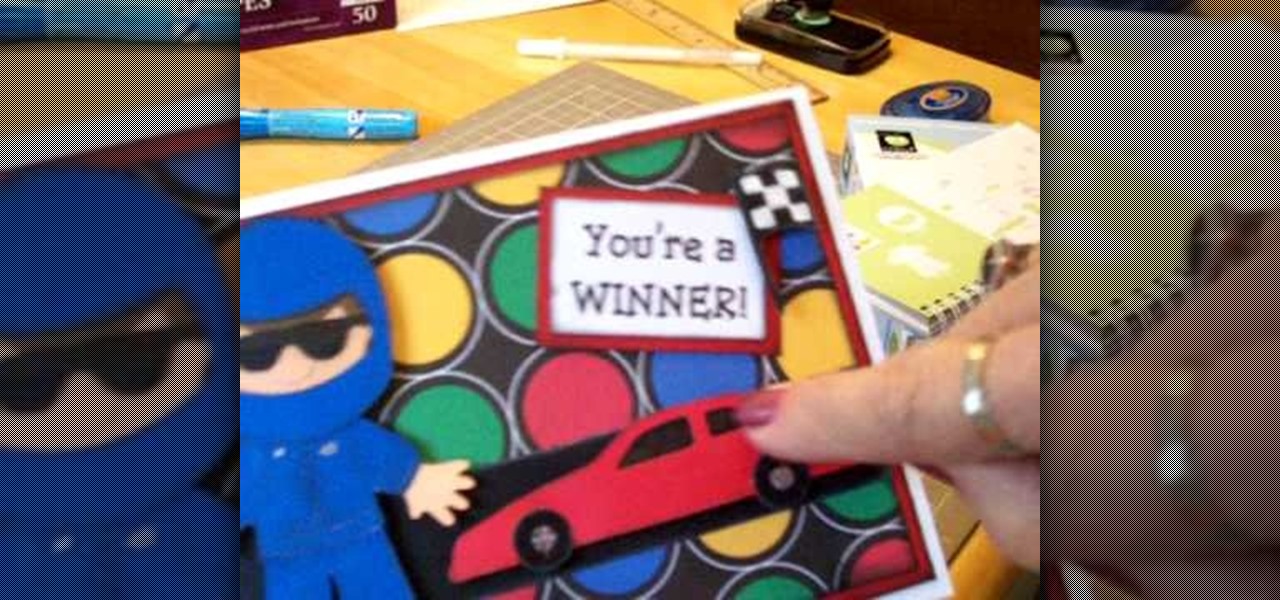
Learn how to personalize birthday cards with this informative video! This tutorial will show you how in just a few steps, you can make a race car birthday card with the help of a simple pattern. Why go out and buy a card from the drugstore that looks like everyone else's when you can create something unique for your birthday boy? All you will need to make this fun card is some colorful card stock, the Cricut racer paper doll pattern, glue, and a little time. This video also shows you how you ...

The viewer learns how to place make a photo wallet. This is a very detailed description of a simple yet beautiful project. As noted at the start of the video there are many ways to make a photo wallet. This video serves as a example of one of the many ways a photo wallet can be made. Before attempting this project the viewer should watch the video to make sure that they have all the materials needed. (Scorer, paper, tool for measurement etc.) This is a detailed project that may take some time...

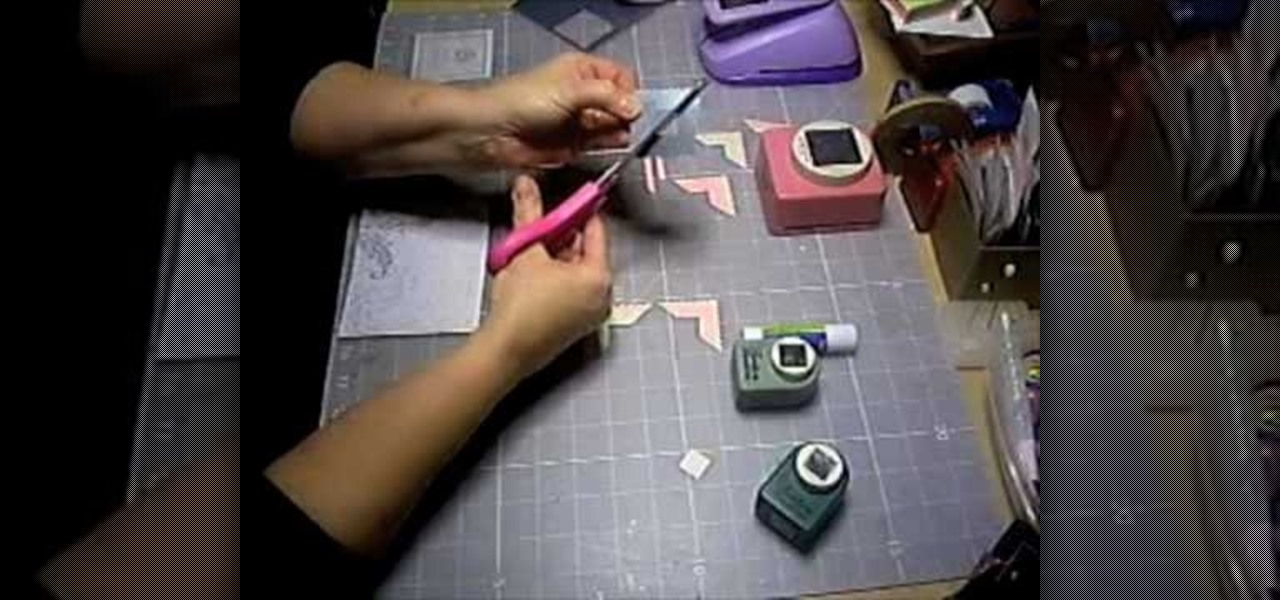
This video shows Joanne McKenzie working at her table talking about making her oversized/giant photo corners for her paper cutting projects. Using an assortment of different sized and colored punches, she explains how to use the punches, saying the smaller one is the better one to start with. She talks about using the next size up and then centering the paper to be cut from corner to corner and layering the different cut out corners for decoration. Very clear and professional.

Learn how to make a traditional origami lily or iris flower. This video shows how to make a type of flower that looks like a lily. I've used orange paper to make it look like a tiger lily, one of my favorites. You'll need to start from the frog base.

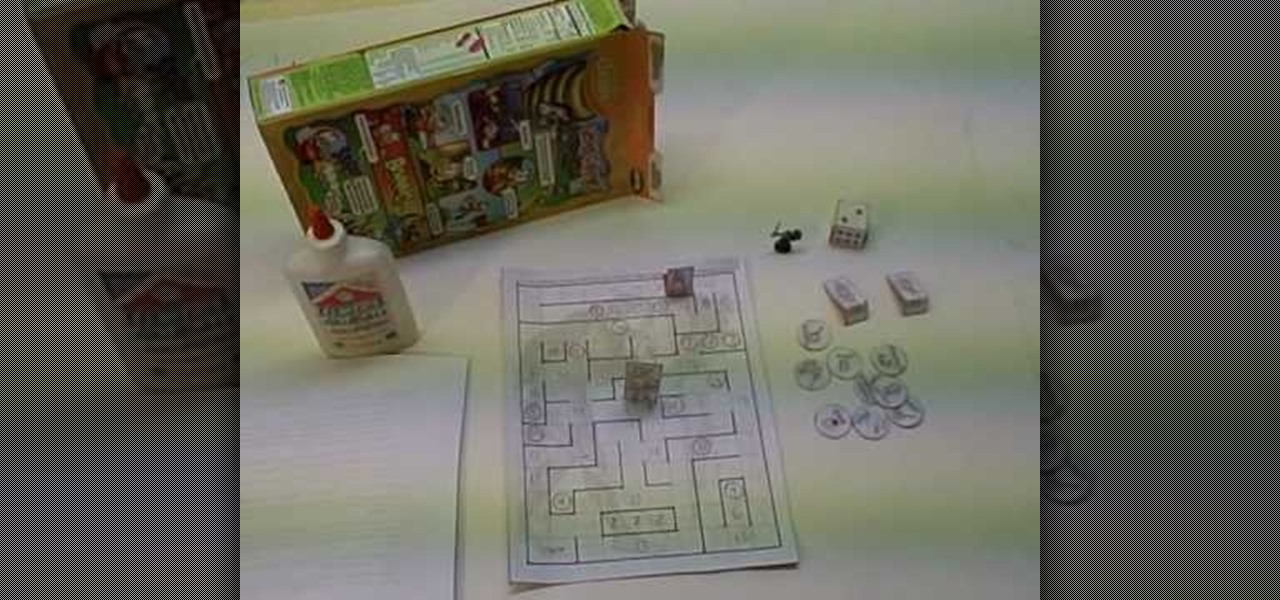
Check out this video tutorial to see how you can make a paper role playing game. This is a fun little fantasy game that you can download and print on your computer, then cut out, assemble, and play! It is called "Enter the Labyrinth and Rescue the Princess".

Learn how to make a throwing star out of paper. This video demonstrates how to make the popular paper shuriken. Ninja stars are fun, simple projects. Directions are easy, may take a little practice. Remember never throw this shuriken at people or animals.

Watch this two part instructional painting video to paint wisteria flowers from life with watercolor on Chinese rice paper. This fluid style of painting takes lot of practice and does not allow for mistakes. Every brush stroke counts. Get out some news print to practice painting the beautiful flowers in your backyard.

This software tutorial shows you how to work with the water paper filter in Photoshop CS3. This is one of the sketch filters in Photoshop that will help you make your images look more like watercolors or sketches. In this tutorial you will use the water paper filter to create a spooky, dark and cloudy type effect in Photoshop CS3. This tutorial is best viewed full screen.

Learn how to make these brightly colored monkeys using Crayola Color Surge markers with this tutorial. You will need Crayola Color Surge Markers and Paper, school glue, erasable colored pencils, scissors, and recycled cardboard pieces. These brightly colored monkeys are a fun arts and crafts project to do with your kids. With this how to video you will be able to make paper monkeys with your family.

Bert goes back to Kindergarten this week to show us how to create a childlike paper illustration using Adobe Photoshop. Compete with your kids for space on the fridge after learning how to create childlike paper illustrations in Photoshop!

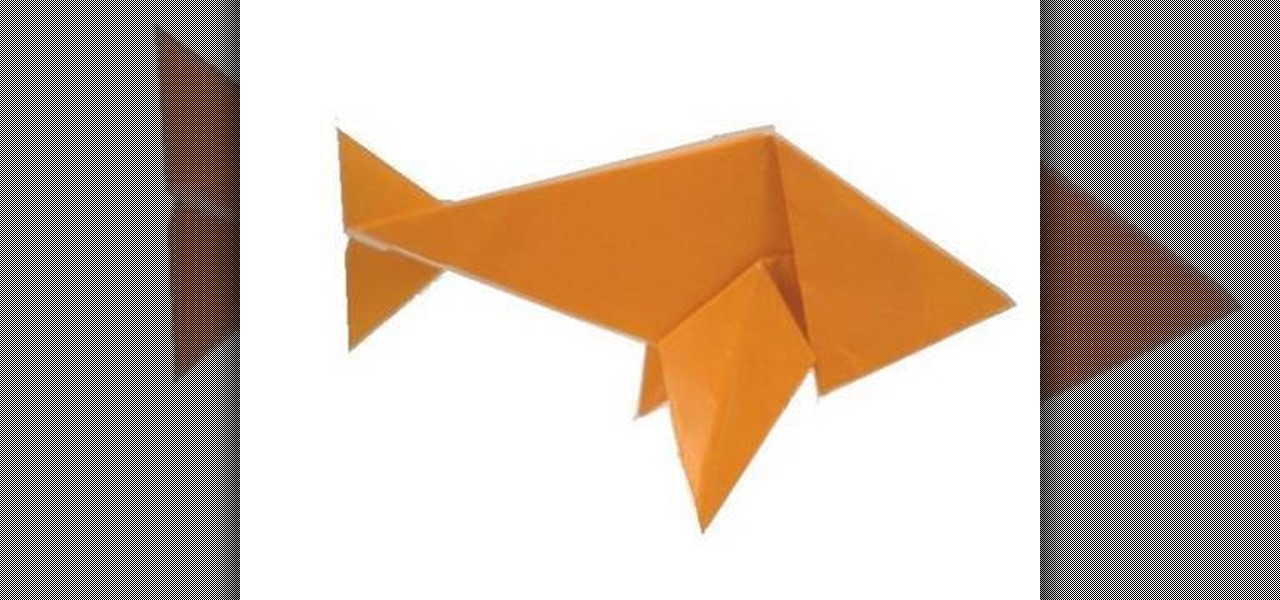
This is an instructional video on how to make an origami goldfish. Origami is the traditional Japanese art of paper folding to make any shape imaginable. All you need is a square of paper and a pair of scissors, even if that's considered cheating. Watch this video tutorial and learn how to fold a paper goldfish.

Learn to origami a paper butterfly. You an use plaid origami paper or your favorite color paper. Watch and start creating beautiful works of origami.

If you enjoy arts and crafts, pop-up, scrapbooking and origami, you will enjoy these craft projects too. Like origami, kirigami is the craft of paper, with the added technique of paper cutting. Kirigami will enhance any origami, pop-up and scrapbook projects and scrapbook and origami techniques will enhance kirigami. Kirigami pop-up blossoms, butterflies and puppets make unique gifts or cards for any occasion and the recipient will enjoy seeing their gift, card or pop-up take form before thei...

This beautiful Kirigami captures the moment a hummingbird kisses a blossom. Just download, print, cut and assemble, it's easy. It's better than giving a card, it's giving a piece of art. Best of all, you can make them again and again. Download a pattern for free at http://www.easycutpopup.com.


