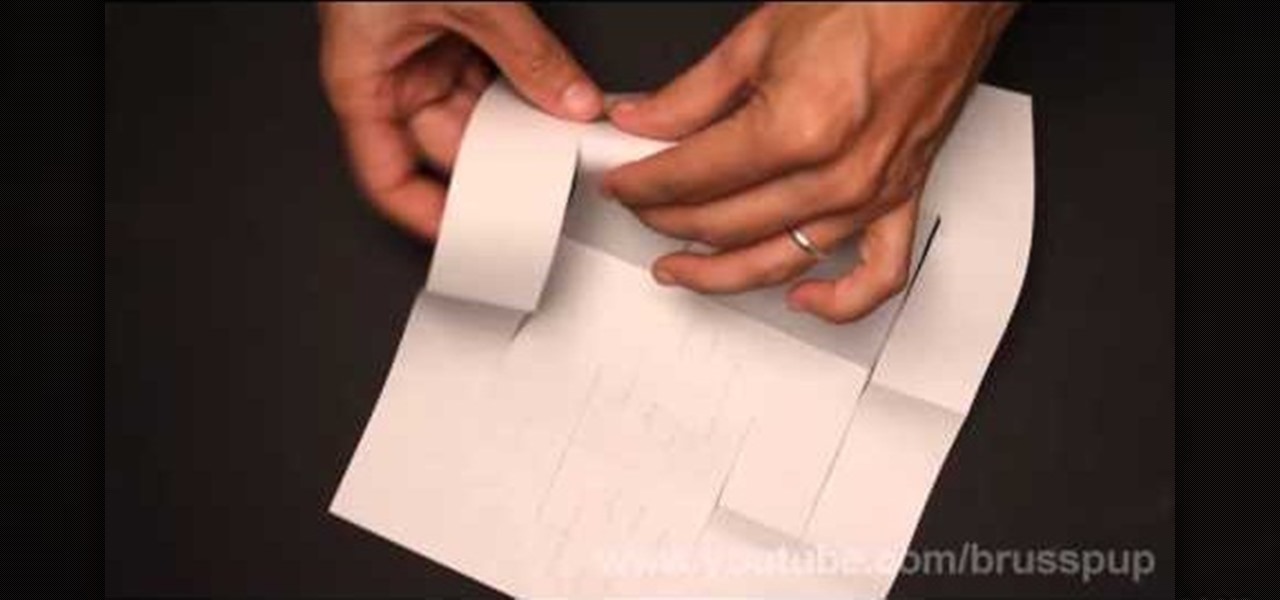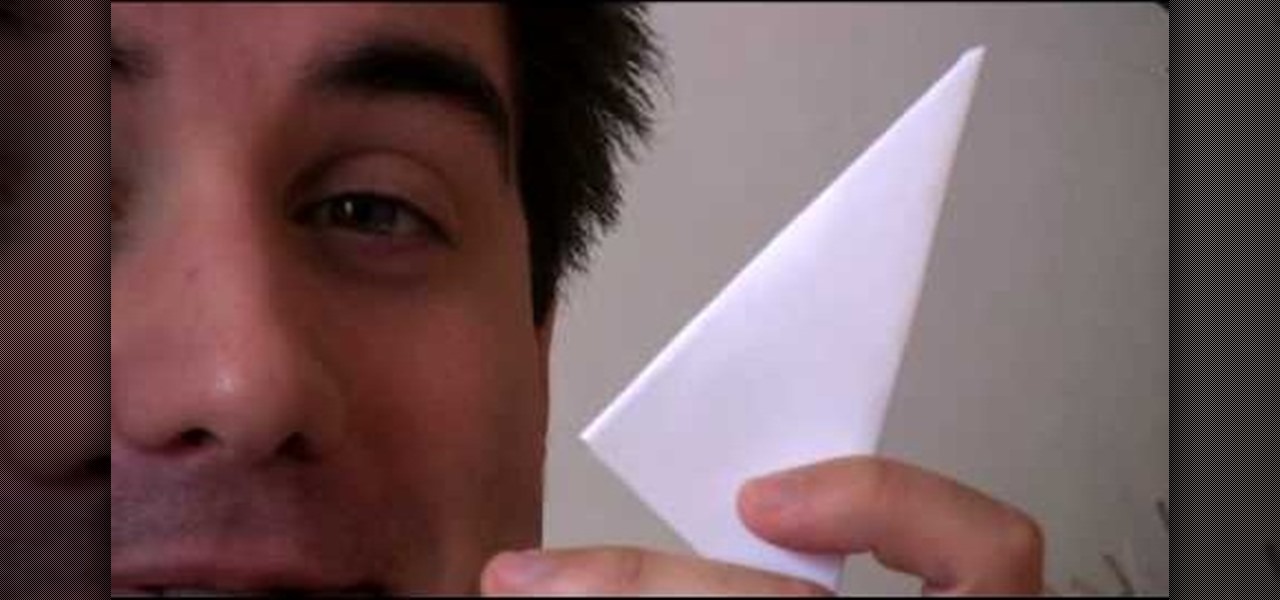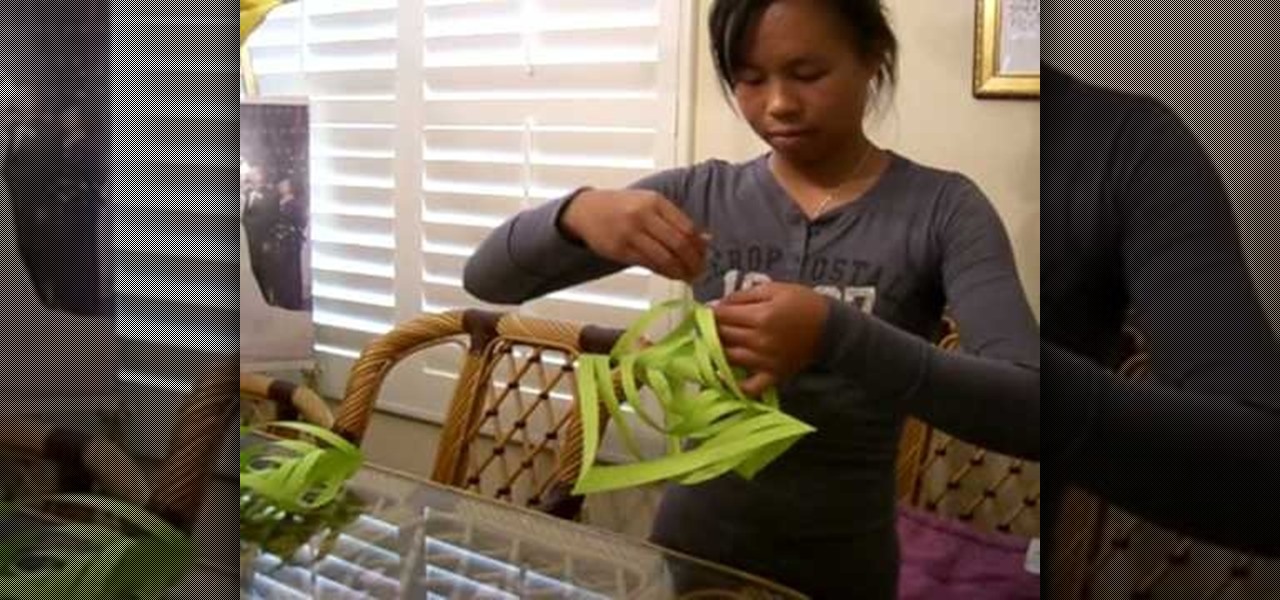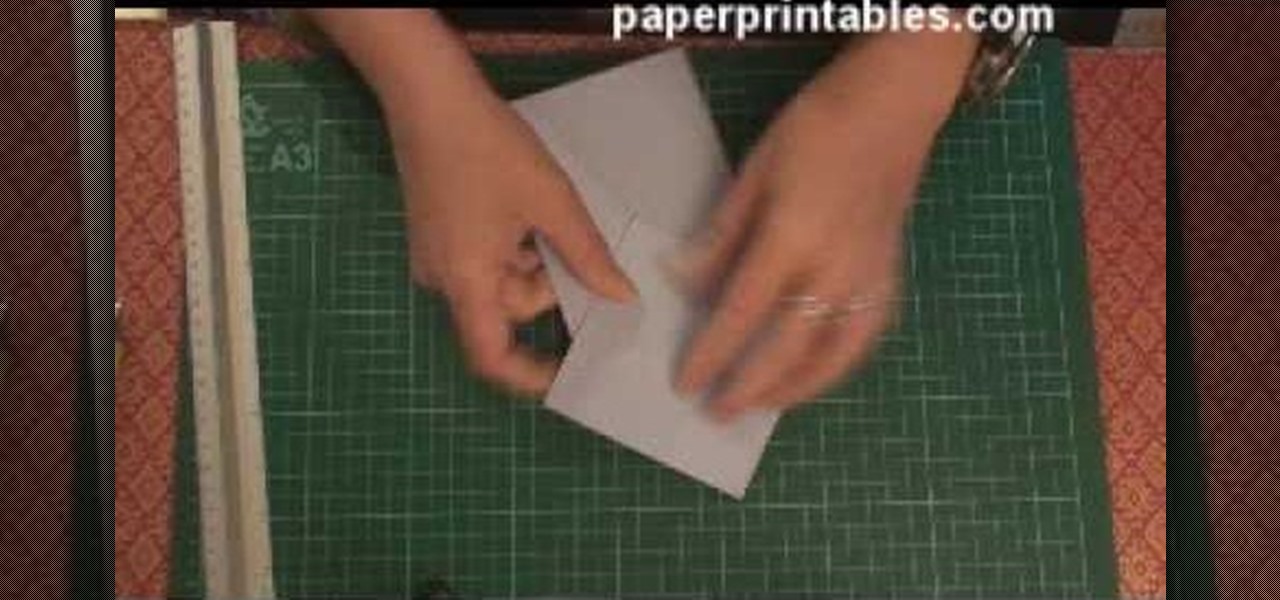
In this how-to video, you will learn how to make a paper popper. First, fold the piece of paper up once. Crease the fold and fold up again. Crease and repeat. Next, fold it vertically. Now, take the thinner corner of the center and pull back so you have a triangular cone shape. Hold it in front of the tip. Once you are holding it, quickly raise your hand and slam it down in the air. This will create a loud popping noise with the paper. This video shows you an easy way to make a paper popper t...
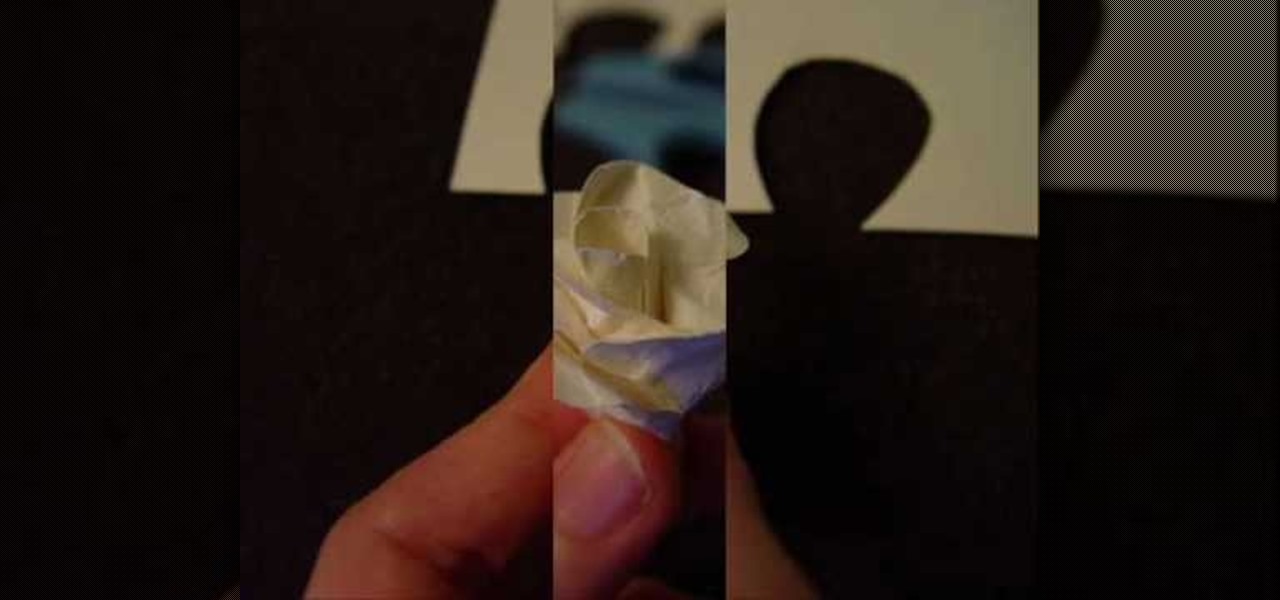
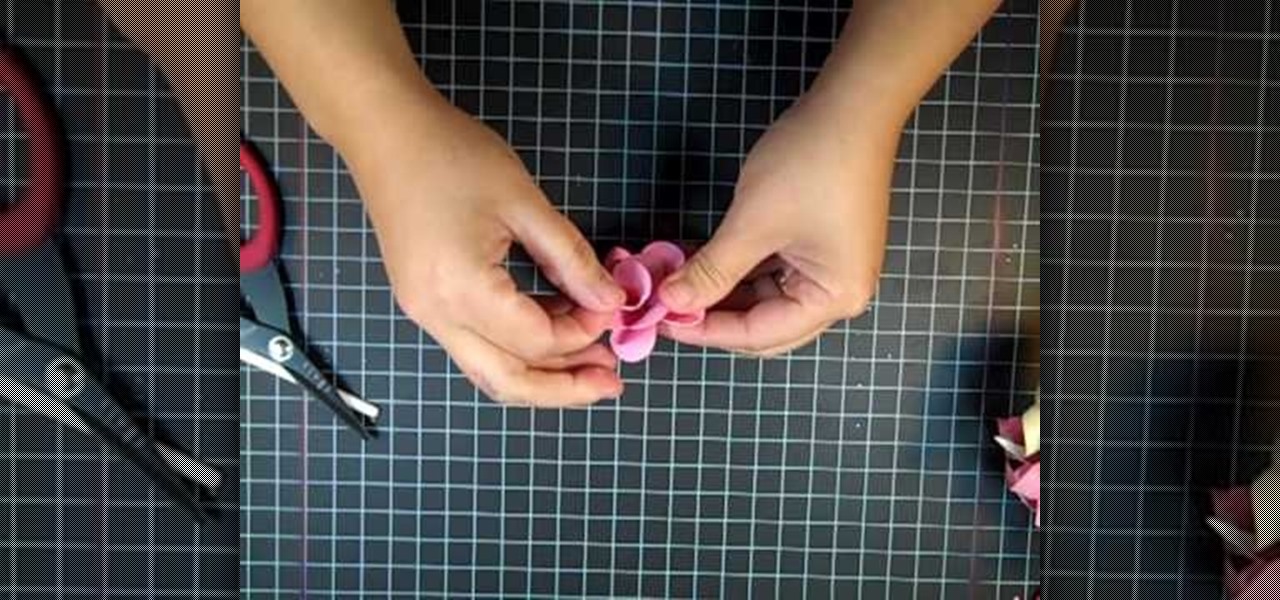
This tutorial demonstrates how to make simple yet beautiful paper roses using only a few materials. The image displayed at the end of this video is just one example of how realistic a paper rose can look. In order to do this, you will need at least one sheet of plain or colored paper, tacky glue, wire and a pair of scissors. Initially, you must first cut your paper in to the shape of your pedals, then crumple them up. Crumpling your pedals not only makes them more flexible, but can also add a...

Lay several layers of tissue paper on top of each other. At least 10 You can use different colors to make a colorful flower or one color to make a flower that is one color. Multiple color flowers are great for 4th of July celebrations (red, white and blue). And single color flowers are great for wedding receptions or graduation parties.
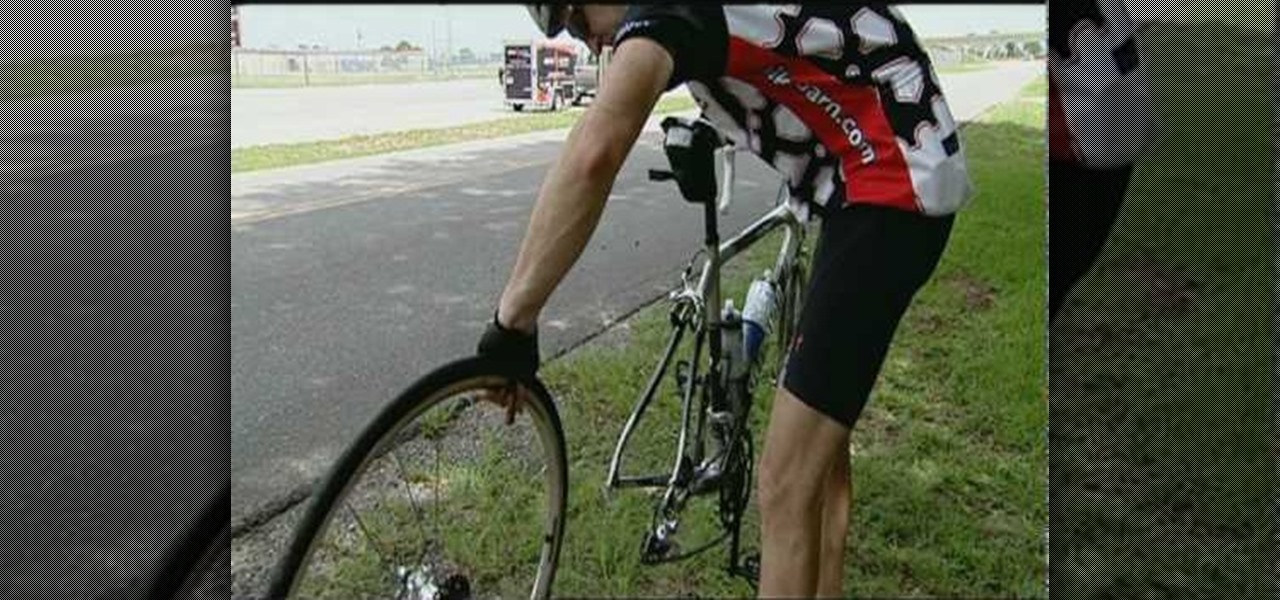
If you are a serious bike rider, chances are you have had or will have a flat tire at a disastrous time during a ride at some point. Knowing how to change out the bad tire and tube (and having a spare to replace them with) can make all the difference in saving your ride. This video will show you how to change the tire tube on you wheel while on the trail quickly and easily, getting you back riding.
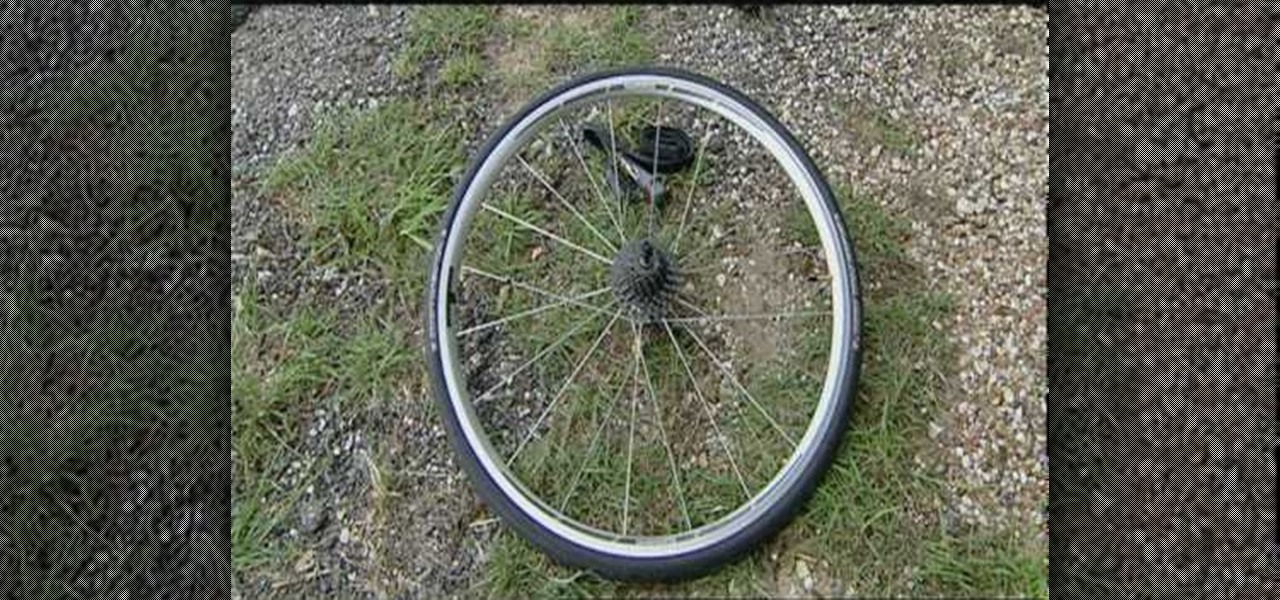
The rear wheel of a bicycle is the more complicated to work with of the two because of it's position in the frame. If you have quick releases, it's still pretty easy to remove and reinstall. This video will show you how to do it step-by-step, and should have you back on the trail again in no time.
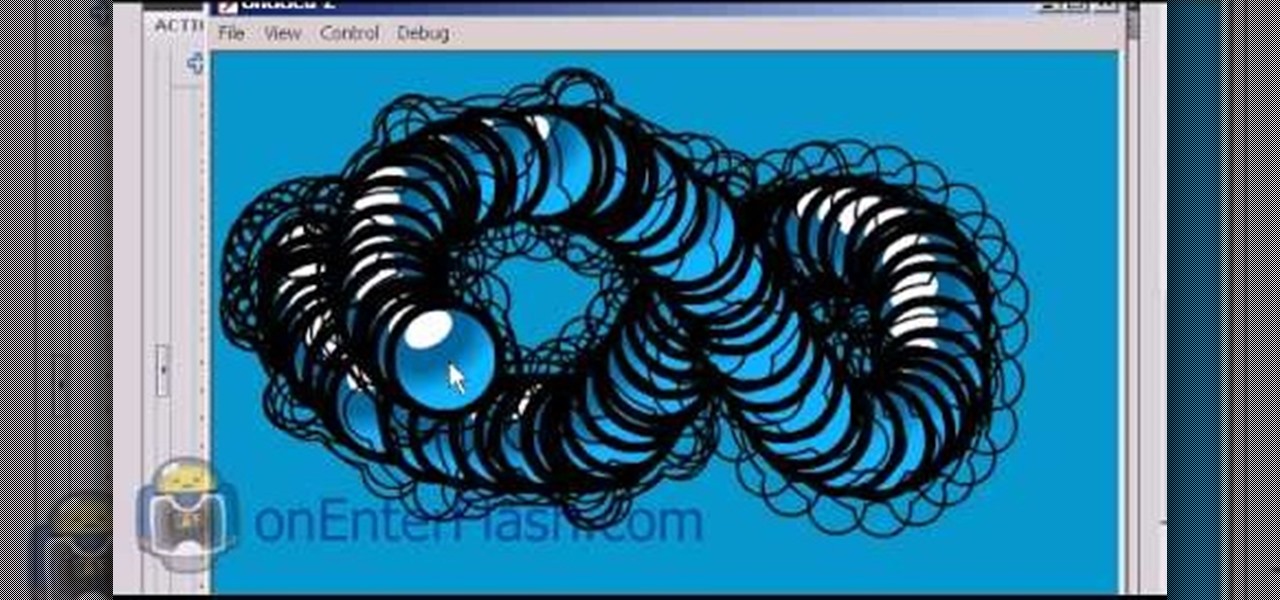
If you find yourself viewing a lot of Flash content, you've probably seen a moving object or cursor that has a ghostly likeness trailing behind it. Have you ever wanted to create that effect yourself? Now you can, quickly and easily. This video will teach you how to create a ghost effect without having to create a bunch of separate movie files.

This is a walk through on how to beat Super Paper Mario. It includes every level of the game, and secrets you might not of known about.

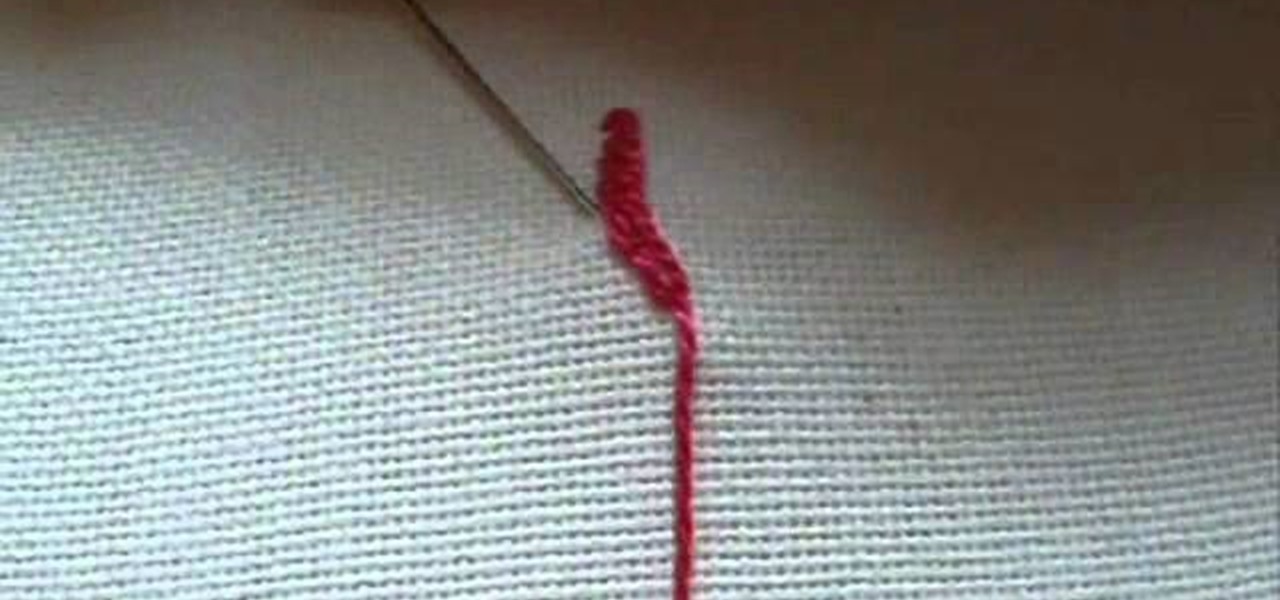
The rope stitch is a nice hand embroidery stitch, perfect for a thick, corded look, and a member (believe it or not) of the chain stitch family. It looks like overcast stitch on a slant, or trailing on a slant. It's a great stitch for curves. Watch this video from Needle 'n Thread to see how it's done.

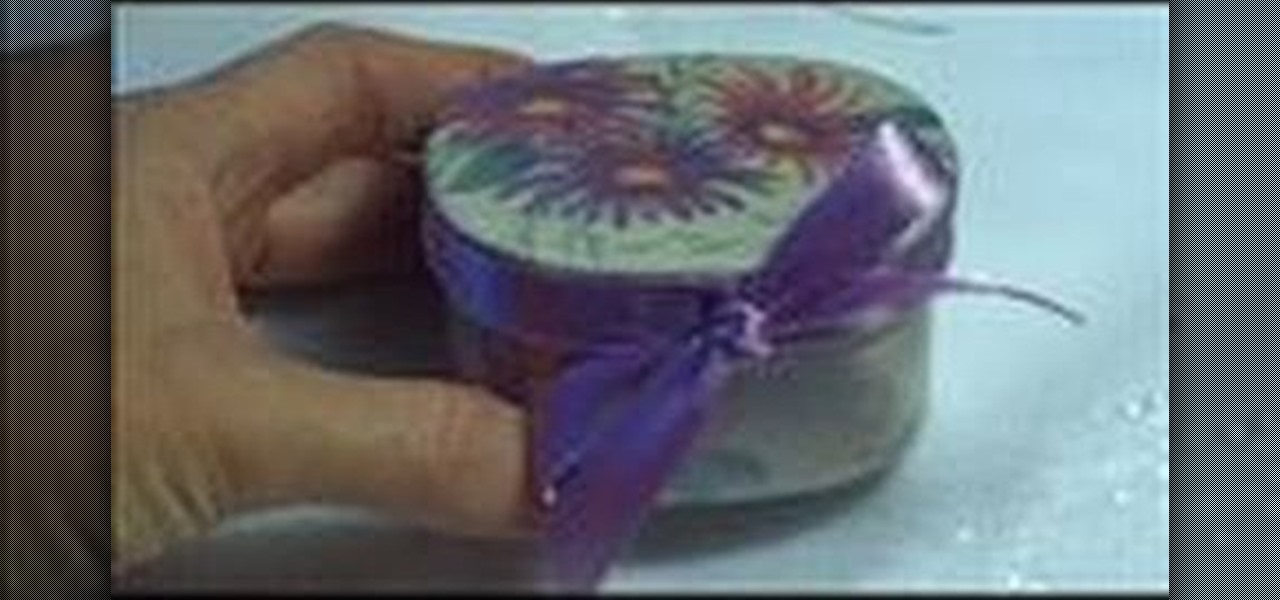
Start with a basic cardboard box. You will also need some paper (wrapping paper or desginer paper works best), some Mod Podge, scissors, a length of ribbon and some card stock to form stencils. Then, decorate as you wish! Add embellishments like buttons or appliques as well.

Is your wedding date coming up soon? Not to scare you or anything, but a typical wedding costs upwards of 20,000 to hold. This of course includes booking a location, getting all the props, flowers, dress, party favors, etc.

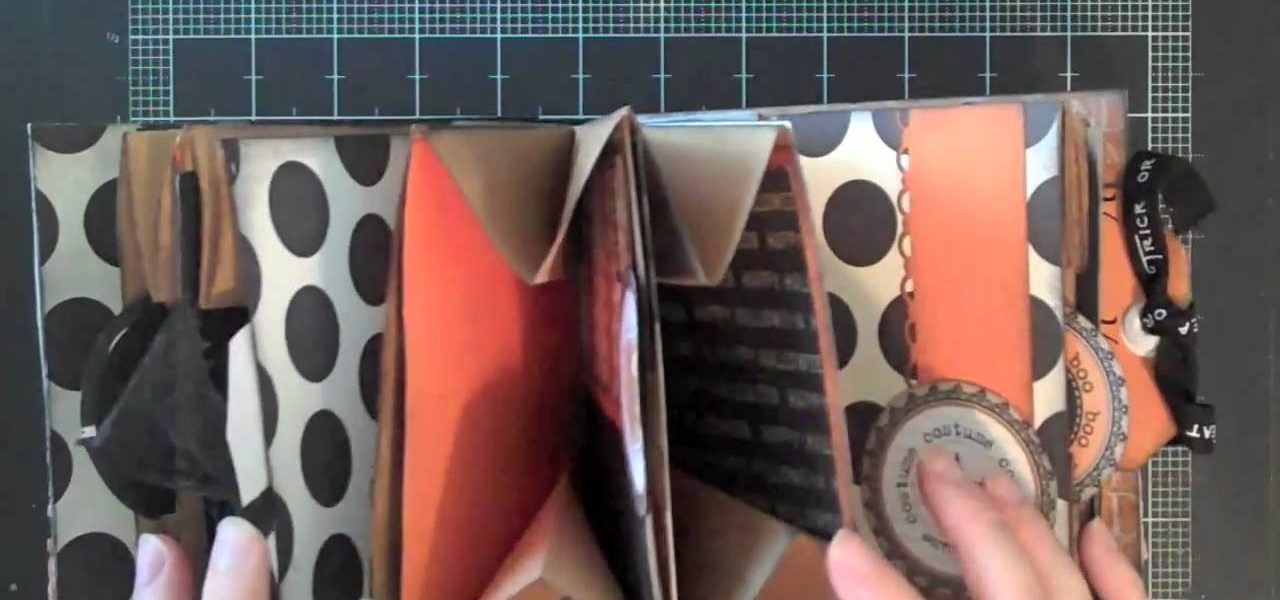
Halloween is about spooking the living daylights out of your loved ones, so make sure you capture all the horrific and creepy memories of the occasion by putting them in a photo album.

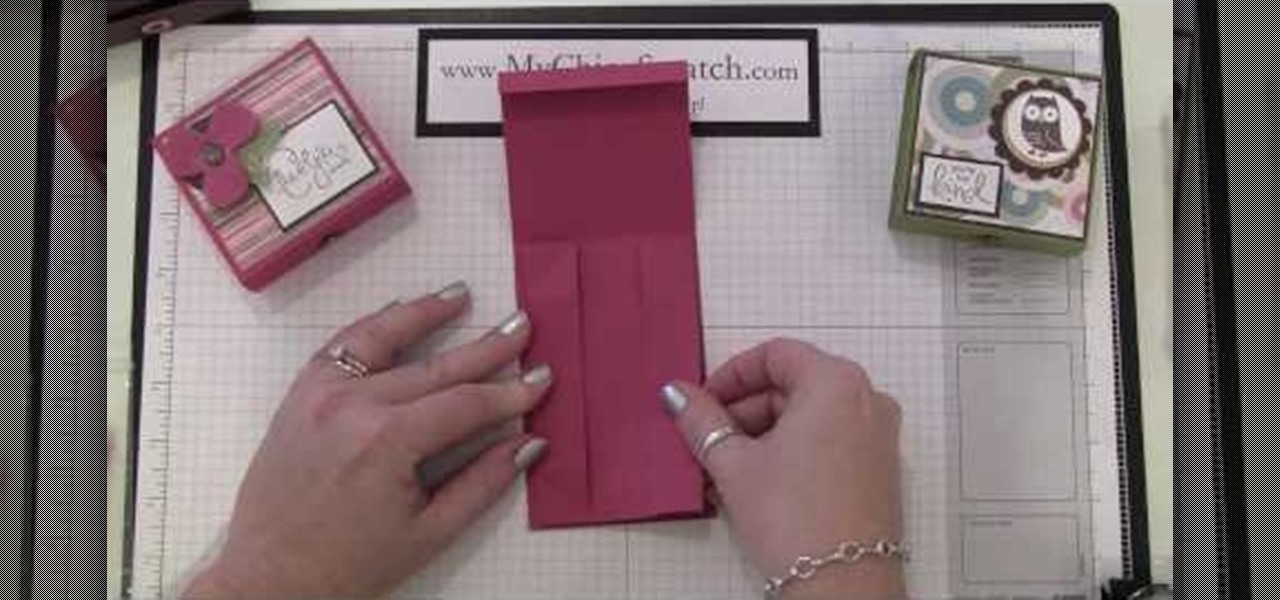
Take your mind off the dreariness of winter by crafting for spring! These sturdy and beautiful candy boxes can be made in any color and design you'd like with simple - and inexpensive - scrapbooking paper.

Is your life's goal to become a world-renowned architect and build a funky postmodern skyscraper in Dubai? Then start small: Other than learning how to sketch blueprints, you must be able to model your creations from paper.

In order to make paper cutting art for your home, you will need: paper, pencils, X-acto knife, card stock, scissors, self-healing cutting mat, poster board, adhesive, and a scanner.

Homemade booklets are the way to go for back-to-school. Forget about pricy spiral-bound notebooks, make your own paper booklets, and make them without any tape, glue or staples! This is all paper and folding techniques. If you're an origami god, this will be so simple for you to make. Plus, you'll learn how to make two different version of this paper booklet: one big and one small. These are great for notes, to-do lists and school projects.

Many teachers ask students to cover their textbooks in order to extend the life of book. You can make a book cover out of a brown grocery bag, wrapping paper, or even colorful construction paper. You won't have to go shopping for expensive back to school supplies, all you need is a little tape!

Learn how to fold the JKF-178 Jetplane. Materials required :- An A4 size paper of type 80gsm and a pair fo scissors. Its' another variations of my other paper planes models. Hope that it will be well received. Would appreciate frank comments and fair ratings from all. Enjoy. Thank you.

Learn how to fold the JKF-117A Nighthawk from Fighter Plane Origami. It's a look alike of the F-117 Nighthawk Stealth Fighter plane.

A seasonal how-to for creating easy, perfect paper snowflakes. This is a fun Christmas craft this holiday season. To begin, start with a square sheet of paper. Fold the sheet corner to corner. Fold again to create a new triangle. Cut like crazy! For all sorts of patterns and ideas check out this accompanying article:

Simon Leach teaches us how to glaze trailing and pouring for pottery. First, you will dip the entire pot into the glaze after you have poured it into the middle. Wind up your wrist as you are pouring it out so you cover all of the sides in it. Just dip it down a little bit so it goes over the edge of the tip to cover the mouth of it. To use a balloon wand, fill it with the glaze and then use this to glaze the pots. Simply drop the liquid onto the pot in straight lines as you are turning it wi...

In this video we learn how to make an elegant paper hat. First, place the paper over the head and lay it down. Then, have the person hold the hat while you find their nose and attach tape from this and around the entire head. Once you are finished going around twice, then you can wrap up the excess parts of the paper towards the top. Use a stapler to staple down the sections of paper that you have rolled up. Do this all the way around the hat and then add on different items and accessories to...

In this video, we learn how to make the best paper snowflakes. First, take a dark blue and white piece of paper and fold it up into a square, then fold into a triangle. Next, grab a pair of scissors and start to cut along all of the sides of the paper. You may have to do this a couple of times to get the shape right, it will be helpful to use a diagram to show you where to place the scissors. When you are finished, open up the piece of paper to see your snowflake! String this with other snowf...

In this tutorial, we learn how to make a paper snowflake from scratch. First, take a CD and trace around it on a piece of paper so you have a perfect circle shape. After this, take your scissors and cut out the circle. Next, take the circle and fold it in half, then fold it from the right to the left in half again. Then, take it and flip it so the "v" is pointing towards you, then take it from the right to the left and fold it again. After this, face the point away from you, then use your pen...

This video tutorial is in the Arts & Crafts category which will show you how to fold a circular teabag paper. This is a simple process and doesn't take much time to do. First fold the circular paper in half to get a semi-circle and then fold it in half again in to a quarter. Unfold the last fold and fold one quarter back to the halfway mark. Then turn the paper over and fold the bigger side of the paper along the fold line exactly matching the edge as shown in the video. Now you get a little ...

In this video tutorial, viewers learn how to make a spinning paper helicopter. Begin by cutting a piece of paper into a long, thin strip. Then make a vertical cut halfway down the paper strip and 2 semi cuts horizontally above the vertical cut. Now make a 3 way fold on the top square shape of the strip. Then fold one long flap of the strip forward and the other strip backwards. This video will benefit those viewers who are interested in folding origami, and would like to learn how to make a s...

In this tutorial, we learn how to make a paper snowflake. First, take a copy paper and fold a quarter of it over to the other edge. Next, cut off the excess paper so you have a triangle shape. Now, fold a corner to the next corner, and repeat so you have another triangle. You can now cut corners off so they are even and you have a rounded snowflake. Then, cut a triangle starting from your edge points that you just created. Now cut slits a quarter inch apart into the middle of the paper all th...

To make your own journal with household items you need a hole punch, scissors, yarn needle with string, some beads, a piece of construction paper, and at least 4 pieces of printer paper. Take your piece of construction paper, fold it in half and then unfold it. Do two hole punches in the crease of the fold at the top and bottom of the paper. Then do a half hole punch in the middle of the paper. Do the same fold, unfold and punches to the printer paper. Be sure to match up the holes in the pri...

Here is an easy way to make a beautiful parol. All that you need is colorful papers, scissors, tape, stapler pin. Now take five sheets. Cross fold it and tear the extra paper, so that a perfect square is formed. Do it for all the five sheets. Now fold it cross wise, and again fold it in the same manner, so a triangle shaped paper is formed. Cut the papers cross wise and not on the edges. Care should be taken that it is not fully cut. Then open the paper, several sheets are formed now. Join op...

This video shows how to make Trail Oatmeal for camping or hiking. In a Ziploc bag put some dehydrated fruit with cinnamon and a dash of salt added. In another bag put some quick cooking oatmeal, wheat germ, Fiber-sure, and brown sugar. Put the fruit packet in with the oatmeal packet, add a packet of peanut butter, and it’s ready to go.

This is a demonstration of how to make a harrier paper airplane. First fold the paper in half lengthwise, making sure the corners line up. Unfold it and fold the corner toward the center line. Fold the top triangle down almost to the bottom of the paper. Fold the top corner in to the center line again. Fold in the first point. Fold the plane in half lengthwise. He demonstrates how to fold the wings in the right place so that the plane looks like a harrier. The plane can be customized and deco...

This video illustrates the method of making a eco-friendly earth wallet at home. You will need a paper sheet , glue and a pair of scissors.This can be done as follows -Step 1Take a sheet of paper and fold it so as to create a envelope. Glue it properly to ensure it is bonded properly.Step 2Repeating the above procedure , make two more such paper envelopes - One with a smaller size while the other one a bit bigger.Step 3Stick these envelopes together. Now , using the scissors cut the ends of t...

In this tutorial, we learn how to make a paper hat easily with only one piece of paper. First, take a piece of paper and fold it in half. Once you've done this, fold two triangles on both sides of the paper. Now, flip the bottom flap up. Next, flip over the hat and flip the back flap of the hat up. Now, pick up the hate and open up both sides of the hat! You can now decorate your hat and draw on it as you wish. This is a great project for kids to do with parents or with other children!

In this how-to video, you will learn how to create an X Hunter paper airplane. First, fold your paper in half vertically. Unfold the paper and fold the two sides to the fold in the middle. Fold the top into a triangle. Unfold it and do the same for the other side. Unfold the paper and flip the paper. Fold the top down. Flip the paper and make two wings on both sides. Fold the top into a triangle. Push the sides to make the top part come up. Fold the tip into a diamond shape. Fold the sides of...

This is a great instructional video on how to make a decorative paper star. The materials you need are color papers, ruler, stapler, scissors, adhesive tape, pencil and cutting pliers. Take a paper and make a square of 20 cm side. Now fold the paper twice and get a triangular shape. Now draw four lines on it. Then cut along the lines with the help of scissors. Take the middle square and staple it. Then go to the back side and staple the ends. Repeat this process and get a star. You can make t...

Aging paper is a great way incorporate learning about antiquities from the past while doing a fun hands on project in the classroom. It's easy and really adds something special to projects or even to do just for fun in your spare time.

Watch this video to learn how to make a stunning diamond topped 3d card from a single sheet of A4 paper! 1. You'll need one A4 sheet of paper and some printed papers to decorate. 2. Score at 10. 5cm across length and 10. 5cm from one end. 3. Crease both scores in the same direction (mountain folds). 4. Turn card over mark 13cm from top on centre line an 17. 5cm from top on both edges. 5. Score from central 13cm mark to 17. 5cm mark on each edge. All printed papers used in this tutorial are av...

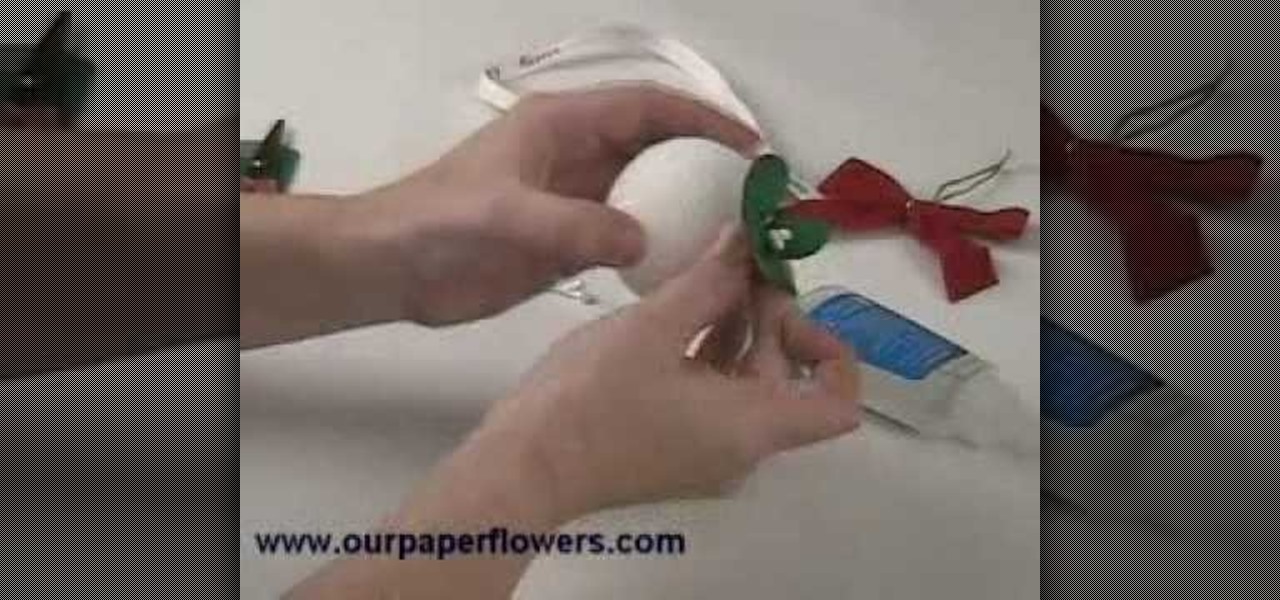
To make a paper flower mistletoe kissing ball, cut leaf petal shapes out of green paper. Apply glue to white wire berries and attach them in between four paper petals. Wrap the ends of the petals with wire to secure the bouquet. Adjust the leaves as desired. Snip the excess wire with wire cutters. Insert the mistletoe bouquet into a Styrofoam ball. Repeat until the ball is completely covered in mistletoe bouquets. Attach a red bow to the top of the mistletoe ball. Finally, add string to hang ...

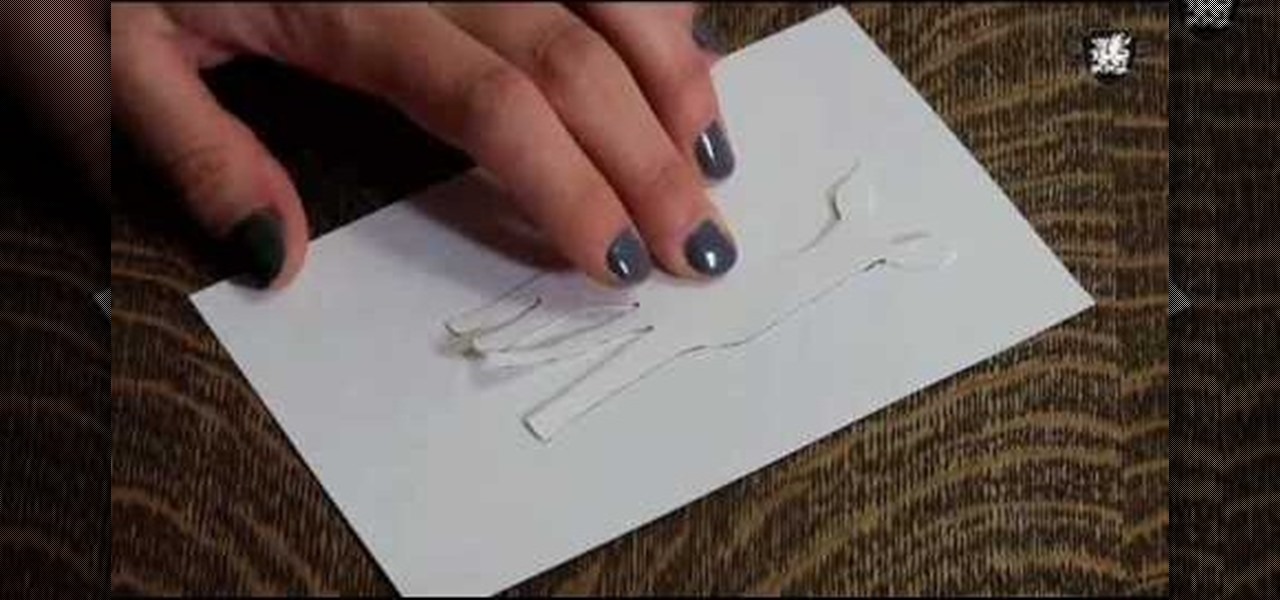
In this arts and crafts video tutorial learn how to make a paper piercing using a paper piercing template with June Campbell. The template comes with pre-made holes in varying designs that you will poke through. You will also need a paper piercing tool to create your holes as well as a craft knife to cut out larger holes. In addition, you will also need a piece of paper. Use a hard surface, such as a plastic tray to protect your table and then place a styrofoam sheet on top of that for furthe...

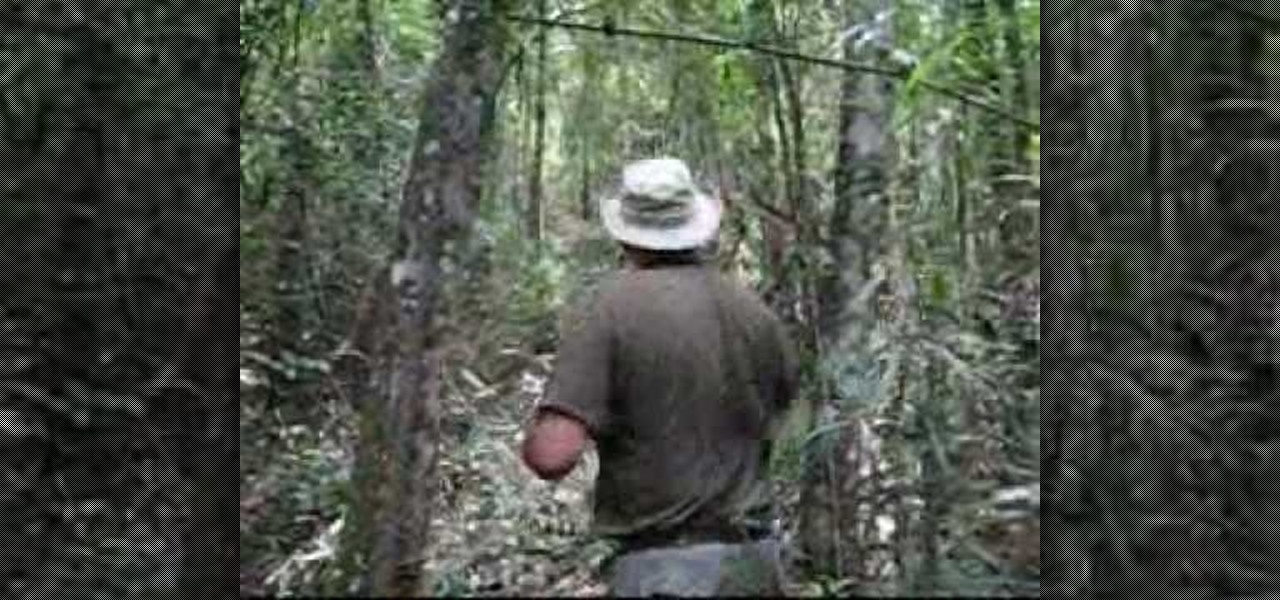
In this video, Chopping It Up, we see how some men camping and scouting in the remote central Brazilian jungle hack their way through the thick brush with machetes. We watch as they clear a path to the top of a mountain. It's a lot of work! We're told how they identified a route where the need for hacking would be minimized, on an old trail. The problem, however, is the sunlight on an old trail causes it to get choked up with vines and other thick growth. To clear the path with the machetes, ...

Emerald City Elegance Paper Crafting with Joann is really very interesting to watch. It takes us through the process of making a beautiful paper cup mini album. It explains us to properly cut the edges of the paper cup, to stick first the color page in the folded paper cup, making ready the plain album pages and punching it altogether. Finally embellishments are also done to add beauty to the mini album. Now the album is ready. After watching this video, any viewer develops the art of creativ...


