This video is about how to make a paper snowflake. These are just amazing shapes made out of sheets of paper. They are used for decoration. We can make a paper snowflake in just 2 minutes. First take a plain paper sheet and fold the sheet to make a triangle out of it. Now just make 3 more triangles in similar fashion and after that make a half triangle and cut the extra edge from it. And now it is up to us how we to want design our snowflake. Open and see the nice and beautiful flake.
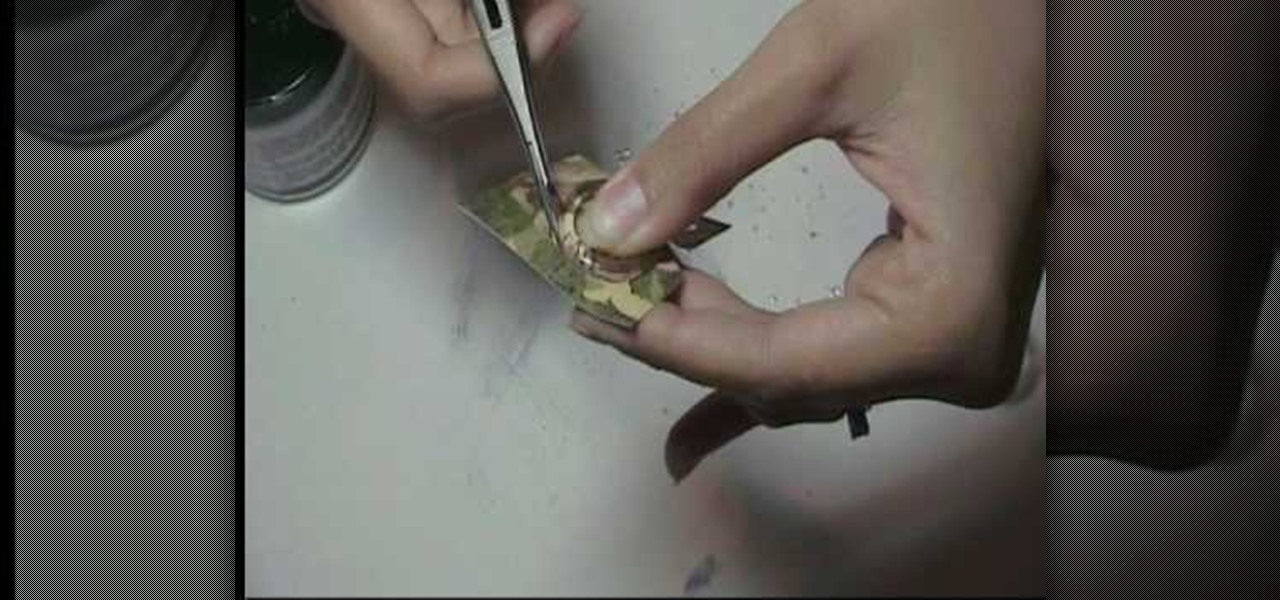
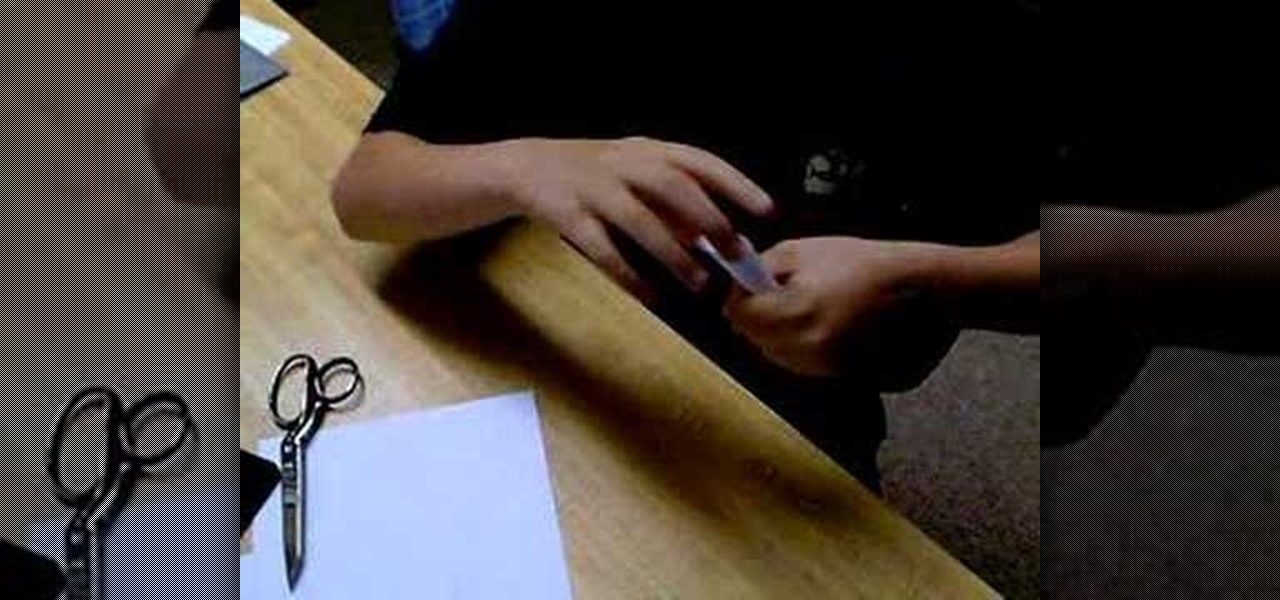
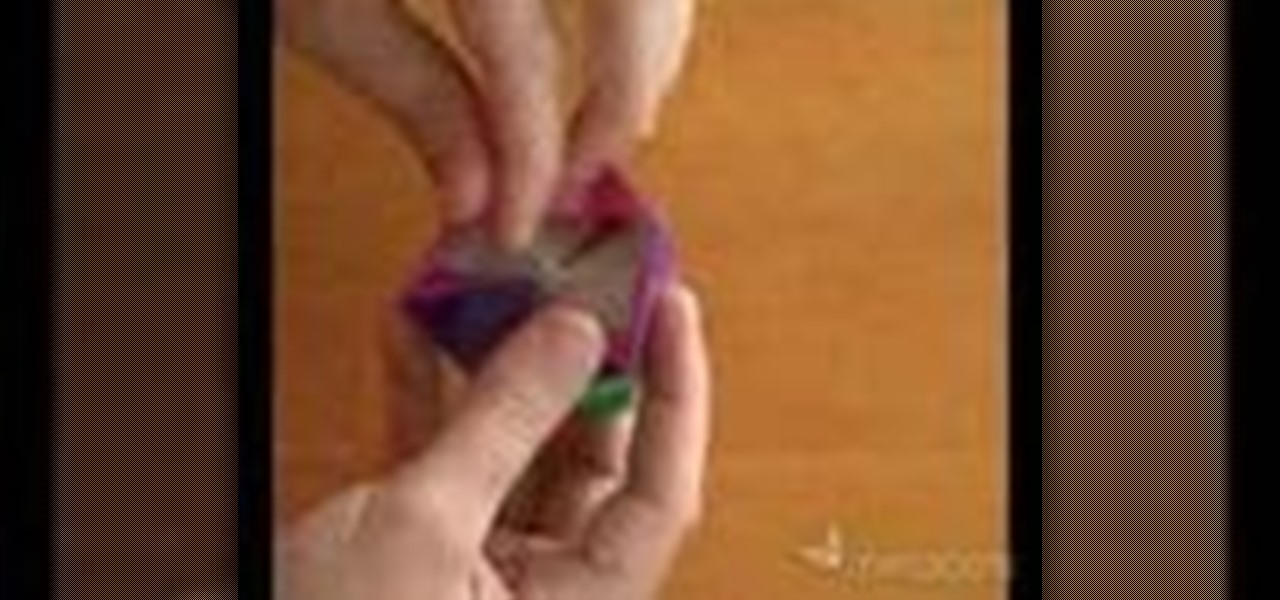
In this video, Marion shows you how make your own custom buttons. She first picks-out a piece of scratch paper, a clear button, and glue (glassy accents). You then apply some of the glue onto the button and lay the button onto the paper and let it dry. Next you would cut the paper around the button as close as you can with precision scissors. You would now use a file to sand the edges of the paper down. That is how Marion shows you, how to make a customized button.
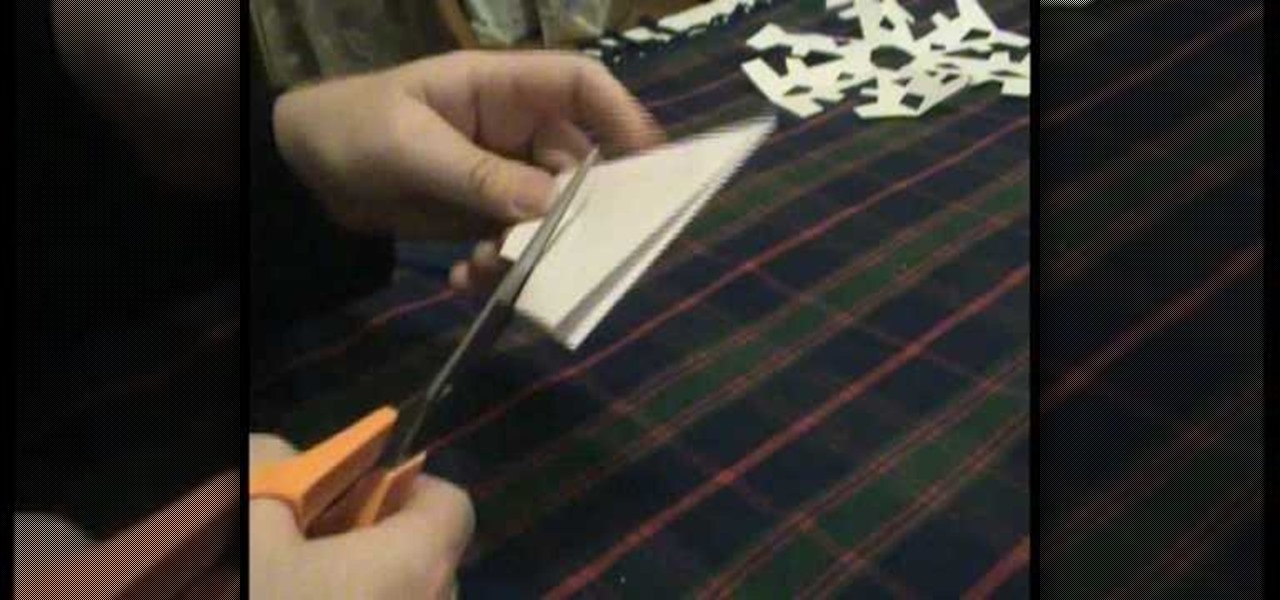
This video shows you how you can easily make a simple but beautiful 6-pointed paper snowflake. The video starts with all the things you need to make this snowflake, like a A4 size paper, a scissors etc. The instructions are shown on the screen as the skilled hands show you how easily you too can make a paper snowflake within a couple of minutes. Can't say you will find a better video tutorial on how to make a beautiful paper snowflake.

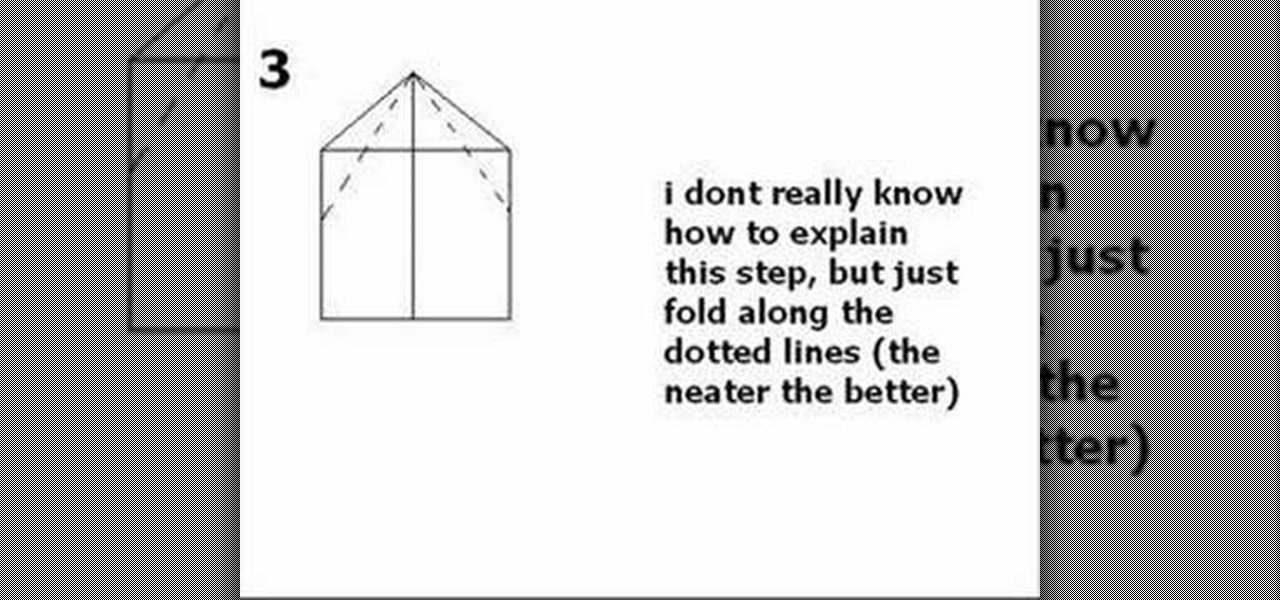
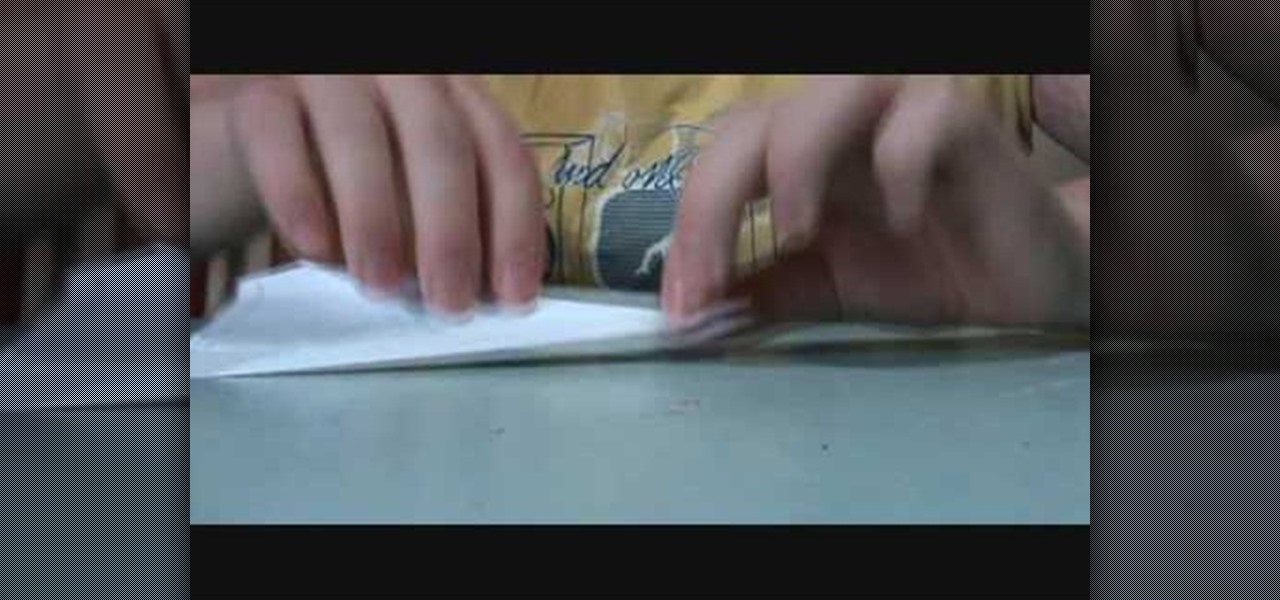
Watch this video to learn how to make a basic paper airplane that'll fly far and well. This video will show you, step-by-step, fold-by-fold, the complete process to making a great paper airplane. Watch this video to learn how to make a fun paper distraction. Impress your friends and annoy your siblings with your new battalion of paper airplanes.

This video is about how to make a cool snowflake using a paper. For this you have to take six equal square of any paper. Cut 4 silts on both the sides. Do not join cuts. Take 1 piece of paper and place tap .Flip over one repeat on all . This will be one side of snowflake. Repeat on all the pieces of paper. Staple together ends. Join all 6 in the middle .The 3d cool snowflake is ready to use it.

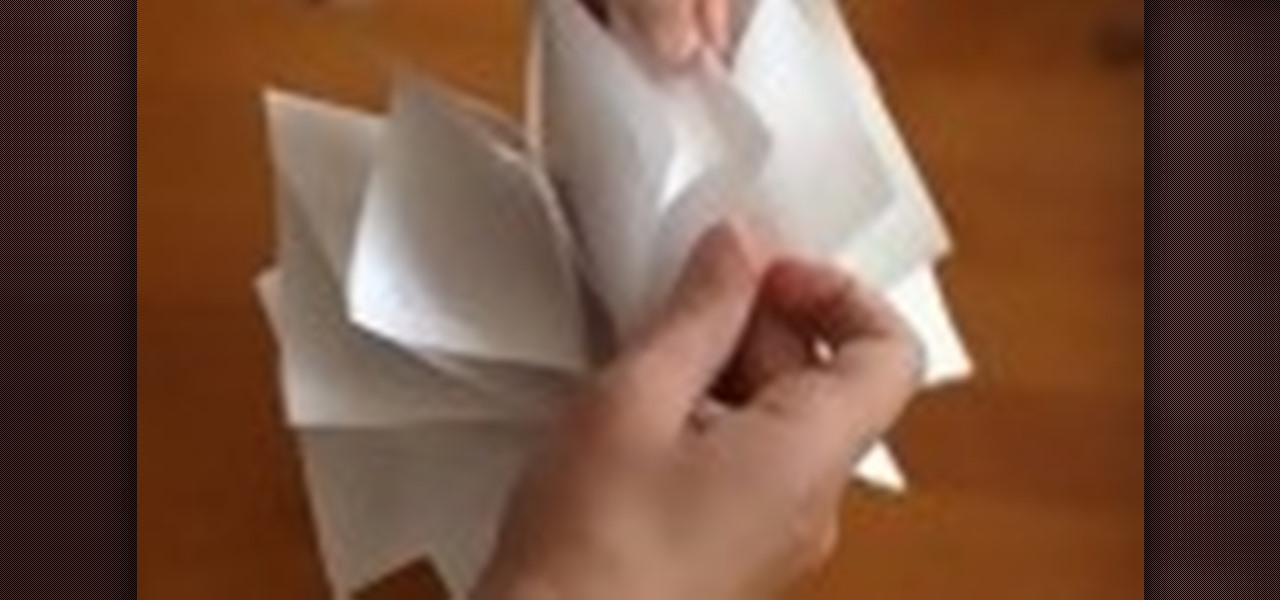
This video will show you how to make an interesting 3D paper snowflake. You will need 6 pieces of paper, some scissors, glue and a stapler. First, make 6 squares which are the same size. After folding the squares across its diagonal axis into a triangle and folding it over again, hold the triangle so that its open ends are facing outwards. Cut diagonal lines along the line of the triangle towards the center, stopping close to the middle line. After opening the paper, take the two ends of each...

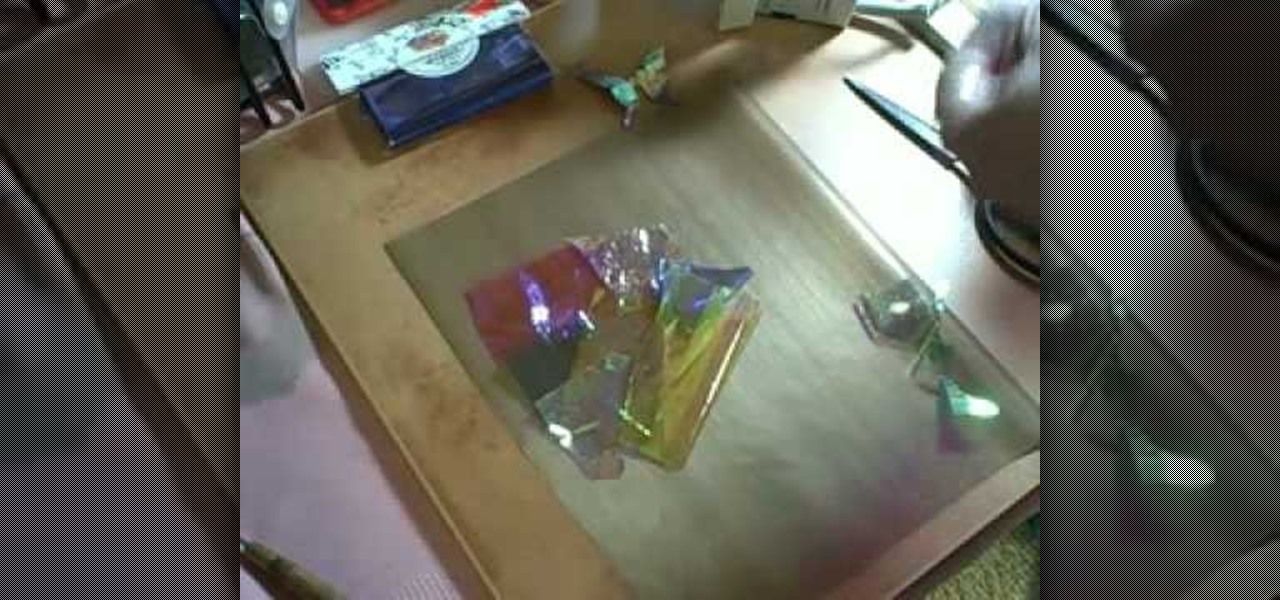
Make a cool drinking or water container, or simply a great decorative gourd ornament. But before you can decorate the gourd, you need to make the decorations. Learn how to make Opals and Fantasy Film glass paper for a gourd.
See how to make your own paper gun! This video tutorial will show you exactly how to cut and fold your way to making a cool paper gun. Try using junk paper, or your homework. Watch both parts to see the whole paper gun making process. You'll need paper, tape and scissors.
This video tutorial will show you how to build a paper gun that can shoot. The idea behind this is to build a paper gun that can shoot paper pieces and other items, with power from your mouth. This video should help you in the making of your paper gun, which is more like a blowgun.
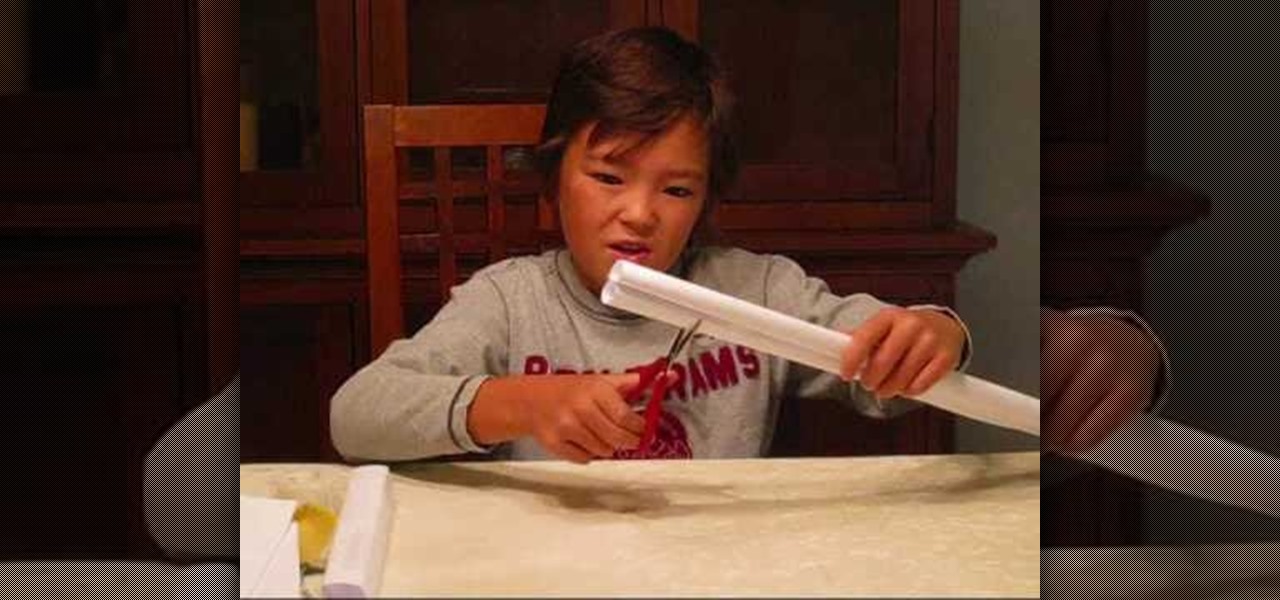
Learn how to make a paper gun bullet. This bullet is for operating paper guns. Watch as this kid demonstrates the method - all you need is paper and scissors.
Do you know how to make a paper airplane? Then watch this how to video tutorial and learn step by step how to fold the world's best paper airplane. Grab any 8 1/2" by 11" piece of paper and start building a paper airplane.
This is a quick video tutorial that shows how to make a cube out of seven triangles. Learn how to fold, cut, and weave triangular paper strips together to make a paper cube.
Make this nice & easy cut paper flower design.
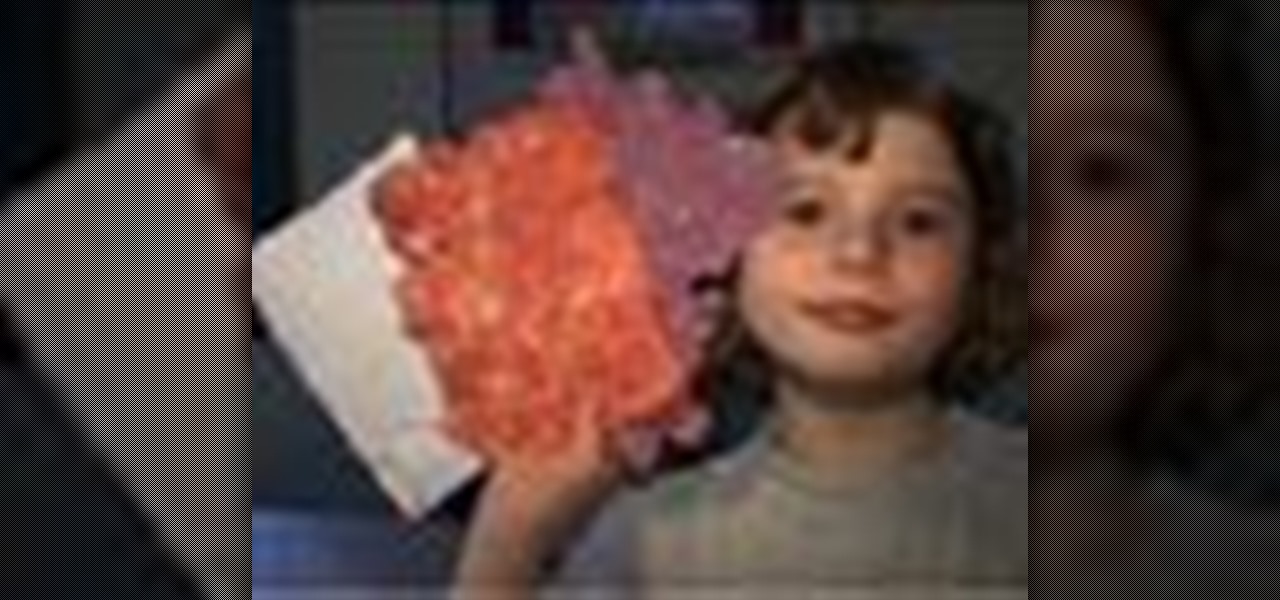
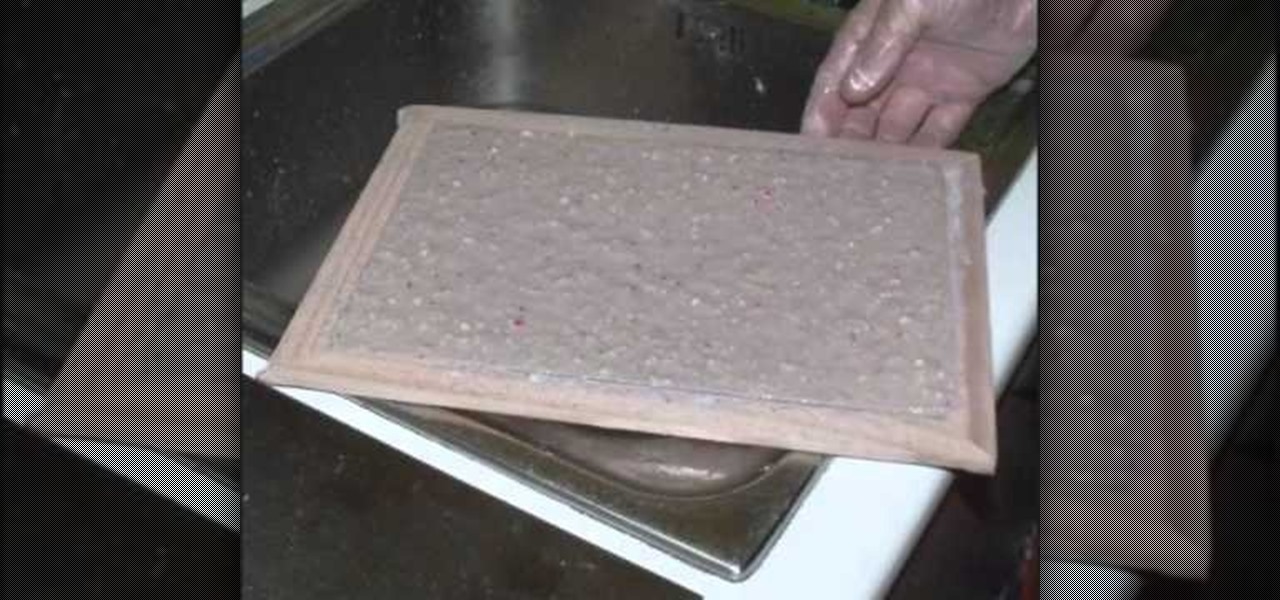
Looking for a fun project to do with your kids? Try making decorative paper at home with flower petals and bits of recyclable paper. Supplies needed to make paper are 2 identical wooden frames, the cheapest you can find, a piece of screening, duct tape
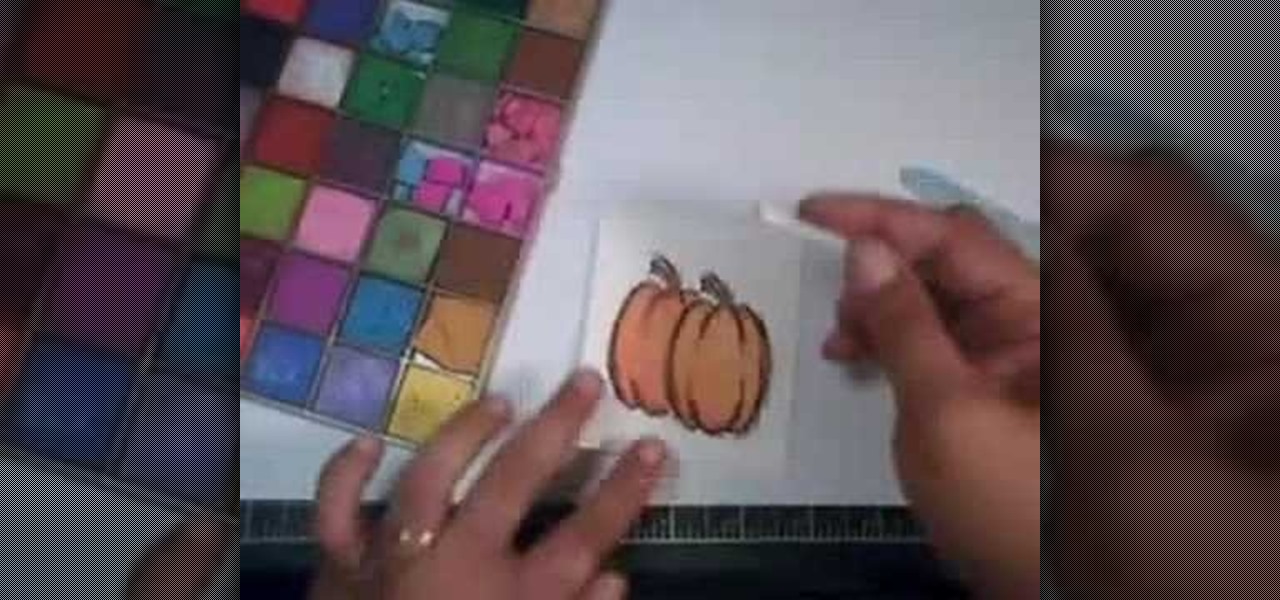
In order to create a watercolor effect with Stampin' Up markers, you will need the following: Stampin' Up markers, Stampin' Up pastels, stamps, color spritzer tool, a water resistant ink, cotton swabs, a blow dryer, aqua painter brush, and watercolor paper.
Choosing the right gift for your friend or girlfriend is obviously the most important part of gifting, but you can make your gift extra special by wrapping it in a lovely package.
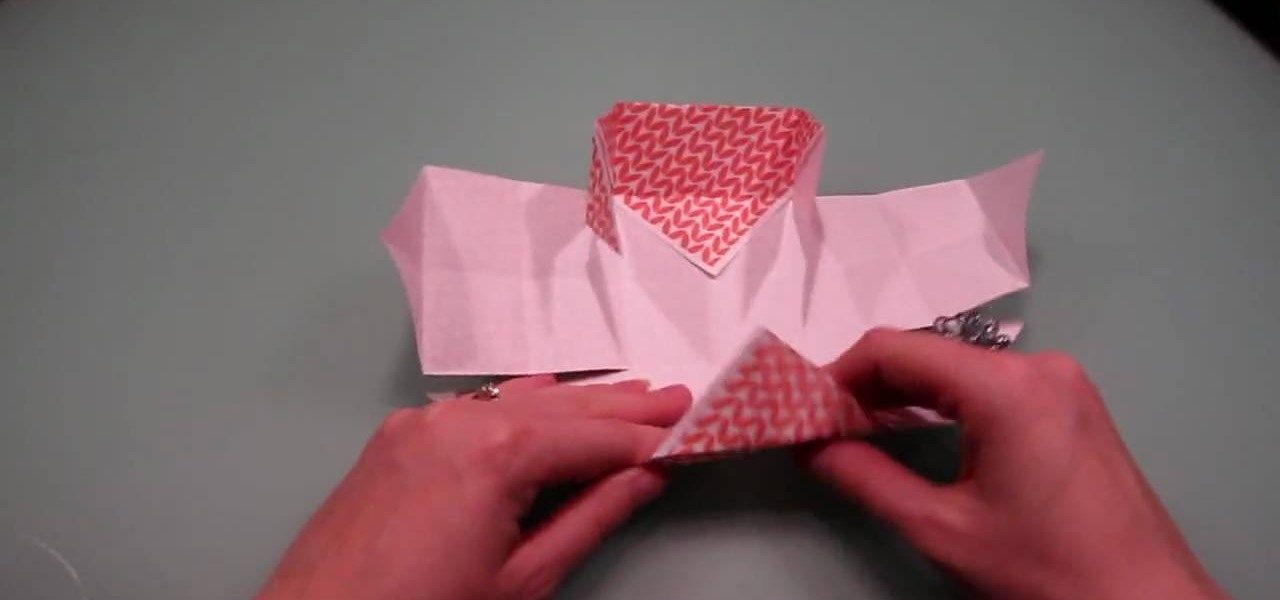
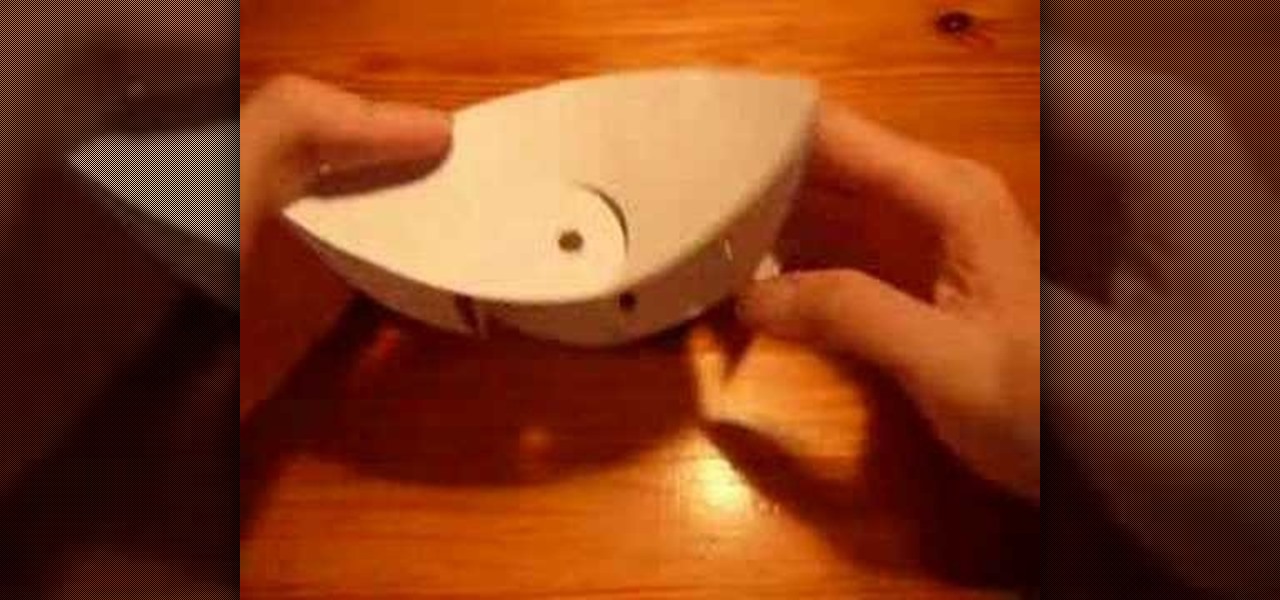
Make a yin yang paper box. It's really fabulous. It's kind of like origami, but not really.
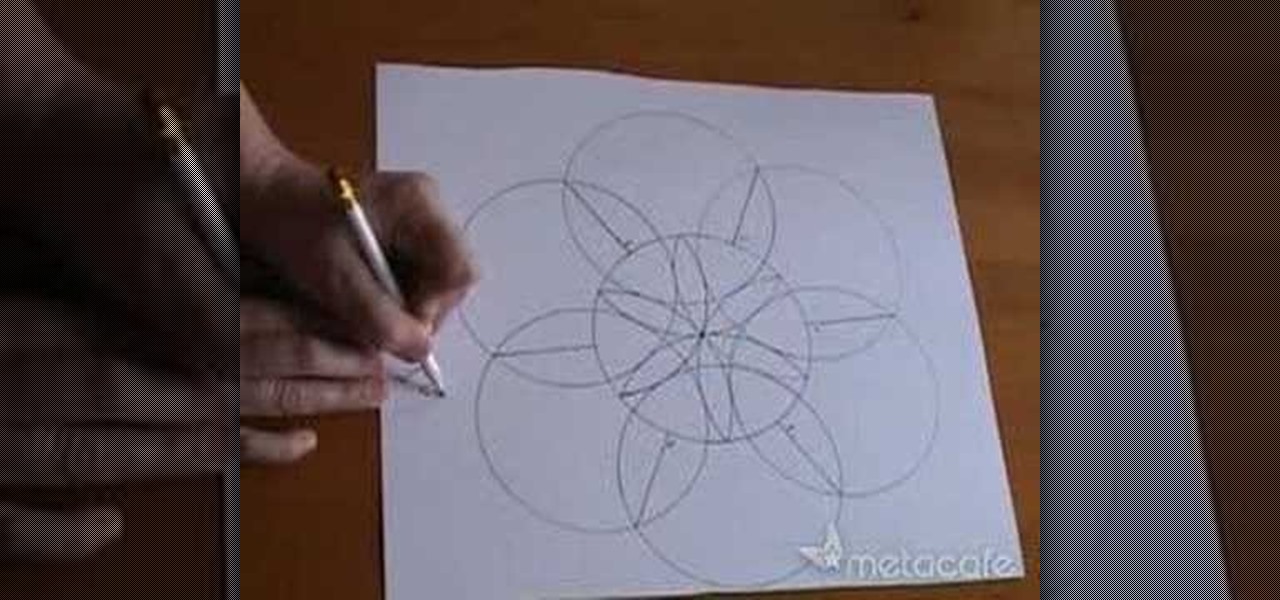
Use a 35x35cm piece of paper to trace your CD into a flower shape. Use a pencil and scissors to complete the design.
If you love origami you'll love this project. Watch this video and see how simple and quick it is to make a 3D paper star.
For origami lovers, learn how easy it is to make this twisting and jumping paper toy.
For origami lovers, watch this video an learn how to make an unbelievable hexagon paper toy.
Watch this video and see how easy it is to make this paper toy. It looks like an origami flower, but it is a tad more complex. Have fun playing with it.
You can recycle your own cardboard boxes and get sheets of beautiful, handmade paper. It's quite easy. You'll need a paper mold, but those are very easy to make (you can use a cake pan or baking dish in a pinch!)
Here's an easy way to decorate your Valentine's Day handmade cards, gift wrap, envelopes, or gifts. Prima roses are teeny paper roses you can certainly purchase at a store, but they're a lot cheaper to make at home.
Here's a lesson in origami firearms! Well, not real origami, since you will also need a pair of scissors and some tape to complete this. But other than that, just grab a few sheets of plain white paper and end up with your own double barrelled paper shotgun.
The English rose has traditionally been a beautiful young woman who glows with beauty and sensibility. Yet she is also very English and possesses a stylish and endearing quirkiness.
In this video we learn how to make a speedy paper airplane. First, fold the paper in half and make a crease in the middle. Next, fold the corners down on the top. After this, fold these into another triangle going half way down the paper. Then, fold the tip all the way down so it rests on the opposite side of where it started. Do one more fold like the ones you did in the second and third steps. Make sure you are making crisp creases in the folds that you make. After this, fold the tip to the...
The Craft Robo is a useful tool for papercrafters, card makers and scrapbookers, which will allow you to cut letters out of any type of paper and using any sort of font you have in your library. Add a professional look to your next paper craft project!
In this tutorial, we learn how to make a Halloween card using Cricut Paper Doll. First, cut a skeleton out of the PaperDoll Dressup package, then cut it out two more times. Glue these together to make the skeleton thicker, so it pops out of the page. You can place this next to a paper sentiment that says "bone to be wild", with a black card stock underneath it. You can use die cuts with a view papers to make it look more interesting. Use any other type of decorations you like to decorate your...
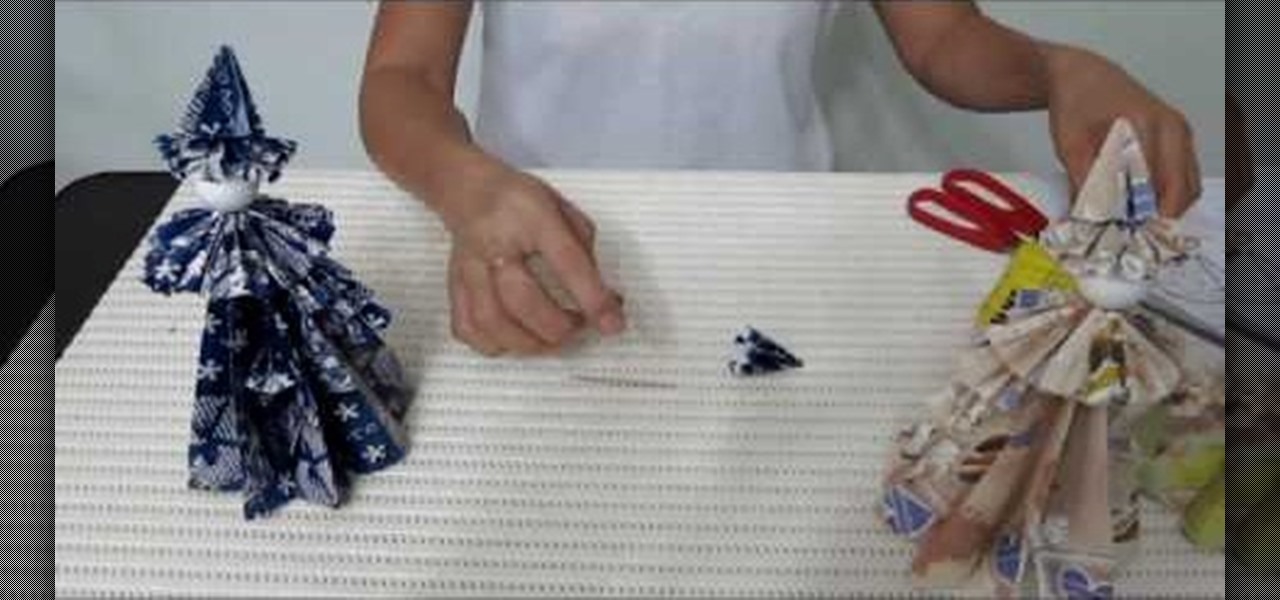
In this tutorial, we learn how to make a paper Christmas tree. Start out with a square piece of paper, then fold corner to corner and open it, then fold it on the opposite corners and open it. Now, turn it over and fold it side to side on both sides. Now, the paper will automatically fold into it's shape because of the creases you made. Now take each of the four flaps and flatten them out with your finger. After this, cut your trunk out of your tree at the bottom, then cut slits on the side o...
With this guide, you'll learn how to make a folded-paper flower balls with origami, the traditional art of Japanese paper folding. For more information, including a step-by-step overview of the folding process, as well as to get started making your own decorative flower balls, watch this free origami lesson.
This video shows us how to use a cuttlebug and make a congratulations card. Here are the following steps:
Paul shows us how to make a gigantic three dimensional five-point star out of paper. First, glue A4 sized paper together to make a long strip. Make a U-shape on one end, cross the shorter end under the strip and make a knot by placing the end into the loop. The knot now looks like a pentagon. Flip the pentagon over and over until the end of the strip so that the paper strip is bundled into the pentagon shape. Stick the end of the strip to the pentagon shape. Press the centre on each side of t...
In this video tutorial, viewers learn how to make a plain paper clip into a spinner. The materials required for this spinner are a paper clip and a pair of pliers. Take the paper clip and straighten it. Now use the pliers to bend the tip of the clip at 90 degrees. Then bend it 90 degrees to left side and start bending the wire into a circular shape. The shape will look like a pretzel. Now bend the end tip of the wire 90 degrees to the opposite direction of the first bend. You should end up wi...
Boys and their guns! Make paper replicas of guns is a great way to exude a sense of creativity and have some fun. This video will demonstrate how to create a AK-47 (looks more like an MP5) replica out of paper.
Cardcrazy09 teaches us how to make a graduation card. You take a piece of black card stock paper and stick thin white paper edges on each side, like a window. You then use the Cricut to make a star and the word Congrats. This will go on the left, on top of some black printed moxie paper. The right side of the card also features a piece of moxie paper, with graduation hats pattern. There are also nail heads stuck on top. The last idea is to also include money to your son/niece.
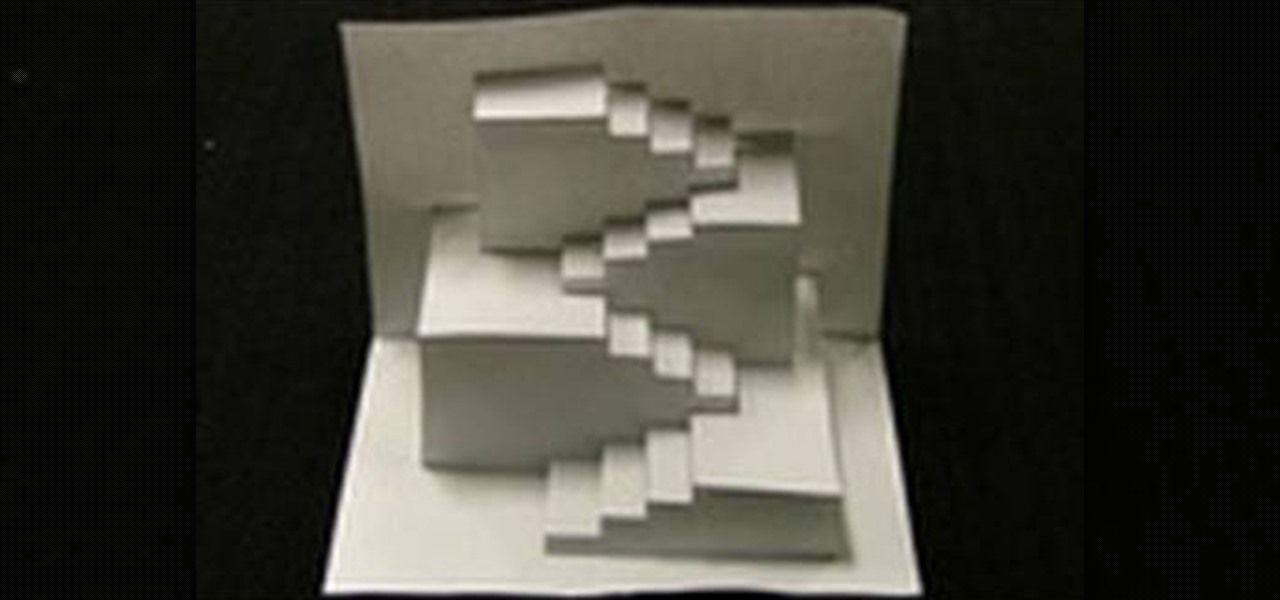
This video shows us how to create an amazing 3D design using a single sheet of paper. You will need: cutter printed template of the 3D design. Procedure: Download the template using this link. Print the template. Cut all the solid lines on the template. Fold all the broken lines on the template as shown. Arrange the paper in such a way that it looks like the 3D design shown on the video. Follow these steps and you will have your very own amazing 3D paper design!
Corynne from The Crafts Channel teaches how to make a stylish bird motif in minutes. You'll need: Colored/printed papers, scissors and glue. Get a colored paper. Draw a whatever bird image You like at the back. Cut with scissors. Get another colored paper of different color and draw a wing. Put a glue on the wing and glue it onto another colored paper. Cut it leaving 1/2 an inch over the first wing to have layers. Decorate bird as what You want Your bird motif to look like. Follow these steps...
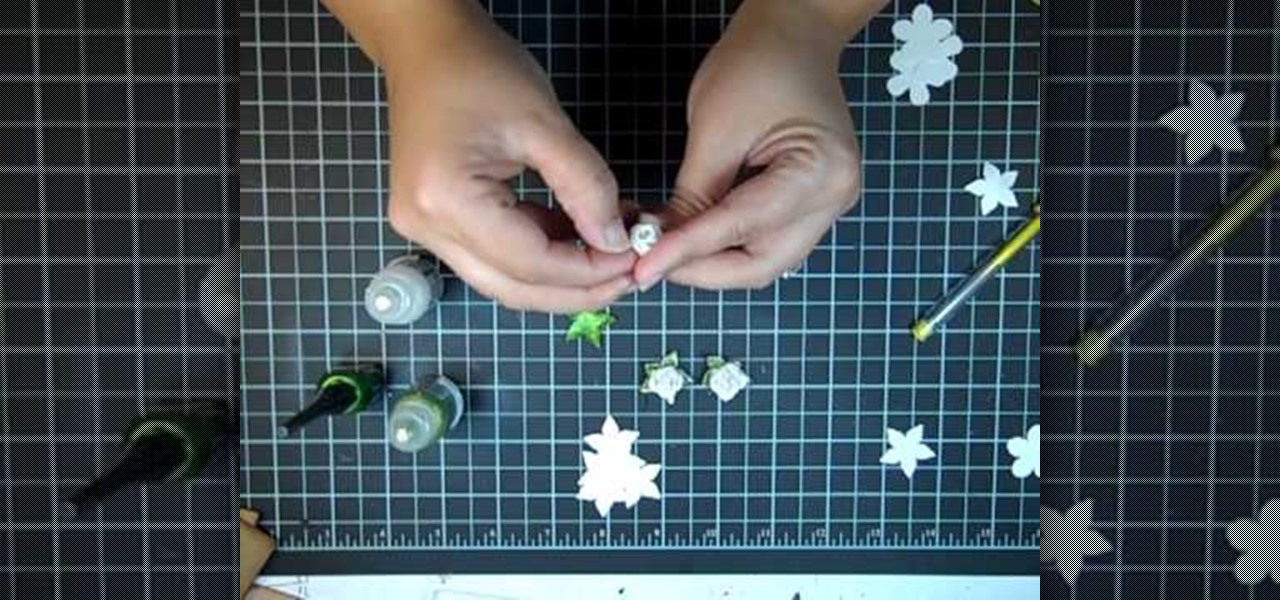
This is Part 1 in a series from FollowThePaperTrail. In this arts and crafts how to video the host will lead you through the process of preparing the materials necessary to create paper roses, from punched or die cut flower patterns. She teaches you how to soak the materials, once they've been cut, and spray them with starch so that they retain their shape. Following up on that she demonstrates the techniques she uses to form the flower patterns into a more three dimensional shape.
Watch this video as it gives easy instructions on how to make a mini paper airplane that flies far. -Get a small piece of paper. 4X8" would be best.