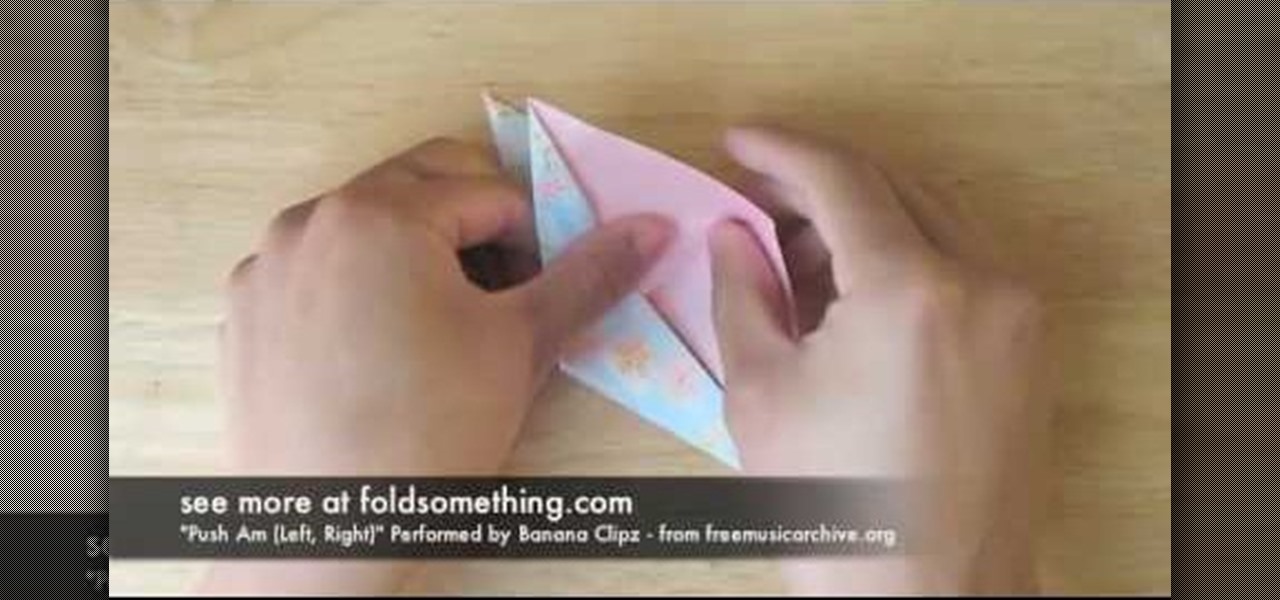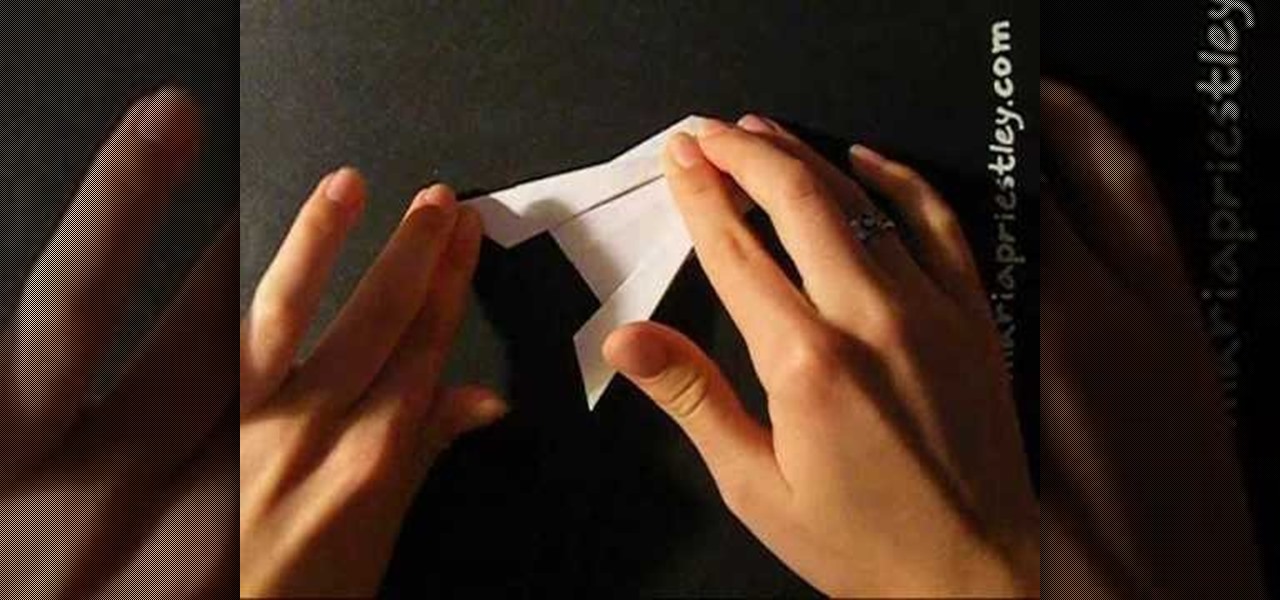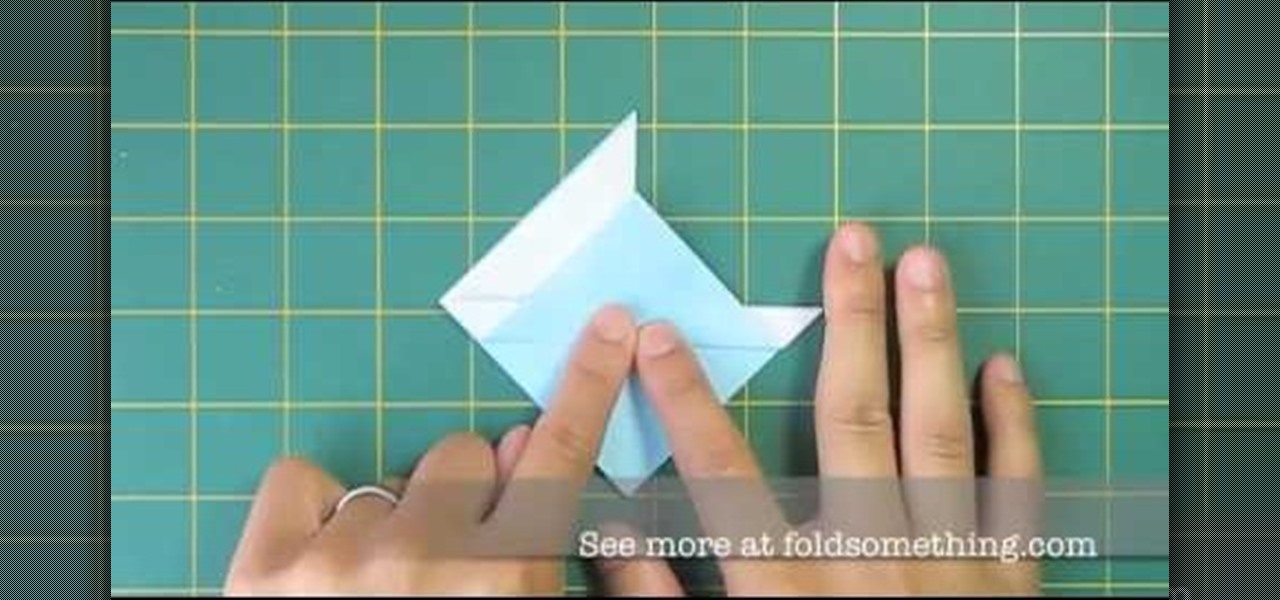
If you love boats but hate the open waters, the best thing you could probably do is get over your fear, or… grab some paper and make an origami sailboat. You won't need to take your feet off land with this kind of boat, unless you're jumping for joy after successful completion. This is one of the simplest origami sailboat designs out there, and requires only one sheet of origami paper.
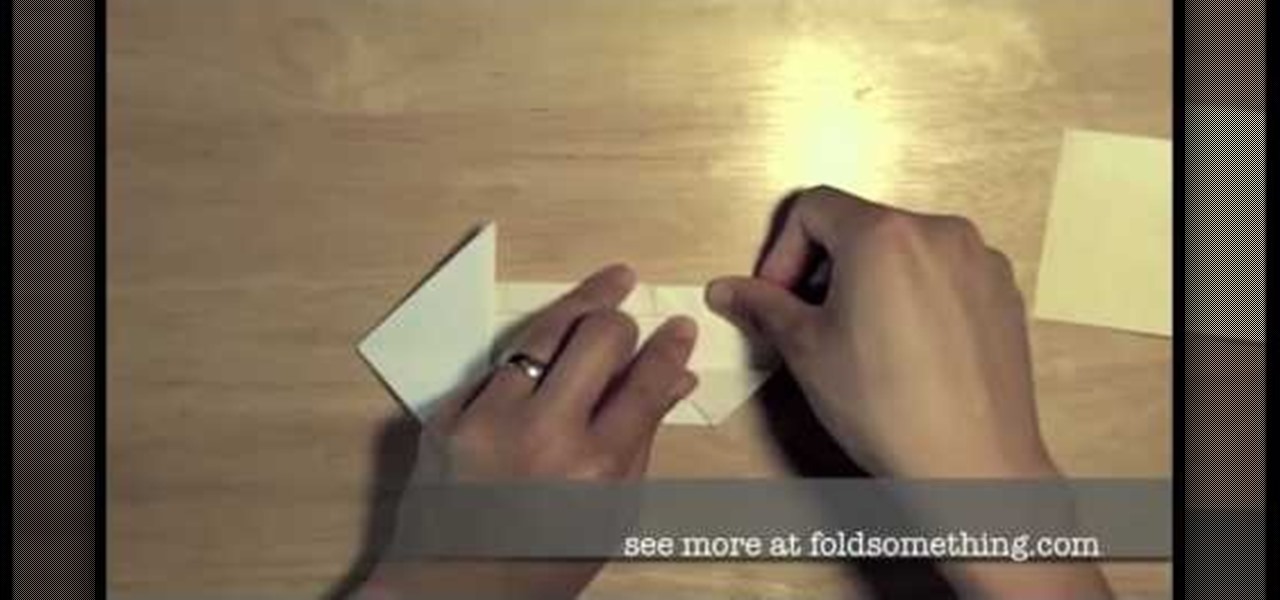
Origami a whole fleet of these and you'll have your own army of unstoppable origami war machines that can blow up some paper aliens.

Tired of cranes and swans? With this guide, you'll learn how to make a paper spaceship using origami, the traditional art of Japanese paper folding. For more information, including a step-by-step overview of the folding process, as well as to get started making your own folded-paper starships, watch this free origami lesson.
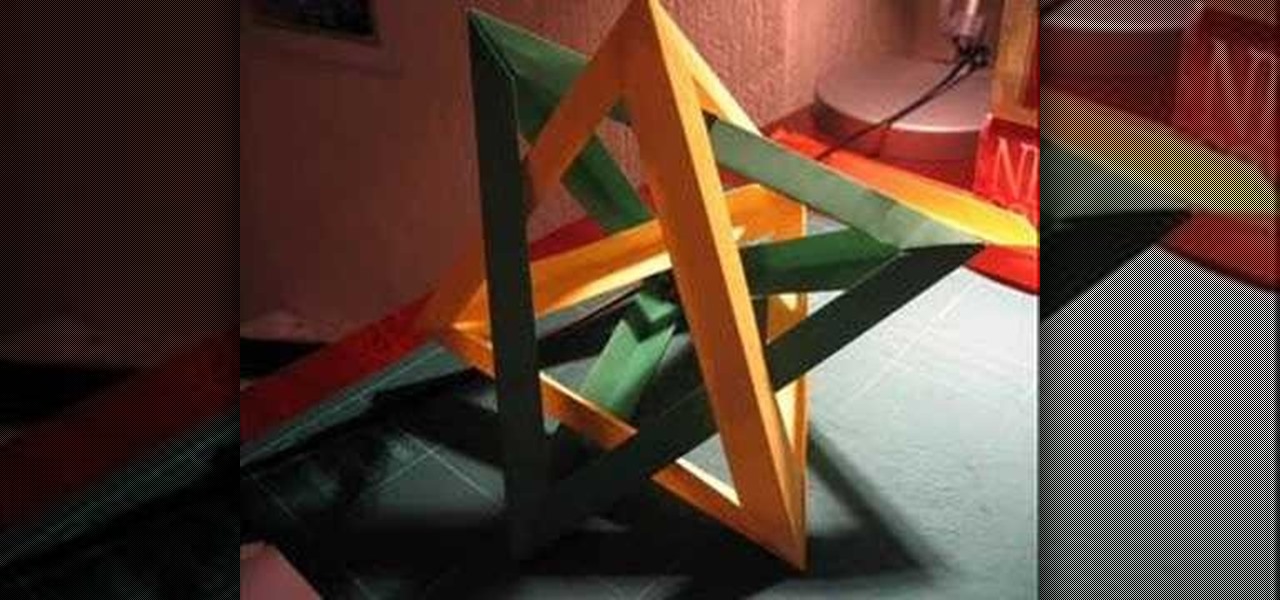
Feeling ambitious? With this guide, you'll learn how to make a 3D star with five intersecting tetrahedra using origami, the traditional Japanese folk art of paper folding. For more information, including a step-by-step overview of the folding process, as well as to get started making your own paper awe-inspiring paper stars, watch this free origami lesson.

You may know how to fold an origami paper boat, but chances are you don't know how to origami a paper boat that can actually float. This video tutorial will show you the step-by-step instructions for each fold involved in the boat building process. You only need on sheet of paper for this floating boat, which means it's actually really easy to fold.
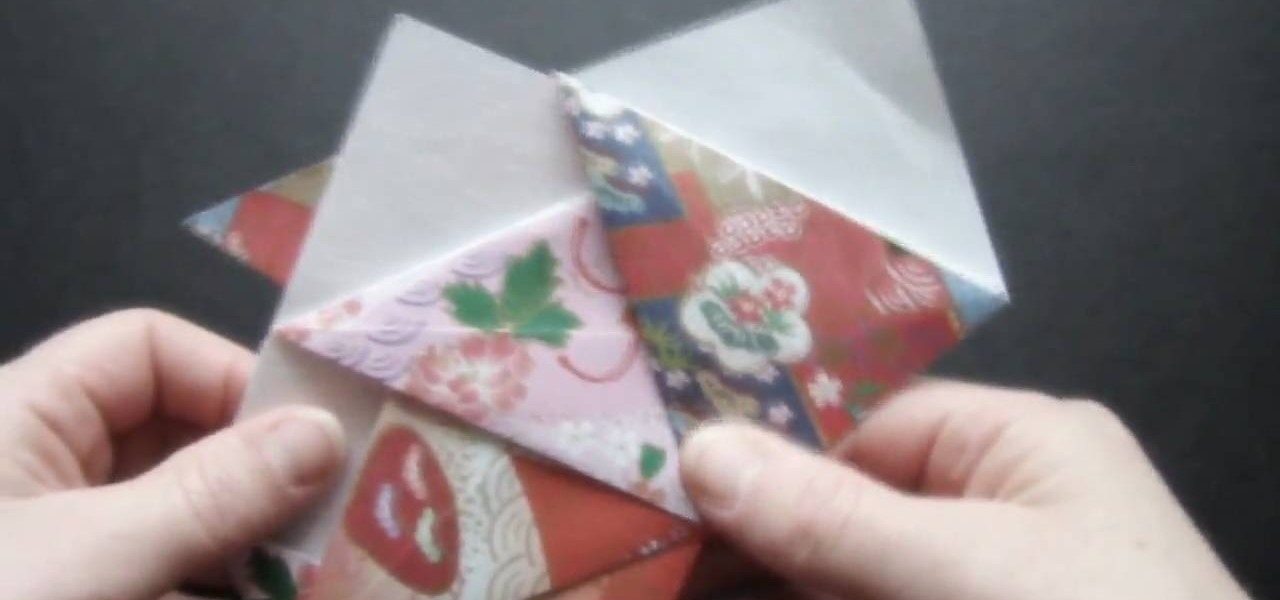
This is an instructional video that demonstrates how to make an origami spinning top. You need seven square pieces of paper, and she uses 6"x6" sheets. First fold the paper diagonally. Fold the short edges to meet the long edge. Unfold it and use that as a guide for the next fold. Fold the top triangles down and tuck on corner into the pocket. Make seven exactly the same. She shows how to slide one folded piece of paper into the next one and fold the edges over each other to hold them togethe...

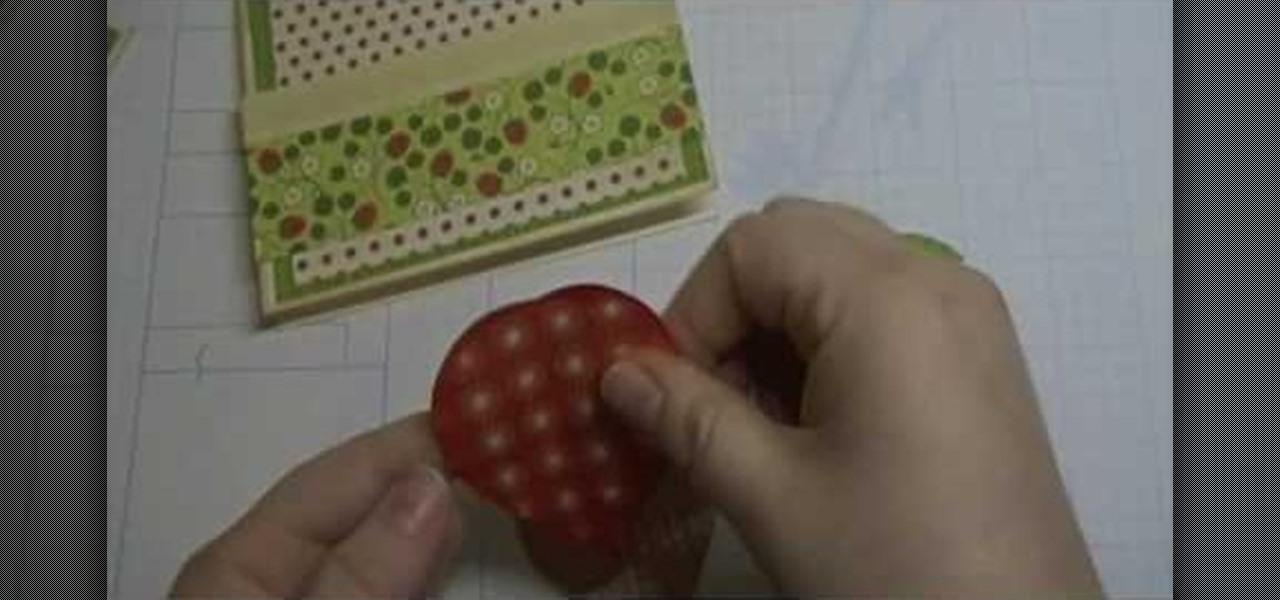
Simple Card Monday teaches viewers how to make a berry-themed card using Preserves Cricut! You'll want to use the Garden Variety Cricket Preserves paper for this berry-theme project. First, you should start off with an A-2 sized 5.5 inches by 4 inches sheet paper. Ink this using chamomile ink on all of the edges of the card. Next, add green onto the top of the card. It should leave a tiny border around. Now stick this strawberry paper with ribbon onto the polka dot paper. Cut your strawberry ...

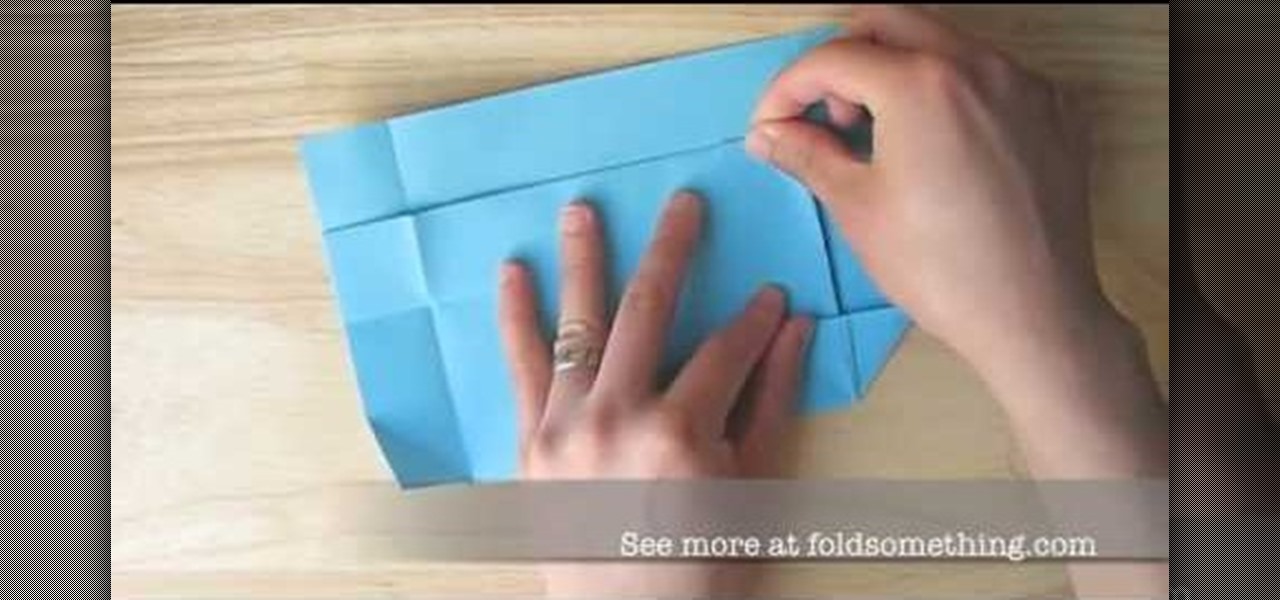
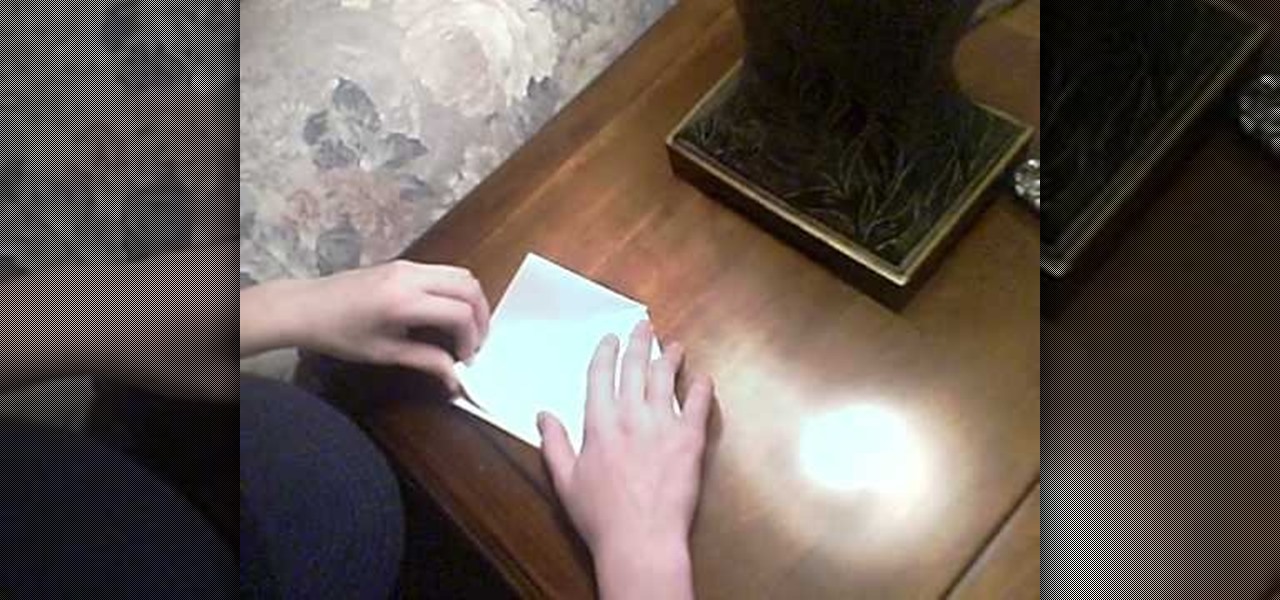
In this Arts & Crafts video tutorial you will learn how to Origami a paper envelope without glue or tape. Take a piece of paper and fold it in half hamburger style. Fold the open edge of the top sheet of paper back on itself so it reaches the closed edge. Repeat this step again. Give it a good crease, open it up and fold the open edge back to the middle crease and fold it back along the middle crease. This becomes the bar of the bar envelope. Now fold the other open edge of the paper so that ...

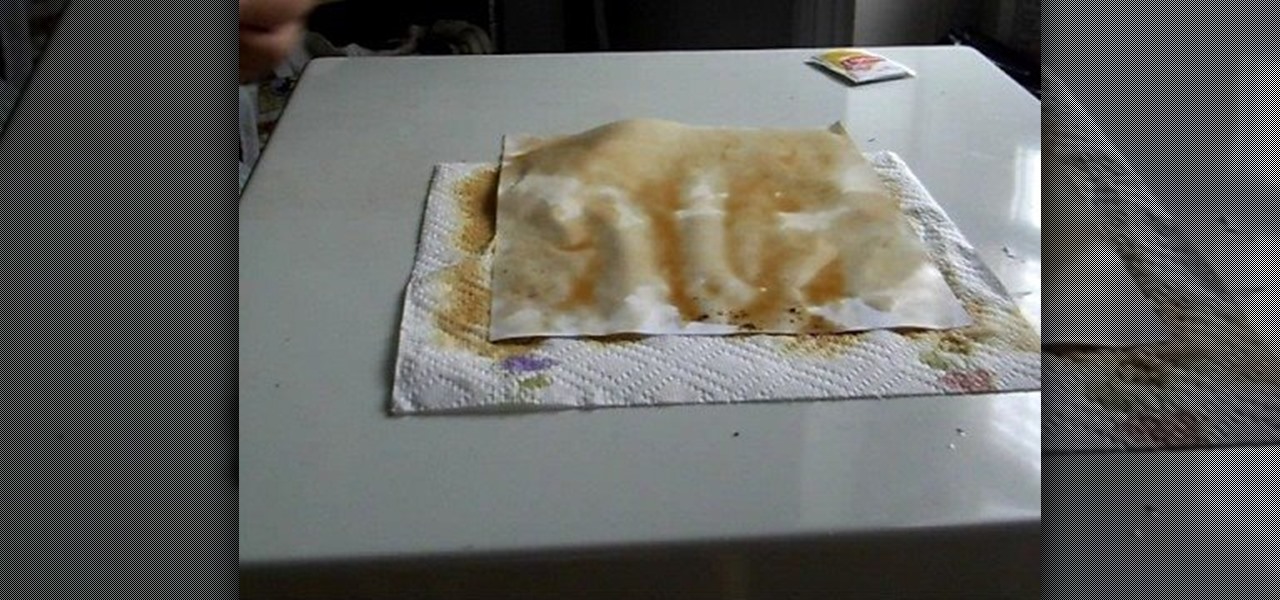
This video demonstrates how to stain a white sheet of paper and make it look antique. You'll need two tea bags (an extra one if the other tears open. Place the paper to be stain on a tissue or newspaper to avoid a mess. Take half a tumbler of hot water and dip a tea bag until the color becomes dark orange. Take out the tea bag and gently wipe all over the sheet of paper and also dab gently on the applied parts for a darker stain in some regions to look natural. Repeat this process by turning ...

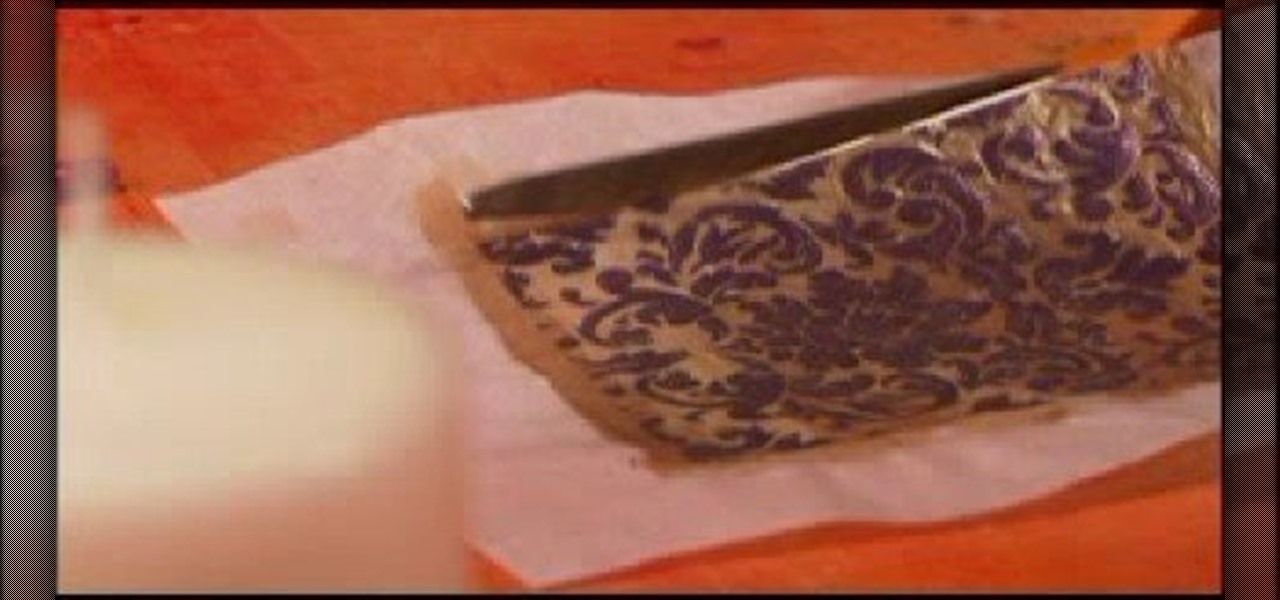
Cathie Filian and Steve Piacenza demonstrate the way of making medieval candles using tissue paper transfer technique. Steve asks you to first take a piece of tissue paper and a square-shaped chunky stamp. Then you should load the stamp with black pigment. Once the loading is completed, you should cut the tissue paper in square shape and place the shining side on the stamp and give a nice light press with your fingers. Then once you get the stamp image on the tissue, gently take it out and pl...

November 11th isn't just Veterans Day— it's Origami Day in Japan, where they celebrate the traditional art of paper folding. November 11th is also the last day of World Origami Days, a 2-1/2 week celebration held internationally.

Make a luxury brass case for an MP3 player. When a design is made, draw it on a section paper. Stick the paper on a brass plate with glue, and cut the brass plate along the line on the paper with a jigsaw.

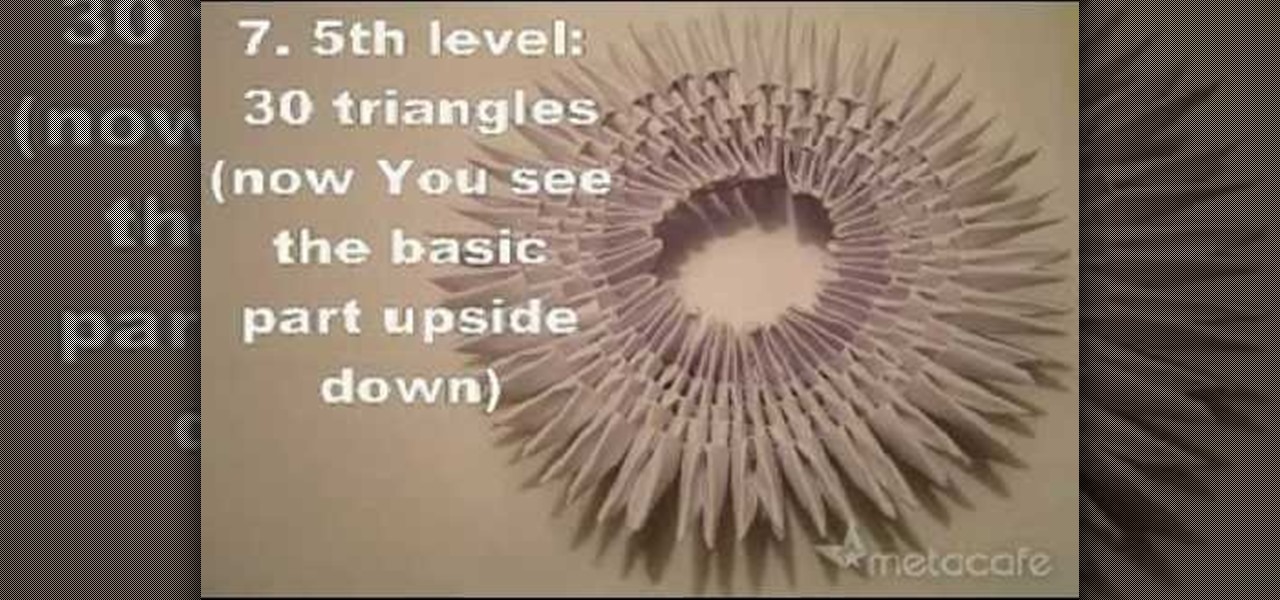
This video shows how to make an origami swan using 471 paper triangles. Your loved one will appreciate this gift because you put in a tremendous amount of effort, dedication and patience required for origami, but its easy to assemble and the only money you will spend is cost of 15 paper sheets. Good luck!

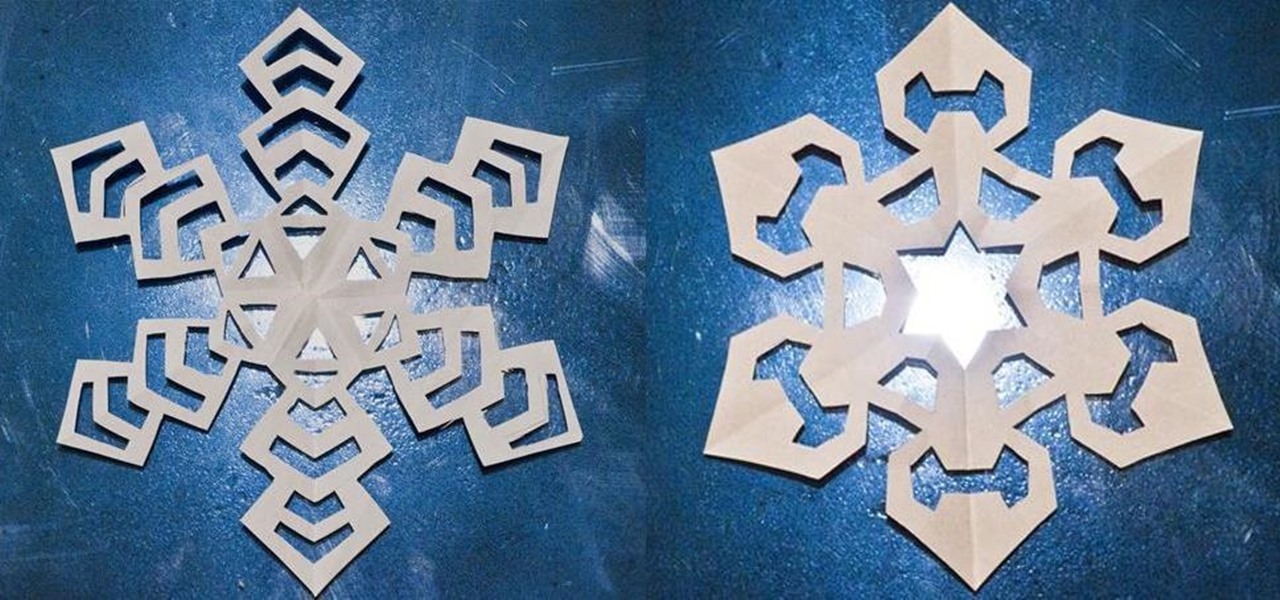
We've all made them. I remember making hundreds of paper snowflakes when I was in elementary school. You take a piece of paper and fold it in half, then fold it in half again. You now have a piece that is one fourth the size of the original. Now you fold it in half diagonally. You then cut slices out of the edges of the paper, and unfold to find that you have created a snowflake. The resulting snowflake has four lines of symmetry and looks something like this: If you fold it in half diagonall...

Make your own tiny katana out of paper! All you'll need is some durable printer paper or origami paper, double-sided photo album squares, quick drying craft glue, a small craft knife (like an x-acto knife), a straight edge and a cutting mat.

In this video we learn how to create a paper football. First, take a piece of paper and fold it in half vertically. After this, create a crease and cut this in half with scissors. From here, fold the bottom of the paper into a triangle after folding the paper in half once more. Continue to fold the triangle until you reach the end of the strip of paper. Take the end tab of the piece of paper and tuck it into the pocket that you created when you folded up the paper. Then hold this with one fin...

If you're looking for ideas for creepy decorations to make for your next Halloween party, or just want to have a little fun, you can use papier mache, cardbord paper, a little foil and some paint to create a surreal cartoon hand.

This video shows viewers how to make a paper airplane. You should begin with an 8.5 x 11 piece of paper and fold one corner to the opposite side, making a triangle. This should be repeated on the other side, so that a cross is formed on your paper. Folding down opposite sides of the creases, you should have a triangular flap on your paper. Fold both sides of the flap upwards and then flip the paper over. You should then take the tip of the paper and fold backwards. Fold the paper in half so t...

Unless you live in Sarah Palin's home state, you're probably sweating through the hot and humid summer like the rest of us. Sweltering temperatures usually mean heading inside into cold air conditioning, but if you have the misfortune of having to be outside during particularly sweltering weather there is a way you can cool down on the fly.

In this tutorial, we learn how to make a paper flower using paper scraps. To make this, you will need: 3 pieces of small pink scrap paper, 1 piece of small green scrap paper, 1/16" brad, adhesive, hole punch, ink, and a sponge. First, you will draw one different size circle on the 3 sheets of pink paper. Next, draw leaves onto the green scrap paper. Now, start tearing the shapes out of the paper leaving no pencil showing. Crumple the paper up several times, then get your ink and put it on you...

Grow your paper garden! Make an easy 8-petal lotus using origami, the traditional Japanese folk art of paper folding. This free origami video lesson presents complete instructions on how to make your own paper flowers from folded paper. For more information, and to get started making paper lotus flowers yourself, take a look!

Interested in adding a new specimen to your paper menagerie? How about a piglet? Have extra paper and time to match? This video tutorial presents a complete, step-by-step overview of how to make a paper piggy using origami, the traditional Japanese folk art of paper folding. For more information, and to get started making your own paper pigs, watch this arts-and-crafts guide.

Looking for an easy craft project? With this guide, you'll learn how to make a lucky paper stat from a single strip of paper using origami, the traditional Japanese folk art of paper folding. For more information, including a step-by-step overview of the folding process, as well as to get started making your own paper stars, watch this free origami lesson.

Got spare time and spare paper to match? Make a jumping paper frog with origami, the traditional Japanese folk art of paper folding. This free origami video lesson presents complete instructions on how to make your own leaping paper amphibians from folded paper. For more information, and to get started making paper frogs yourself, take a look!

Got a little bit of spare time and a sheet of paper? Make a jumping paper frog with origami, the traditional Japanese folk art of paper folding. This free origami video lesson presents a complete instructions on how to make your own leaping paper amphibians from folded paper. For more information, and to get started making paper frogs yourself, take a look!

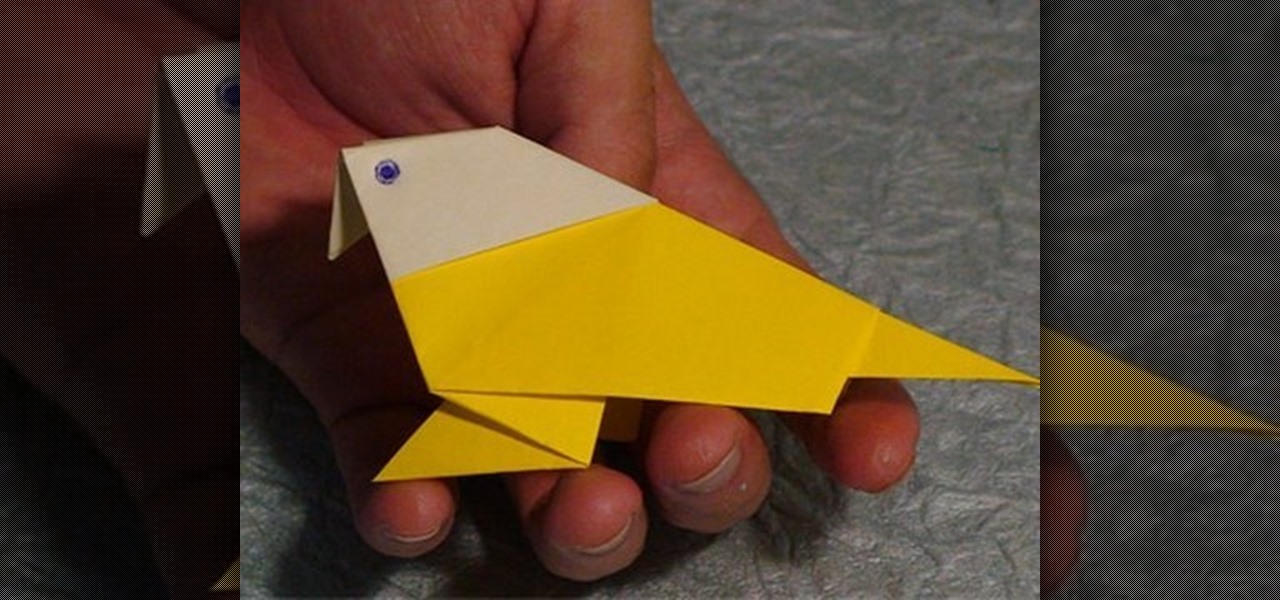
Looking to add specimens to your paper menagerie? Make a tropical bird with origami, the traditional Japanese art of paper folding. This free origami video lesson presents complete instructions for making your own tropical bird from a sheet of folded paper. For more information, and to get started making your own paper parrots, take a look!

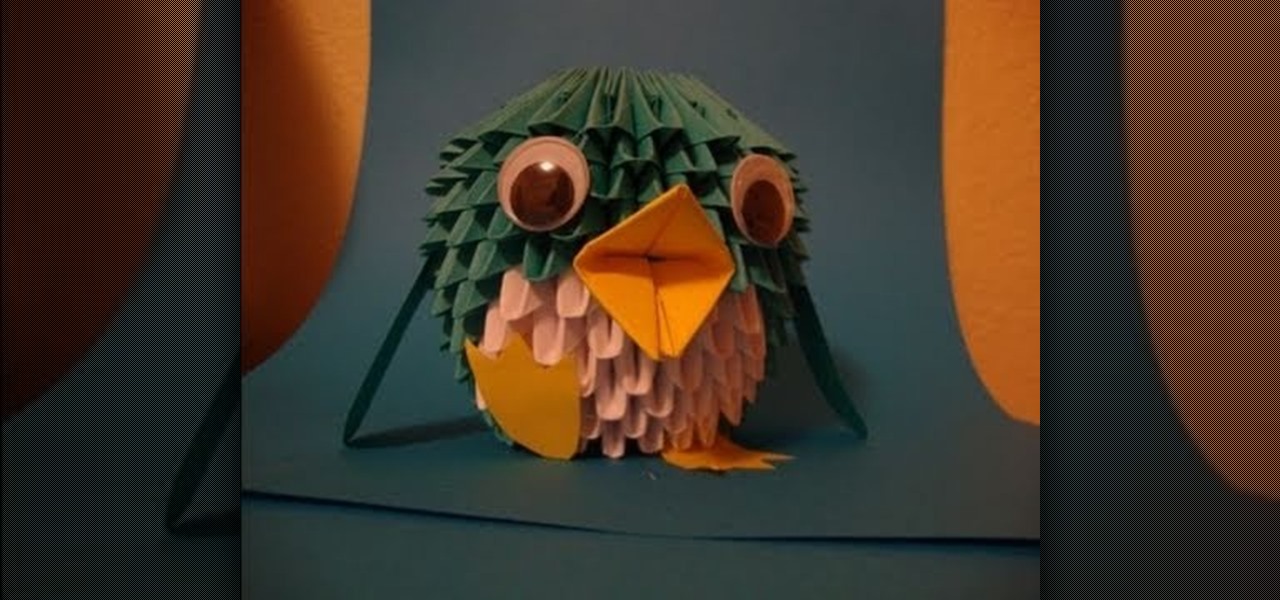
Looking to add specimens to your paper menagerie? Make a 3D folded-paper penguin with origami, the traditional Japanese art of paper folding. This free origami video lesson presents complete instructions for making your own penguin from a sheet of folded paper. For more information, and to get started making your own paper penguins, take a look!

In this video tutorial, viewers learn how to make molded paper. The materials required are toilet paper and stamps. Begin by wetting the toilet paper under some water and lay it down. Use about 10 layers of 2 ply toilet paper. Now press the stamp onto the wet toilet paper and then press down on the stamp with a towel or cloth. Remove the stamp and heat dry the toilet paper. Now let the toilet paper dry fully overnight or half of the day. This video will benefit those viewers who are intereste...

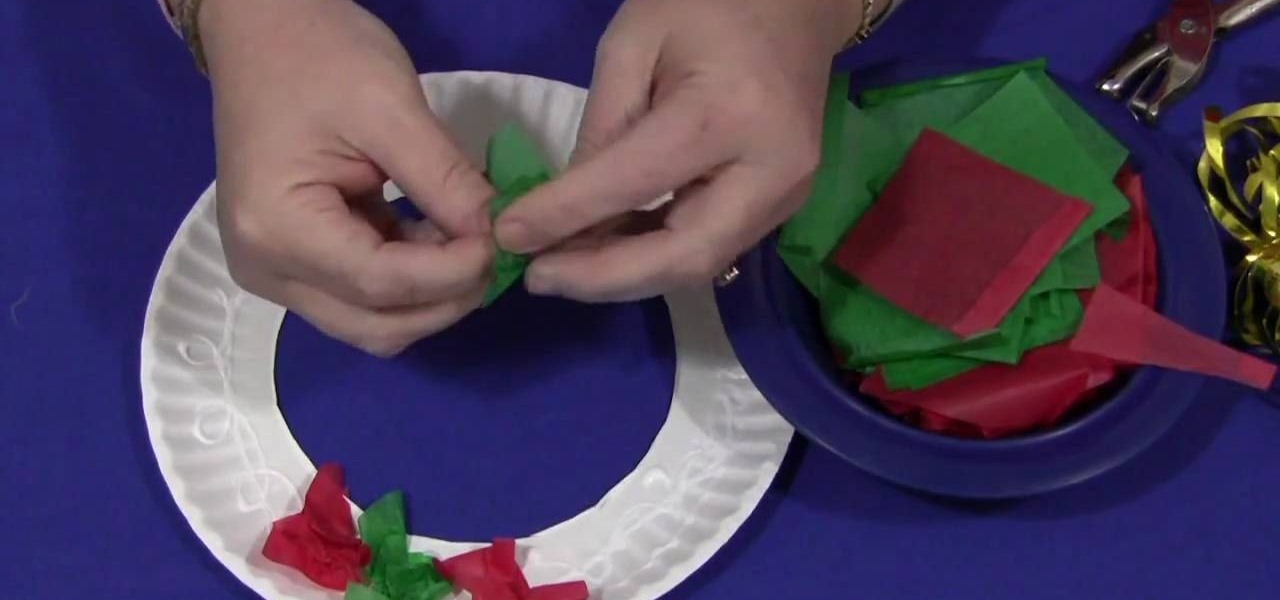
This is a demonstration of making a wreath with tissue paper. For this you will require tissue papers cut into squares, golden colored yarn, golden dust. For tools you require a pair of scissors, a hole punch, glue, paper dish. To start with cut the bottom of the paper dish neatly so that the uniform rim remains. Now apply glue to the rim in the form of spots and streaks. Now take each of the tissue paper pieces crush them and press on the glue. When the whole rim is covered with crushed tiss...

This is a video clip about "how to make a paper box". To make the paper box get a hard sheet paper and follow the instructions. Fold the paper into a half and unfold it and fold the other ending of the paper into half. Then, fold the one corner side of the paper and make a triangle to fit the center as the right triangle and do the same procedure for the other corner side of the paper. After that, fold the bottom side of the paper upwards and repeat the same process for the rest of three corn...

Two cousins teach how to make the perfect origami rose Obtain a square sheet of paper, preferentially origami paper. 6X6 is the best size for the paper, but 15X15 will also be fine. If the paper is not square, measure the sides and cut the paper to make it a square. Fold in the square sheet of paper diagonally, corner to corner and make a crease. Unfold the paper. Fold the paper diagonally the other way and make another crease. Fold in the two flaps of one side in to get a triangle shape. The...

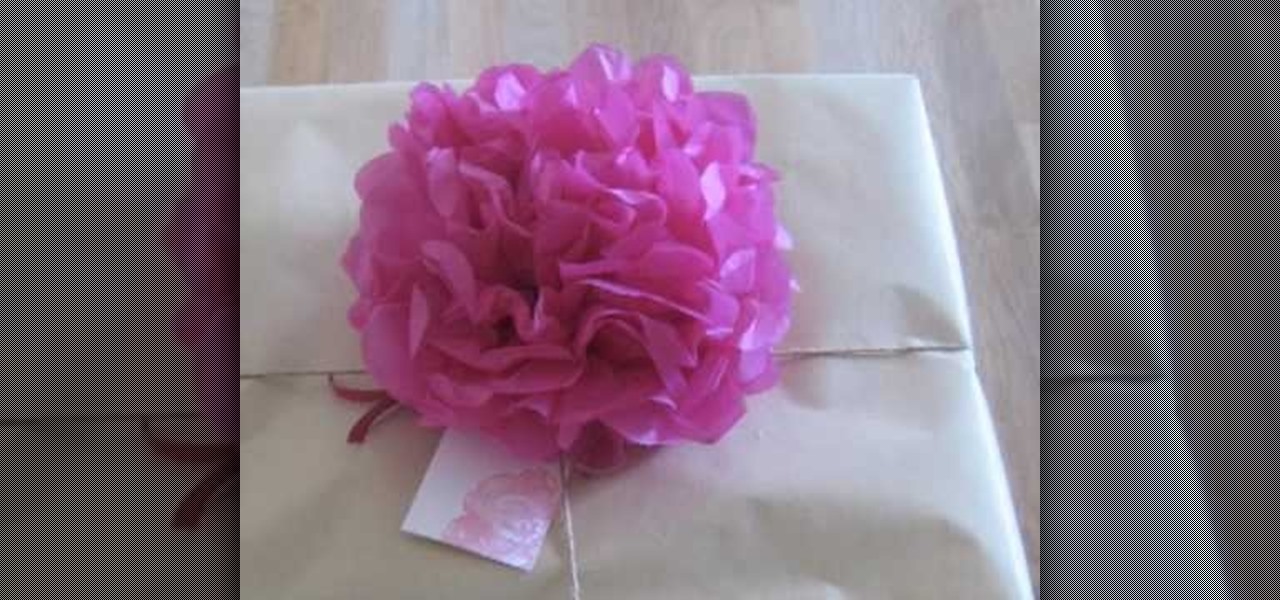
In this video tutorial, viewers learn how to make a paper flower. This video provides all the materials that are required in order to make the paper flower. The materials required include: colored tissue paper, scissors, and 10 cm of colored string. Begin by cutting the tissue paper to preferred size. Fold 1cm on the tissue paper, flip it over and do the same on the other side. Continue this until you've reached the end. Tie one end of the string onto the middle of the tissue paper and fold t...

Gamer Dude 5000 Arts and Crafts Demonstrator offers a short tutorial with a single sheet of 8 1/2" X 11" paper and pair of scissors. First you fold the corner of your paper out till the top half of your paper and the side of your paper is flush. You cut off excess paper with a pair of scissors. When you open the paper back up, you will have a square sheet of paper that you can fold. You fold all the corners of your square in to the center. Then you flip it over to the back and repeat. Once do...

Take an A4 SIZED paper. The paper is A4 size and it should be an INSTRUCTION paper. The paper size should be maximum, so that it will fly. Twist the papers into halves. Thus 2 papers are formed using folding. Put the papers horizontally. Fold them into half. So the papers are TWO HALF sized papers. Fold each OF the 2 halves again into 2 FOLDS. So the paper is divided into 1/4 papers. So the paper is divided horizontally 4 times. A line DIVIDES the paper in THE MIDDLE. This is arranged in such...

Check out this fun arts and crafts project for the holidays with this tutorial from Crayola. Learn how to make paper ornaments with your kids using Crayola products. You will need paper or paper shapes, hole punch, scissors, string, your favorite markers, cookie cutters, erasable colored pencils, and the Crayola Cutter. With this how to video you and your child can decorate your home for the holiday season with these paper ornaments.

Lizards and other reptiles are fascinating to learn about. Learn how to make paper mache lizards from a professional art instructor in this free crafts video series.

Ever wanted to draw a portrait of a friend or other person but you just didn't know how? In this free online art lesson on video, you'll learn how to draw portraits on coquille paper and be instructed by art expert David A. Clemen.

This tutorial video should help you make a "graffiti pen" with: a felt tip marker (not dried out), pliers, a hollowed out pen, and some paper. This is a great makeshift idea if you're trapped in school and don't have any sort of graffiti implement but you still want to fight the man.

Tutorial of how to quickly make and Origami Magic Ball! Get a piece of 20x40cm paper. Fold along side in 32 equal parts, by repeatedly folding the paper in half - using genderless folds. Fold the short side in 8 equal parts- using valley folds. Turn the sheet over and start diagonal folds - using valley folds into 32 parts. Roll paper out flat, and fold it zigzag following previously made genderless folds. At corner of paper, create a "water bomb" by pressing together previously made folds fo...

For a fun novelty project, try making a zoetrope at home. * A plastic coffee can lid


