
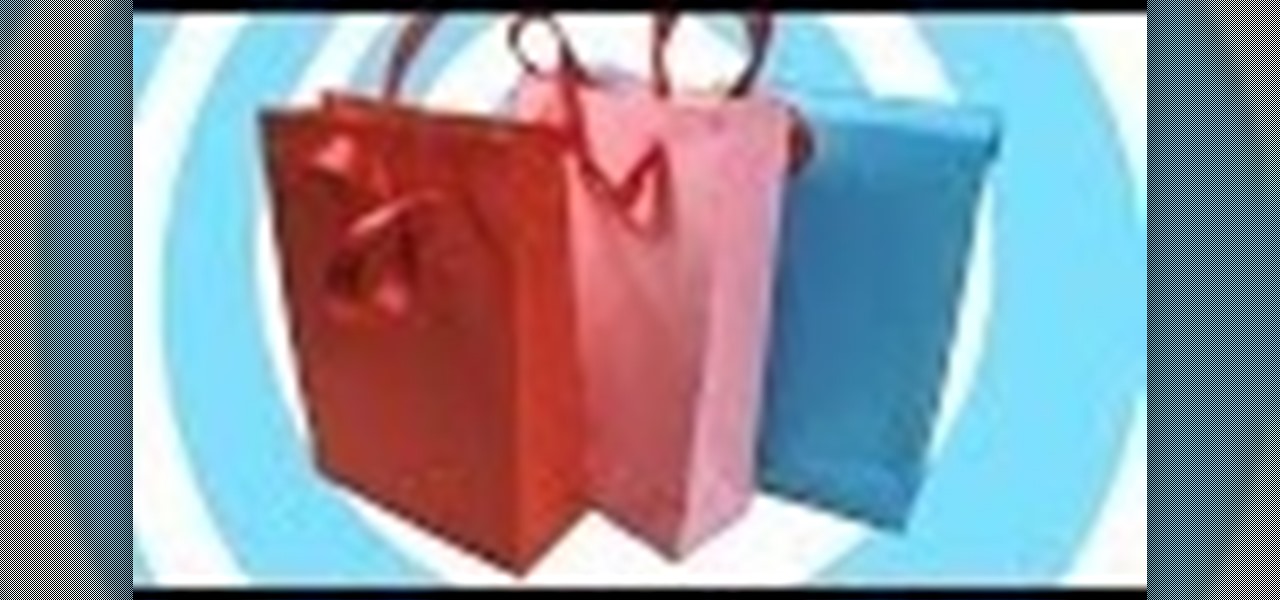
How To: Make a Paper Gift Bag with/Without Handles
Video: . Learn how to make a paper origami gift bag with/without handles tutorial.

Video: . Learn how to make a paper origami gift bag with/without handles tutorial.

How to make an origami basket with handle from sheet of printing paper (A4 or Letter). Video tutorial. You can use this paper basket as Easter decoration, picnic with kids, or just for fun.
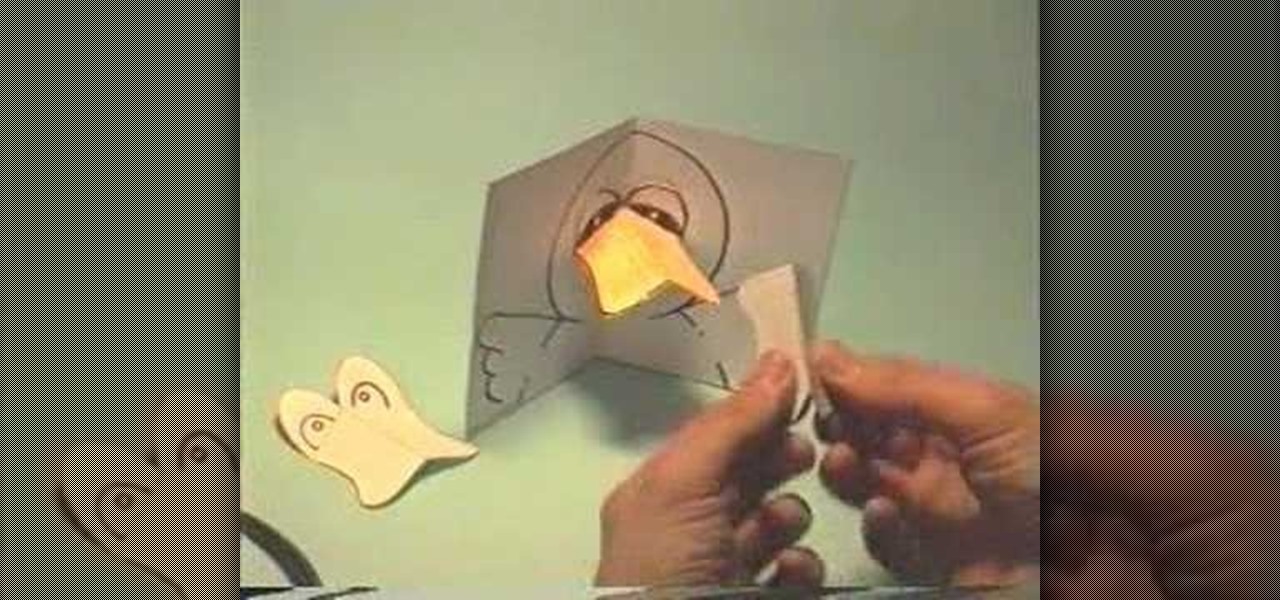
In this tutorial, we learn how to make a little duck pop-up card. First, draw a duck on a 4x6 piece of paper. Simply draw the big head with the wings coming out at both sides. From here, fold it in half so it closes together. Then, make another small piece of paper that has the eyes drawn onto it and the beak colored in. Place this on the duck to get it in the right spot. Then, adhere it with glue on the top part and fold it in again. Now, when it opens up in the card, the beak will pop up, e...

In this video, we learn how to make an Easter pop-up card. First, draw a duck with a little baby duck on a 4x6 piece of paper. From here, fold it in half so you can see the image on the outside. After this, use scissors to cut the middle, where the little baby chick is at. Cut the top and bottom around it, but avoid cutting the sides. From here, bend that piece left and right. Then, open up the card and bend it into the middle. From here, take a piece of paper with eggs cut out of it and bend...
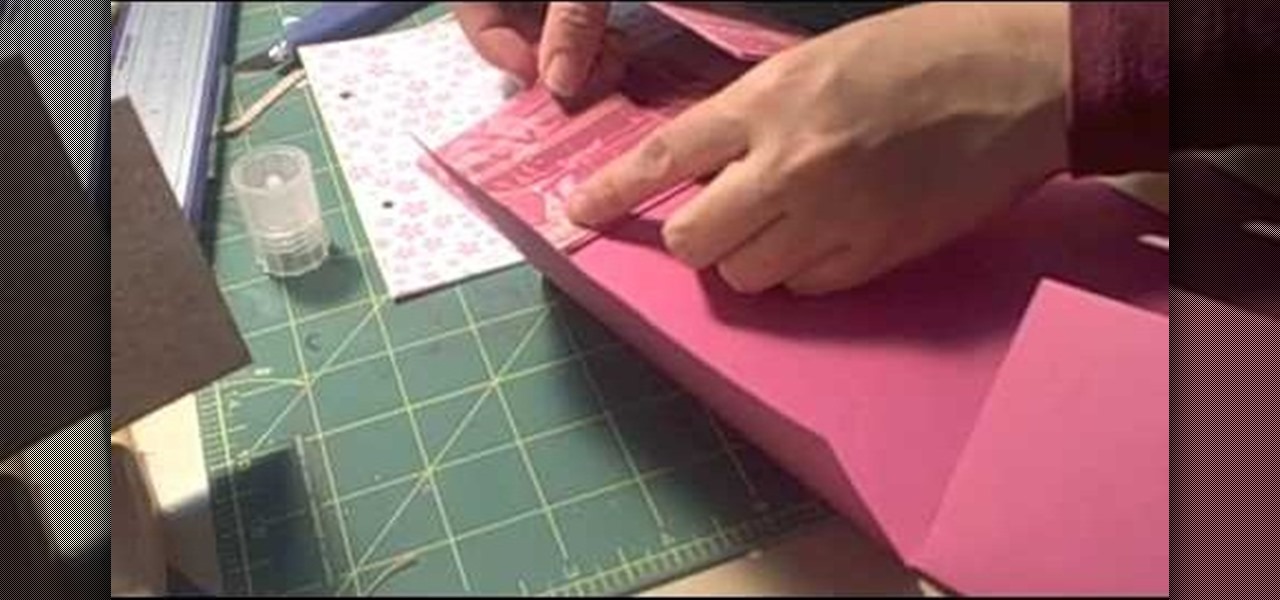
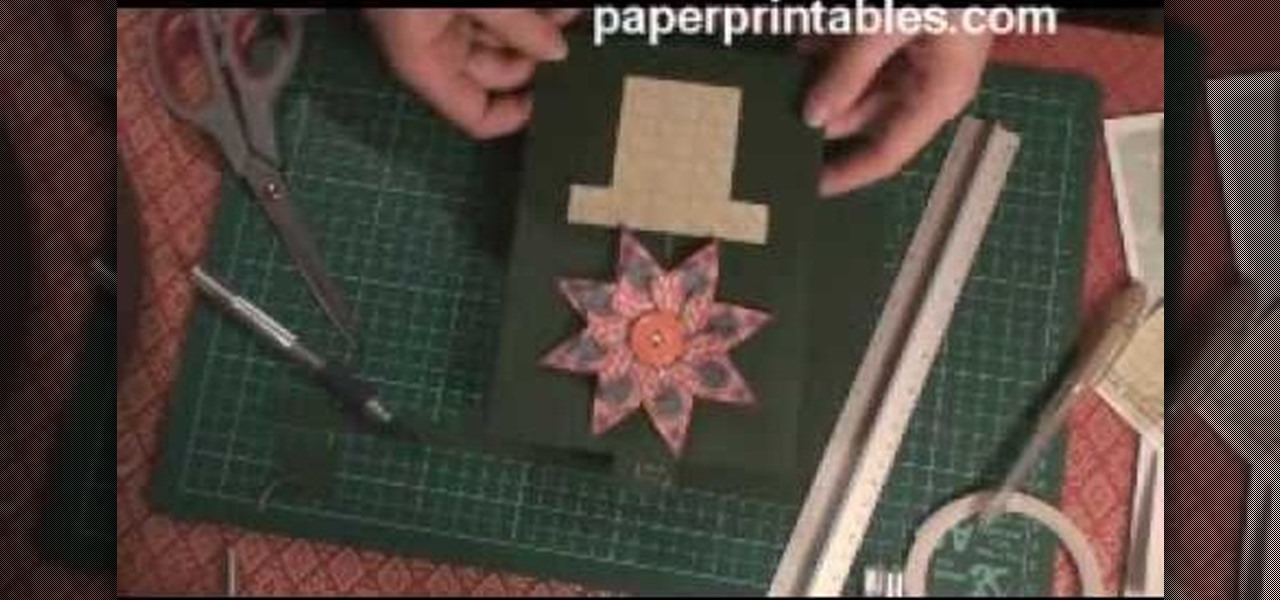
This video tutorial is in the Arts & Crafts category which will show you how to make a flip square album. Take a 12 x 12 inches square cardstock and make a score line at 3 inches on all 4 sides of the paper. Now cut along the score line at the top and bottom of the paper up to the 3 inch line. Next you fold along all the score lines inwards and you have all the flaps ready. Then mark along the edge of the center part of the sheet and punch two holes for tying the album as shown in the video. ...
In this video, we learn how to turn a composition book into a decorative notebook. First, measure your composition book, then measure out that same size on a piece of decorative paper. Next, put adhesive on the back of this on all four edges, then diagonally. Now, you will have a solid attachment for the paper to be placed on top of the composition notebook. Use a straight edge to push it down and it's completely flat. Then, use scissors to cut any excess paper off of the edges and corners. Y...
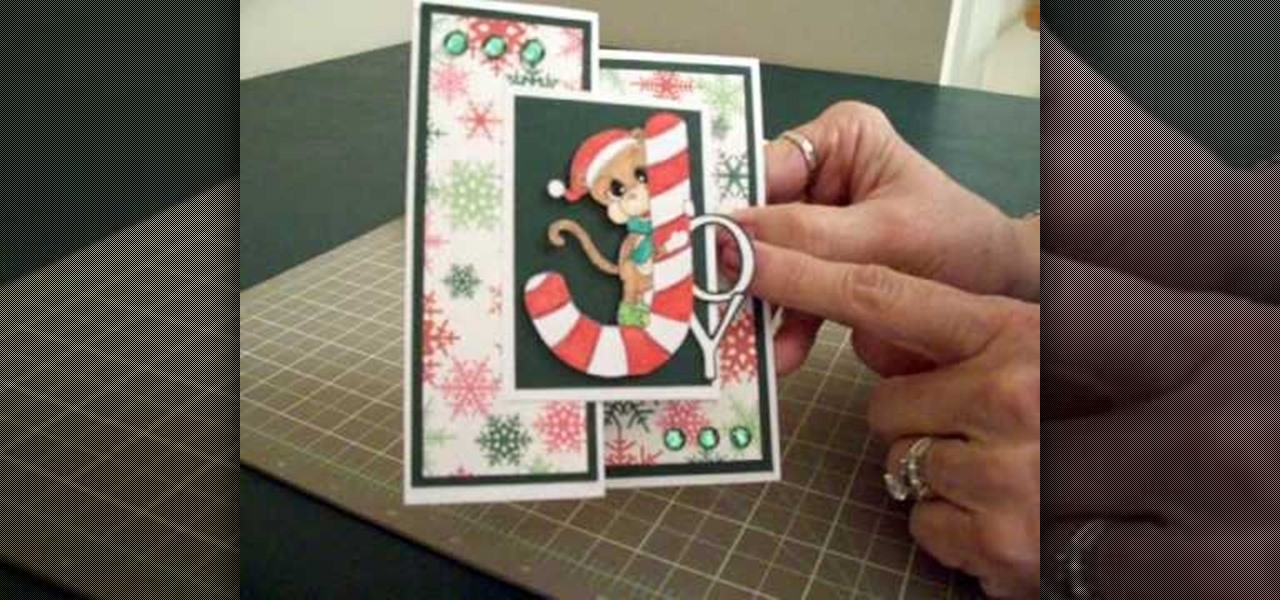
In this video, we learn how to make a Joy S-fold Christmas card using Cricut George. First, fold the card and mark it so it's in the S shape, then stamp the background of the card with colored snowflakes in different sizes and shapes. After this, use a black outline along the sides of the papers, then add in a black piece of paper to the middle of the top fold. Apply a monkey with a Santa hat to the front and wrap him around a J shaped candy cane. Add in the letters "o" and "y", then add in a...
To make a mini milk carton, you will need the following a big shot, Mini Milk Carton Die # 117310 (Occasions Mini) card stock, a clip, and sticky strip.
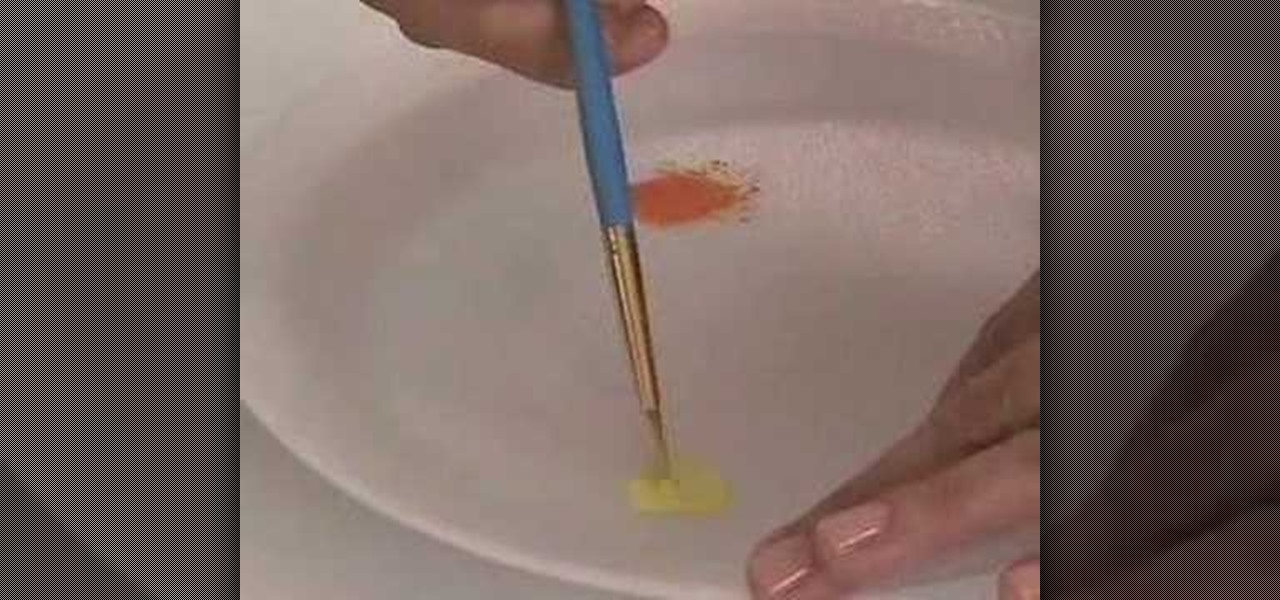
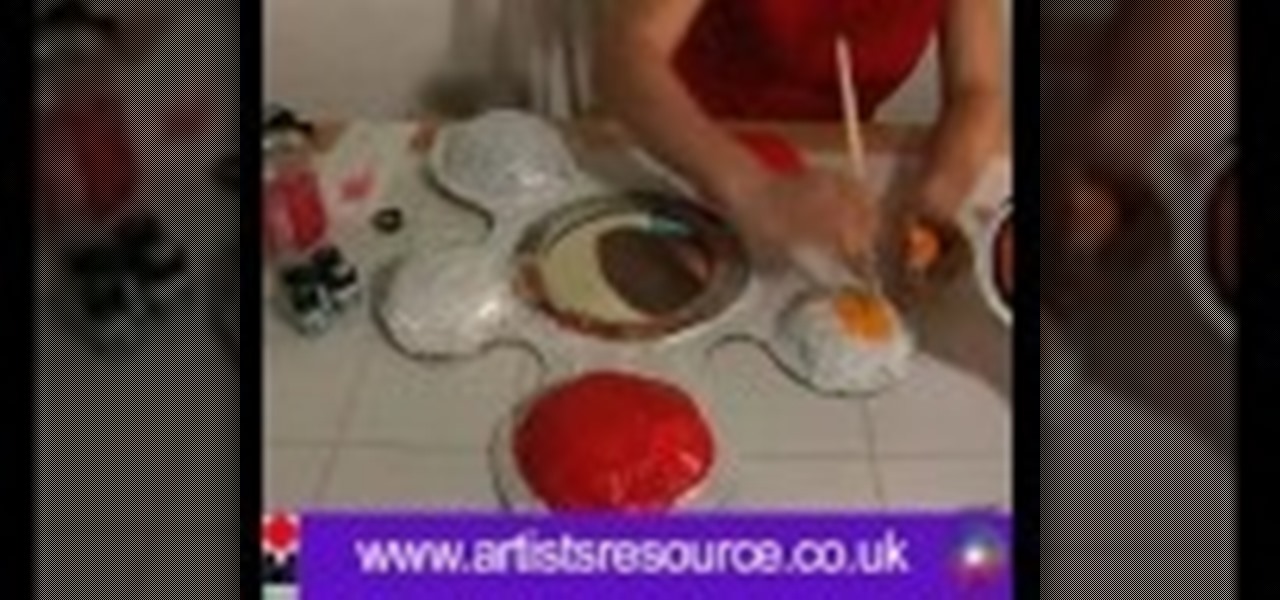
In this Arts & Crafts video tutorial you will learn how to use the cross stitch 'n paint technique. It combines simple back stitching and water color painting. Most of the materials are found in your kitchen. You will need wax paper, paper towels, and a plate to use as your paint palette, some water colors and paint brushes. After choosing your design, back stitch the outline on the fabric. Place the white paper towel over the wax paper and spread the stitched fabric over it. Now you are read...
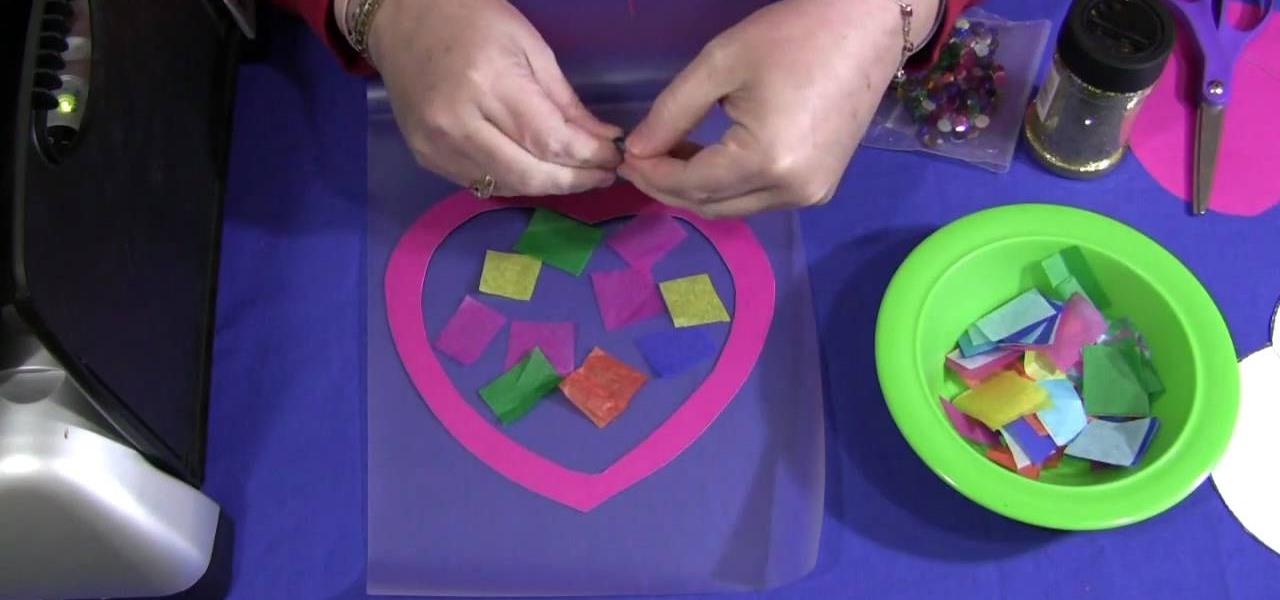
In this video, we learn how to make a sun catcher with your kids. First, you need laminating paper, two paper hearts, and scissors. First, cut the center of one heart out by sticking your scissors in and making your way around the heart. Next, place the outline of the heart inside of the laminating pouch, then decorate the inside of it how you prefer. You can use whatever you want to decorate the inside, including: glitter, crayon shavings, tissue paper, etc. Next, place the paper inside of a...
In this Arts & Crafts video tutorial you will learn how to make a growing flower pot card. First you make a flower out of a tea bag. Then cut out a piece of paper in the shape of a flower pot. Now take a couple of sheets of 8x4 card of the same color. Score one card in half and fold it. From the other card cut out a piece equal to the size of an A5 card, which is 14.85 x 10 cms. Now glue the flower pot shaped paper on to this card. Now cut a long strip of the card, 30 x 3 cms and fold it in h...

In order to make a Shaker card, you will need the following: a 2" square punch, scissors, card stock, clear plastic, paper, glitter, beads, decorative cutouts, and 2 sided tape.

Bored in class and need something to toss around? Check out this video!

In this tutorial, learn how to make a basic Christmas card in under 5 minutes using paper and glitter glue.
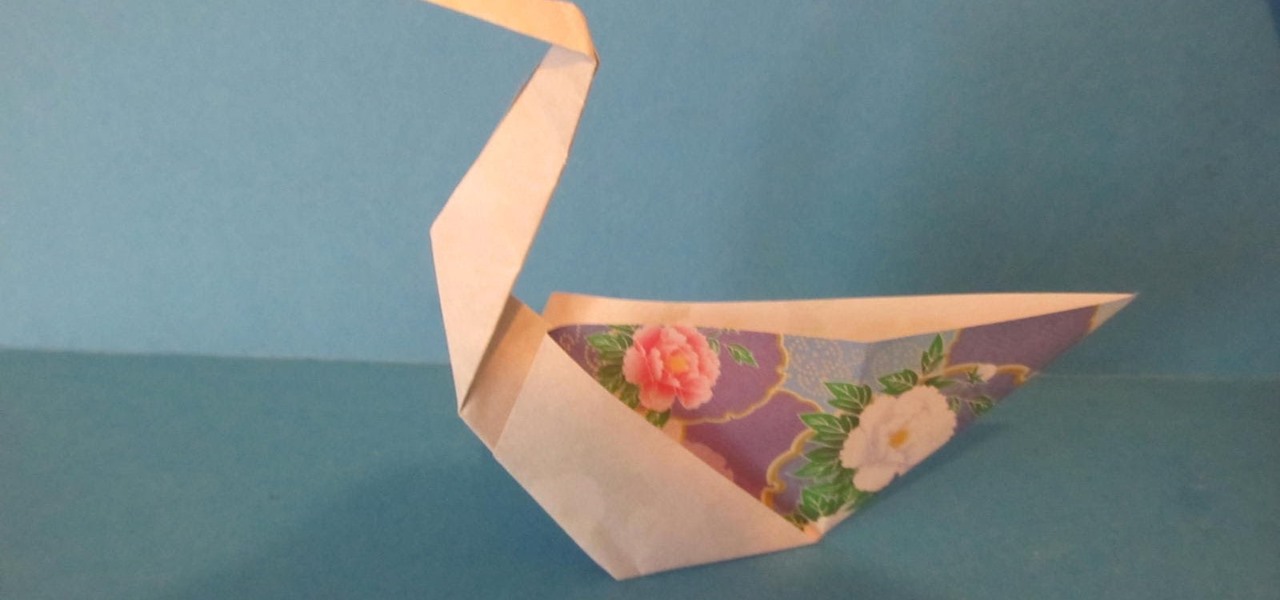
This video shows us how to fold a simple origami swan. Here are the following steps: Step 1: First of all take a paper and then crease it diagonally and then open the crease and then fold the paper on the crease line so that a cone is obtained with a triangle on the top.
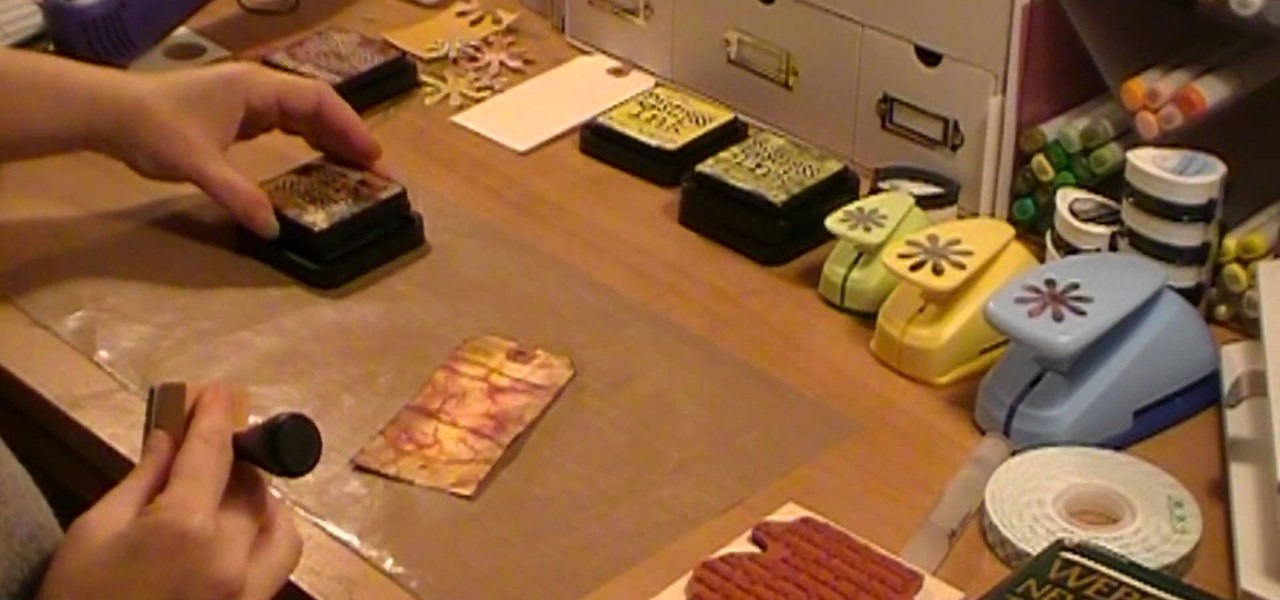
This video illustrate us how to make a Tim Holtz inspired tag with distress inks and water. Here are the following steps:
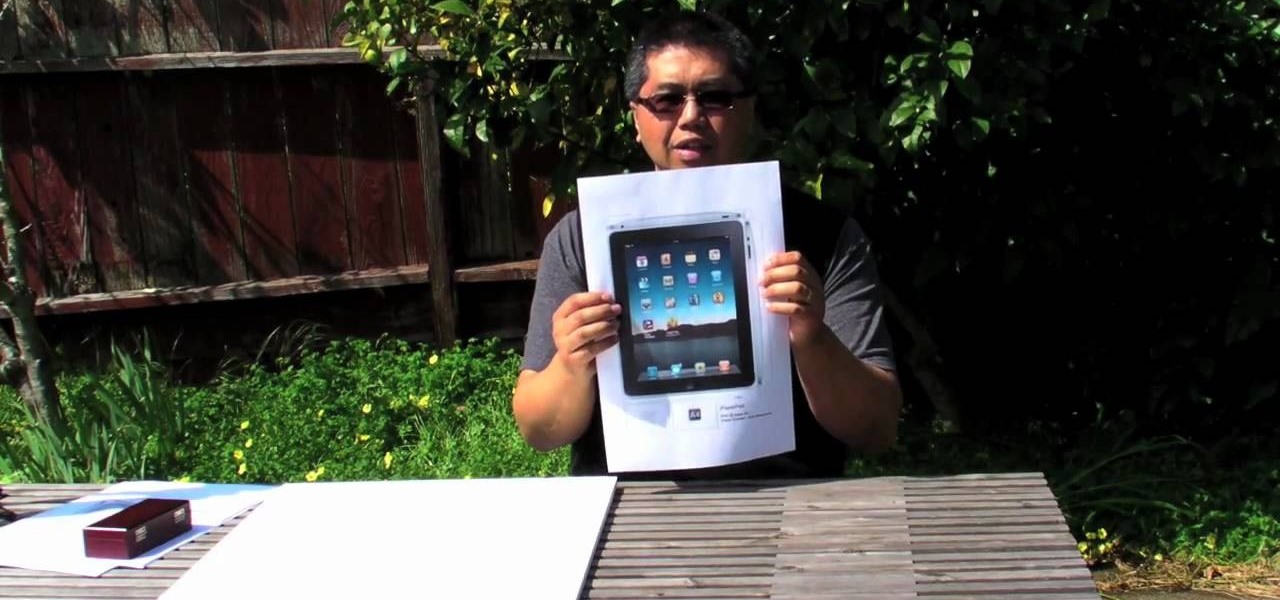
Do you know someone that wants an iPad but can't seem to afford one? Well, here's a great way to do an April Fools Day trick on that friend or family member by giving them a fake home-made iPad. Roman Loyola shows you how to make a fake iPad out of foam and paper. The tools you will need is a half inch thick foam board, a pair of scissors, a glue stick, a ruler, a blade, and most importantly a print-out of the iPad template. Start by cutting out a square of foam board that is the size of the ...
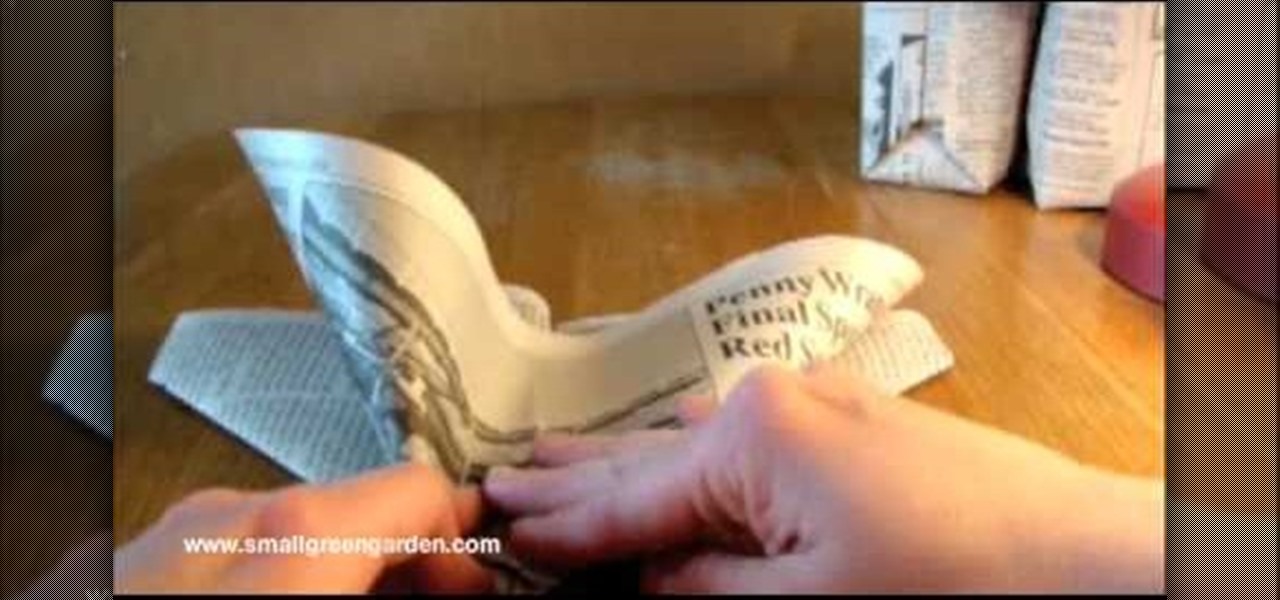
This video demonstrates how to fold a newspaper seedling container using a simple origami method. This is a free idea that incorporates recycling. Not only do these paper containers stand up well to moisture, they also will break down in the soil if you place it directly into your garden. Begin by using one half sheet of black and white newspaper. Lay it out length wise and fold it in half from top to bottom. Then fold it left to right. Next turn the paper so it is horizontal with the open si...
In this Arts & Crafts video tutorial you will learn how to use clear stamps & make a card. You will need acrylic stamps for this project. The products used in the video are from papertrayink.com. The stamps are clear and have a sticky back with which you can attach them to an acrylic base to make the stamp block. Then ink the stamp and stamp it on the paper. Since, it is clear, you can ass and align it properly on the paper. The other cool thing about acrylic stamps is that you can take more ...
This illustrate us how to make paper mache mirror. Here are the following steps.Step 1:Take a piece of cardboard and make two circle on it with two different circumference.Step 2: Now cut through the outer circle as well as the inner circle to obtain the rim.Step 3 : Now take a sheet of cardboard and cut it in shape of a flower.Step 4: In the center of the sheet place the rim.Step 5: Now along the petals of the flower stick a pile of rounded newspaper.Step 6 : On this newspaper and cardboard ...
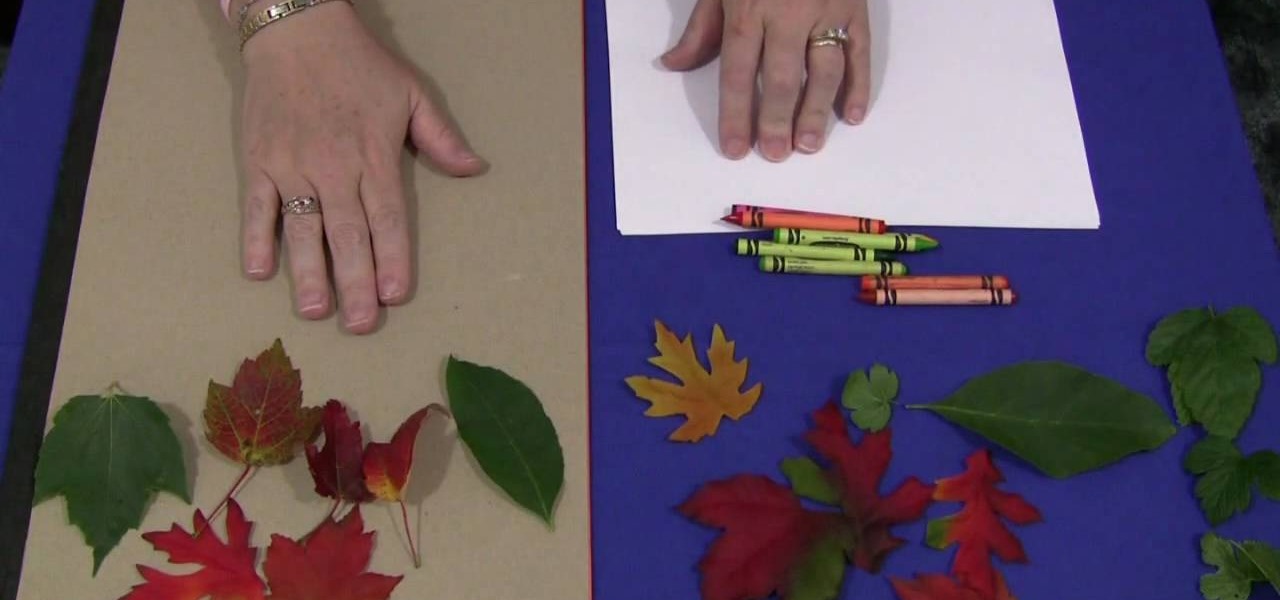
In this Family video tutorial you will learn how to do leaf rubbings for a children's activity. For this you will need a flat surface. If the table top in slightly uneven, put a sheet of construction paper on it. The materials you will need are sheets of paper, crayons and leaves. You can also use fabric leaves if your area doesn’t have any leaves. Take a leaf; put it upside down on a flat surface so that the veins are on top. Put a sheet of paper over the leaf and hold it down with one hand....
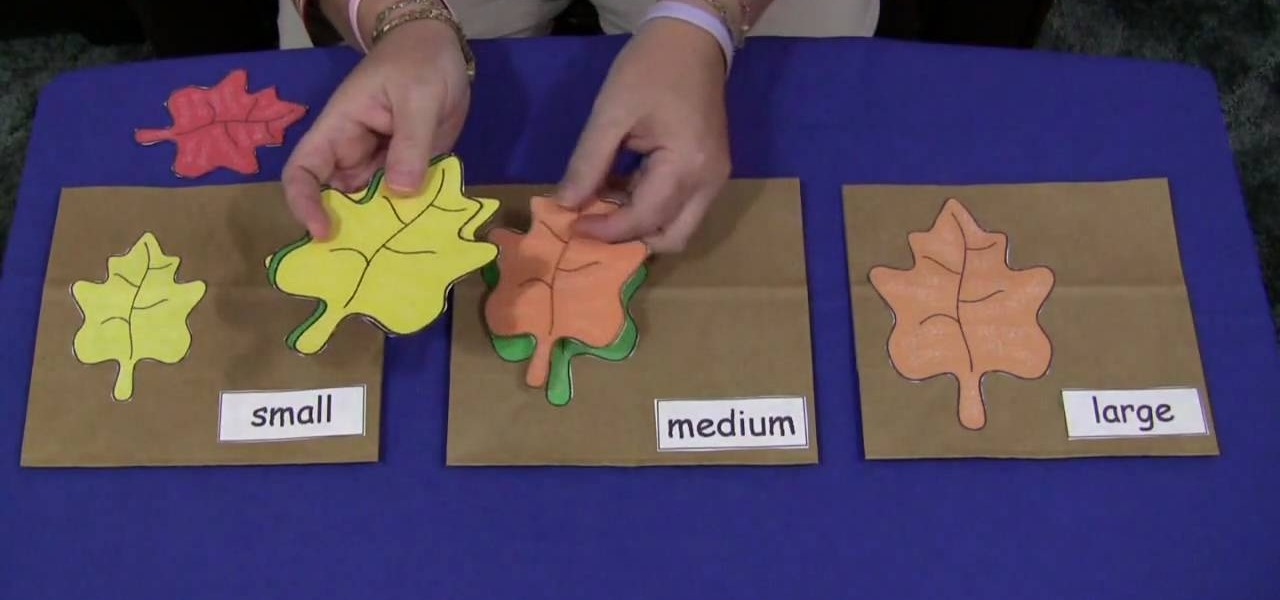
Shelley Lovett shares a great children's fall activity to help develop math skills - leaf size sorting bags. All that is required is three paper bags and some construction paper. Use the construction paper to cut out three different-sized leaves, and to make three labels saying 'small', 'medium', and 'large'. Then simply glue the small leaf and small label on one bag, medium leaf and label on the next bag, etc. To make the loose leaves of the three different sizes they place into the bags, si...
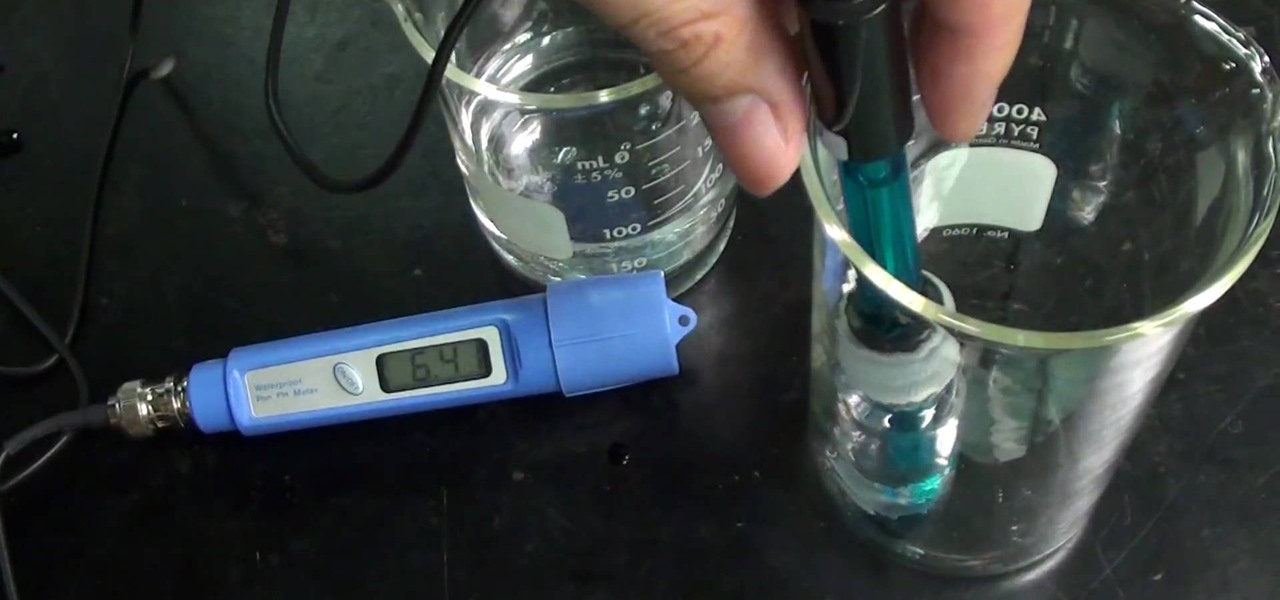
If you want to know the best way to get an accurate pH measurement, this shows the lab equipment needed and the processes used. When doing chemical reactions, sometimes the acidity or the basicity is important. This is usually defined as pH and measuring it can be very useful for getting the reaction right. There are a few ways to measure pH, and the simplest, cheapest, most reliable method is paper. But that's not all. See a whole lot of ways in this two-part video.
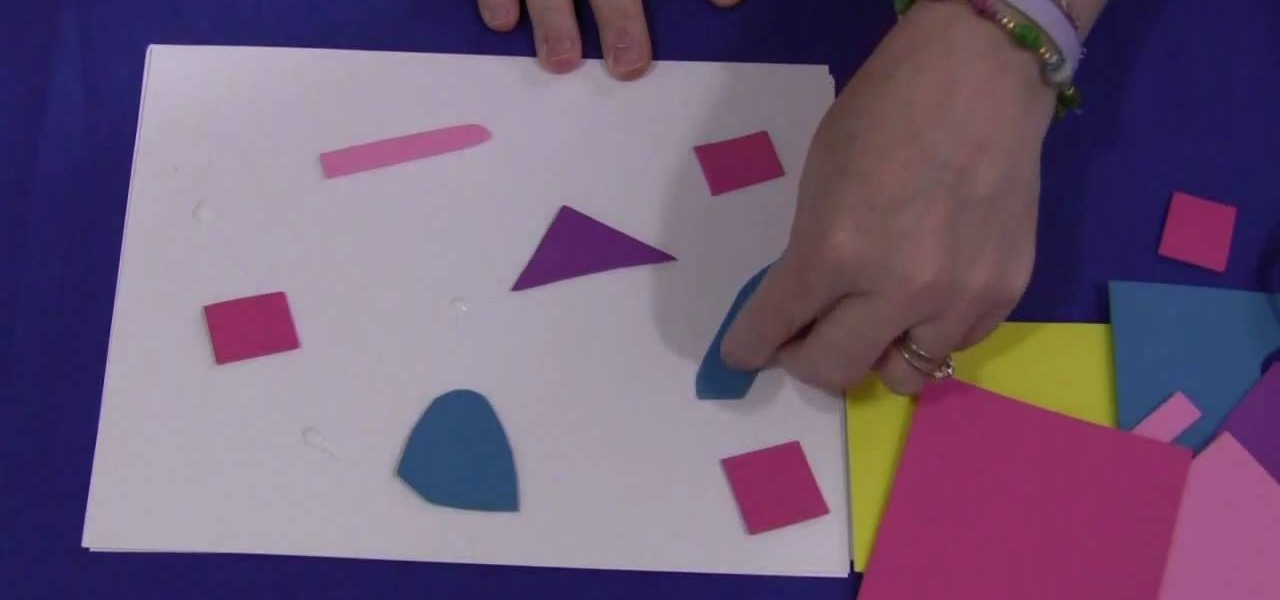
In this video tutorial, viewers learn how to make a foam collage. The materials required for this project are: card stock paper, several different colors of foam paper, scissors and glue. The project focuses on preschool, kindergarten, and elementary school crafts. Begin by cutting the pieces of paper foam into different shapes and sizes. Then simply apply glue on the pieces and stick it onto the card stock paper. Continue doing this to cover the entire sheet of card stock. This video will be...
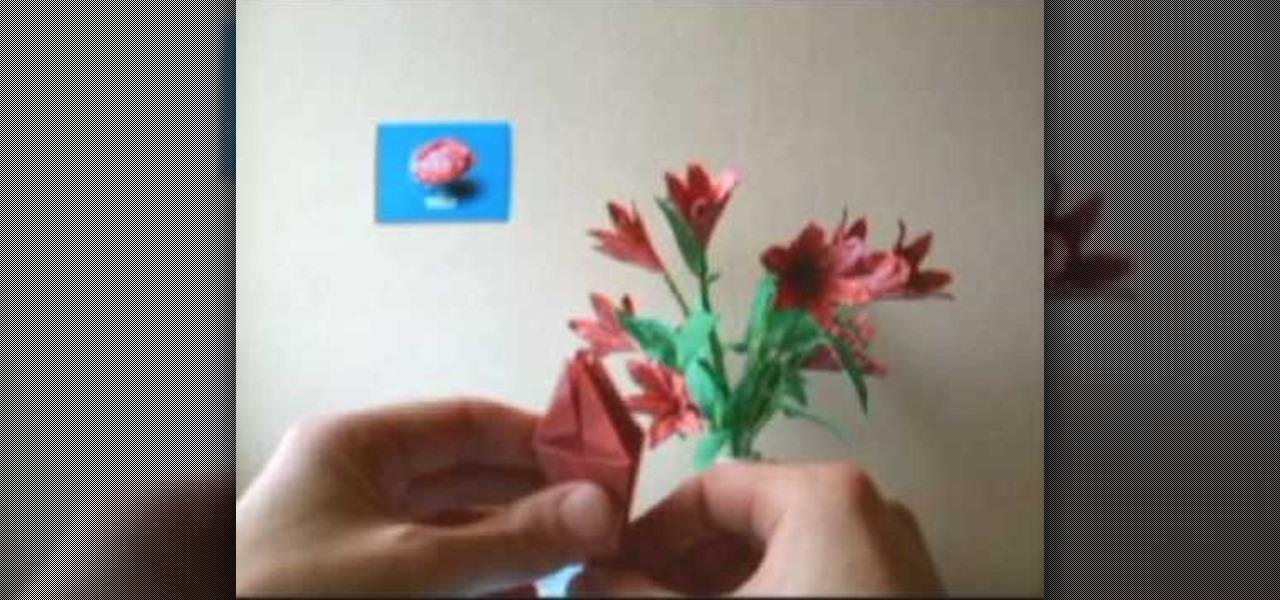
Adorn any headband, broach, pair of earrings, or pendant with these adorable handmade paper flowers! Learn how to make these precious accessories step by step using this two-part video tutorial as a guide. Step out in style & unique to your friends by dressing up regular store-bought accessories with your own hand crafted creations!

Learn how to wrap a textblock in this video tutorial. Wrapping the block allows you to protect the book's inner pages while you are working on the outside of the book. All you need to do is use some butcher paper, or any other kind of heavy duty paper you may have on hand. Lay the spine flush against one side of the paper. Open the front cover and fold the bottom sides into the book. Tape these ends together. Then, with the excess paper on the non-spine portion of the book, fold those ends in...
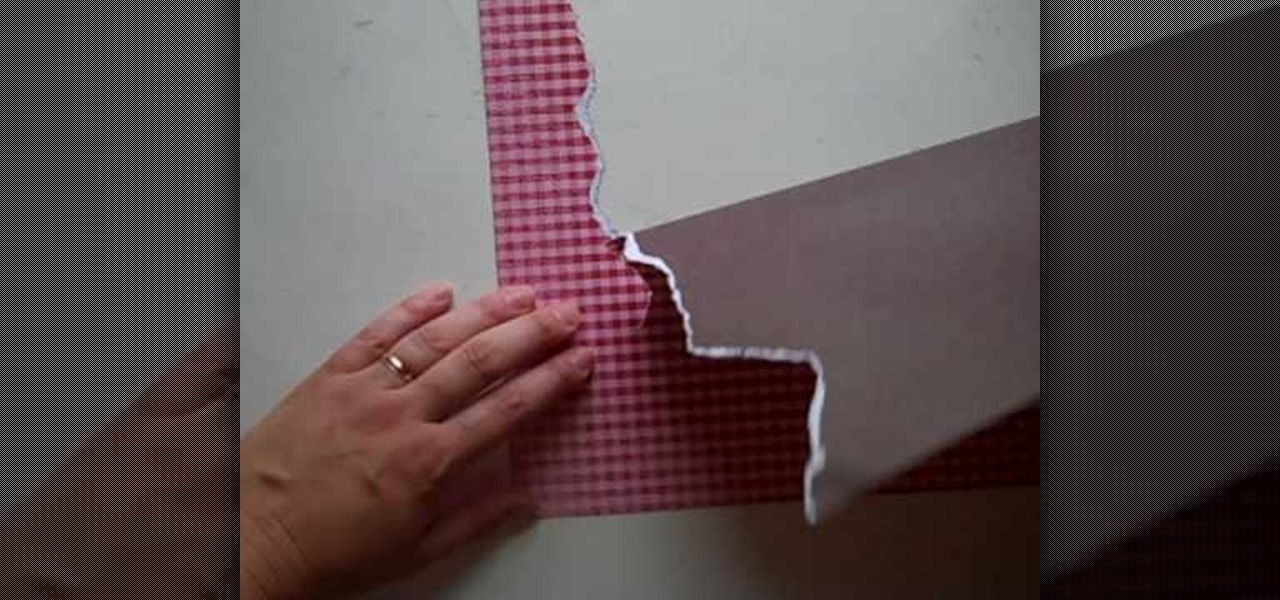
Want to create scenery to decorate your scrapbook? You can use torn paper to create this effect cheaply and easily. This video describes how. For example, if you want to create mountains, choose some brown paper, and tear in a jagged pattern, using your finger as a guide. If you want white-capped mountains, tear with the front side facing you. If you don't want white-capped mountains, turn the paper over and tear. You can also create other scenery. The woman in the video creates scenery such ...

This video will show you how to use the ‘find’ and ‘replace’ text buttons in Microsoft Word 2007. Microsoft Word 7 is slightly different from the Microsoft you might be used to but with these instruction you’ll have no problem finding the buttons.
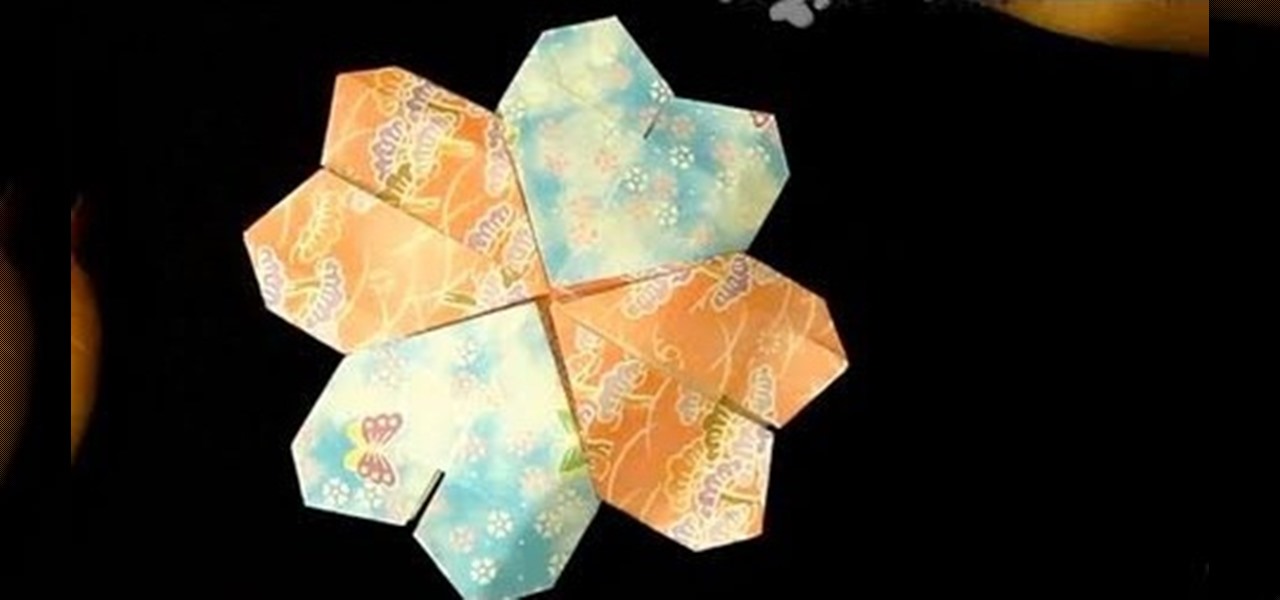
To fold an origami mandala heart you need to follow the steps below. First cut 2 triangles out of the paper you have, fold one of the triangles in half. Then, unfold the folded in half triangle and fold the top of the triangle down about two thirds of the paper. In this stage you will be making folds 3 and 4. Next, fold both of the side corners of the paper up to the top, creating the picture below. Now you will make folds 5 and 6. Then, turn the paper around. Now just fold the top flaps into...
Learn how to make simple tri-fold cards with these instructions. What you will need: -5 1/2" by 11" cardstock paper -Scorer -Scissors and paper cutter -Pencil and Ruler What to do: -Score the cardstock to 3" by 7 1/4" -Using the 3 3/4" flap, from the corner measure 2 1/2" and mark with a pencil. -Repeat on the horizontal side of the cardstock. -Cut the corners using the marks as your guide. -Round the pointed end with your scissors. -Fold the card at the score line. -Embellish your card as de...
This video illustrates the transfer of paper patterns on woodworking projects with Lowe's. If you have a pattern in a piece of paper for the woodworking project. Draw the grid for the pattern in a piece of paper. Even though, the piece of wood is six times larger than the pattern in paper. Draw the grid in the wood with One and half inches by the use of ruler. Then check out each and every box of grid in a pattern, trace the shape of each boxes in the wood. After finishing all the grid boxes ...
Joann from Emerald City Elegance teaches is how to make a creative business card holder in this short paper craft video.
If you have ever thought about making a paper-bag album for artist trading cards, this is the video for you. Ozsomenurse captures this in a simple video saving you money. The required materials are easy to acquire. They are all available at your local craft store. This video provides very descriptive and easy to follow instructions. The finished product is a cute, hand-crafted album for your artist trading cards.
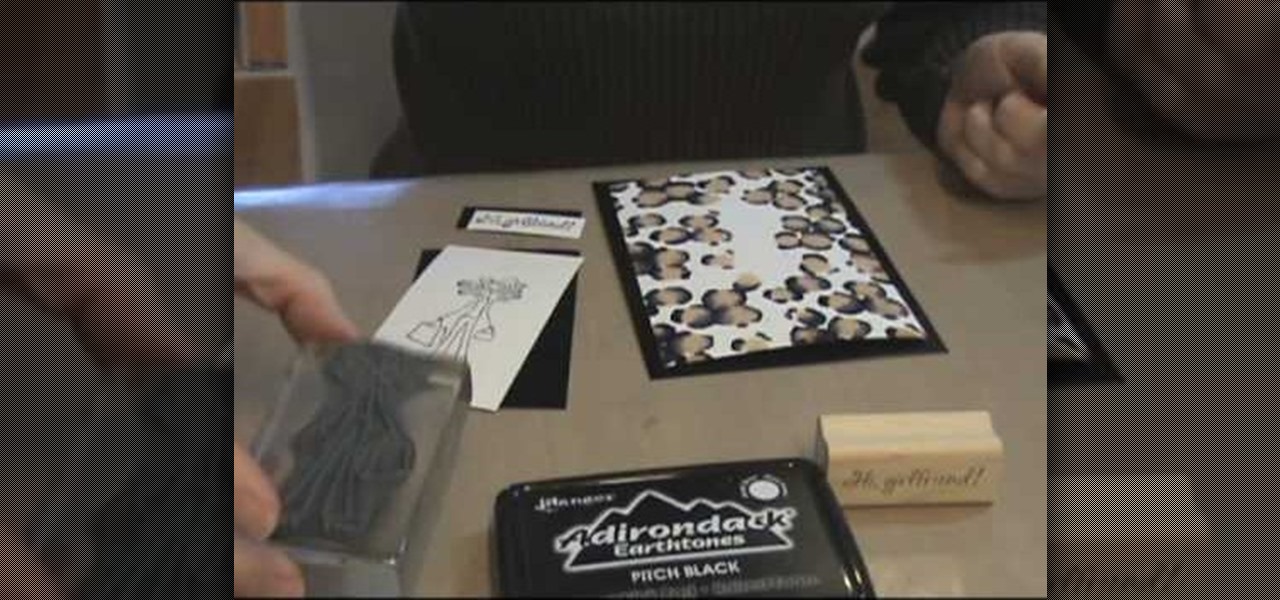
Create some great leopard prints with Ranger's Alcohol inks. The needed items are: 1. 5" Gloss sheets in white and in black color
Framing and matting your favorite posters or art can get expensive! In this Curbly video tutorial, you'll learn how to make a quick and inexpensive frame. All you need are some basic supplies available at almost any arts and crafts supply store including: A sheet of plywood, a plexiglass cut to the size of the plywood, archival paper cut to the size of the plywood, frameless corner clips, and a bracket.
Origami amaryllis folded and designed by Joost Langeveld. The stem for this flower is made of two large papers. The flowers themselves are not very difficult to fold.
Folding this tiger lily is almost the same as folding a normal origami lily, but for this tiger lily a hexagon shaped paper is used.
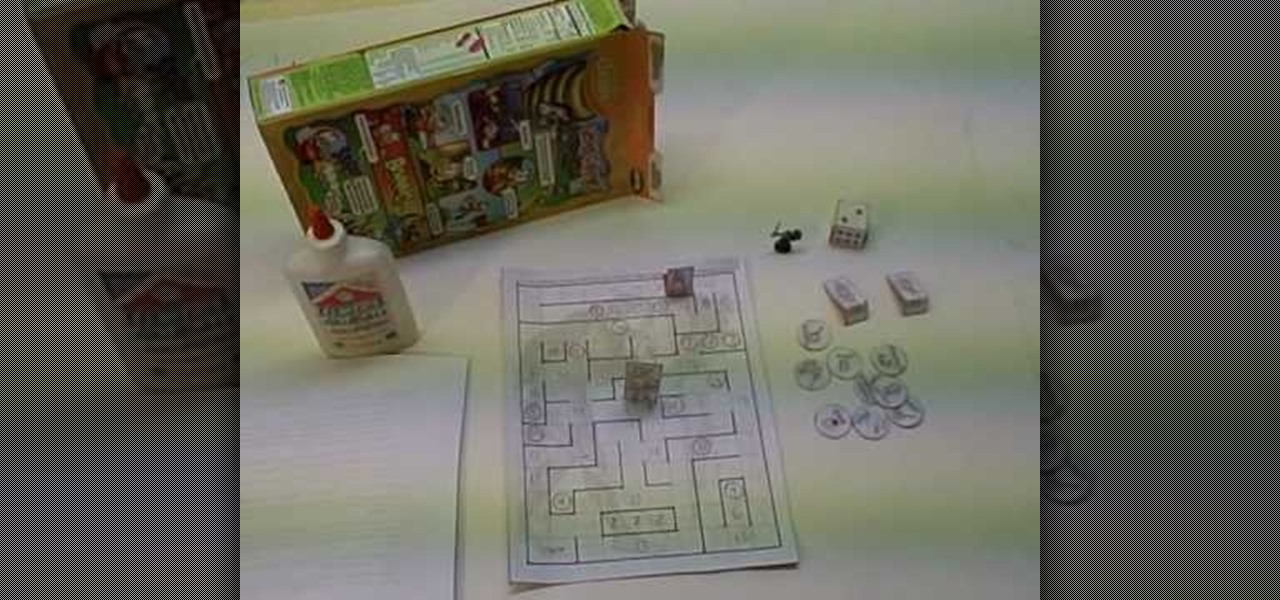
Check out this video tutorial to see how you can make a paper role playing game. This is a fun little fantasy game that you can download and print on your computer, then cut out, assemble, and play! It is called "Enter the Labyrinth and Rescue the Princess".
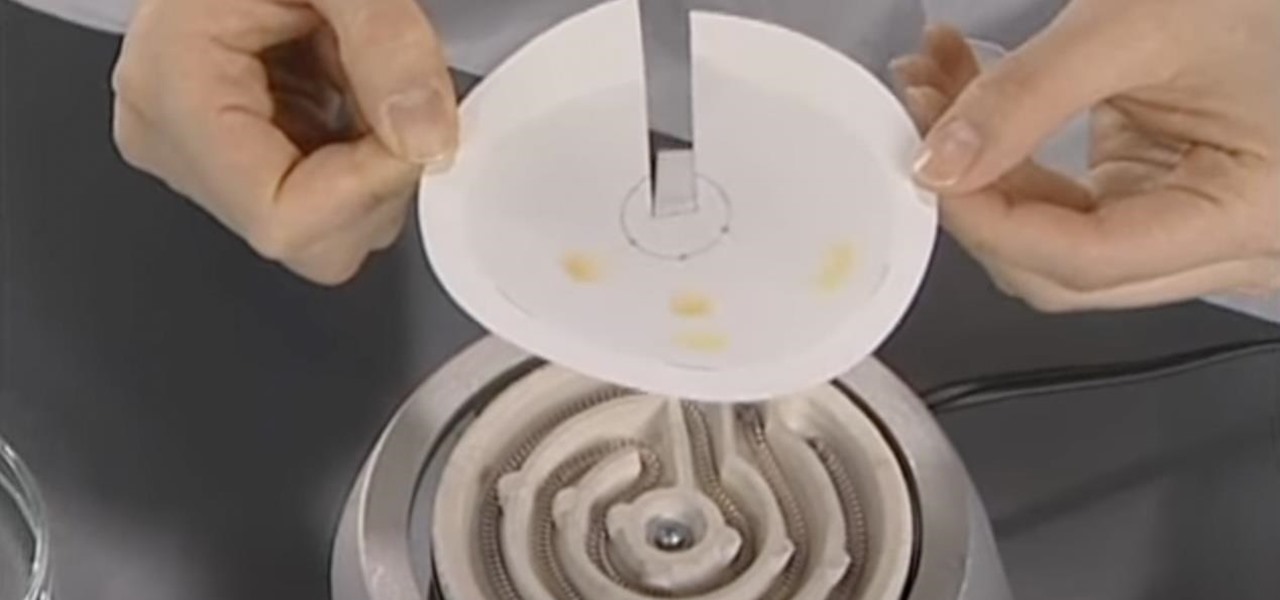
Find out how everything in a chemistry lab works, from pipettes to burners to recrystallization to storage. You'll get precise instructions on how to work and perform certain scientific duties in the chem lab, whether it's chemical or just ordinary high school science.
Find out how everything in a chemistry lab works, from pipettes to burners to recrystallization to storage. You'll get precise instructions on how to work and perform certain scientific duties in the chem lab, whether it's chemical or just ordinary high school science.