This week on Etsy How-Tuesday Kristen Couse aka cakehouse shows us how to make a decorative holiday trivet for the dining table. You can spice up your home decor, whether you're hosting Christmas or a potluck with friends!

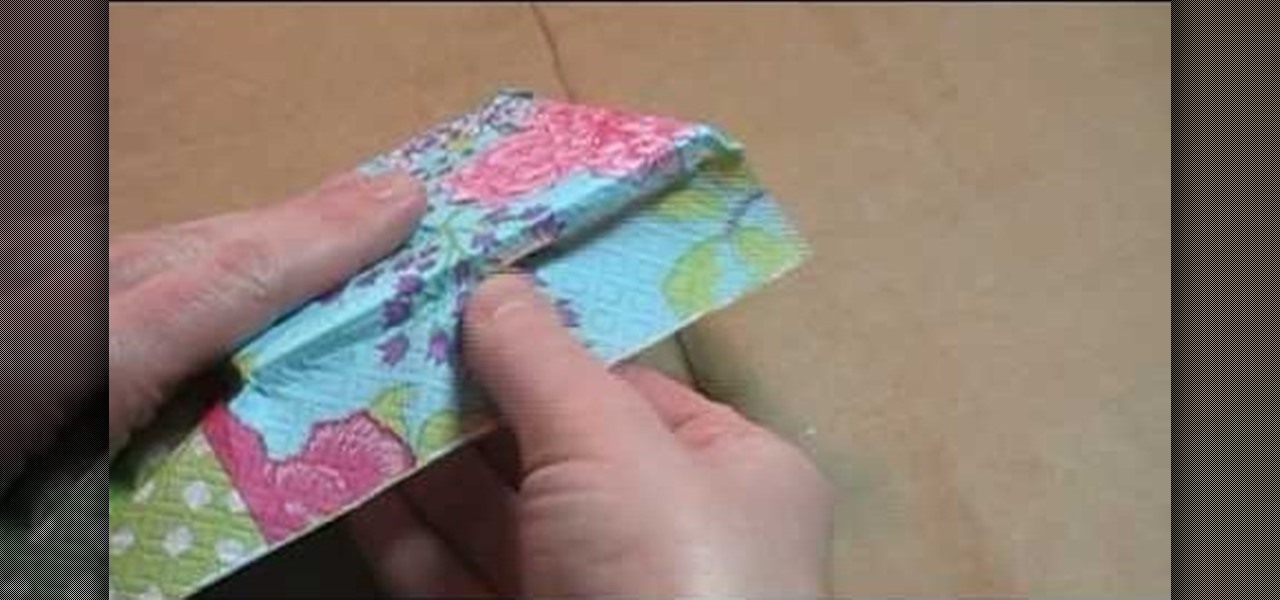
In this how-to video, tag along with Karen from Yasutomo as she creates a scrapbook wallet that's perfect to keep in your purse. She uses origami paper folding techniques and one sheet of 12" x 12" patterned scrapbook paper. Plain manila tags from the office supply store are the background for photos that are just right for the pockets of the wallet. You end up with a brag book that's worth bragging about. Watch this video crafting tutorial and learn how to make a tag along scrapbook wallet.

Watch this two part instructional painting video to paint wisteria flowers from life with watercolor on Chinese rice paper. This fluid style of painting takes lot of practice and does not allow for mistakes. Every brush stroke counts. Get out some news print to practice painting the beautiful flowers in your backyard.

For this trick you need a glass, a coin and a large piece of paper. 1. Sit at the table.
Check out this DIY video tutorial from Curbly, the best place to share pictures of your home, find design ideas, and get expert home-improvement advice.
Check out this DIY video tutorial from Curbly, the best place to share pictures of your home, find design ideas, and get expert home-improvement advice.

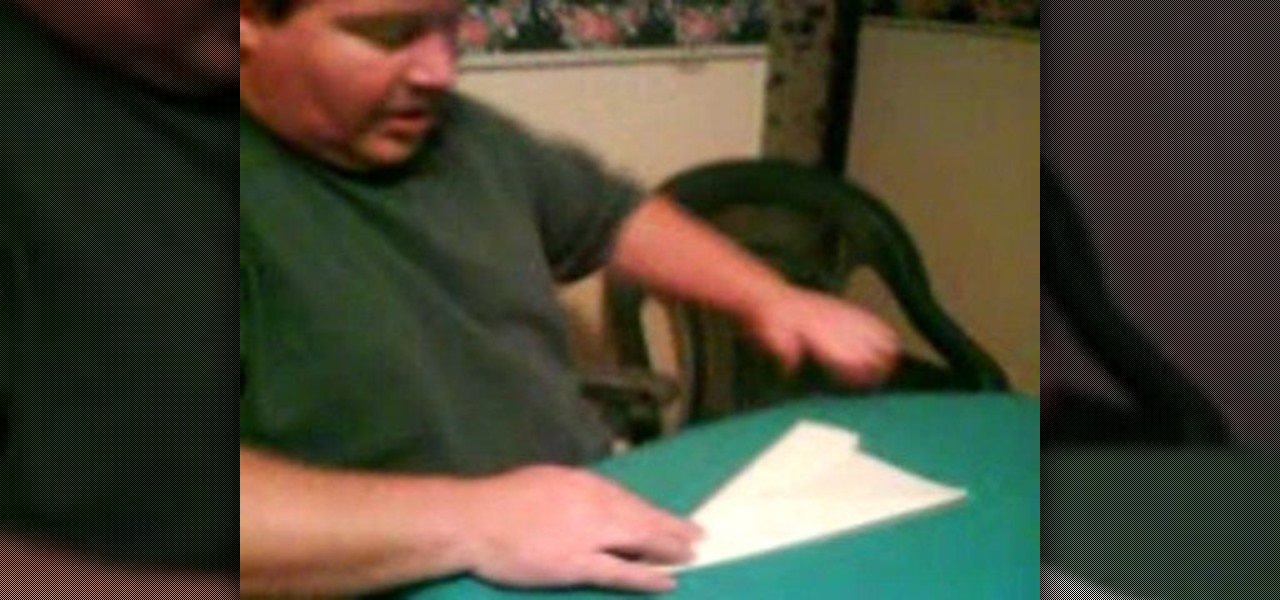
This video explains how to make a paper airplane for effectively. The first step is to fold your basic piece of paper into a triangle shape. After the creases in the paper have been created you must unfold the paper again. The second step is to fold the paper in another triangle shape starting from the opposite corner. After the shape has been formed you must refold the original triangle shape of the adjacent fold. The narrator then makes the plane into a smaller triangle shape by again foldi...
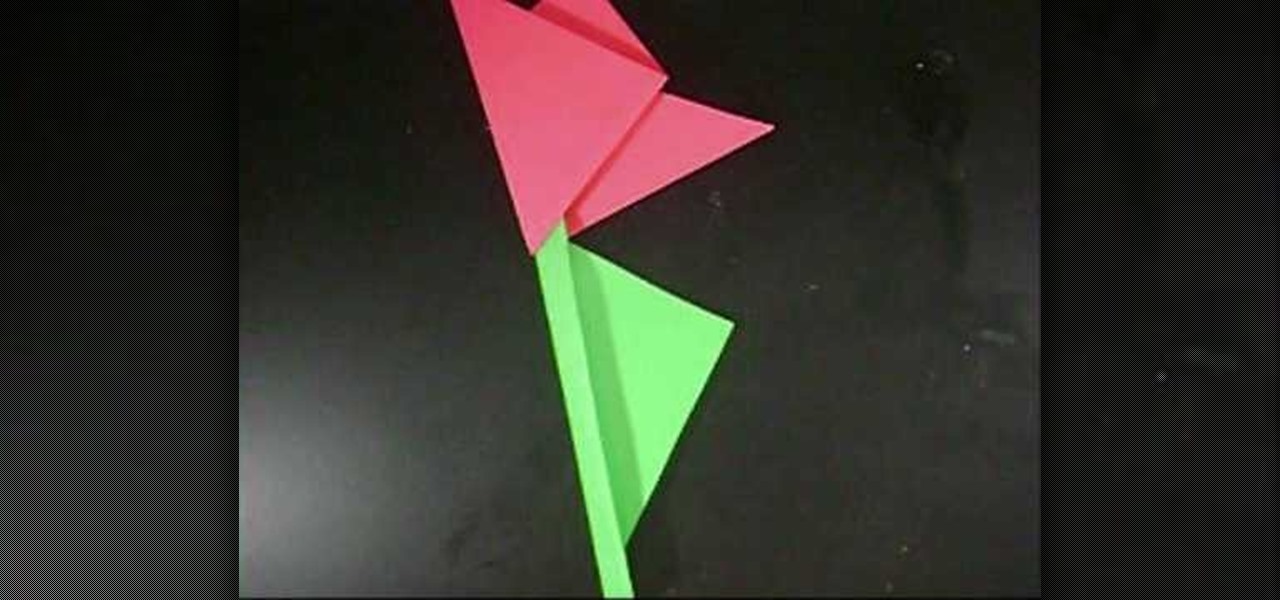
This isn't your standard origami for kids. It's more like "craft-igami". The difference is the glue. Origami is strictly and art with paper— no epoxies required, but when you throw a little glue into the mix, it becomes the perfect kids project. This paper tulip flower is the perfect paper project to start out your children in the wonderful world of paper crafts. To make this paper tulip with your kids, you'll need:
Origami is the art of folding paper into cool things. Watch this video to learn how to make an origami paper cube! Start with a full sheet of regular 8.5 by 11 inch paper. Then fold one corner over to make a triangle and a rectangle. Fold the rectangular part of the triangle. Then rip off the rectangular part leaving you with a triangle, and when opened a square. Then fold the paper in half. Then open the square back up and fold into fourths. Watch the video to learn how to make the rest of t...
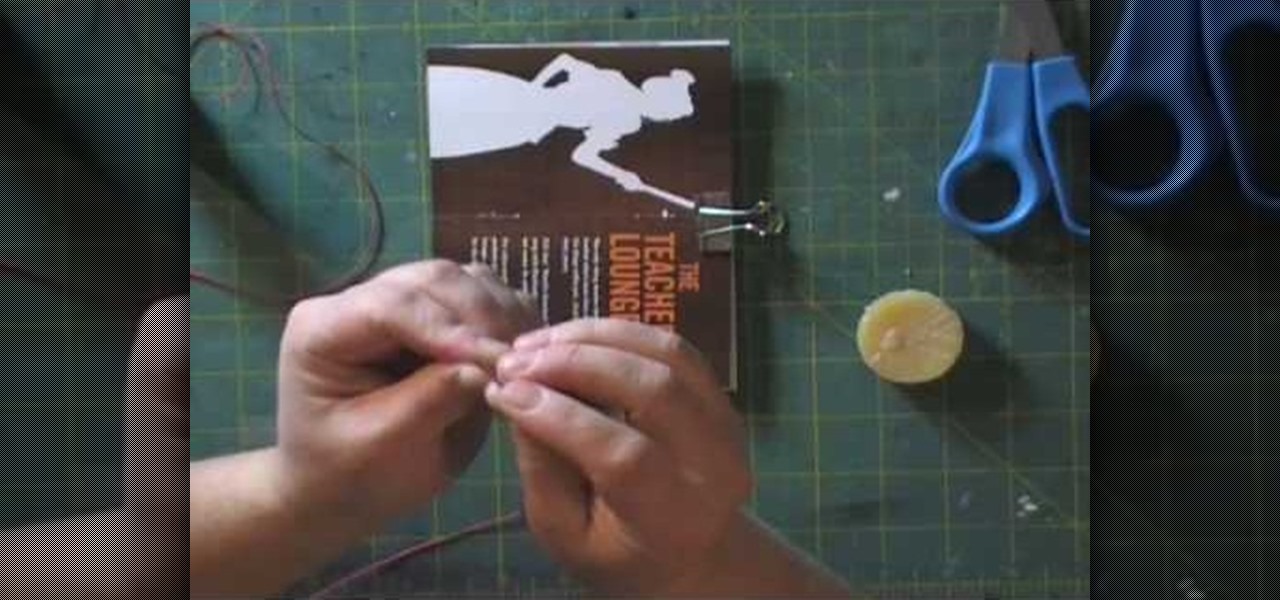
To make a journal made of junk you're going to need a couple of things. First an unbleached linen thread because it doesn't bleed out into your work, you'll need a candle, a binder clip and a stack of papers. The papers you need to fold down the middle and put in four evenly spaced holes down its spine so that it looks like a book. Use the clip to hold the papers together while you measure the thread. The thread needs to be three times the height of your book. Wax this thread using the candle...
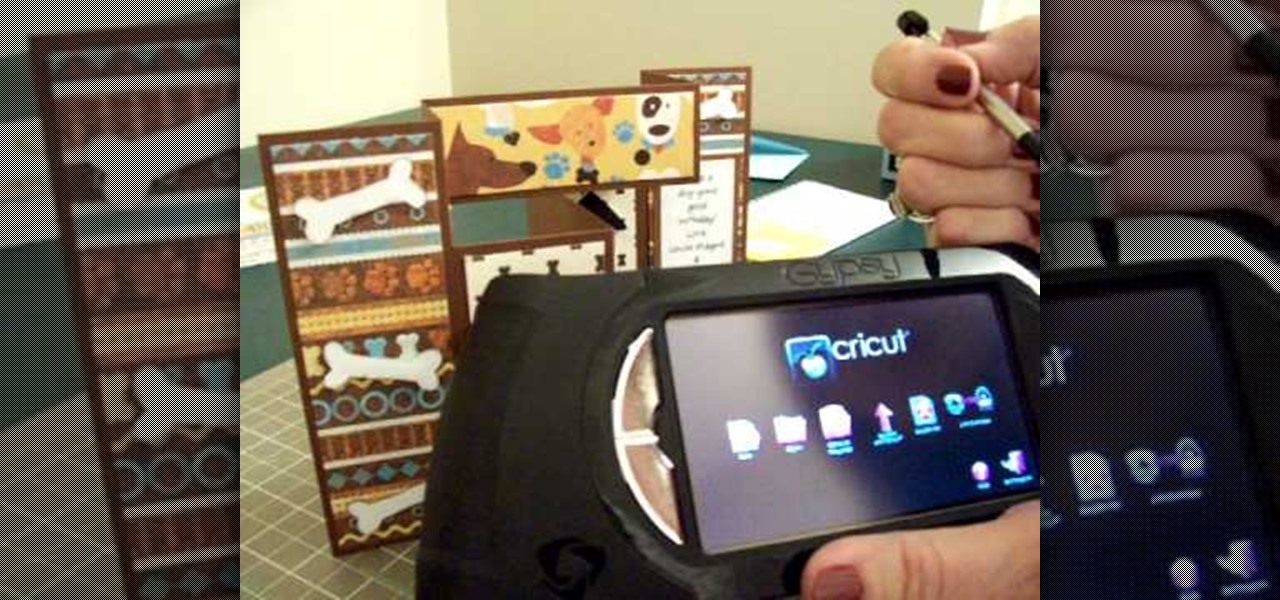
The queen of cute cards CardCrazy09, shows viewers how to make an adorable tri-fold card using products from Die Cuts with a View (Pet Stacks) and products from the Cricut personal die cutting machine and the Gypsy portable design studio. CardCrazy09 demonstrates how she used two cartridges from the Cricut in her design, the Doodle Charms and Paper Pups cartridges. She also shows how using the Gypsy Portable Design Studio allows card making gurus to size their designs to scale. CardCrazy09 sp...
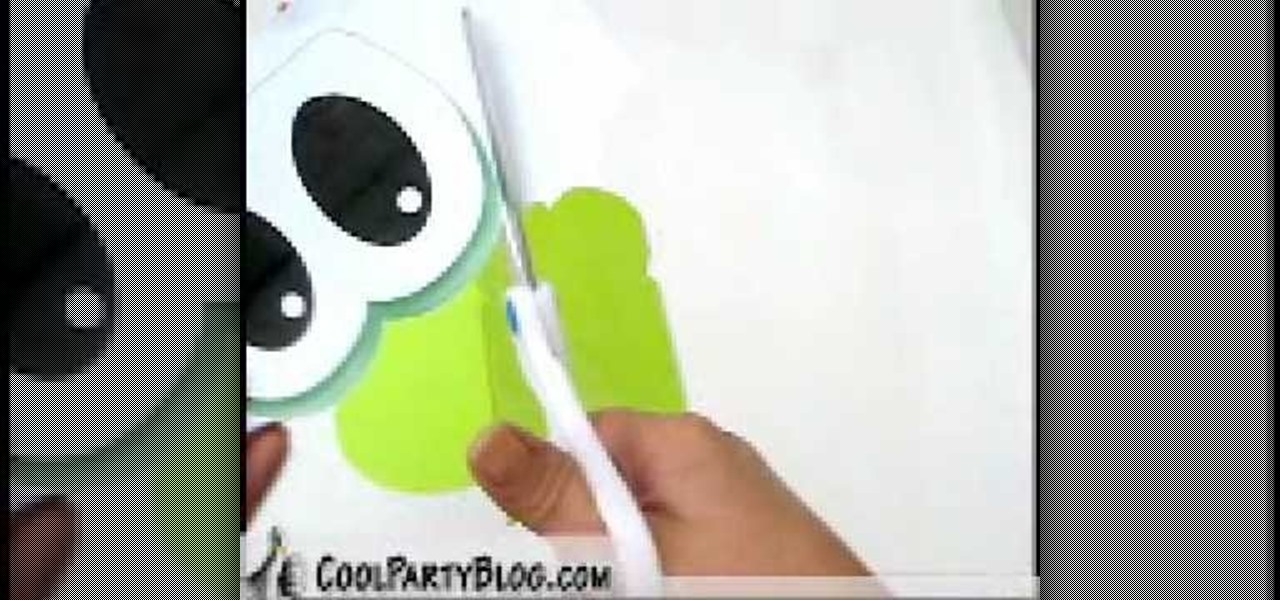
In this video, we learn how to create custom Yoshi loot bags. First, take some lime green paper bags and cut the top of them so they resemble the shape of Yoshi's eyes. After this, print out lots of Yoshi's eyes on a white piece of paper. Cut out the eyes from the paper and then put glue on the back of them. After this, glue the eyes onto the paper where they belong. When finished, let this dry and you will have a cute Yoshi bag to put little treats in! You can follow the template as well if ...
In this tutorial, we learn how to make an iron on transfer for a t-shirt. The materials you will need are: a printer, an iron, hard surface, transfer paper, and t-shirt! To start, find the art that you want to put on your picture and then you will need to transfer it onto the paper for your shirt. Once this is fully transferred with the scanner, load it to your computer. Then, print it out on transfer paper. After this, you will place the paper down on the shirt and iron it for a few minutes....
In this tutorial, we learn how to make an array of paper roses. Use any colors of paper you want with this to add a special touch to them! Now, you will take the pattern or color of your choice and fold it up into a square. after this, fold it into a triangle and then cut the edges of this off. After this, cut the bottom off and open it up, it should be a flower shape with a hole in the center. After this, repeat with several other papers and then cut the flowers up into halves. From here, yo...
In this video, we learn how to make a simple paper airplane that flies far. First, fold the paper in half and make sure it's perfectly even. From here, unfold the paper and fold the edges into where the crease is. After this, do the same on the other side and make it perfectly even. Then, fold the side over to the middle again and do the same on the other side. Next, make sure the creases are solid and then fold it in half. Now, to make the wings you will fold one side down, putting the tip d...
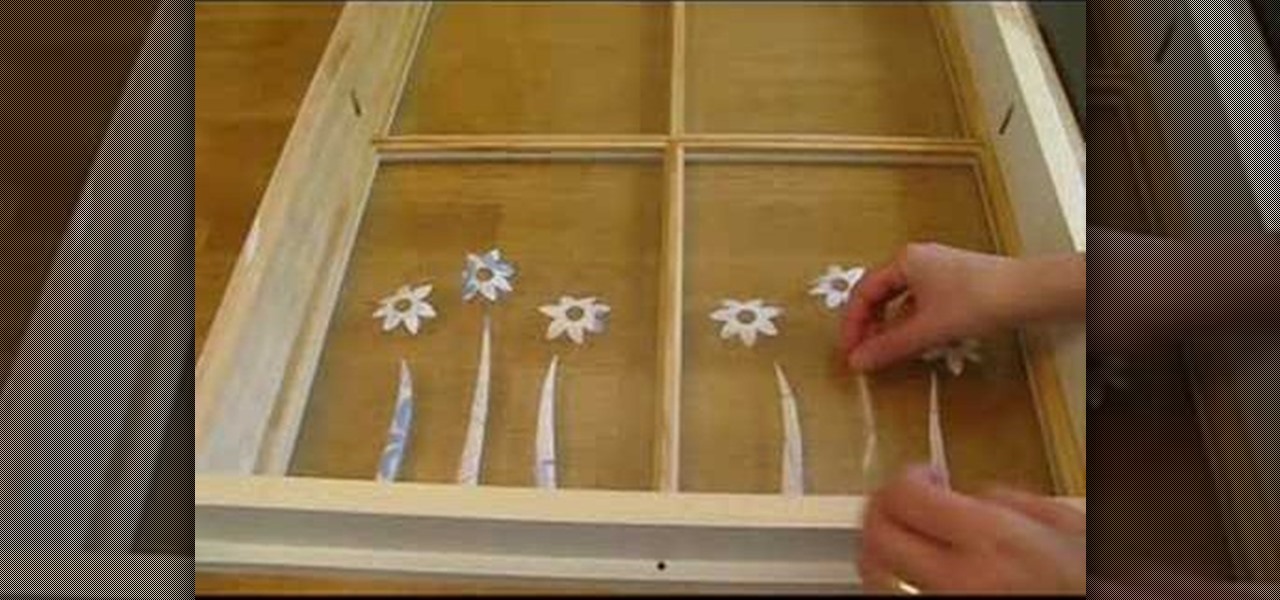
In this tutorial, we learn how to make a paper flower using napkins. First, roll the paper over to one side and then start to roll it up with the other side as well. As you do this, the napkin will start to roll into the shape of a rose. When finished, you will pull out the edges to create different lengths with the petals. After this, use a green napkin to create the stem of the flower, making a small leaf in the stem by ripping it. When finished, continue to make these to create a beautiful...
In this video, we learn how to make the farthest flying paper airplane. First, you will lay the paper flat and fold in two sides on the top. Then, fold it in half and keep folding the plane in. After this, you will see the wings become smaller and smaller. Once you fold this up until you cannot fold it in anymore, you will be able to throw this and make it fly! This will be really thin so it will go further and further. This will fly across the room easily and make everyone jealous they don't...
In this tutorial, we learn how to cheat on a test wearing a long sleeved shirt. First, you will need to take a white piece of printer paper and see how large you can cut it so it fits comfortably in your hand without being seen. After this, cut the paper to the size you want it. Then, write out the information that you need onto the piece of paper. From here, you can place the paper inside of your long sleeve, with the answers facing up. Then when you need it, simply pull it out from your sle...
In this video, we learn how to make an easy paper rose. First, punch out three flowers with a paper punch from your favorite color of paper. Then, add contact ink to the edges of the flowers along the petals. Next, you will cut out two of the petals from the flowers and then glue half of the leftover scraps. Make this into a cone and then do this on the other pieces of flowers. Bend out the petals and curl them, then glue all of the petals together. Once finished, add on a green stem and then...
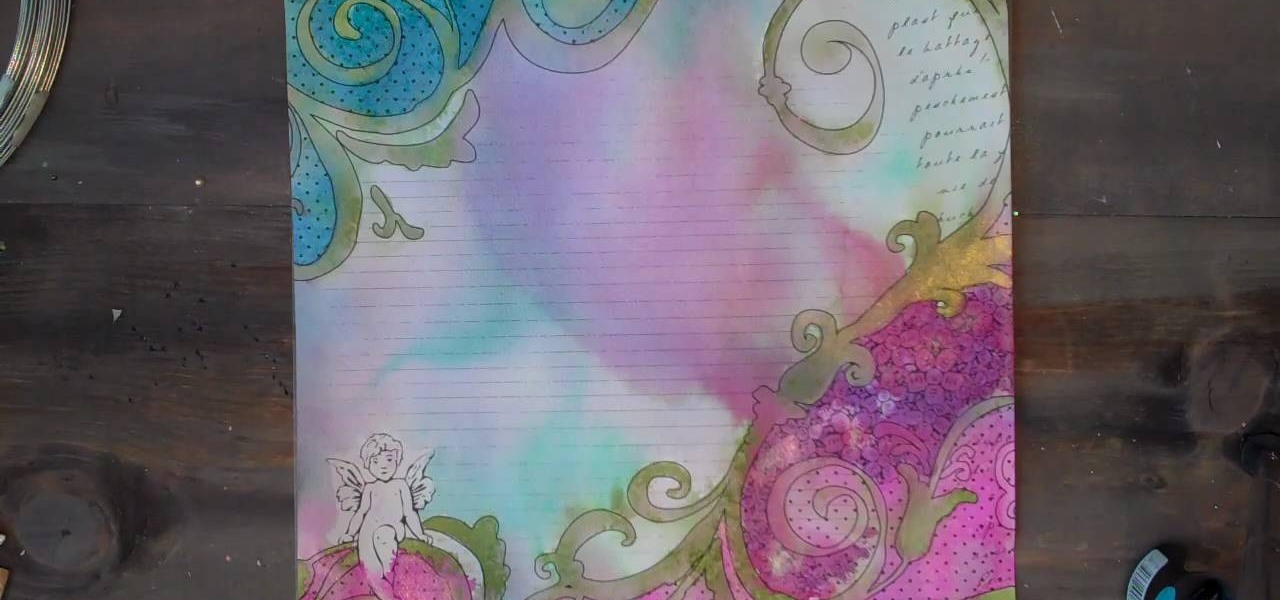
In this tutorial, we learn how to use Prima Paintables paper. These are meant to watercolor on and are very thick pieces of paper. You can take a paint brush and open up a bunch of different paint colors. Start to paint your picture, then allow it to dry. When finished, you can spray a water bottle on it to bleed the picture and make it look unique and your very own. This is something that is fun to do and makes it easy to paint your own creations using this paper that is made just for painti...
In this tutorial, we learn how to make a lily out of paper and pipe cleaner. First, lay your hand flat on a piece of copy paper. Next, trace your hand with a pen or pencil, then cut it out with scissors. Now use a pencil or pen to curl the ends of the fingers you just cut out. After this, combine two pieces of gold pipe cleaner together and bend in half. Then, place a green pipe cleaner in the middle and make a twist to keep in place. To finish, wrap your paper hand cut out around the gold pi...
In this tutorial, we learn how to make a paper football for 1 dollar. First, grab your paper and fold it in half length wise. Next, make sure the crease is nice and clean, then fold it length wise once more. Now, fold one of the corners up into a triangle shape, marking the crease exact. Fold this up again and keep doing this until you get to the end. Once you reach the end, fold the other end in twice into the pocket you see. Crease this, then stand it upright and flick it with your other fi...
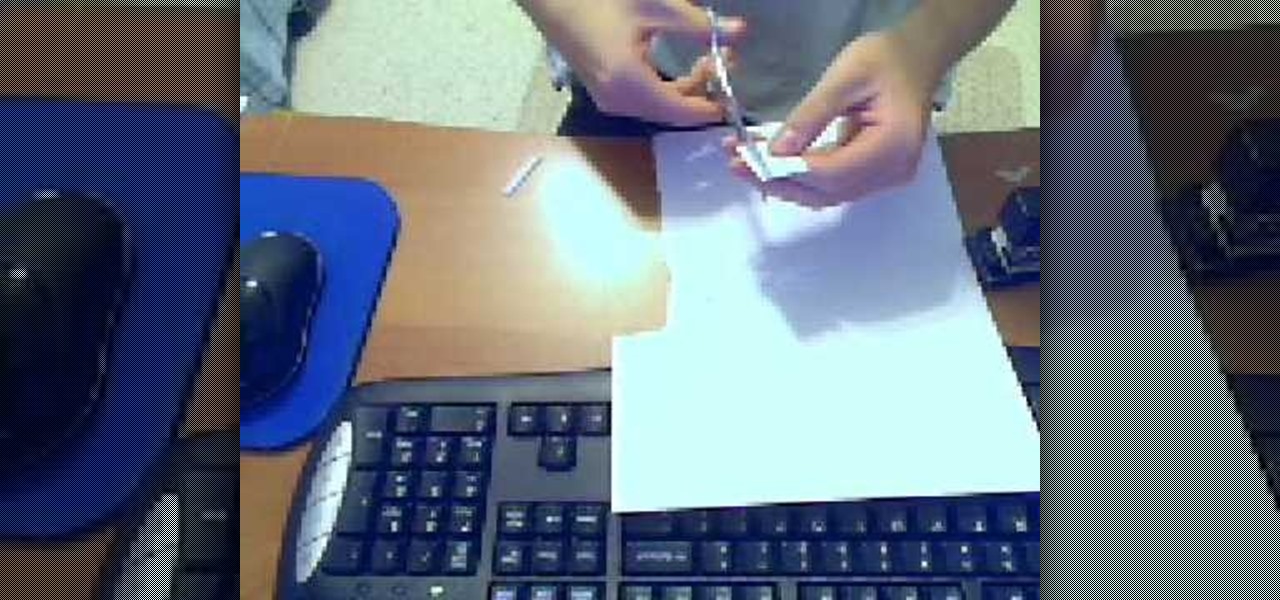
In this tutorial, we learn how to cheat on a test with a small paper. To make this, you will need printer paper, scissors, and a stapler. To start, cut a strip of paper out of the sheet, then fold it up into a small booklet and staple it together at the top. Cut off any edges to make it fit into the palm of your hand. After this, you will have a booklet that pulls apart and you can write inside of. Write answers to tests in this, then to hide it, place it in the palm of your hand between your...
In this tutorial, we learn how to crate a good thesis statement for a research paper. Make a clear thesis statement so you give the reader something to hang your argument on. You will want to choose a category and give the details very clearly. People read very quickly and will create their own meaning from what you write, so be very clear so they can't have an argument about what you are writing. The reader will appreciate understanding of the paper and have a new relationship with the paper...
Moving is such a hassle! Packing is a big job but this video shows and easy way to pack out pots and pans. You will need 4-5 cubit foot cartons. You can get these from your mover or you can purchase them from a moving company. You will also want to get clean newsprint, packing tape, a moving blanket, and a permanent ink marker. Prepare your 4-5 foot carton by putting crushed paper on the bottom. This will act as a cushion for the pots and pans. Put the moving blanket or a protected pad on the...
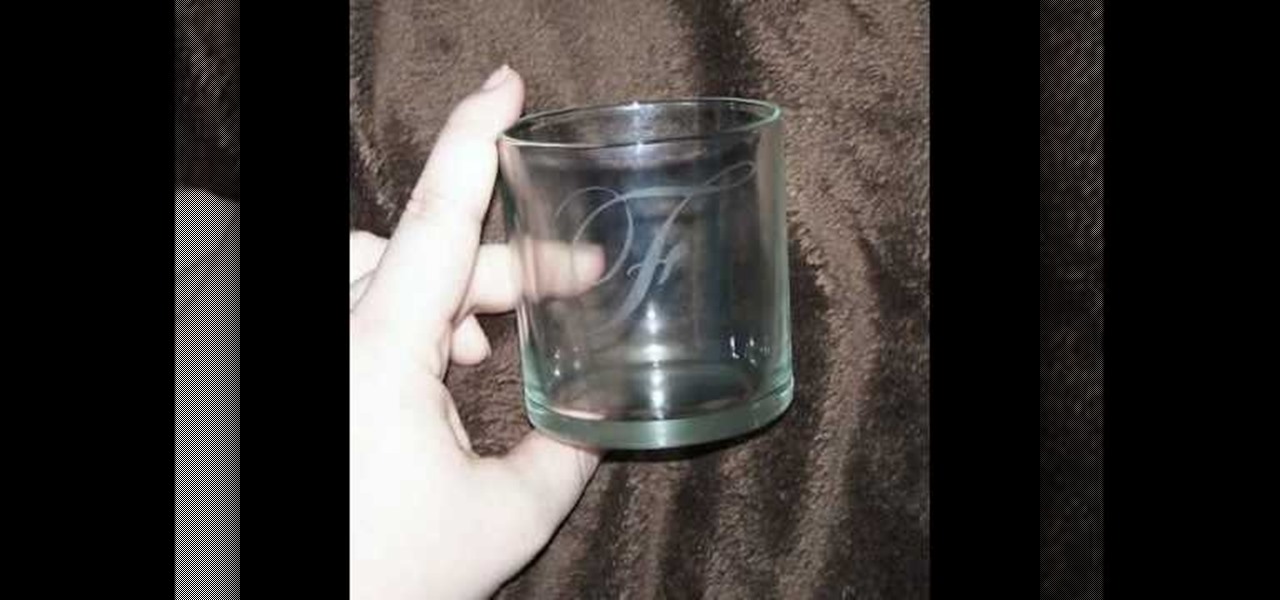
In this video tutorial, viewers learn how to etch glass in 5 minutes. The materials needed for his procedure are: contact paper, Armour Etch and a paintbrush, glass and a sink. Begin by cutting the contact paper face up on a circuit mat. Cut it on medium speed and pressure. Then put the contact paper on glass. Work carefully to prevent any wrinkles and bubbles in the design. Now put the etching cream on in a dabbing motion. The etching cream will not run into areas that are not stuck down. Fi...
In this video, we learn how to properly pack glass for moving. Make sure you have a table or work area that has a furniture pad on it. Now, place packing paper onto the bottom of a box carton for glasses and china. Glass should be on the top of the box while plates should be placed at the bottom. Put the glasses into a rolled piece of paper until secured, then place upside down into the box. When finished, add crushed paper to the top of the first layer to avoid any glass from breaking. Make ...
In this video tutorial, viewers learn how to pack lampshades. Most lampshades are packed into 4 cu ft cartons. Begin by placing crushed paper into the bottom of the box. Then place clean sheets of packing paper over each side of the box, making sure that the flaps and inside wall of the box is covered. Now carefully place the lampshade top-down into the box. Then spread clean packing paper over the shade. Now gently place the smaller shade into the larger shade and pack in the remaining packi...
In this Arts & Crafts video tutorial you will learn how to fold a hexagonal, six-point paper star with origami. Take a hexagonal sheet of paper and fold in half from all corners. Then fold each side inward up to the center point. Open up all the folds. Now fold one side up to the center point. Then fold one corner back over itself and fold the next side of the paper up to the center point. Continue like this for all sides and you will now have a smaller folded hexagon. Then lift up each flap ...
In this Arts & Crafts video tutorial you will learn how to make a lily flower from folded paper with origami. For this, you need a square sheet of paper. First you fold it in half and then fold it in half in the other direction. Next you fold it diagonally across to form a triangle. Then fold it again across the other diagonal. Open up the paper and push the diagonal folds inwards slightly so that the center point is pointing upwards. Then press the folds in to form a triangle. Take one of th...
In this video Dr. Carlson demonstrates the properties of light. Light is like a wave and it is also like a particle, which means that it comes in small packets. To demonstrate how we know that light behaves like packets of energy, he uses LED’s in different colors and a sheet of phosphorescent paper. When light with a high enough energy shines on the paper it will cause the paper to glow.
In this Arts & Crafts video tutorial you will learn how to fold a Heavy Rain-style paper origami bird. For this project, you will need a square sheet of paper. Fold it diagonally across both diagonals. Open it up and fold one corner up to the center point of the paper. Flip it over and fold the other three corners to the center point. Now fold all the four corners to the center point. Flip it over and now fold it in half as shown in the video. Then you pull out both ends from the center and w...
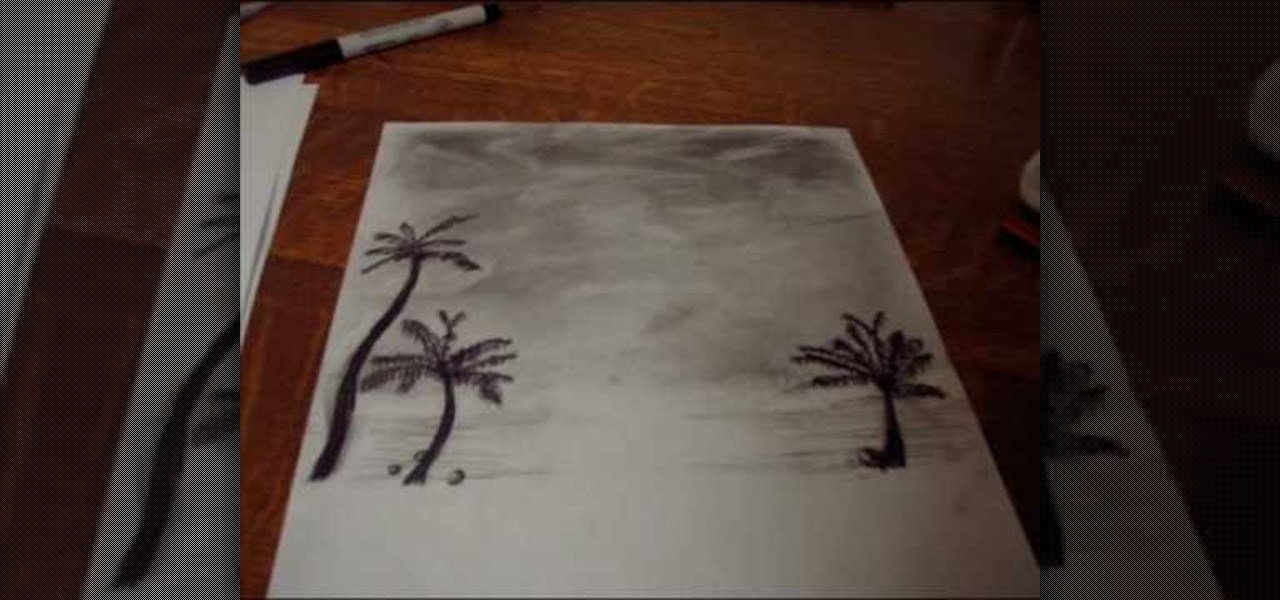
In this how-to video, you will learn how to create a drawing of a palm tree setting. First, you will need two pieces of paper, charcoal, and cotton. Use the one piece of paper to add charcoal to your cotton. Next, cover the piece of paper you are using for the drawing with a wash of charcoal. Next, use an eraser to create images of clouds. Next, draw the palm tree with the charcoal on the lower half of the paper. Add as many palm trees as you feel necessary. Finish the drawing by doing the fi...
In this Arts & Crafts video tutorial you will learn how to make a folded paper ostrich with origami. For this project, you need a square sheet of paper. First you fold it diagonally across to form a triangle and cut it off in two. Then take one piece, fold it in half to form a smaller triangle, open and fold down along the centerline from the top of the triangle. Open it up and again fold along the centerline from the base of the triangle. Now fold from one of the corners up to the intersecti...
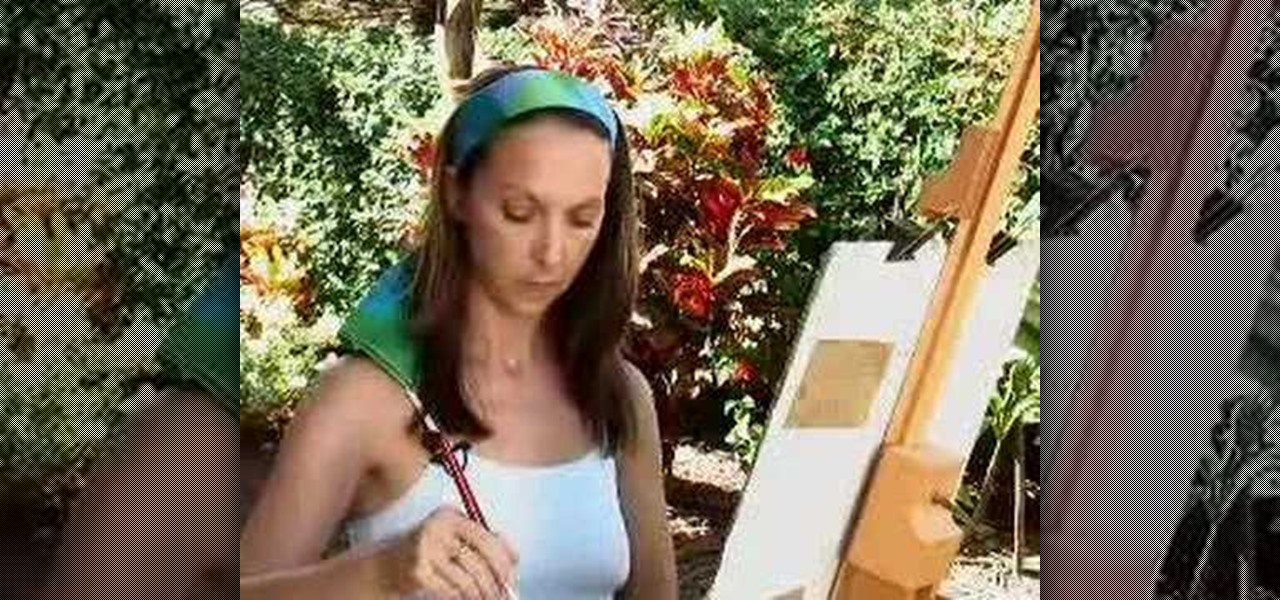
This is a video about how to create a simple water color painting. First we have to select the seen that we are going to paint on the paper. Next give a rough sketch on the paper about the scene that you have imagine or select to paint with a pencil. Next take the water proof marker give the outlines to that paint. Then you have to give two washes to your paint. First one is warm wash. For that you have to take yellow, orange, and red colors. First wet the paper with the water. Next splash on...
Box Tops are a great way to help your kids school generate more money. A formula can could help you keep your box tops neat and Tidy. Take paper off of can then tape paper to the side of the can. Then you can decorate as you please to match the decor of the room your putting it in. Scrap book paper works as a great paper. You can also use stickers to complete this. For the lid you can spray paint them but first you should cut a hole in the lid so the box tops can slide right in. You can make ...
This video illustrate how to make Chinese paper lanterns with origami. here are the following steps.Step 1: Take a string for holding the lanterns.Step 2: Now take a square sheet of paper and fold it diagonally so that two diagonal intersecting crease are formed.Step 3: Now hold the crease together and push it upwards to form a triangle.Step 4: Now fold the triangle into two equal triangles, do the same with the other side also.Step 5: Now fold one triangle and crease it to the center, repeat...
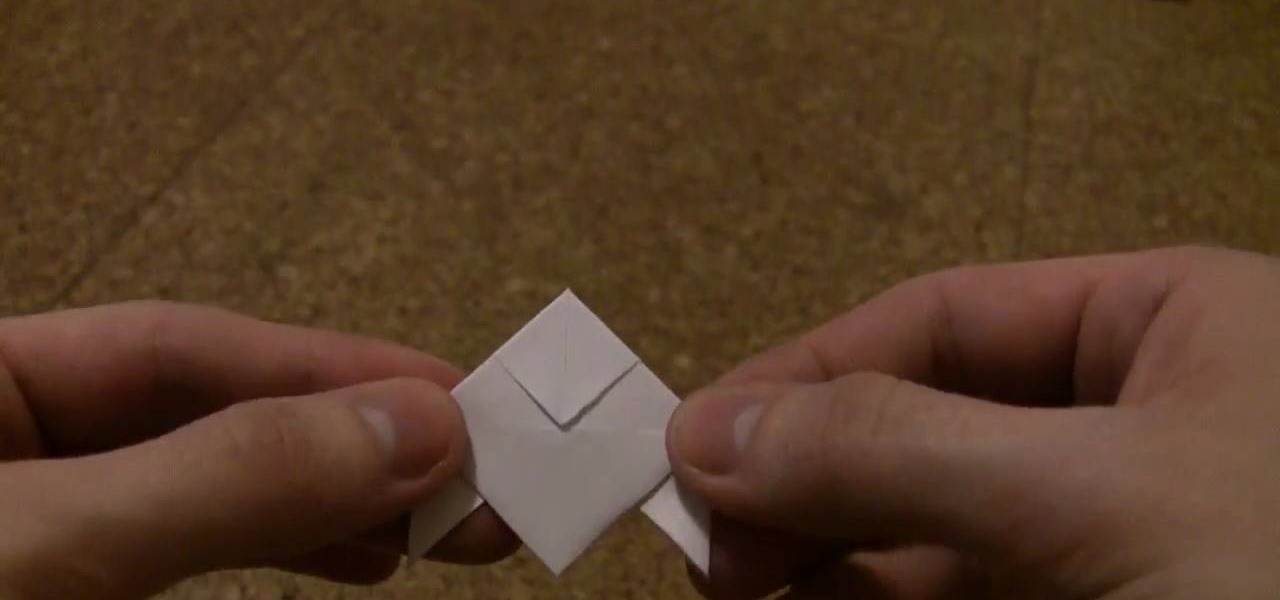
Take a square piece of paper to begin. Fold in diagonally in half to form a triangle. You then fold both ends up so that it will form a smaller diamond shape. You then repeat what you just did, but folding two of the ends up again to meet the other side. Fold your piece of paper in half again revealing another smaller triangle. Flip the paper over and unfold the smaller pieces that you folded up to meet the ends. Pull these apart and then fold down in the middle. Bend in the 4 pointy corners ...
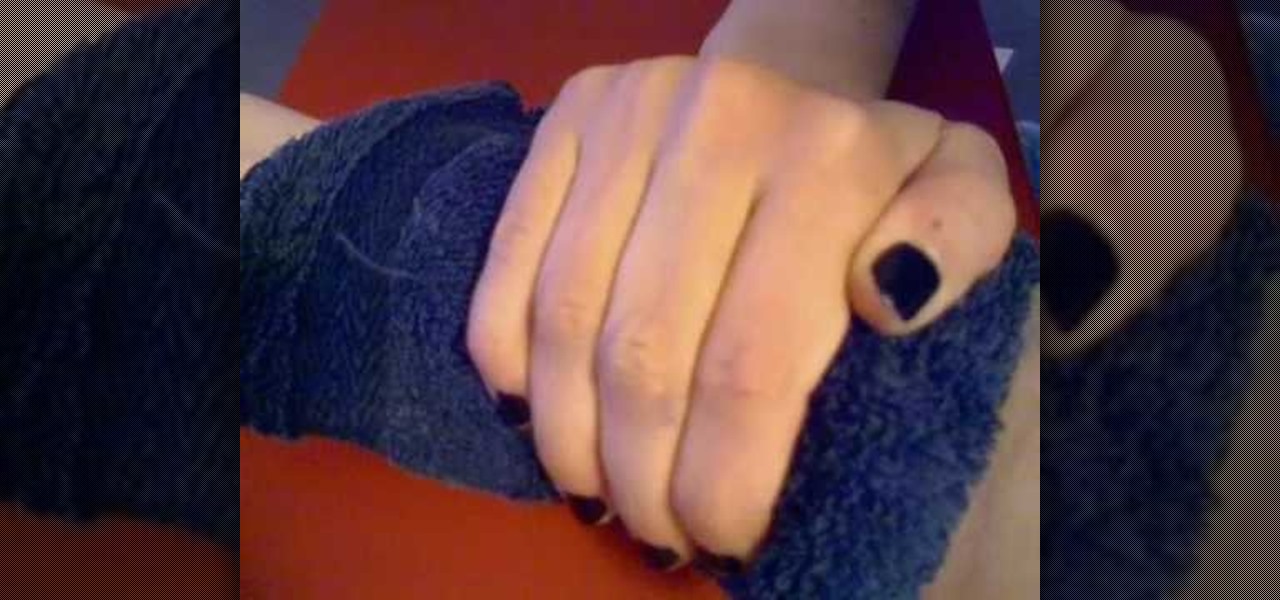
This video illustrates how to make a temporary tattoo with black eyeliner. This process includes the following steps.Step 1Take the picture you want to make tattoo of.Step 2Reverse the picture and paste it on a paper.Step 3Take a tracing paper and trace the outline of the picture using a eyeliner.Step 4Now reverse the tracing paper and paste it on the place you want.Step 5Now take a cloth, wet it and place it on the tracing paper so that you get the outline of it on the place you want.Step 6N...
This video illustrate how to fold a paper frog. Here are the following steps.Step 1: First of all take a sheet of paper and fold it into half diagonally forming a triangle.Step 2: Now roll back the paper and fold this triangle it into half so that a smaller triangle is formed..step 3: Now fold back the triangle and make it into two equal halves.Step 4: Now take the corners and fold them all to the center and open it from the center to the joined line.step 5: Hold back the triangles out of the...