This holiday season, become a wrap artist! Learn how to make every Christmas present look festive, no matter what shape or size. Wrapping Christmas gifts can be quite the bore, but when you add a little artfulness, it could be more fun than ripping it off and finding your present.
Watch this video tutorial from the Polish Guy to see how to polish a chrome faucet fixture. In this demonstration we use a Faucet & Fixture Care Kit that includes Simichrome and Flitz Faucet & Fixture Wax to polish a chrome bath tub faucet spout.
In the perpetual search for a renewable and convenient energy source, our bacterial friends have once again stolen the limelight.

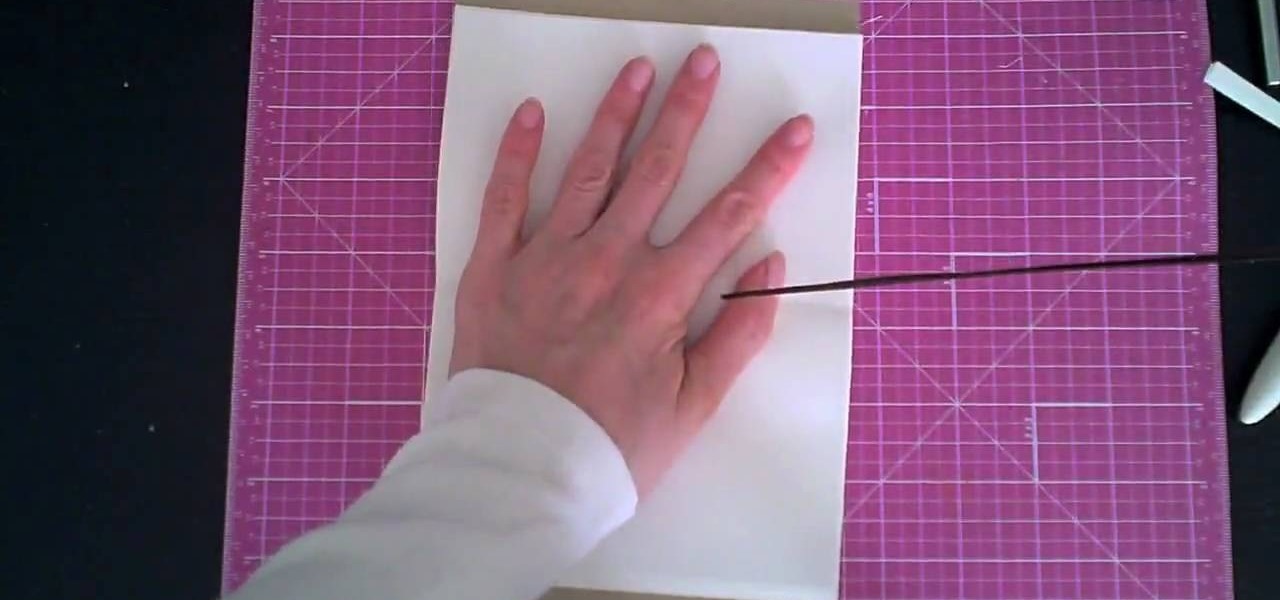
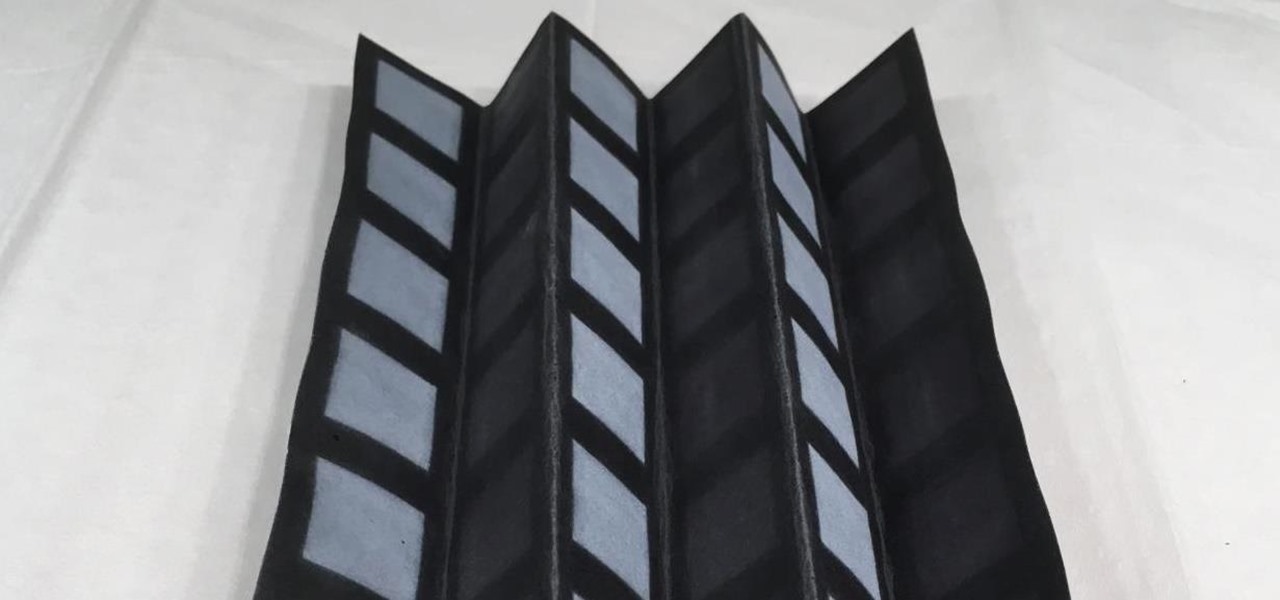
Origami is the Japanese art of folding paper, which has been around since the 1600s. The word origami comes from the two Japanese words ori, meaning "folding," and kami, meaning "paper."
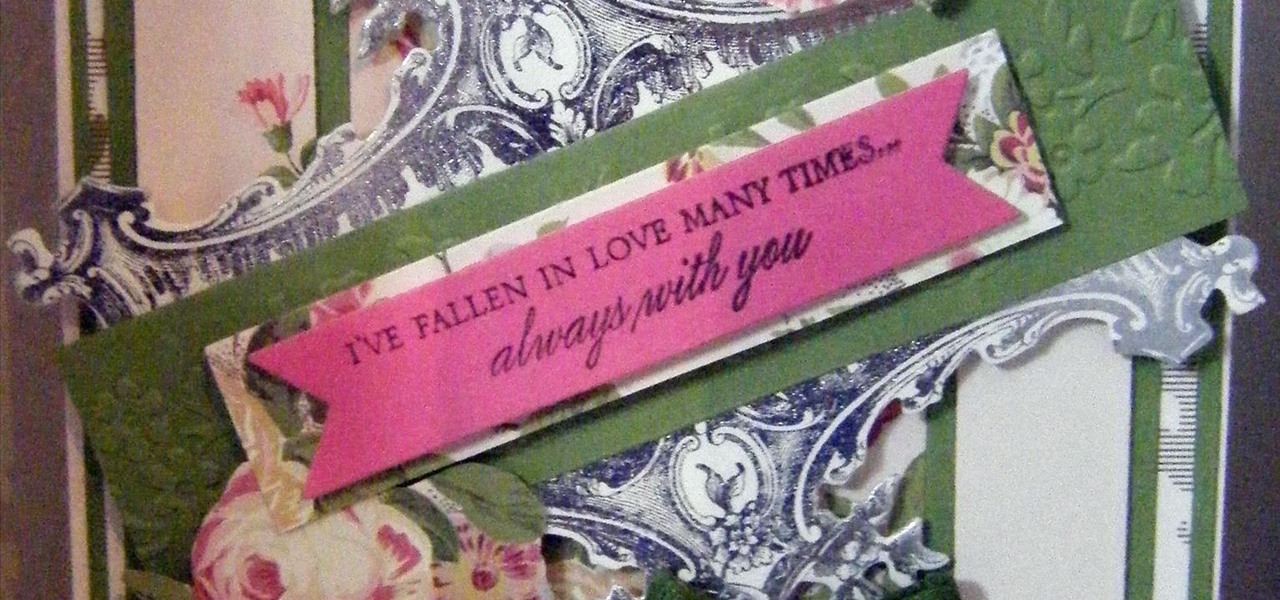
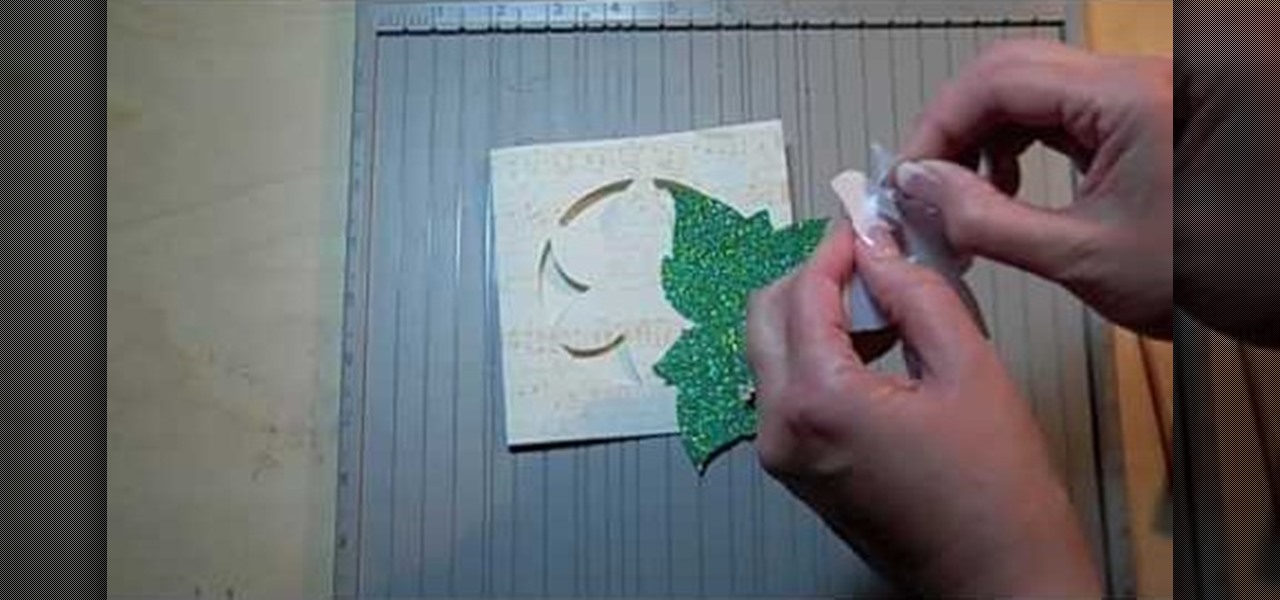
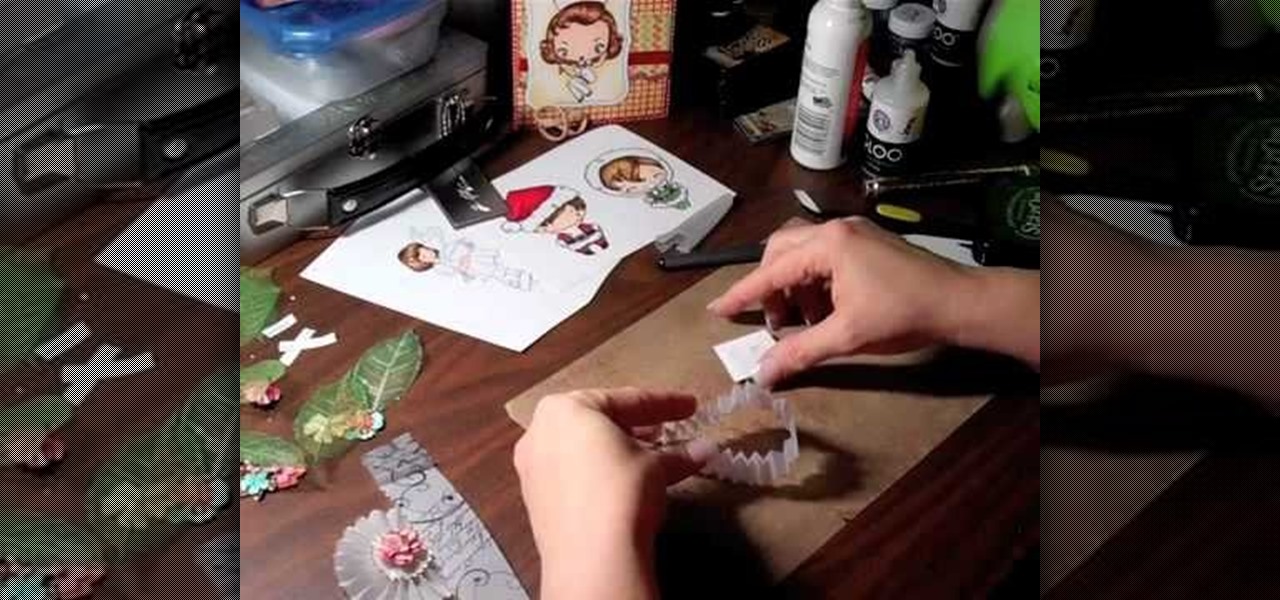
This gorgeous card is so easy to make and here I show you how, using some fabulous floral papers, however you could use any on hand, this card is a showstopper. Step 1: Items Used
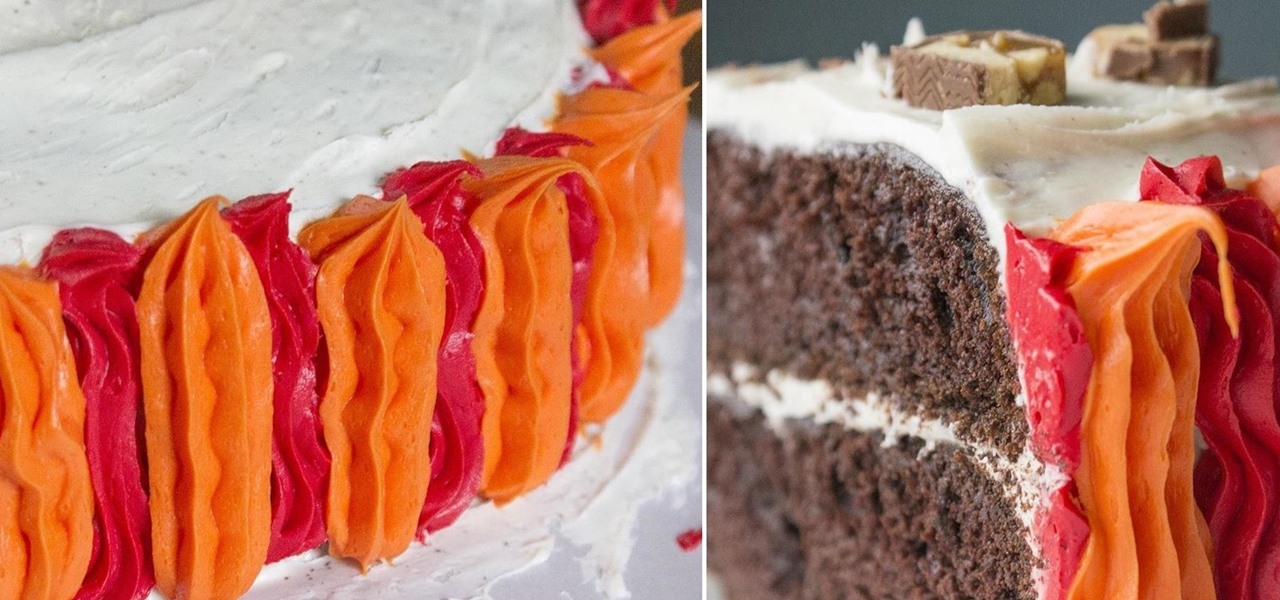
Cake decorating is one of those activities that used to leave my hands sticky and my spirits dampened. No matter what I seemed to do, the final result always ended up looking like a preschool art project.

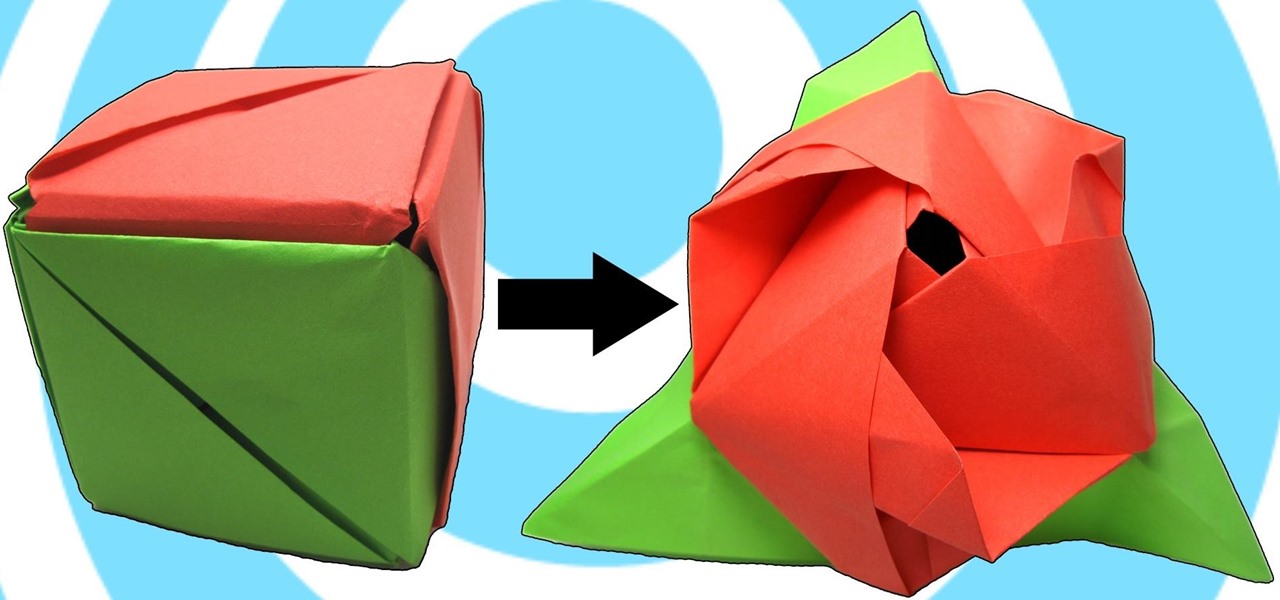
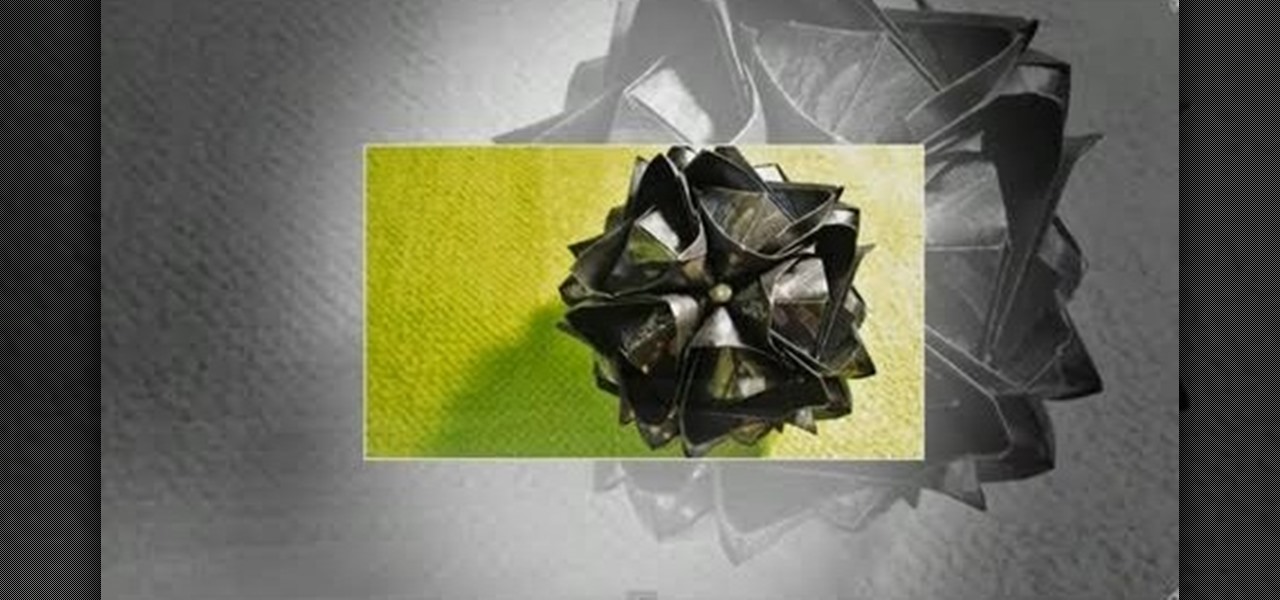
Video: . Learn how to make a paper modular origami magic rose cube instructions.
Video: . Learn how to make a big flower using tissue paper. Easy to do DIY project, learn how to make great looking flowers in only a few minutes.
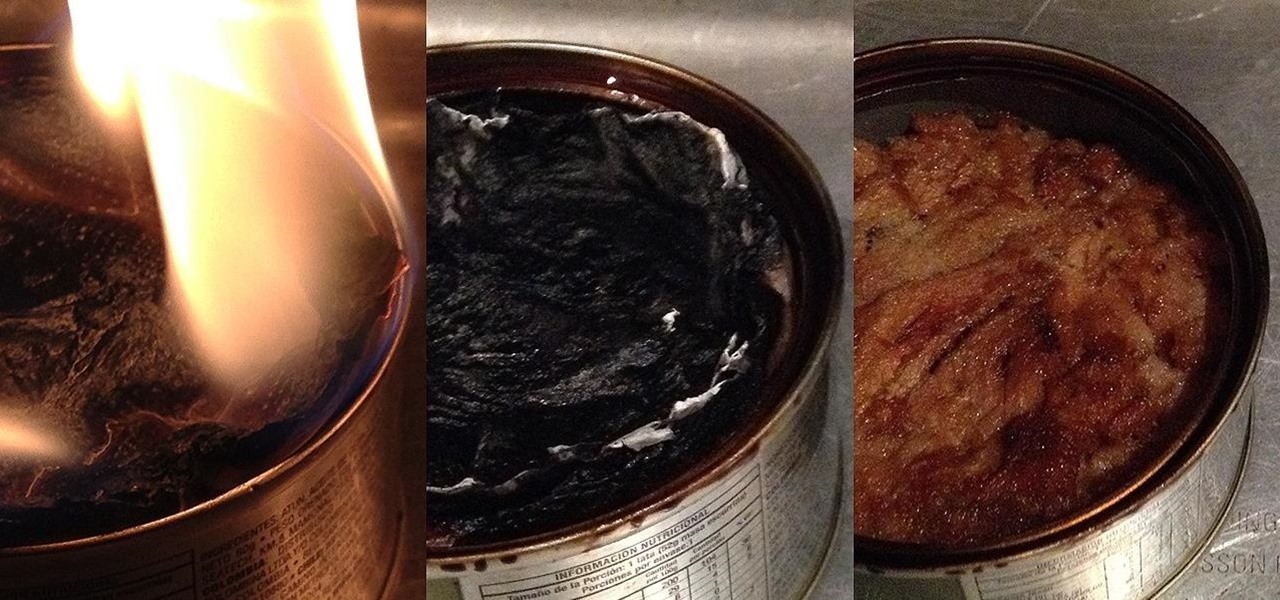
Toilet paper isn't the first thing that comes to mind when you want a hot meal, but when you're camping or out in the field (i.e. military training), a little TP is the difference between cold tuna and luxury.
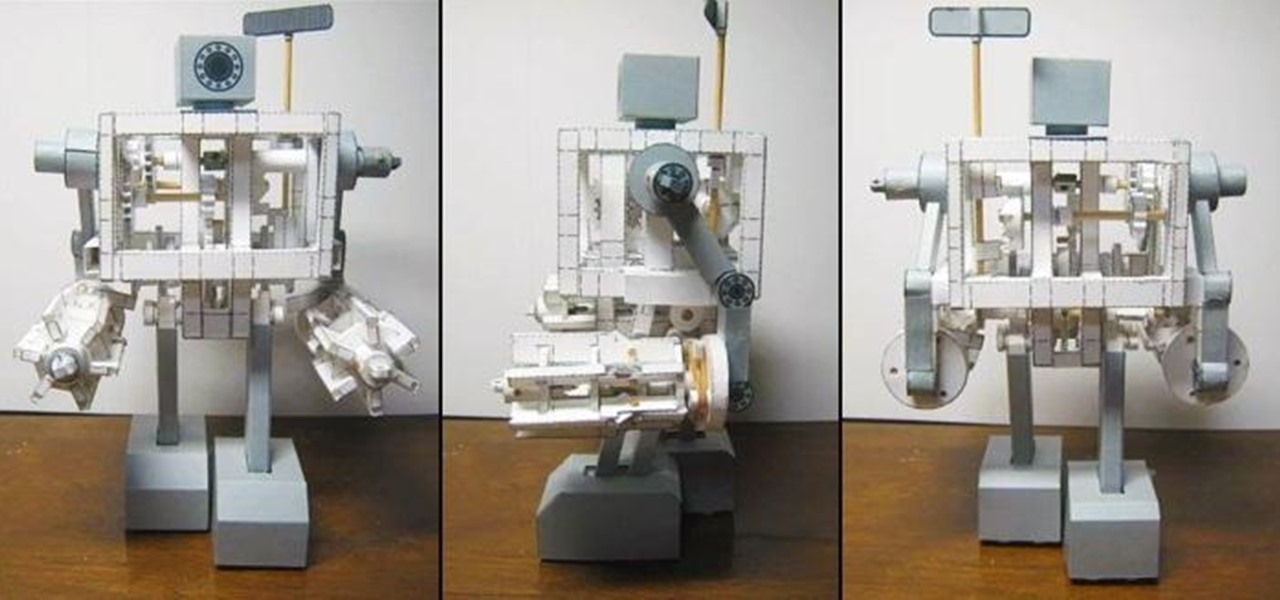
One amazing Japanese papercraft enthusiast has built a walking 'robot' that's made of nothing more than paper, rubber bands, and a few wooden shafts for stability. It's been dubbed the 'Paper Robot III,' and even the cogs and gears are made of paper. The creator made a video detailing his entire process, and he's selling kits to make your own for about $40 US, if you're too lazy to do everything from scratch.
So, this idea was born from a necessity to save. My household uses tissues a lot. I have two small kids, so they are extremely useful. The problem with tissues is that they seem to disappear in no time. So, whenever we ran out in-between shopping visits, my family would just use toilet paper.
Pepakura is the Japanese word for papercraft. So yes, pepakura does include origami. Specifically, the term refers to 3D models made from paper. And what better contraption to make out of paper than this awesome Halo 3 (XBox 360) helmet? Broken down into its geometric components, this helmet is a life-size replica of the helmets you wear in the game.
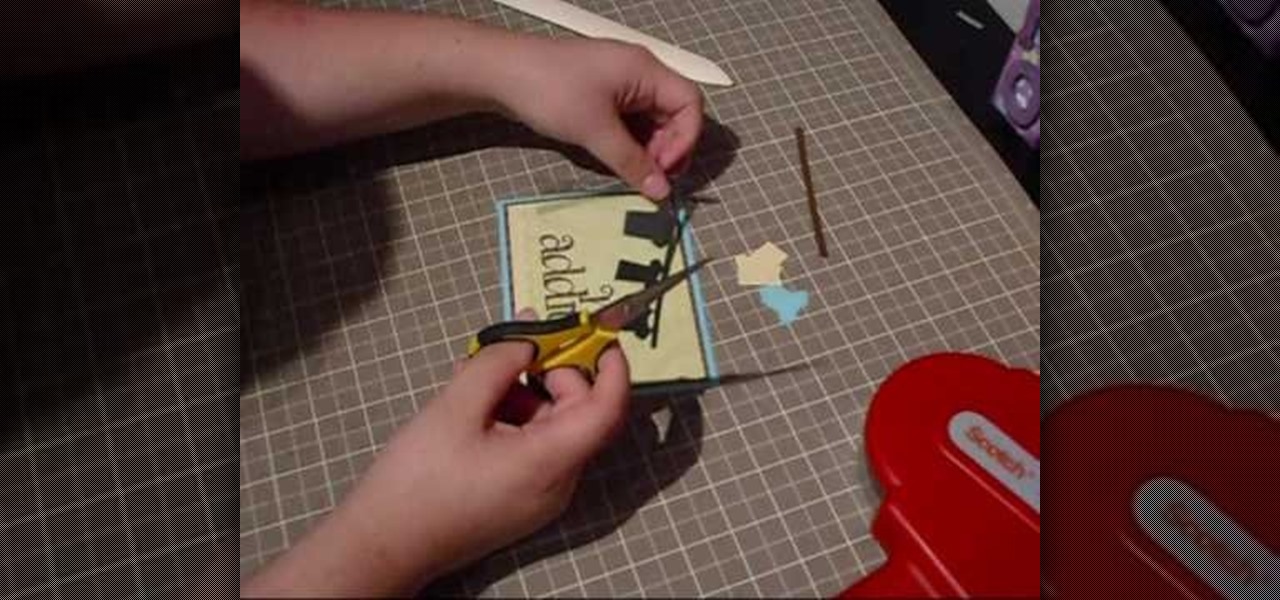
We admit that 99% of the time we write notes wherever we can: On scratch paper, on post-it notes, and often times on the back of our hands. But consider how lovely it would be if you could whisper little nothings on these pretty notecards.
Spring is baby season, so if you know a friend who's expecting rather soon, make sure both she and her baby are welcomed with a fond, handmade sentiment.
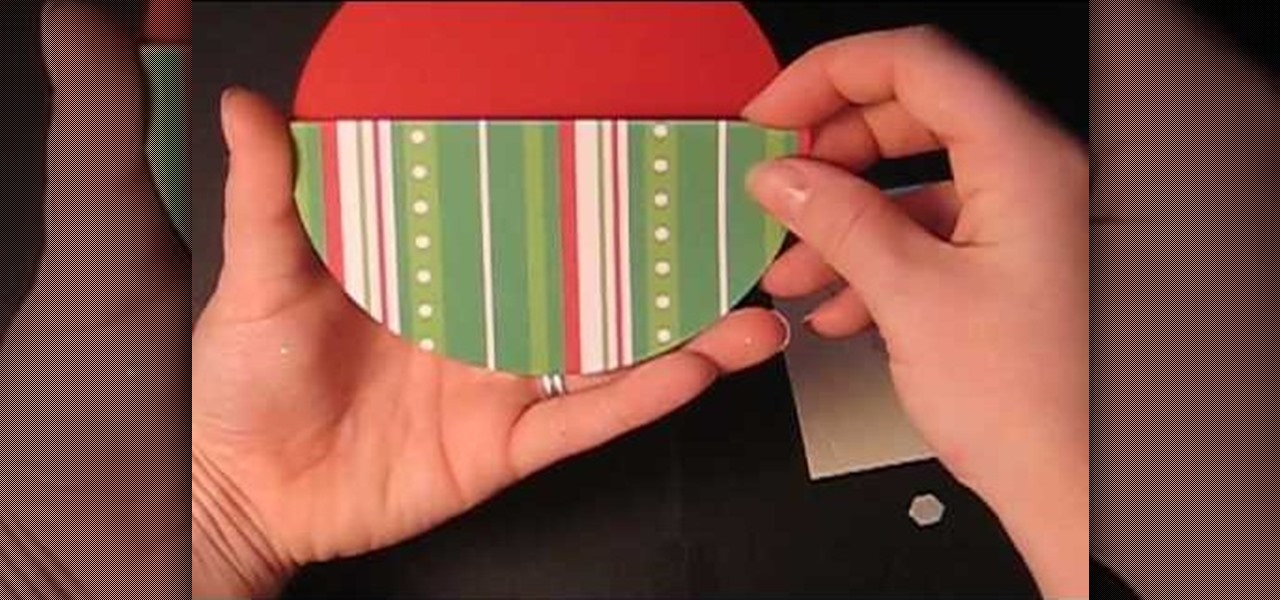
While this ornament gift card holder is indeed intended for Christmas gift giving, it can be easily modified into an egg or heart shape for Easter and Valentine's Day, respectively.
Make a pop-up Christmas card this holiday season and impress your friends and family with your creative skills! For this project, you will need double-sided tape, craft scissors, decorative hole punch, decorative stickers and construction paper. Keltie Colleen from Mahalo gets in touch with her resourceful side and shows you how.
Finally purchased a tree from the tree lot but in serious lack of pretty ornaments? Not a problem. You can make a bundle of these Finish 8-pointed star ornaments quickly, and they look quite impressive.
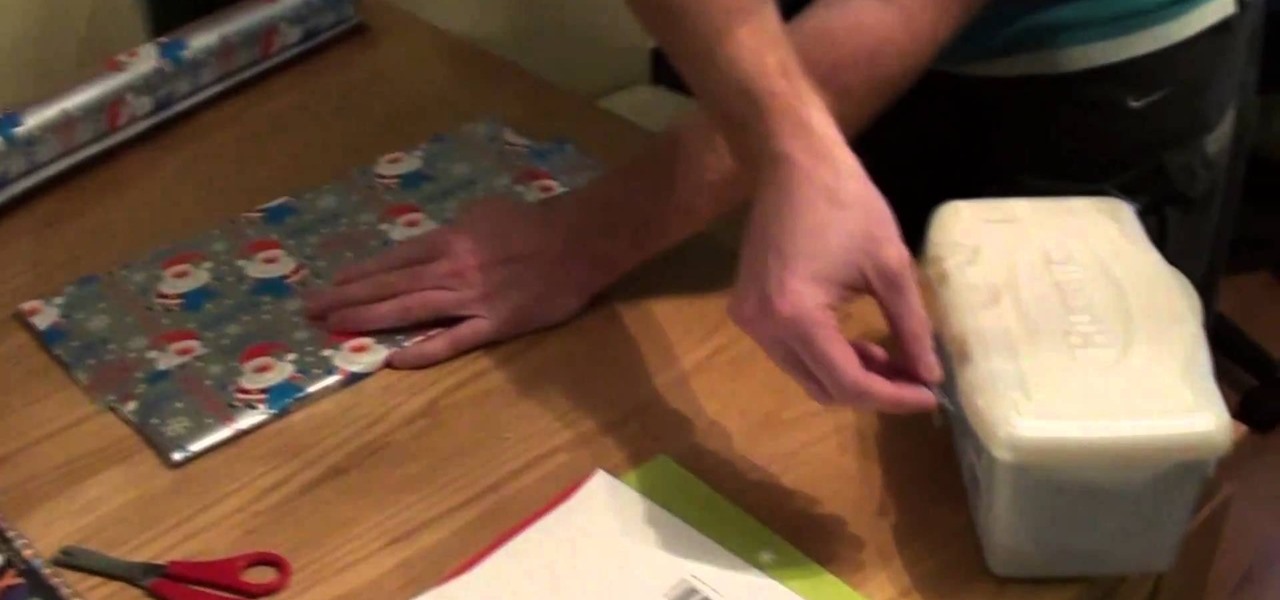
This will also work for any square or book shaped gift you have this year! A professional gift wrapper shows you the best way to neatly and professional gift wrap a book - all you need is the paper, some scissors and tape!
Silhouettes are the hottest thing in the indie craft world right now, and are as widely embraced in craft blogs as embroidered hickory wood slabs and baker's twine.
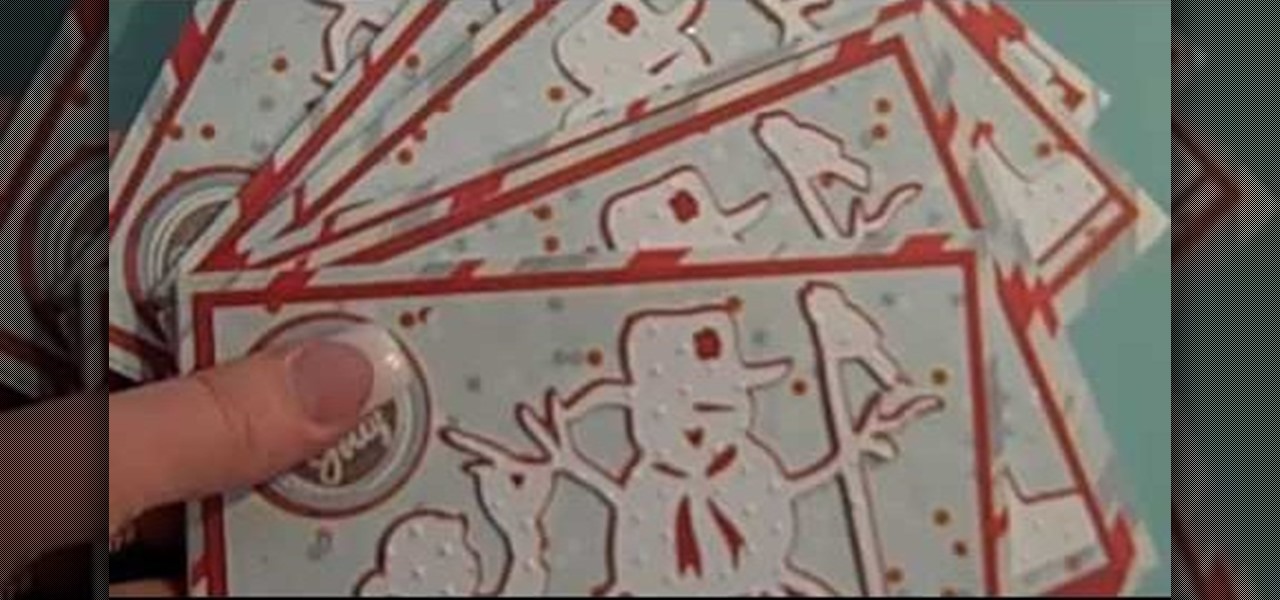
Now that it's down to the wire close to Christmas, if you haven't made out your Christmas cards yet then you sure as hell better start now. Since we know you probably have few materials and very little time to work on them, check out this paper design tutorial to learn how to craft an easy 2-step Christmas tree card.
Holiday cards are great, but their prices ($5.95 average for a nice one) are not as easy on the eyes. Save up your hard-earned cash this holiday season by making your own festive Christmas cards.
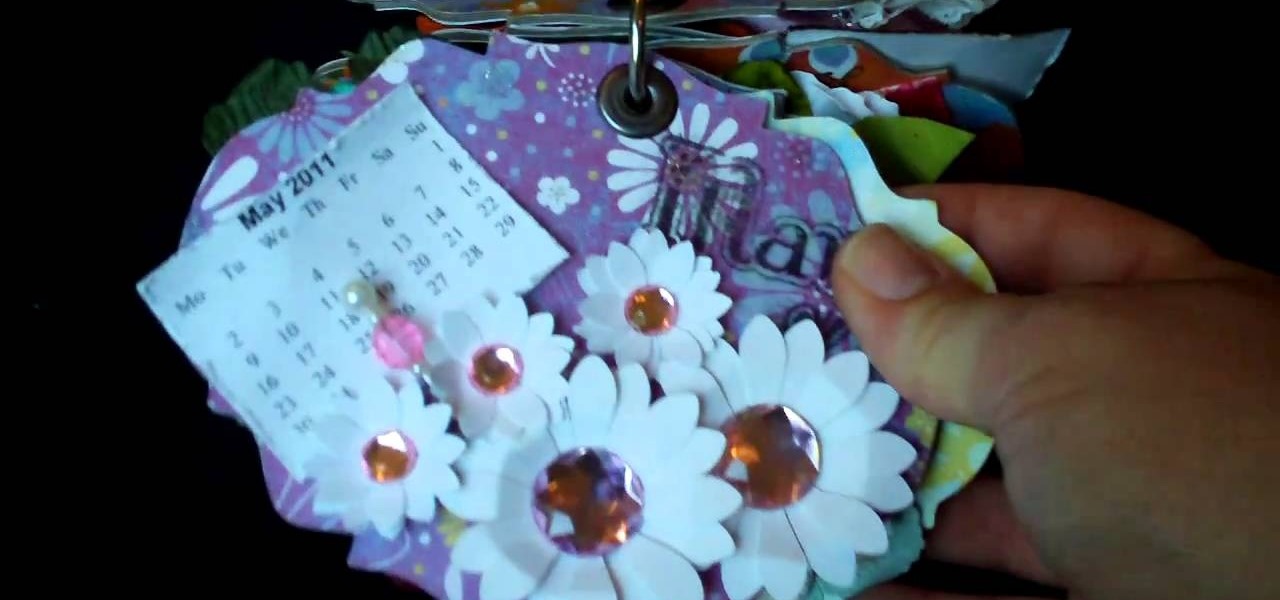
This is a lovely idea that allows you to celebrate the whole year on your Christmas tree! These cute handmade paper ornaments feature a tiny calendar surrounded by flowers, beads, accents and symbols of the season the month falls in.
To use this tutorial, you will need the Tim Holtz Rosette Flower die, and then your favorite craft paper and maybe a few beads for accent. These can be used as hair ornaments, as gift extras and even as Christmas ornaments.
This tutorial features the Peachy Keen stamp line, and shows you how to punch out, color and use your own embellishments. These make great accents, decorations and gifts, especially for the holiday season. All you need besides the stamps are your favorite paper crafting supplies.
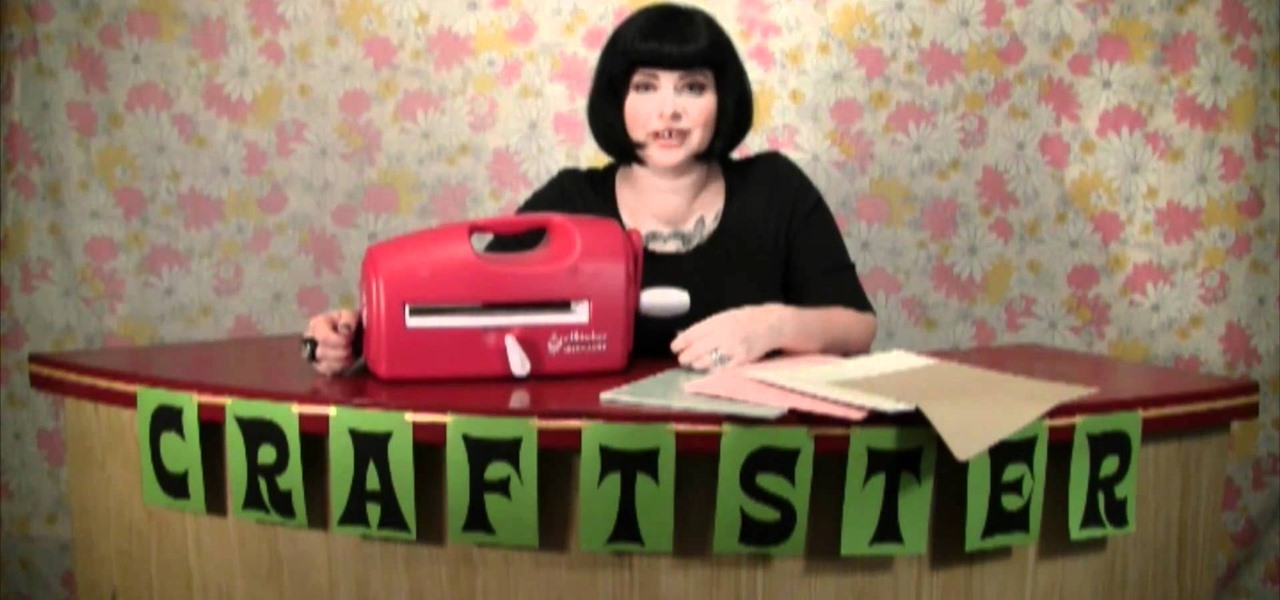
Don't rely on the iffy cards you can get from the store - make your own series of holiday cards! You will need a cricut machine with a few holiday themed stencils, as well as your favorite cardstock and designer paper.
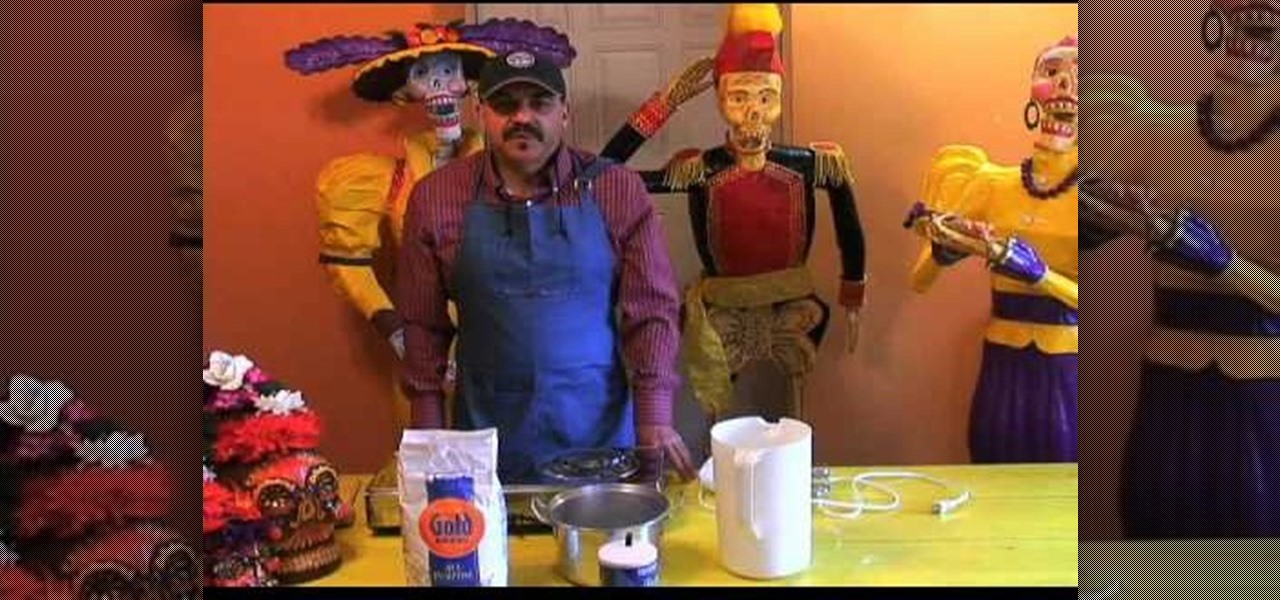
Forget using glue or wallpaper paste, the best recipe for paper mache uses nothing more than flour and water. There's no set ratio, just mix what you think looks right. The key to this recipe is boiling the paste after you have mixed it.
This next tutorial is for those who are looking to add a bit of fun to their room or even class setting. This tutorial is going to show you how to make homemade throwing darts using nothing more than some paper and tacks.
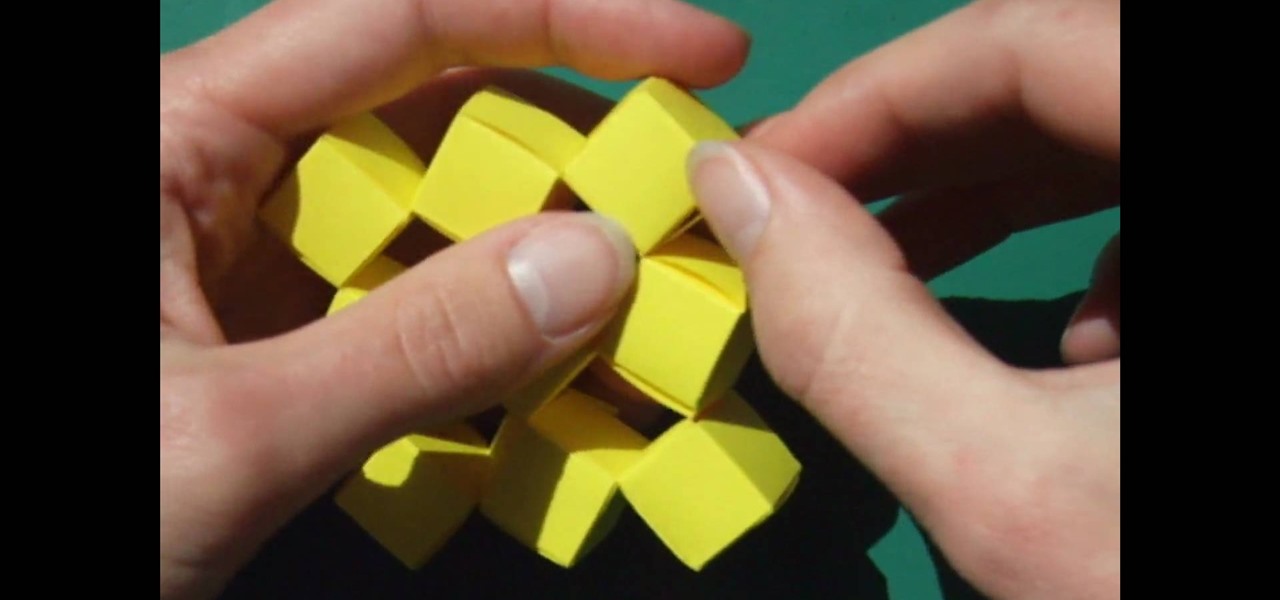
You'll put Mr. Lance Burton out of business once you acquire how to make these easy but impressive magic cubes. Made out of many thin sheets of paper, these cubes are attached to one another without glue or tape and move a full 360 degrees.
This tutorial guides you through the process of making a mennorade star with origami. It begins with a square of paper that is folded in half and then folded from the corners to make guides on the paper. The paper is then cut in half to make two rectangles. Each rectangle is then folded and trimmed to form a 'Z' shape. It is necessary to complete these steps for ten more pieces of paper. The next step is to take to of the 'Z' shapes, perhaps of complimentary colours, and link them together so...
To make an 8 sided ninja star first you need to take a sheet of the paper you are using and fold this in half, the short way. Unfold this so you have a crease. Now, fold the corners into the center crease. Do this to the top corners. Now, flip this over and fold over the bottom of the paper to the back and crease this. Now, you will want to tear this bottom half creased part off. Fold this into a square and fold the square into halves on both sides and tear this off to create smaller squares....
This video describes the steps on how to make Origami claws. These paper claws are very sturdy and don't break easily.
This video demonstrates how to make a notebook with ribbon binding. Take a stalk of plain white paper and it would be 5 1/2" long and 8" wide. Fold it in half. Trim off the excess with a ruler. Then align the edges of the white paper. Put this in a cardstock which is 8 1/2" wide and 5 1/2" long. Cover rapid around the white paper stalk to make sure that it the spine is bounded. Take the grid ruler and center it and mark the center and also 1" from the center at each side to the left and right...
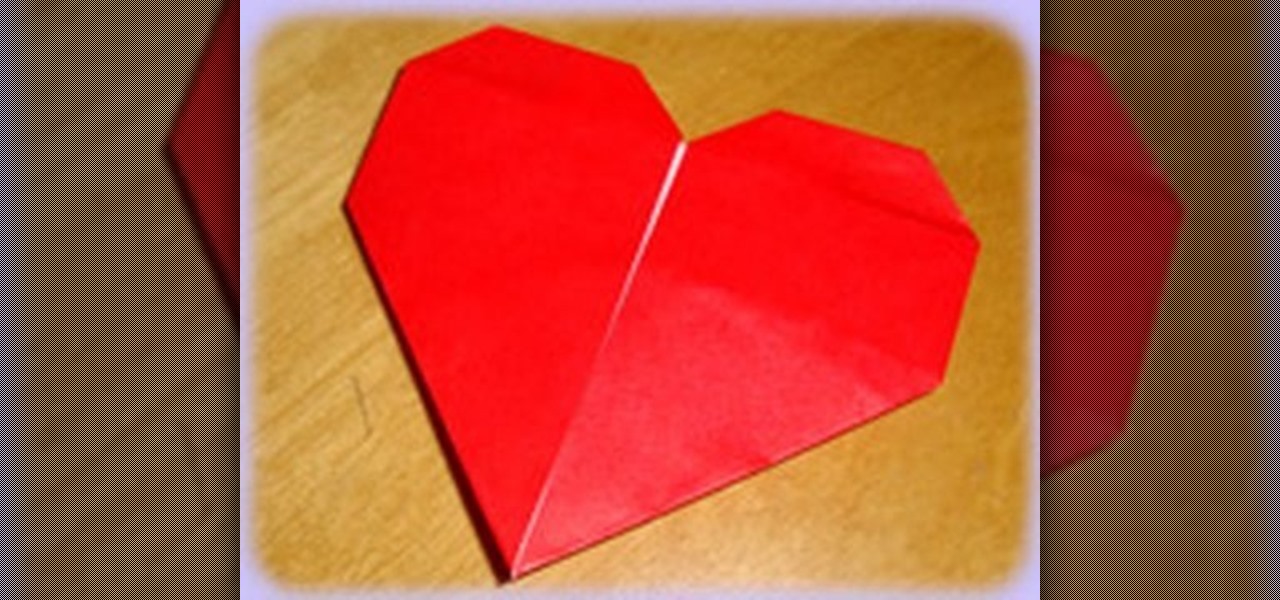
This video shows us how to fold a simple origami heart. Firstly a piece of paper is taken and is cut in the form of a square and then it is folded into half to form a rectangle. Then it is properly creased and then using a knife it is cut into two halves. Then one of the pieces which are in the form of a square is taken and is folded vertically to form a thinner rectangle. It is creased and then unfolded and then the paper is folded horizontally to form a square and it is creased and then unf...
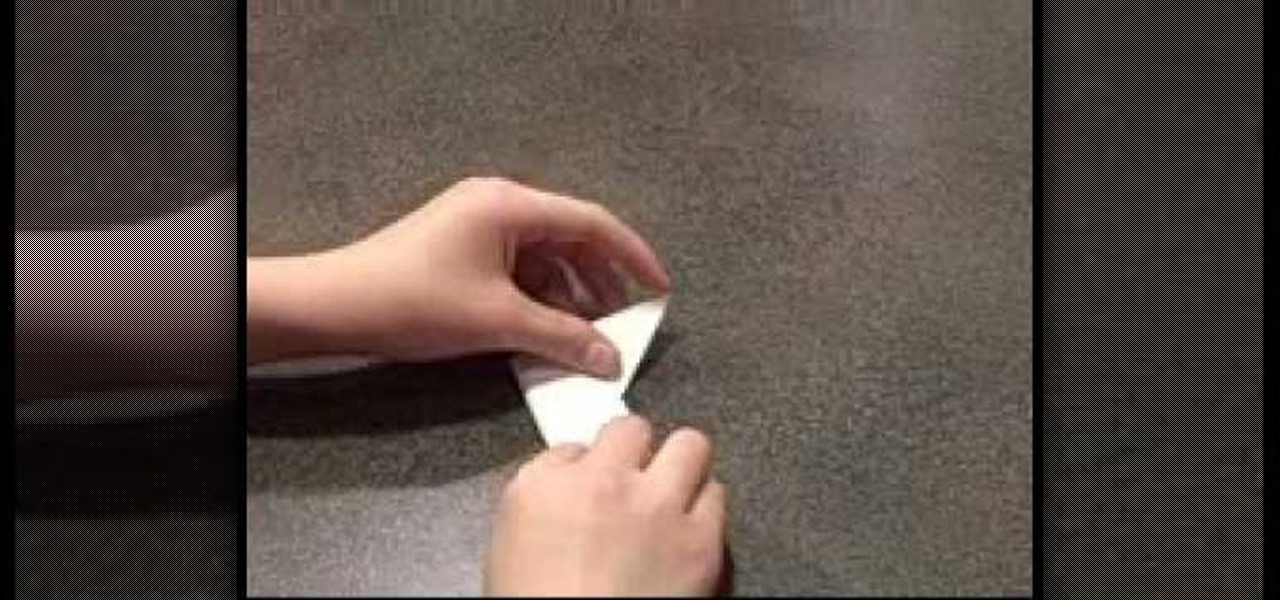
This video demonstrates how to create an origami ninja star. Prepare a square shaped piece of paper. Lay it down on a table or on a flat surface. Fold the paper right across the middle in a vertical orientation. Fold it once more in the same manner as the first fold, now creating a more slender vertically standing rectangle. Fold the upper portion of the origami diagonally forming a small triangle on top of the rectangle. Do the same on the bottom portion of the origami. Fold the upper portio...
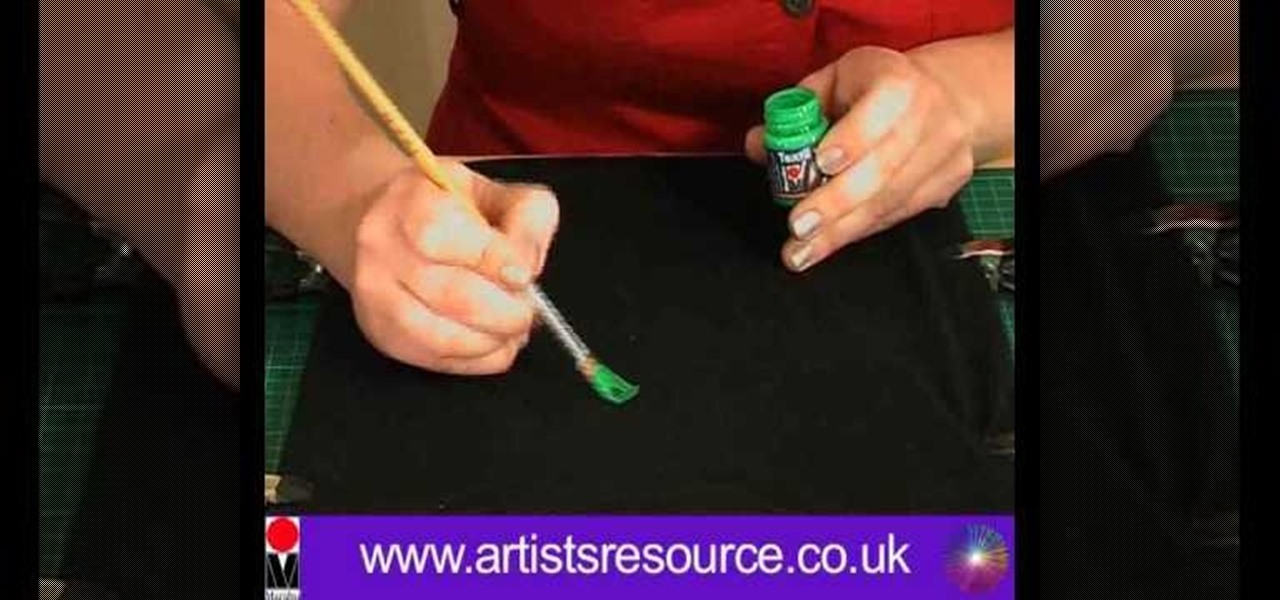
Learn how to ‘Paint onto your T-Shirt’ by watching this video. Materials required for this include the following:•Marabu Textil Plus Start Kit – 6 colors included with paint brush•Marabu Metallic Outliner Paints•Crocodile clips•Masking tape•Pencil•Design printed from the computer•Tracing paper•A large cardboard wrapped in cling film•A dark colored T- ShirtBegin by placing a tracing paper over the design and secure it to the table using masking tape. Next, use a pencil to trace the design on t...
This video tutorial demonstrates how to fold a Bluten Kusudama. For this we have start with an eight by eight cm piece of paper. Fold it into half. Fold the half into another half so as to make the paper into four equal parts. Now fold this into half creating a cube. Now open the paper we can see that there are eight equal parts. Again fold the paper from one corner to the first vertical fold. The first vertical fold will meet the center fold, creating an oblique. Now fold in the same way in ...
To make a paper gift box is one of the simplest projects that you can create on your own. In order to do this you need some materials: a Square of Paper, a Pencil, a Ruler & a Folding Bone. Take any size square of paper and draw two lines diagonally from corner to corner. This will form a large X, marking the center of the square. In turn, fold each corner into the center of the square. Firmly crease the fold. Fold the first corner to the line of the first fold made on the opposite side. Repe...
If you want to know how to monitor another computer screen with Real VNC, you must watch this video. Install Real VNC in your computer and computer that you're going to monitor. Remember the folder where you installed it and check the "Create a VNC Viewer desktop icon" checkbox. Write on a paper the IP address of the computer that you're going to monitor. On the VNC Server Status window, click Configure button. On the Authentication field, select VNC password and on the Encryption field, sele...
1: Place paper sideways. Place the paper on the flat surface with the long edges at the top and bottom. 2: Fold long edge to opposite edge and unfold. Fold one long edge to the opposite long edge, crease, then unfold. 3: Fold longs edge to center and unfold. Fold one long edge to meet the center crease you just made. Now do the same with the other long edge, so they both meet in the center. Unfold completely. 4: Fold short edge to opposite edge and unfold Rotate your paper and fold one short ...
This craft shown in the video is a great craft for children or adults. Materials you will need are: 1. Construction paper (square big enough to trace your hand)