This video shows how to write the numbers 0, 1, 2, 3 and 4 in Copperplate style. Special marked paper is used, with slanted verticals and regular horizontals, so that the numbers are even in size. The number 0 is drawn slowly, showing how the nib rests on the paper and is drawn anticlockwise. Then the number 1 is drawn, and again the up strokes are thin, while the down strokes are thick. The number 2 is drawn in two steps, starting with the top part. Numbers 3 and 4 follow in a similar fashio...
In this Home & Garden video tutorial you will learn how to make a concrete obstacle. Materials required are cement, 1 big receptacle, 1 small plastic receptacle, a cup for measuring, a spatula, 1 mold, WD40, paper towels and protection mask. Wear the mask, spray WD40 on the small receptacle and the mold, and wipe off with paper towel. Pour two cups of cement in the big receptacle, add one cup of water and mix slowly with the spatula. You can add more cement, water and make it to a watery cons...
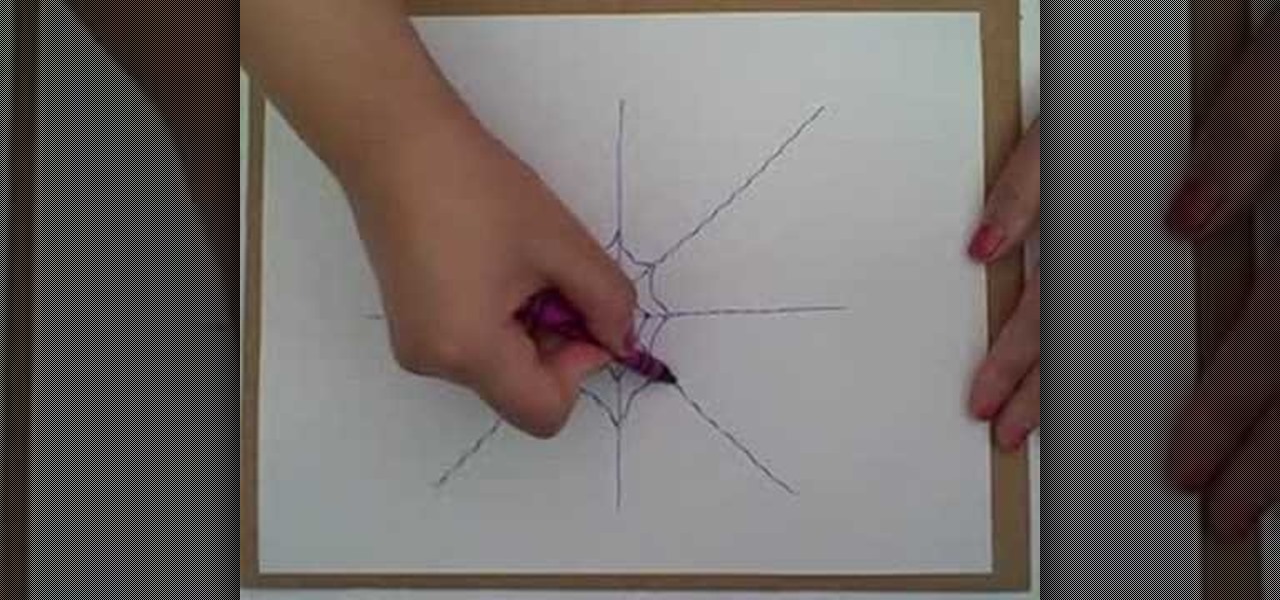
This how to video shows you how to create a basic spider web. This will be helpful if you do not know how to create the basis for a basic web. You will need a crayon and a piece of paper. First draw a large plus sign in the middle of the paper. Next, make two intersecting diagonal lines. You have formed the basis of the web. Next, Draw a curved line crossing in between each line. Start this at the center. After you go around the lines once, draw another line above the previous. Keep on doing ...

A thesis statement can be one of the most difficult parts when it comes to writing a paper. Not only can it be confusing, but it can drive a person mad! Okay well not mad, but it can certainly casue some people to get a tad bit irritated. So to avoid that negative feeling, watch this tutorial on how to write one. You'll thank us by writing your own paper about how we are so cool!
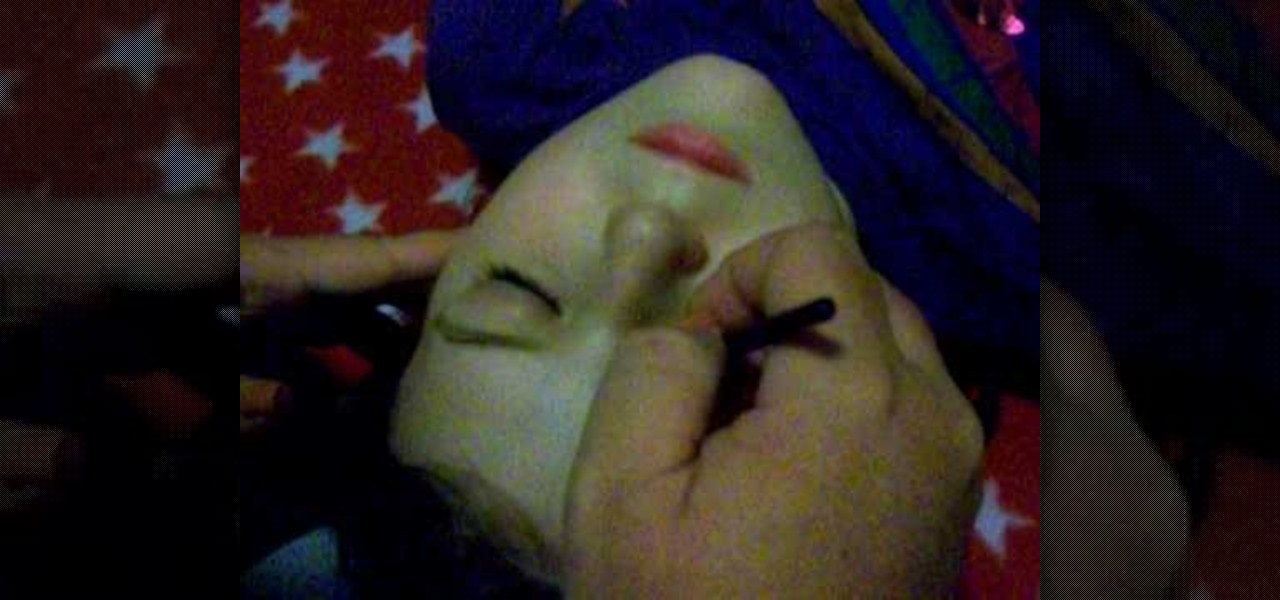
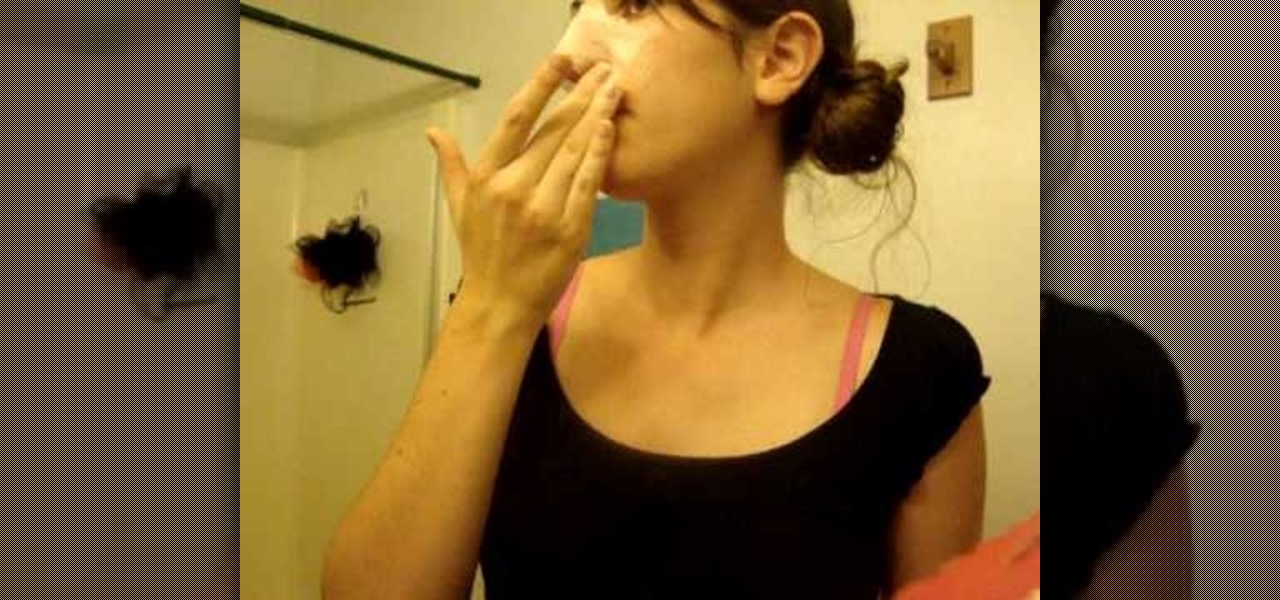
This video illustrate us how to apply competitive cheer leading tournament makeup. here are the following steps:

Another adorable craft you can make with your little ones is a paper caterpillar. The best part about this little guy is that he's flat and perfect for hanging on the refrigerator with all of your kids' other masterpieces!

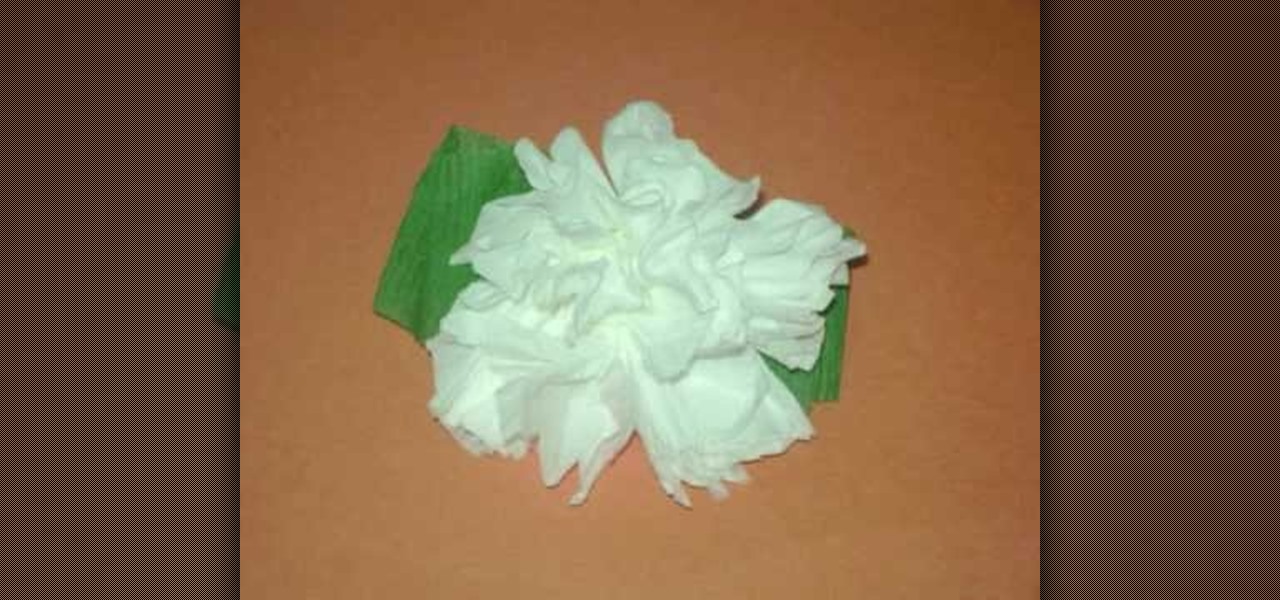
One of the most fun activities when you are a kid is making something pretty to bring home to mom. In this tutorial, learn how to make carnations out of toilet paper for a fun kid's craft. Carnations make a great craft for Valentines or Mother's Day and are easy to make with even the youngest elementary students.
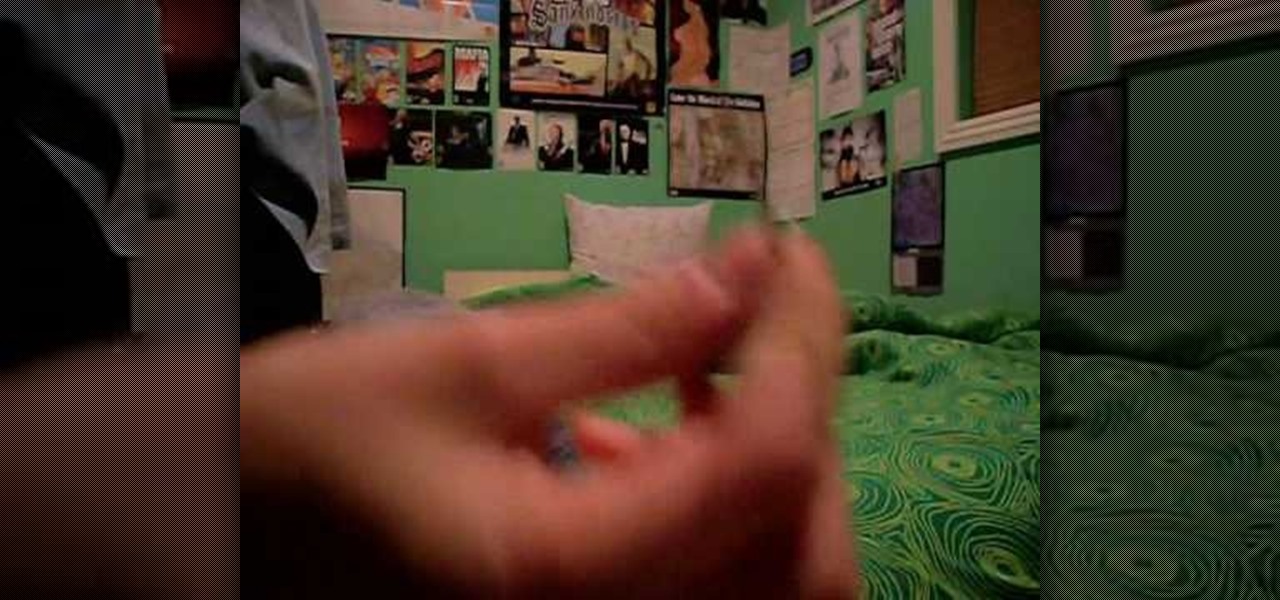
This video is a demonstration of how to make a Chinese paper star out of newspaper. First take a folded piece of newspaper and fold it in half again the long way, and then again, to make a narrow strip. Fold the strip in half to crease it, then fold the strips at a right angle in both directions. Fold the outside edges in toward the center twice and then in a triangle. At this point you will have a thick diamond shape. Repeat with another sheet of newspaper. He demonstrates how to join the tw...
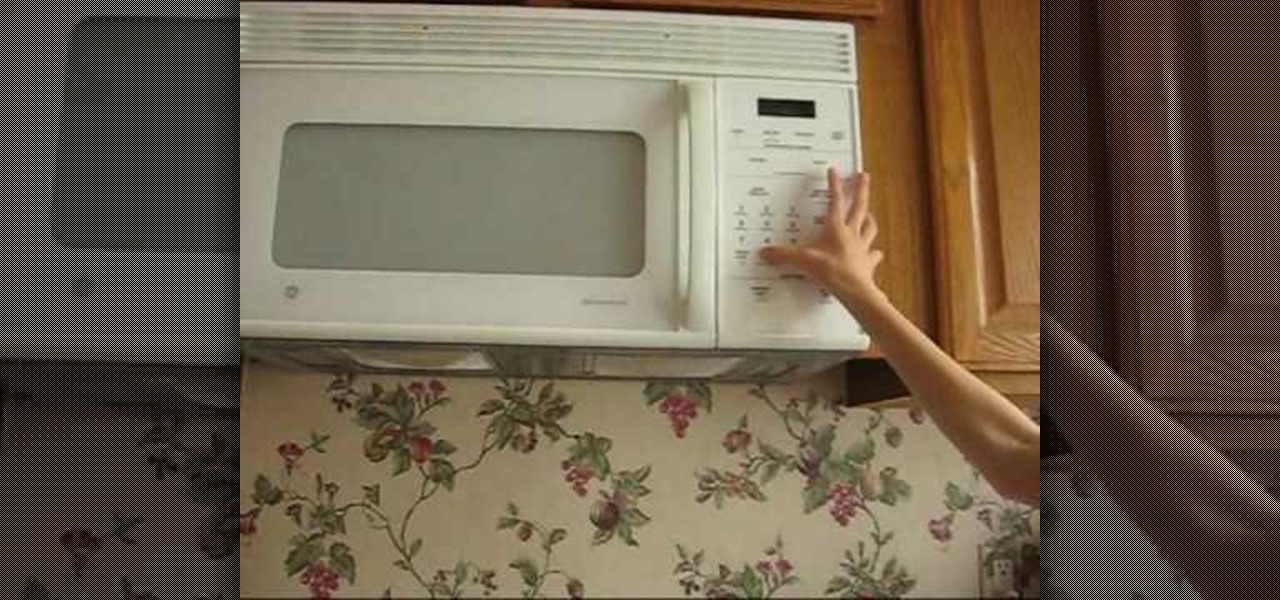
In this video tutorial, viewers learn how to easily make homemade bacon. Users will need ham or salami. Put the ham/salami onto a plate and cover it with a paper towel. This will take out all the grease from the ham/salami. Then put the plate into the microwave and heat it for 40 seconds. Once finished heating, remove he plate from the microwave and let it cool. Then take off the paper towel and wipe any extra grease. This video will benefit those viewers who enjoy cooking and would like to t...
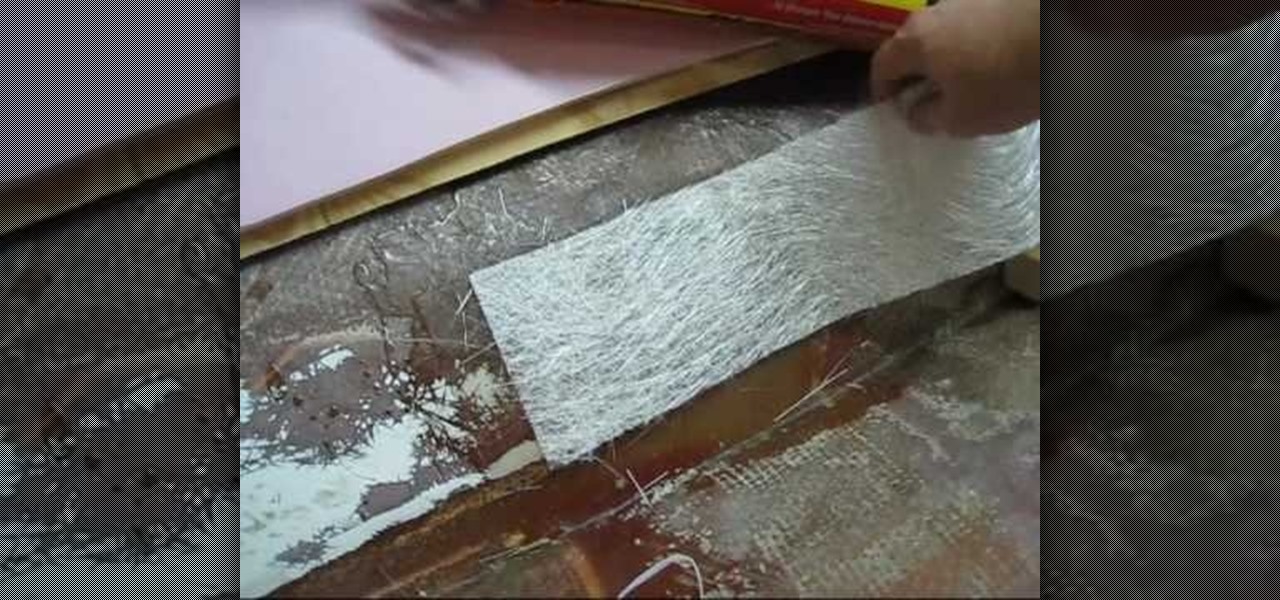
LowkeeLT demonstrates how to patch a hole in a fiberglass boat hull. First, grind around the edge of the hole to make it smooth. Make an angle that goes towards the hull so that the resin won't get caught and create air pockets. Attach kitchen wax paper to the boat as a non-stick material for the poly resin to set against. Then, put down a flexible cutting board by duct taping the two layers on the outside of the hull and pulling it taut. Attach three layers of fiberglass strips with resin to...
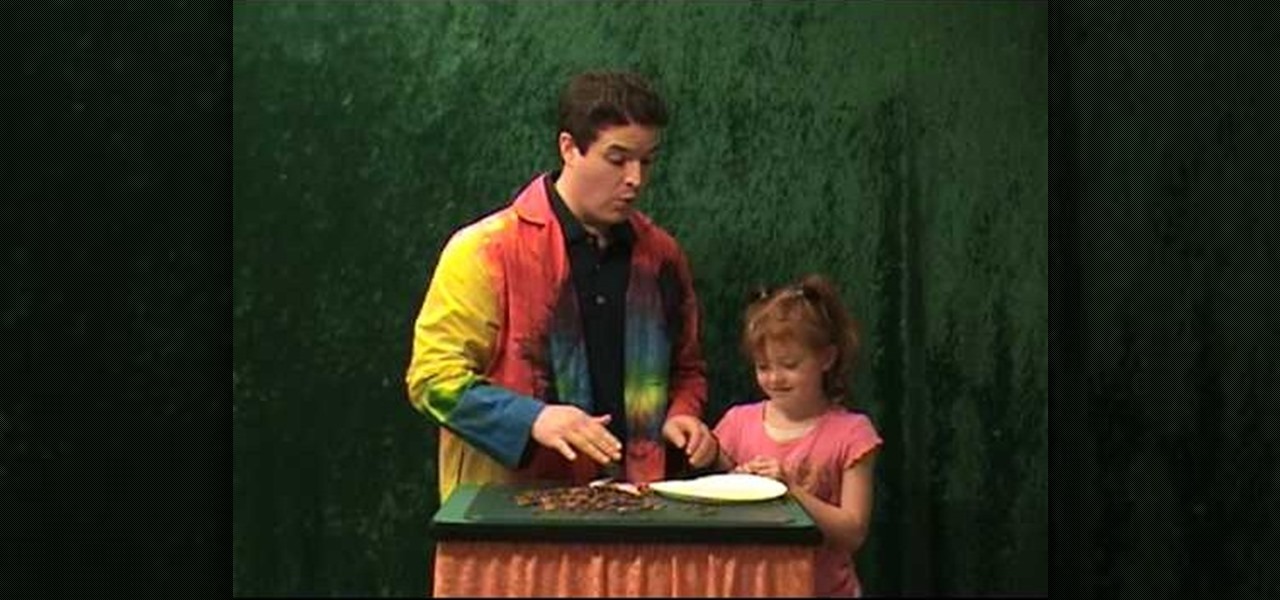
In this video, we learn how to clean pennies with taco sauce. To do this project, all you need are some dirty pennies and a paper plate! First, pick out some really dirty pennies and grab a taco sauce packet you have laying around the house. Grab a paper plate and pour the taco sauce onto the top of your pennies. The taco sauce has vinegar in it, so it can clean the pennies easily. Let it set for a few minutes and then rinse the pennies off in water. This will clean your dirty change and is a...
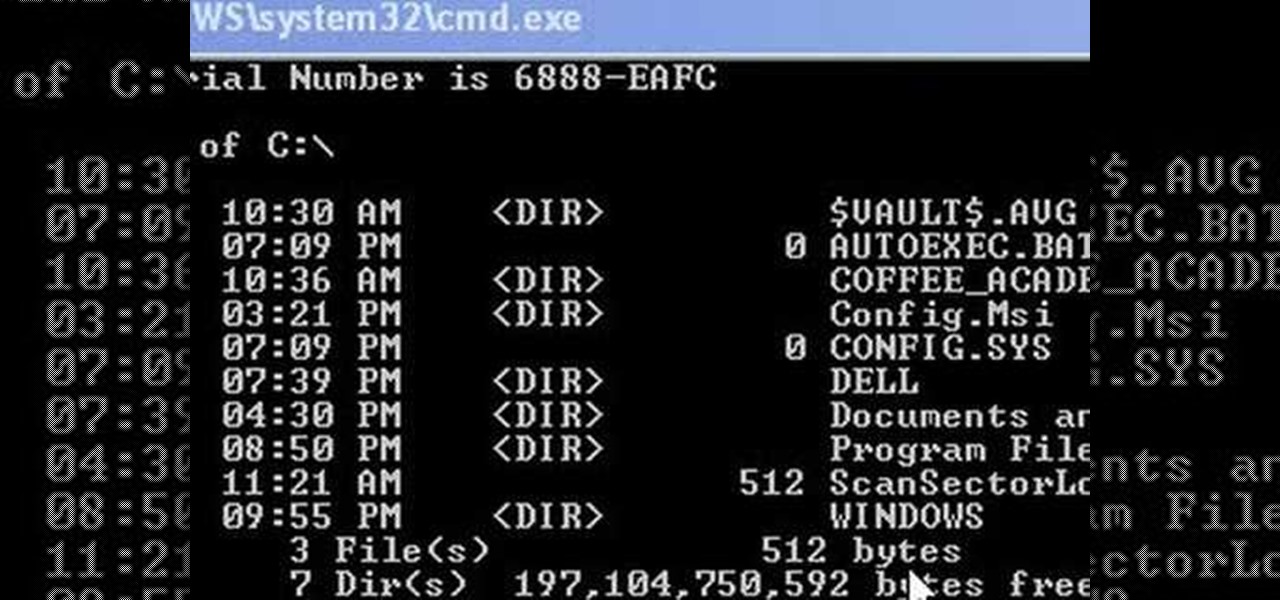
This video shows us how to change driving letters or directories in DOS command. Firstly go to start menu and then click on run. Then type cmd and press OK with which a DOS command cmd window will pop up. Now you need to change the directory and these is done by typing ‘cd..’ and after that press enter. Now you have changed the directory and now you need to see what’s in there and for that type ‘dir’ and press enter and this shows what’s in that directory. Now change to other directory by typ...
The video demonstrates how to make DIY pore strips. Take one egg white and beat well until fluffy now apply over the black head affected area and cover with a toilet paper apply over the toilet paper until they are wet and sticks on to the affected area. Now let it dry for a few minutes and finally peel them off. For better results steam your face before the whole process. Rinse your face and clean it with a deep cleanser to clean the pores. You are now done and have got ridden of all the dir...
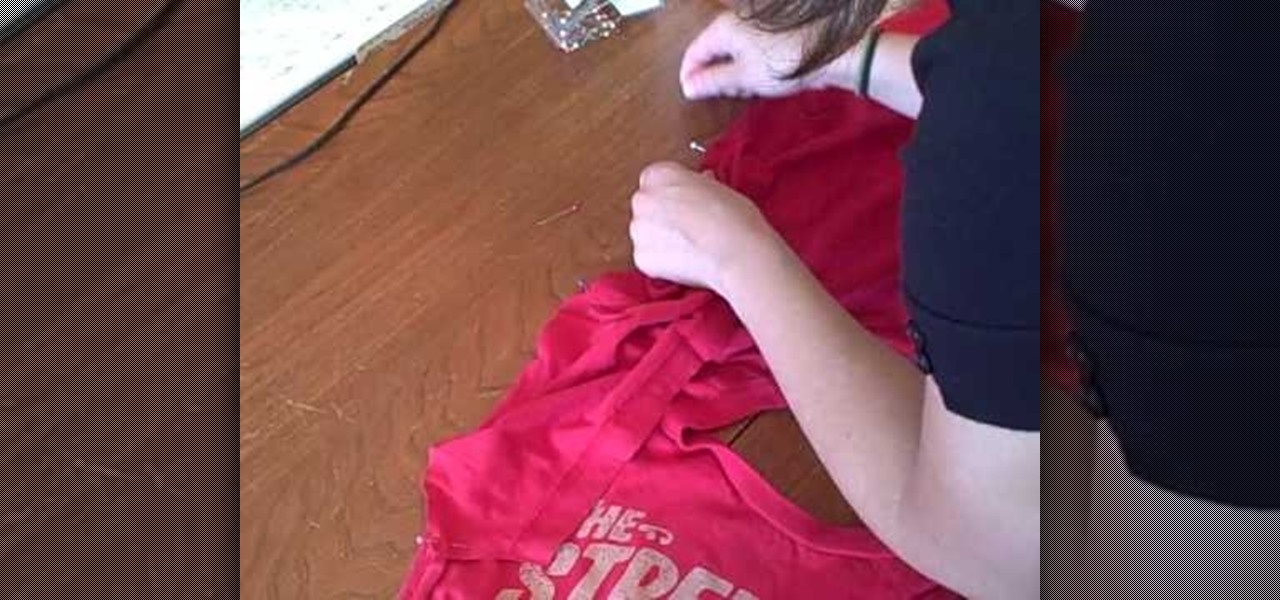
The young lady in this video describes to the viewers how to make "Puffed Sleeves". You can use shirts, jackets, men's' shirts, ladies shirts, just about any shirt to make these on! She starts out with 2 ladies shirts, one oversized and one fitted. She also gathers scissors, thread, straight pins, a marking pencil, paper to trace the pattern on and paste. She then demonstrates how to cut the pattern by tracing the outline of the sleeve onto the paper, how to pin the shirts using the straight ...
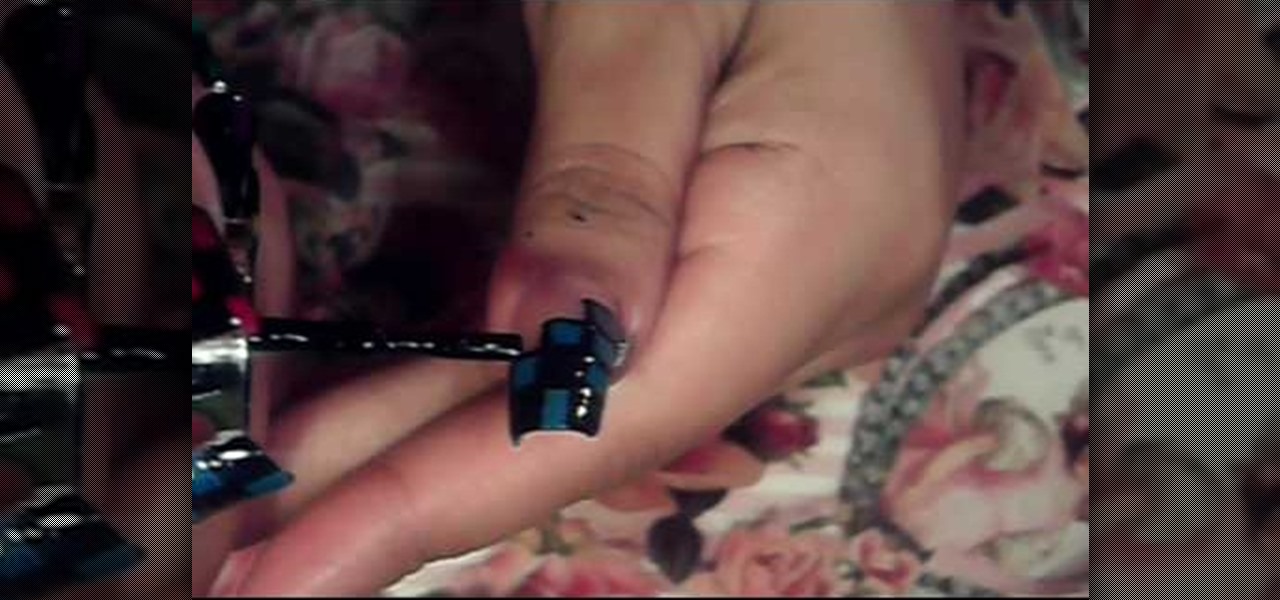
This video is about how to paint your nails with a colorful checker art design. The first thing that you will have to do is to apply the hydrating base coat on your nail. After putting the hydrating base coat on your nail, get a piece of paper for you to place the black nail polish. After placing the black nail polish on the paper, use the dotting tool and place a series of zigzags on the nail. The next step is to fill in the zigzags depending on the color you want. After filling in, make a s...
You will be using a picture of a Nintendo character and perler beads to make the necklace. Start by making an outline of the character using black perler beads. Then begin using colored beads to fill in the character. The color beads allow you to fill in the character and they also allow you to create all the detail on the character. You can shade and use multiple colors in making the characters. After you have put all the beads on the card put a sheet of waxy paper over the character and iro...
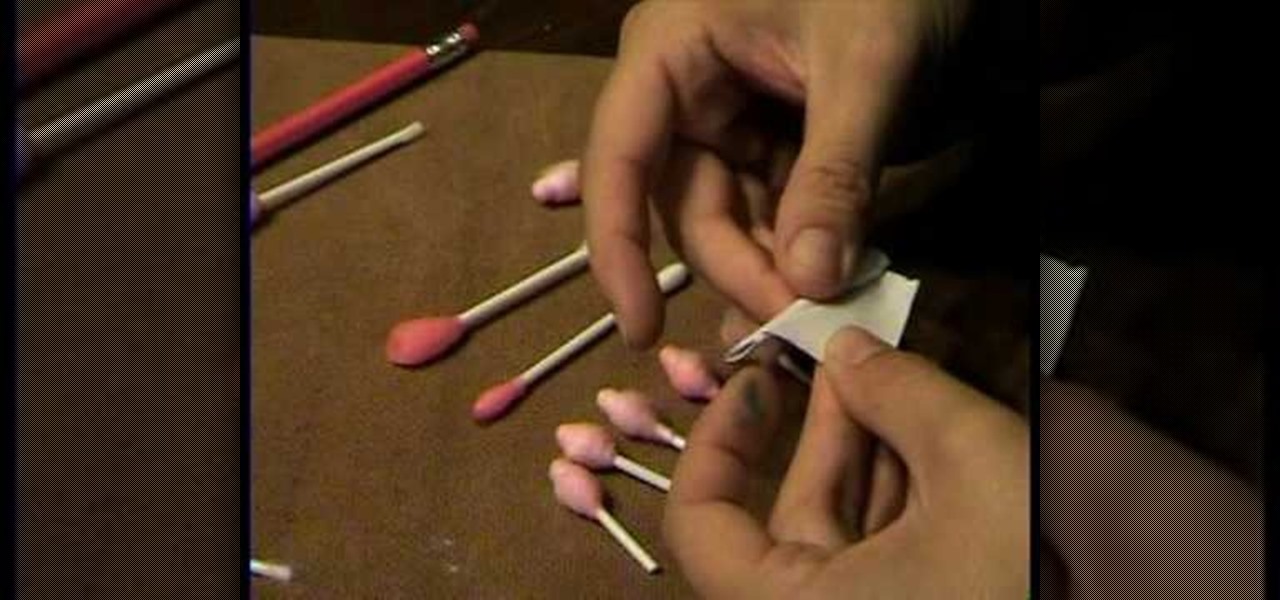
Use a q-tip (ones for little kids will have a larger base, but are not required). Put a few drops of red food coloring in a glass of water and stir it up as necessary. Dip q-tip in red water, get it nice and saturated. Remove q-tip and let sit overnight. Cut q-tip in half, then take a small rectangle of paper, apply glue from glue stick to one side, then make a small fold from a corner and roll (this may take some work). Use scissors to cut down to the correct size. Next rub q-tip's cotton si...
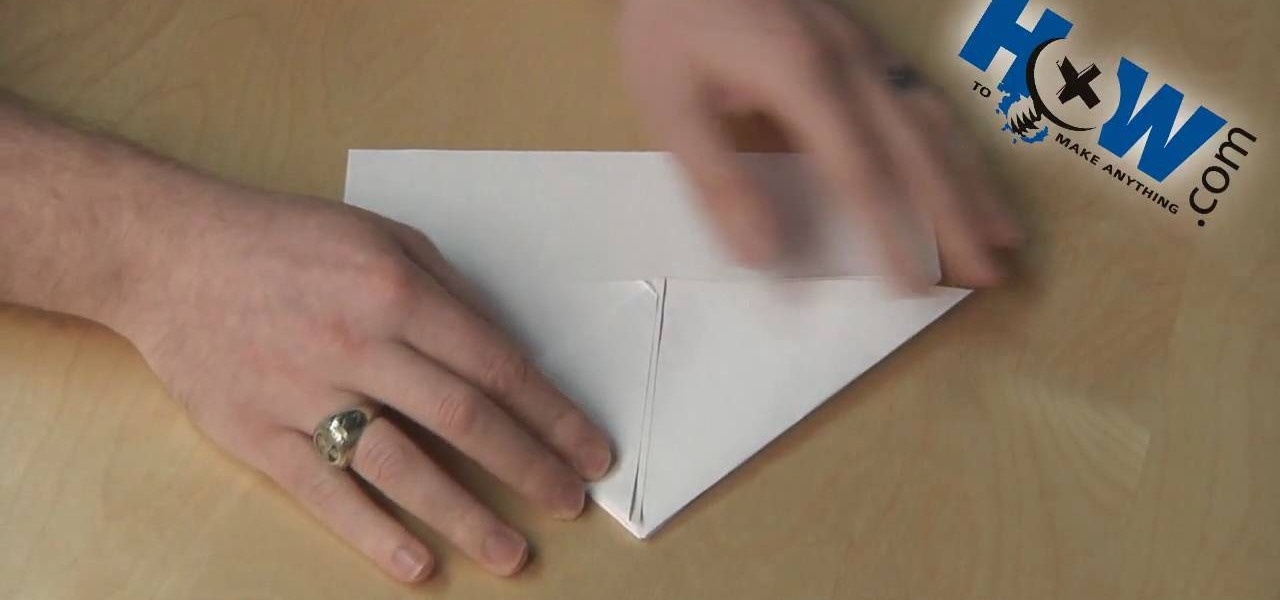
First of all take a rectangular sheet of paper. Now take a corner and fold it across to meet at the corner. Now crease it. Now take another corner and fold it over to the other side and crease again. Now bring in the x as shown so the sides are drawn inside and they form a triangle. Now crease it. Now take one corner of the triangle and bring it to the top. Now crease it. Now do it similar for the other corner. Now fold the bottom piece over and bring it to top. Then fold once again as shown....
The video shows how artists enlarge and copy from photographs. First grid lines are drawn on the reference photo. Then grid lines are drawn on the paper with enlarged or reduced grids. Now draw the lines from the reference photo to the drawing paper one square at a time. Now complete the outlines from the reference photo. Erase all the grids and you have only the outlines. Add details and area of tone. Darken the dark areas and you have a replica of the reference photograph. The same techniqu...
In this art tutorial, you will learn how to draw and then paint an orchid. You will need a Chinese paintbrush, a plate for the paint, water and paper. For paint colors, you should make sure you have red, yellow, black, green, blue and purple. First, dip your brush into the water and then mix yellow, red and black, dabbing some of each color onto the brush. When doing this, do not actually mix the colors on the brush. You want the red on one part of the brush, the yellow on another part, and t...
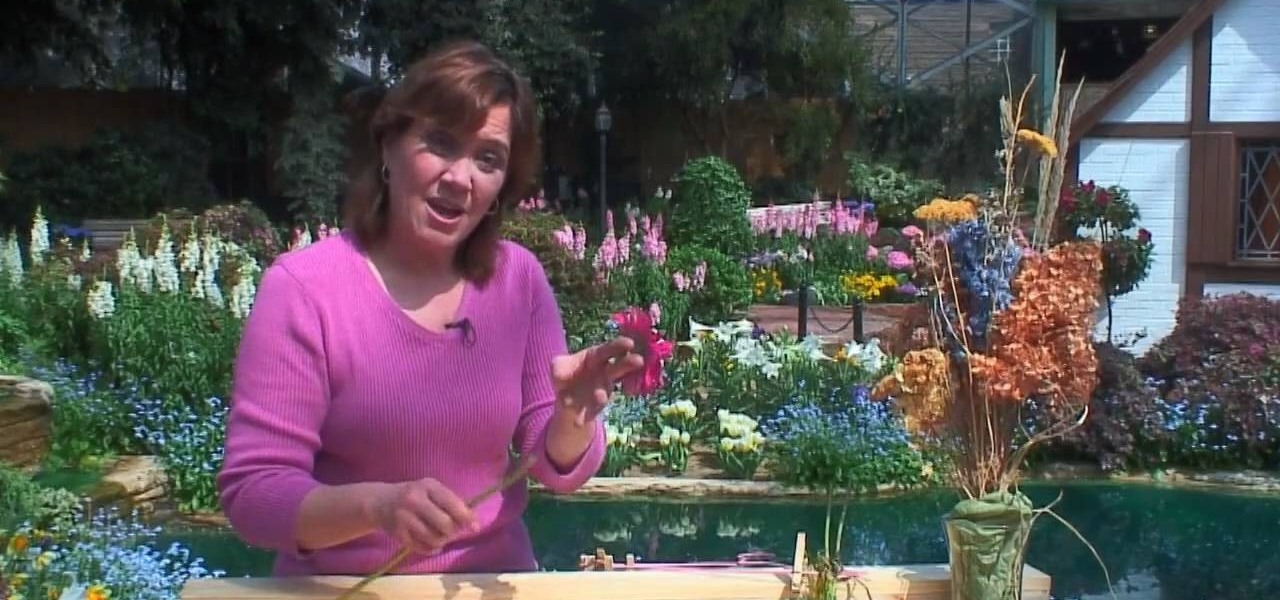
Preserve the beauty of your flowers by pressing them. One of the simplest ways in doing that is to press between pages of a book. It's wood, over cardboard, over absorbent paper. The flowers are placed between the paper and then held and pressed down by the cardboard and wood. It's then going to dry over time to preserve your flower. Now some flowers don't dry as well as others. What you can do is purchase some silica sand and burn the flower within it. It usually takes a couple weeks this wa...
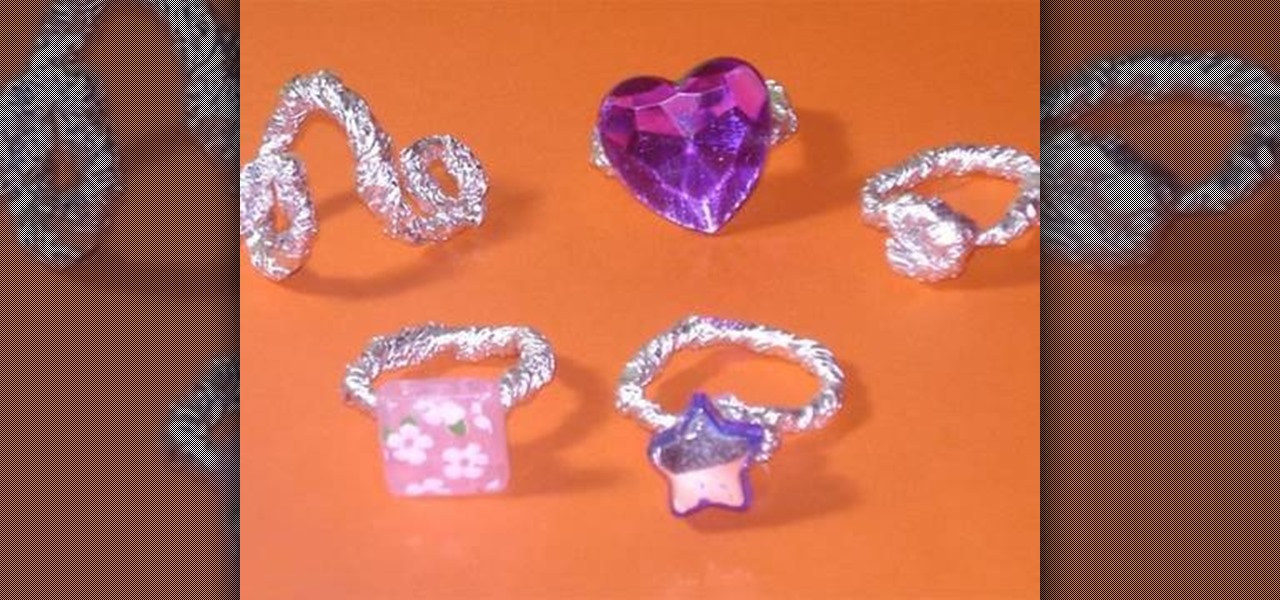
In this video tutorial, viewers learn how to make aluminum paper rings. This video provides all the materials required to make the rings. The materials required include: aluminum paper, glue, plastic gems, beads and the bottom of any decorative element for the top of the ring. Begin by folding the foil into a thin line and twist it. Now bend the foil around your finger to shape it into a ring. Then tie and wrap up the top. Put some glue on and add the bead or gem to the center. This video wil...
The video demonstrates how to get started with MLA (Modern Language Association documentation format) for an article. One of the first things that is important to understand is how to name your paper, and add a header format that will automatically paginate your paper so that you do not have to worry about it. The entries in your Works Cited need to be alphabetized and also need to be indented. Note that there is no extra space between the entries. You do not have to know how to manually form...
In this particular video, a small girl named Kayla, describes how to draw flowers. First, we need a pad of paper and some kind of a drawing instrument, like pen or a pencil. Then, make a circle and draw some flower petals. Then, put some dots in the middle of the circle to make a shade. You may color it to make it look better. Then, she makes a rose with a stem, a couple of flowers, and a flower top with some petals. Then, she explains it. To make a rose, make a big dark spot in the paper, ma...
NiftyButton teaches you how to make a simple baby toy. You dig out an old pair of brightly colored stockings and snip off one leg. You want to have a section of about 15 inches. You then stuff this with crumpled paper. Take the open end and make a tight knot. Cut and tie ribbons into knots. Place each ribbon between two pieces of paper. You can also add eyes to the small toy by adding buttons or simply using a marker to draw the eyes on the part that should be the head. Finally, give the toy ...
The first step is to print 4 full sheets of paper, folded in half to make 8 physical sheets of paper, or 16 possible printed pages. In the video, the lady only prints on half the pages, and puts page numbers on the others. She then draws evenly spaced holes on the binding of each signature, and sews each of the signatures together. You then start sewing signatures to each other starting from the front of the book to the back of the book. You sew the binding of each adjacent signature with a p...
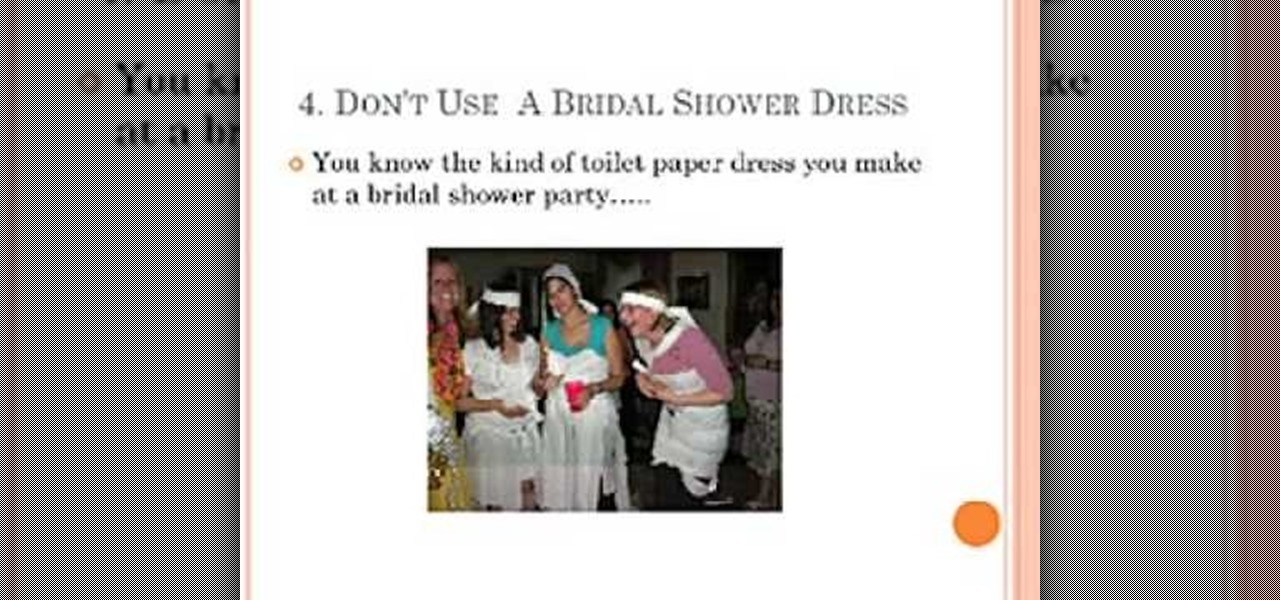
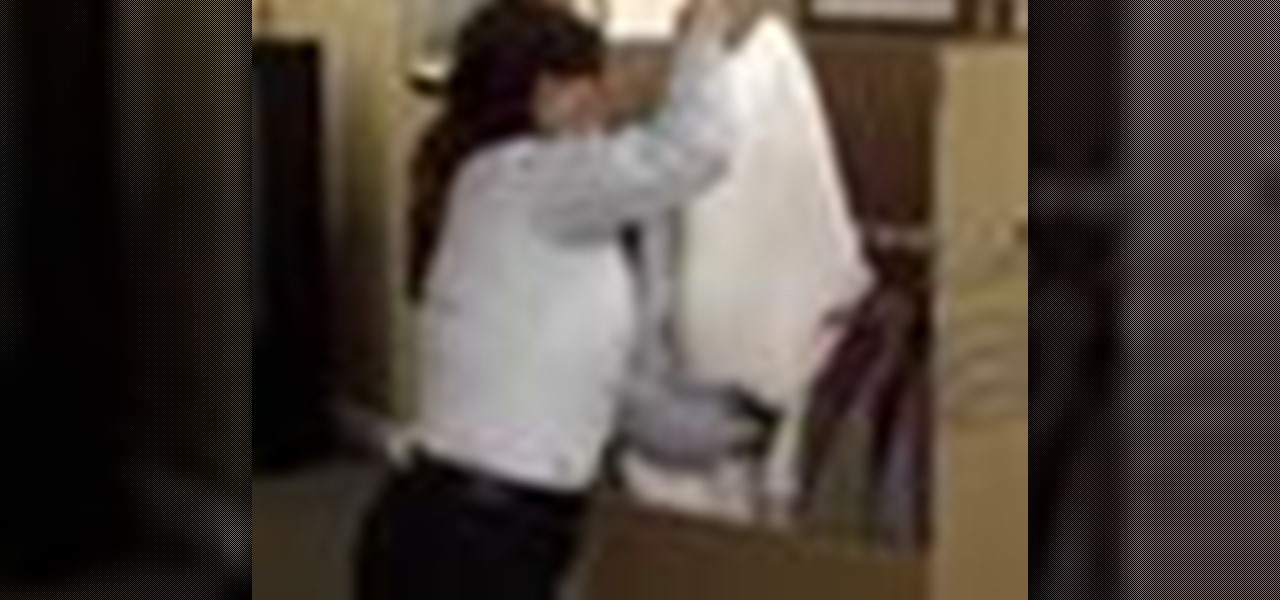
The video gives tips to participate in a toilet paper wedding dress making contest. It gives the participant tips on how to make a winner's dress. Contestants are asked to begin with some inspiration by looking at previous winner's dresses, going through real dresses or by using their own imagination. Their next step is to gather the required materials. Participants must take good photos of their dresses in multiple angles and they can even shoot a video of their dress making. Some points on ...
Show up the other kids at school and bring your teacher a super-sized apple, well, paper-bag apple that is. Great project to do with the family or in the classroom. Create a festive apple using just paper-bag and some newspaper.
Here you will learn how to pack clothes and drapes for storage or moving. Follow these easy steps to pack clothes and drapes the right way. Hanging clothing or drapes need to be packed in a standup wardrobe. This box comes with an aluminum bar that spans two sides. Place the wardrobe box near the closet. Secure the bar with packing tape and place clean paper at the bottom of the box. Hang clothing, distributing them evenly. You can also place quilts, and bedspreads on hangers. When you are do...
This video teaches the secrets to sharpen a convex wood carving knife in simple steps. First find out how dull your knife is by cutting a paper or shaving hair on you hands. Now take a sand paper attached to a pad and start sharpening the ends by applying less pressure. Now try the sharpness of the knife, it will be better. Now take a double sided strop with sharpening compound and start rubbing the knife edge. After sharpening try the knife again, it should be good enough.
Mind you now, that using a normal rectangular piece will not give you the desired results. You must use a square piece of any size. Start by making two diagonal folds for each corner to corner cross section. Now do two hot dog folds, like wise, then take each corner and fold it into the middle so it resembles triangular tabs. Now take these tabs and once again fold them in half but up to the outside of the paper, resembling another triangle. Fold Over, and do as shown in the video for the bes...
In this video tutorial, viewers learn how to use the traditional Japanese stab stitch binding to make books. Stab Stitching is used mainly for office documents and in essence is two or more very strong, long staples that bind together loose sheets up to 25mm thick. The video provides all the materials required to make a book. The materials include: filler paper, two sheets of card stock(must be same size as paper), string, pencil, ruler, ice pick, X-acto knife, needle(must be same thickness a...
This video describes how to remove unwanted odor from plastic storage containers. The video shows three easy steps to remove odor. Firstly, thoroughly wash the plastic container as you usually would. After it dries, place a few pieces of crumpled up newsprint inside of the container and close the lid. Leave the newsprint in the container for a couple of days before removing the paper. After you remove the paper, simply wash the container again and the odor should be gone. A viewer would benef...
This video explains how to find the area of irregular shapes. Draw the shape on a grid or graph paper. This will help you divide your shape into pieces. Draw dotted lines to divide the shape into squares, rectangles or triangles. For instance, if you have an "L" shape, you can divide the shape into two rectangles. Be sure your shapes do not overlap. Calculate the area of each individual shape. The graph paper will help you determine the length and width of each shape. Add the resulting areas ...
Pomegranates can be tricky to peel, but if you follow these instructions, you'll be done in no time. Items you will need: Pomegranate, bowl, paper plate. To peel a pomegranate: Peel the top center off, and then begin working from there. When you get far enough inside to grab a section, pull one out. Peel the white part out from the middle of the section you pulled out. Put the seeds into your bowl, and your waste onto the paper plate. Continue until you have the whole pomegranate peeled and a...
Michael Wiesner, a graphic designer, shows you how to draw an agave plant using paper and a writing utensil. He starts by showing you a pencil outline of the drawing and then shows you how to fill it in with a Sharpie ink pen. Each step is detailed on the best way that you would fill in the plant so that it comes out to it's best. If you follow this video through you can create a great looking agave plant on paper.
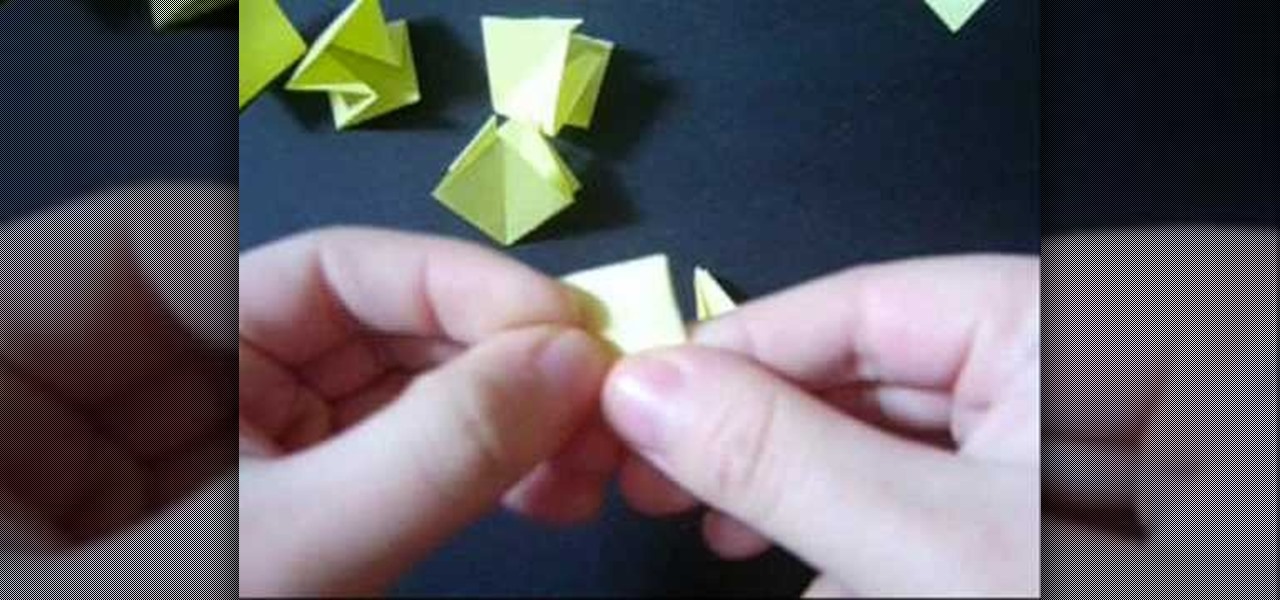
This video demonstrates very clearly and hence you can easily learn the method quickly. The materials needed for making rose bouquet are a square paper and glue. The square paper should be pink in color. Now fold a triangle and then fold in 2 outer edges. Create a petal fold and paste the two sides together. Now you need to repeat this process six times so that you will get six petals. Now paste the six petals and make a bouquet.
In this video the viewers are shown how to pick a Master lock. He starts off by telling his viewers what items they need to start. A tension wrench is made from a pen cap and a pick from his sister's bobby pin. He then demonstrates how to successfully pick the lock. He also suggests another tool you can use, a common household item - a paper clip! After that he shows how easily he is able to pick the lock with the paper clip as well. He explains at the end that Master locks are one of the har...
This video is a tutorial on how to quickly make 1,000 origami paper cranes, also known as senbazuru. You should start by gathering paper squares. The video then shows you how to fold these squares into the familiar crane shape. You then learn how to thread these cranes together in order to get your desired design. The number of cranes you make will depend on the size of decoration you want for your home or for your beautiful gift.
In this video, Dawn, an arts and crafts expert shows you how to work with stamping and stenciling. She goes through two different styles that can be created with stamps/stencils. The first is a "scallop trim border" on card-stock paper. She takes you through various steps to complete this. She then goes on to show you how to make a "scallop trim corner punch" with stamps. The process is quick and easy, you need card-stock paper, various stamps, and stencils.