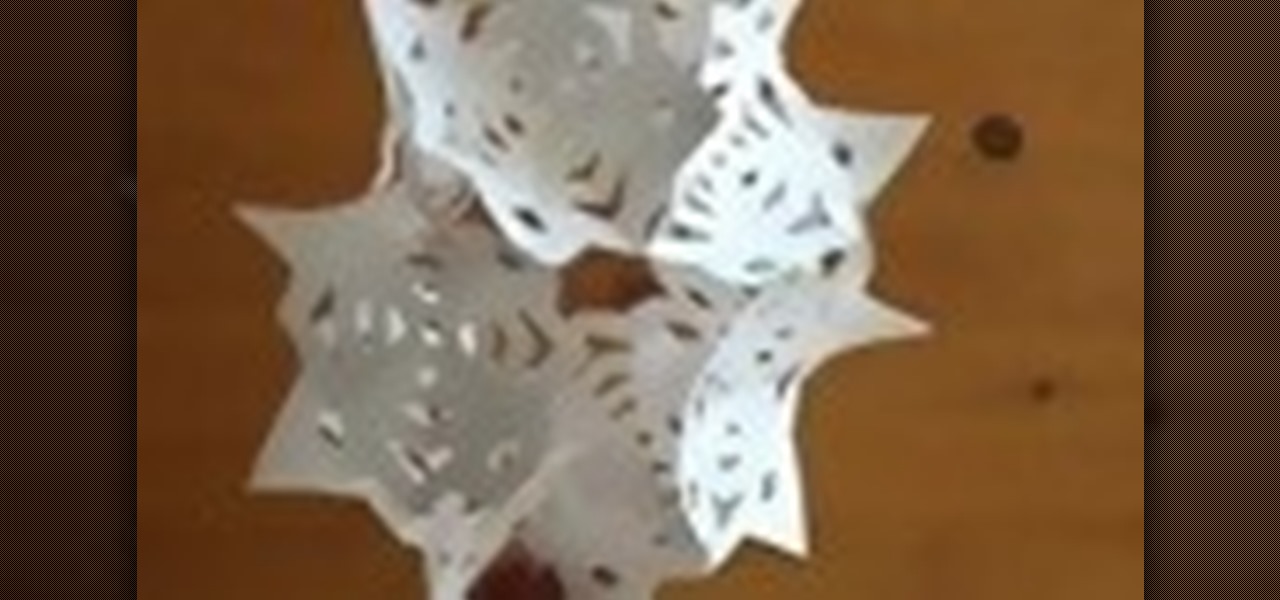
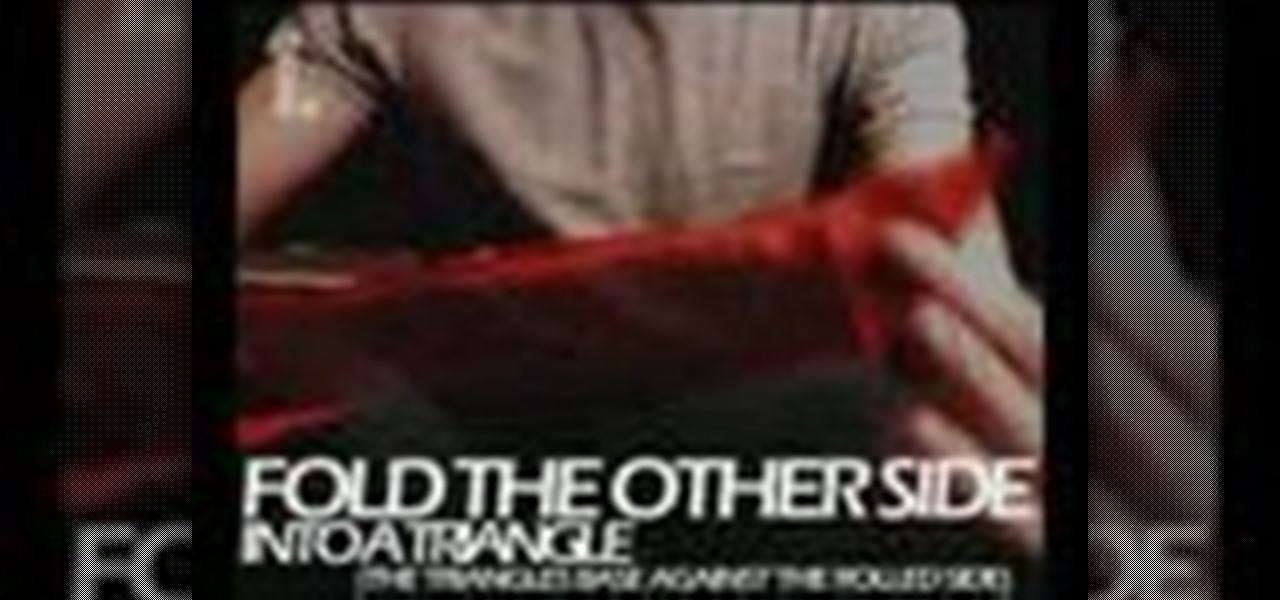
This video is about how to make a cool snowflake using a paper. For this you have to take six equal square of any paper. Cut 4 silts on both the sides. Do not join cuts. Take 1 piece of paper and place tap .Flip over one repeat on all . This will be one side of snowflake. Repeat on all the pieces of paper. Staple together ends. Join all 6 in the middle .The 3d cool snowflake is ready to use it.

This video will show you how to make an interesting 3D paper snowflake. You will need 6 pieces of paper, some scissors, glue and a stapler. First, make 6 squares which are the same size. After folding the squares across its diagonal axis into a triangle and folding it over again, hold the triangle so that its open ends are facing outwards. Cut diagonal lines along the line of the triangle towards the center, stopping close to the middle line. After opening the paper, take the two ends of each...
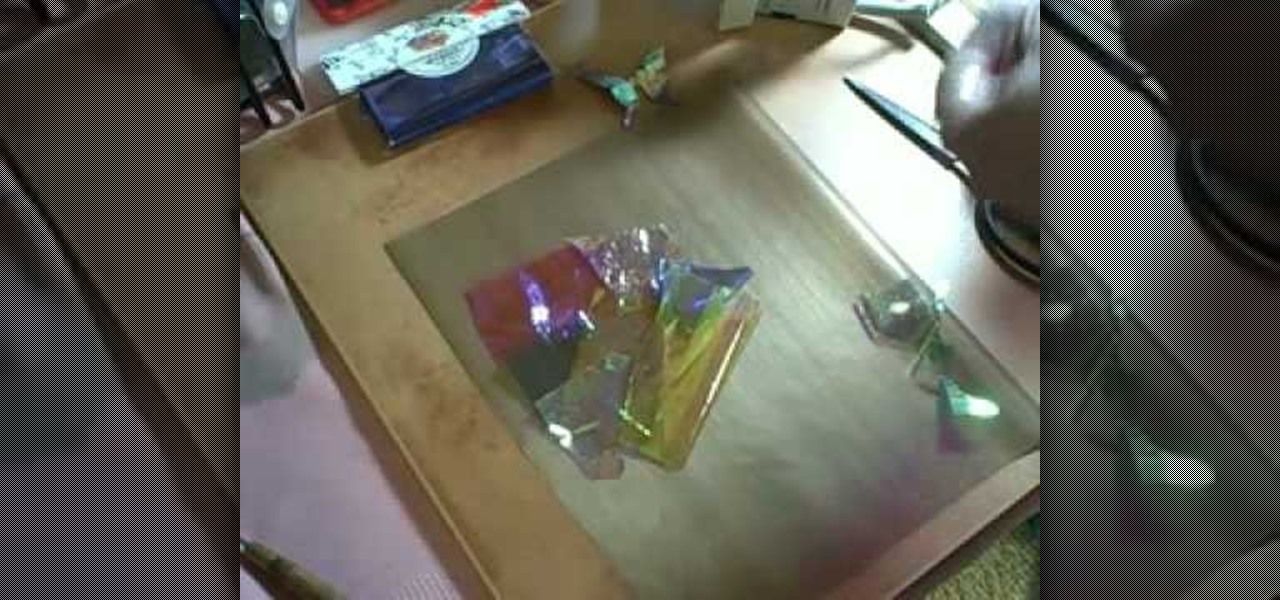
Make a cool drinking or water container, or simply a great decorative gourd ornament. But before you can decorate the gourd, you need to make the decorations. Learn how to make Opals and Fantasy Film glass paper for a gourd.
For the crafting project in this how-to video, you will need a three inch wide strip of tissue paper. Follow along with the step-by-step instructions and fold a pretty paper flower, that will last longer than the real thing. Watch this video tutorial and learn how to make a tissue rose.
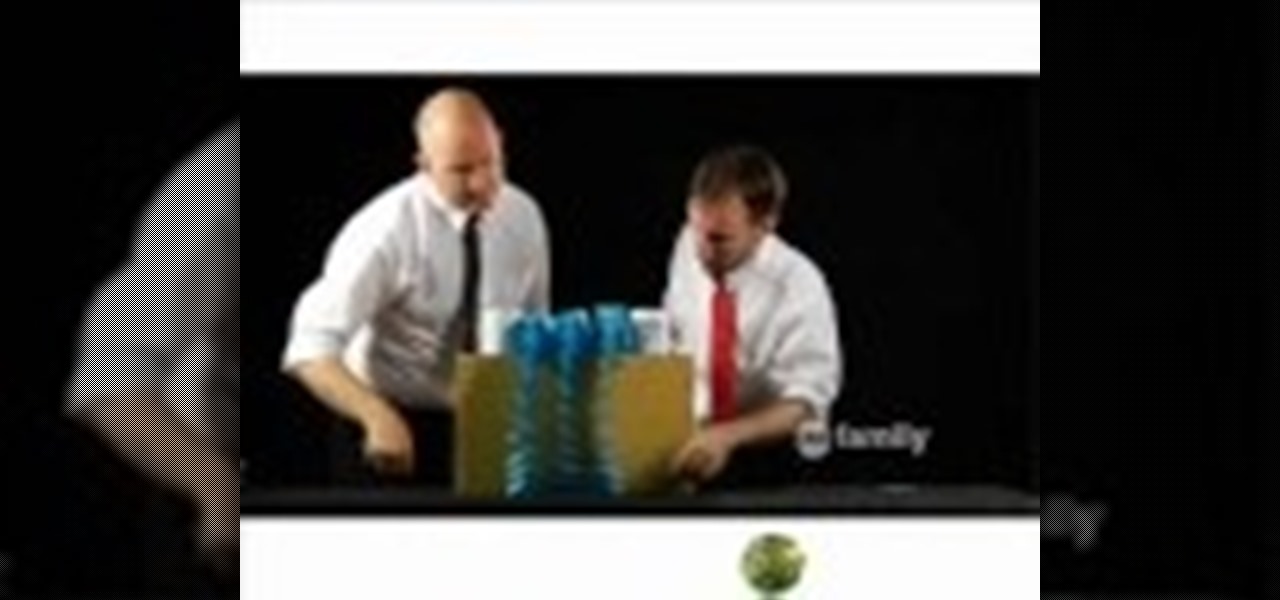
From the creators of the Diet Coke and Mentos experiment, EeepyBird show us how to have fun with sticky notes. Create a cool blue post it waterfall effect. Stack several post it pads. Tape together in sections. Let the paper water flow! Cool paper design trick.
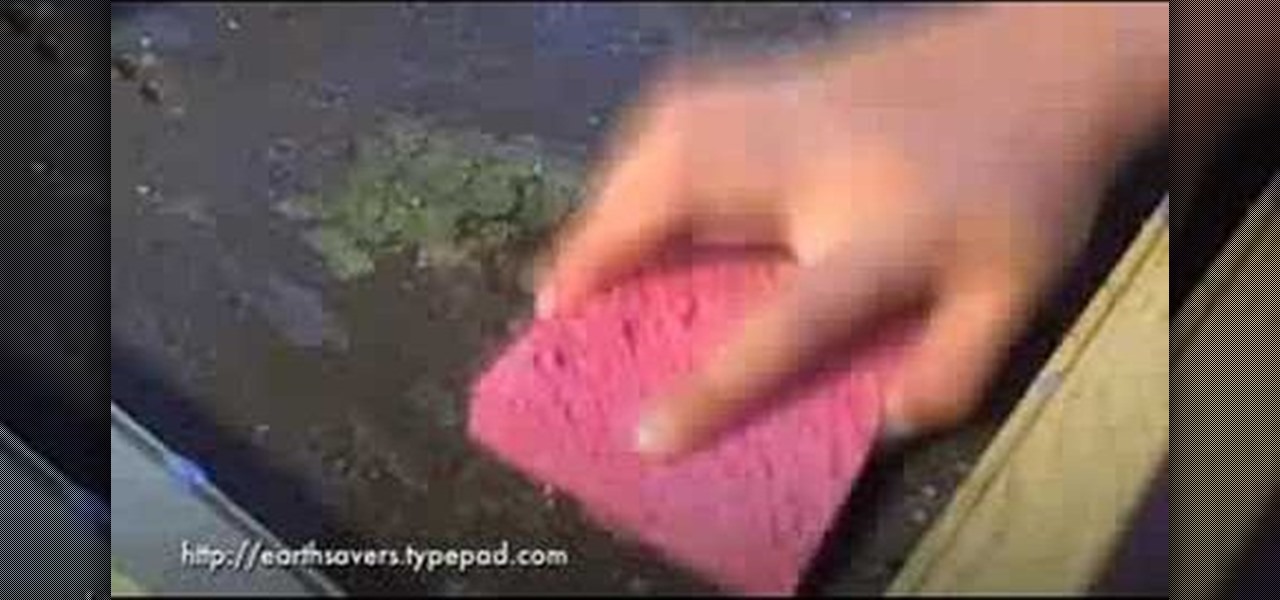
Join Emma & Grace as they show you how to recycle old cereal boxes, coffee carriers, artwork and junk mail into beautiful works of art. Watch this instructional video to shred pieces of paper garbage, blend it into a pulp and press your own recycled paper.

Sue at Paper Source demonstrates blind embossing, a technique that raises an image without color. Think braille. It adds finish to an envelope or personalizes stationary. Watch this video crafting tutorial and learn how to use a desk paper embosser.
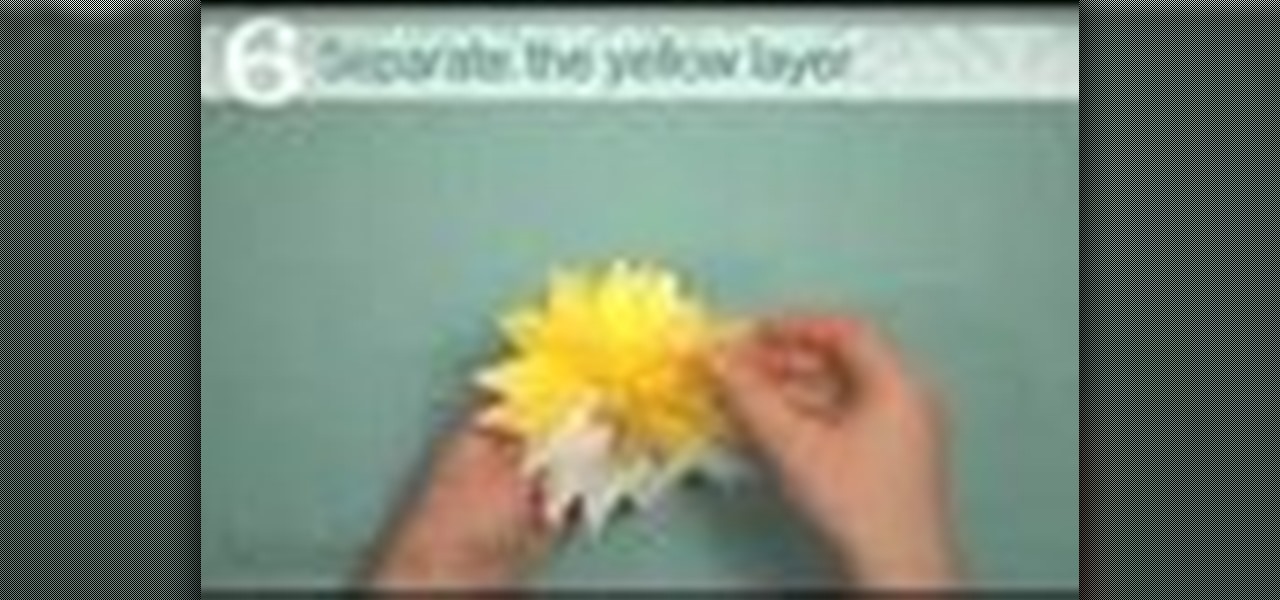
Good Housekeeping shows how to fold paper flowers to use as clever napkin rings at an Easter or spring party. These colorful daffodils add a little bit of cheer to the decor. Learn how to fold these tissue paper daffodil napkin holders by watching this home crafting video.
This video will show you how to make your very own paper clip topper for a jumbo paper clip. This is an extremely cute arts and crafts project for work or home.
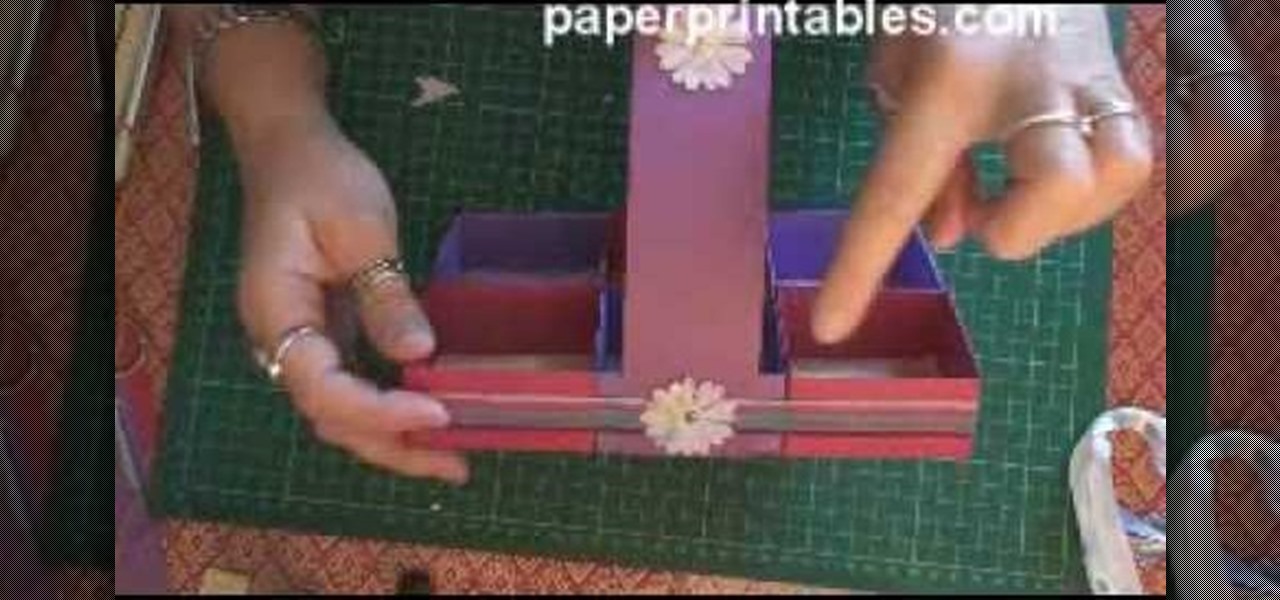
This paper basket is great for any occasion, and it would look especially great on Easter filled with M&Ms or other candy. Your family and friends will definitely love it when you make them this adorable paper basket.
This video tutorial shows step by step how to make roses from paper, with no stamping at all. Watch and learn how to follow this quick and easy method to create a pretty paper rose.
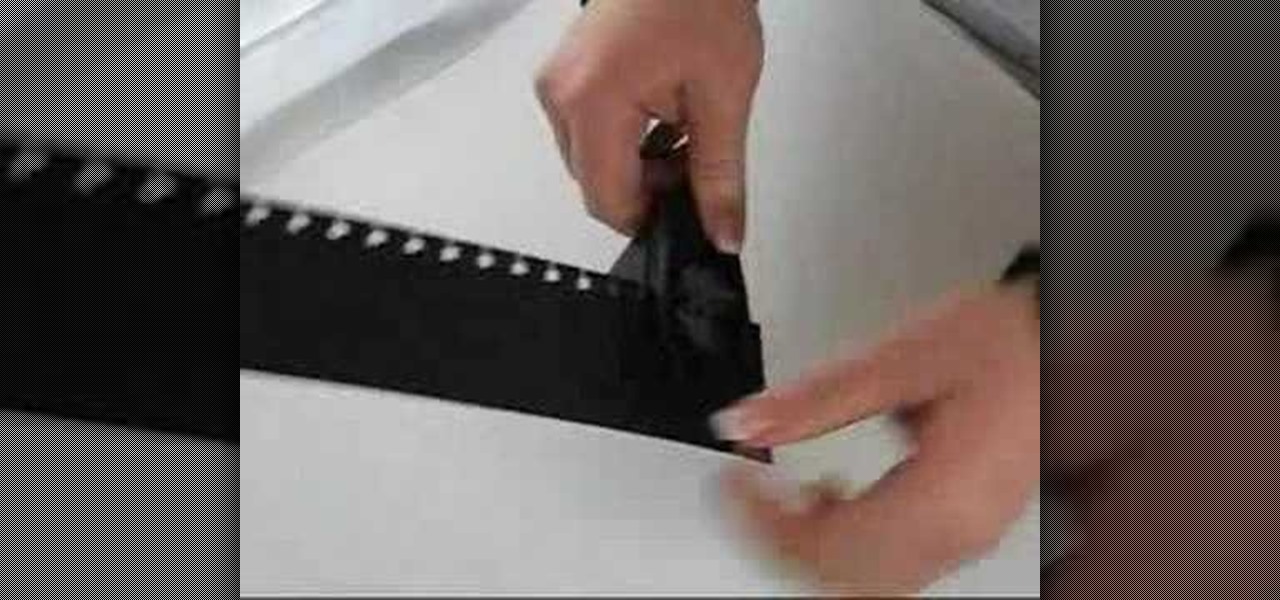
Using just paper and a paper punch, this how-to video shows how to a make a card in the design of a piece of film strip. This card is especially appropriate for movie lovers, and is really simple to make.
Learn how to make a cut-paper portrait by taping an image to a paper, cutting out the silhouette, cutting out the details, checking your progress, cutting off the tape, making some final touch-ups, and placing and gluing the image.
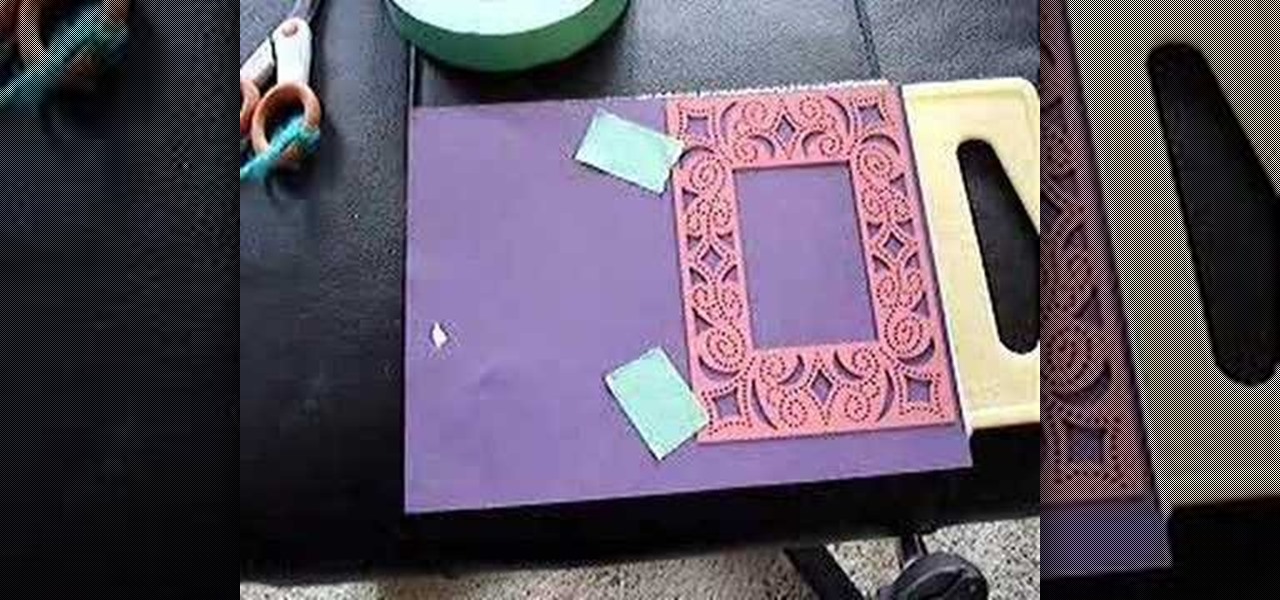
This video demonstrates making a paper piercing and cutting project using a template or stencil. The demonstration produces a frame with decorative piercings and cuttings. The frame shown is suitable for scrapbooking, card making or other paper crafts.
Watch to learn how to make a paper slinky by folding paper into certain components.
Check out this video to learn how to make a paper ninja star by folding paper and licking it.
Make this nice & easy cut paper flower design.
With just some paper, scissors, and staples you can make this cool ball of paper roses. It will make a great centerpiece.
Make a 3D paper snowflake using origami techniques and a stapler. You need ten 4x4 squares of paper.
This video tutorial will show you how to build a paper gun that can shoot. The idea behind this is to build a paper gun that can shoot paper pieces and other items, with power from your mouth. This video should help you in the making of your paper gun, which is more like a blowgun.
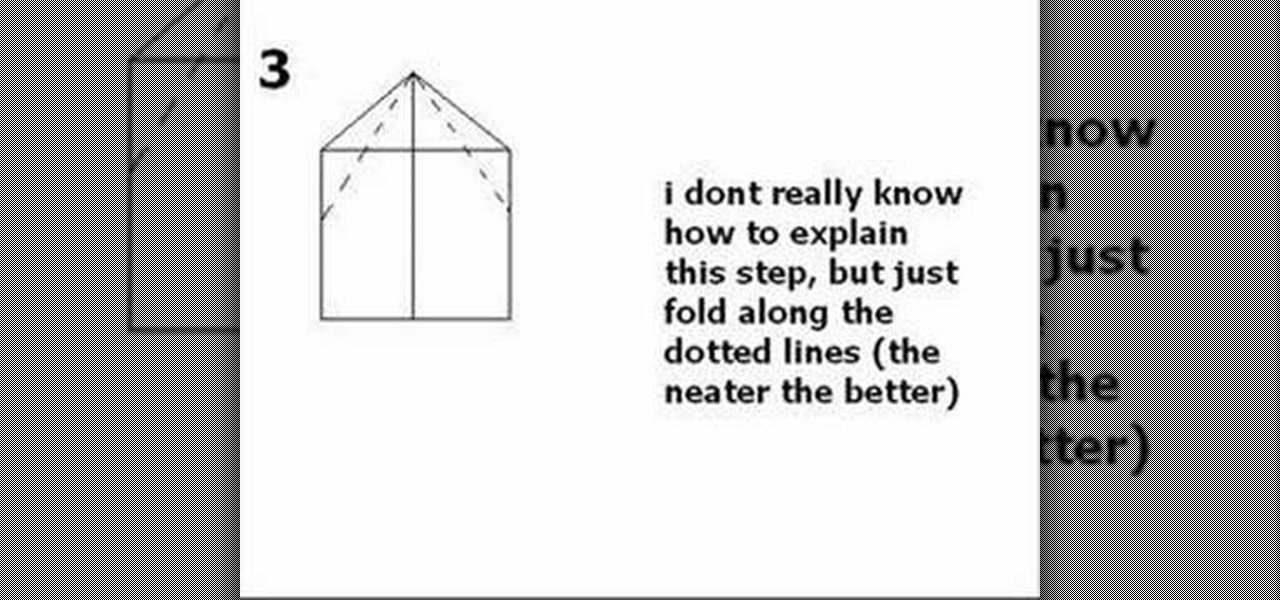
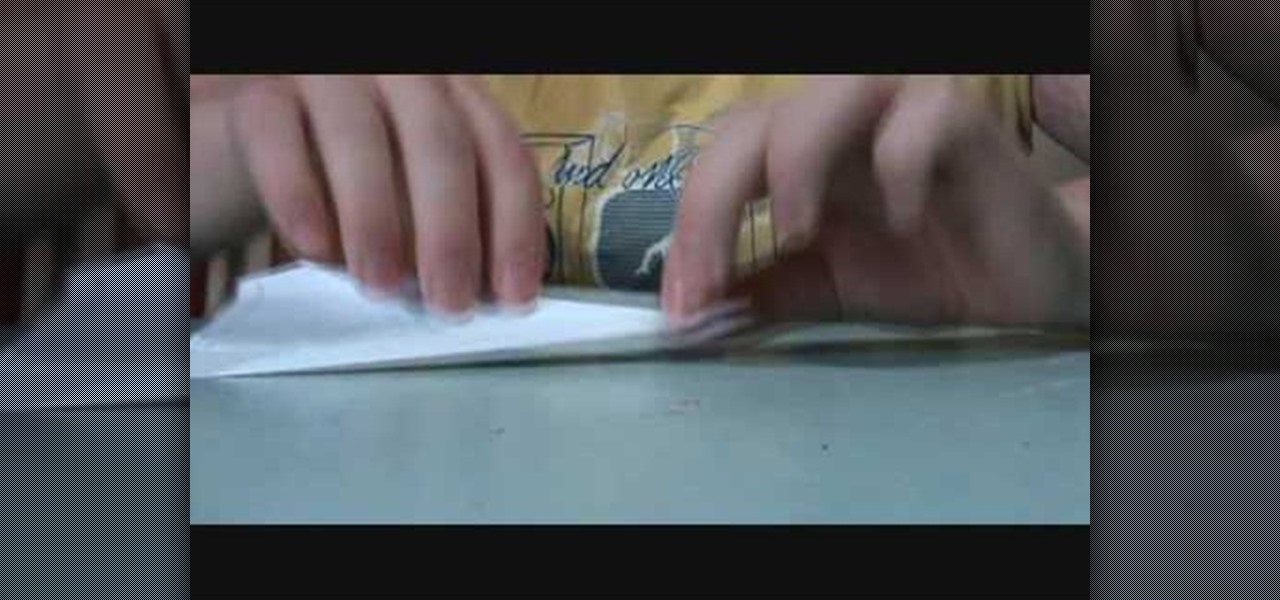
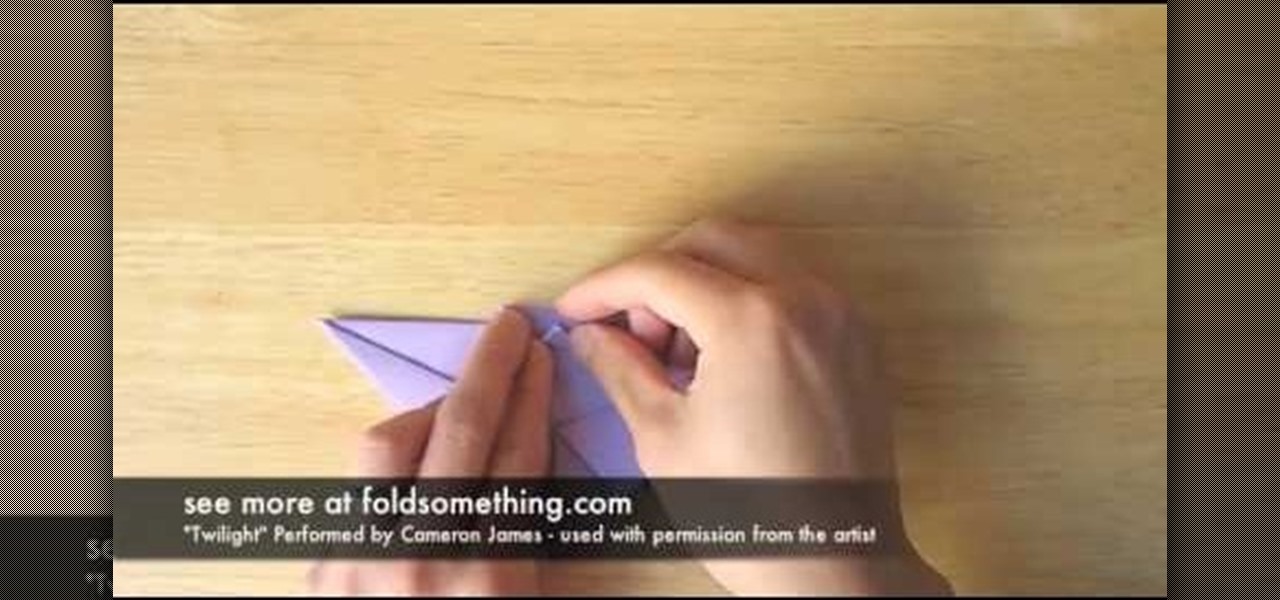
In this video we learn how to make a speedy paper airplane. First, fold the paper in half and make a crease in the middle. Next, fold the corners down on the top. After this, fold these into another triangle going half way down the paper. Then, fold the tip all the way down so it rests on the opposite side of where it started. Do one more fold like the ones you did in the second and third steps. Make sure you are making crisp creases in the folds that you make. After this, fold the tip to the...
Wallpaper is a big investment. It's one of the most visible pars of your home decor, and you're probably going to be stuck looking at whatever you get for a long time. This video will give you some tips of choosing the right sort of wallpaper (vinyl, paper, prepasted, etc.) and how much you should pay for decent quality product.
In this tutorial, we learn how to make a paper Christmas tree. Start out with a square piece of paper, then fold corner to corner and open it, then fold it on the opposite corners and open it. Now, turn it over and fold it side to side on both sides. Now, the paper will automatically fold into it's shape because of the creases you made. Now take each of the four flaps and flatten them out with your finger. After this, cut your trunk out of your tree at the bottom, then cut slits on the side o...
This video shows us how to use a cuttlebug and make a congratulations card. Here are the following steps:
Paul shows us how to make a gigantic three dimensional five-point star out of paper. First, glue A4 sized paper together to make a long strip. Make a U-shape on one end, cross the shorter end under the strip and make a knot by placing the end into the loop. The knot now looks like a pentagon. Flip the pentagon over and over until the end of the strip so that the paper strip is bundled into the pentagon shape. Stick the end of the strip to the pentagon shape. Press the centre on each side of t...
In this video tutorial, viewers learn how to make a plain paper clip into a spinner. The materials required for this spinner are a paper clip and a pair of pliers. Take the paper clip and straighten it. Now use the pliers to bend the tip of the clip at 90 degrees. Then bend it 90 degrees to left side and start bending the wire into a circular shape. The shape will look like a pretzel. Now bend the end tip of the wire 90 degrees to the opposite direction of the first bend. You should end up wi...
Cardcrazy09 teaches us how to make a graduation card. You take a piece of black card stock paper and stick thin white paper edges on each side, like a window. You then use the Cricut to make a star and the word Congrats. This will go on the left, on top of some black printed moxie paper. The right side of the card also features a piece of moxie paper, with graduation hats pattern. There are also nail heads stuck on top. The last idea is to also include money to your son/niece.
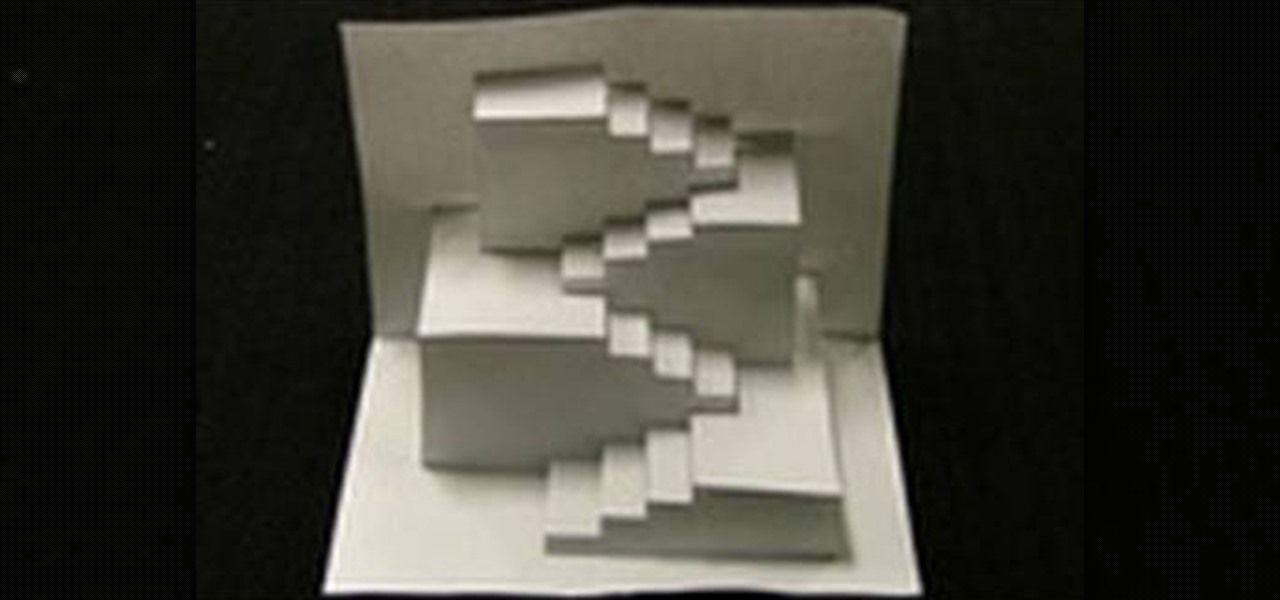
This video shows us how to create an amazing 3D design using a single sheet of paper. You will need: cutter printed template of the 3D design. Procedure: Download the template using this link. Print the template. Cut all the solid lines on the template. Fold all the broken lines on the template as shown. Arrange the paper in such a way that it looks like the 3D design shown on the video. Follow these steps and you will have your very own amazing 3D paper design!
Corynne from The Crafts Channel teaches how to make a stylish bird motif in minutes. You'll need: Colored/printed papers, scissors and glue. Get a colored paper. Draw a whatever bird image You like at the back. Cut with scissors. Get another colored paper of different color and draw a wing. Put a glue on the wing and glue it onto another colored paper. Cut it leaving 1/2 an inch over the first wing to have layers. Decorate bird as what You want Your bird motif to look like. Follow these steps...
This is Part 1 in a series from FollowThePaperTrail. In this arts and crafts how to video the host will lead you through the process of preparing the materials necessary to create paper roses, from punched or die cut flower patterns. She teaches you how to soak the materials, once they've been cut, and spray them with starch so that they retain their shape. Following up on that she demonstrates the techniques she uses to form the flower patterns into a more three dimensional shape.
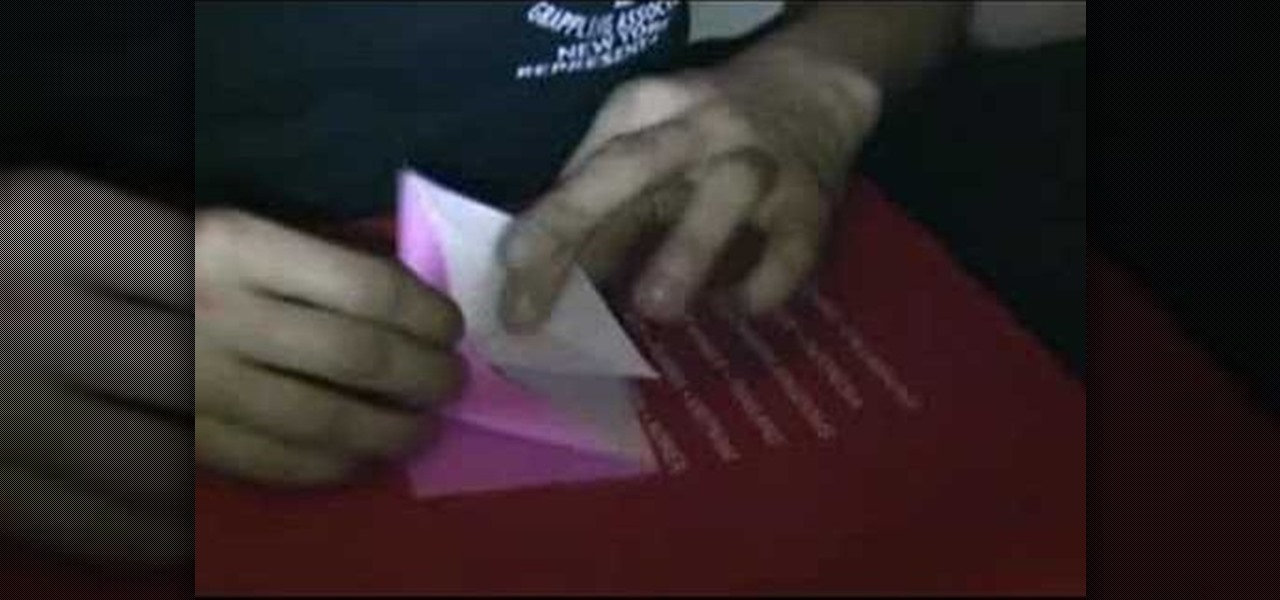
Watch this video as it gives easy instructions on how to make a mini paper airplane that flies far. -Get a small piece of paper. 4X8" would be best.
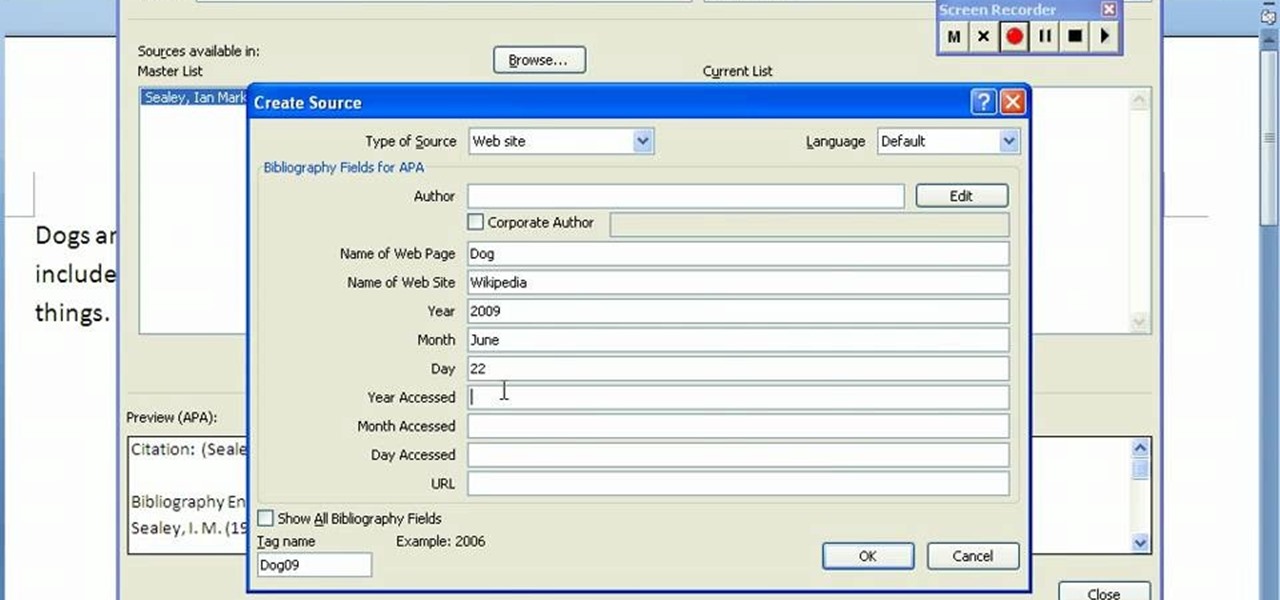
In order to create a bibliography with Microsoft Word 2007, you will need to access the reference tool bar, at the top of your screen. Click on references. Open your document. Put your cursor where you want to make the entry. Then, click on Manage sources. Fill in the pop-up that comes up. This will ask you for all of the information needed for the type of citation you are using. Click OK.
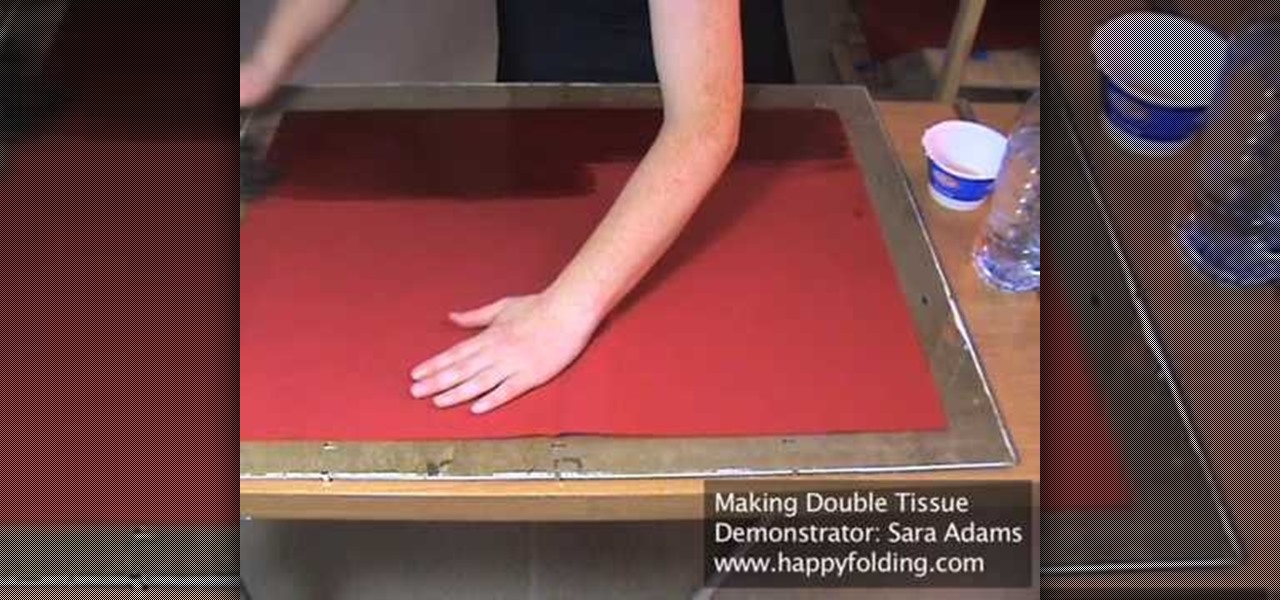
Why shell out your entire paycheck for some measly pieces of paper? Become your own paper craftsman - and save a few bucks - by watching this video on how to make your own origami double tissue paper.
Fold a paper bat! With this guide, you'll learn how to make a simple paper bat using origami, the traditional art of Japanese paper folding. For more information, including a step-by-step overview of the folding process, as well as to get started making your own paper bats, watch this free origami lesson.
Want to add an avian specimen to your paper menagerie? Have extra paper and time to match? This video tutorial presents a complete, step-by-step overview of how to make a crane using origami, the traditional Japanese folk art of paper folding. For more information, and to get started making your own paper birds, watch this arts-and-crafts guide.
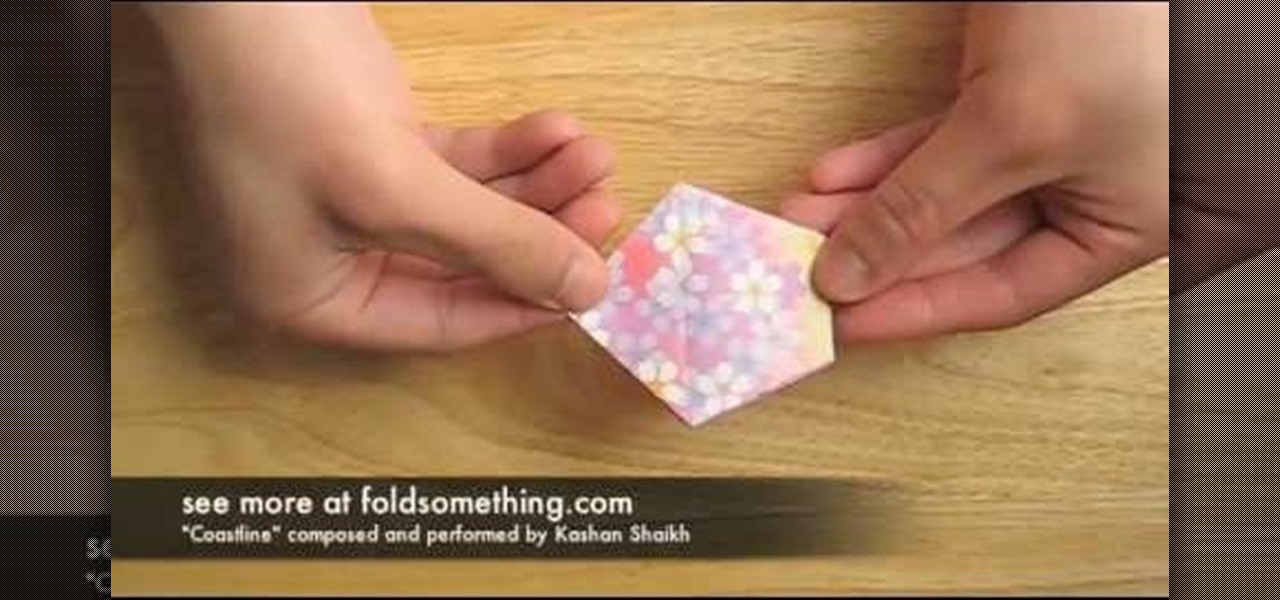
Looking to add a rare and exotic specimen to your paper garden? Make a paper cherry blossom (or sakura) using origami, the traditional Japanese folk art of paper folding. This free origami video lesson presents complete instructions on how to make your own cherry blossoms from folded paper. For more information, and to get started making paper flowers yourself, take a look!
In this tutorial, we learn how to make a paper cup cake/muffin basket. First, take a piece of paper and fold it in half. After this, curl the edges up from each of the corners until you end up with a small square in the middle of the paper. Use scissors to create slits where you will make the tabs to construct the box. After all the tabs are cut, push them together so you have a small basket with a neat line. To finish this up, add a handle to the top and push into the sides. Then, draw on an...
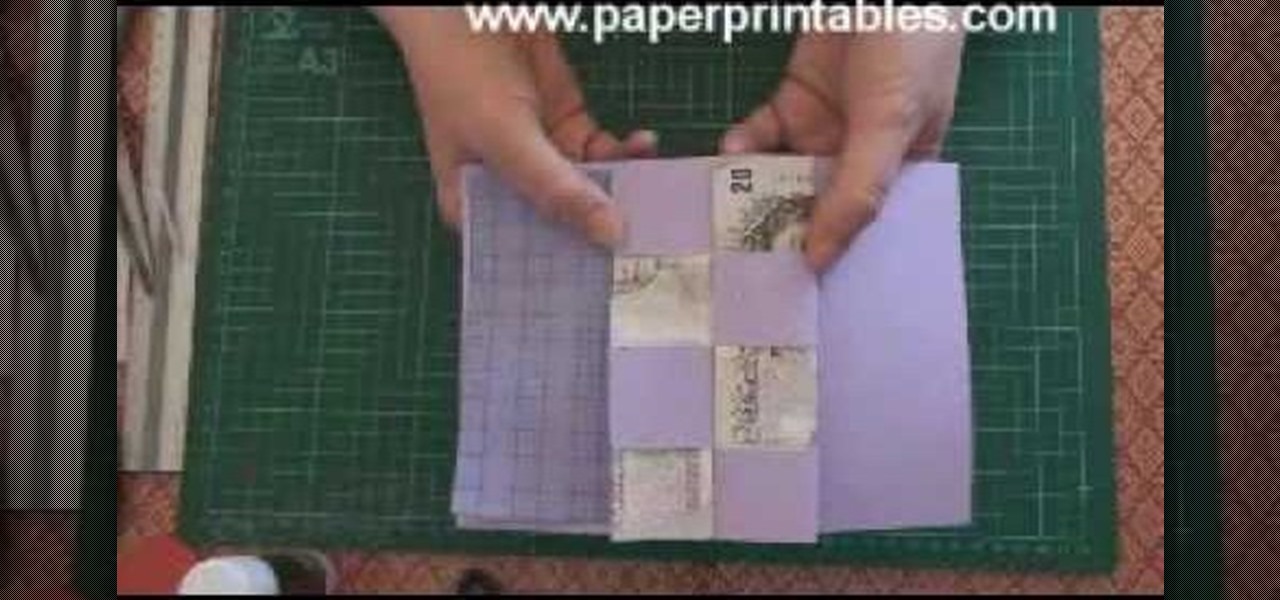
In this video, we learn how to make a pop-up concertina money card. To start, you will first need to take a piece of paper and measure your money on the inside of the paper. Then, cut this out in a strip and cold your money in half lengthwise. After this, measure the depth out from the center using a ruler. Then, fold the paper in half and on the sides where you marked. Then, you will cut three holes in the middle of the paper and these will hold the money in. Stick the bill in the middle of ...
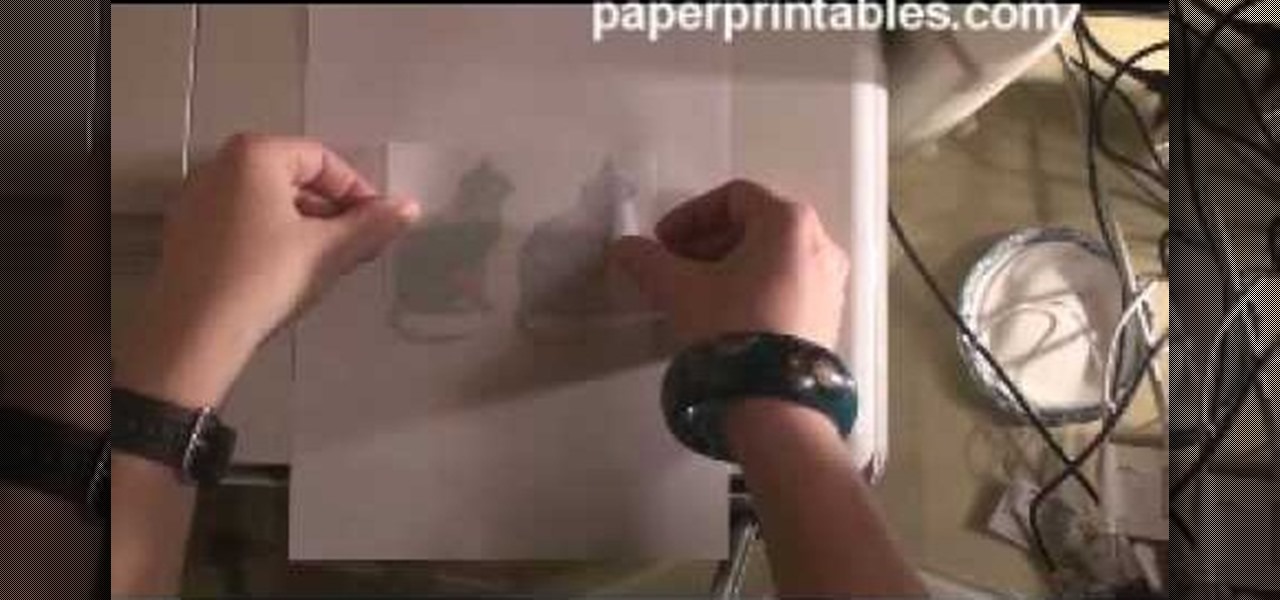
IN this video, we learn how to use your inkjet to print on a shrinkle. To start, you will grab the paper for the shrinkle. Then, you will print the outline out on a normal piece of paper. From here, stick the shrinkle over, frosted side up, on the paper. Then, feel the piece of paper back through the printer and print exactly the same image over again. Don't print anything too dark, or it will bleed out on the back. From here, you can peel off the shrinkle and then cut it out. This will finis...
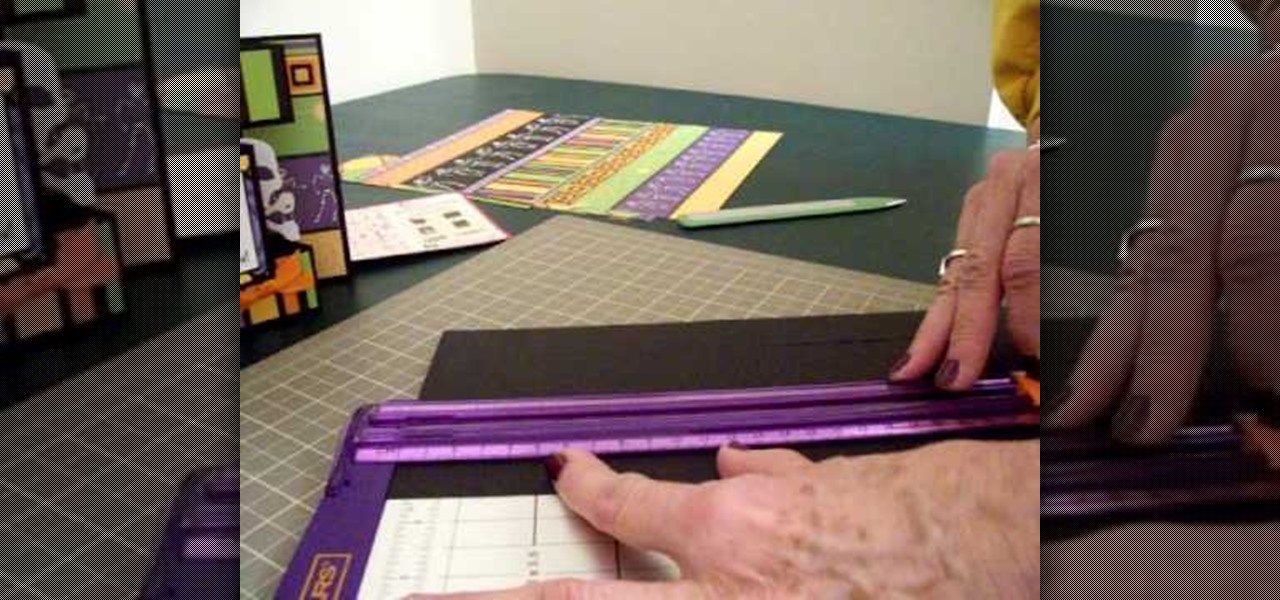
In order to make a Tri-Shutter Halloween Card, you will need the following: card stock, fishing line, ribbon, paper trimmer, printed/decorated paper, and adhesive.