This video shows a demonstration of how to make crepe paper rosettes. The materials used are four strips of paper, two small paper circles, and double sided tape. First put double sided tape on one of the circles and trim the edges. Put a corner of one strip of paper onto the sticky edge of the circle. Fold and crease the paper as you go around paper circle, forming fan-like folds in the crepe paper. Put a tiny piece of double sided tape to hold the end. Trim the edges with scissor to make a ...

This video shows the method to make a good looking paper flower. The basic thing needed for performing this task is a rectangular sheet of paper. The paper is first folded to make a square piece of paper. The rectangular piece left is then cut out. This rectangular piece is folded across its length to make the stick for holding the flower. The square piece of paper is folded across its diagonals and its sides so that various creases are formed on it. Then a series of folds are made on the squ...

In this video you can learn how make an easy paper flower. Cut the card stock into strips of paper that are either 1/8 inch, 3/8 inch or 1/2 inch wide. The width doesn't really matter, but all the strips must be the same size. Use scissors to cut slits 3/4 of the way through the paper strip, creating a fringe along the entire edge of the piece of paper. The smaller the distance between cuts, the more realistic and delicate the flower will appear. Insert the end of the paper fringe 1/4 inch th...
It is very easy to make a paper box using rectangular paper and anyone could do it, just follow the steps below, Fold the paper in half hot dog style (the long way). If you are using square paper, it doesn't really matter which way you fold it. Unfold. Fold each side of the paper to the center crease. Unfold. The paper should be in quarters. Fold the paper in half hamburger style (the short way). Again, if you are using square paper, it doesn't really matter which way you fold it. Unfold. Fol...

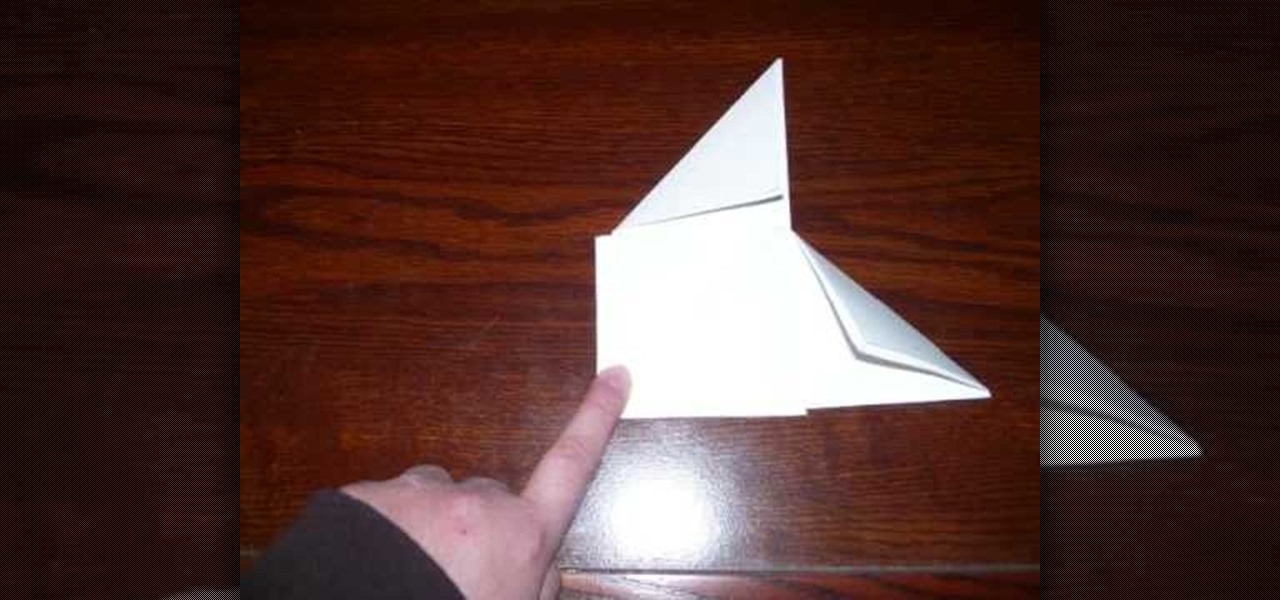
Place the paper colored-side down on the table. Fold the piece of paper in half to form a triangle. Match the upper right corner to the bottom left corner. Run your fingers along the edge of the triangle to complete the fold. Shrink the triangles size again and fold it in half once more. Match corner to corner. This fold forms a smaller triangle. Ensure the corners match up evenly. Run your fingers along the edge of the smaller triangle to complete the fold. Open up half of the triangle. Pres...

Who’d have thought that crumpled paper was good for anything but the trashcan? With this easy technique, you can transform tissue paper into pretty pieces of art. This is a fun kids craft project. You will need cardboard, double sided contact paper, tissue paper, and scissors. Fun activity to do with kids!

Learn how to make a paper crossbow with this instructional video. All you need is a couple sheets of paper, tape, large paper clip, scissors and a rubber band. Follow this simple visual demonstration to learn how to make your own. Basically you start off with paper tubes and construct them into your crossbow.

This scrapbooking video demonstrates how to decorate a paper circle frame using EK Success Corner Punches. You will need x-acto knives to make specific cuts. You can use store bought paper cutouts or make your own using scraps of recycled paper. Use embossing ink, embossing powder and a heat gun to add extra texture to you paper picture frame.

Giclee art reproductions can be printed on high quality paper. Learn about the benefits of printing giclees on paper with this free giclee art reproduction video series.

This video will teach you how to make an origami paper star. The paper in the video is 6 inches long by 1/4 inch wide. But any size paper can be used, as long as it fits a similar ratio, and the paper is not too thick.

Don't just leave your kid with a sad plastic bag this Valentine's Day to store valentines from his or her classmates! Make the giving and receiving of valentines special this year by crafting this paper Valentine's Day card mailbox.

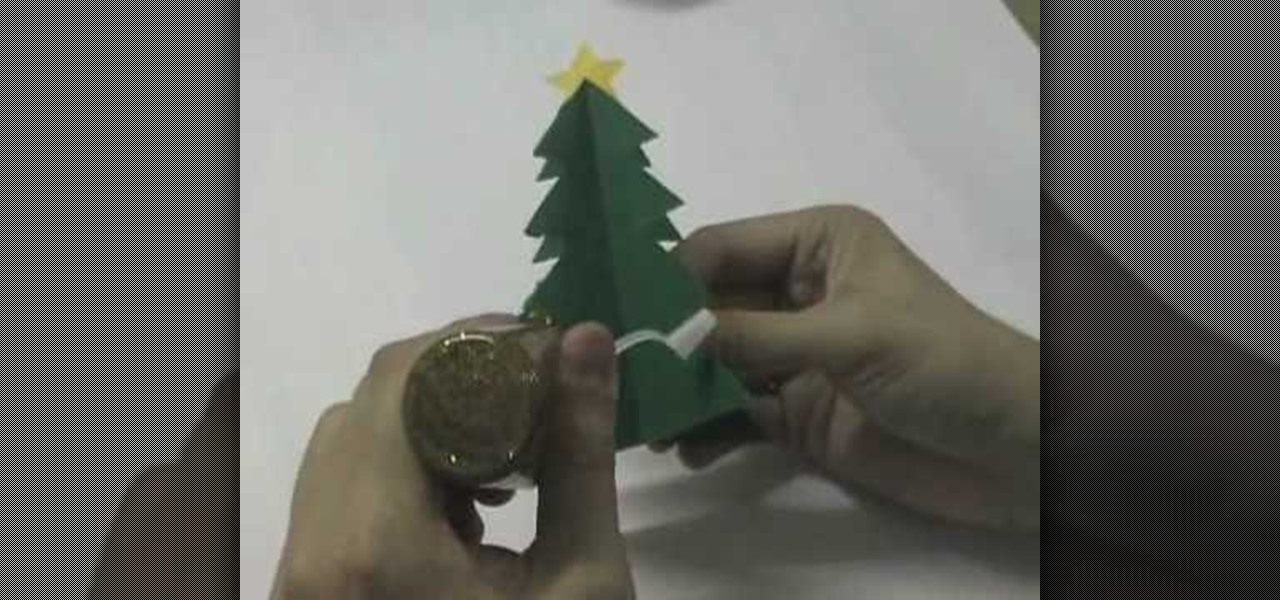
Looking for a fun, simple project to do with your kids this winter season? This cheap and simple art project won't cost you a dime. Learn to make Christmas snowflakes with paper, and pretty soon you'll have great decorations to hang up on the windows.

During the holiday season most of us have a Christmas tree up in our living rooms, filled to the brim with sparkly ornaments and twinkly lights. But the Christmas spirit tends to be a bit damper at work, where the most jolly it gets is making a makeshift post-it note Christmas tree on our cubicle wall.

What's Christmas without a tree topper? To make your own unique tree topper, try this paper plate angel tree topper. Decorate however you like with glitter and markers, and you'll soon have a special tree topper that no one else hads. This is a great project to do with your kids.

Queen Marie Antoinette was both loved and despised by her people, but there was one thing that was undisputed: Her exquisite (though often over-the-top style). Big poufy gowns with lots of underwire, towering white wigs, and frilly lace and ruffles made her look like a sparkly birthday cake.

This video shows how to make a spinner out of a piece of paper. Fist take out a normal sheet of paper. Then fold it in half. Cut at the crease for it to make two equal pieces. Fold both pieces in half. Then fold the two edges of the paper to make a triangle. Then do the same to the other piece. Now put one piece on top of the other. Fold in the flaps one by one but leave the final flap alone. Instead of folding the final flap tuck it under the black pocket. Fold the paper in to a triangle and...

A short informative video showing how to make paper mache. A great arts and crafts project for some simple fun or your child's school science project. Easy to make with just flour, water, salt, and some old newspaper. Apply the mixture to a wire frame or a box like in the video to make a paper mache cave. It's very easy to make and you can create a range of things from masks, volcanoes, and most obviously caves!

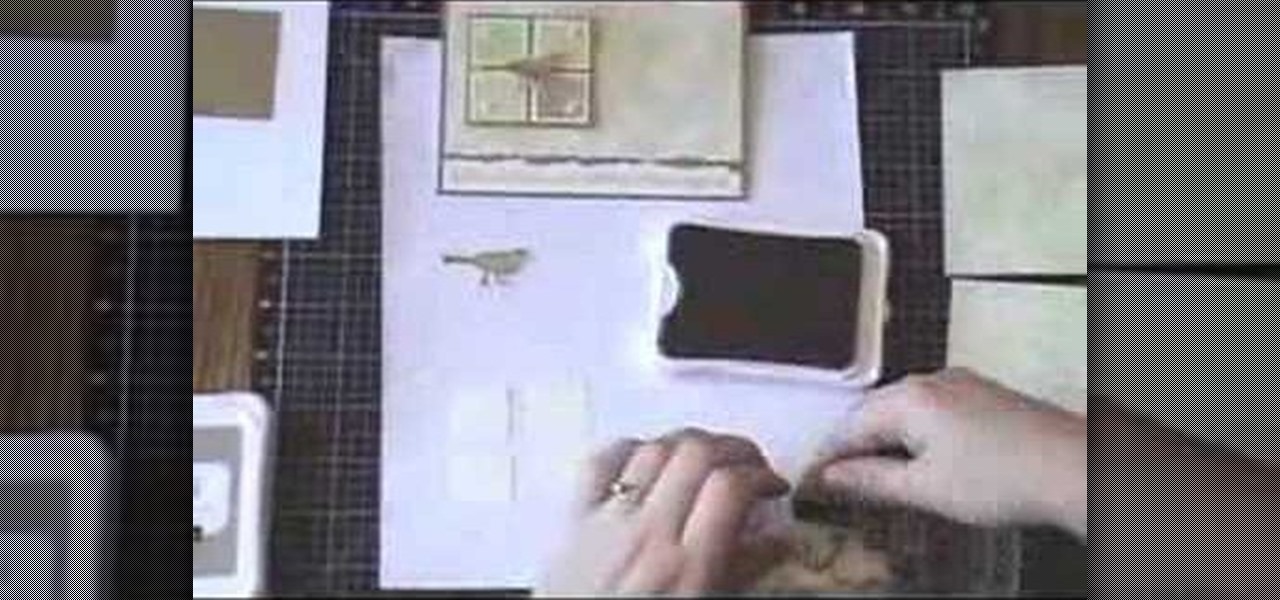
Glossy cardstock and an acetate sheet protector are great material to use for doing a fossilized stone technique on paper. This effect makes an unusual finish you'll find yourself using over and over in greeting cards. Watch this video card making tutorial and learn how to create a fossilized stone technique on glossy cardstock, and how to make an all occasion greeting card using the stone finish paper.

This video will show you how to make your very own envelope. This envelope is great for holding cards or other treats. It's also a great idea for any occasion. Your friends and family will be raving about your skills with paper when you give them this super cute card envelope!

This is a video tutorial on how to make a Christmas card ornament with paper. Learn how to make this seasonal Christmas greeting card that also doubles as holiday tree ornament.

This video tutorial shows how to make a purse out of paper. Learn how to craft and decorate a handbag out of designer paper.

Check out this video to learn how to do the amazing paper throwing star trick. First, just fold along the diagonal.

This is an 4 pointed ninja star or shuriken. You need a regular sheet of paper or a origami square sheet of paper, also scissors are optional for constructing this 4 pointed ninja star.

Watch to learn how to change the color of handmade paper with a Glimmer Mist spray.

An alternative to origami, here’s a very easy paper design strp icosahedron by Heinz Strobl. Here's a very easy icosahedron to origami. For the strips, use an A4 format paper and cut it in the middle lengthwise. Do so to get 8 strips and then fold strips of 6 squares. It requires 20 strips of 6 squares for the triangles and 30 strips to knot them together (strips of 5 squares also work). Only the knotting strips will stand out, but it is still better to use two colors. You can make a bigger m...

Learn how to make this wonderful gift that is easy for everybody to create. Watch to construct amazing roses from paper. This video is made for origami lovers.

Corinne Bradd shows Kristy Clark how to create fab two-toned rose embellishments using clever quilling techniques and vibrant papers.

Forgot to bring flowers to dinner for your date? This video will guide you through napkin selection and the folding necessary to make a paper rose!

In this video, we learn how to make an ornate paper rose. First, grab your paper and some wire. Start by wrapping six of the wires with floral tape all the way around. Next, use your scissors and cut out 8 teardrop shapes from the paper. Then, cut 16 more in different sizes. From here, wrap the petals around the stem using the floral tape. Start in the very middle of the flower and then add on petals until you have created the entire rose. To finish this, you will make the leaf. Cut out the l...

In this video, we learn how to be successful in writing college research papers with Kathleen Ennis. When you are preparing to write a research paper, you need to make sure you have enough time to write down all the information you find. If you search online, there might be 10,000,000 pages just on the topic you are researching alone. To organize this information more efficiently, develop a list of research questions for your paper that are the most important and will cover the different sect...

Make a paper sampan boat! With this guide, you'll learn how to make a paper boat using origami, the traditional art of Japanese paper folding. For more information, including a step-by-step overview of the folding process, as well as to get started making your own folded-paper sampans, watch this free origami lesson.

New to origami, the traditional Japanese folk art of paper folding? With this guide, you'll learn how to make a colorful paper bird from folded paper. For more information, including a step-by-step overview of the folding process, as well as to get started making your own folded-paper cranes, watch this free origami lesson.

Looking for a next-level origami project? Make a 3D paper medicine ball or kusudama! With this guide, you'll learn how to make a paper kusudama using origami, the traditional art of Japanese paper folding. For more information, including a step-by-step overview of the folding process, as well as to get started making your own folded-paper medicine balls, watch this free origami lesson.

Looking to add a rare and exotic specimen to your paper garden? Make a paper cherry blossom using origami, the traditional Japanese folk art of paper folding. Specifically, this free video origami lesson demonstrates how to make a cherry blossom taking an origami bird base as a starting point. For more information, and to get started making your own paper sakura, take a look!

Looking to add a new specimen to your paper menagerie? Something easy? You're in luck. This free origami video lesson presents complete instructions on how to make a swan from folded paper. For more information, and to get started making paper swans yourself, take a look!

With this guide, you'll learn how to fold a small paper star using origami, the traditional Japanese folk art of paper folding. For more information, including a step-by-step overview of the folding process, as well as to get started making your own tiny stars (which work wonderfully as party decorations), watch this free origami lesson.

Looking to add a rare and exotic specimen to your paper menagerie? Make a swan with flappable wings using origami, the traditional Japanese folk art of paper folding. This free origami video lesson presents complete instructions on how to make your own swans from folded paper. For more information, and to get started making paper waterfoul yourself, take a look!

With this guide, you'll learn how to make a cookie bowl from folded paper using origami, the traditional art of Japanese paper folding. For more information, including a step-by-step overview of the folding process, as well as to get started making your own folded-paper cookie trays, watch this free origami lesson.

With this guide, you'll learn how to make a folded-paper bulb flower with origami, the traditional art of Japanese paper folding. For more information, including a step-by-step overview of the folding process, as well as to get started making your own colorful paper lilies, watch this free origami lesson.

Take a square piece of paper and fold in half. Open the paper crease from the other side and mark it as previously.


