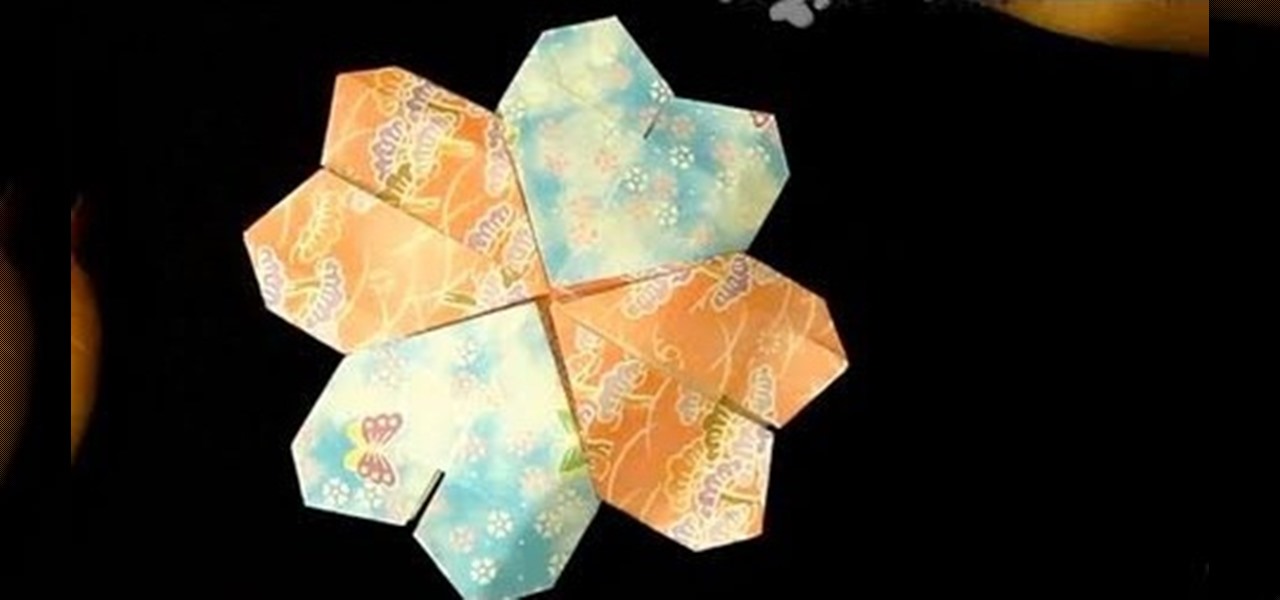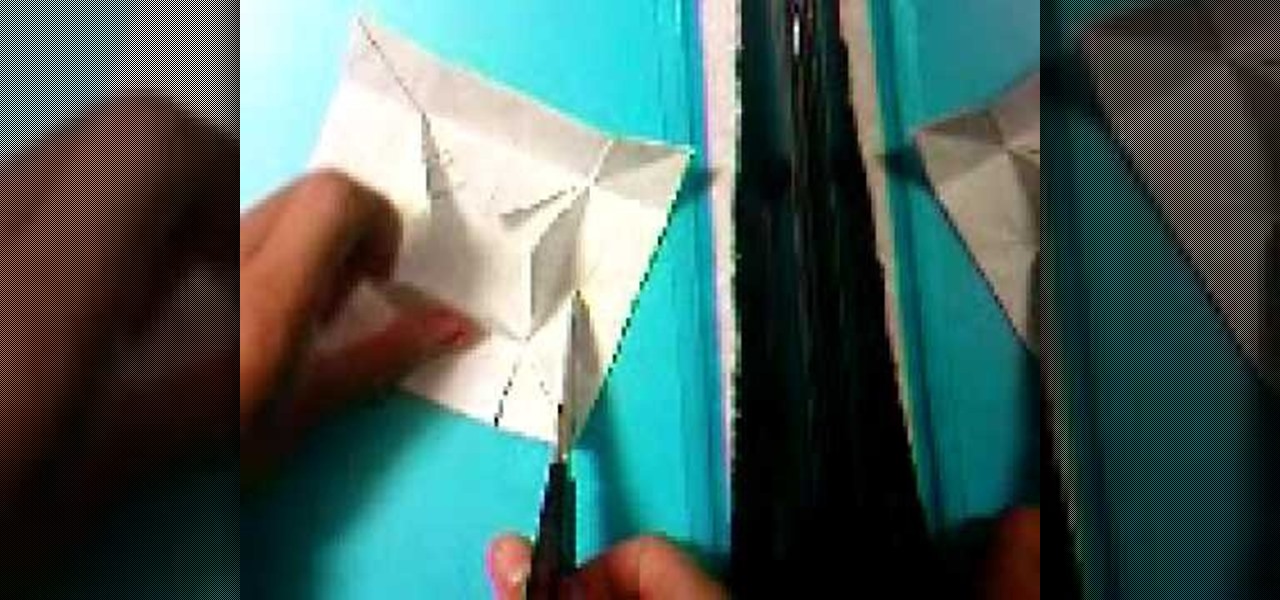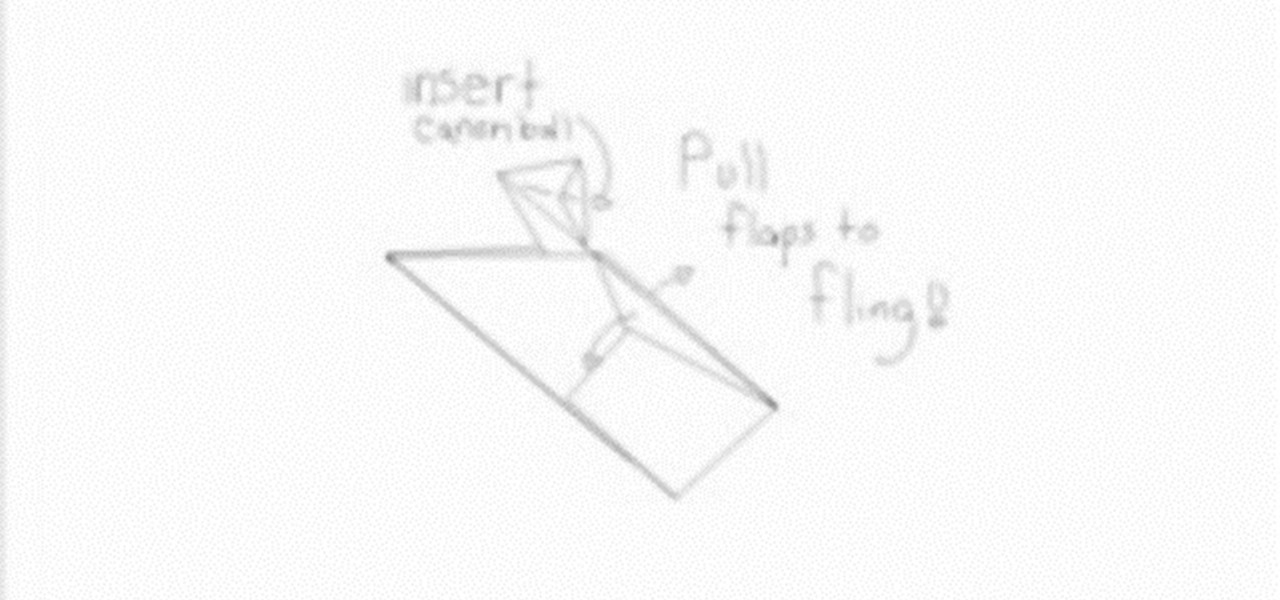
These are step-by-step instructions on how to fold a Japanese paper ball (Kusudama). These are very cool origami decorations and can be hung all around the house, and these paper balls are also an excellent decorations or Christmas tree ornaments. This modular origami model requires 34 - 46 units.

This is something creative and useful to do with the mountains of paper constantly delivered. Try these different origami projects to recycle paper.
Hungry for some hard boil eggs? Did you know you could use wet paper towels to cook them? Find out how to steam your eggs with wet paper towels to cook them in under five minutes.
You can learn how to build a helicopter from paper using origami. You need a piece of paper and a pen, with which you will have to draw a picture of a helicopter. The helicopter should actually be able to fly.

You can learn how to make a magical magnetic toilet roll. To do this, you need a paper roll, a piece of paper, glue, and scissors. You cut the roll into two pieces, connect the roll to the piece of paper, and mark the middle gap to make inserting the third stripe more accurate.
In this video, we learn how to turn a composition book into a decorative notebook. First, measure your composition book, then measure out that same size on a piece of decorative paper. Next, put adhesive on the back of this on all four edges, then diagonally. Now, you will have a solid attachment for the paper to be placed on top of the composition notebook. Use a straight edge to push it down and it's completely flat. Then, use scissors to cut any excess paper off of the edges and corners. Y...

In this Arts & Crafts video tutorial you will learn how to use the cross stitch 'n paint technique. It combines simple back stitching and water color painting. Most of the materials are found in your kitchen. You will need wax paper, paper towels, and a plate to use as your paint palette, some water colors and paint brushes. After choosing your design, back stitch the outline on the fabric. Place the white paper towel over the wax paper and spread the stitched fabric over it. Now you are read...

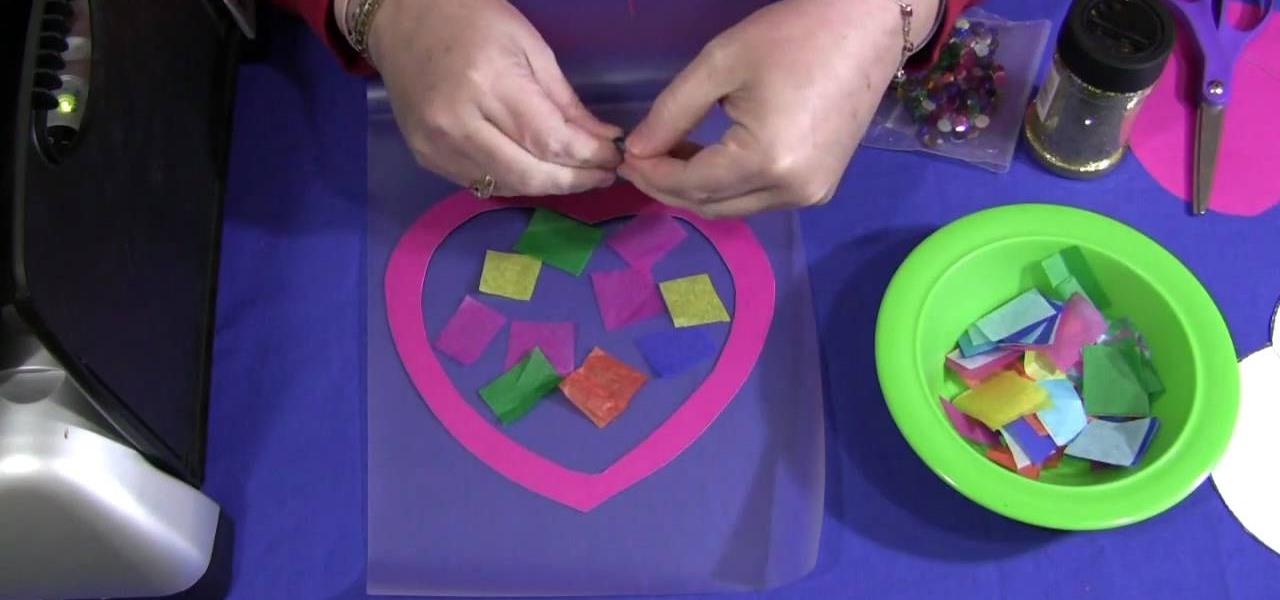
In this video, we learn how to make a sun catcher with your kids. First, you need laminating paper, two paper hearts, and scissors. First, cut the center of one heart out by sticking your scissors in and making your way around the heart. Next, place the outline of the heart inside of the laminating pouch, then decorate the inside of it how you prefer. You can use whatever you want to decorate the inside, including: glitter, crayon shavings, tissue paper, etc. Next, place the paper inside of a...

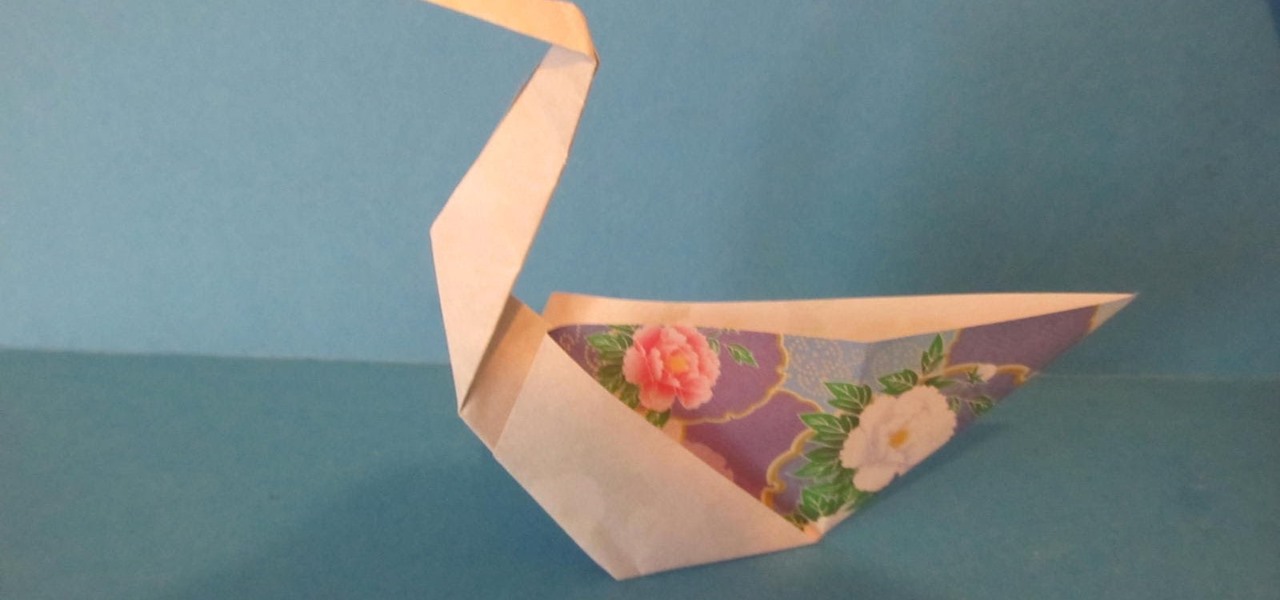
This video shows us how to fold a simple origami swan. Here are the following steps: Step 1: First of all take a paper and then crease it diagonally and then open the crease and then fold the paper on the crease line so that a cone is obtained with a triangle on the top.

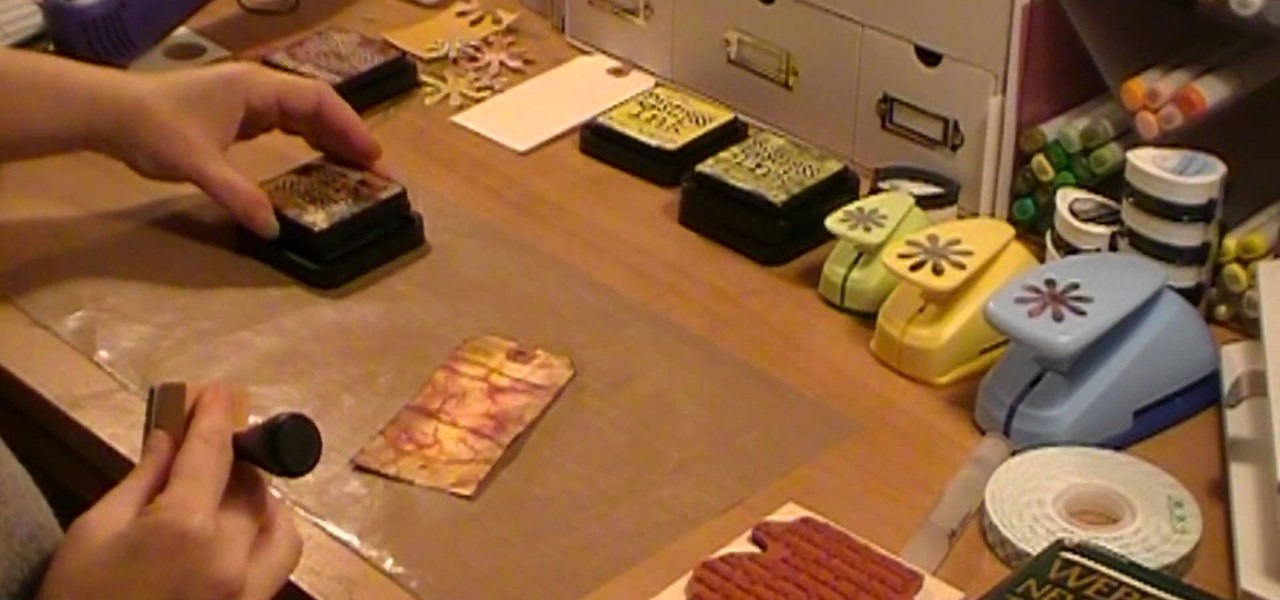
This video illustrate us how to make a Tim Holtz inspired tag with distress inks and water. Here are the following steps:

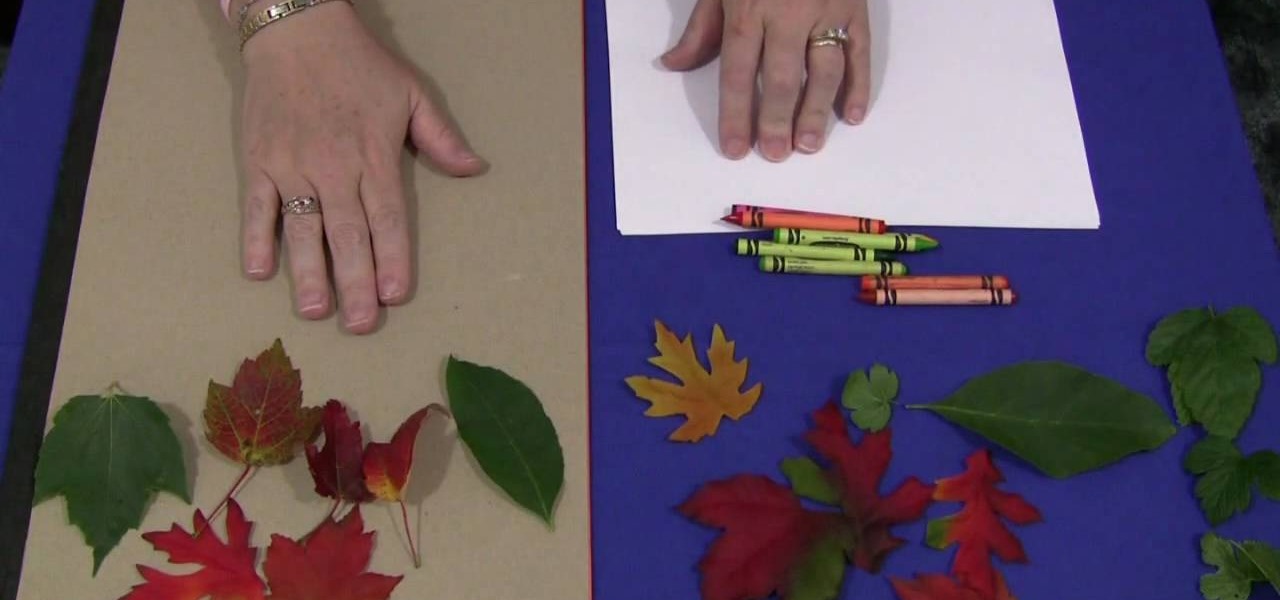
In this Family video tutorial you will learn how to do leaf rubbings for a children's activity. For this you will need a flat surface. If the table top in slightly uneven, put a sheet of construction paper on it. The materials you will need are sheets of paper, crayons and leaves. You can also use fabric leaves if your area doesn’t have any leaves. Take a leaf; put it upside down on a flat surface so that the veins are on top. Put a sheet of paper over the leaf and hold it down with one hand....

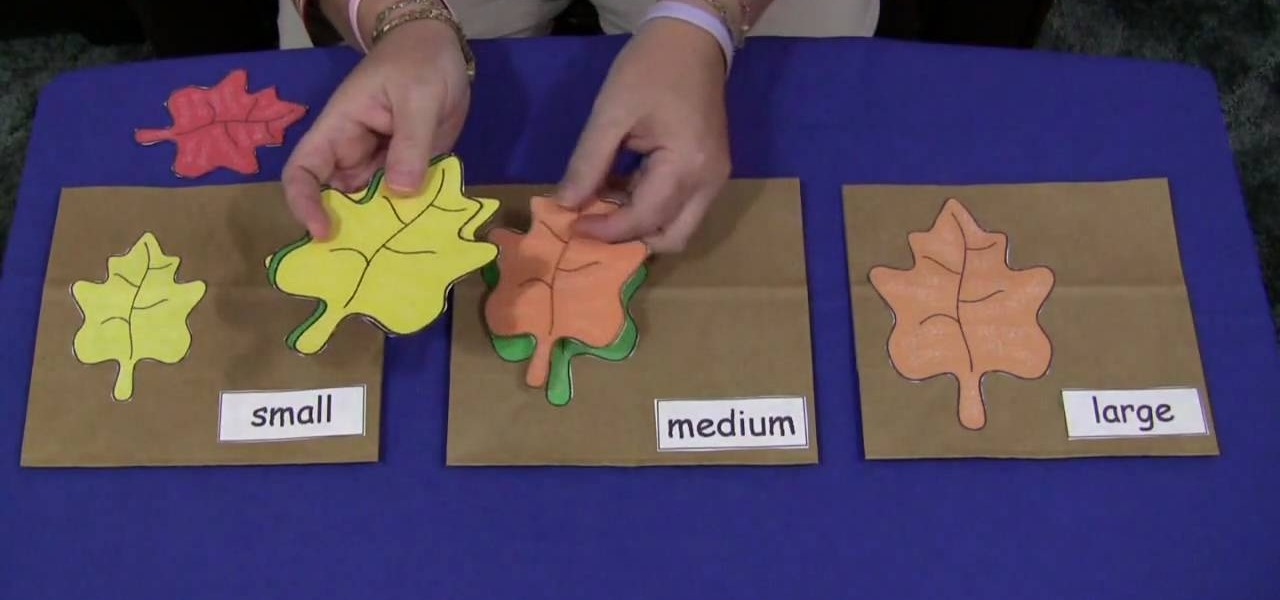
Shelley Lovett shares a great children's fall activity to help develop math skills - leaf size sorting bags. All that is required is three paper bags and some construction paper. Use the construction paper to cut out three different-sized leaves, and to make three labels saying 'small', 'medium', and 'large'. Then simply glue the small leaf and small label on one bag, medium leaf and label on the next bag, etc. To make the loose leaves of the three different sizes they place into the bags, si...

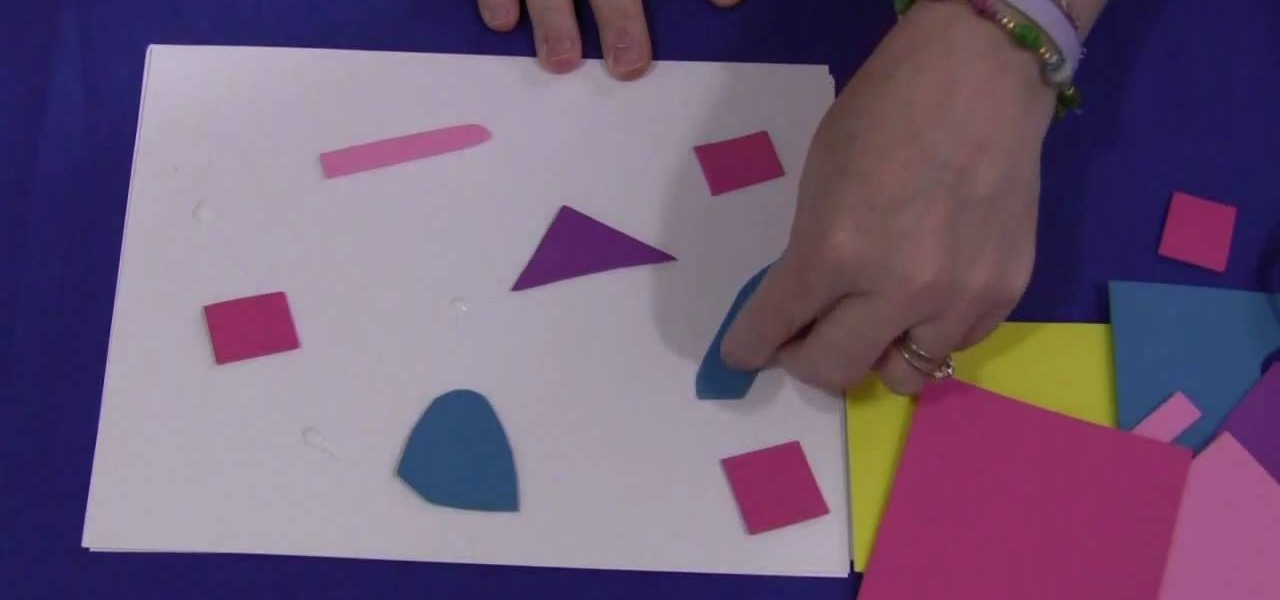
In this video tutorial, viewers learn how to make a foam collage. The materials required for this project are: card stock paper, several different colors of foam paper, scissors and glue. The project focuses on preschool, kindergarten, and elementary school crafts. Begin by cutting the pieces of paper foam into different shapes and sizes. Then simply apply glue on the pieces and stick it onto the card stock paper. Continue doing this to cover the entire sheet of card stock. This video will be...

Adorn any headband, broach, pair of earrings, or pendant with these adorable handmade paper flowers! Learn how to make these precious accessories step by step using this two-part video tutorial as a guide. Step out in style & unique to your friends by dressing up regular store-bought accessories with your own hand crafted creations!

Learn how to wrap a textblock in this video tutorial. Wrapping the block allows you to protect the book's inner pages while you are working on the outside of the book. All you need to do is use some butcher paper, or any other kind of heavy duty paper you may have on hand. Lay the spine flush against one side of the paper. Open the front cover and fold the bottom sides into the book. Tape these ends together. Then, with the excess paper on the non-spine portion of the book, fold those ends in...

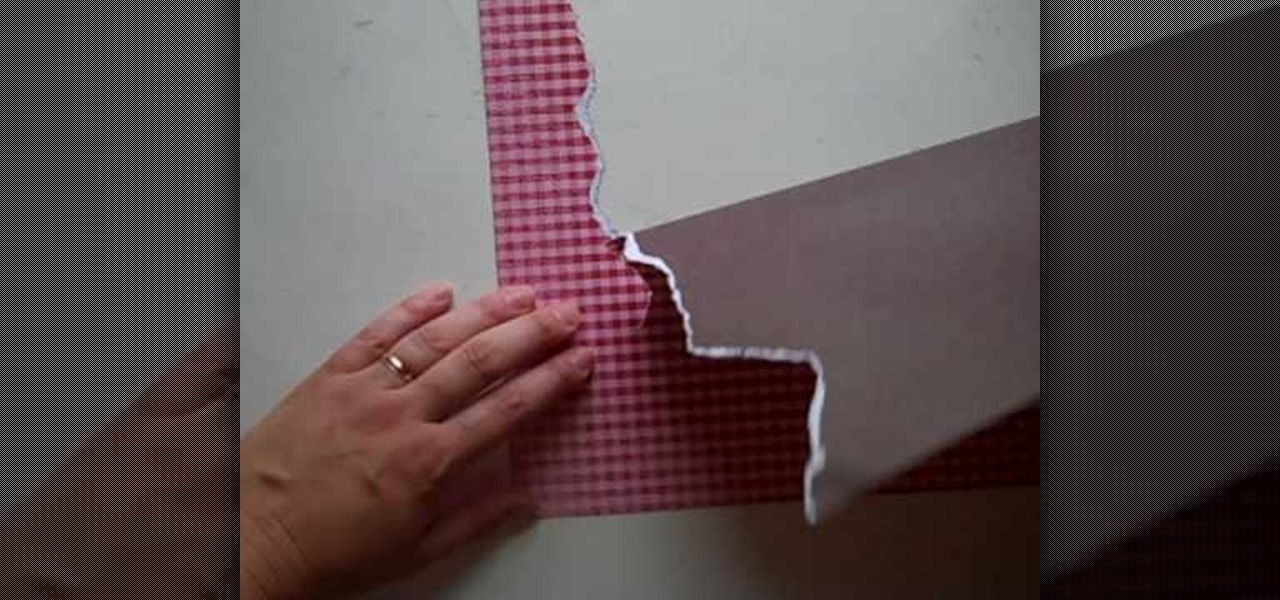
Want to create scenery to decorate your scrapbook? You can use torn paper to create this effect cheaply and easily. This video describes how. For example, if you want to create mountains, choose some brown paper, and tear in a jagged pattern, using your finger as a guide. If you want white-capped mountains, tear with the front side facing you. If you don't want white-capped mountains, turn the paper over and tear. You can also create other scenery. The woman in the video creates scenery such ...

To fold an origami mandala heart you need to follow the steps below. First cut 2 triangles out of the paper you have, fold one of the triangles in half. Then, unfold the folded in half triangle and fold the top of the triangle down about two thirds of the paper. In this stage you will be making folds 3 and 4. Next, fold both of the side corners of the paper up to the top, creating the picture below. Now you will make folds 5 and 6. Then, turn the paper around. Now just fold the top flaps into...

This video illustrates the transfer of paper patterns on woodworking projects with Lowe's. If you have a pattern in a piece of paper for the woodworking project. Draw the grid for the pattern in a piece of paper. Even though, the piece of wood is six times larger than the pattern in paper. Draw the grid in the wood with One and half inches by the use of ruler. Then check out each and every box of grid in a pattern, trace the shape of each boxes in the wood. After finishing all the grid boxes ...

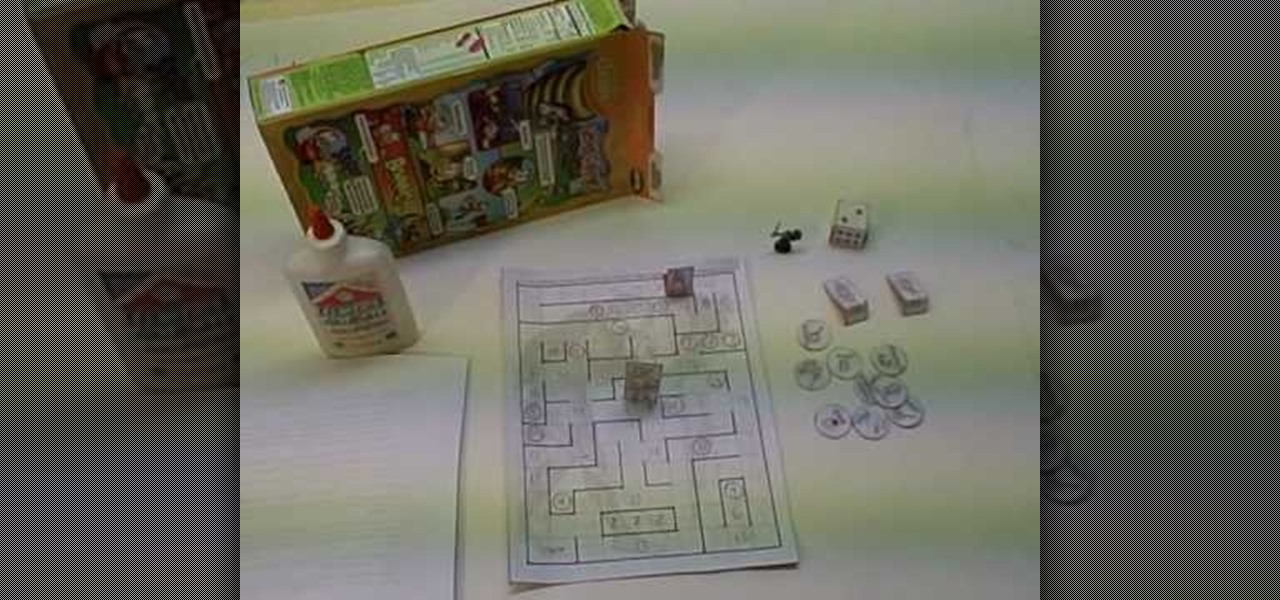
Check out this video tutorial to see how you can make a paper role playing game. This is a fun little fantasy game that you can download and print on your computer, then cut out, assemble, and play! It is called "Enter the Labyrinth and Rescue the Princess".

Watch this two part instructional painting video to paint wisteria flowers from life with watercolor on Chinese rice paper. This fluid style of painting takes lot of practice and does not allow for mistakes. Every brush stroke counts. Get out some news print to practice painting the beautiful flowers in your backyard.

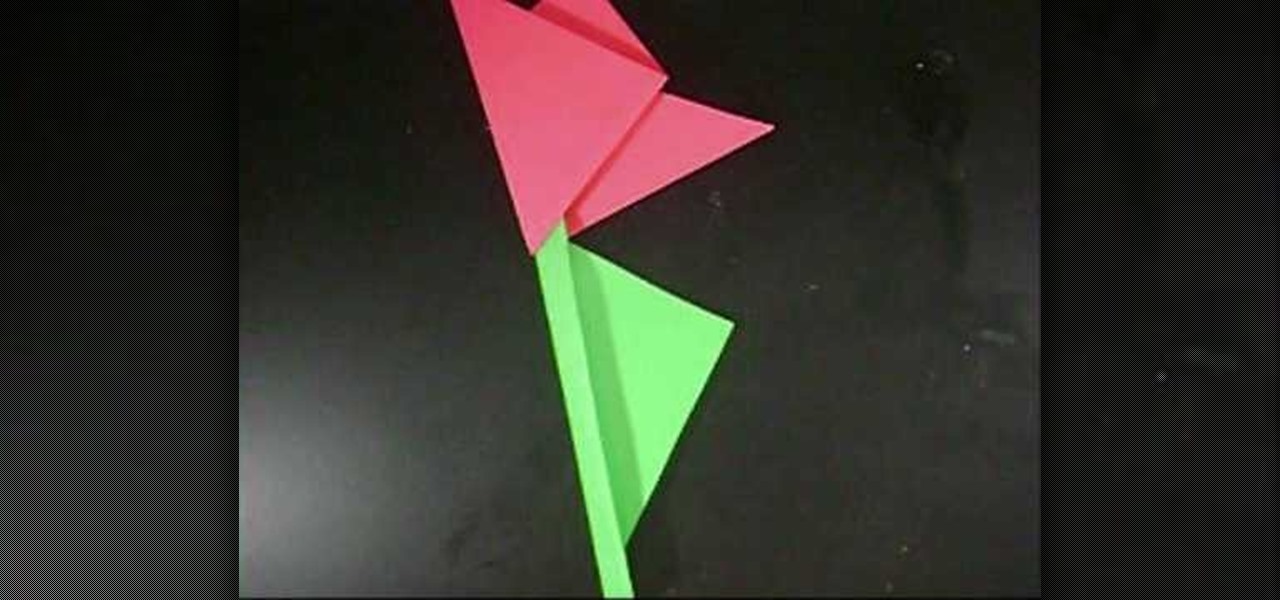
This isn't your standard origami for kids. It's more like "craft-igami". The difference is the glue. Origami is strictly and art with paper— no epoxies required, but when you throw a little glue into the mix, it becomes the perfect kids project. This paper tulip flower is the perfect paper project to start out your children in the wonderful world of paper crafts. To make this paper tulip with your kids, you'll need:

Make a paper butterfly with origami, the traditional Japanese folk art of paper folding. This free origami video lesson presents complete instructions on how to make your own paper butterflies from folded paper. For more information, and to get started making paper butterflies yourself, take a look!

Looking for a fun and useful crafts project? Learn to make the most utile (and simplest) of origami sculptures, the paper box. This video tutorial presents a complete, step-by-step overview of how to make a barebones paper box using origami, the traditional Japanese folk art of paper folding. For more information, and to get started making your own paper boxes, watch this arts-and-crafts guide.

Make a paper lily or iris using origami, the traditional Japanese folk art of paper folding. This free origami video lesson presents complete instructions on how to make your own paper flowers from folded paper. For more information, and to get started making paper lilies and irises yourself, take a look!

Need some luck and quick? Learn to make the most basic of origami sculptures, the lucky paper crane. This video tutorial presents a complete, step-by-step overview of how to make a paper crane using origami, the traditional Japanese folk art of paper folding. For more information, and to get started making your own paper birds, watch this arts-and-crafts guide.

Into paper waterfowl? Make a classic-style paper crane using origami, the traditional Japanese folk art of paper folding. This free origami video lesson presents complete instructions on how to make your own cranes from folded paper. For more information, and to get started making the birds yourself, take a look!

Build your very own paper trebuchet. With this guide, you'll learn how to make a folded-paper catapult with origami, the traditional Japanese folk art of paper folding. For more information, including a step-by-step overview of the folding process, as well as to get started terrorizing your friends, family and coworkers with crumpled bits of paper, watch this free origami lesson.

It's a bird! It's a crane! It's a sheet of paper! Make a classic Japanese-style origami crane with origami, the traditional Japanese art of paper folding. This free origami video lesson presents complete instructions for making your own cranes from a sheet of folded paper. For more information, and to get started making your own paper birds, take a look!

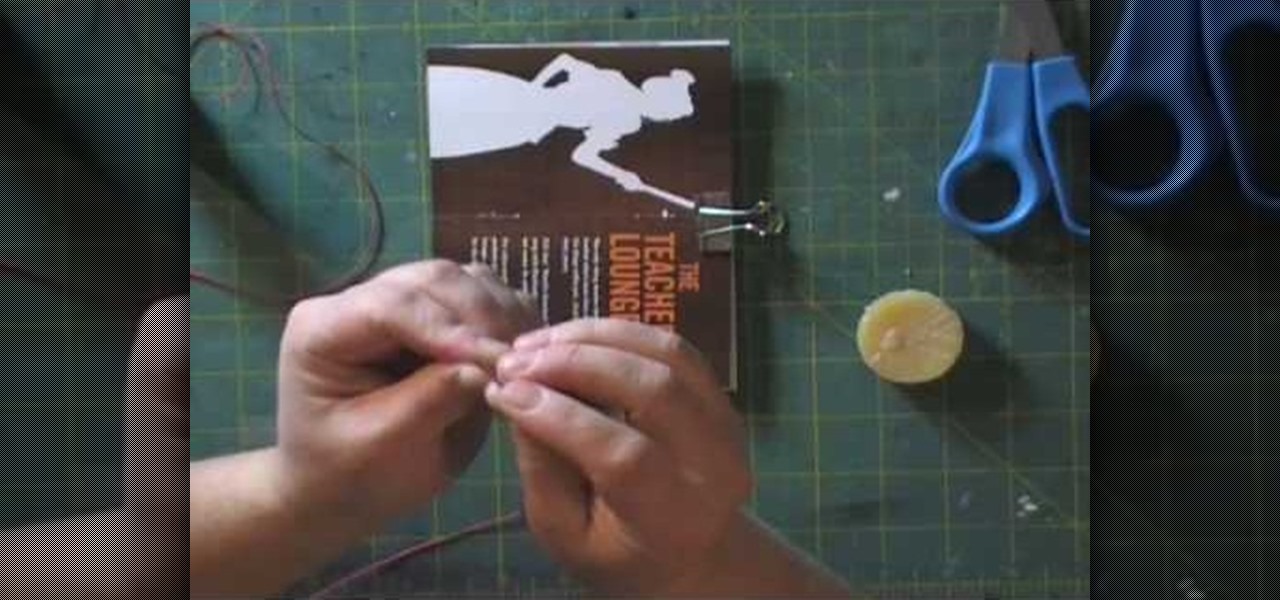
To make a journal made of junk you're going to need a couple of things. First an unbleached linen thread because it doesn't bleed out into your work, you'll need a candle, a binder clip and a stack of papers. The papers you need to fold down the middle and put in four evenly spaced holes down its spine so that it looks like a book. Use the clip to hold the papers together while you measure the thread. The thread needs to be three times the height of your book. Wax this thread using the candle...

Origami is the art of folding paper into cool things. Watch this video to learn how to make an origami paper cube! Start with a full sheet of regular 8.5 by 11 inch paper. Then fold one corner over to make a triangle and a rectangle. Fold the rectangular part of the triangle. Then rip off the rectangular part leaving you with a triangle, and when opened a square. Then fold the paper in half. Then open the square back up and fold into fourths. Watch the video to learn how to make the rest of t...

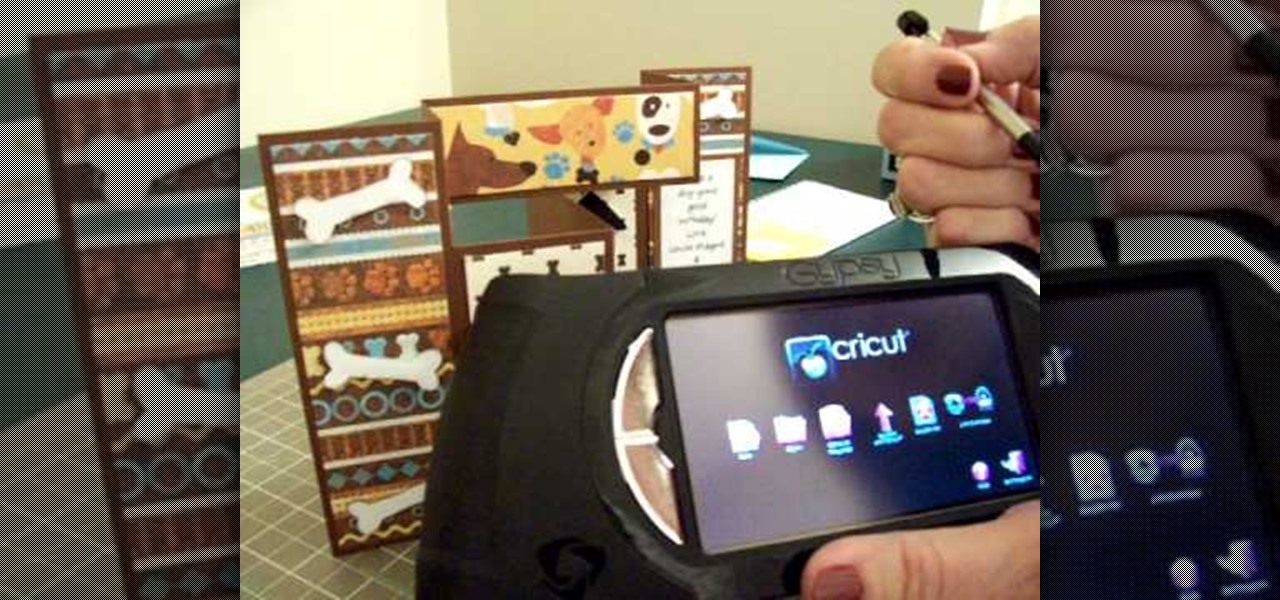
The queen of cute cards CardCrazy09, shows viewers how to make an adorable tri-fold card using products from Die Cuts with a View (Pet Stacks) and products from the Cricut personal die cutting machine and the Gypsy portable design studio. CardCrazy09 demonstrates how she used two cartridges from the Cricut in her design, the Doodle Charms and Paper Pups cartridges. She also shows how using the Gypsy Portable Design Studio allows card making gurus to size their designs to scale. CardCrazy09 sp...

Watch this high speed instructional video to experience the art of paper piecing. Paper piecing is essentially quilting with scraps of fabric and paper. This video tutorial demonstrates paper piecing from a pattern. Design your own patterns and enjoy this crafty combination of quilting, sculpture and collage.

Origami is the art of folding paper, and it has been around for many years. This sequence of two videos from watchmojo.com will teach you to fold an origami paper crane.

You can learn how to create an impossible shape out of paper. All you need is a piece of paper and scissors. First, you cut along the 2/3 lines of the paper. Then you flip one half of the paper over, and you have created an impossible shape.

For this trick you need a glass, a coin and a large piece of paper. 1. Sit at the table.

Check out this DIY video tutorial from Curbly, the best place to share pictures of your home, find design ideas, and get expert home-improvement advice.

Check out this DIY video tutorial from Curbly, the best place to share pictures of your home, find design ideas, and get expert home-improvement advice.

This week on Etsy How-Tuesday Kristen Couse aka cakehouse shows us how to make a decorative holiday trivet for the dining table. You can spice up your home decor, whether you're hosting Christmas or a potluck with friends!

It's almost impossible to fold a piece of paper in half more than seven times under normal circumstances. Sure, the guys on MythBusters managed to fold a piece of paper eleven times, but they used a sheet of paper the size of a football field and needed the help of a forklift and steamroller to get the job done.

Video: . Learn how to make a paper origami gift bag with/without handles tutorial.


