Mike demonstrates how to create seamless tileable textures using just Photoshop. In episode #40, Mike used a Photoshop plugin called imageSynth to create similar textures of organic materials. However, in this episode, Mike explains how its probably better to use Photoshop alone when it comes to more rigid textures such as wood and tile. These textures can then be applied to your SketchUp models. See how to create perfect, detailed wood, tile, and other floor textures in Photoshop for use in ...
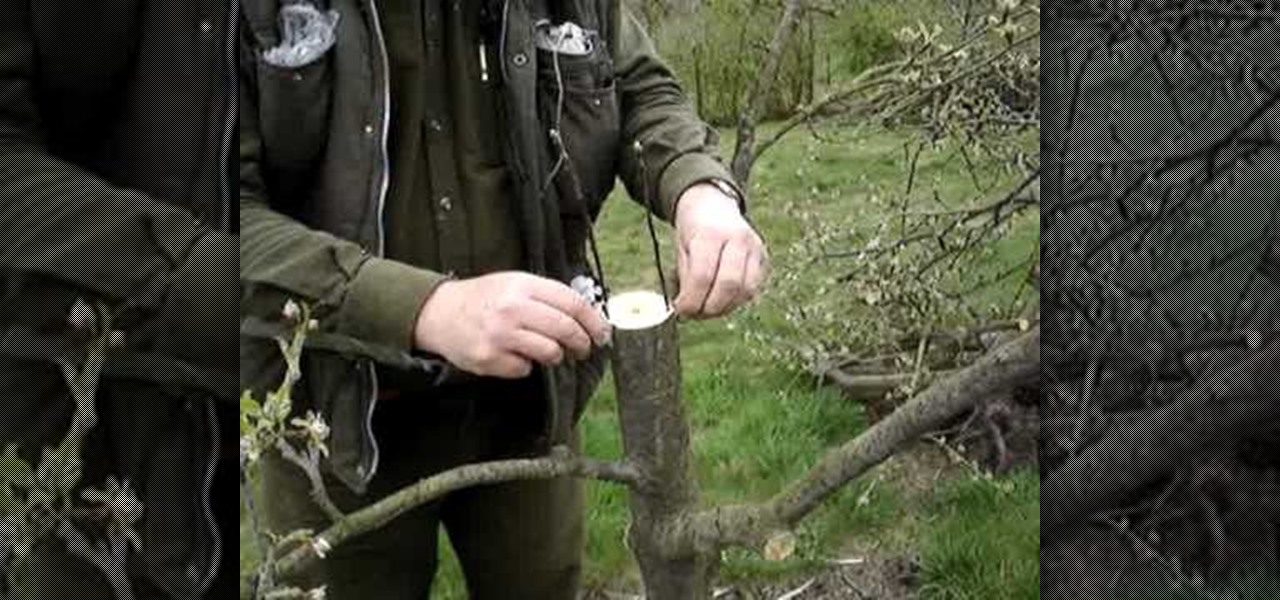
Grafting, also known as "top working," is simple-but-essential technique that enables you to change the variety of fruit a tree bears. In this tutorial, Stephen Hayes of Fruitwise Apples Heritage demonstrates the rind grafting technique, a useful method for grafting over a sound-but-unwanted apple or pear tree.

Take a look at this instructional video and learn how to perform the long board trick chopping the wood. This trick is performed by jumping the heel side of the board with the front foot while kick the back foot out and then jumping back toe side. This is done while carving and you can set it up with combinations of other tricks such as walking the plank or the cross step. Be sure to wear safety gear when attempting this trick.
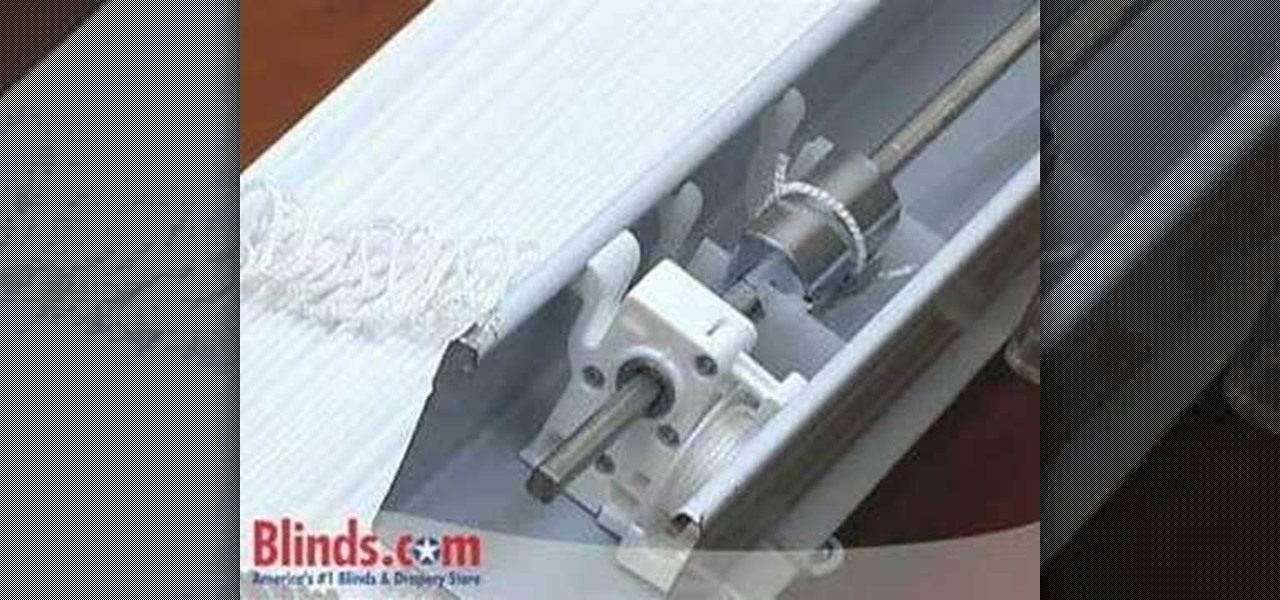
Do you need to replace the tilt mechanism on your old wood or faux wood blinds? The tilt mechanism controls the angle of the slats on your blinds. This short tutorial teaches you how to replace a tilt mechanism for your window blinds.

This Home & Garden how to video demonstrates the proper operation and use of the reciprocating saw. Remodeling your home doesn't have to be such a daunting task. Make sure to get a high amp reciprocating saw to cut your time in half. Cut pipes, wood, and things that are hard to reach with a typical round saw.

The belt sander is the king of all sanding systems. This Home & Garden how to video demonstrates the proper operation and use of the belt sander for sanding wood. Remodeling your home doesn't have to be such a daunting task once you've learned how to use a belt sander.

The table saw is the most efficient way to cut long pieces of wood. This Home & Garden how to video demonstrates the proper operation and use of a table saw for cutting wood. Use these table saw tips next time you are working on a home project.

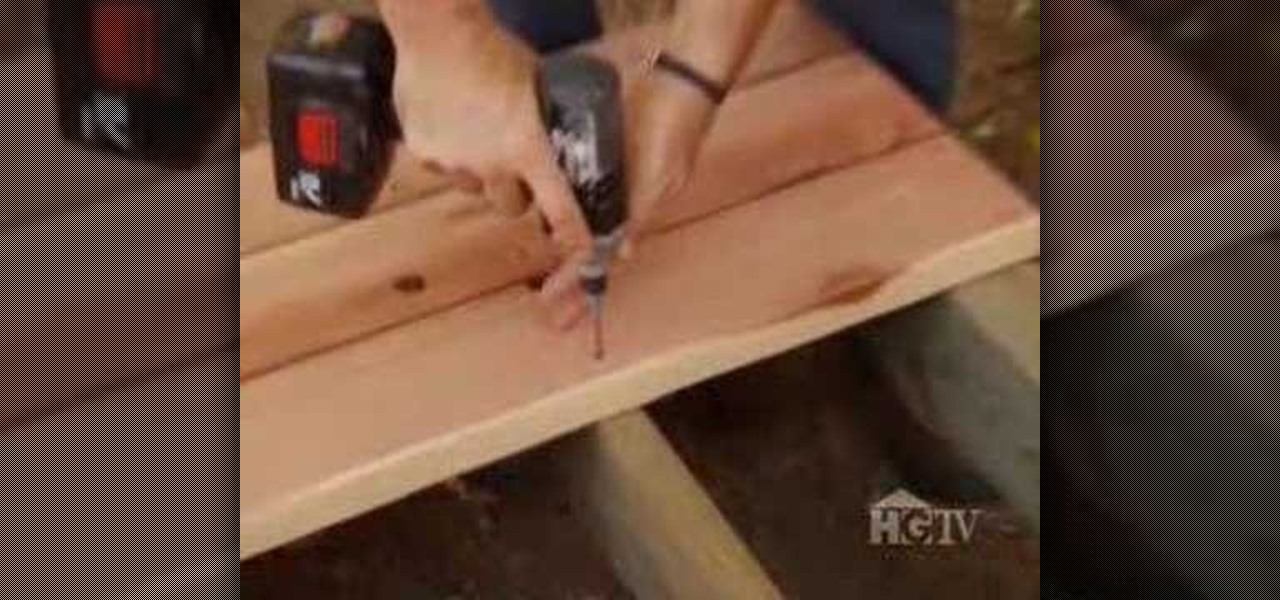
Doing a little remodeling and construction around the house? Choosing the right tools can be a daunting task. This home and garden how to video demonstrates the proper operation and use of an impact driver to drive screws into wood.

Are you going to start a home project but not quite sure what kind of wood to buy? This how to video talks about different kinds of lumber, and teaches you how to pick the right wood for your home project.

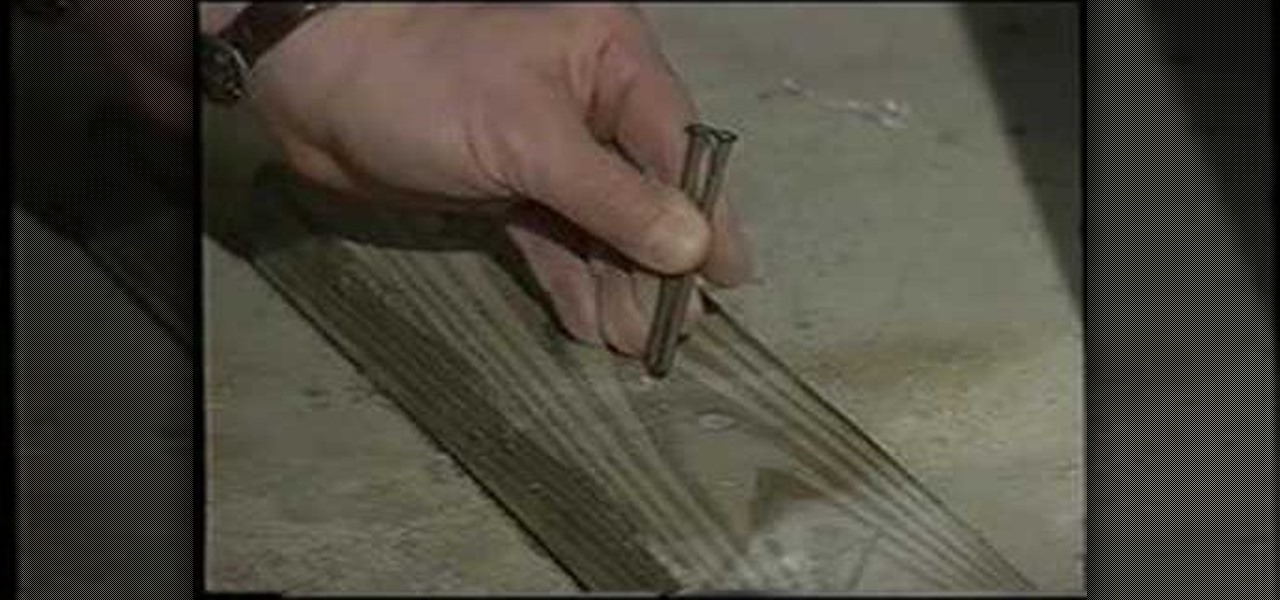
Tim Carter, of Ask the Builder, demonstrates a really simple way to nail wood to a concrete floor in your home with a simple rotor hammer drill.

Tim Carter, of Ask the Builder, demonstrates three easy ways to remove nails from pieces of wood, like trim or baseboards, so they can be reused in future home projects.

Tim Carter, of Ask the Builder, demonstrates two ways to prevent wood from splitting while nailing it down with your hammer in your home repair projects.

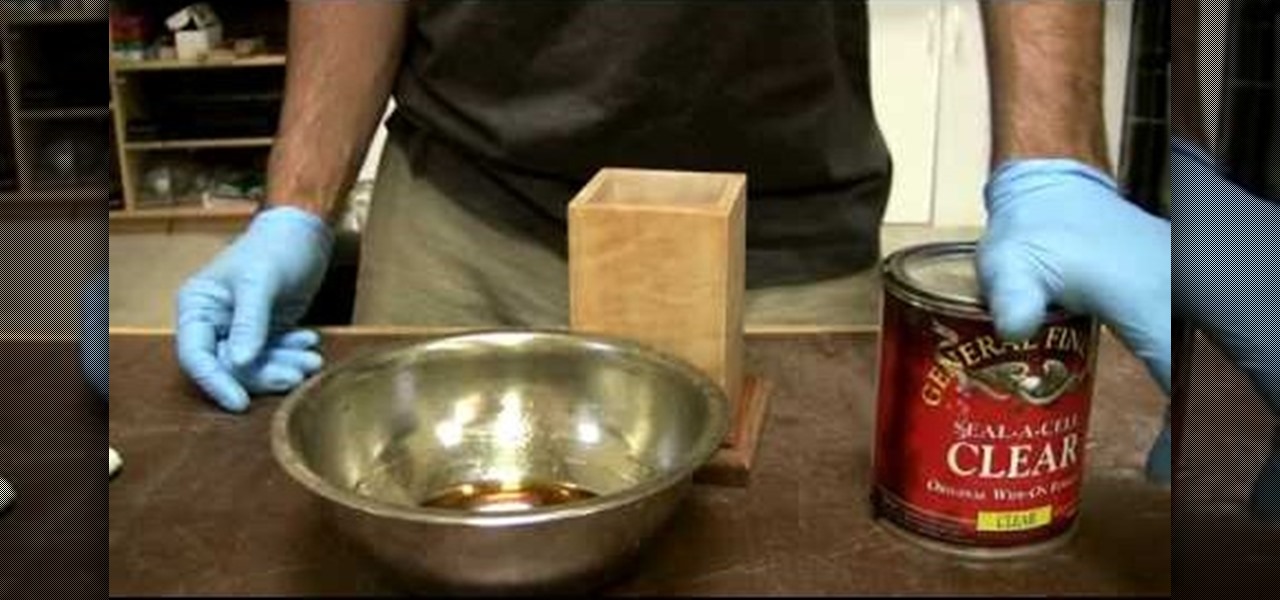
Learn about different finishes. In this video, the Wood Whisperer puts the finish on a pencil holder. It's not just any finish. Since we are working with a beautiful curly maple, the finish deserves a little extra special attention. Learn how to pop the grain.

Hydrangea is a garden favorite. It has lovely blooms and can become a good sized plant. Many ask when should it be pruned or cut back. A good rule of thumb is to understand that Hydrangeas bloom on old wood. As soon as the flowers are spent, as soon as they start to turn brown it is a good idea to prune. This allows a maximum time for the branch to grow, set new wood which will then turn into old wood and produce more flowers.

There are several ways of protecting the wood on your deck. You can paint it, stain it, or seal it. I chose to seal my deck because I want to keep the natural wood color. You will need to repeat this process every few years depending on the effectiveness of the sealer you purchased.

Tim Carter demonstrates two common ways to accomplish a mortise cut into a piece of wood. Limited tools and techniques make for an easy job to accomplish.

This video will show you how to fix a wood pecker hole in the side of your house.

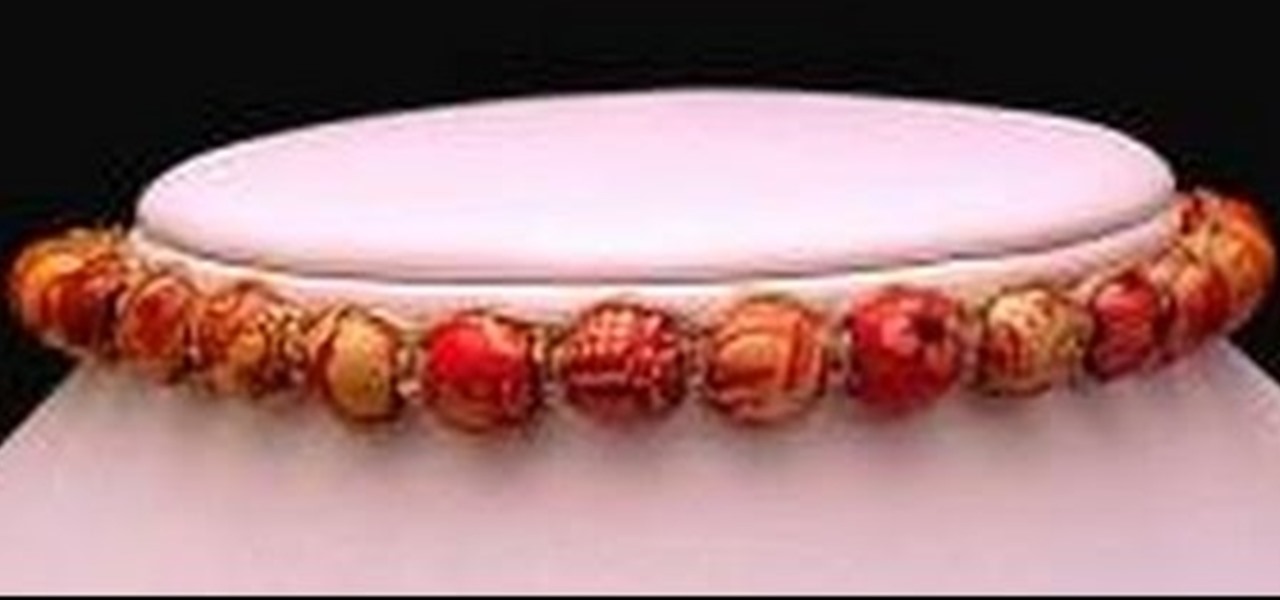
A video tutorial that demonstrates how to make this hemp choker necklace with square knots and wood beads step by step.

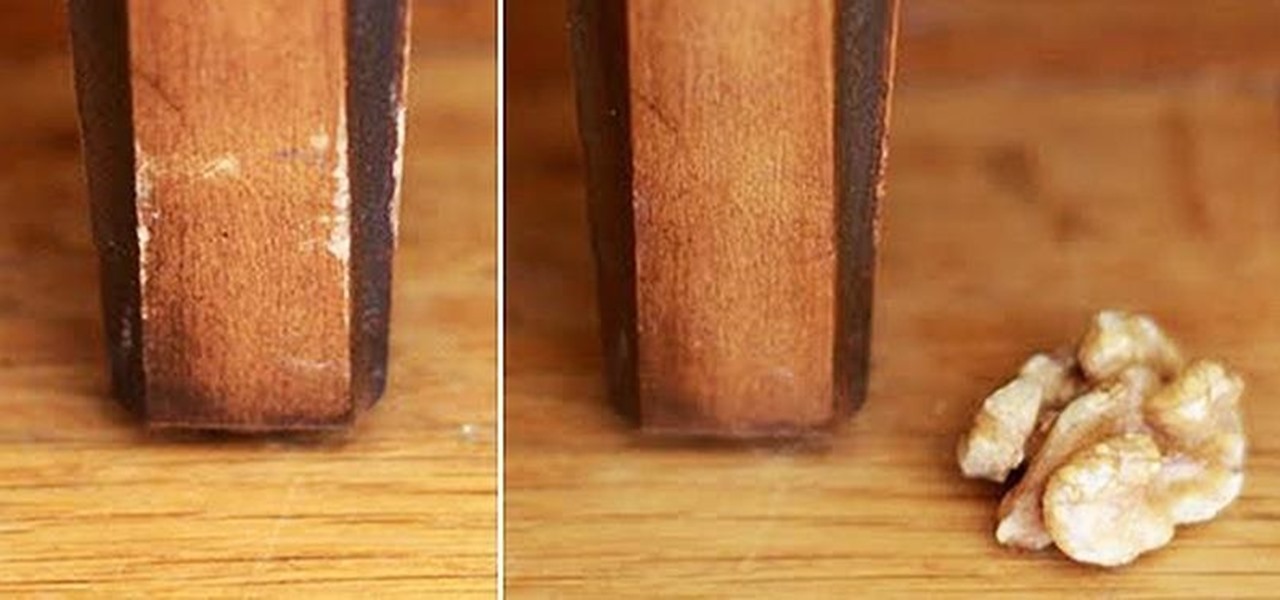
Furniture gets beat up—it's a fact of life. Your beautiful tables will end up scratched, the legs of your chairs will grow nicked, and you'll find interesting dents and damage in other places around the house, too. Yet if most of your furniture is made of wood, you don't have to live with unsightly scratches. In fact, you can remove years of damage with a simple snack food: nuts.

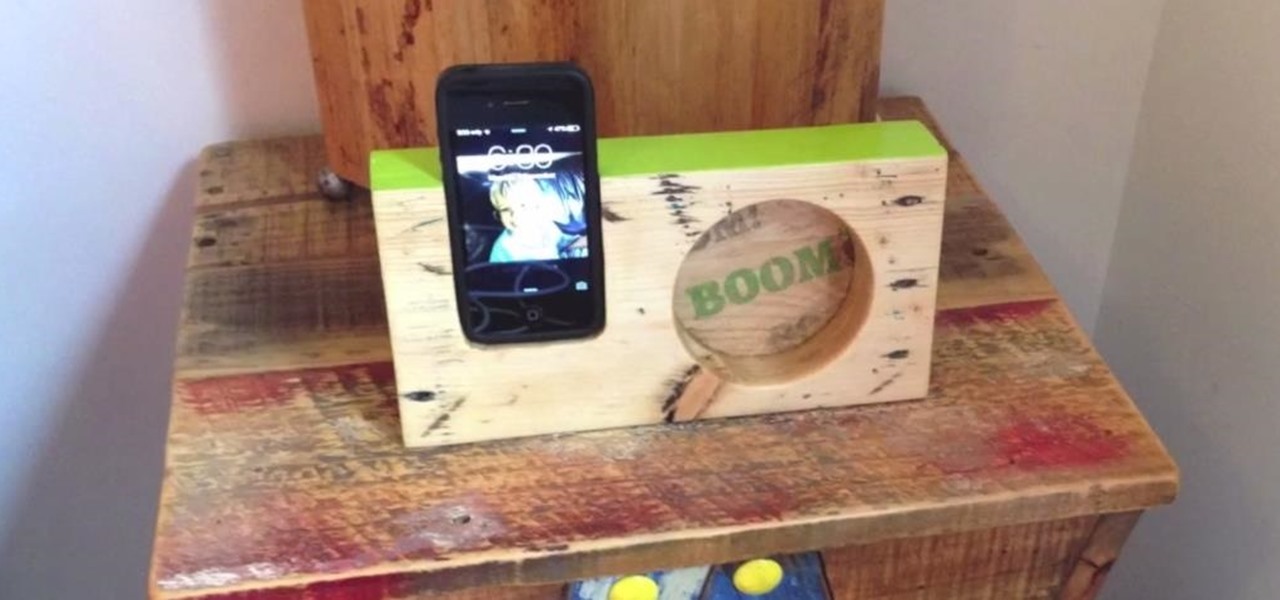
This pallet wood project is a really cool pallet project as you can make it from just one pallet board, it's super easy to make, and it's virtually free. The extra sound that comes out is quite surprising. Having said that, don't expect it to sound like a fully fledged designated speaker or you'll be disappointed.

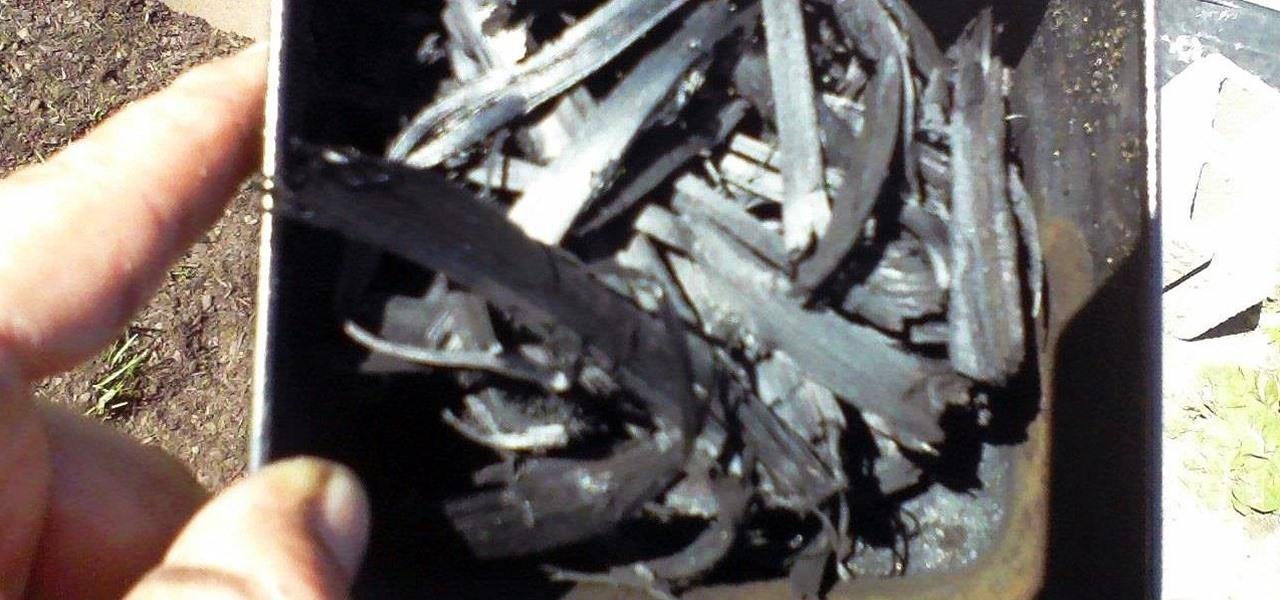
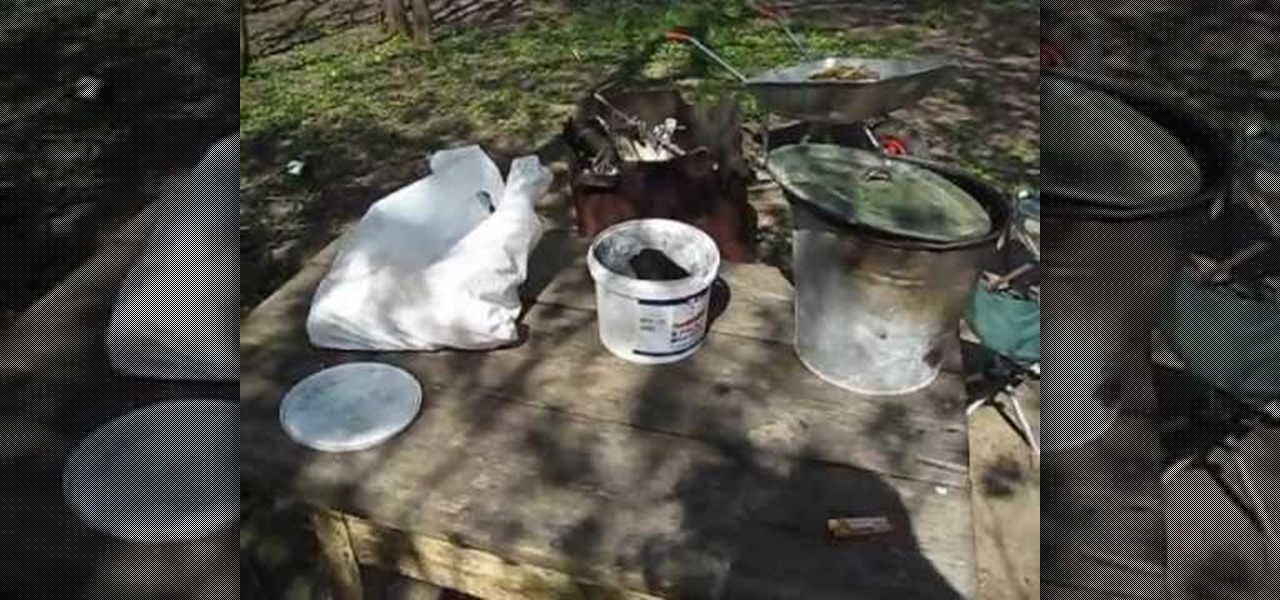
Hello, all. In this article, I will be showing you how to make one of the most useful products known to man. I am talking, of course, about charcoal.

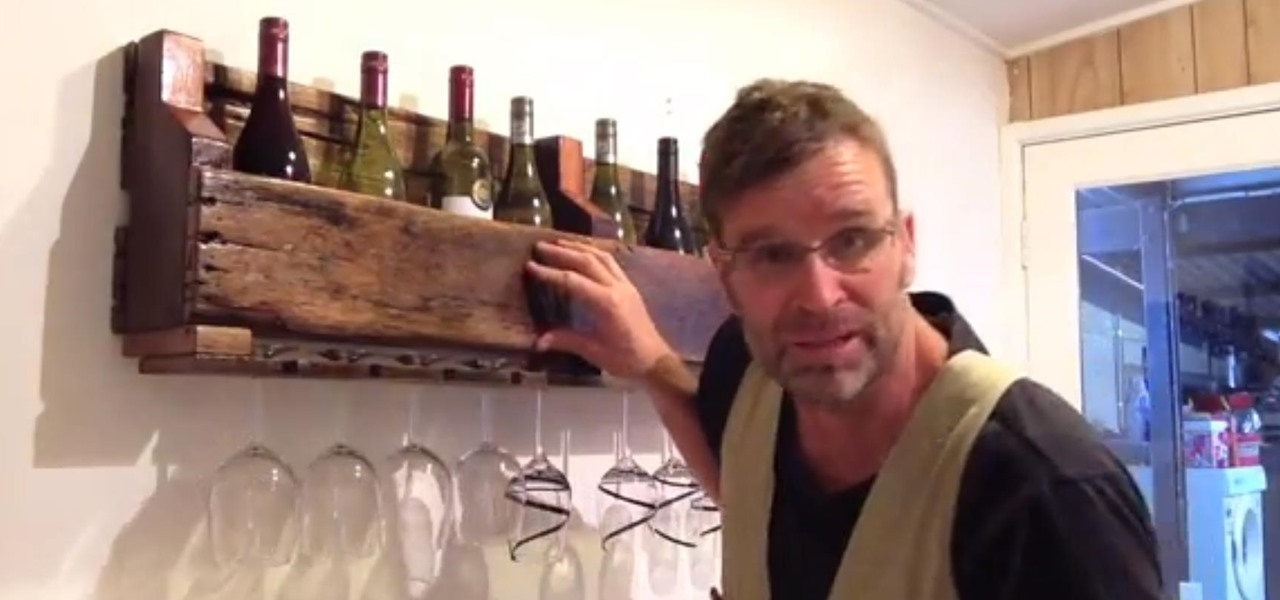
This is how to build a wine rack out of pallet wood. I was tossing around some wine rack ideas and decided that pallet wood, or reclaimed wood, is the perfect choice for a rustic wine rack. All you need for this project is an old pallet (for me a hardwood one is my choice). A pallet that has seen some wear is preferable so as to achieve that rustic look.

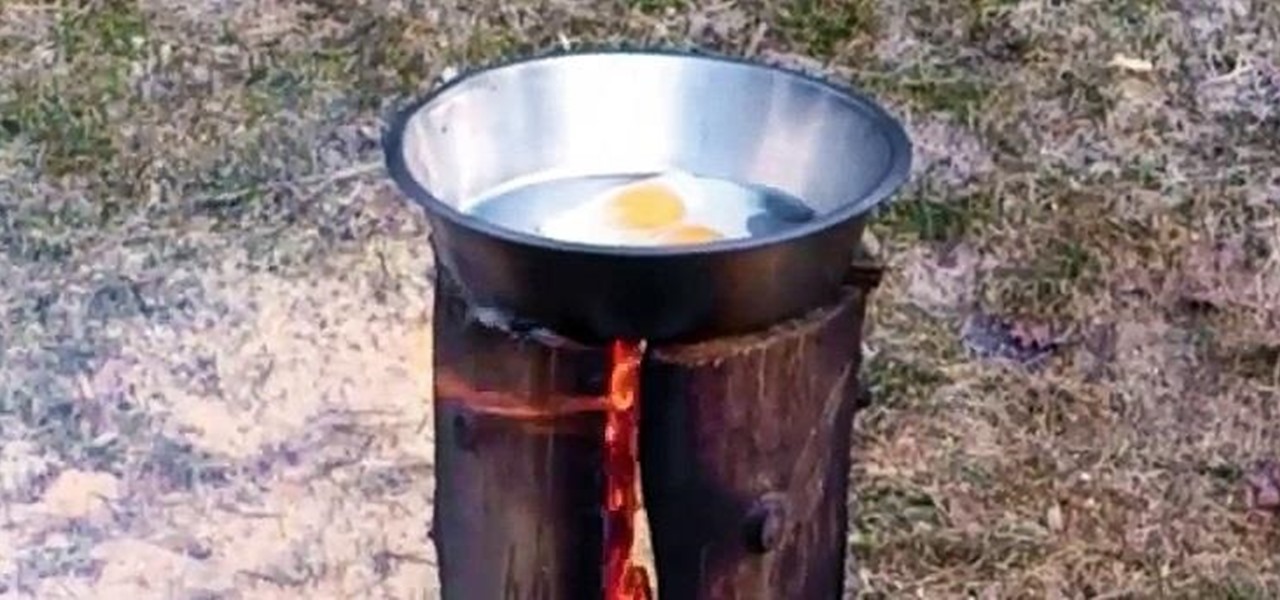
It's known that during the Thirty Years' War that took place in Europe between 1618 and 1648, soldiers used Swedish fire torches (also called Canadian candles) for heating, lighting, and cooking meals.

As any woodworker may know, having a sharp chisel is important than having a dull one. A dull chisel can ruin projects and make things much more difficult for anyone. This is also important when stockmaking.

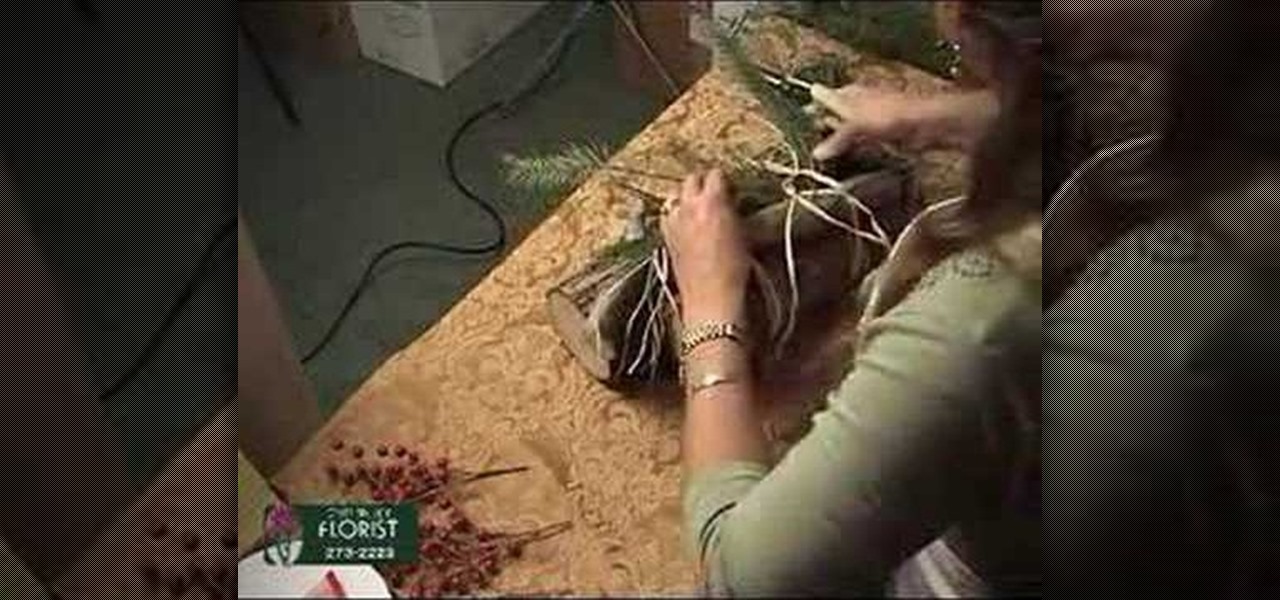
In this tutorial, Ingrid teaches us how to make a yule log for a gift. First, wrap two pieces of wood together with wire thread. Next, take some raffia and tie it onto the top and bottom of the yule log to give it a rustic look. To warm it up, add in some pine needles to the middle, as well as fur, cedar, and whatever else you find. To make it look more festive, take some red shiny ribbon and tie it onto the top of the pieces of wood like a package. This is inexpensive and useful for anyone t...

This video tutorial belongs to the Film & Theater category which is going to show you how to build a light diffuser to improve your film lighting. Joe Richardson explains how to do this. You will need four pieces of pine wood 1" x 2" x 8 feet long, framing nails, duct tape and light cloth material. Cut the wood at the edges at a 45 degree angle and lay them out on ground to make the frame and hammer in the framing nails. Now spread the cloth over the frame and start stapling it. Pull the clot...

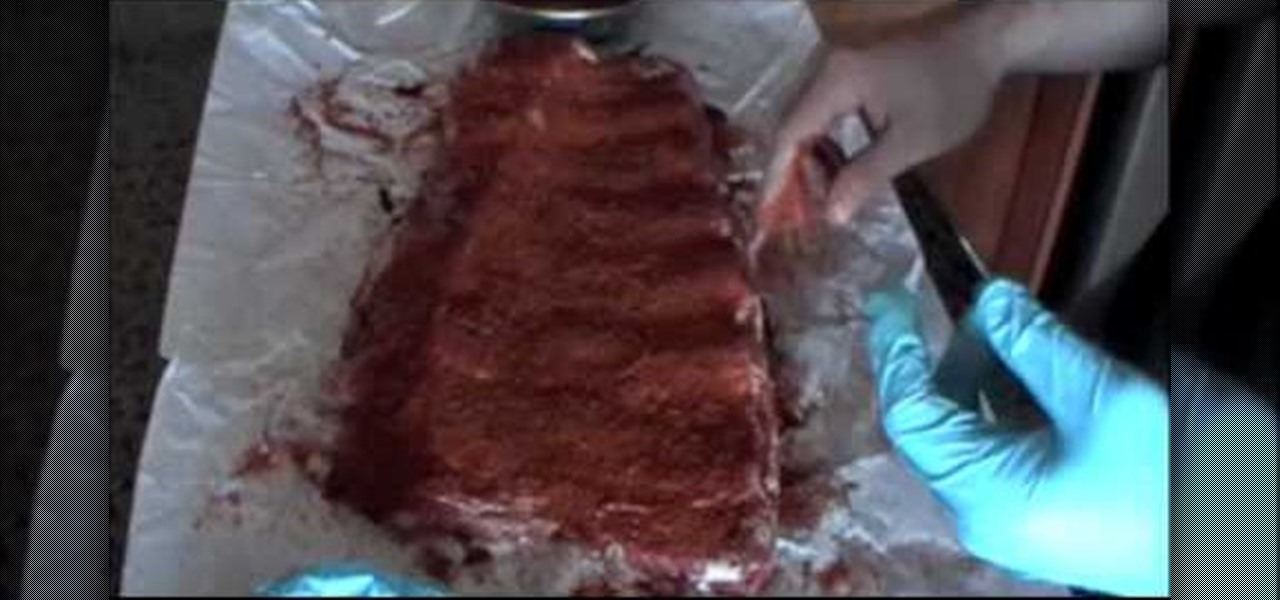
Nothin' says BBQ like a big rack of smoked beef ribs. In this tutorial, learn how to smoke some beef ribs yourself and make the whole neighborhood jealous with the delicious smokey smell. Your instructor in this video used apple wood, hickory and a little pecan to smoke his ribs. You can use the same woods or choose some that you like better, but in the end, if you follow the process in the video you will be chewin' on some delicious beef tonight!

This video, by GC Productions, brings you this segment of "Hammered and Screwed". In this episode, they teach you how to make your own skateboard at home, using materials you may have around the house or may find at your local hardware store. You will need 6 to 9 pieces of wood veneer, cut to 30" by 10", (the amount of pieces you will need depends on the thickness of the veneer, and how much flex you would like in your skateboard), and enough wood glue to coat each piece. Once they have glued...

This video is a tutorial on how to turn a rake into a screed tool. It begins by explaining that a screed tool is something used for spreading concrete. First, you will need a rake and a piece of wood that is called a 1 by 4. Put a steel rod over the rake blades and use a drill to secure it to the wood. Use wing nuts to tighten the bolts. By using a 1 by 4, you are creating a light-weight smoothing tool. It can be used to smooth out concrete, mulch, sand, or soil. If you make the screed tool t...

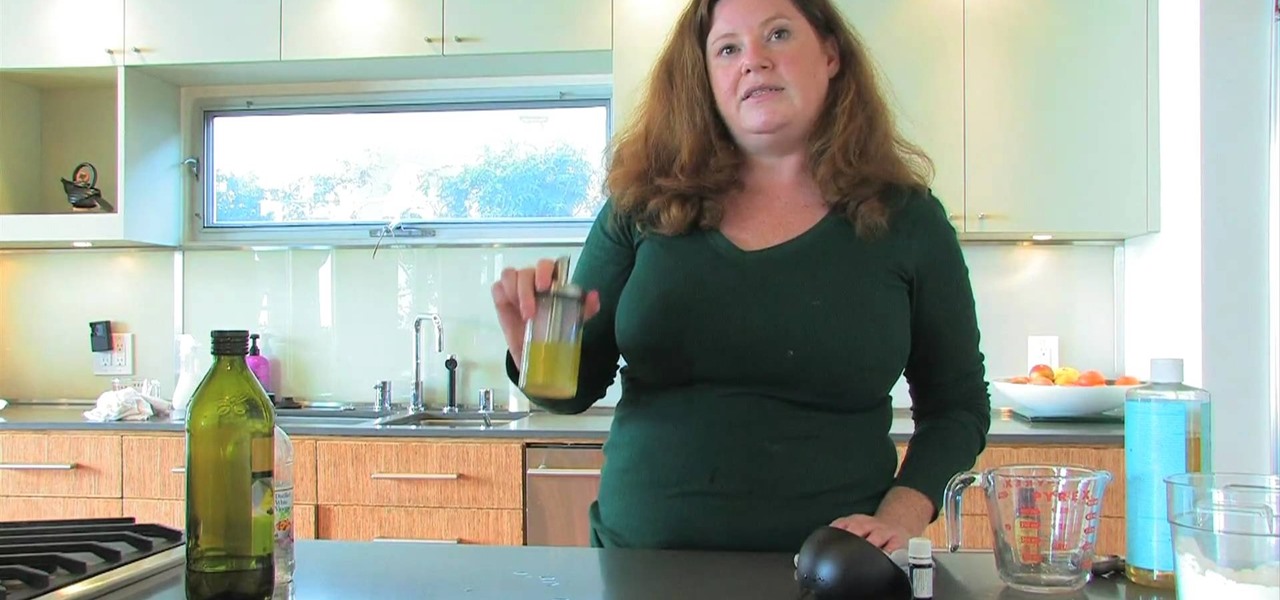
This video describes how to make a cheap and effective furniture polish from scratch. To start, you should find some sort of dispenser to put the polish in. The video suggests an oil and vinegar dispenser because it works effectively with the furniture polish. Put a funnel in the container to make pouring easier, and add 1/4 cup of organic olive oil (make sure it is organic for cleaning). Then add 1/4 cup of vinegar and 20-30 drops of essential oil. The olive oil will keep the wood looking ni...

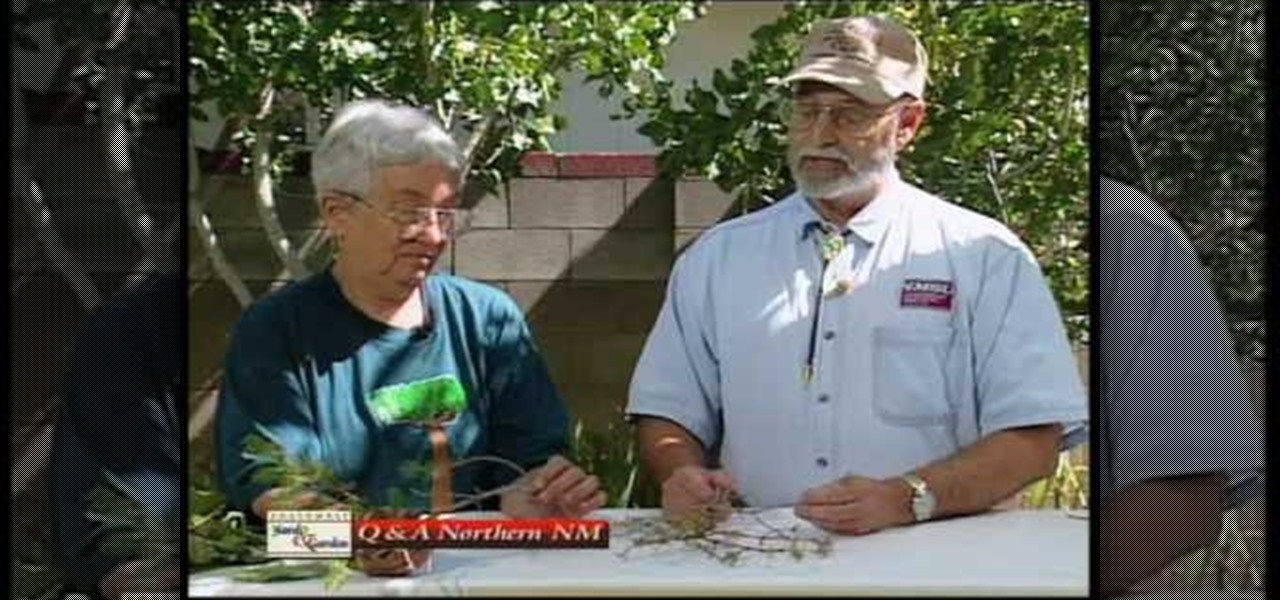
In this Home & Garden video tutorial you will learn how to identify problems with the cotton wood and aster tree. Curtis Smith, extension horticulturist, presents this video along with Judy Nickell, master gardener. Female Junipers make berries and male Junipers make pollens. Lot of people are allergic to the pollens. So, you will be better advised to avoid male junipers in your landscapes. On the other hand berries of female junipers attract birds and are good for increasing bird activity. F...

A fresh coat of paint can do wonders for a wood-sided house. But its what's underneath the paint that can really count. Doing the right prep work will make your painting efforts last longer and look better. The prep work will help make your paint job a success and much easier to accomplish. And taking the time to do it will pay off in the end. The five steps to the painting prep process include: scraping, cleaning, patching, masking and priming.

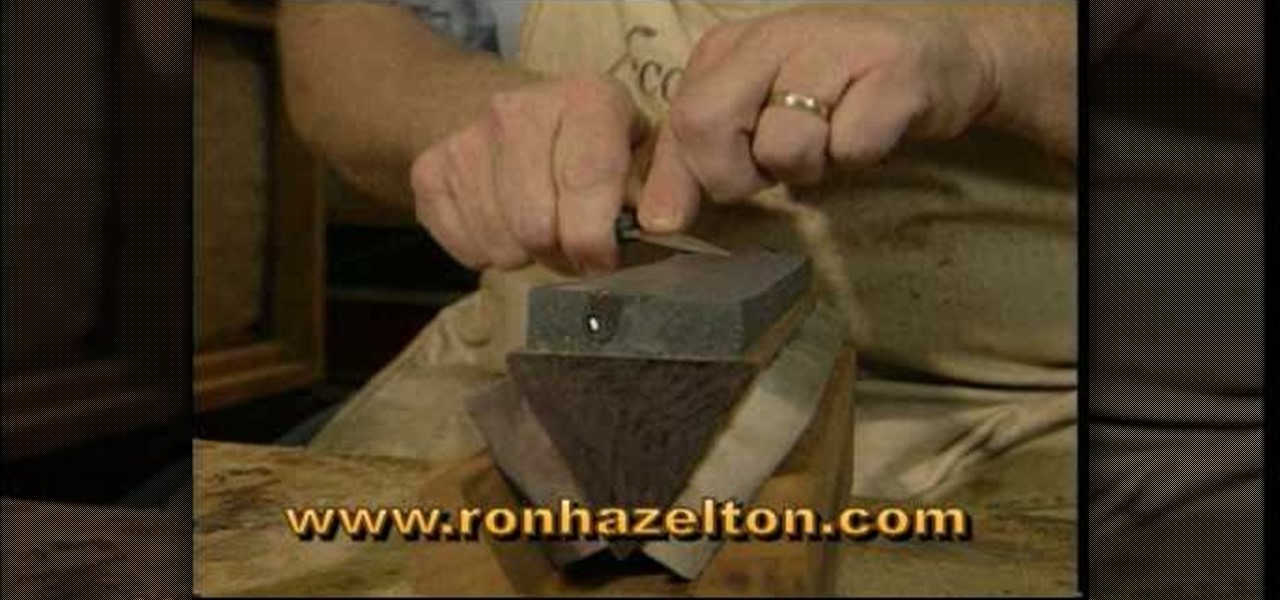
This video shows you how to sharpen a jack knife or wood-carving knife using coarse, medium, and fine stones and cooking oil. Use the coarse stone, applying oil to the stone first then pushing the knife down on the stone in each direction, matching the bevel to the stone. Next is the medium stone. Add oil before continuing the sharpening process. Apply cooking oil to the fine stone and finish the sharpening process. Using a leather strop will remove any burrs and polish the knife.

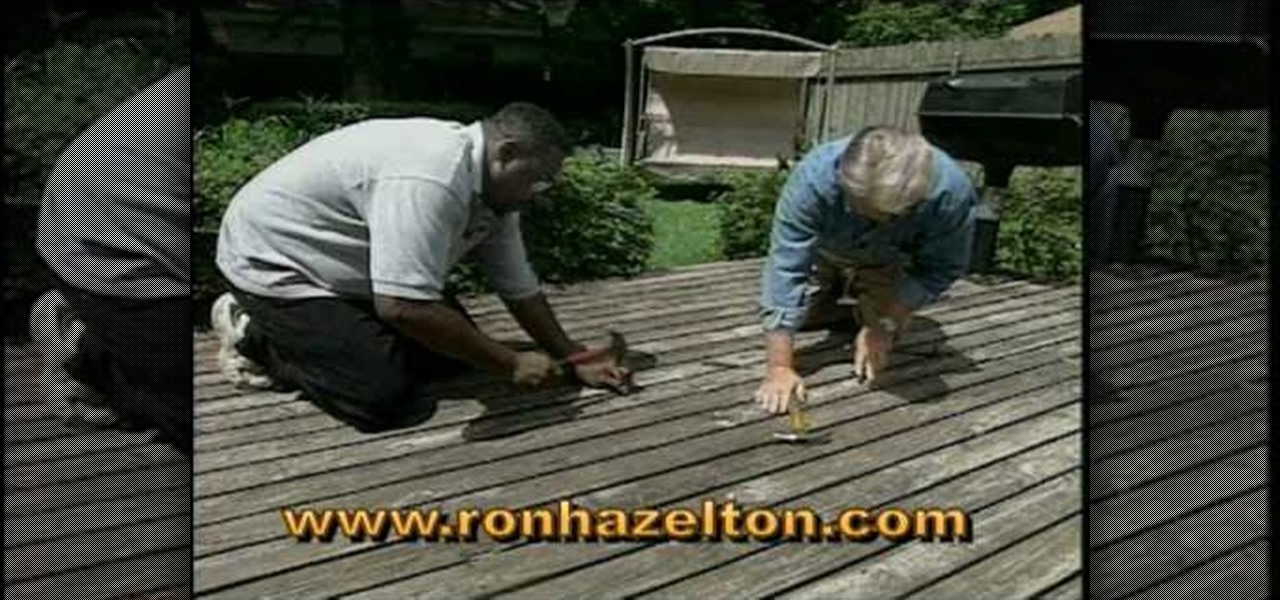
Ron Hazelton shows how to restore a weathered and worn deck. Twisted boards can be straightened using a notched 2x4 as a lever, then secured with 5 inch screws. Remove popped nails, and replace with longer thicker nails. Use a punch to countersink slightly high nails. Clean the deck with wood soap and a long handle brush, using a pressure washer to rinse. Apply sealer to the dried wood and let it cure, then enjoy your reinvigorated deck.

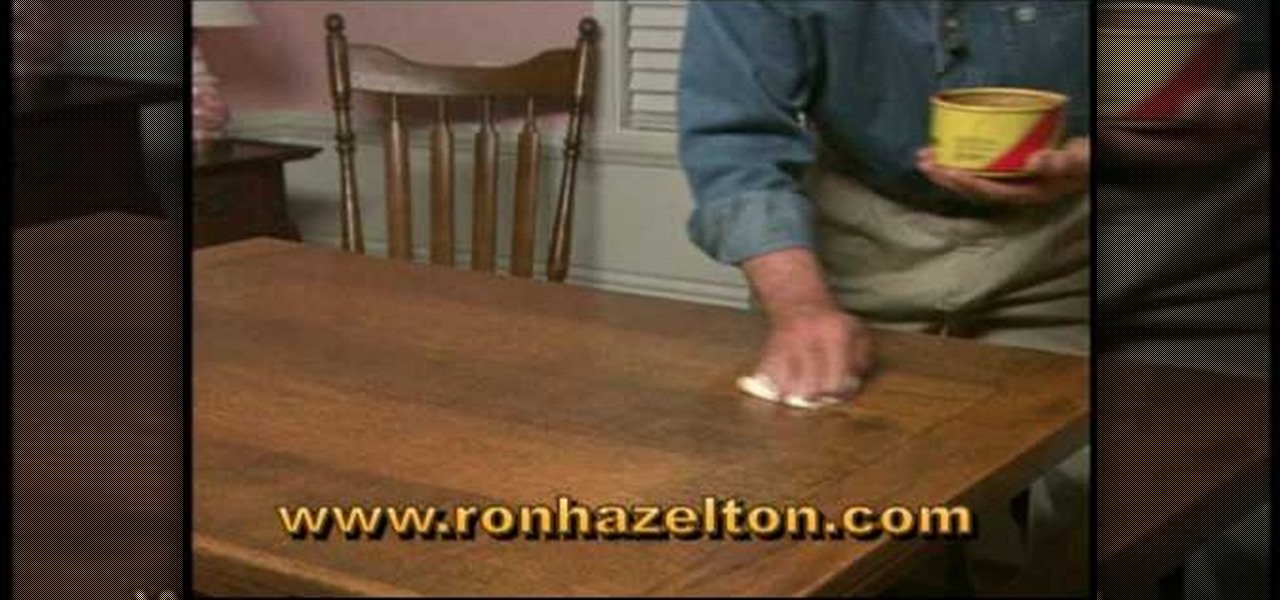
Not sure how to safely clean your wood table without ruining it? In this video tutorial, learn how to properly wipe off your table and how to protect it with a sealant called, Pastewax. This substance dries and does not attract dust making your table look shiny & new, like a piece out of a museum!

Plug this baby into your FiOS-powered computer and simulate the real-time climate of any location in the country -- rain, lightning, fog, sunshine.

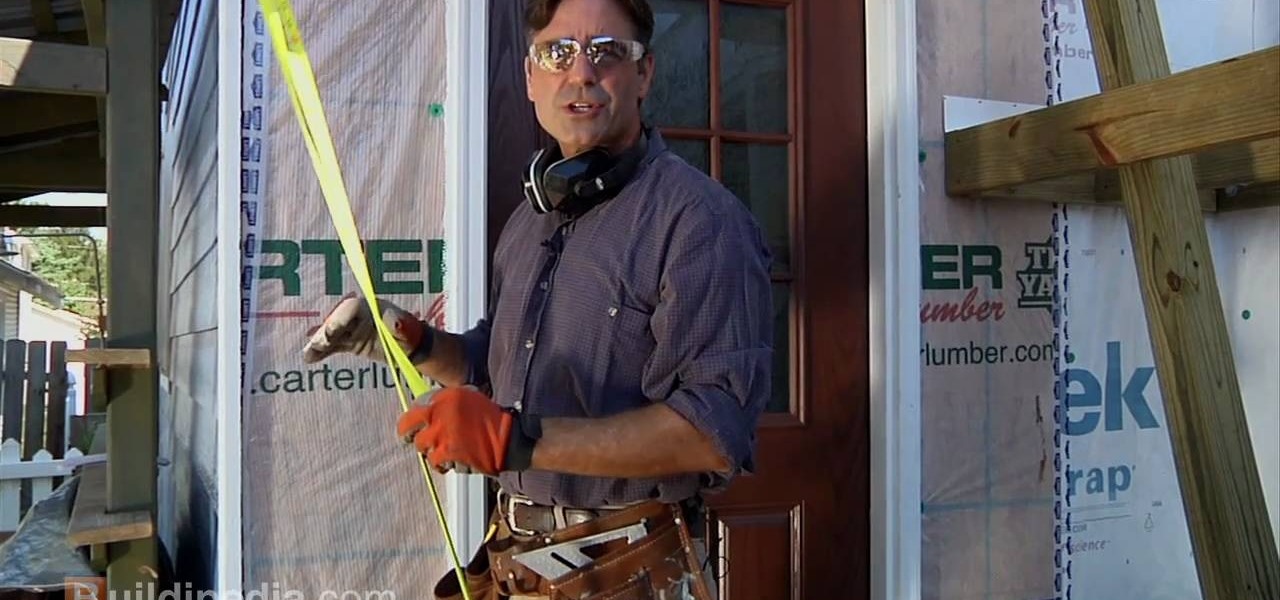
Your home's siding will only last so long, so when it's time to replace it, what will you do? Well, calling a professional will cost you thousands, but this home video from Buildipedia will walk you through the steps to replace your home's siding yourself.

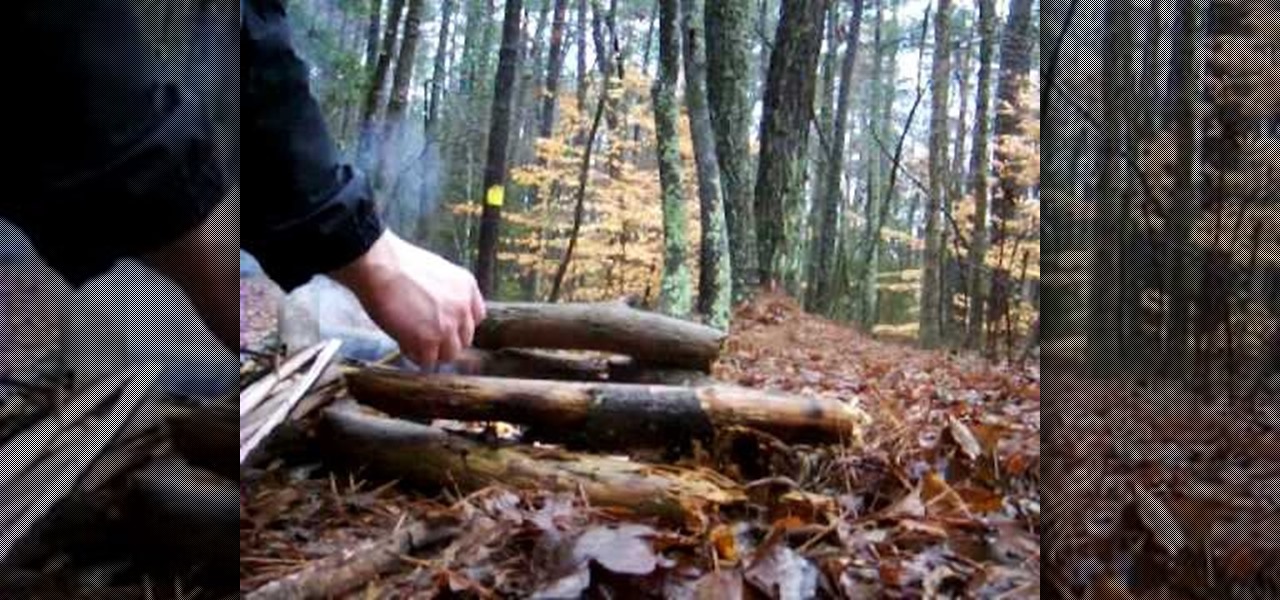
Rain hampers many survival situations by making fires both more necessary and more difficult to start. This video will give you some expert advice on how to start a fire in the rain the woods, which has a greater chance of helping you survive than almost any other survival skill you can have.

It's no secret, artists are broke. That's why they're referred to as "starving artists". One day these artists will achieve unimaginable success, but for most of their lives, they'll be struggling to survive… struggling to keep their vision alive. That's why they need to work cheap. And that's why they stretch their own canvases, not buy pre-made ones or have the hobby shop do it. If you’re a starving artist, save a few bucks, hone your carpentry skills, and stretch your own canvas.


