Create a cherry wood texture in Photoshop with the noise filter and few other built-in tools. Whether you're new to Adobe's popular image editing software or simply looking to pick up a few new tips and tricks, you're sure to benefit from this free video tutorial, which offers a step-by-step guide on how to generate wooden textures at any resolution in under five minutes.
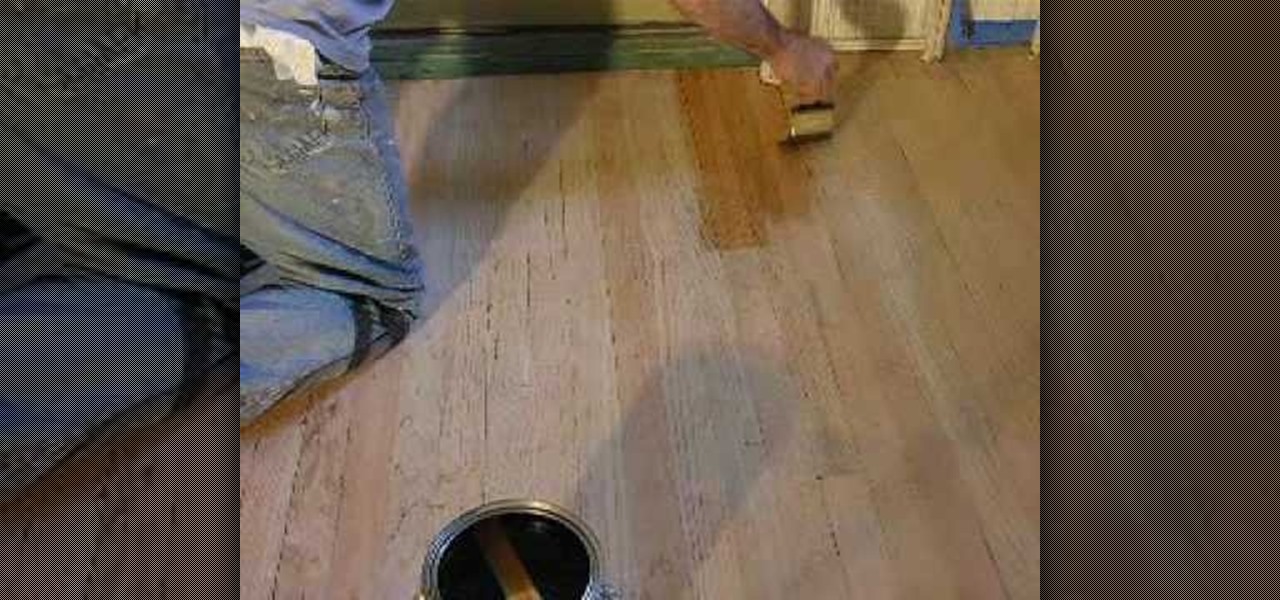
Pixel Perfect is the "perfect" show to help you with your Photoshop skills. Be amazed and learn as master digital artist Bert Monroy takes a stylus and a digital pad and treats it as Monet and Picasso do with oil and canvas. Learn the tips and tricks you need to whip those digital pictures into shape with Adobe Photoshop and Illustrator. In this episode, Ben shows you how to create flooring in Photoshop.

How do you add instant drama to your scenes? Rain and sappy music of course. Using some wood, rope and a garden hose Erik shows you how to make a "Hollywood rain machine" for less then $50 bucks.
This video is fantastic and very detailed on how to mount deer antlers. He carves the antlers off a deer head, then boils them to remove the meat, finally he mounts them on a piece of wood. For this professional taxidermy tutorial you may need a hack saw. Oh also, you need a deer head.

To keep fungal pathogens at bay in their crowded homes, wood ants mix potions to create powerful protection for their nest and their young.
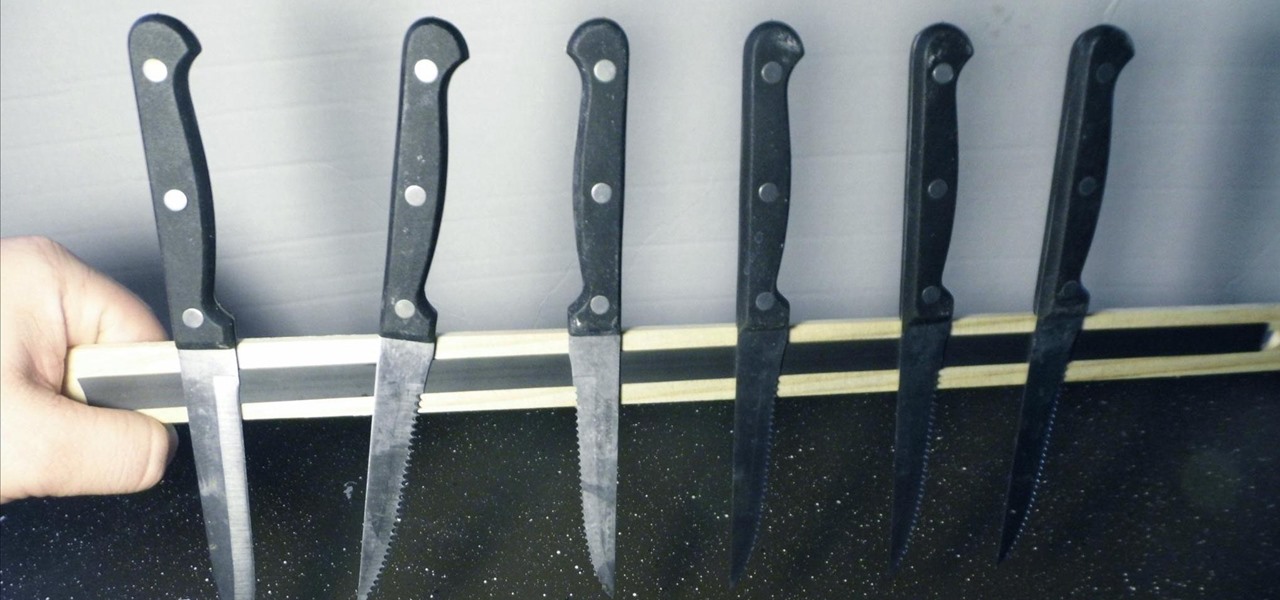
Magnetic knife strips are really handy. They allow for the removal of that huge knife block on your countertop, freeing up valuable counter space. They allow for easy access to your knives as you can mount them pretty much wherever you want. Plus, they look really cool, too!

This video begins by showing what a folding painting canvas looks like and what the final stretched canvas should look like. The first step shown is to make sure the bars are measured and marked with a simple A and B for easy measurement recall. After a wood frame is added over the canvas you must fold the material over the back of the wood and nail in place. Once the canvas is nailed to the frame you must add A, B, C and D markings to continue proper alignment procedure. The last step shown ...

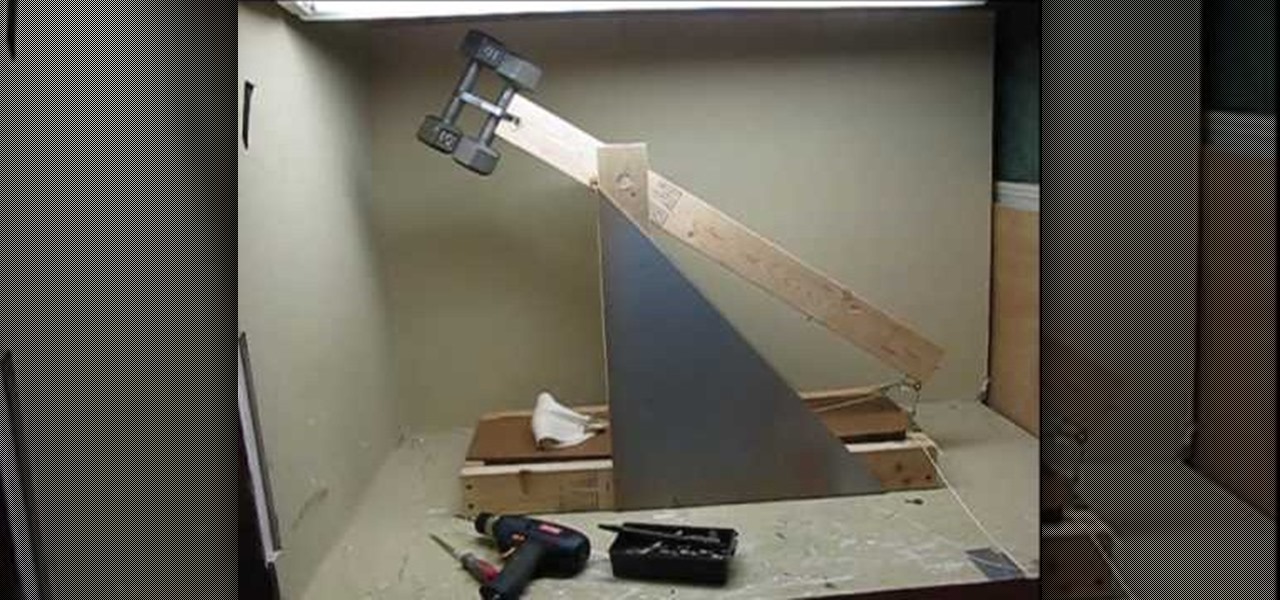
In this tutorial, we learn how to make a fast and easy tennis ball trebuchet. This tool will throw tennis balls easily so you can hit them without having a partner around. This only needs a few pieces of wood and 2x4's along with dumbbells. There isn't a whole lot to this, it's very simple to build. Use two 10 lb dumbbells clamped with a hose clamp onto the top of a 2x4. Use a dowel to go through this, so it will help it rotate. Down at the bottom is the release mechanism and on the sides wil...

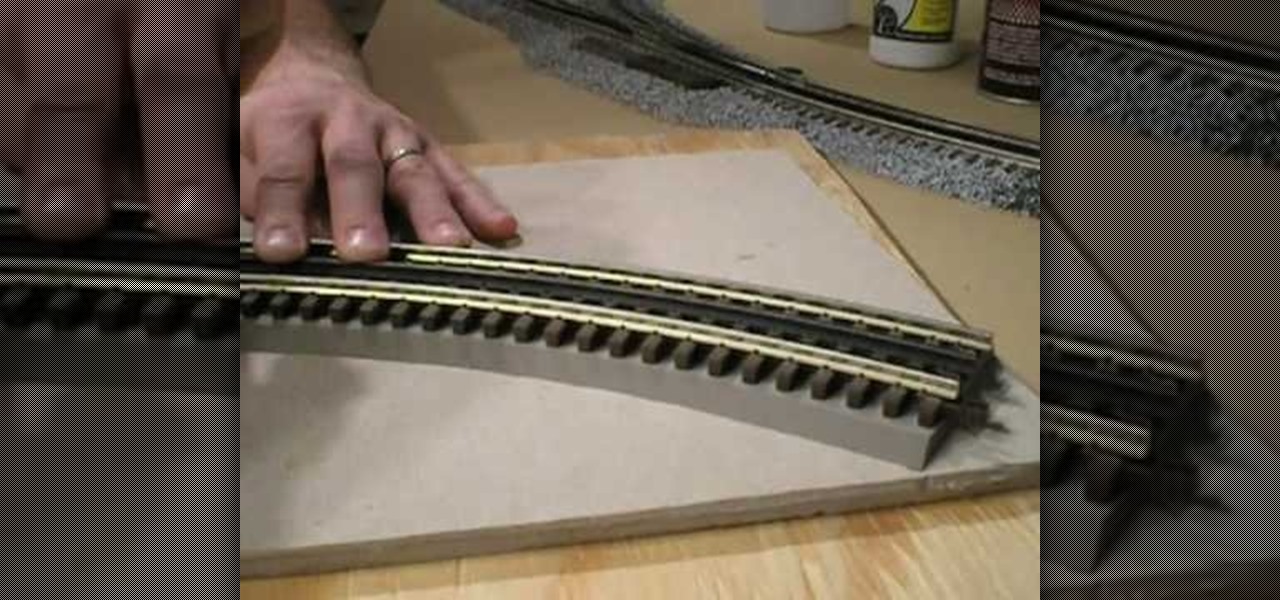
In this tutorial we learn how to lay and ballast O-Scale 3-Rail track. First, lay the track down on a piece of bare plywood. Also, you will paint the wood to prevent it from absorbing liquid when you place glue on it. Put the track down onto a flex bed and then set the flex bed on the wood. From here, place the track onto the road bed and line it up. Make sure the track is centered completely. After this, take a track screw and secure the ends down. Continue to do this throughout the entire t...

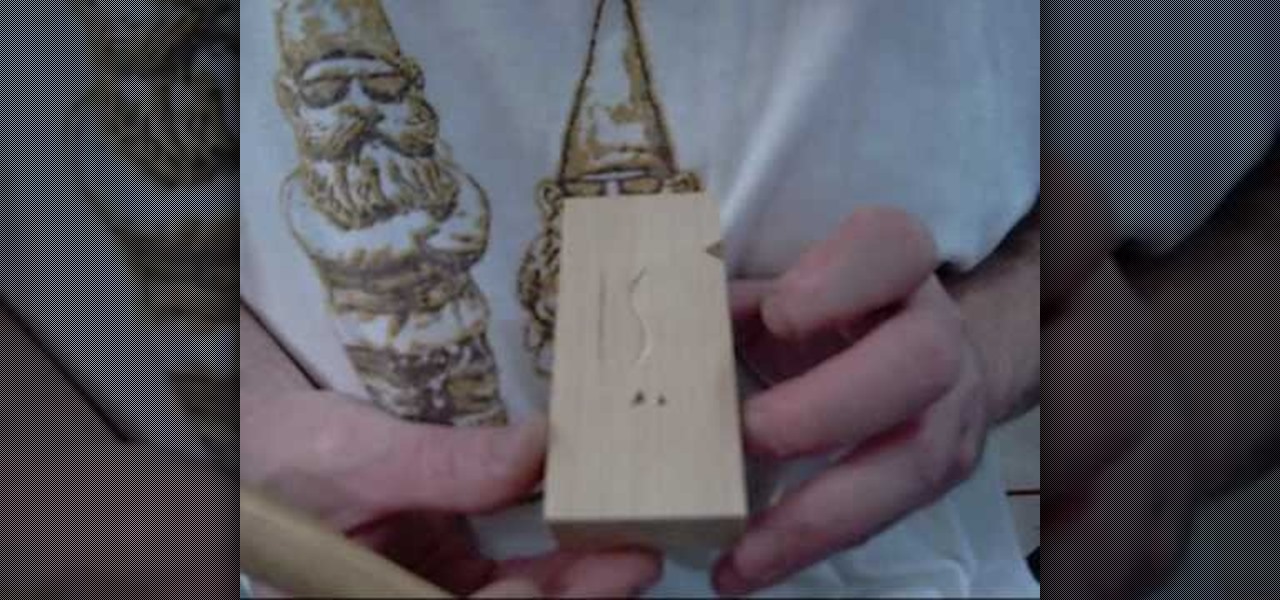
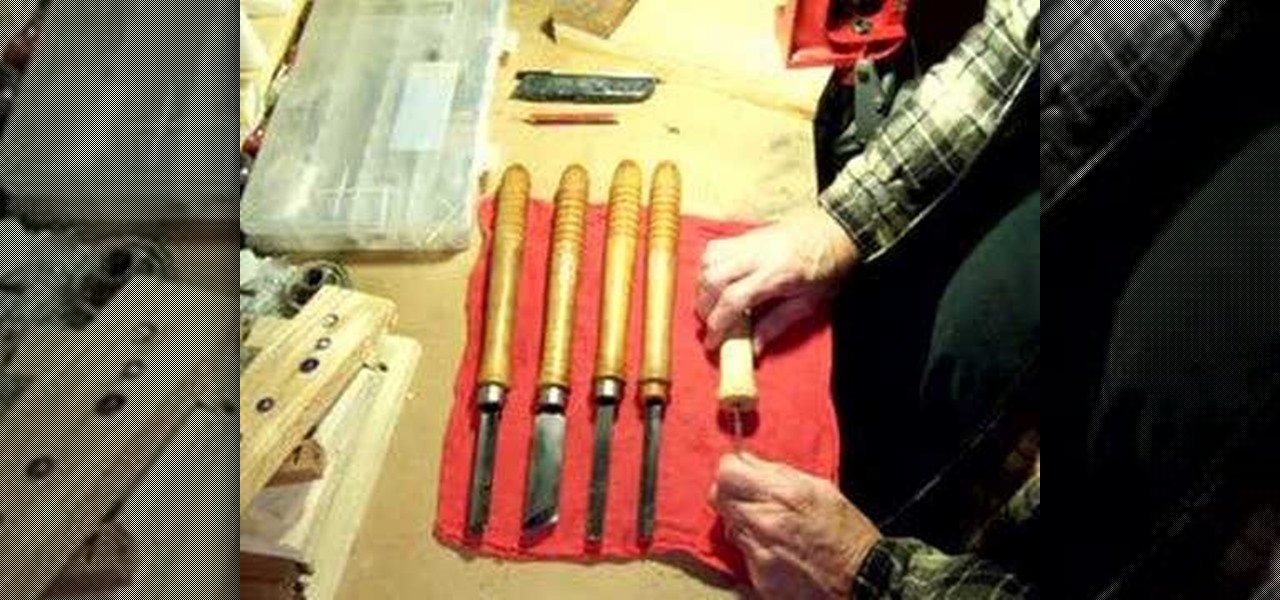
In this tutorial, we learn how to begin using a woodcarving knife. Before you go into the detail, you will want to make sure you have it carved right. The carving all starts in the block of the wood. There will be a couple initial cuts that you will do with a knife after marking the wood with a pencil. Do repetitive cuts to get the right shapes. Also do an 's' curve and hit the lines right. If you want to make this look like a v-tool then you just need to make it with your knife. Have fun and...

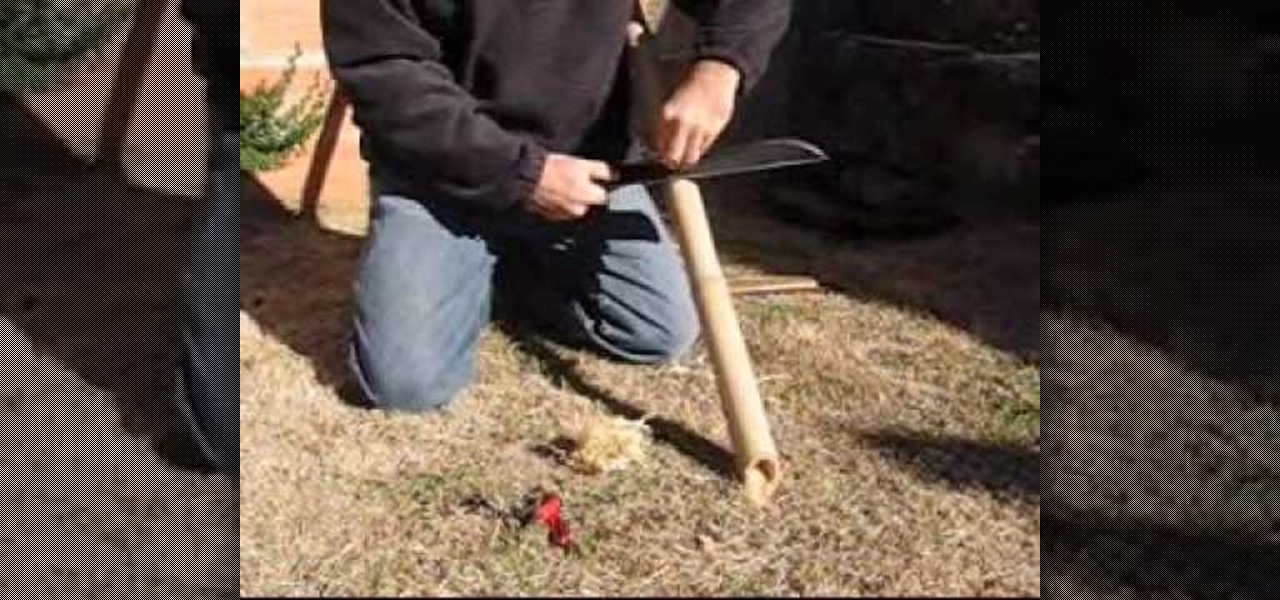
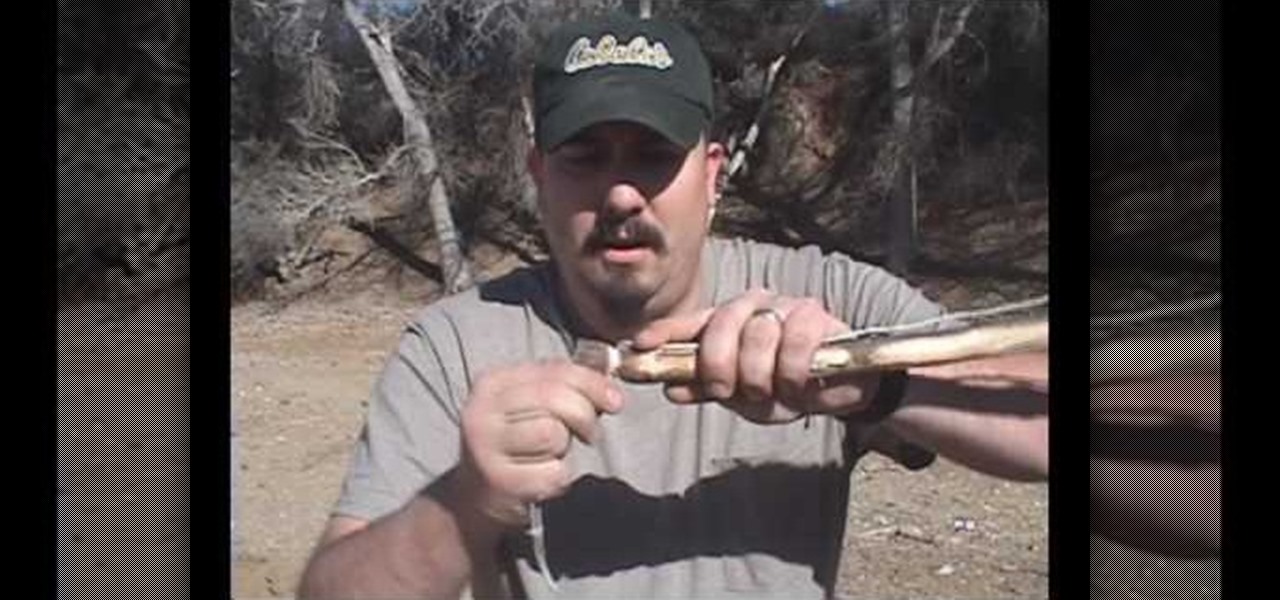
In this video, we learn how to modify your machete for the bush. First, you can sharpen your blade on a piece of wood. You will produce wood shavings that will produce fire as well. Push down on the sides of the knife as well as base and on the tip and middle. Make sure you slightly sharpen the back as well so you can use it to open up coconuts. Once you do this, you will have five useful edges on your machete that you can use for many different purposes while you are out traveling. You can a...

In this tutorial, we learn how to do an Evan Rachel Wood True Blood inspired makeup look. First, apply white shadow onto the lid on the inner corner and on the lower lash line. Next, apply a light pale color to the rest of the lid, then apply a brown shadow onto the eye in the crease. Brush a light white color underneath the brow to create a highlight, then line the eyes with a brown pencil on the lower lash line. Liquid eyeliner will now be applied to the top of the eyes, making it wing out ...

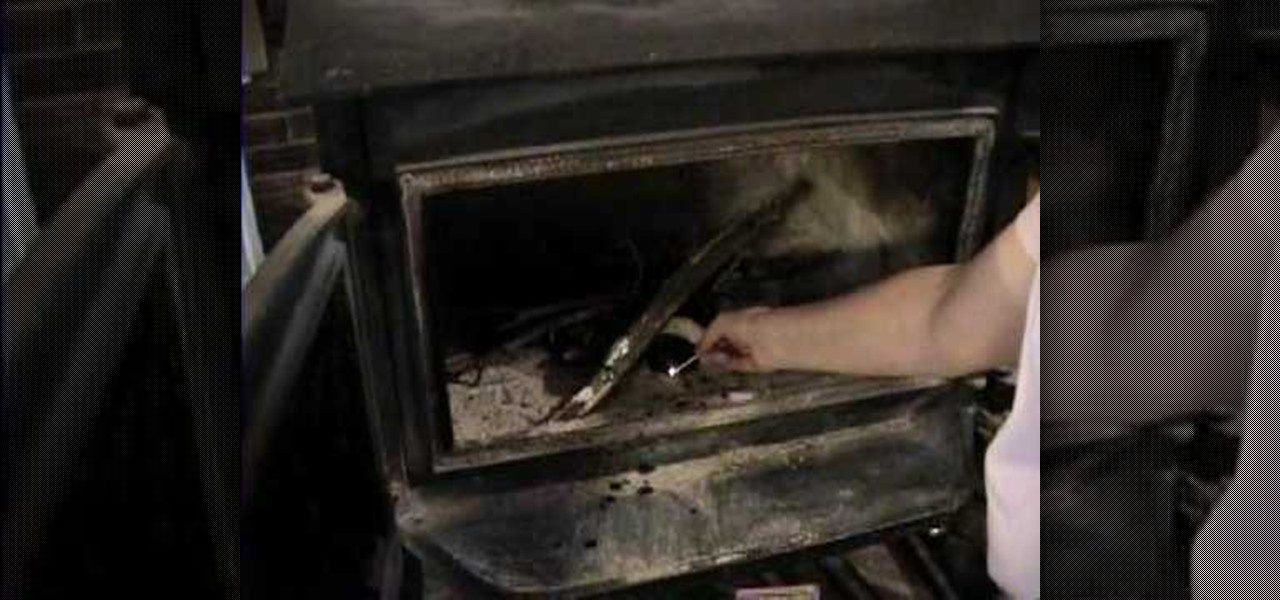
In this tutorial, we learn how to start a cozy fire with lava rocks soaked in oil. First, grab your lava rocks and place them in a tin can, then fill it up with oil. Now, throw some wood into your fireplace while these are soaking. Use an old pair of metal tongs to take the rocks out of the can, then place them in the fireplace as well. After this, throw a match in with the rocks and wood and then close the fireplace. Let the rocks burn for about 5 minutes the you can take them out and you wi...

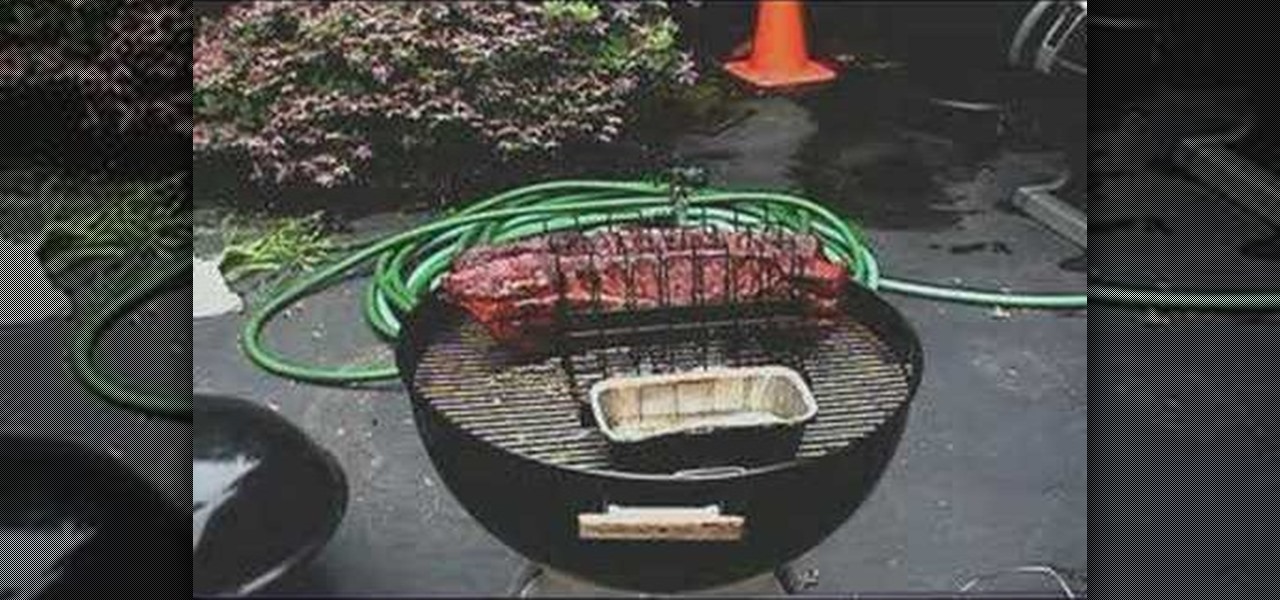
In order to prepare Kosher BBQ ribs, you will need the following ingredients: ribs, wood chips, and a good rub.

Ryan teaches us how to make a trapeze spring snare to catch small game in this video. You will need: finishing line, a knife, paracord, and natural living wood. the trap will have two snares built into one mechanism. Start off by gathering all your wood and then place a stake down into the ground. Make a notch in your anchor to place a stick through it, then tie paracord down into a "y" shape tied down onto the stick. When you pull the string, there will be a lot of tension. Tie the center so...

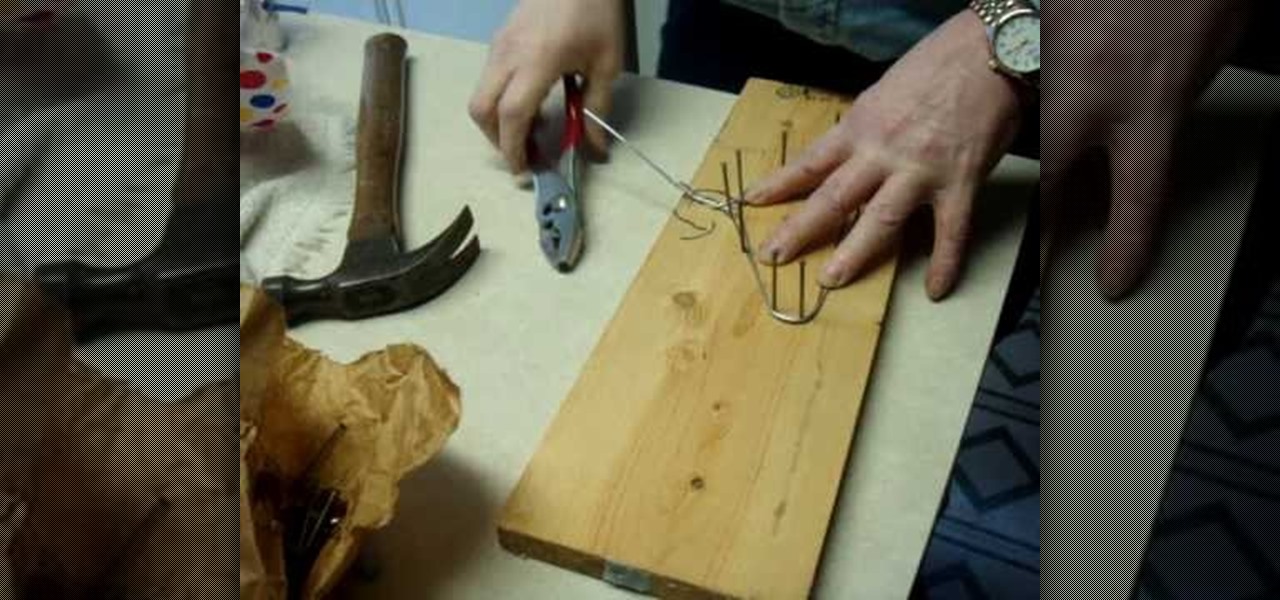
In order to make your own hangers for your American Girl Dolls' clothes, you will need the following: wood, nails, a hammer, a marker, one American Doll hanger (to be used as a pattern), 14 gauge wire, pliers, and wire cutters.

The great thing about woodworking is the ability to do whatever you want to something using various styles and tools. Whether you're making a bird house or a table, there are plenty of ways that this can be done.

Over time, a wooden floor can sustain a heavy amount of damage thanks to the weather, heavy foot traffic, and things constanly falling on it. So, it's always a good idea to refinish a floor every few years or so to make sure that it will last longer. This tutorial will show you how to sand and save a wood floor. It's a difficult task, so make sure you have the time and patience to do it. Enjoy!

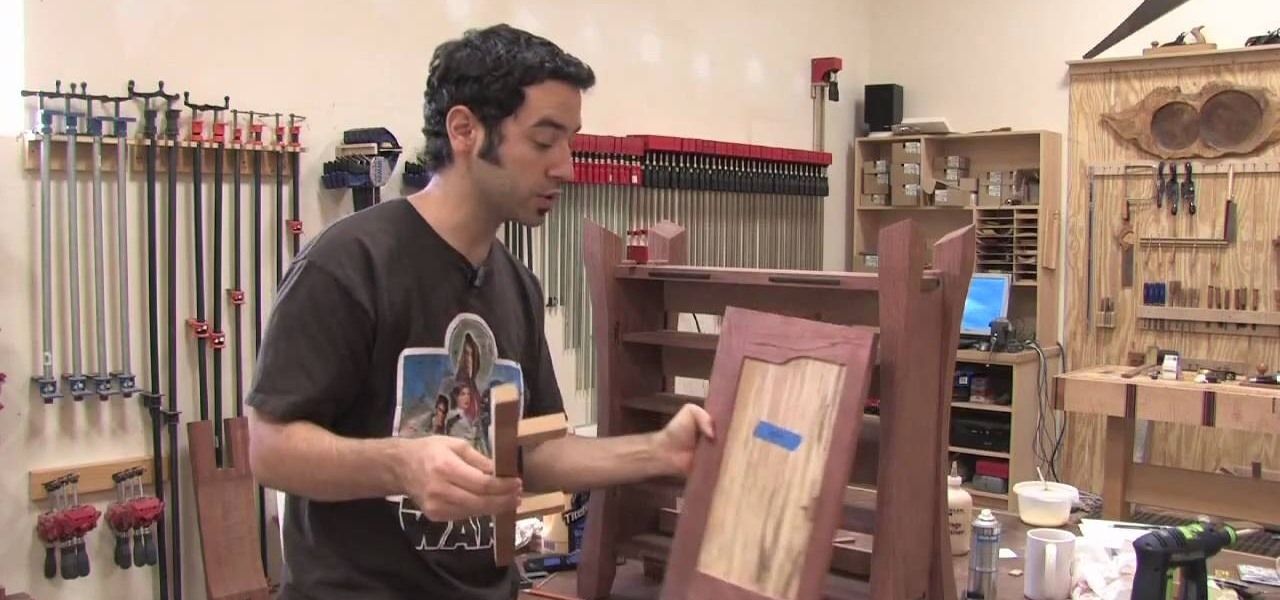
The Wood Whisperer demonstrates how we can install hinges on a cabinet without a tape measure, using relative dimensioning. In this example, we use center lines instead of marking the top and bottom of each piece that needs to line up. Using shims at the bottom and top of the door, we center the door on the cabinet to the desired spot. At this point, it's as simple as marking the center lines where you want your hinges to go on both the door and the cabinet frame. Now we can simply attach our...

Does your long shot need a little bit of work? With golf, as with all things, it often pays to seek the advice of an expert. Happily, with the Internet, it's easy thing to do. In this free video golfing lesson, PGA Golf pro Brad Hauer teaches you how to to hit longer shots with fairway wood golf clubs. For a complete breakdown of the process, watch this free golfing how-to.

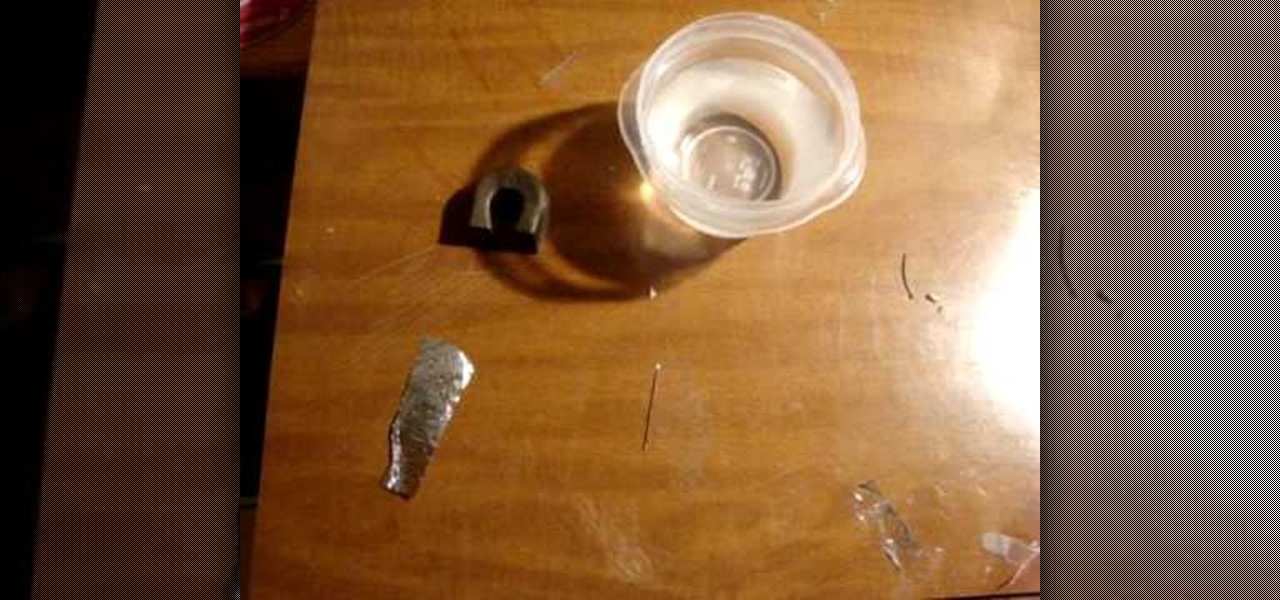
If you an outdoors man or maybe your planning on going to the woods for a camping trip, then watch this video and use the tutorial to learn how to make your own compass. A compass is a great tool to have in the wilderness and can always lead you in which ever direction you want to go. For this home made compass all you are going to need is a magnet, a cup of water, a piece of foil, and a needle. All you want to do to make this compass is put the piece of foil on top of the water and then put ...

There are various tools to be made and a number of items to be used during a disaster. One can utilize the wood logs for firewood. A bow drill can be made by just crafting the ends of a long wooden stick into necks so that plastic wires can be notched and it can be used made into a bow. Any stone with holes can be used as a notch. This notch holds the end of the bow drill. The wire of the bow drill can be wrapped in a stick and then vigorous forward and backward movement of the bow drill arou...

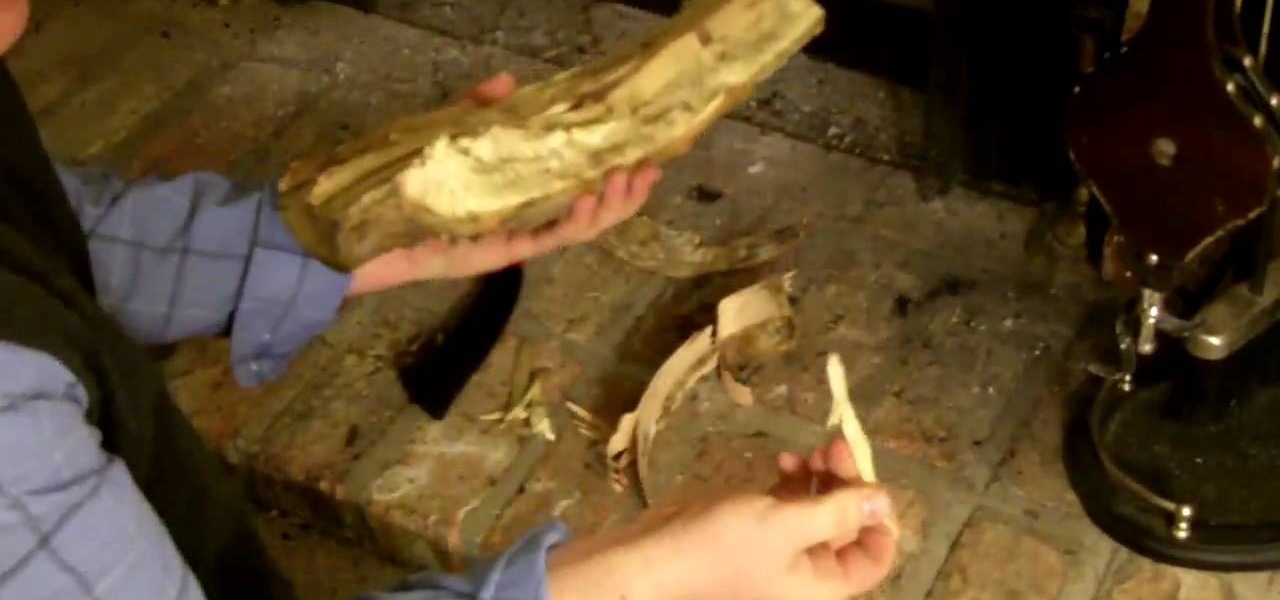
This video shows the viewer how to start a fire without sing matches or electricity. This is done by first selecting a fairly large dry log. The aim is to ‘chip’ or peel smaller pieces of wood off from this log. These pieces will burn more easily and as such will make it easier to start the fire – a small hatchet is a useful tool to use when breaking down the larger log. Once you have the kindling place it on an alcohol wipe. Then use a flint or a fire steel to ignite the alcohol wipe. Once t...

Six Minute Style host Susan Doherty is on location in Montana at the Nine Mile School house with Kurt Seer who shows how to create a 3 dimensional wreath mobile. He uses birch as his base. You can use any wood you choose. Make a square out of four branches. Knot, tie and twist floral wire at cross sections of the wood frame. Leave a little tail for the decorations. Tie dried rosemary in the wire tail. Tie leaves and greenery around the frame using wire. Not only for Christmas, you can create ...

Preserve the beauty of your flowers by pressing them. One of the simplest ways in doing that is to press between pages of a book. It's wood, over cardboard, over absorbent paper. The flowers are placed between the paper and then held and pressed down by the cardboard and wood. It's then going to dry over time to preserve your flower. Now some flowers don't dry as well as others. What you can do is purchase some silica sand and burn the flower within it. It usually takes a couple weeks this wa...

In this video Phil teaches us how to use a good ball position when using irons and woods. He starts by saying you are going to want to the ball to be in different positions with different clubs because its going to make a difference. Starting with an iron it is important that you strike at a lower arc or descending hit. Its important that you're not too far forward because it will make it more difficult to hit the ball. Now when you're using a driver its different because the ball is up on a ...

For this project you will need 2 Wooden palettes (long as you can get), angle iron (coping made from steel), Sheet of ply (or any other wood will do fine) and the usual tools like nails, hammer and saw. Stick the two wooden palettes together using glue and make sure they're dry before using them. Cover them on all sides using the ply wood. Next, place the angle iron on the side of the top palettes, for grinding. Leave it all to dry and make sure it doesn't bend or break before using it.

In this video tutorial, viewers learn how to burn fat with a cable workout. These exercises will require a cable machine. There are four exercises in this workout. These four exercises are: cable wood chop, reverse wood chop, one arm cable row and exercise ball cable crunches. When performing these exercises, do not use a heavy weight. These exercises mainly target the abdominal and core muscles. They also target biceps, obliques and back muscles. This video tutorial will benefit those viewer...

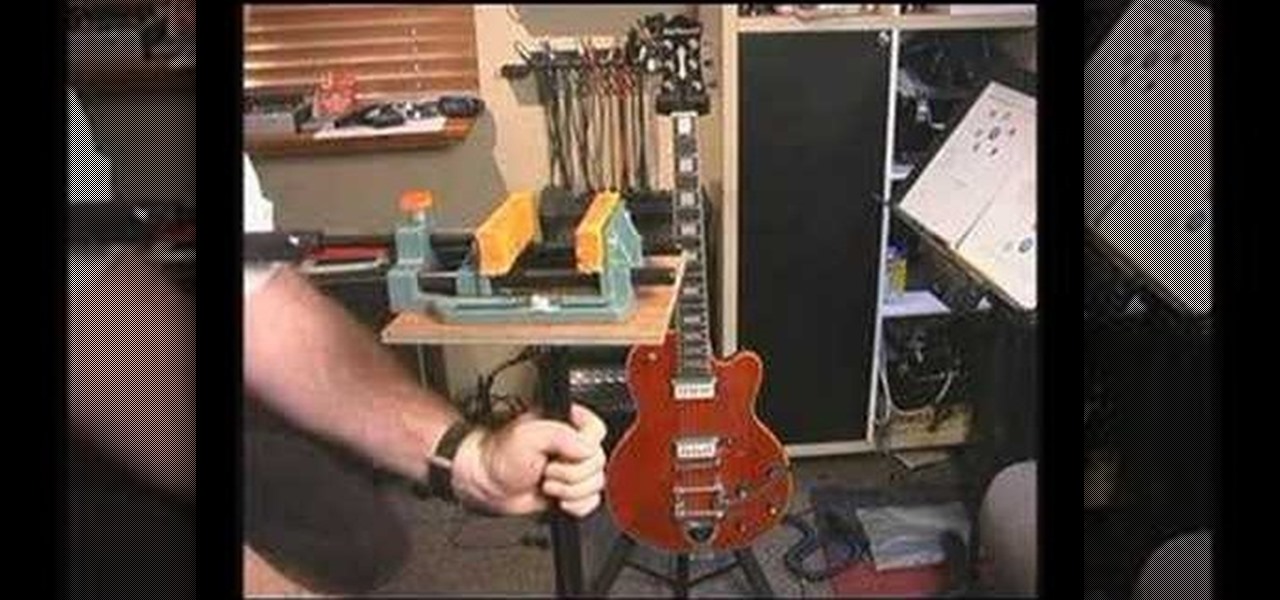
This video explains how to build your own guitar maintenance jack. This helps when you change a lot of strings and do other maintenance work. It starts with an old roller stand and uses the bracket to apply just a piece of wood. It is adjustable, which makes it very handy to adjust the height of your guitar. On top of the block of wood, attach a vice with corked pads and a layer of glued leather to get a grip on the guitar. This allows you to put your guitar at any angle by bracing either the...

This video teaches the secrets to sharpen a convex wood carving knife in simple steps. First find out how dull your knife is by cutting a paper or shaving hair on you hands. Now take a sand paper attached to a pad and start sharpening the ends by applying less pressure. Now try the sharpness of the knife, it will be better. Now take a double sided strop with sharpening compound and start rubbing the knife edge. After sharpening try the knife again, it should be good enough.

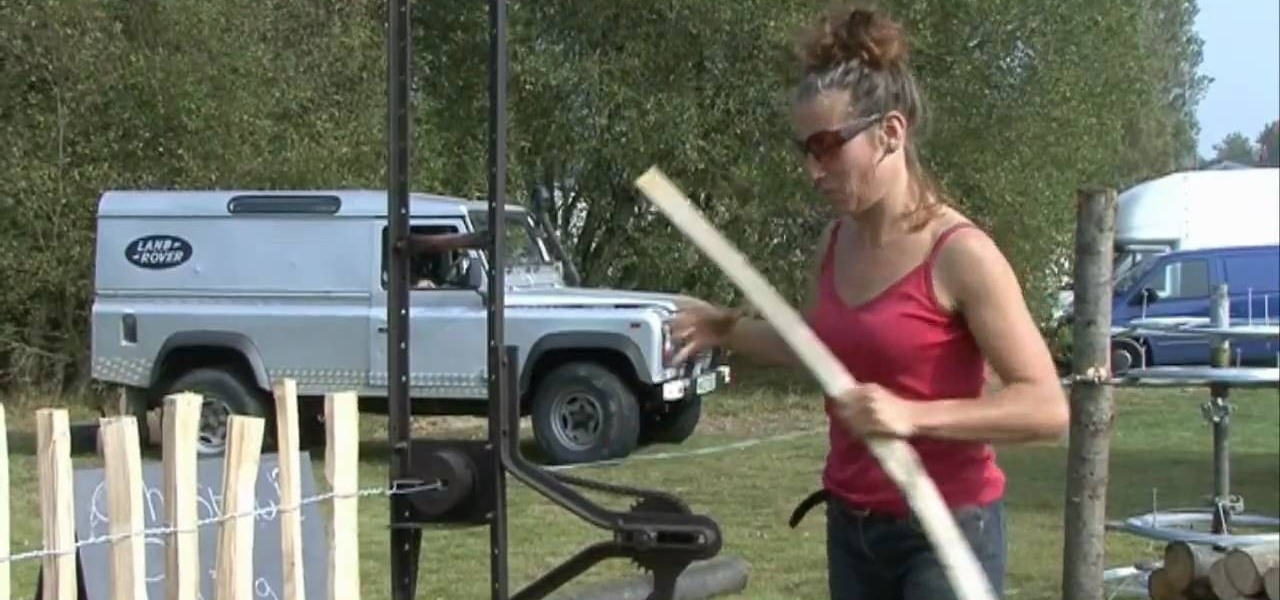
Learn how to make chestnut paling using a paling machine from Aly May in simple steps. First tie the strings up and down in a wooden pole according to the length you need. Start by placing the wood in between the strings upside down fitting perfectly. Now roll the machine to twist the strings and repeat the same till you get your desired length. You can also use wood with sharpened edges if you want to make a fence. It can be also used for some events but you have to change its length and dur...

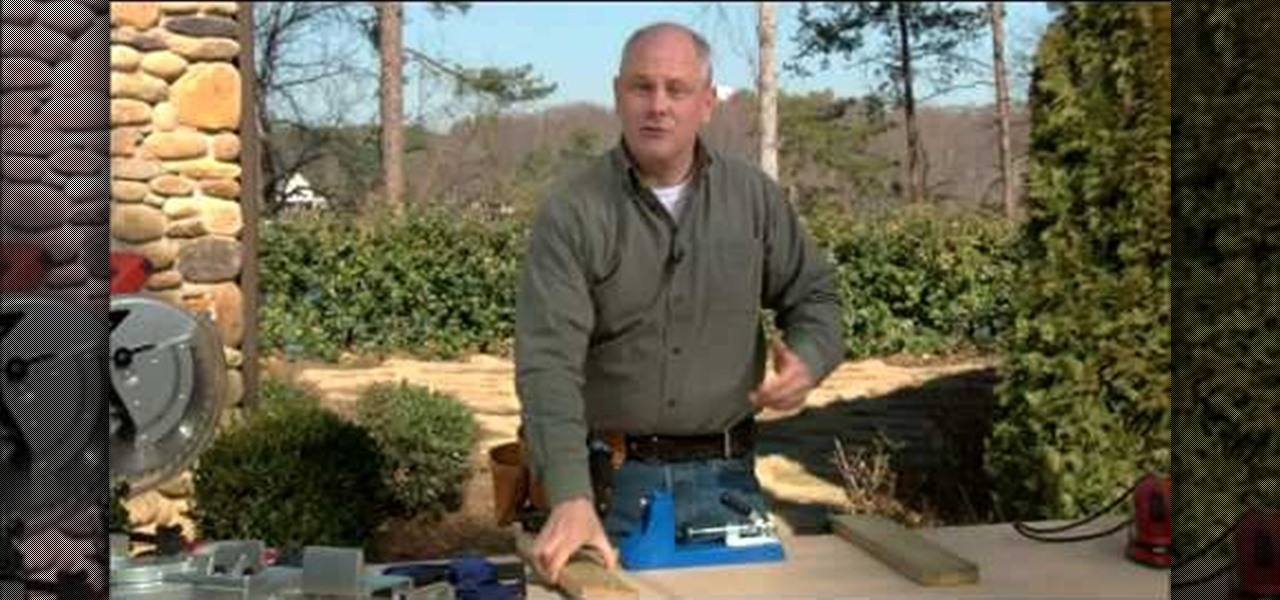
Professional furniture makers have used pocket hole joinery for years... and for good reason. It's a simple way to achieve a strong, permanent joining of two pieces of wood.

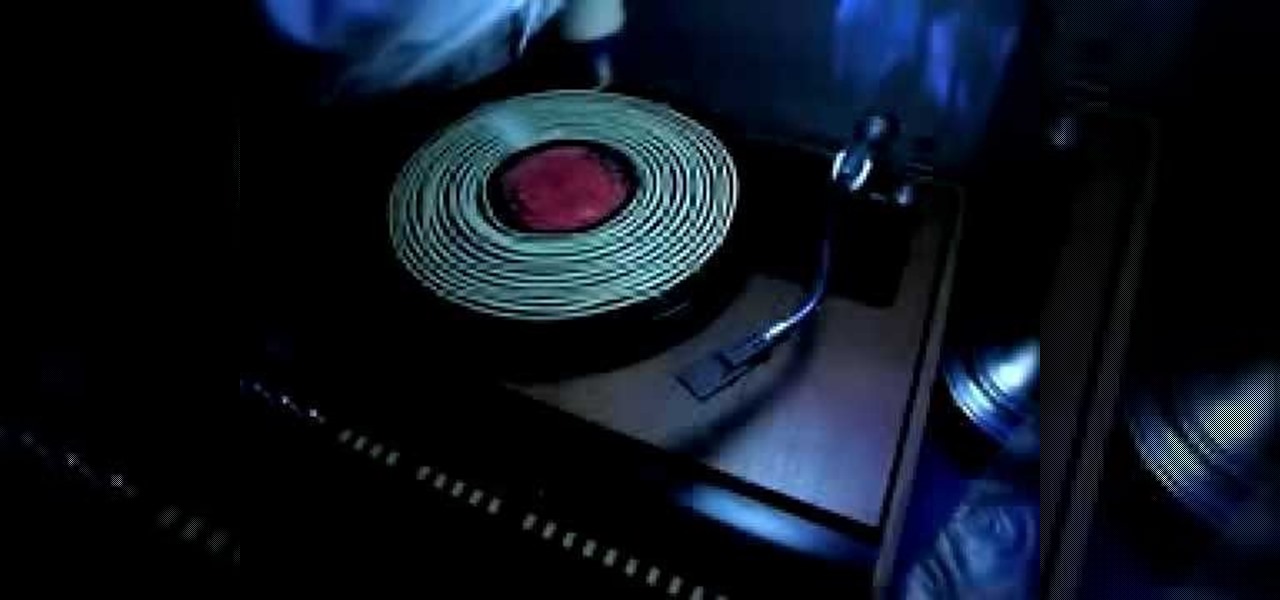
This video shows how to clean old records using Titebond II wood glue. He has the record turning slowly on the turntable, and while it's turning, slowly squeezes a line of glue around and around onto the surface of the record, starting from the middle. He explains that it takes between four and twelve hours for the glue to dry completely. After the glue is applied to the entire record, he takes an old credit card and spreads the glue evenly onto the record, all the way out to the edge. When t...

Hak5 isn't your ordinary tech show. It's hacking in the old-school sense, covering everything from network security, open source and forensics, to DIY modding and the homebrew scene. Damn the warranties, it's time to Trust your Technolust. In this episode, see how to turn a Fon+ wireless router into a network tap.

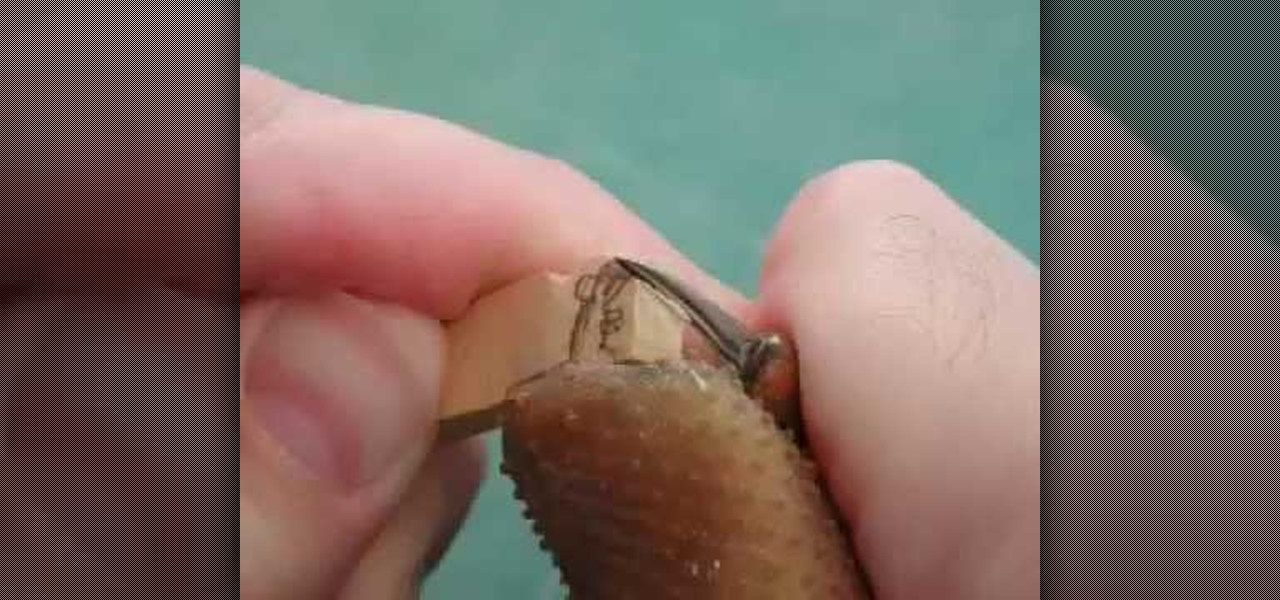
Whittling seems hard, but not with this video tutorial... watch to learn how to carve a teeny wooden mouse with a small knife, sander and drill.

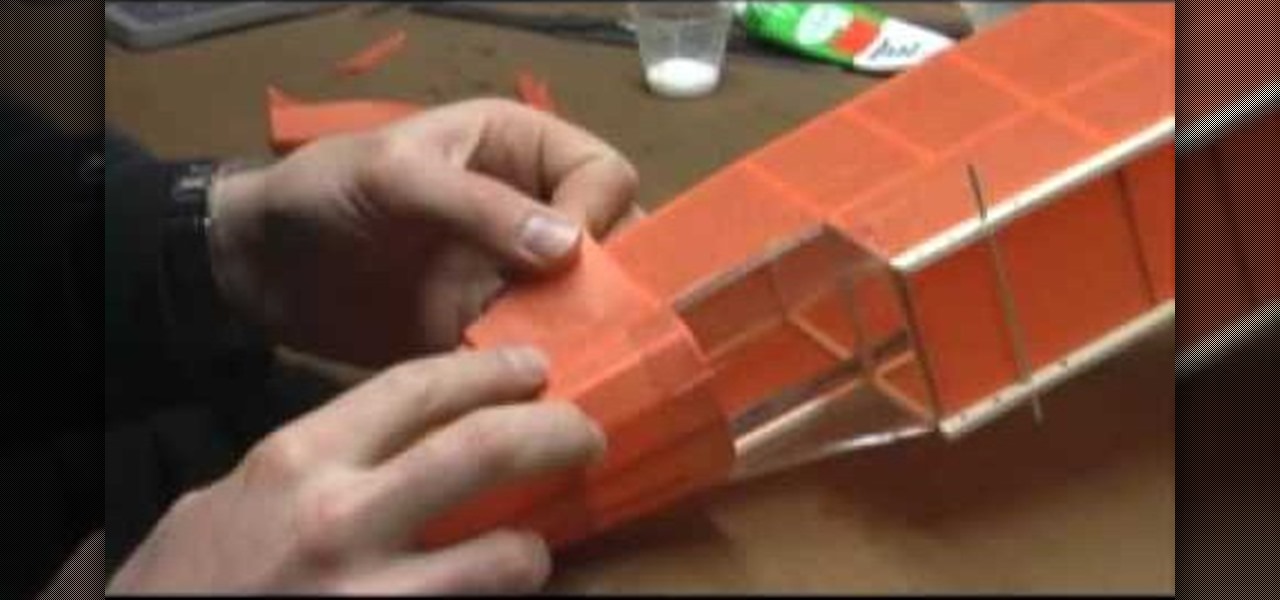
When you're flying your model airplanes, it's inevitable that it will eventually suffer some minor damages, like scuffs, breaks and bends. This video tutorial will help you alleviate and repair any damages to your flying model airplane to get you back in the skies again.

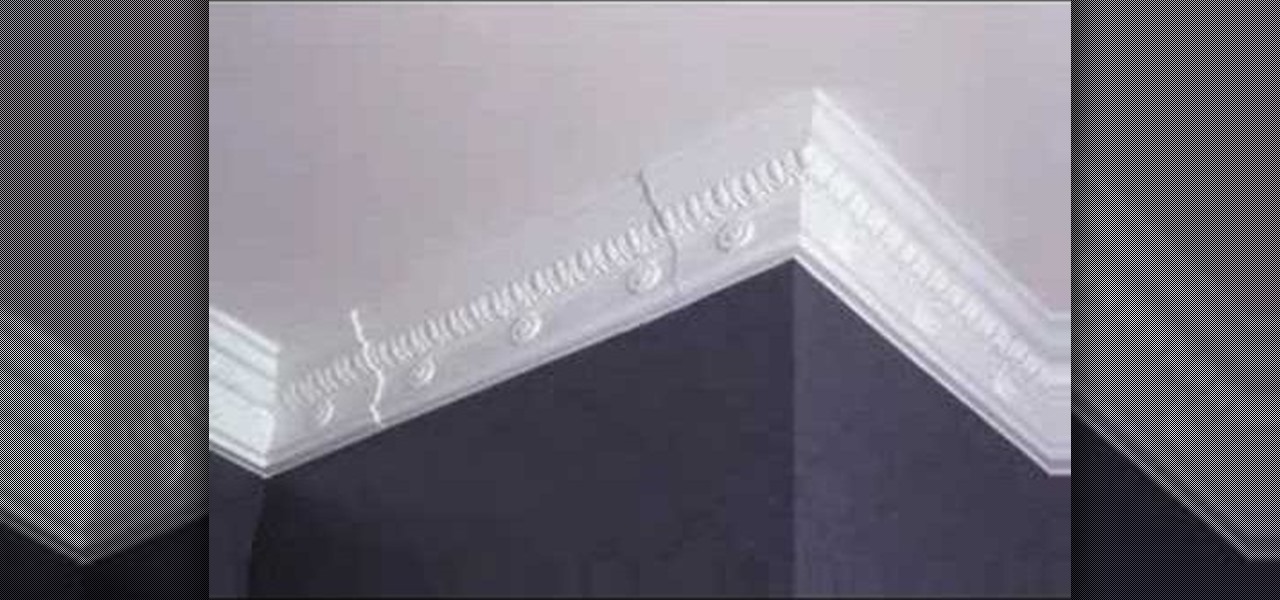
If you're looking to dress up an ordinary room, think about installing crown molding (also spelled moulding). Very few additions make a visual impact like crown molding, which gives a subtle yet elegant design element to any space. And with the proper tools and set up, installation can be easy. While wood is a common choice for crown molding, urethane is also a popular material. For a recent project we installed Fypon urethane crown molding, which is lightweight, flexible and looks like solid...

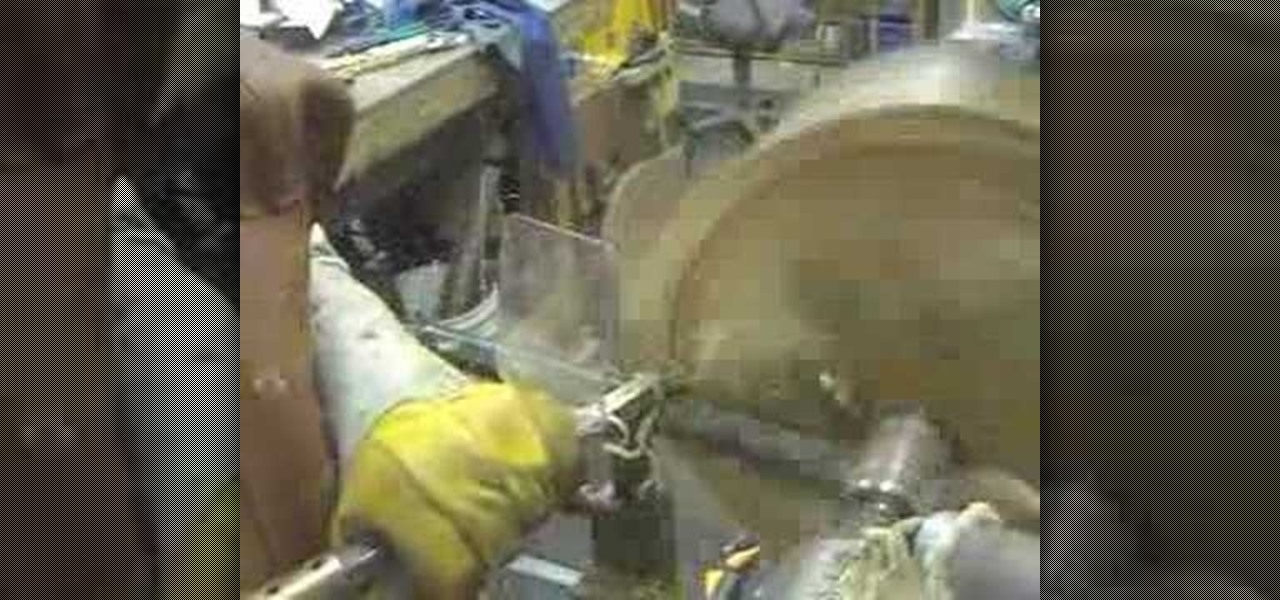
In this tutorial, you'll see how to rough out a natural edge bowl with a Ci1 Easy Rougher (using a suboptimal piece of wood). The wood used in the tutorial is "shinoki," which is a kind of oak, and the lathe is a Nova DVR 3000 wired for 200V. Watch this video to get started roughing out your own natural edge bowl.

In this tutorial from the Scrollsaw Workshop, Steve Good demonstrates how to cut a tall clock using a pattern available at Steve's blog, scrollsawworkshop.blogspot.com. For this project, you'll need a clock face, wood of your choice (two 5" by 10" pieces and two 3" by 10" pieces) and a piece of contrasting wood for use around the border. Make time for this time-making tutorial; you'll be glad you did.

Watch this six part Home & Garden how to video sequence to get tips and tricks for properly staining an outdoor wood deck. Learn how to clean, strip, brighten and stain your wood deck with a semi-transparent finish that will last for years and protect it from the weather and UV rays of the sun.


