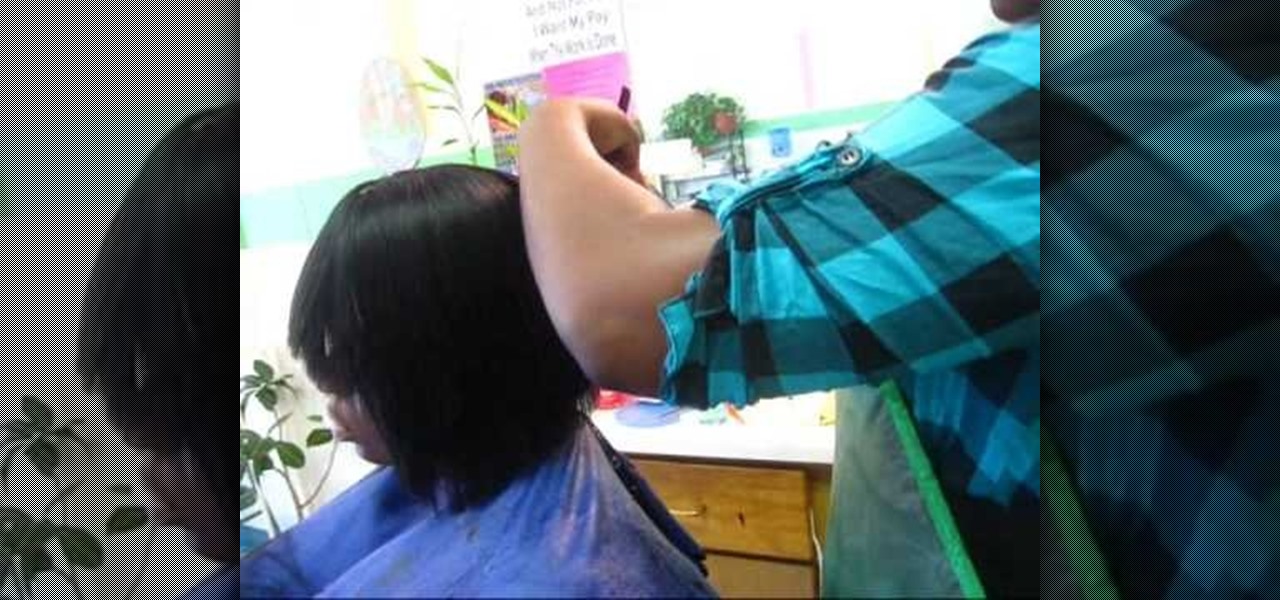
In this tutorial, we learn how to cut layers into hair: the basics. Start out with dry hair and brush it out thoroughly. After this, grab the back of the hair and use a small comb to comb out from the head. Hold the hair at an angle, then cut it diagonally. Continue to do this for the hair on the back of the head so you create a bunch of layers in the back. This is a short look, so you may have to cut a lot of hair off in the beginning to get to the top of the head. Create a bob on the front ...
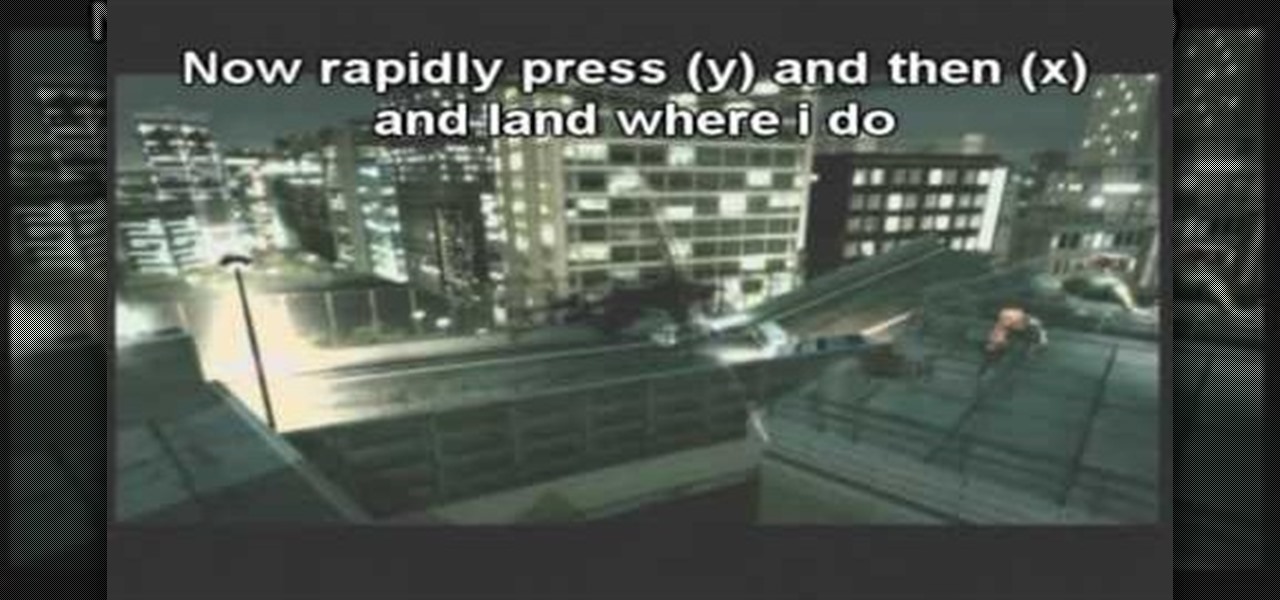
In this video, we learn how to do close to open transition in tango via back bolero. First, go to the level on the roof and run across it. Then, sprint and jump to the balcony across the way. Then land on the new room and find the secret room and fall through it. Run through the building you fall onto, then sprint and jump diagonally pressing 'y' and 'x' rapidly. Find the second secret room on here and fall through this. Once you find the secret room, run through this, then sprint across to a...
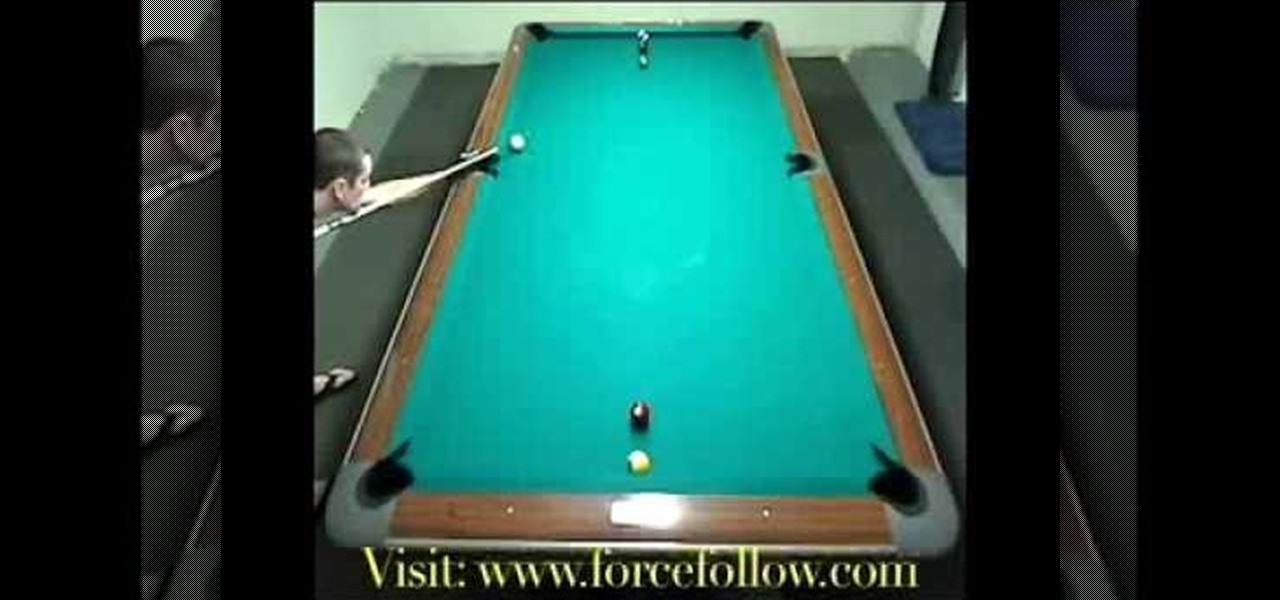
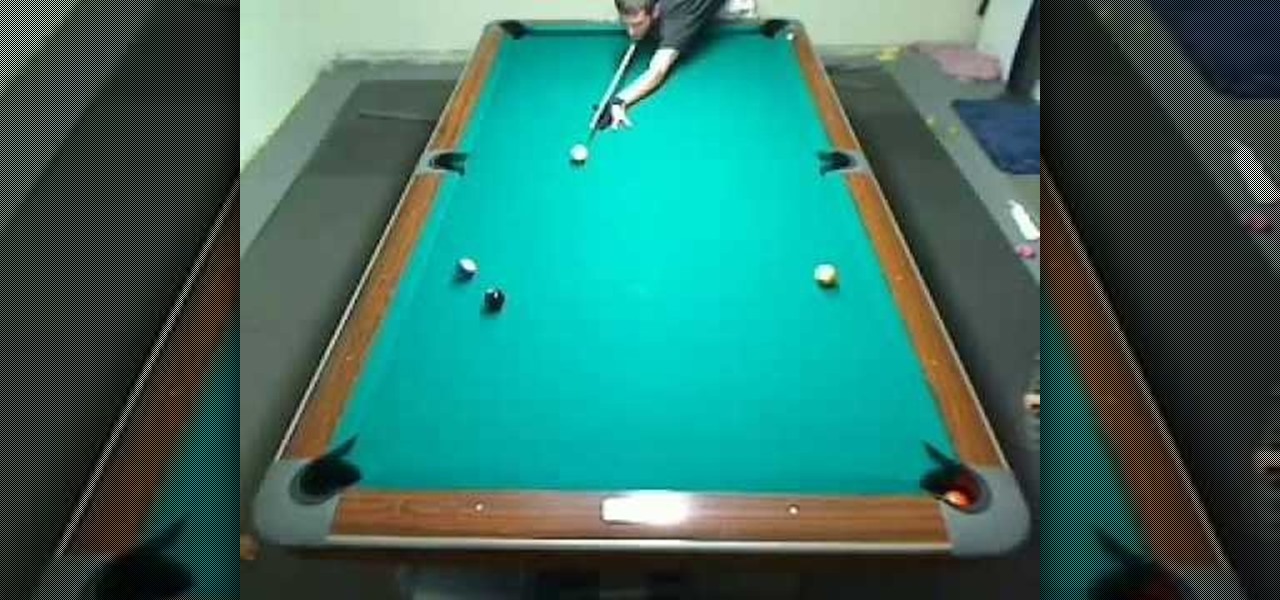
In this video, we learn how to play pool doing the spot drill. You will run balls in rotational order without missing or touching another object balls. First, you will place the cute ball diagonally to the ball and then shoot the ball into the corner pocket diagonal to it. There are several ways to go through this pattern. You can also stand on the opposite side of the table and shoot into the corner pocket from farther away. Make sure the cue ball doesn't get stuck to the rail, which will ma...
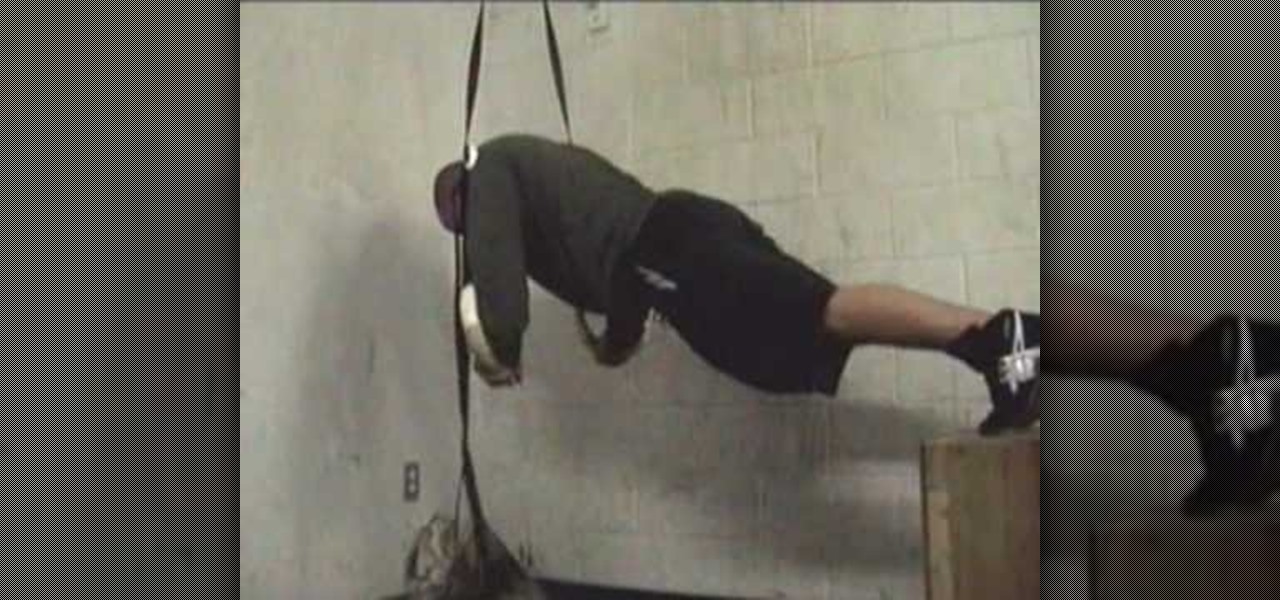
In this video, we learn how to train your core with gymnastic rings. Instead of attaching each gymnastic ring handle to a fixed bar. This will now become a pulley system that requires a ton of strength to use. After you have this set up, you can do different exercises while hanging down diagonally and holding onto the handles. You will have to plant your feet into the ground and use a lot of strength in your core to keep the pulleys moving and keeping you in place. Try using these for differe...
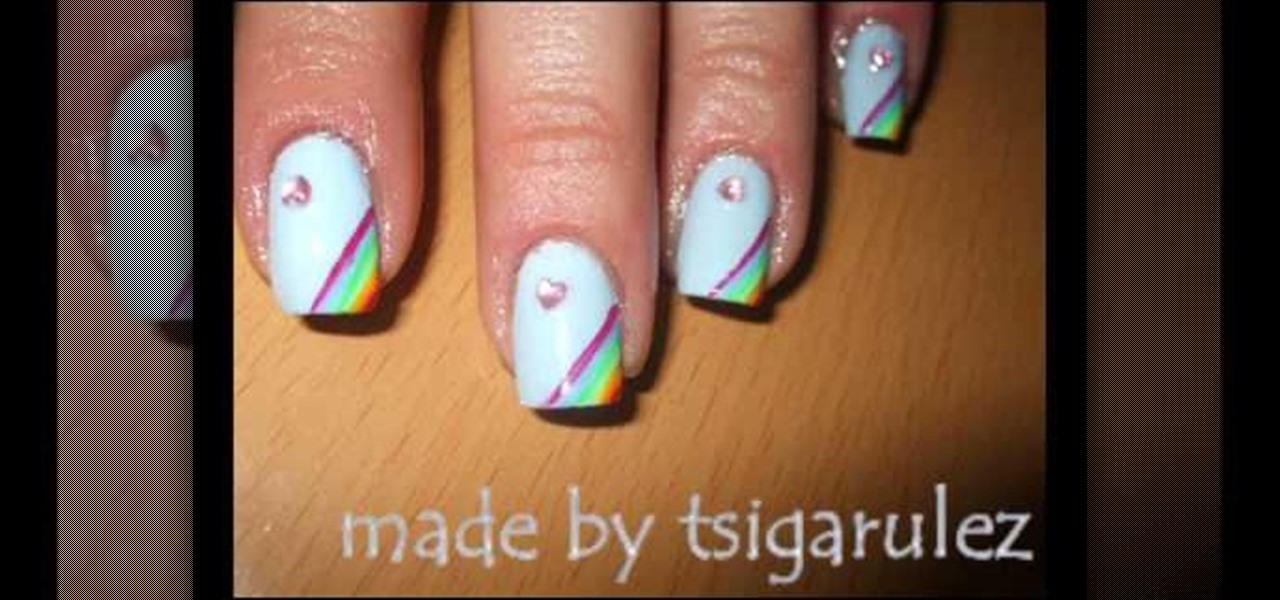
In this tutorial, we learn how to paint rainbow nails with rhinestones. First, paint the nails light blue and let them dry. After this, grab several other colors, enough so that you have the colors of the rainbow. Now, paint lines onto the left hand corner going diagonally across the nail, making each line next to one another. After you get to the very tip of the nail, let the colors dry completely. Next, paint on a clear coat on top, then apply a pink heart rhinestone on the bottom corner of...
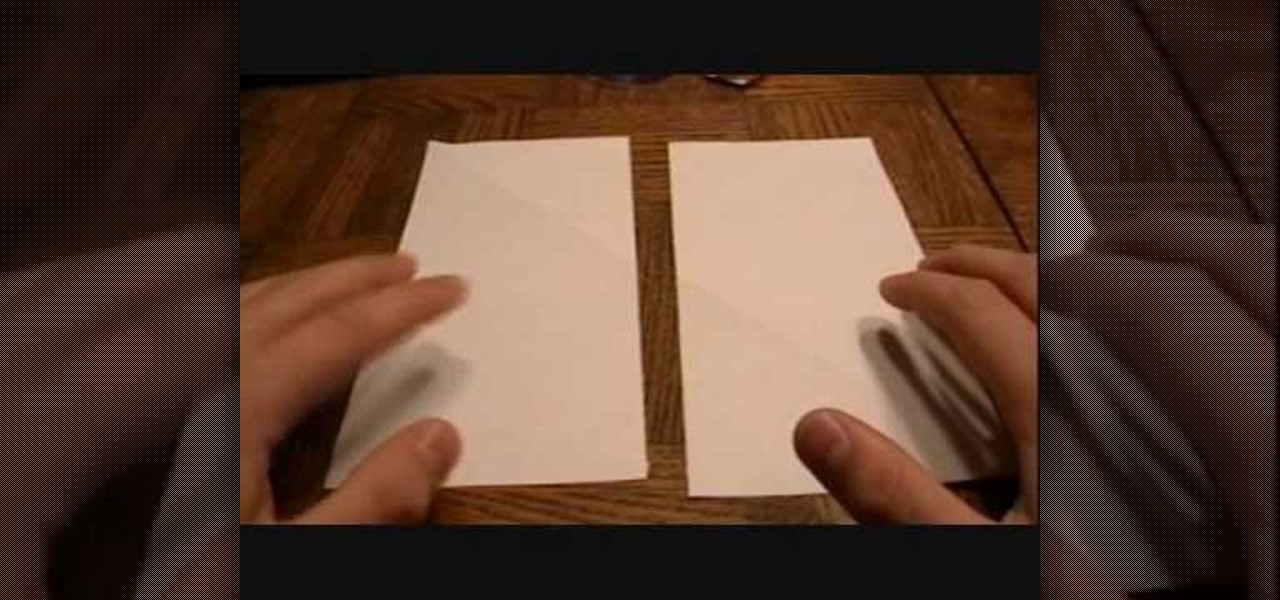
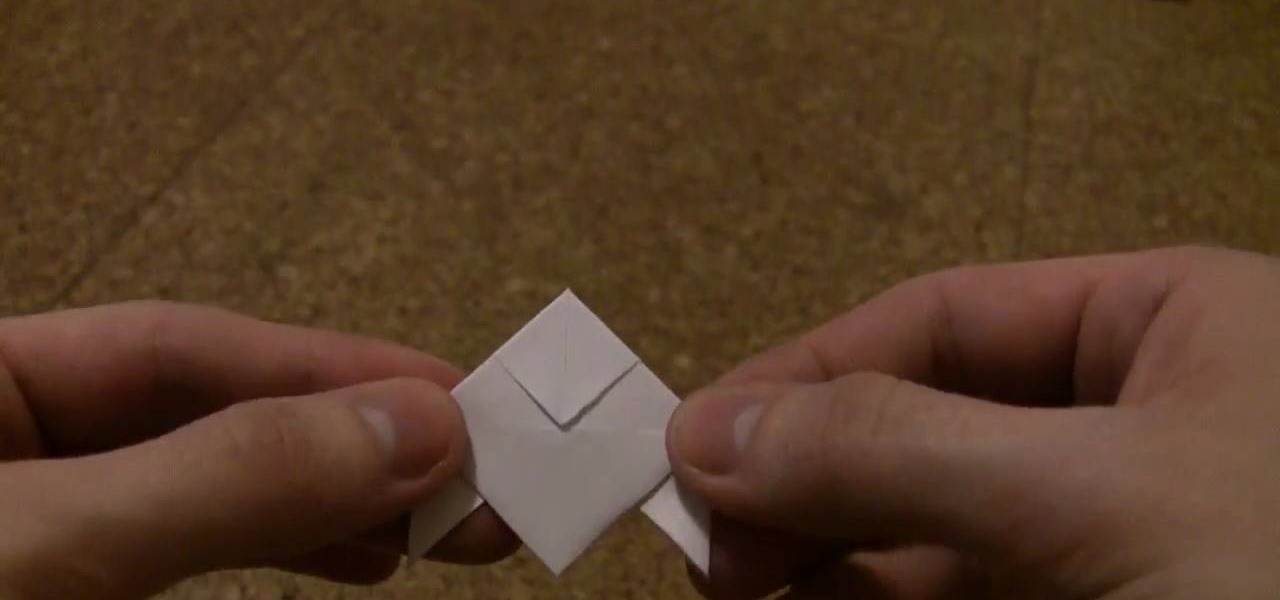
In this Arts & Crafts video tutorial you are going to learn how to fold an origami ninja star. Take a normal paper. Fold it diagonally from one corner and cut off the extra portion to make a square. Fold it in half and cut into 2 rectangles. Fold each piece in half along the length. Fold both ends of each piece in opposite directions to make a triangle. Now fold the ends again to make a bigger triangle at both ends of each piece of paper. Each sheet will form a 'Z' shape. Now place one sheet ...

In this tutorial, we learn how to cook a quick and easy London Broil. First, marinade your meat with Italian dressing for several hours or as long as you prefer. After it has been marinating in the bag in the fridge, take it out and place it on your pan with foil underneath. Now, cook it in the broiler with the rack second to the flame. Broil the meat for seven minutes on one side, then turn it over and cook seven minutes on the other side. When it's done cooking, let it sit for 10 minutes, t...

In this video, we learn how to properly get 360 waves. First, turn your water on so it gets hot, then put it onto your hair with your hands or a spray bottle. Next, use a shower brush to brush your hair thoroughly on all sides. After this, put some lotion on your hand and rub your hands together, then rub into your hair. After this, use the brush on your hair brushing diagonally and from side to side. Next, apply a small amount of oil to your hair, then comb through once more. When finished, ...

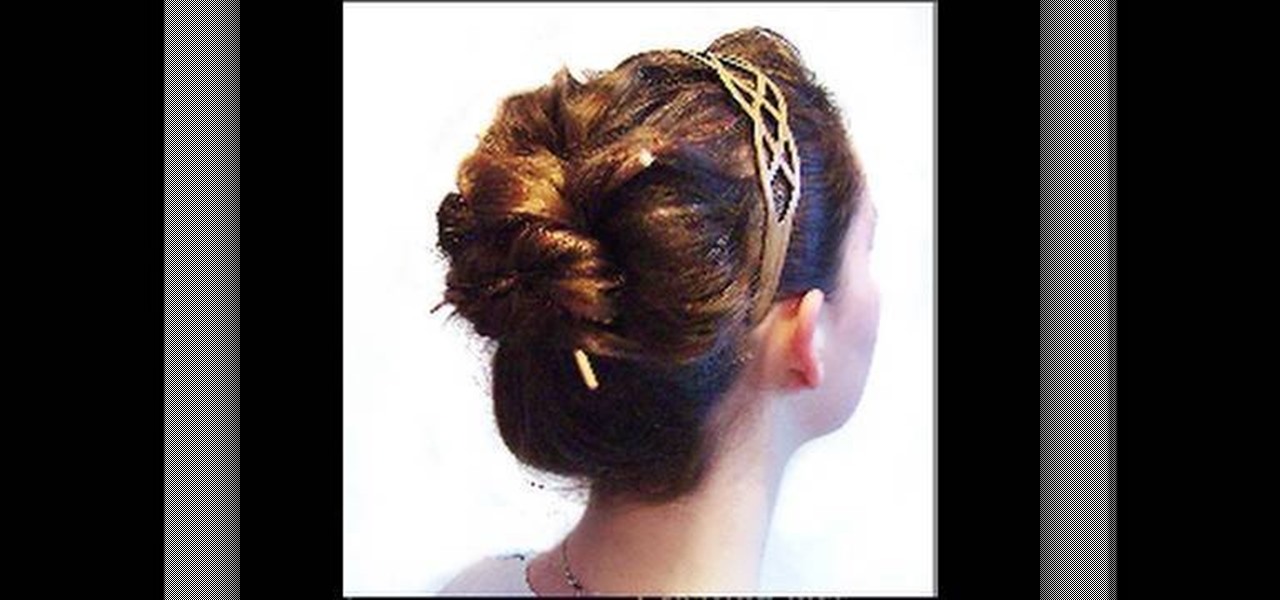
In this tutorial, we learn how to style your hair using chopsticks. To start, brush your hair and then combine it into a pony tail. Next, twist your hair and bring it into a bun shape on the back of your head. Now, grab a chop stick and weave it through your hair going in and out of different spots. Make sure you have a strong hold so the hair stays in place. Next, grab the other chop stick and push it straight down diagonally, then attach a bottom piece of hair through it so it stays. When f...

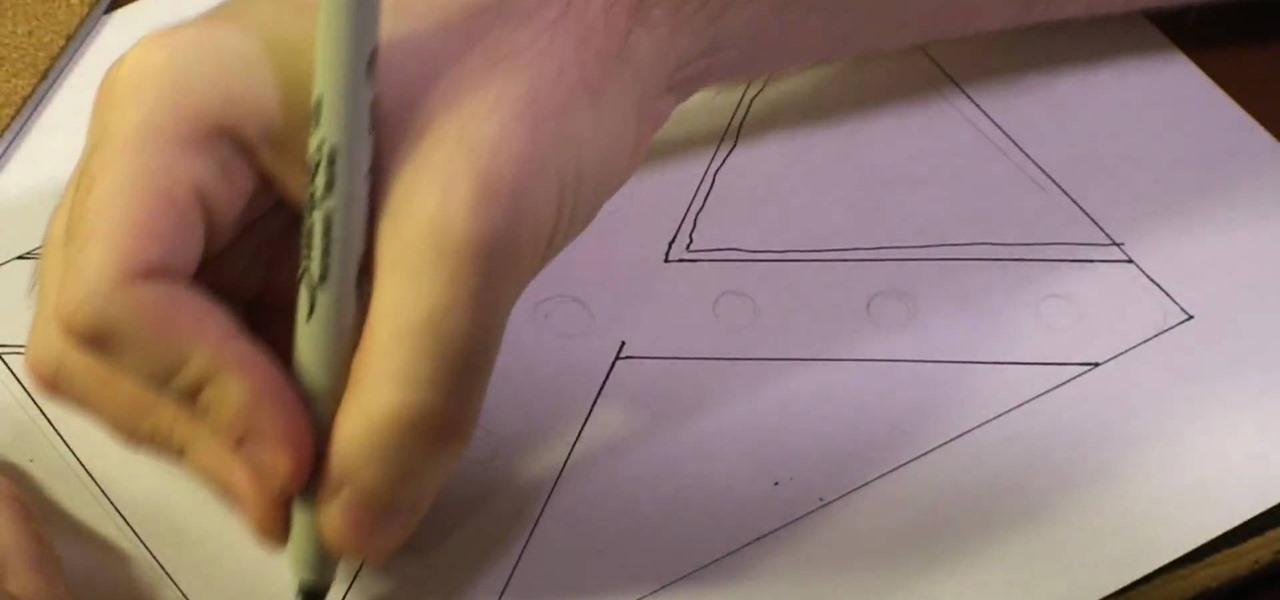
In this video tutorial, viewers learn how to draw a rebel flag. The materials needed are a ruler, sheet of paper and drawing utensil. Begin by using the ruler to draw a rectangle for the flag. Then draw an X in the center of the flag, going diagonally from the top corners to the bottom corners. Now draw outer lines on the X. Then draw the 13 stars on the flag, The first star is in the center of the X and add 3 stars on each side. This video will benefit those viewers who enjoy drawing, and wo...

In this video tutorial, viewers learn how to fold a pocket square into the winged puff and rolled puff. For the winged puff, begin by folding the pocket square diagonally in half to form a isosceles triangle. Then fold the two edges towards the middle to form a diamond shape. Now fold the two outer points into the center and fold the bottom flap up, creating a pentagon shape. For the rolled puff, cup the pocket square in one hand, then roll the top of the pocket square downwards with the othe...

In this Arts & Crafts video tutorial you will learn how to make a lily flower from folded paper with origami. For this, you need a square sheet of paper. First you fold it in half and then fold it in half in the other direction. Next you fold it diagonally across to form a triangle. Then fold it again across the other diagonal. Open up the paper and push the diagonal folds inwards slightly so that the center point is pointing upwards. Then press the folds in to form a triangle. Take one of th...

In this Arts & Crafts video tutorial you will learn how to fold a Heavy Rain-style paper origami bird. For this project, you will need a square sheet of paper. Fold it diagonally across both diagonals. Open it up and fold one corner up to the center point of the paper. Flip it over and fold the other three corners to the center point. Now fold all the four corners to the center point. Flip it over and now fold it in half as shown in the video. Then you pull out both ends from the center and w...

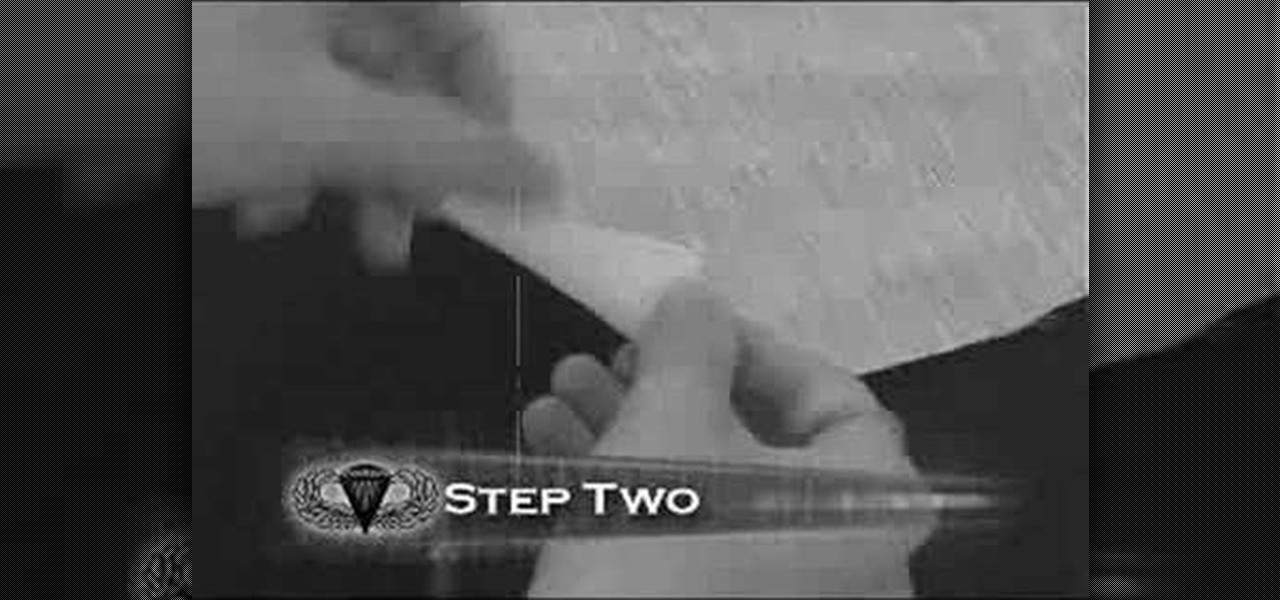
In this video tutorial, viewers learn how to make a toy parachute. The materials required are: lightweight fabric, ruler, scissors, string, 4 hole button and a toy army man. Begin by measuring a 10x10 inch square on the fabric and cut it out. Fold over each of the 4 corners and cue a small hole. Measure and cut 2 lengths of 36 inch string. Take the string and tie it to one end of the hole on the fabric. Run the other end through the button hole and tie it to the diagonally opposite hole on th...

In this Arts & Crafts video tutorial you will learn how to make a folded paper ostrich with origami. For this project, you need a square sheet of paper. First you fold it diagonally across to form a triangle and cut it off in two. Then take one piece, fold it in half to form a smaller triangle, open and fold down along the centerline from the top of the triangle. Open it up and again fold along the centerline from the base of the triangle. Now fold from one of the corners up to the intersecti...

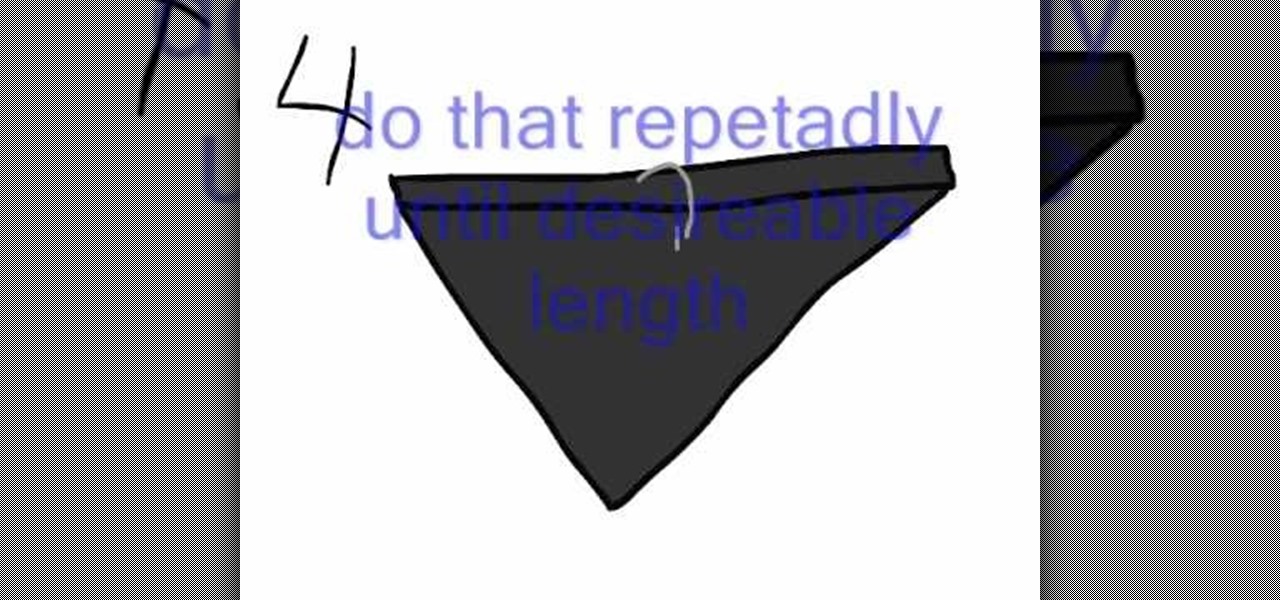
In this video, we learn how to fold a bandanna. First, place your bandanna flat, then fold it diagonally. Once you've done this, you will have an upside down triangle. Now, fold the top of the triangle down as many times as you desire, it can be as wide or as thin as you want. Now, you should have a rectangle with a triangle hanging out from under it. You can now tie the bandanna around your head, butting the triangle part around your mouth. Tie a knot behind your head tight enough to where i...

This video illustrate how to make Chinese paper lanterns with origami. here are the following steps.Step 1: Take a string for holding the lanterns.Step 2: Now take a square sheet of paper and fold it diagonally so that two diagonal intersecting crease are formed.Step 3: Now hold the crease together and push it upwards to form a triangle.Step 4: Now fold the triangle into two equal triangles, do the same with the other side also.Step 5: Now fold one triangle and crease it to the center, repeat...

How to paint walls with a roller

Take a square piece of paper to begin. Fold in diagonally in half to form a triangle. You then fold both ends up so that it will form a smaller diamond shape. You then repeat what you just did, but folding two of the ends up again to meet the other side. Fold your piece of paper in half again revealing another smaller triangle. Flip the paper over and unfold the smaller pieces that you folded up to meet the ends. Pull these apart and then fold down in the middle. Bend in the 4 pointy corners ...

This video illustrate how to fold a paper frog. Here are the following steps.Step 1: First of all take a sheet of paper and fold it into half diagonally forming a triangle.Step 2: Now roll back the paper and fold this triangle it into half so that a smaller triangle is formed..step 3: Now fold back the triangle and make it into two equal halves.Step 4: Now take the corners and fold them all to the center and open it from the center to the joined line.step 5: Hold back the triangles out of the...

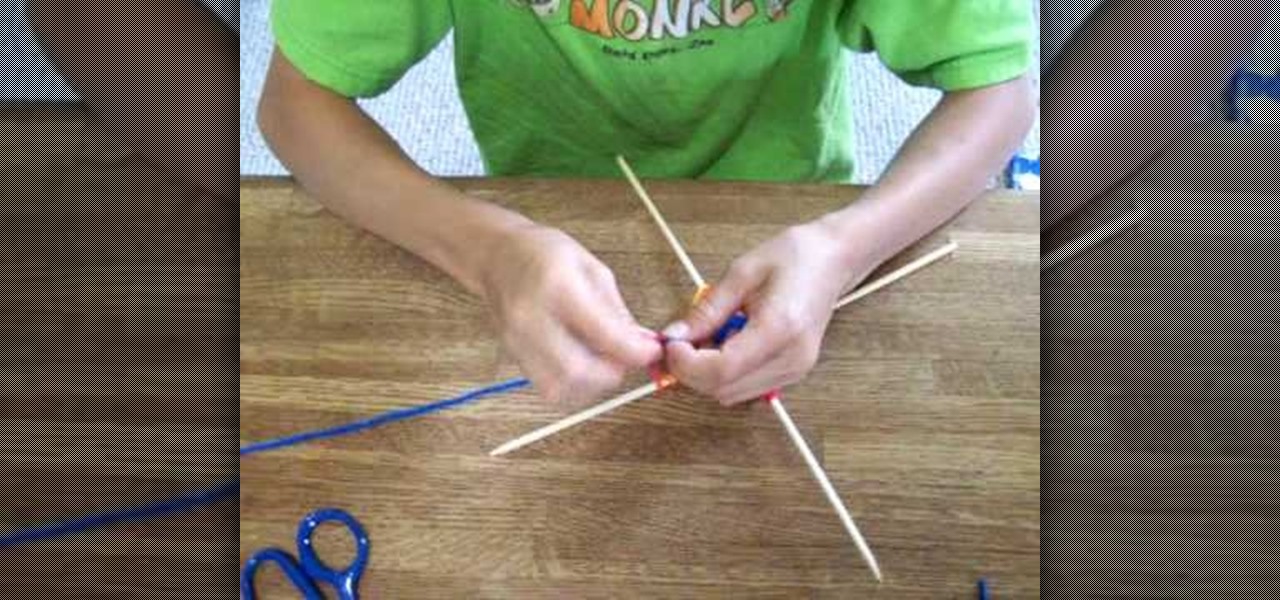
In this video and boy and a woman are showing you the steps to create a "God's Eye" or "Evil Eye". The materials that you will need are 2 sticks, yarn of your selected colors, and scissors. First, you take 2 sticks and use the yarn to knot around the middle wrapping diagonally to form a "t" shape. Then you take another piece of yarn, hold the end in the middle, and start wrapping around each stick going over one and under the next. Continue this pattern until you are done or unless you decide...

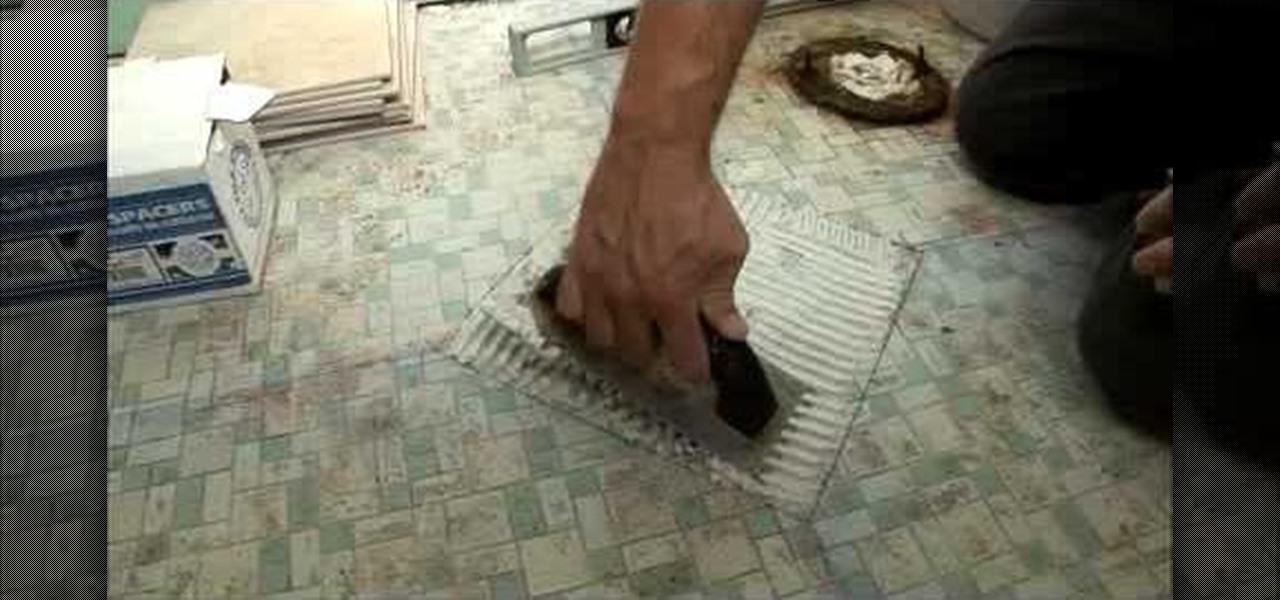
This video is from DannyLipford and covers the proper technique to lay tile in the bathroom. The first step is to lay some chalk lines to find the exact center spot of the room. The first tile will be put down diagonally so that the corners sit on the four chalk lines. Next the mastic is put down on the floor for the first tile and the tile is set into place. The process repeats itself until the tiles reach the toilet where some cuts are required. The presenter is using a portable wet saw tha...

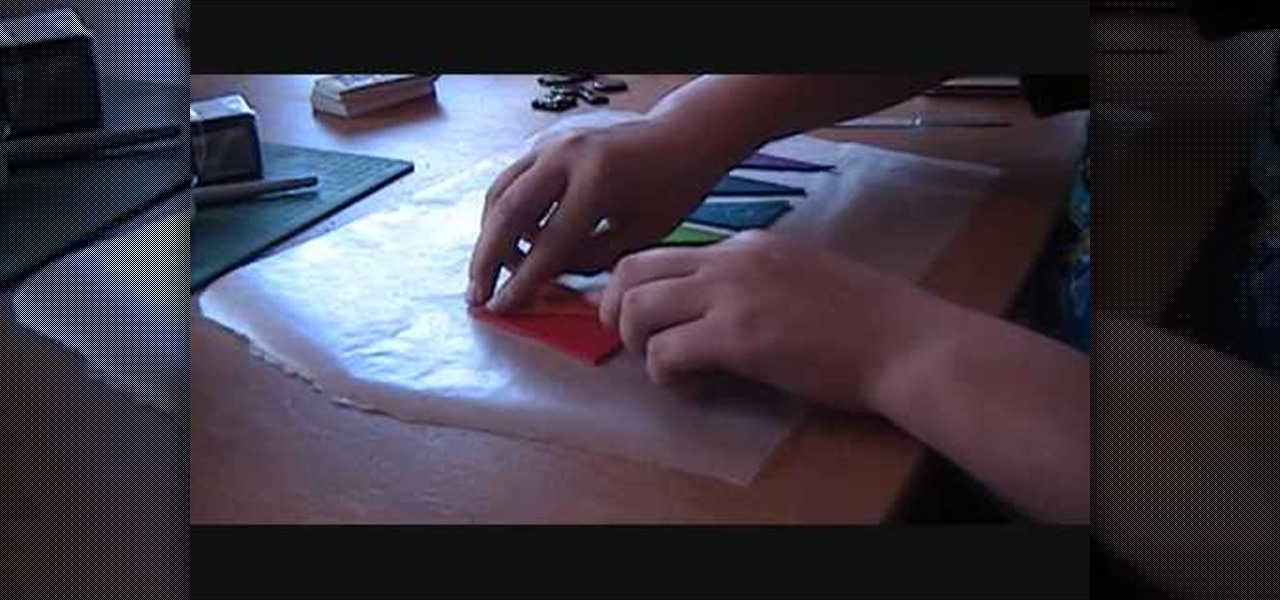
This video explains how to make a polymer clay "rainbow cane," which, amongst other things, can be used to make jewelry or pendants. First, you must run a conditioned piece of each color of clay through a pasta machine. Then, cut each color into a square, and from there cut each square diagonally, creating triangles. Arrange the triangles side by side and attach them together, so that you create a large rectangle of the colors. Run this rectangle through the pasta machine several times, until...

Scott Todd demonstrates waxing a snowboard, which is basic maintenance that assures good speed for a snowboarder. He starts by applying a thick, even layer of wax on the base of the snowboard using an old iron to melt it down. He sweeps the board with the iron to spread out the wax.

This video from Origami in 30 Seconds demonstrates how to make a paper box in 30 seconds. Start with a square piece of paper and fold it diagonally to make triangles from both corners. Unfold it, and fold each corner into the middle. Unfold two of the sides and fold the edges of the other sides toward the middle. Turn it over and fold the triangular corners back so they touch in the middle. Fold the corners over backwards. Take the two sides and pull them out, and fold the outside corners in ...

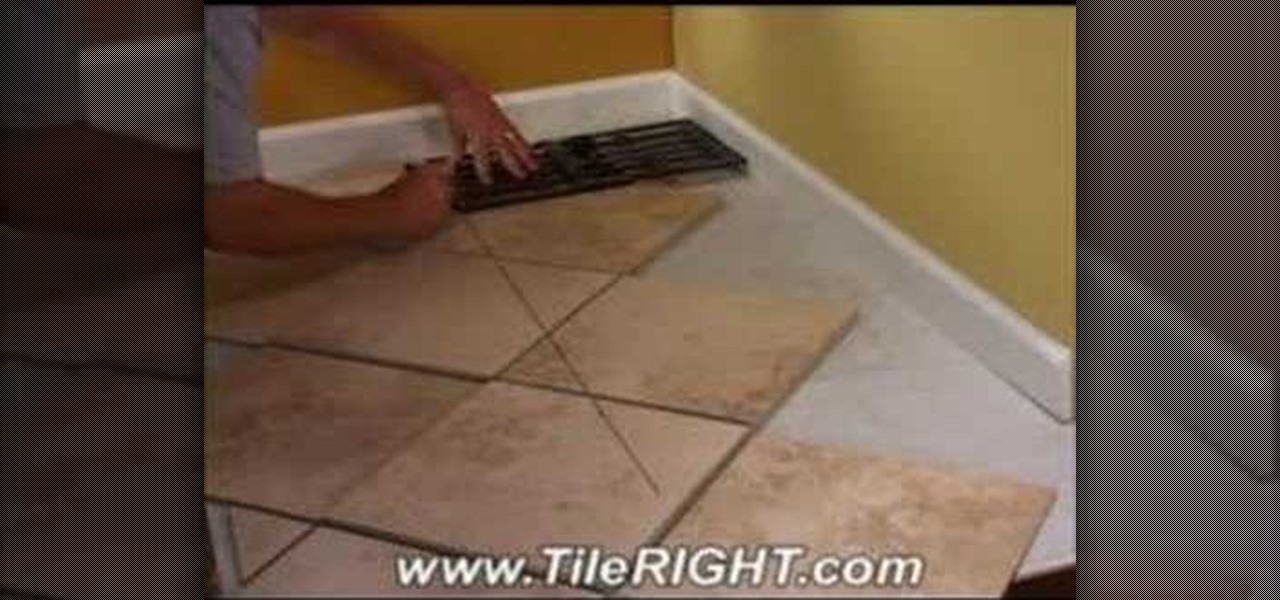
Tile RIGHT demonstrates how to tile a diagonally cut tile. First set the Measure Right Pro to the appropriate setting, extending it from corner to corner along your tile. Account for your grout line and the space up against the wall. Then, lock the tool. Next, place the tiles you're going to use on top of your set tiles. Slide the Measure Right Pro along the wall and mark the tiles. Place the sections in the appropriate place. Then, cut your tiles. Lay the tiles where you've previously marked...

This video helps us learn how to make a well-balanced paper football. Get a square paper. Fold the paper in half. Fold it again in the same direction. Fold the paper diagonally to make a triangle. Flip the triangle up so the point lines up with the left edge. Continue folding triangles up the paper until you reach near the top. Fold the top corner down so that the two points meet, making a triangle in the opposite direction. Tuck the extra paper into the pocket. Now you have a paper football.

Use this tutorial for a simple and shot accuracy improving technique in pool! The steps for this tutorial are simple, yet effective in improving shot accuracy in pool. Align pool balls in a triangular formation at the far side of the table. Note that this is not the standard triangular formation for pool. Two lines are to be made diagonally from the center back of the table outward. Similar to this formation: \/ where the point would be directed to the back of the table. Leave space in betwee...

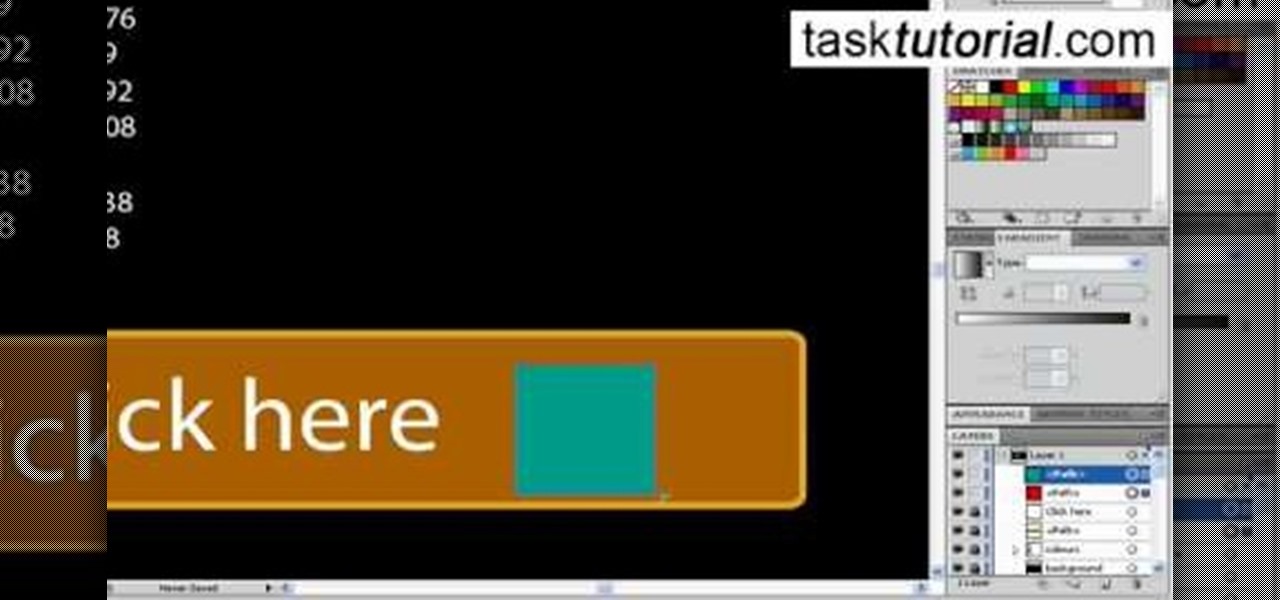
Let's learn how to create a website button in Illustrator! First draw a rectangle with rounded corners. Then create some text named 'click here'. Resize the bar according to the text. Again take rectangle tool and create two of them diagonally and place them one below the other as in a shadow. Then go to window pathfinder, select both rectangles and click in pathfinder to create an arrow and fill it with background color. The button is ready. It will help in getting more ideas for creating un...

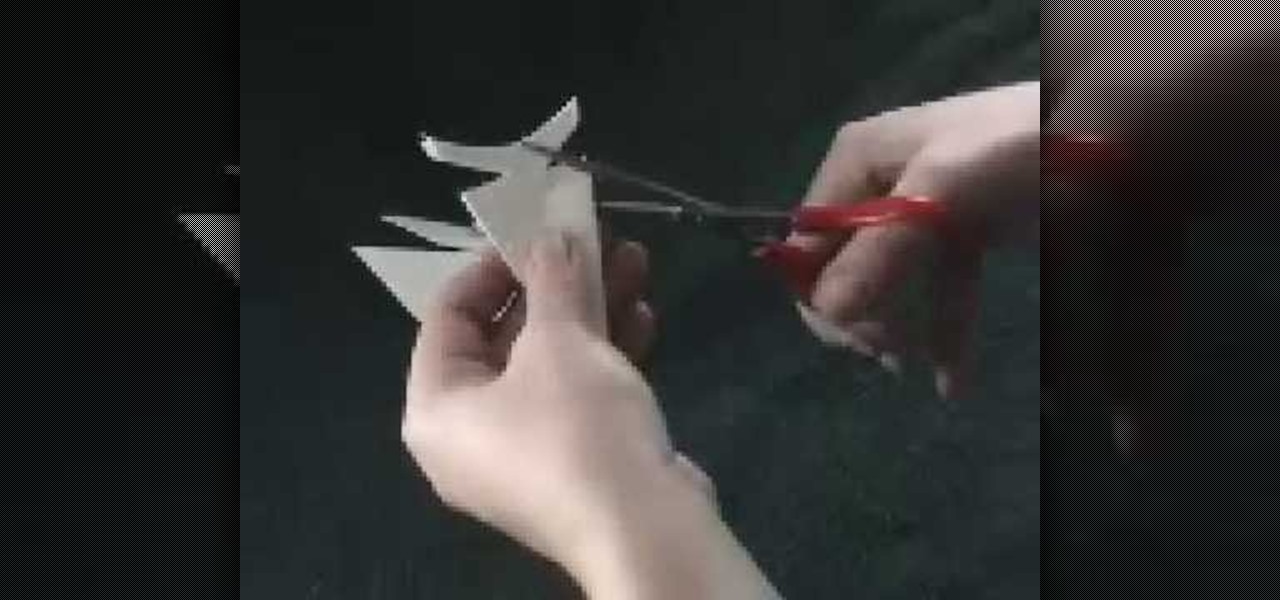
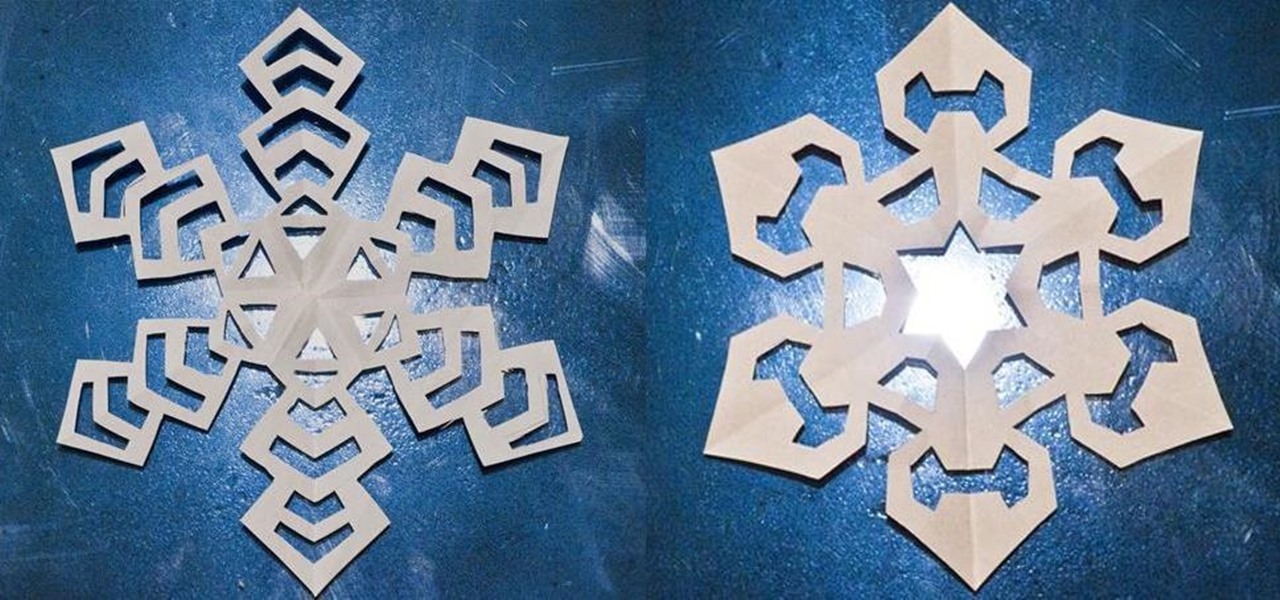
Most paper snowflakes are not representative of the proper 6-sided shape of snowflakes. This tutorial will show you a method which will allow you to make a beautiful and symmetrical realistic six sided paper snowflake. You will need to start with a square piece of paper, which you will then fold over diagonally to make a triangle shape. Taking the inner edge towards yourself, you will then need to fold the paper over into thirds and cut off the excess on an angle. After this, proceed as you w...

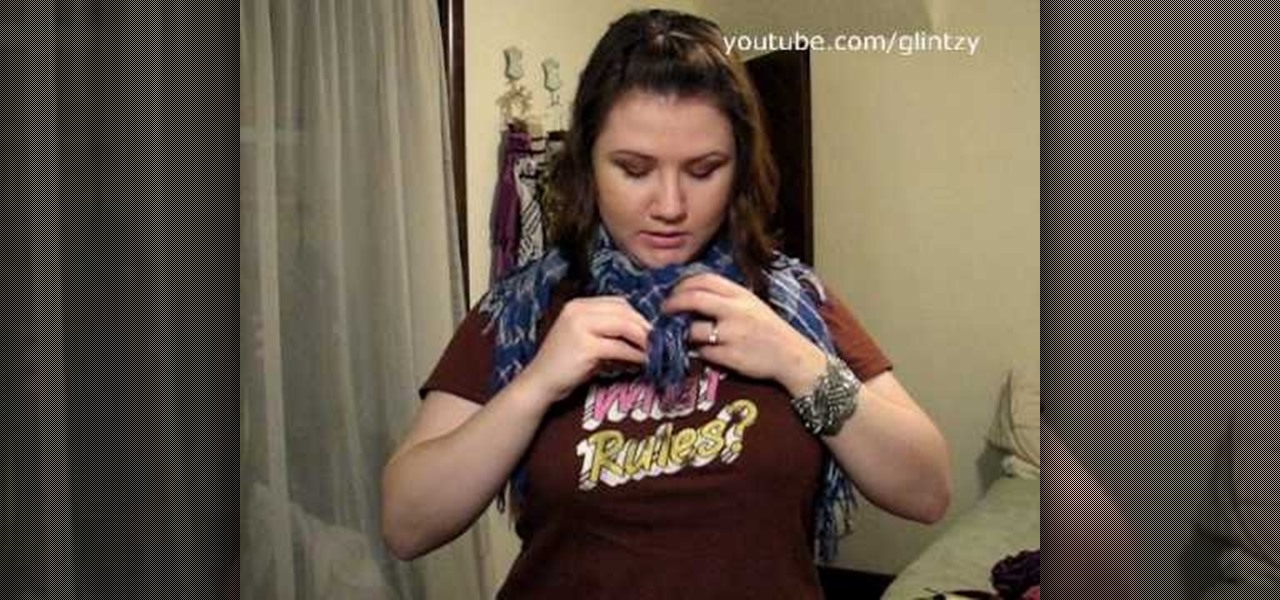
Today we're learning how to tie on a scarf. First start with a large, square, light fabric scarf. Fold it in half diagonally to form a triangle. Simply tie it in a half knot around your neck and pull the ends in front. You can also use a square scarf as if it were a longer scarf. Several variations will get you different looks. You can also use the scarf as a head wrap, Grace Kelley style. You can make a shirt out of your large square scarf, we see several ways to do it. You can use long, thi...

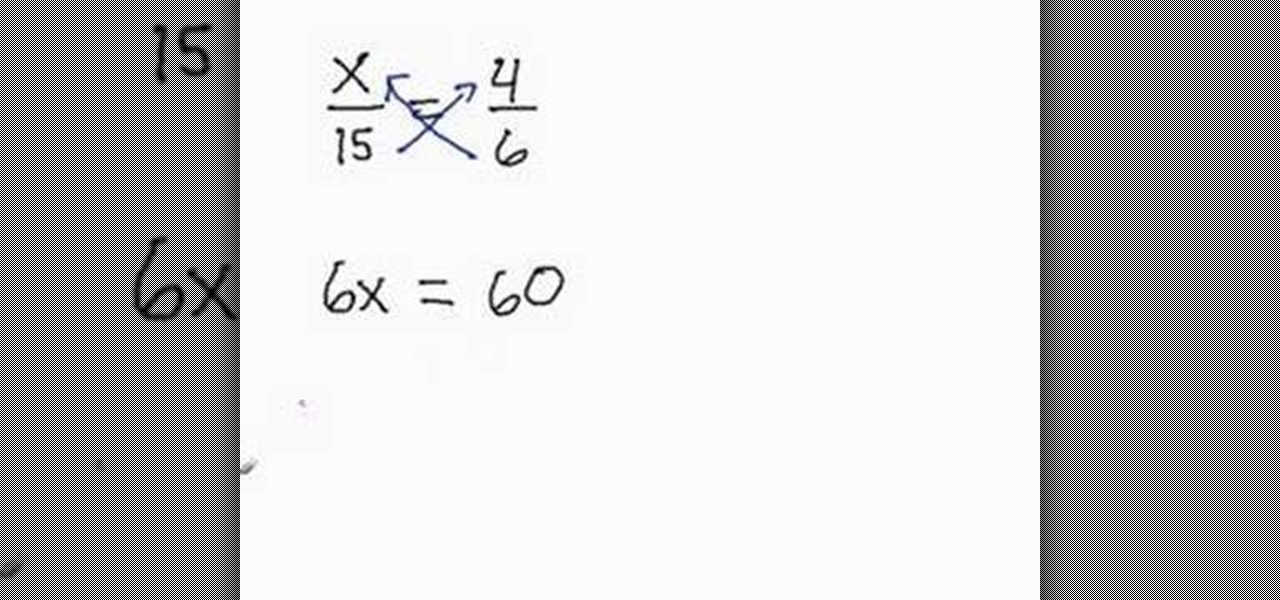
In this video the tutor shows how to solve the missing ratios or proportions. He explains it with an example, where a number in one of the ratios is missing and he intends to find this value. He shows the example of cross multiplication, where you multiply the values on the either side of the equation diagonally and finally solves the equation which results in the value of the unknown value. This is an introductory video explaining how to use rations and proportions to find missing values.

This recipe shows how to make Pinoy cheese sticks. You will need spring roll pastry wrappers, cooking oil, and cheddar cheese. Place a wrapper on a plate and add a rectangular piece of cheese diagonally closer to one end of the wrapper. Fold the ends in, then fold and roll up the cheese stick like an egg roll. Seal the end with a little oil. Assemble all the cheese rolls the same way, then deep fry in hot oil until they are golden brown in color, which takes about four minutes. Remove them an...

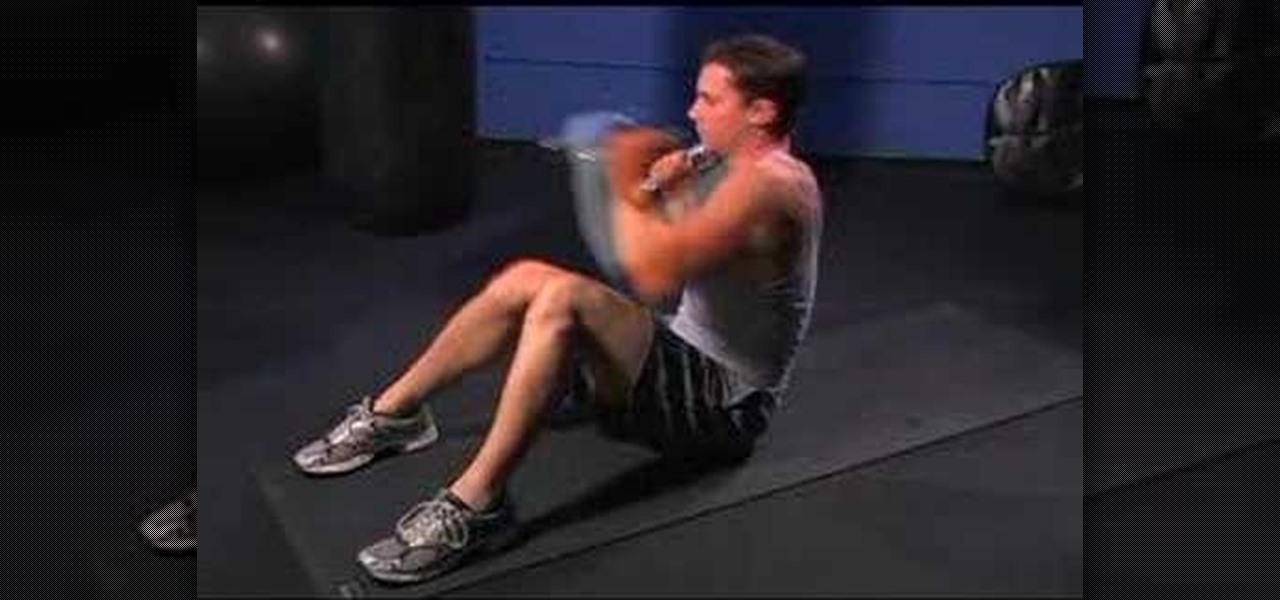
Learn how to do full situps with dumbbells and alternate cross punches. Presented by Real Jock Gay Fitness Health & Life.

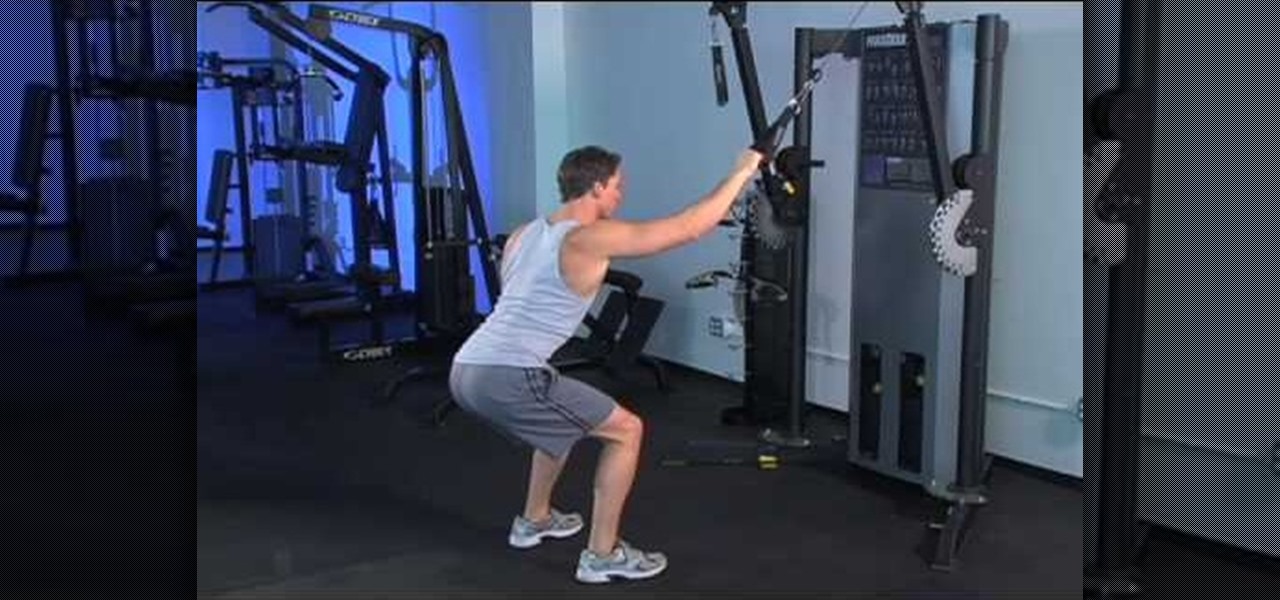
Learn how to do hold a squat while doing a power single cable wide pull down. Presented by Real Jock Gay Fitness Health & Life.

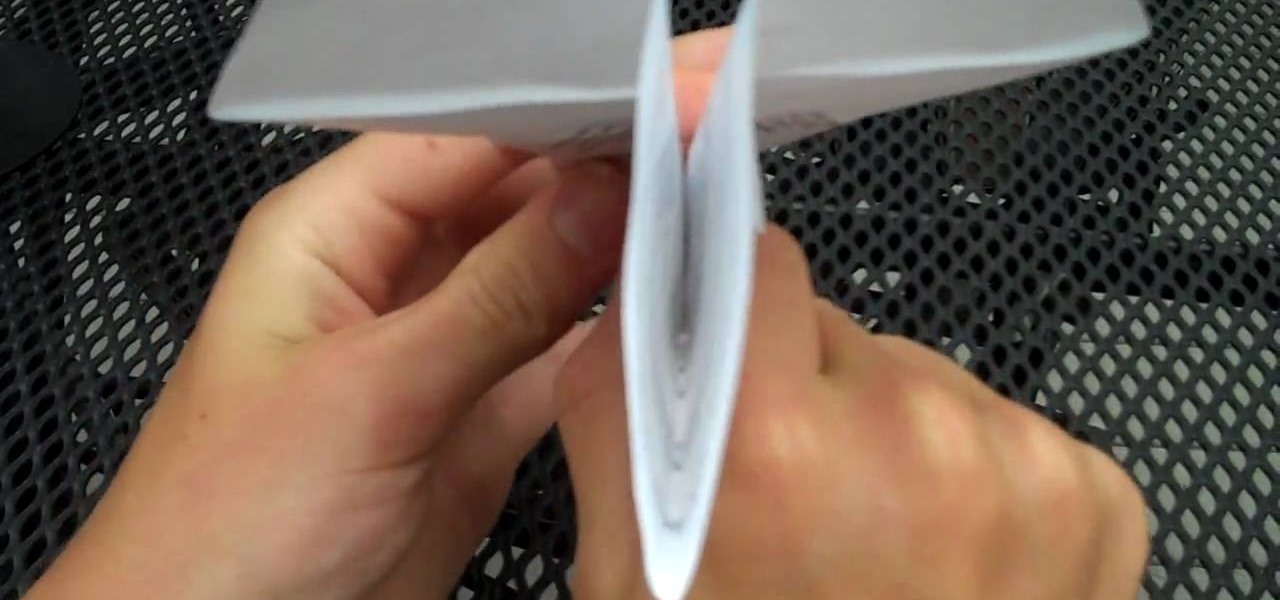
Learn how to use printer paper to make a paper airplane. Find a piece of paper shaped like a rectangle. A sheet of computer printing paper or school notebook paper is a good size and weight. Lay the paper on a table with one of the long edges closest to you. Fold the paper in half lengthwise. When the two edges match up, use your thumbs to make a sharp crease along the fold. Take the upper left corner of the top layer of paper and fold it diagonally down toward the first crease you made. When...

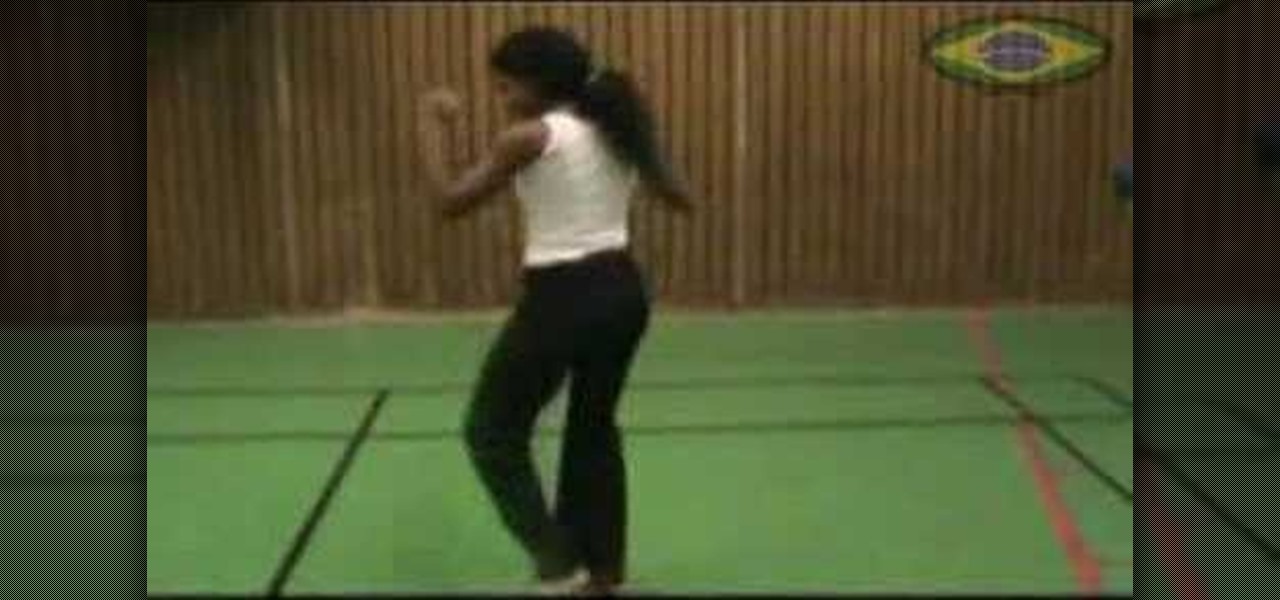
Learn to do the basic moves of Afro-Brazilian Dance, Capoeira with this video tutorial. Part 1

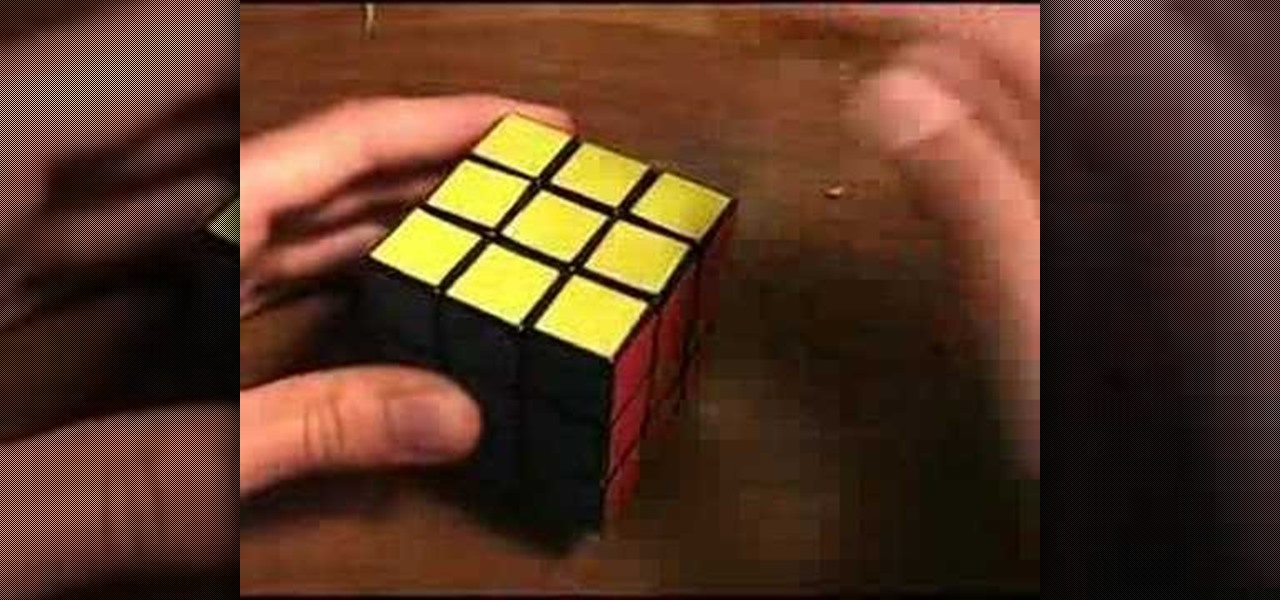
Why solve the Rubik's Cube if you can't do it blindfolded, too? Don't be a loser. Learn memorization technique in this first video, then learn the algorithms.

We've all made them. I remember making hundreds of paper snowflakes when I was in elementary school. You take a piece of paper and fold it in half, then fold it in half again. You now have a piece that is one fourth the size of the original. Now you fold it in half diagonally. You then cut slices out of the edges of the paper, and unfold to find that you have created a snowflake. The resulting snowflake has four lines of symmetry and looks something like this: If you fold it in half diagonall...

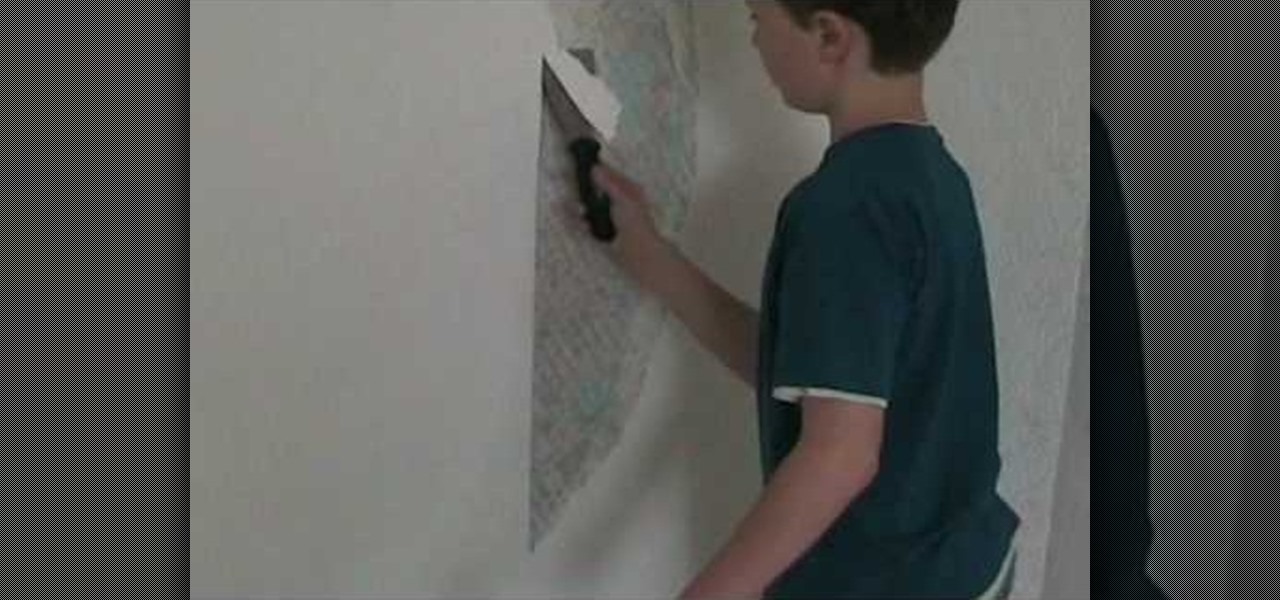
In this tutorial, we learn how to strip wallpaper easily. First, you will need to take a wallpaper stripper and run it along the wall so you cover all of the spots that it touches. After you have done this, run the stripper diagonally along the wall, then spray the wall with some warm water mixed with dish washing soap. Once finished spraying, use a flat metal putty tool to pry the wallpaper from the walls. Once you tear it off in one spot, you should be able to remove larger pieces. Once fin...


