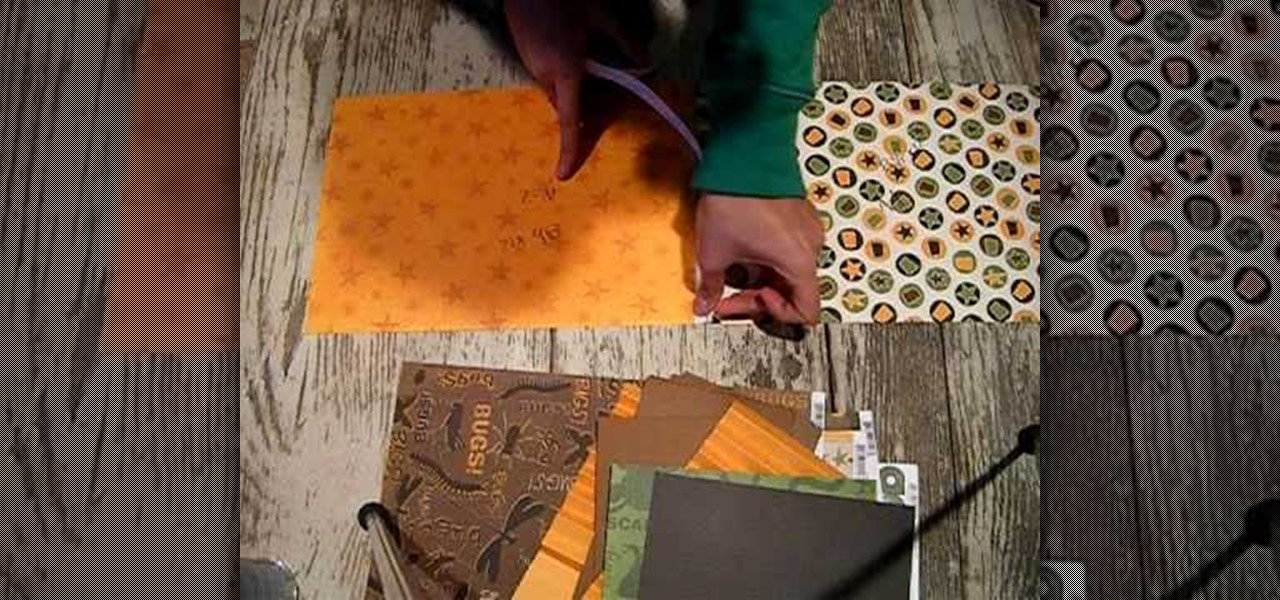
This next arts and crafts tutorial will show you how to make a homemade photo album. It's a perfect video to follow, if you're looking for an easy gift to make for your mother, friend, or relative. So check it out, pay attention, and find out how to make this great gift that is sure to last a long time. Enjoy!
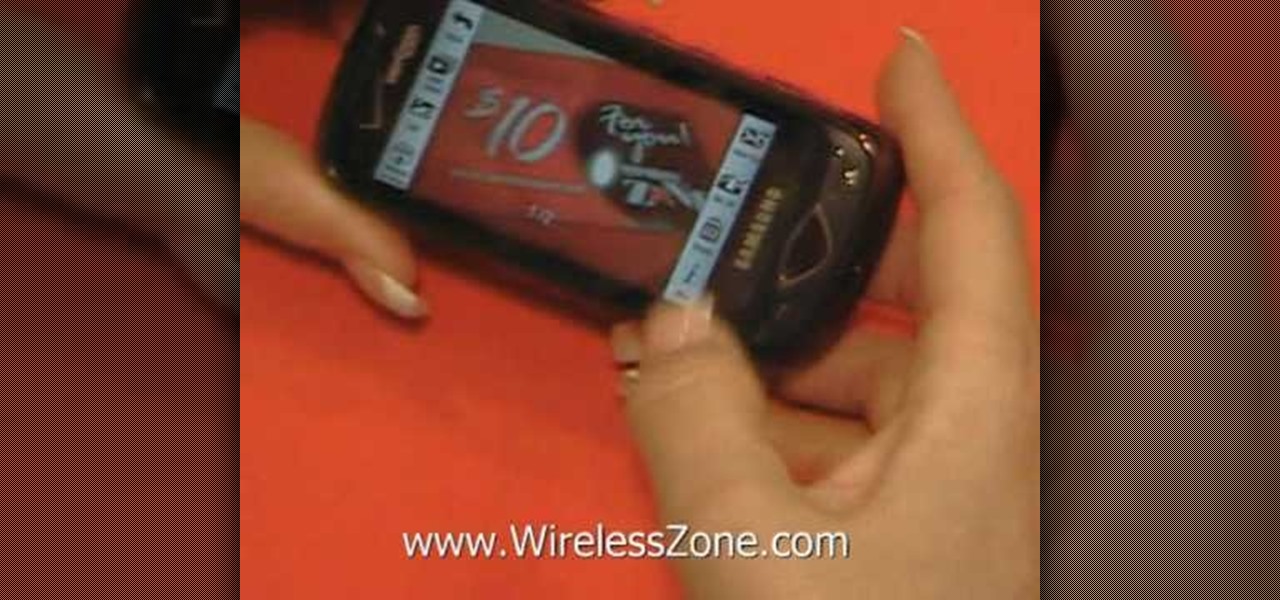
Take, edit and send pictures on your Samsung Reality smartphone. This free video tutorial will see that you need everything you need to know to take, share and edit digital photos on your Reality. For thorough instructions on how to use your Reality's camera and picture editing software, watch this cell phone guide.
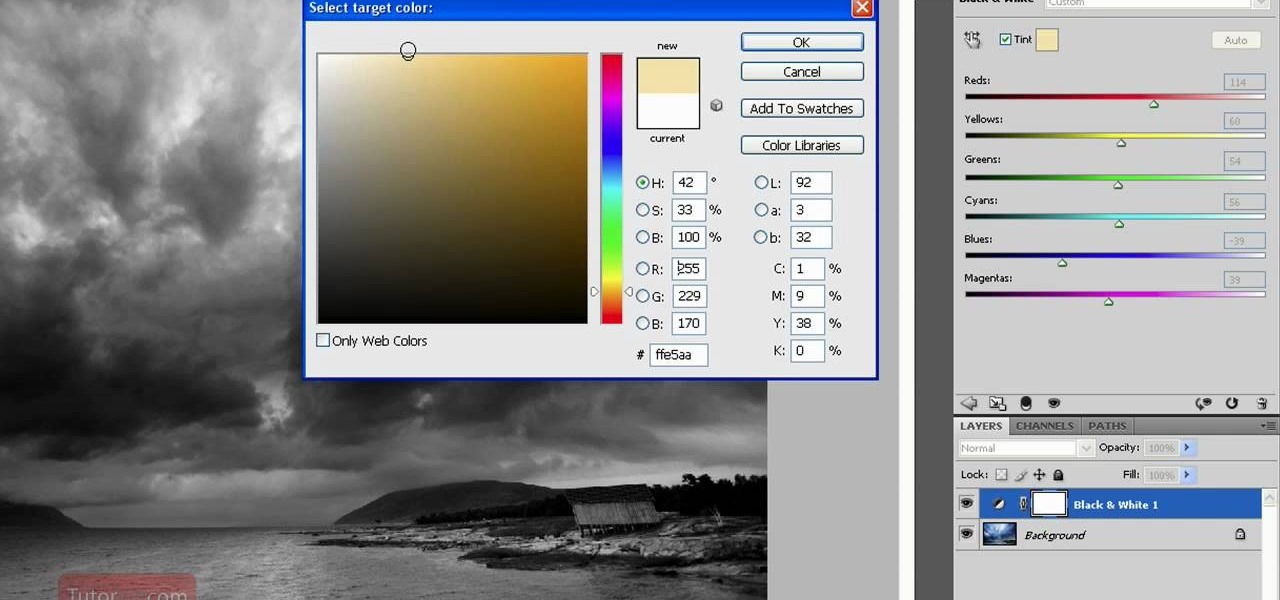
Black and white photos are great to look at and remind others of a time when technology was simple. They add a certain sense of drama and mystery to them it can be kind of relaxing to look at. In this tutorial, you'll find out how to take a normal photo and convert it into a black and white image using Photoshop CS4. Enjoy!
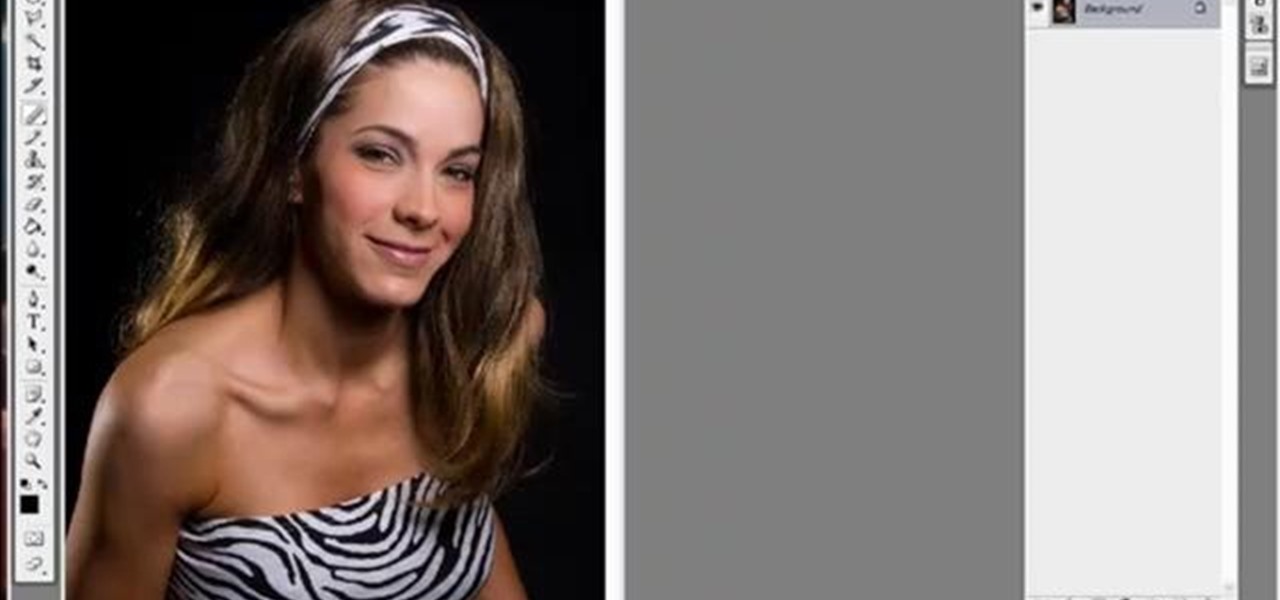
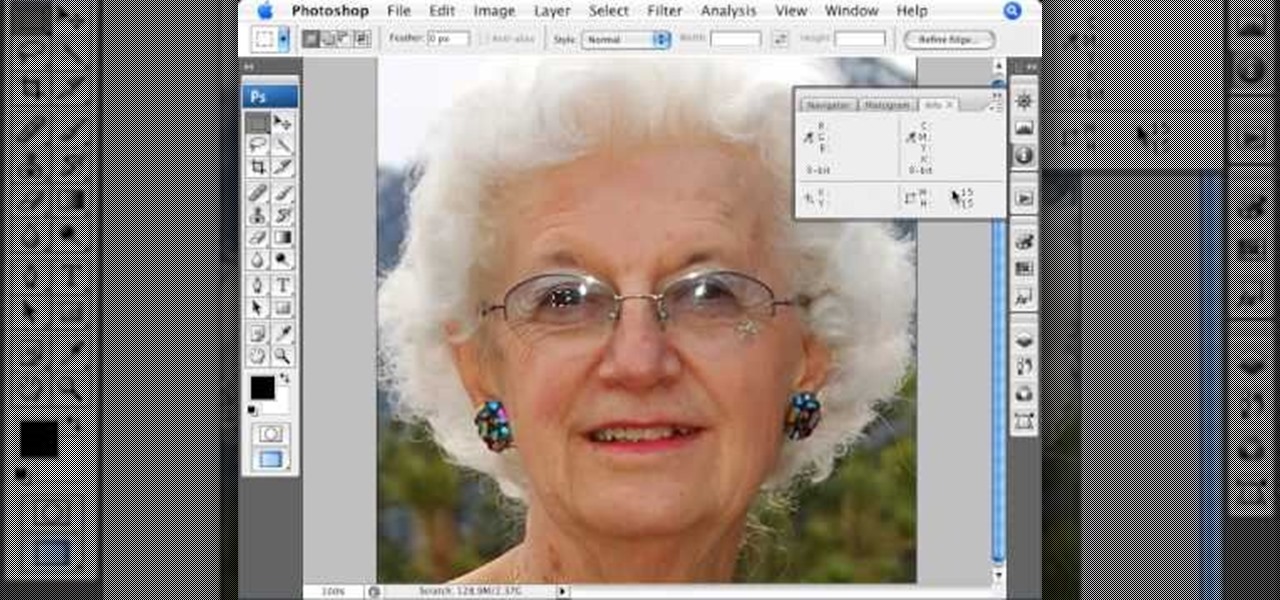
Just getting started with Photoshop? In this tutorial presented by Yanik's Photo School, learn how to use the patch tool in Photoshop instead of the healing brush. The patch tool retouches images using sampled pixels or pattern and comes in handy when trying to touch-up a photo.

If you've ever wanted to sketch something from scratch and realize you don't have the time to take formal classes, then Photoshop might be what you need. In this helpful tutorial, you'll find out how to take your photos, or any other photo out there, and turn it into a beautiful masterpiece. So sit back and enjoy this tutorial on how to turn a picture into a sketch using Photoshop CS4.
Creating sketches from scratch can be a difficult task, especially those who have no idea of what they are doing. Luckily for them, there's Photoshop. In this tutorial, you'll find out how to transform a photo into a sketch. It's fairly simple to do and will impress any of your friends and family. Good luck and enjoy!

This Photoshop tutorial is one that is widely used amongst professionals and everyday people. It can be used to add shadows to photos, darken the skin of family, friends, or even models, and even make the sky in a photo look more menacing. This tutorial focuses ont the burn tool and how it can strengthen an image's tone. Enjoy!

Photoshop is all about being creative. The more you know, the better you become at mixing certain tricks and techniques to make amazing pieces of digital photography. But there are so many it can take a good chunk of your time to fully understand the power that Photoshop holds. In this tutorial, find out how to easily combine photos and text using this awesome piece of software. Enjoy!

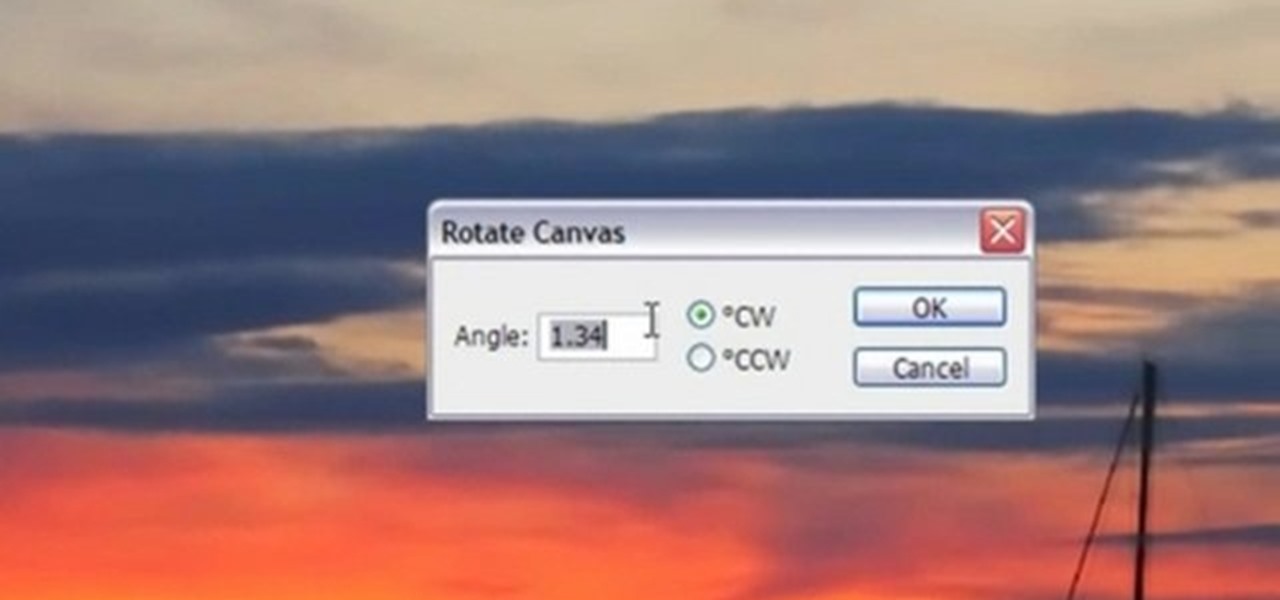
Photoshop is a great way to perfect your photos and artwork. In this tutorial, learn how to straighten a horizon, or create a straight one in a landscape image.

If the subject of your photo doesn't look as fresh as you'd like, check out this tutorial and learn how to soften skin with the surface blur tool in Photoshop. This tool is quite easy to do and in less than five minutes you could make a dramatic difference to your photos.

Are you a major networker with a cell phone full of digits? Are you horrible at remembering names and often times look at incoming calls with a look of confusion? There's a way to remember them from this day forward. Once you get a number, snap a picture of them and set it up as their caller ID. When calling, their photo will appear giving you a hint who it is! In this video courtesy of Best Buy Mobile, learn how to set a photo as caller ID.

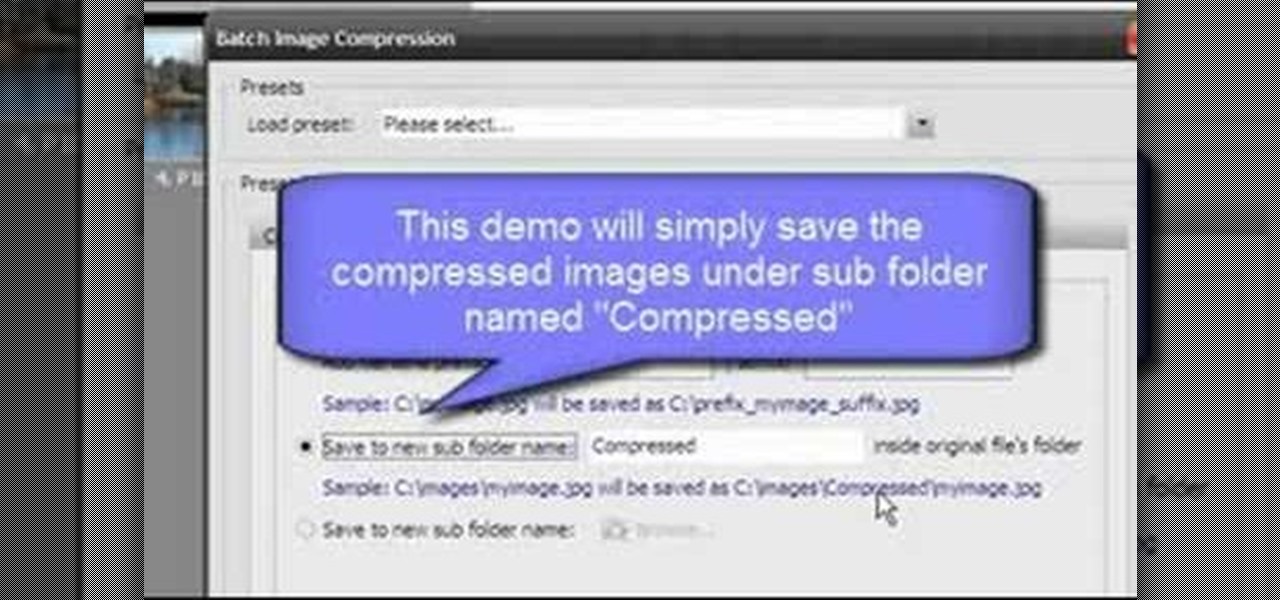
Open Image Compressor 2008 and go to the Image Tray. Pick the images you want with the image selector and click on them to add them to the Image Tray. If you want to add every photo in a certain folder, you just click on the Add All button. Once you have the photos you want, you can batch compress them. You can go to File>Batch Compress to start the process, or just click on the Batch Compress button in the toolbar. Then, pick the compression options you want, or edit the images. You can also...

Going to miss the fireworks extravaganza this Fourth of July? Doesn't mean you can't fake the experience, and that's exactly what we're going to do here—in Photoshop. You're going to learn how to take any night photograph and insert fireworks into it. It's the next best thing to watching some fireworks display firsthand.

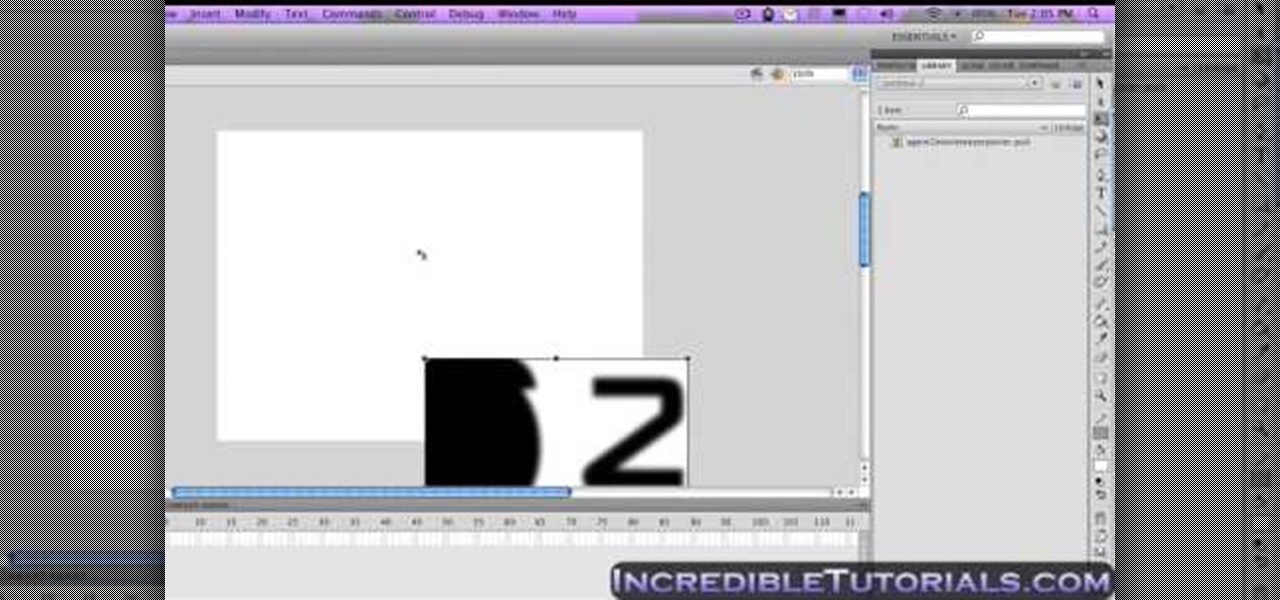
This video tutorial will help you to use the bone tool on an imported or Photoshop image while in Flash. If you want to use an image from Photoshop you must first pull the image up in the Photoshop program. Once the photo is pulled up in Photoshop you can save it by going to, file, and save us. Save your file as whatever file extension you would like to use (Photoshop, jpeg, etc). Pull up the Flash program and find file, and import. At this point you can import your Photoshop picture to your ...

Need to build a for a set for a film, TV, stage or photo production? This free video tutorial will walk you through the entire process, from design and sketching to fabrication and assembly. For detailed instructions, and to get started building your own professional quality sets, watch this free set designer's guide.

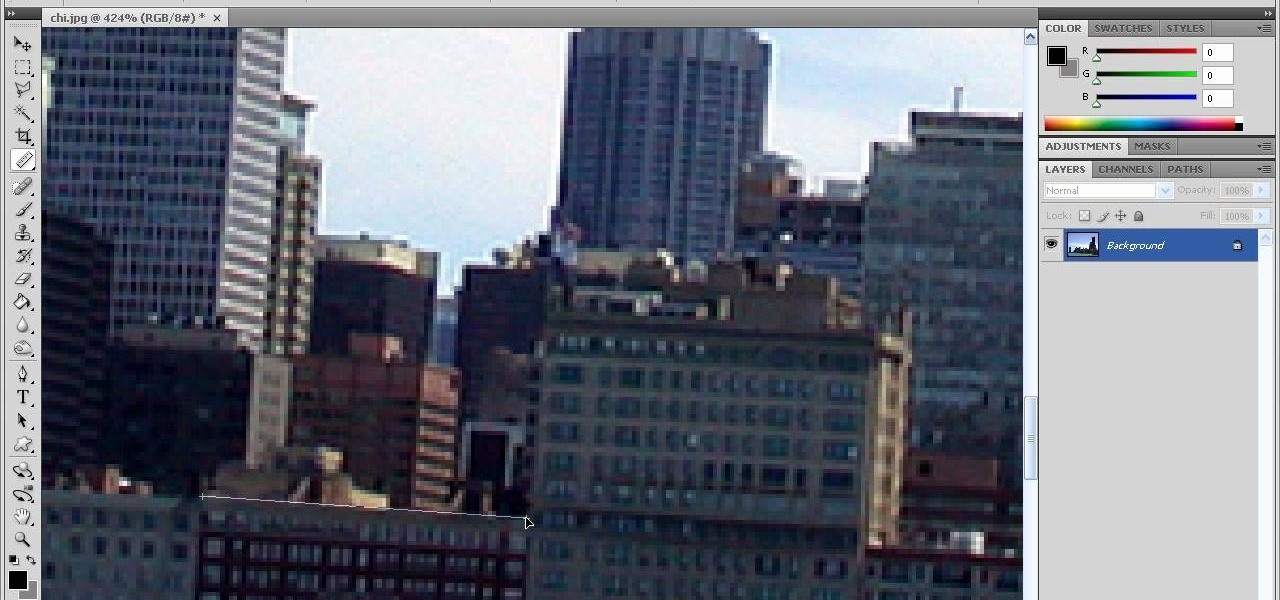
In this how-to video, you will learn how to straighten crooked photos in Photoshop. First, open the photo you want to straighten in Photoshop. Next, use the ruler tool under the eye dropper tool. Select it and zoom in to an area. Find a crooked line to straighten, such as a building rooftop or ground line of some sort. Click, hold, and drag. Next, zoom out. Go to image, image rotation, and arbitrary. Click okay and your image will be adjusted. Go to the crop tool and crop out the spaces. Hit ...

In this tutorial, learn just how easy it is to enhance your subject by changing their backdrop. By changing the background of a photo you can place your subject in new and exciting places, and enhance the color of their skin and eyes with the right color pallette.

Robert with Roberts Productions demonstrates how to give your photos depth of field with Photoshop. You can create this effect by having a clear foreground and a gradually blurry background. First, duplicate the background layer. Then, go to filter and select Gaussian blur. Set it to a believable radius like 12 pixels. Create a mask by clicking on the mask icon. Then, make sure the foreground is set to black while the background is set to white. Next, go to the gradient tool and make sure tha...

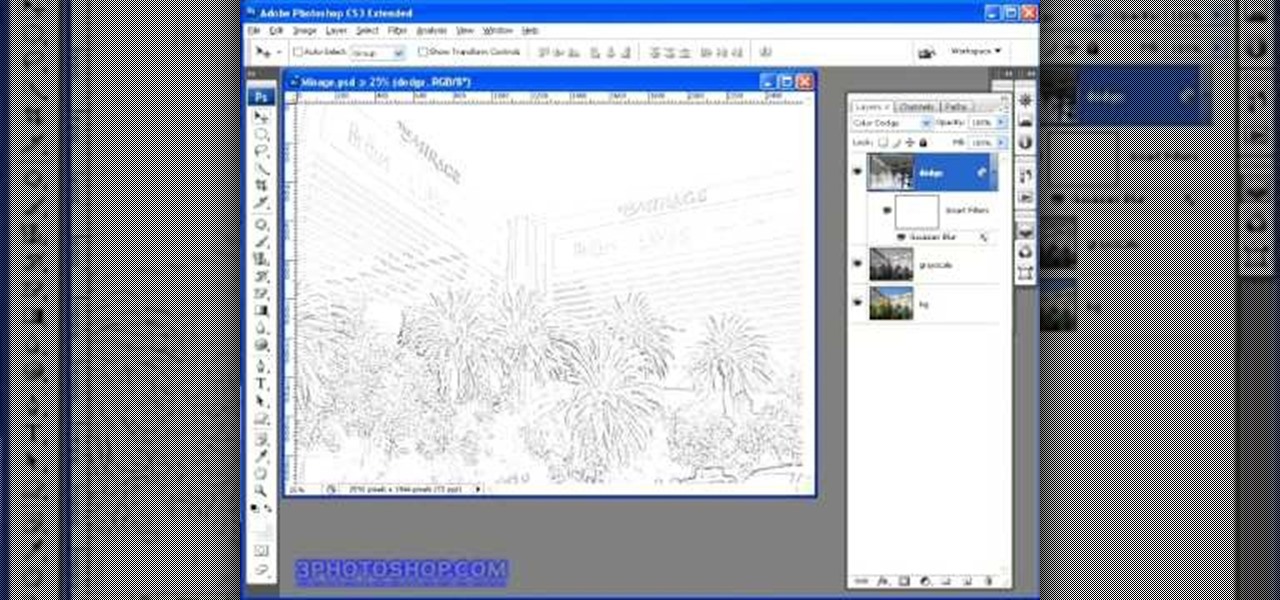
In this how to video, you will learn how to turn a photo into a line drawing in Photoshop. First, open your image in Photoshop. Create three layers of the same photo. The top two layers will be worked with. The bottom layer will remain the same. Take the top layer and change it to color dodge. Select control and I on the keyboard to invert it. Go to filter and blur to choose Gaussian blur. If you have dark lines, use a small amount of blur. You can use a lot of blur to get a unique look. Clic...

Learn how to create an automator workload that will upload pictures to your Flickr account in this video tutorial. Simply Google "automator Flickr." Upload it to Flickr to allow access to your Flickr account. This means you will have to sign into Flickr and allow for the application to have access to your account. Every time you use the application, you will have to give the photo a title as well as tags. You will then save the photo as an application with whatever title you want. Anytime you...

Nick from Greyscale Gorilla explains how he did a certain timelapse technique in conjunction with certin in-camera effects for the "Every Photo Shot for the Conan O'Brien Title Sequence" video.

This tutorial will focus on how to use the fit image function within Adobe Photoshop. You will utilize this function when you want the pixel width to match between different sized photos in portrait and landscape. First you will select all the photos (you must create a batch action in Photoshop). Next select the fit image option in the file menu under automate. You will need to put the same number into length and width to constrain the proportions of your landscape and portrait photos have th...

The video shows how artists enlarge and copy from photographs. First grid lines are drawn on the reference photo. Then grid lines are drawn on the paper with enlarged or reduced grids. Now draw the lines from the reference photo to the drawing paper one square at a time. Now complete the outlines from the reference photo. Erase all the grids and you have only the outlines. Add details and area of tone. Darken the dark areas and you have a replica of the reference photograph. The same techniqu...

In this video tutorial, viewers learn how to add hemp twine to accent a scrapbook photo. Users will only need a line of twine and tape. Put the twine on one side of the picture and tape the back to hold it. Now wrap the twine in a diagonal pattern (right and left). Then wrap it down the middle and tape the back again to hold it. Trim off the extra twine and tape all the strings of twine at the back, so that it won't move. This video will benefit those viewers who want to add an embellishment ...

This video shows a user how to create a panoramic picture using Photoshop. In this video the details like how to merge a photo and other options which are very useful to a learner are shown clearly. This video is very practical for keen user as different things like the layouts and merging a photo are explained in detail. In this video a user can find different filters that are used in creating this panoramic picture. One will find it very easy and one with artistic heart will definitely appr...

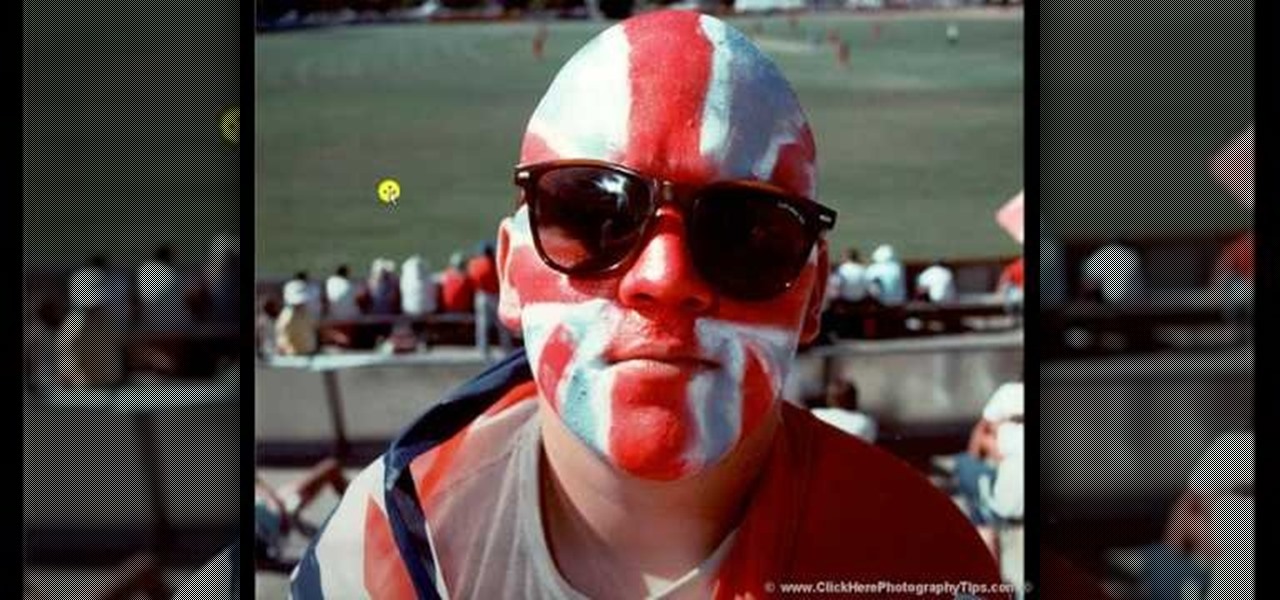
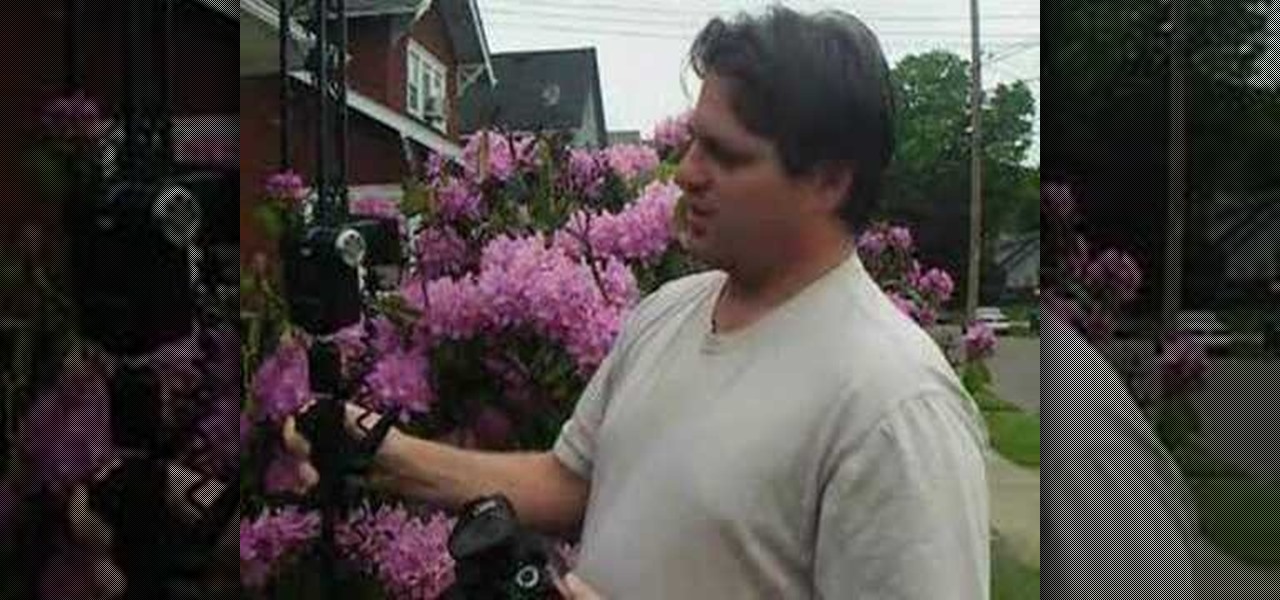
In this Click Here Photography instructional video, learn how to photograph using a fill flash to produce a great photograph. Equipment, how to set-up, and additional props are gone over. Although a fill flash takes some time to set-up & is an additional item to carry, it will produce better photographic results in certain lighting situations. Learn how to experiment with your fill flash and maximize your photo's potential with the advice, tips, and information given here.

Create a photo frame out of an origami paper or any art paper in minutes! 1) Lay the paper down on a flat surface. 2) Fold the paper in half with the shortest ends together. 3) Fold in half again so that you get quarters. 4) Unfold step#3 and with the first fold at the top, fold the top corners down along the center fold. 5) Unfold the corner flaps, open up the original fold and fold the corner flaps inside, now close the original flap. 6) Fold the lower edge up as far as it will go, do the s...

This video instructs the watcher on how to use the flash of a Vivitar to add light to photos taken outside if a little extra light is needed. Turn the camera on AV mode, choose an ISO setting like 100 or 200, then take a reading, either off the sky or an object. Then use the Vivitar to match up to that setting. Then position your camera off to the side to add a directional light to give the photo detail and kick. Follow the directions in this video to learn a new technique to give your outdoo...

If you're looking to do a cool photo with some special old effect then you should make it white an black.

Xara Xtreme makes it easy to learn how to extract part of photo. First in the main page we have to select window and photo_extract in Xara. Now you will have a picture in the screen.

This tutorial teaches you how to create a mosaic photo made up of many smaller photos in Photoshop. It explains the use of the crop tool, image resizing, use of sharpen filters and of fading command. It also handles creation of custom patterns with the use of the define pattern command as well as later use of the said pattern for a custom pattern fill. Finally, it describes the use of the overlay blend mode for achieving the desired effect.

Interested in animation? Let's animate some photos with Adobe ImageReady. First, put all pictures in a single folder. Open ImageReady and import the folder with the pictures. The photos will be arranged in the timeline but they play too fast. You can adjust the timing of each picture which has an icon under it. To save it as a gift file, click Internet Explorer on the toolbar. Then right-click it to "save picture as" and save it. It will help you in making slideshows/presentations.

Looking to make a homemade keepsake box for someone special? In this two-part scrapbooking tutorial, learn how to make an adorable expandable keepsake box with help from A Piece of Craft. Marion shares a super girly version of this box she made for her young daughter and goes through how to build one yourself.

This is kind of scary! This video demonstrates just how easy it is to hack into an iPhone to access the data on it - including recovering deleted photos. You only think you've deleted those naughty photos you sent to your girlfriend.... Fortunately, there is a way... However, this particular process requires software available only to law enforcement. But that's never stopped a hacker - or a jilted ex - before!

Nothing on the internet is ever truly private and this hack proves it! Learn how to use PhotoFucket to hack into Photobucket with this video. You'll be able to access Photobucket without a password and view private photos from users. Be careful what you leak though...you might unwittingly create the next big reality TV star!

Get some great tips on how to look better in pictures. Pose for the camera by leaning in, rather than leaning back. Stand up straight. To look thinner, turn your body slightly, and put your hand on your hips. Elongate your neck, and put your shoulders back. You'll look smashing in all your photos. Don't forget to smile!

Taking photos is great, but what about being able to share them with the world wide web? There are countless of image hosting options out there to get your photos on the internet, but imgur is probably one of the simplest and easy image uploading sites out there.

Let's face it: Most people, even our friends and family, find it pretty boring to open emails with huge photo files attached to them. They're bulky and take forever to load.

A simple tutorial on how to make super powers in Photoshop. This is cool blast effect to stylize a photo in Adobe Photoshop photo editor to make it look like you can shoot fireballs. This is a magic effect that uses lots of tool to make you look like you have super powers.

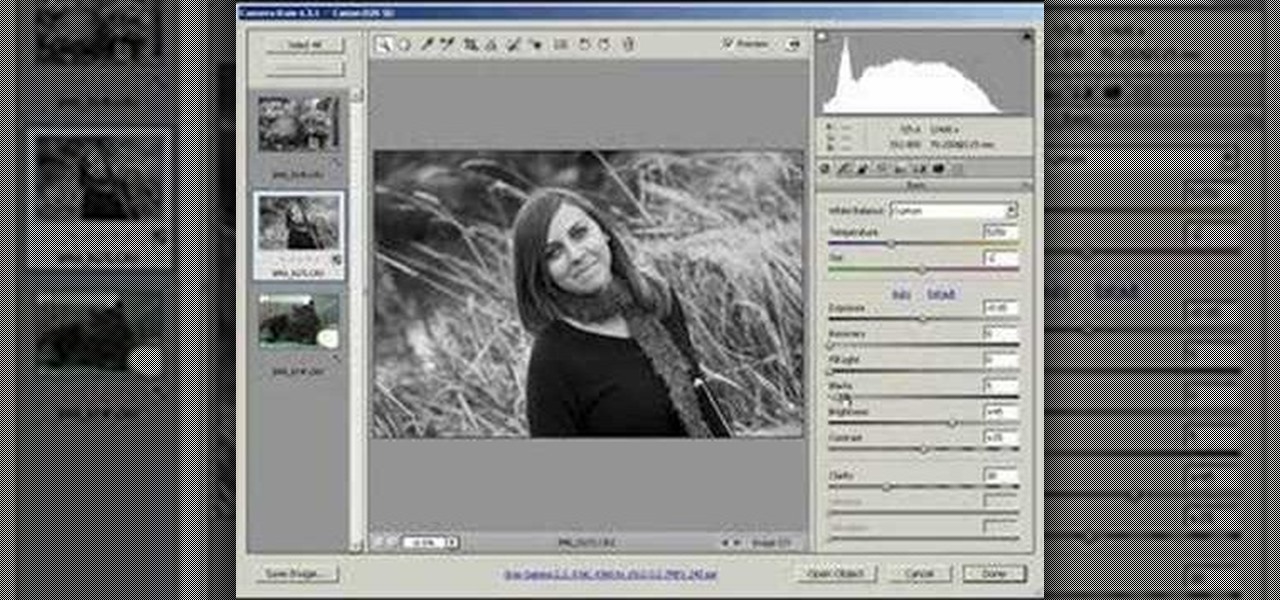
This image editing software tutorial shows you how to use the hsl grayscale tab to remove the color from a photo and turn it into a black and white image in Adobe Camera RAW. Using the Grayscale Mix slider controls inside Adobe Camera RAW, you will see how to achieve some great looking black and white images.


