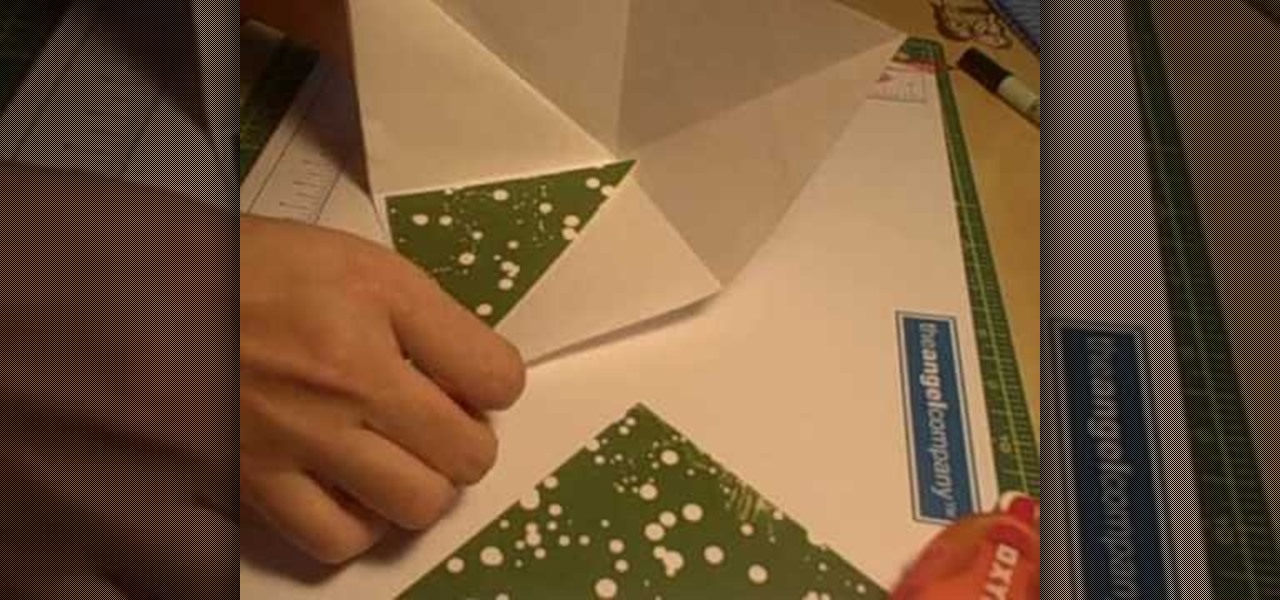
How To: Make a square around mini album
Watch this video to learn how to make a square around mini album for photos or scrap booking.


Watch this video to learn how to make a square around mini album for photos or scrap booking.

Learn some techniques using Photoshop CS3's Dodge and Burn tools for touching up photos.
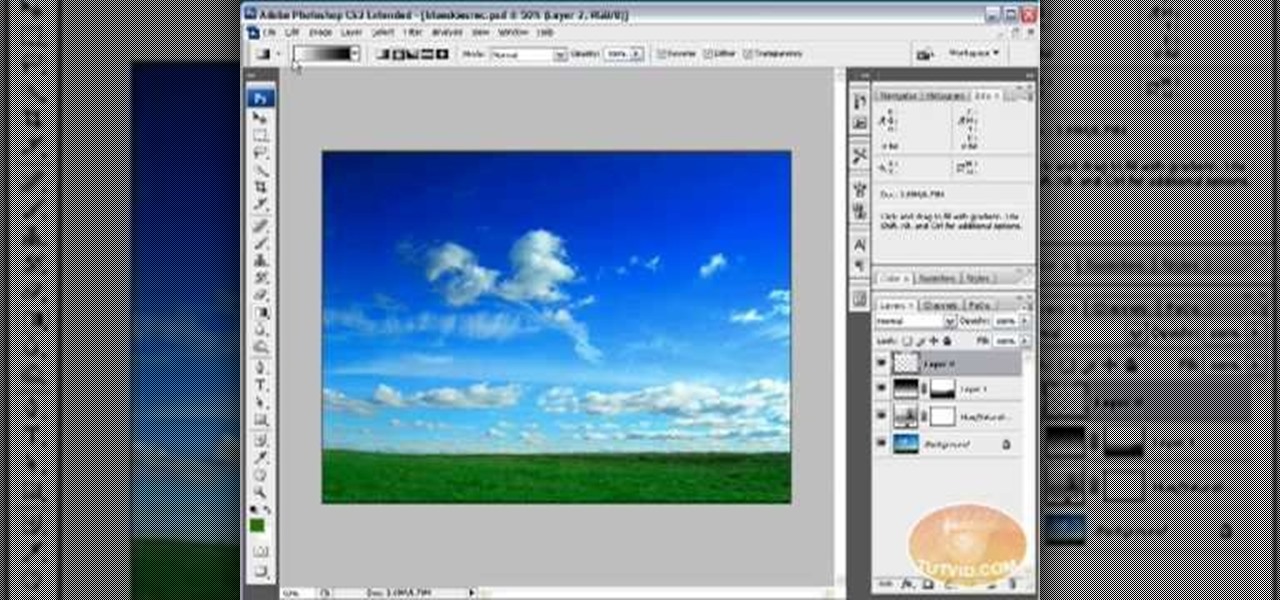
Learn how to touch up a photo using Adobe Photoshop to make a sky look more vivid.
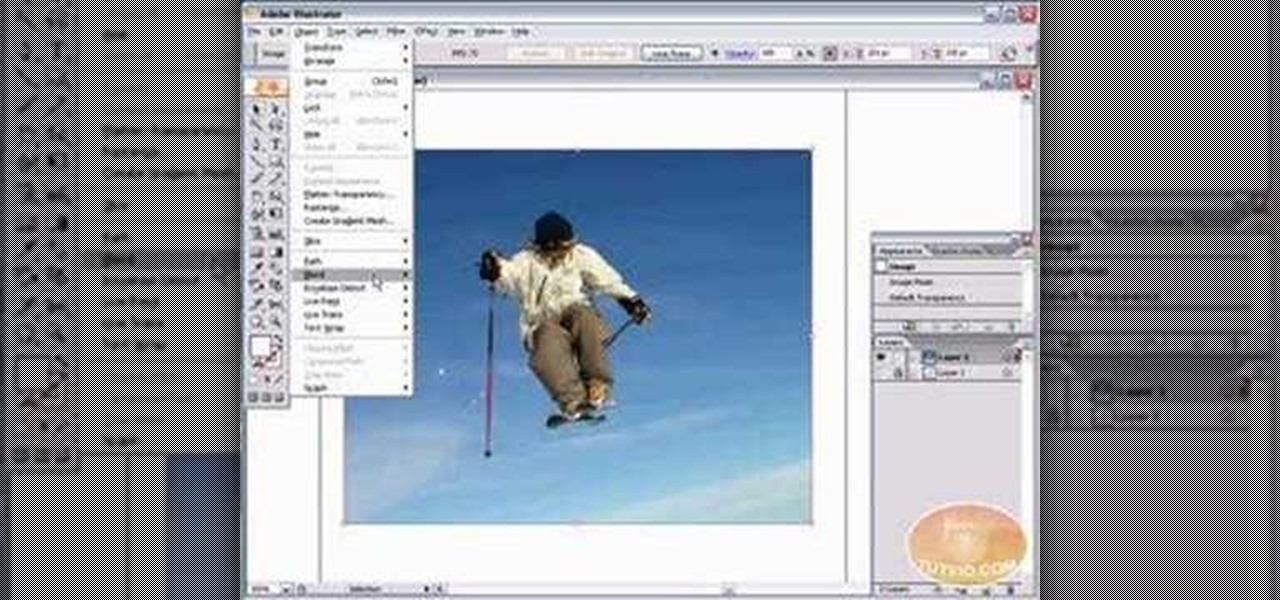
A tutorial on Live Trace - the fast and easy, yet highly optional and precise way of tracing your photos or sketches in Illustrator CS2.
Get your photos, movies and music off of your desktop and into your living room using the little white Nintendo Wii.
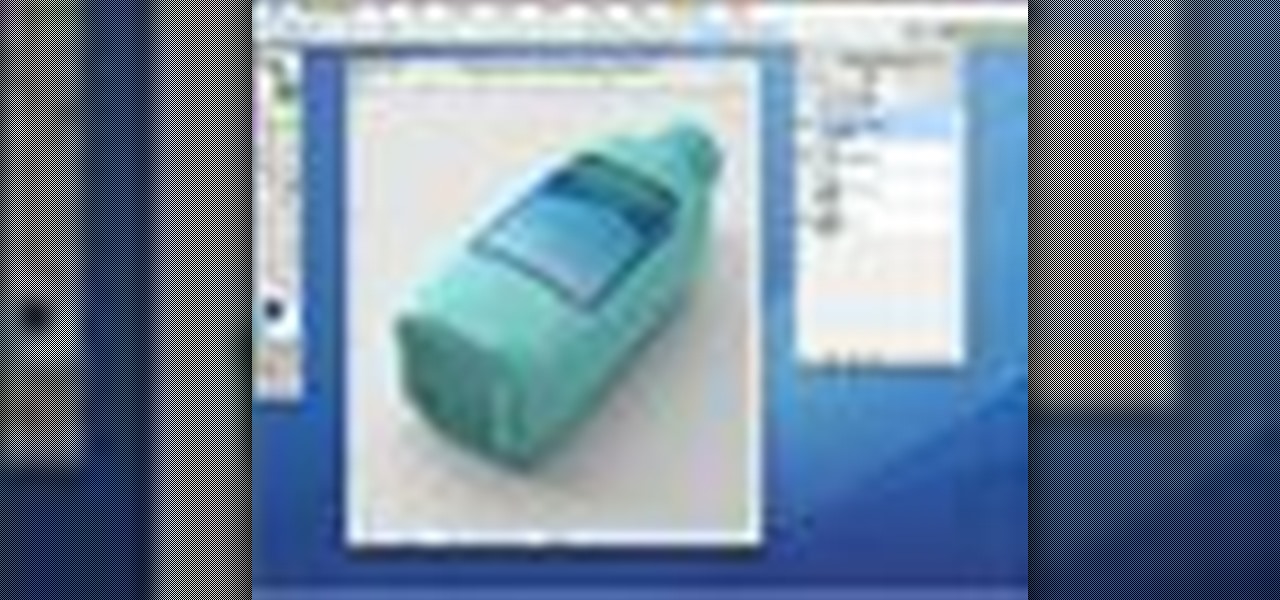
In this tutorial you will learn to wrap a logo around a photographed object in Photoshop. Learn to work with smart objects and label grid to do the job. However, some of the initial steps are not shown in this video, so you might want to listen closely to the narration about the preparation work.

Nobody wants to look bad in their bridal photos. But what if you have really bad teeth? In this video tutorial you will learn to whiten teeth or fix teeth for a perfect pearly white smile in every photograph.

In this video you will learn to use Photoshop to turn a photograph into a wall painting. Learn to use cutout filter to enhance the effect. Remember to experiment with different blending modes for your own project!
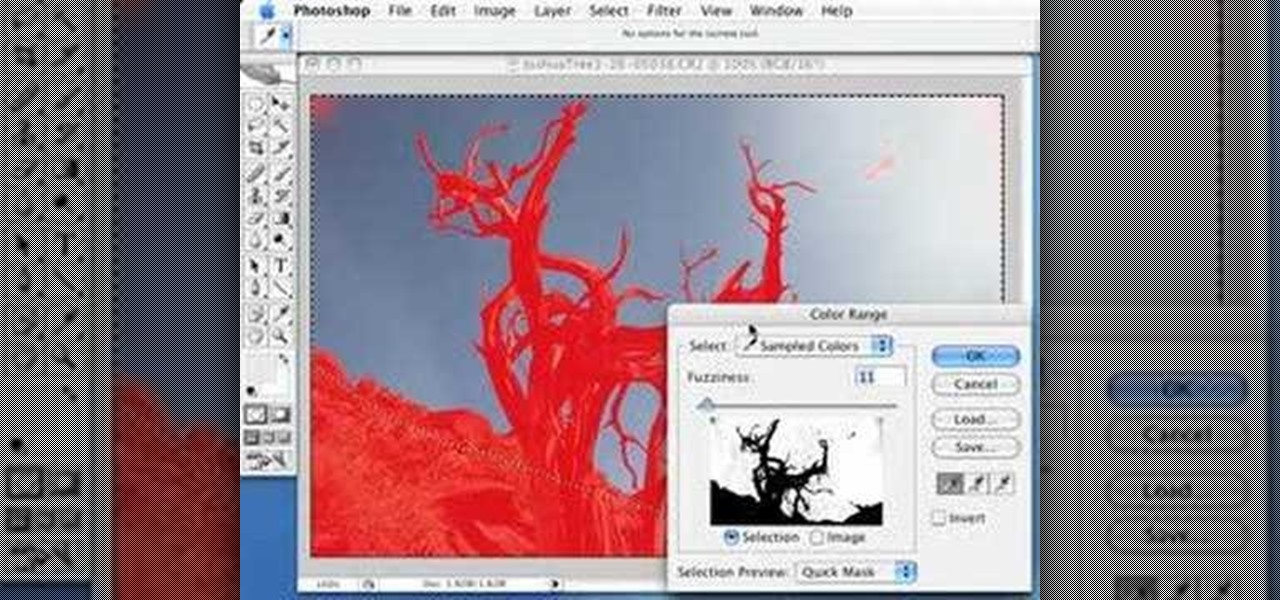
Do you want to fine-tune the color of the sky photos you have shot? In this video you will learn to create deep dark blue skies. Learn to utilize Quick Mask to perform the trick in Photoshop.
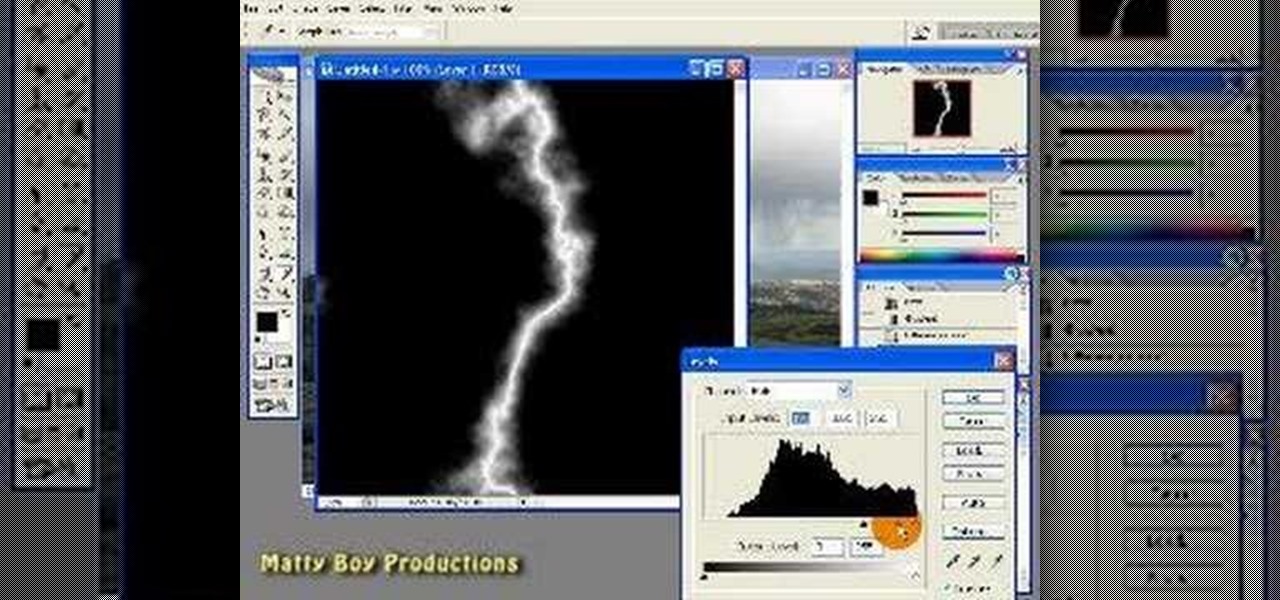
If you have missed the chance of shooting a lightning, you might want to add one in the photo later. In this video tutorial you will learn to create lightning effects for clouds in Photoshop. You won't believe how realistic the effect could be til you see this video!
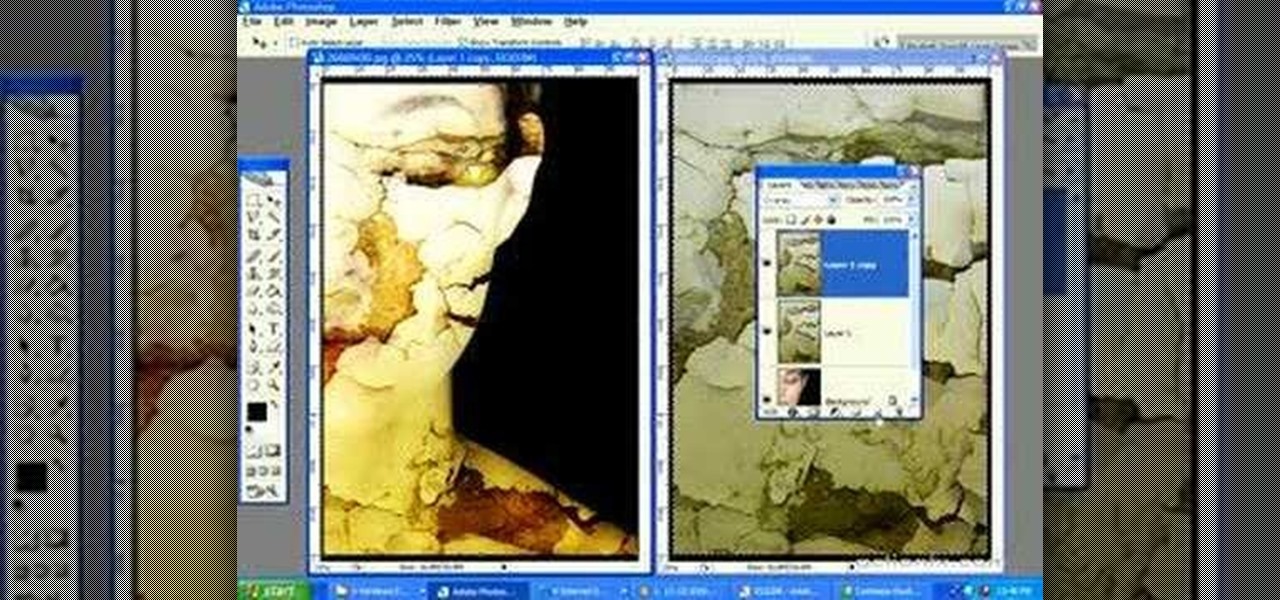
Ever wanted to wow your friends with your MySpace photos? In this video tutorial you will learn to apply textures to a model's face to create a dark, Gothic look. This technique is often seen on Deviant Art forums.

In this video, Justin Seeley shows how to use a Wacom tablet to create photo collages in Photoshop CS3 Extended. He shows how to blend photographs together using the Wacom pen to create a print ad type image. He shows how to increase the size of the brush, change the opacity, blend the image, and lightly paint into the image to control the amount of the fade.

Nobody wants to look at plain text when you're giving a presentation so adding images, movies, audio or any other visuals is key to a good presentation. This tutorial shows you how to add these to your Keynote presentations.

It's been called the "Sin City" effect, and a myriad of other names, but really all you're doing is adding selected color to black and white photos or comic-type images. See how Bert suggests achieving this effect in his tutorial.

Learn how to Create an iMovie Slideshow, so you can share your pictures and photos with family and friends.

Whether you need a repetitive background for Twitter or your Tumbler account, an attractive pattern is crucial for establishing your personal style and brand. And you don't have to resort to mass-distributed image software or online pictures to fill your walls with.

Need to spice up your images? Use Image Warp to wrap logos and other objects around your artwork/photos. In this video you'll see how to do it quickly and easily.

Sometimes you need to print a perfect 5x7" or 8x10" photo that will go into a frame with correct aspect ratios. Or maybe you need to make an image for a video that will be just the right size for DV. Photoshop has a variety of ways to accomplish this task, and in this video Terry White will show you some of the easiest ways.

If you have digitized photos in your computer, you might want to decorate them using Photoshop. How about adding frames? In this video tutorial you will learn to use custom shape frames in Photoshop CS2.

This video demonstrates how to remove your wrinkles in a photo using Photoshop. The video walks you through all the effects you will need and shows you how to use them effectively.
You probably have some cute digital pictures of your pets that are perfect but for a common problem known as red eye, or in this case pet eye. Use Adobe Photoshop to fix pet eye and make your photos look professional.
There's a quaint and beautiful look to older, black-and-white photos. With Adobe Photoshop, you can mimic that sepia-toned, antique appearance for your images in just a few easy steps.

You probably have some digital pictures that are perfect but for a common problem known as red eye. Use Adobe Photoshop to fix red eye and make your photos look professional.

Sketching takes time. Not quite so much if you use Photoshop. In this video tutorial you will learn to use Photoshop to turn a photo into a sketch.

You can learn how to create single frame animation by shooting many photos with a digital camera and lining them up properly for editing. The video should run at 30 frames per second and you have to manually control the camera's settings.

Jerry Hyman has been interested in photography since he was 13 years old, and is a former professional photographer. n the premiere episode of Woven Shadows, Jerry describes the importance of positioning the subject of a photo relative to the light source.
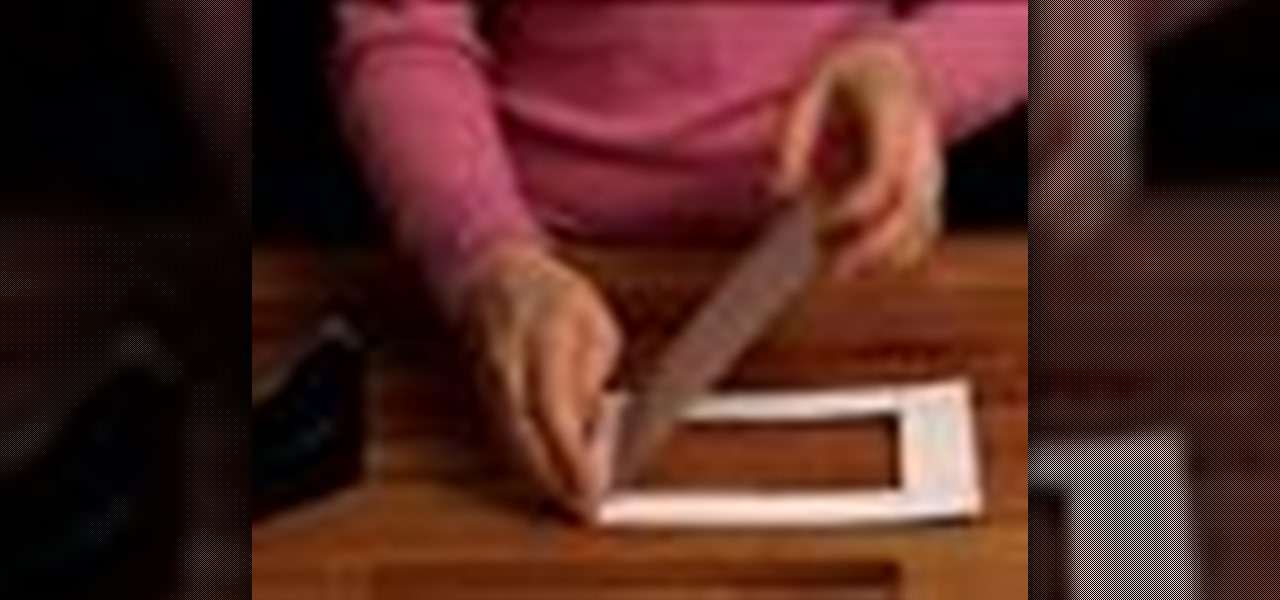
Make the most of your favorite photos by showcasing them in a beautiful mat and frame. For this project you will need: a picture,
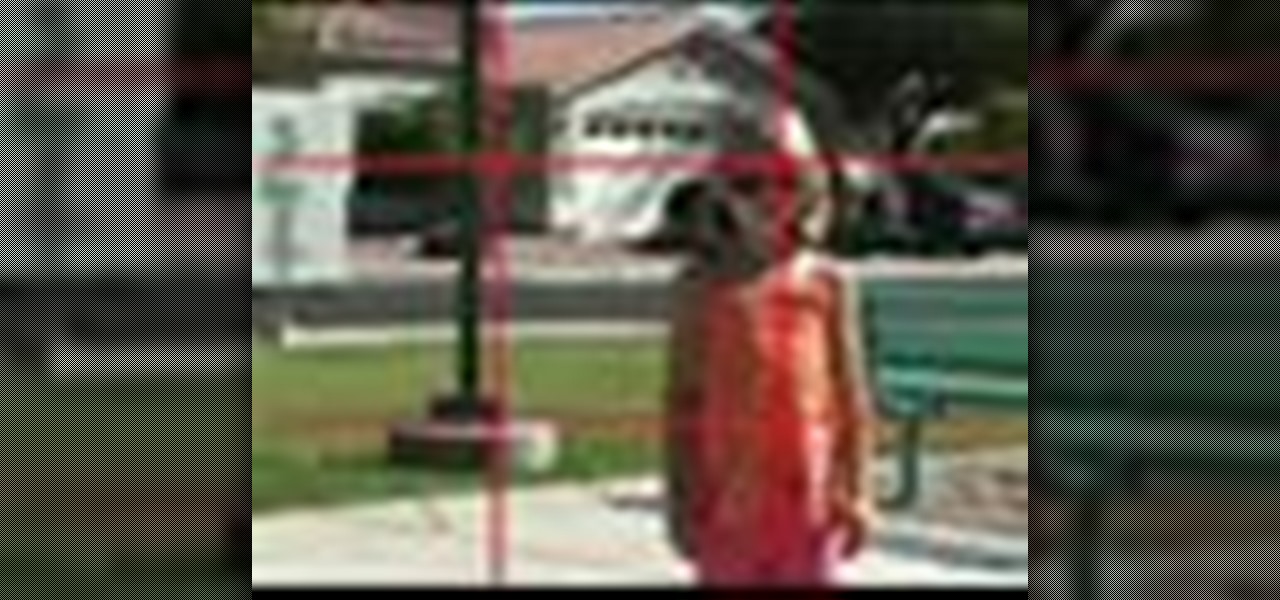
Israel Hyman is a weekend videographer headquartered in Mesa, Arizona. Here he demonstrates “The Rule of Thirds” to help you make your own home videos look better. The Rule of Thirds is a principle of cinematography that can make all your imagery look better, whether you’re working with videos, still photos, or whatever.

This is a cool tutorial because it not only shows you how to fake long exposures in your photos using Photoshop, but it also explains how to do it with a real camera. You'll be an expert in creating long exposures after watching this video!
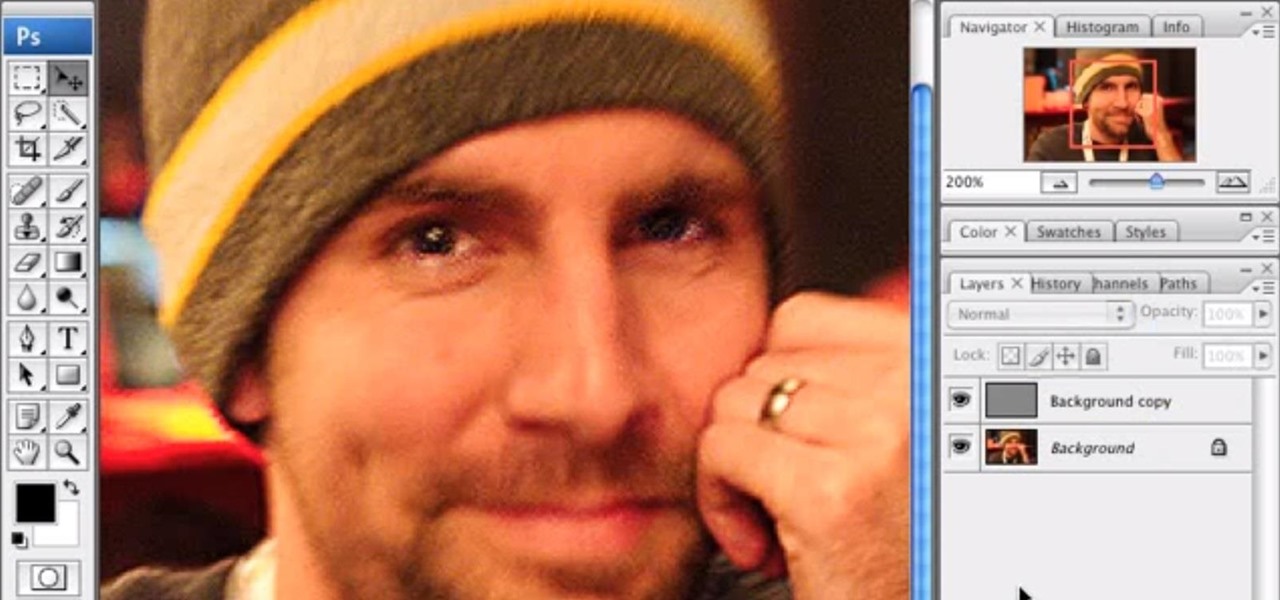
It's very easy to get a slightly blurry photograph due to a moving subject, camera shake, or just an incorrect auto-focus, but you don’t have to let that ruin an otherwise terrific picture. All it takes is a little finesse in Photoshop or another photo editing software. This guide covers sharpening a blurry image using Photoshop specifically.

mIQ? What is it exactly? It's a handy web service that helps you manage your mobile life, with free and easy online access to all of the content and information stored on your mobile device. How does it work? Best Buy has answers. The Best Buy Mobile team explains how simple it is to use mIQ to backup all the data on your cell phone, including messages, photos and contacts.

Have you ever gotten a friend request on MySpace, Facebook, YouTube, or Twitter from a hot girl and thought, "Wow! This is almost too good to be true!" Well, chances are, it is. In this short tutorial, learn some tricks and tip-offs to spot a fake.

If you're not much of a drawer, you can still get the look of a detailed drawing simply by taking a picture and using Photoshop's tools and filters to transform it into something that looks drawn by hand.
With Apple's Photos app, you no longer need a third-party tool on your iPhone, iPad, or Mac to blur or pixelate faces in your photos, helping you safeguard identities when sharing online.

Your iPhone has a powerful feature that can keep your secrets hidden from other people, and you'll never have to worry about sharing or showing someone something embarrassing or incriminating ever again.

When you expect to take photos of landmarks, buildings, landscapes, and other outdoor scenery with clear blue skies in the background, you may end up with nothing but overcast weather, resulting in a completely different mood in your pictures. Instead of forgetting about all your images with dreary gray skies, try turning those grays to blues for happier, more shareable photos.
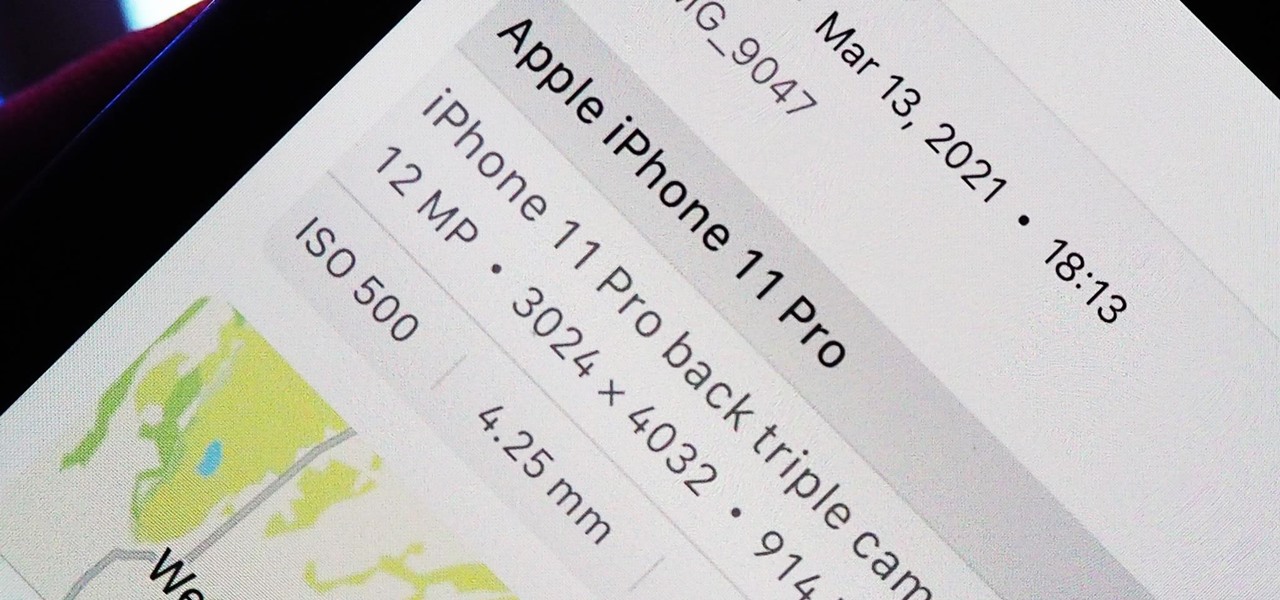
Apple introduces several new privacy settings with iOS 15, including the ability to better manage the metadata in your photos. With just a few taps, you can effectively spoof a photo's geolocation and change its creation date and time, providing a sort of disguise over your personal information. If you constantly take and share photos, it's a welcomed feature, but its results are not permanent and can be reversed.

You take a photo or video, send it to a friend, and they say, "Hey, I can't open this." More often than not, your friend won't be using an iPhone, iPad, iPod touch, or Mac. Instead, they're likely trying to open the file with a non-Apple device. But this problem can be avoided if you know what setting to change.

The rear cameras on iPhones have remained at 12 megapixels since the iPhone 6s, but with each new iPhone model, more data is going into photos. That means larger file sizes. If you're running into issues with your pictures being too large, whether you're sharing or uploading them, there's an easy way to resize an image or group of images using a shortcut.
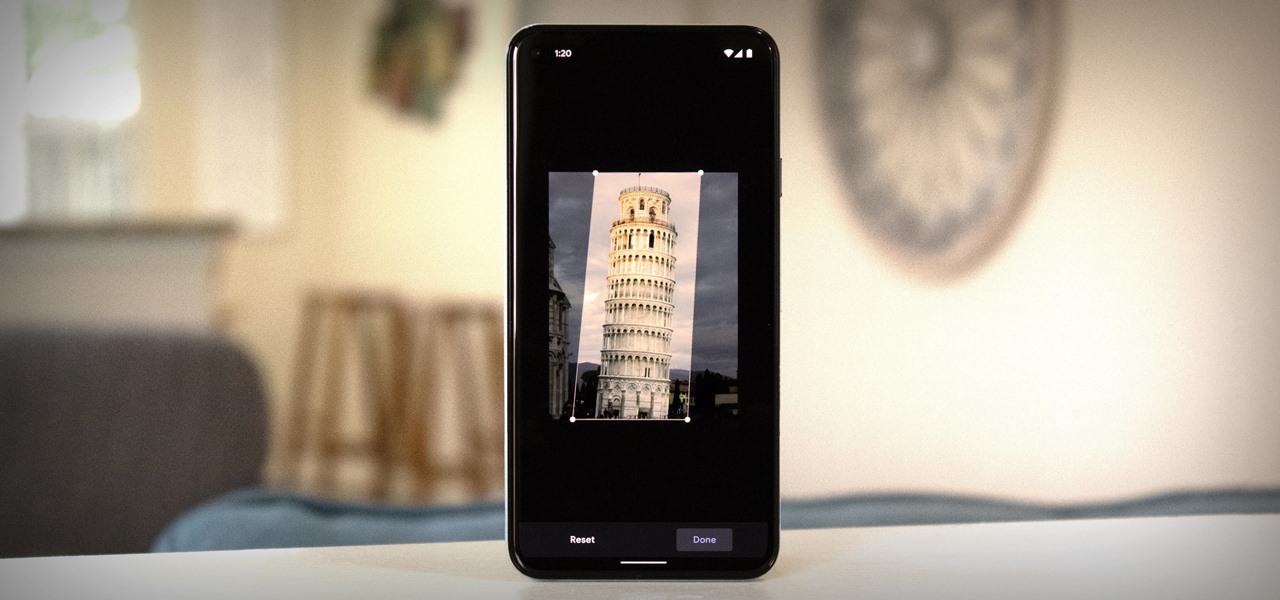
Imagine tilting the top of your phone away from you — it becomes a bit of a trapezoid, right? The top will appear smaller since it's further away, and the bottom will appear larger since it's closer to you — in other words, the perspective is all off. The same can be said of the pictures you take with an awkwardly-positioned phone.