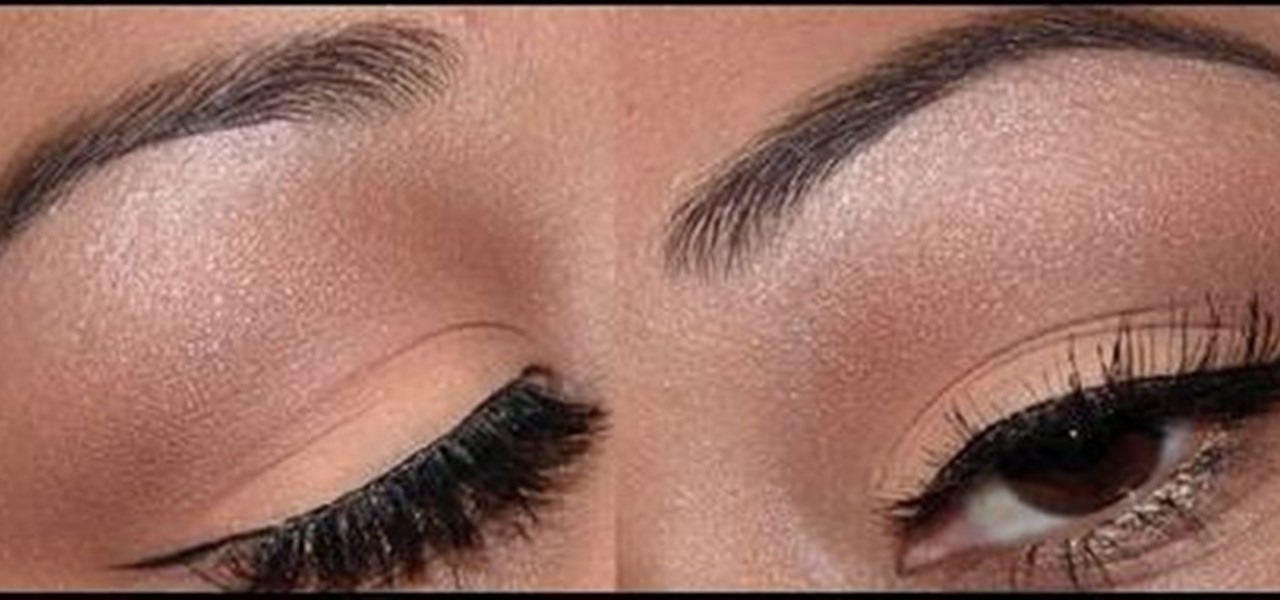
In this how-to video of Beauty & Style, Lauren (a.k.a QueenofBlendingMUA) shows us how to create an understated eyeshadow look. Using mostly neutral tones, Lauren shows you even how to make your eyebrows and what's better to use for your lips along with this eyeshadow.
The artist begins by sketching house the outline of the face and body using a pencil. Then he begins to form the eyes, nose, hair and ears, and applies a gray mask to the face which is then covered by the tan coloring of the woman. The lower body is applied with a lighter mask which is converted to the white furry coating of the coat. The drawing is then smoothened out showing us the main features of the realistic woman. Using the software and computer graphics that he uses, the hair, eyes, a...
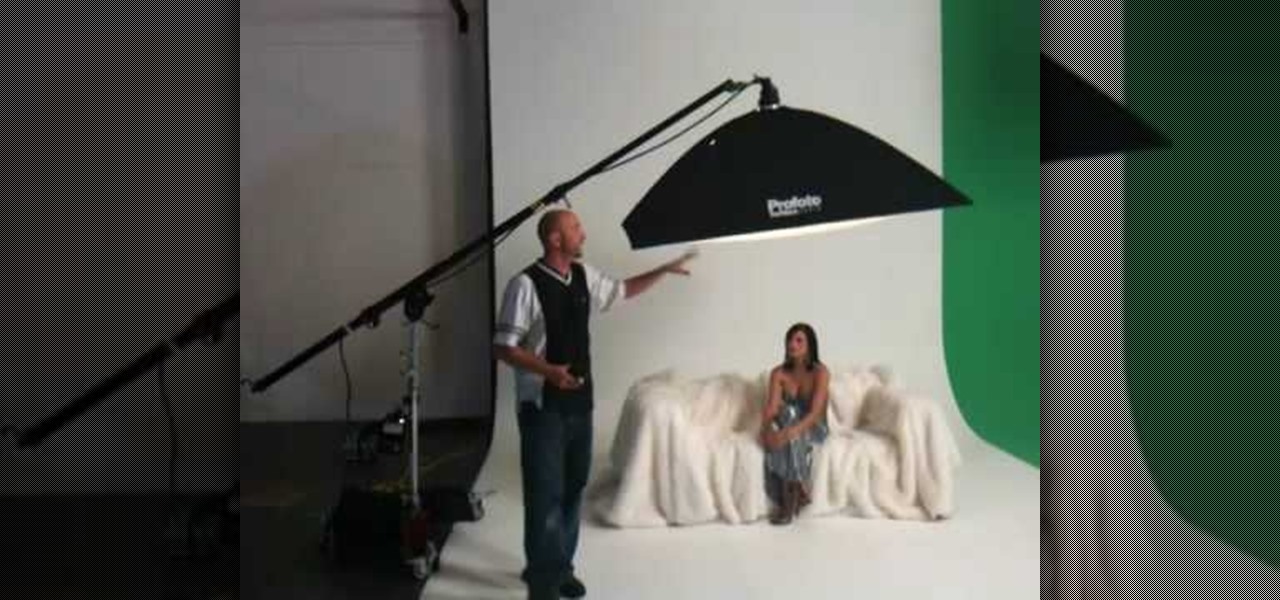
Mike Wallace is going to show you how to set up a softbox in order for a photo shoot. First, you are going to need an 1200 watt generation and with the Profoto one it comes with a pocket wizard built into it so it allows the photographer to meter and trigger with a pocket wizard TT1 on the mini camera. Also, you want to use a Manfrotto Megaboom softbox, and this is much easier then using a ladder because on the ladder you'd need to climb it whenever you wanted to reposition it. With the Megab...

Yanik Chauvin demonstrates how to create a batch using Photoshop and them Lightroom so you can decide which is faster and more convenient for you. In Photoshop, he first changes the color in the image, which he explains step by step the process, then saves the image as an action. He then shows you the process to batch the images so they will appear on your desktop. He also does the same thing with the image in Lightroom and shows you the process in which you would change the color and sync th...
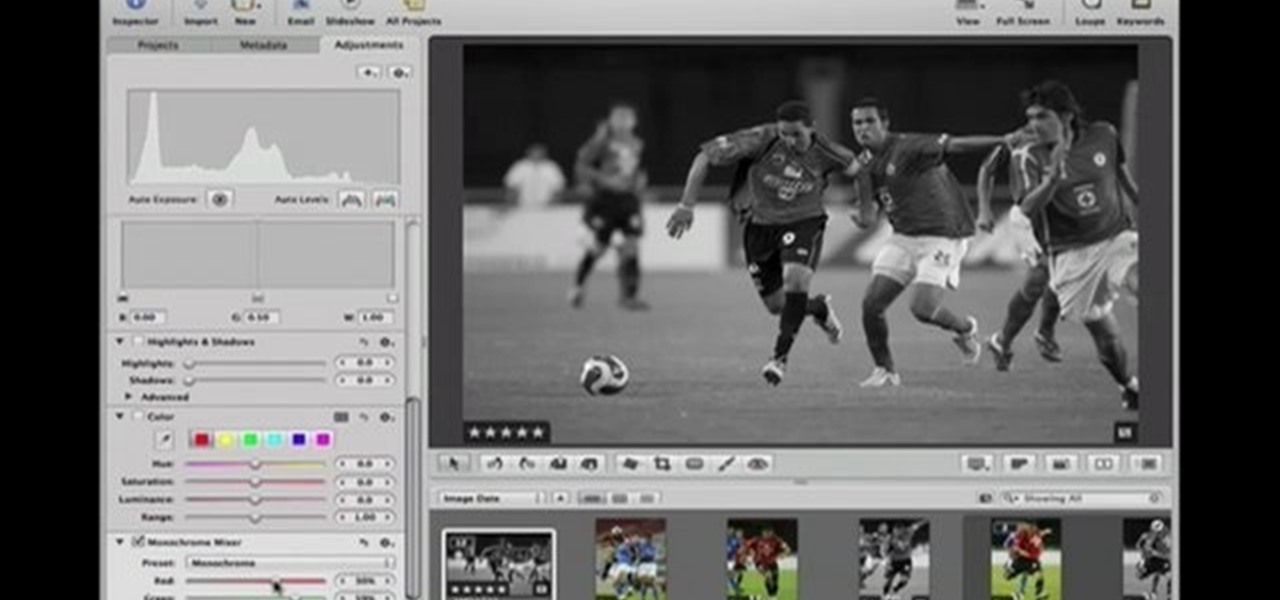
This Software video tutorial shows how to convert color images to black and white in Aperture. Scott Bourne presents this video. Open up ‘aperture’ program and select a color photo that you want to convert to black and white. Now move from the ‘projects’ page to the ‘adjustments’ page by clicking on it. Then click on the ‘+’ sign and select ‘Monochrome Mixer’. When you do this, the picture instantly turns to black and white. It’s as simple and easy as that. For editing the picture further, on...

This video teaches the method to add a virtual frame in Lightroom. The frames can be black or white. Go to the 'Develop' module. Open your Vignettes box. Go to the post-crop section. Slide the last three sliders to the leftmost position. Move the 'Amount' slider to the left to choose black frame and to the right side to choose white frame. The frame is rounded on the upper two corners. The 'Roundness' slider is used to round the frame inwards until a complete circle is obtained when the slide...

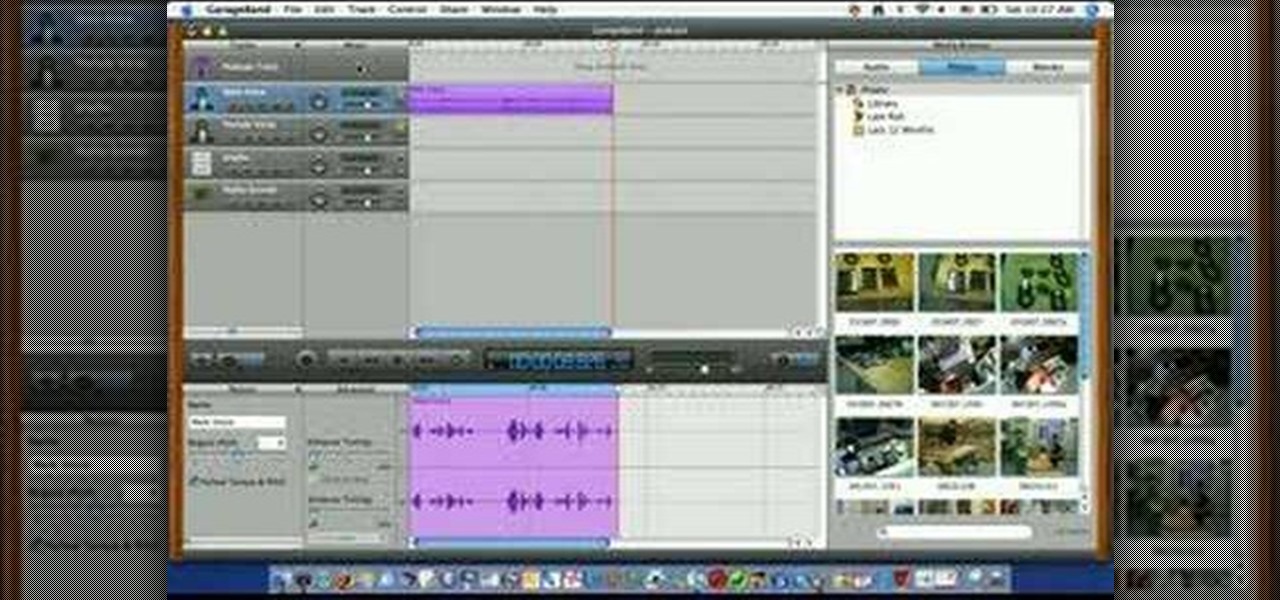
This video is describing how to create a podcast by using the Garage Band program on a Mac computer. Start by going to Garage Band and go to new podcast. Click create. Under the podcast you should choose what gender of voice that you would like. The top track is to add photos from your iPhoto. Select the voice that you would like to record on and click the record button on the bottom of the screen in order to begin. Record your podcast. Then to get your podcast into iTunes go to the share but...

This video in the Fine Art category will show you how to use the refine edge in Photoshop. This video tutorial is from Yanik Photo School. This feature is available in Photoshop CS3. If you are shooting objects in isolated background and you want to cut that object out and put it on a different background, the object will have jagged edges. Refine edge will help in smoothing those jagged edges. First select your object, then go to ‘select’ and click on ‘inverse’ and you have selected your obj...

Before meeting with an architect, you may want to review this video tutorial which outlines what you ought to consider when meeting with an architect that will be helping you renovate your home. Homeowners should visit places and take down notes and photos of what designs they appreciate so that they can bring it to the architect. This will help you to train your senses and language to describe what you like and dislike in terms of style. You should also bring magazine clippings or books of s...

This video lesson will show you how to easily make frames and borders in Photoshop. Yanik from Yanik’s photo school presents this video. It’s really easy and fun. Go to select -> all or ctrl+A. Then Go to select -> modify ->contract. Put in the amount of pixels you want your border to be and click OK. 75 may be suitable for most pictures. Then Go to select -> inverse. Now you go into quick mask, ctrl+Q or click the appropriate icon. Click filters -> filter gallery and select the type of effec...

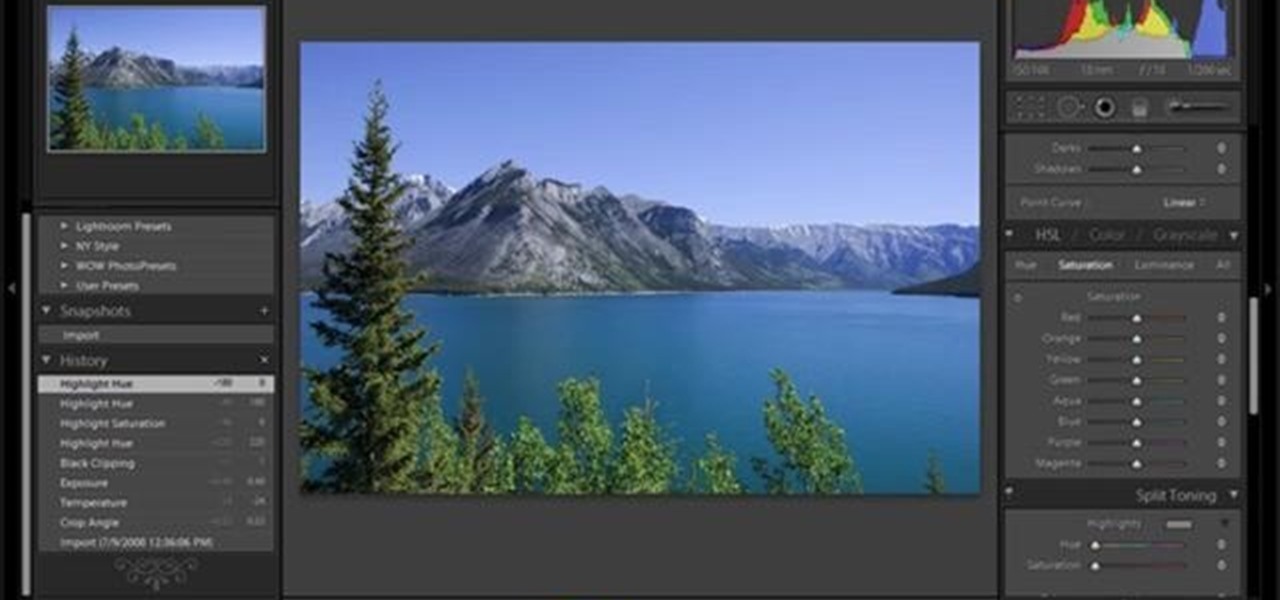
This video shows the method to split tone in Lightroom. Firstly, go to the 'Grayscale' button to change the photo into black & white. Go to the split toning section and change the tint into the color you want using the 'hue' option. You can also use the 'Highlights' option to select the color and see the preview. Bring the saturation down to get the right color. Repeat the same procedure with the shadows. Choose the right tint for shadows. Hold the 'Alt' key down to see the effect of change i...

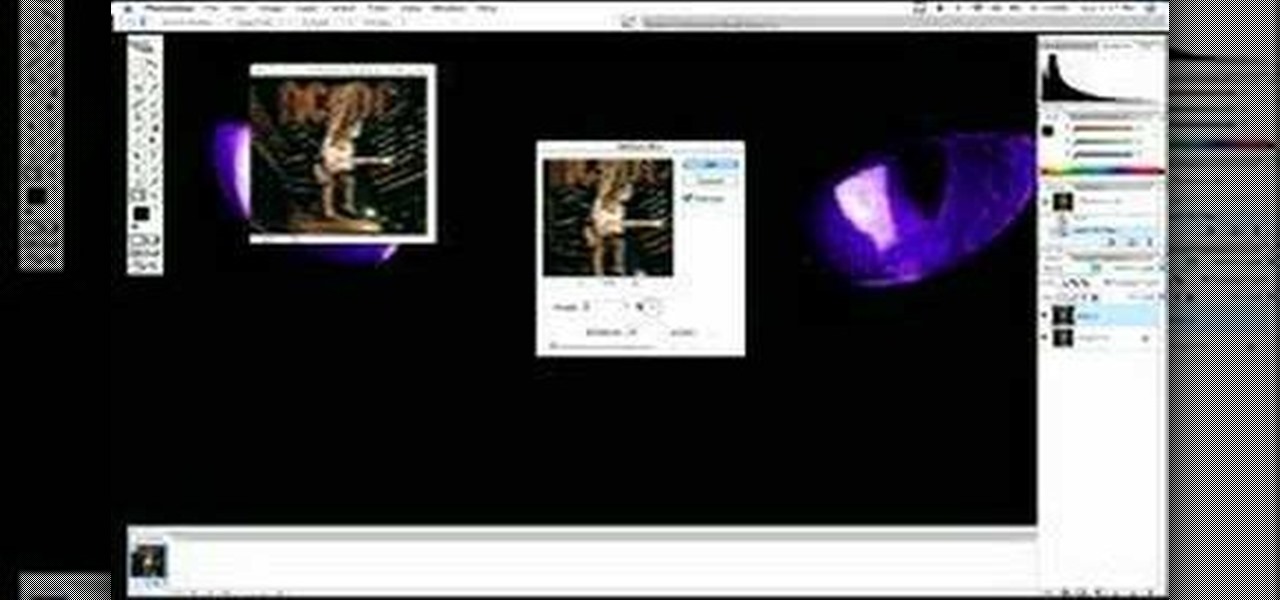
Adding motion to graphics using Photoshop can create an exciting and dynamic effects. Select a picture you want to add motion to. First, duplicate the background layer. Then under Filters, select blur, and then select Motion Blur. Then you set the angle of the Motion Blur. You can select any direction and also set the intensity of the blur by setting the distance setting. Then you will need select the eraser tool and select under Options select the brush. Chose a soft edge brush and erase ove...

Facebook is one of the most popular Social Networking Sites around. Watch as this video shows you how to make your very own Facebook page so you will be included in one of the biggest things around! First, you want to sign up for an account. "Its free and anyone can join" is their slogan! Go to www.Facebook.com and get to signing up! After that simply login into the site using your user name and password. After that your profile is set up you must simply just personalize it. Fill our your inf...

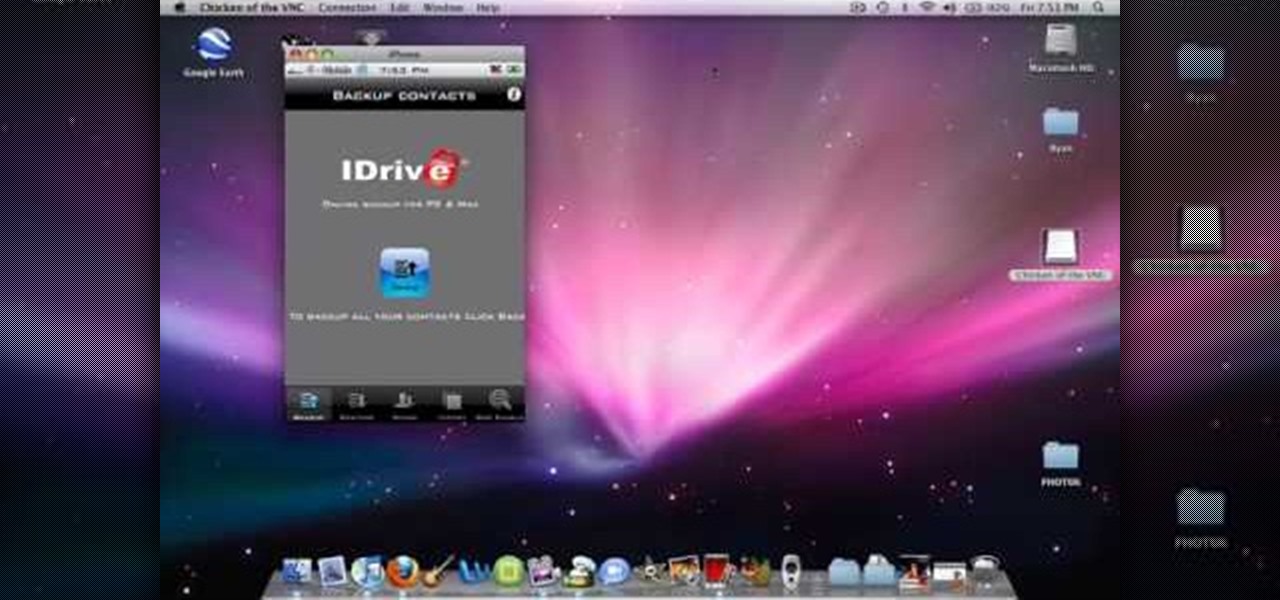
Learn how to back up and restore your iPhone or iPod touch contacts free without being jail-broken. Download and install iDrive lite from the link ibackup. Launch the application and sign up for the service and log on. Tap the back up button and a status bar will appear showing the progress. after the backing up is done, log in to the service and see whether the back up is successful. You can also download and install Cyntact from the link smart-mobile] to di...

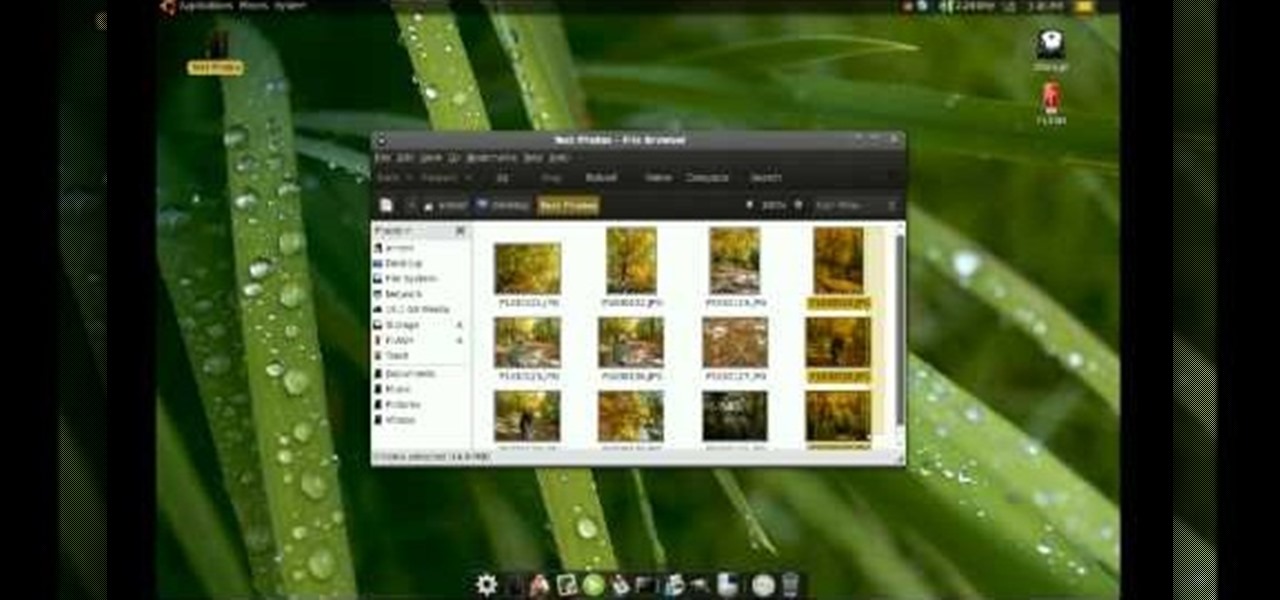
This video shows the method to recover deleted files in Ubuntu using Testdisk. The demonstration is done by deleting a set of pictures and recovering them later. The test disk is installed at first. Then we click on the terminal icon and go to the list options available. These include selecting the list of drives available, partition table type and the type of file system in the original photos. Then the system asks you to select the part to be analyze and destination folder. The tool then re...

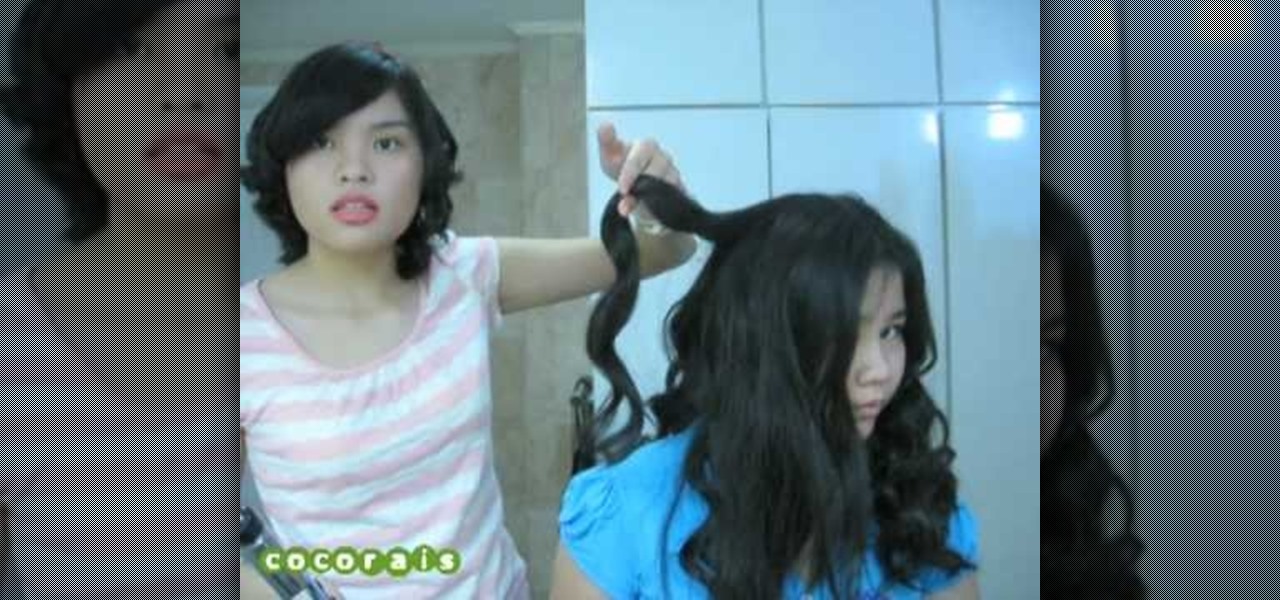
The video begins with a photo of Miley Cyrus with her curly wavy hair. The hair stylist then begins to demonstrate the process to create that same hair style on a subject. She begins by brushing the subject’s hair and then sprays some heat protecting spray onto the hair. The next step is to spray curl boosting spray onto the hair. The hair is sectioned off into small sections. Next is to use a curling iron and wrap the hair around the iron in a spiral pattern and hold for about 30 seconds. Th...

The video describes how to use Pinnacle Plus Studio. The narrator first describes the various tabs and features of Pinnacle Studio. He then describes how to import a video into Pinnacle Studio for editing. The video demonstrates how to add still photos, sound effects, music, and transitions to your video using the various tabs and options along with what the narrator calls the timeline. Finally, he describes how to make a movie after you have finished editing your video. He gives a good overv...

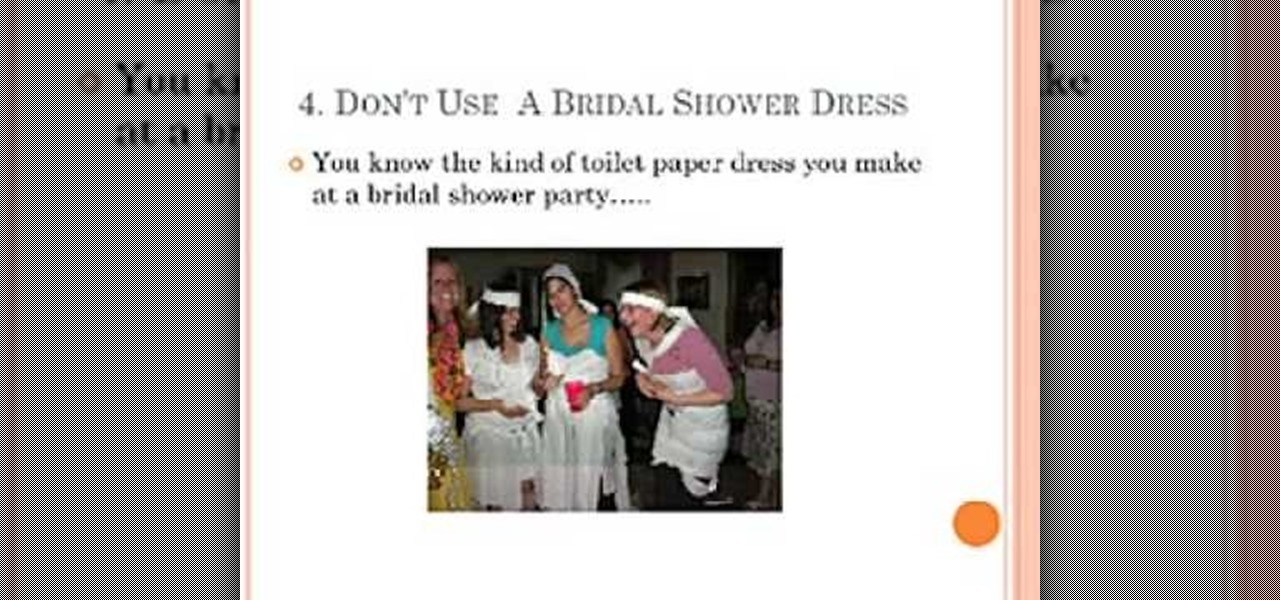
The video gives tips to participate in a toilet paper wedding dress making contest. It gives the participant tips on how to make a winner's dress. Contestants are asked to begin with some inspiration by looking at previous winner's dresses, going through real dresses or by using their own imagination. Their next step is to gather the required materials. Participants must take good photos of their dresses in multiple angles and they can even shoot a video of their dress making. Some points on ...

Candid photographs can capture a picture worth a million words... If taken correctly, that is. In this photography tutorial hosted by Click Here Photography, learn how to take candid photography and achieve the best results. Equipment, how to set-up, and additional props are gone over. Learn how to experiment, when to snap, and what lenses are best when trying to capture a stunning candid photograph. Enhance your next candid photo with help from this tutorial.

In this video brought to us by Google Nexus One, we are shown how to use the new Nexus One Android Phone. The demonstrator starts off by showing us how to use the phone's dial pad. A benefit of the Android is that you can use your apps while on a phone call. Next, she explains the different ways you can use the call log. She then suggests that if you have people that you call very frequently, you should enter them into your favorites list. You are also shown how to transfer your music and pho...

Cardcrazy09 teaches you how to make a Halloween mini tag album using Cricut. The album itself is made using different types of double sided cardboard. They're stuck together using a metal spiral. Each of the elements use different types of cartridges for Cricut. Simply cut all of them and stick them in place on each page. You can also add photos to give it a more familiar look. Multiple tags are inserted in little cardboard pockets. There is also a demonstration of the Cricut Gipsy, a useful ...

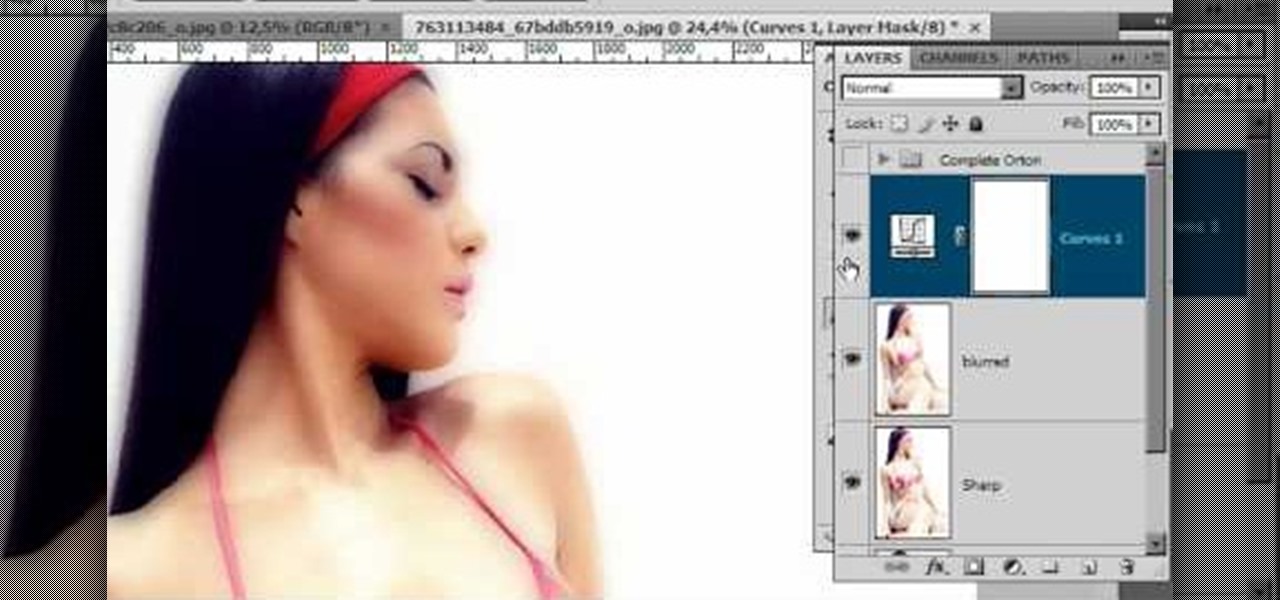
In this video tutorial, viewers learn how to create the Orton glow effect using Adobe Photoshop. The Orton glow effect is achieved by combining a sharp image with a duplicate that is deliberately blurred or softened. The overall result is often characterized as a dreamscape, diffusion, or softening glow. It is an effect used for landscapes and portraits. This video provides voice narration and step-by-step instructions for viewers to easily understand and follow along. This video will benefit...

Watch this video to learn how to make a little planet effect in Photoshop. Go to Image>Image Size and resize the picture making the width and height equal . Don't forget to unmark the "Constrain Proportions" option. Now that you have a squared photo go to Image>Rotate Canvas>180. Go to Filter>Distort>Polar Coordinates and select the option "Rectangular to Polar". Now rotate as you want to and remove any failures.After you select the picture, make sure the sides are alike and that the horizont...

This video teaches the secrets of cheating on any test with a soda bottle. You will need: a beverage bottle, glue, scissors. First remove the brand label from the beverage bottle. Now scan the label to your computer or take a picture of it and use it. With any photo editing software remove the nutrition facts from the label and replace it with your notes. Now print it horizontally by adjusting the page setup for the full label to be printed. Use a quality glossy paper for printing to make it ...

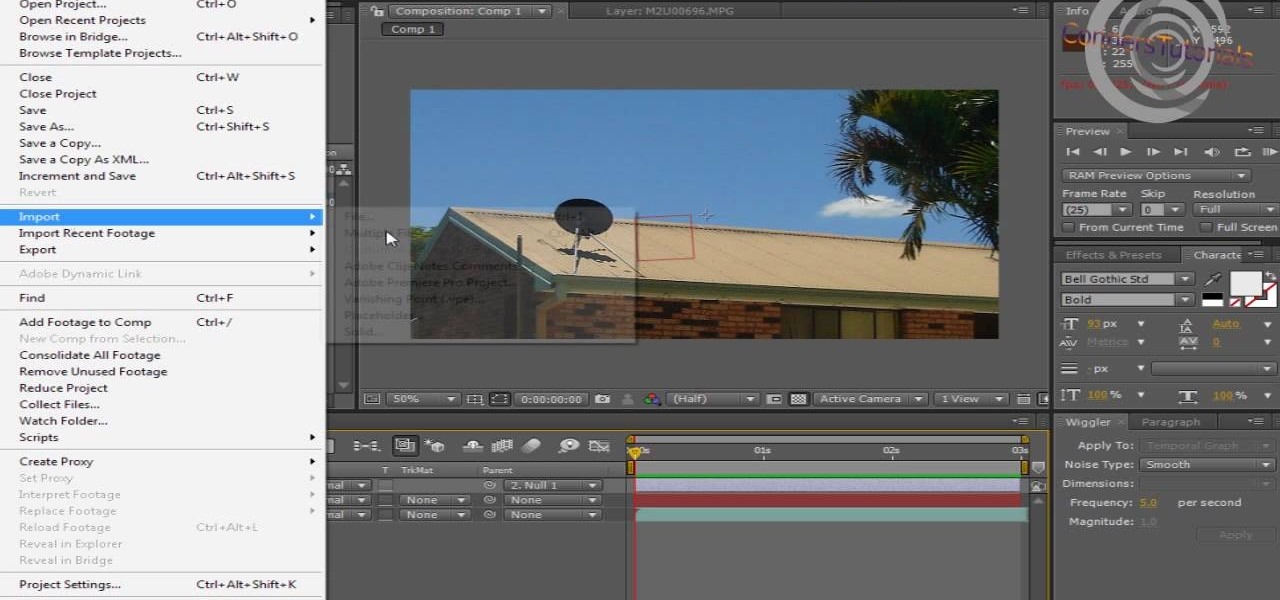
In this video, viewers learn how to add realistic camera movement to a still image using Adobe After Effects CS4. Adobe After Effects is a digital motion graphics and compositing software. This tutorial will go over how to add realistic camera movement to a still image or photo and make it seem that it is an actually video. This tutorial will also teach viewers about motion tracking and basic chroma keying. This video will benefit viewers who enjoy producing videos and creating special effects.

It is a tutorial that explains the basic guidelines of Nikon D40 and D40x cameras. This enables everyone to take photographs successfully and prepare the camera for use. Attach the lens of the camera by rotating towards the right; make sure that no dust gets into the camera. Then remove the protective cap from lens and align the white dot on the lens with the white dot on the camera's body. Turn to the left until it clicks in to place. First, we must charge the camera's battery; when the LED ...

How to resize the background image in Xara3D6? First go to windows>frame size. Go in Sara and change the size of the image to the frame size. Make the image transparent. Then export the image as a PNG format. Now go back to Xara3D6 and go to view>background texture and open the previous image which was saved. That’s it; the image is resized to that particular document properly. It will help in resizing photos to be uploaded on the net.

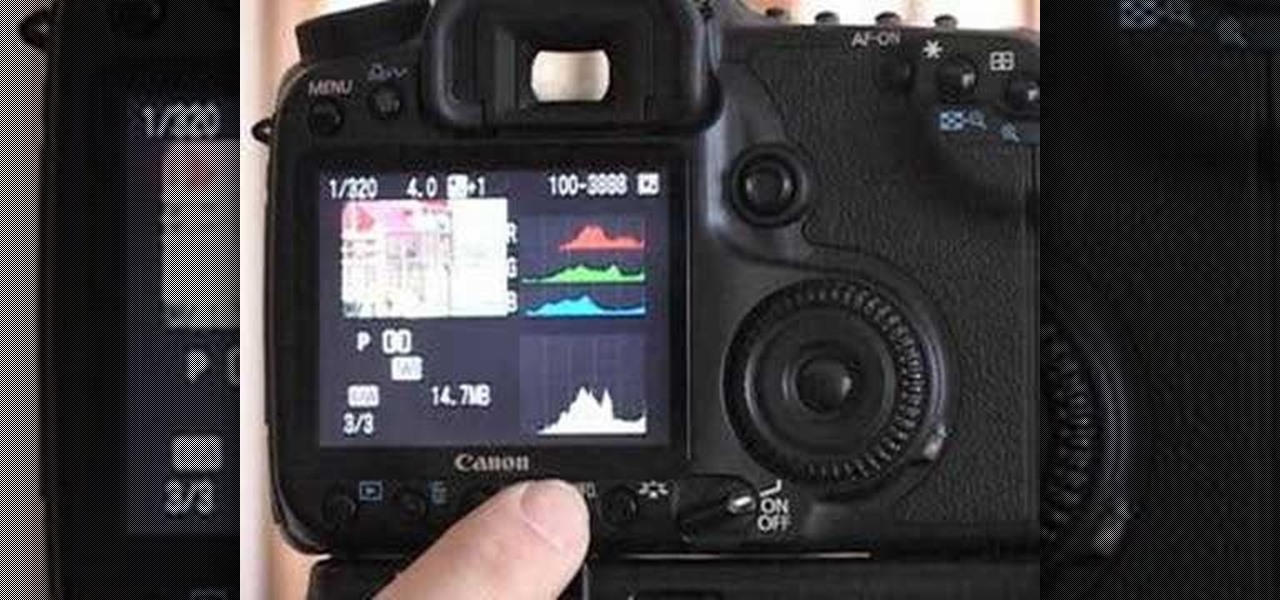
A video from Graham River Productions, presented by Shannon Smith, explains how to interpret Histograms on modern Digital Cameras. Just because a captured image looks nice on the camera screen does not mean that it is really good. One of the better checks for quality of a photograph is the histogram display that is available on many modern cameras. Histograms accurately tell whether the full potential of the the camera's optical sensor has been utilized or not; and are the tools of choice for...

CreativeIceDesigns shows all the steps it takes to give any photograph a nice, vintage look using Adobe Photoshop. The image must first be unlocked. You then select the grunge paper brush. Normally you should keep the aspect ratio of your image the same, but in this case, you should resize it to the same height as your paper surface. After changing the blend mode to multiply and adjusting the brightness, you then change the opacity and you'll have the "wrinkled paper" effect you're looking fo...

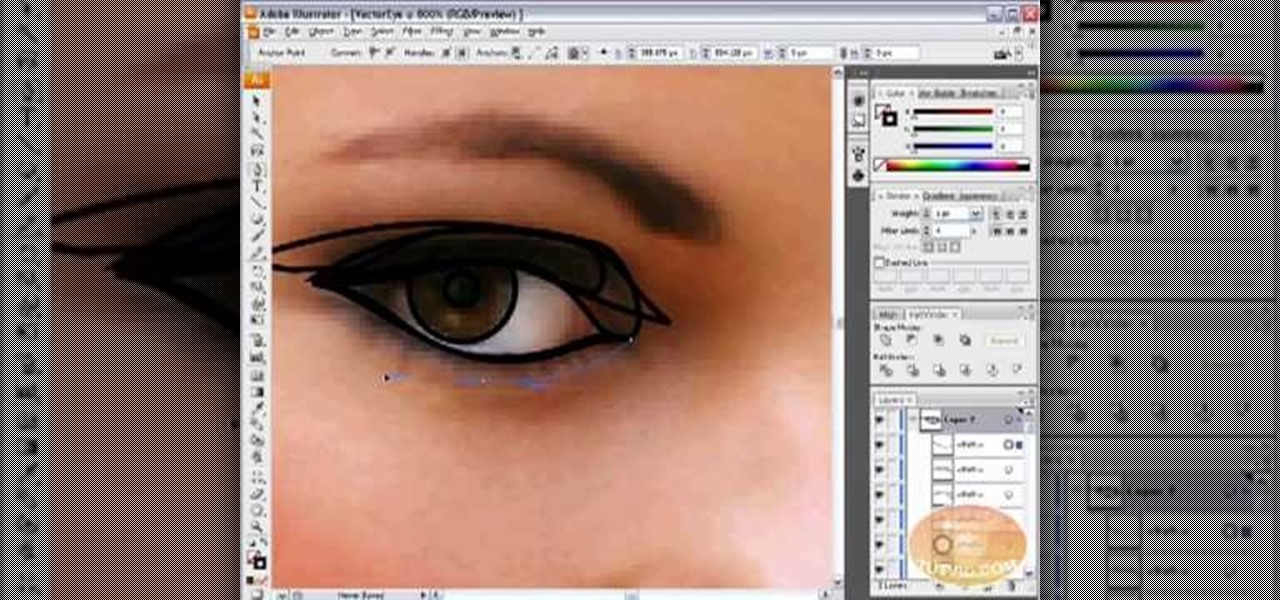
This is how you can vector an eye in Adobe Illustrator. You will first want to upload your photo to PhotoShop and then increase the contrast to highlight your picture better. Increasing the highlights is not a necessary step however. This is an intermediate process but the end result with be a cartoon looking eye on a real person. If you used this effect for the whole picture it would look very neat like your own cartoon character! If you only subtly vector the eye then you still have an edit...

This video demonstrates using Xara Xtreme to align and stitch two images. This is useful for putting together panoramic images. The presenter instructs us to look for similar points in the two photos. Once the points are found see how the images line up. In this case one of the images needs to be rotated. To find the correct rotation the presenter will make one of the images 50% transparent. With the image somewhat transparent he can rotate and position until the images match up perfectly.

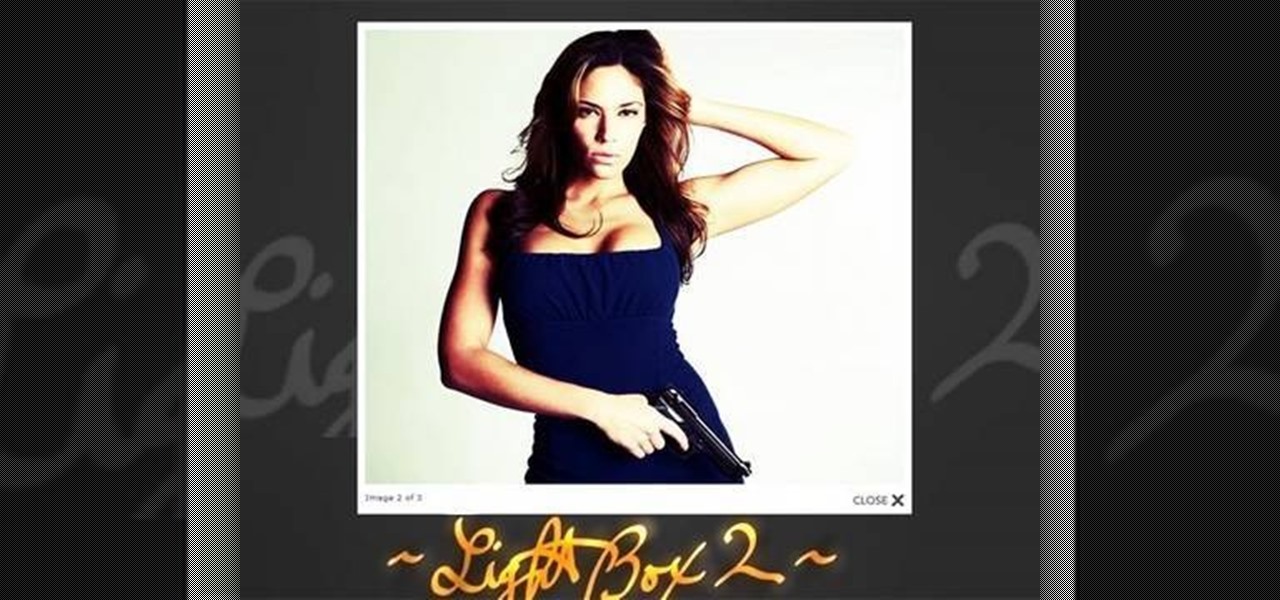
In this tutorial the author shows how to make a simple JavaScript image gallery. In this video the instructor shows how to set up a Lightbox tool. Lightbox is a simple image or photo gallery script which you can use on your website. It is a free tool and it is very easy to setup on your website. This tool has many features like when you click on an image the image enlarges and the rest of the background is darkened focusing your view on the image. Now the author shows the links to the Lightbo...

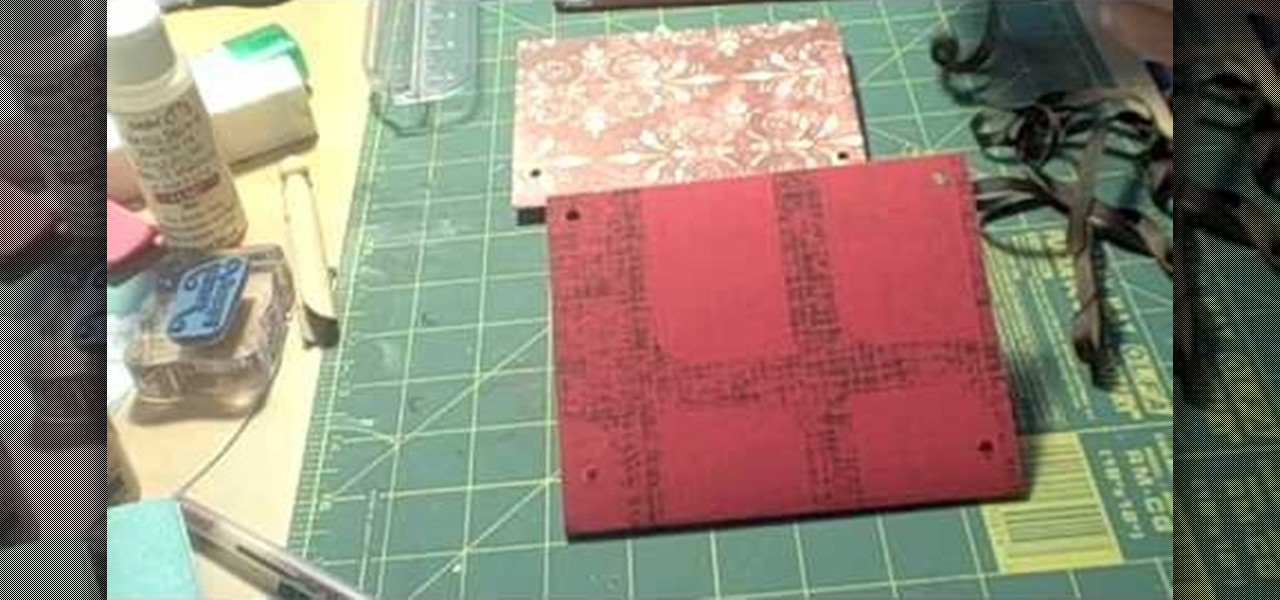
Making this DIY album is easy and fun! This video will show you how to make an 8x10 photo album enclosed in ribbon. After cutting two pieces of cardboard to size, you can take the material you've chosen for the cover and cut a 9x11 piece so that you can fold over the edges. After that, it's as simple as gluing the material to the backs of the cardboard and taking an extra piece of material for the inside cover. Good luck!

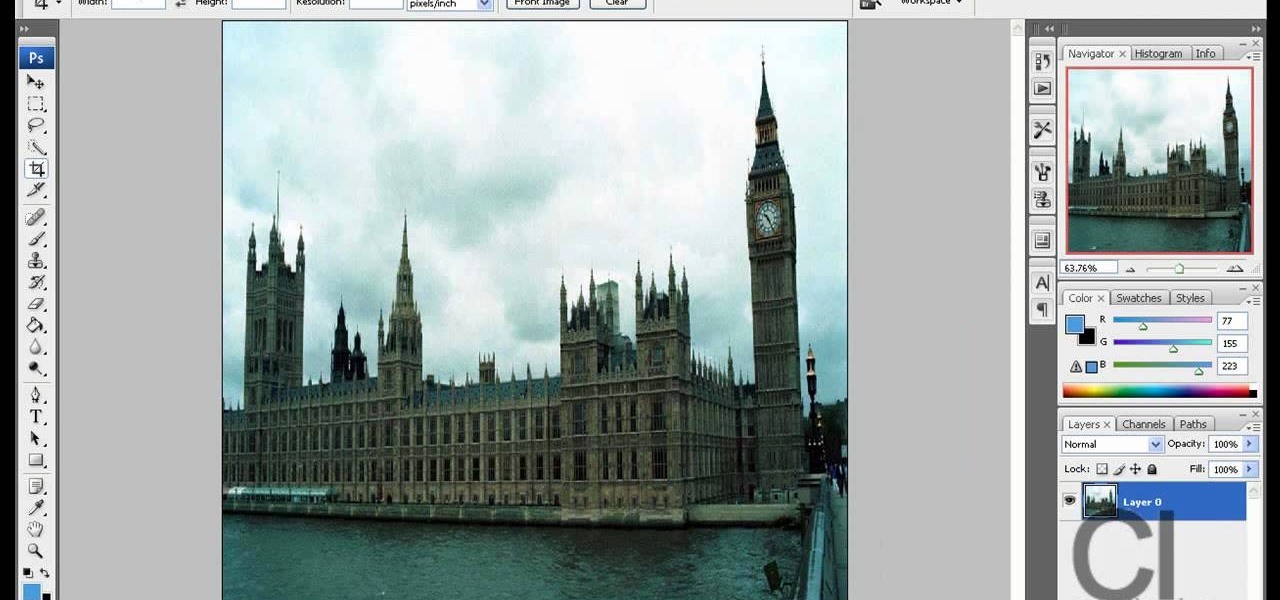
In this video tutorial the author Chris Orwig shows how to perform image enhancements using Adobe Photoshop. Chris Orwig is a photographer and a Adobe Photoshop power user who explains how to use Photoshop to bring the best in photographs. He takes a real photo and shows how to add little color to a photograph and make it more lively and attractive. He also shows how to apply some vintage effects. He shows some images and points out to the wide angle distortion present in the images and how t...

In this Adobe Photoshop tutorial the instructor shows how to make a torn image effect. He shows you a sample image of what it is going to look like after producing that effect. It basically looks like as if the photograph was torn to pieces and then put back together with the cracks visible. To do this first open the image in Photoshop. Now make a rough outline of the tear with the polygonal lasso. After generating the tear go to filter and in the distort sub menu choose the ripple. Now it ap...

With all of the technology literally at our fingertips, there's no excuse for things not to be easy, right? Don't get frustrated about not being able to send pictures with the simple click of a mouse. Educate yourself with this video so you can send pictures to your cell phone. That way you can have that awesome photo from last weekend available no matter where you are. This video will show you how to send pictures from your computer to your phone.

Photo editing expert Chad Troftgruben teaches the viewer how to effectively use the quick selection tool in Adobe Photoshop. In Chad's opinion, the quick selection tool is quite similar to the magic wand tool in the same software, except for one major difference: one can select a particular object, even in a complex picture, simply by holding down the left key of the mouse and moving the pointer over the object. Chad also points out that the quick selection tool saves a lot of time and is ver...

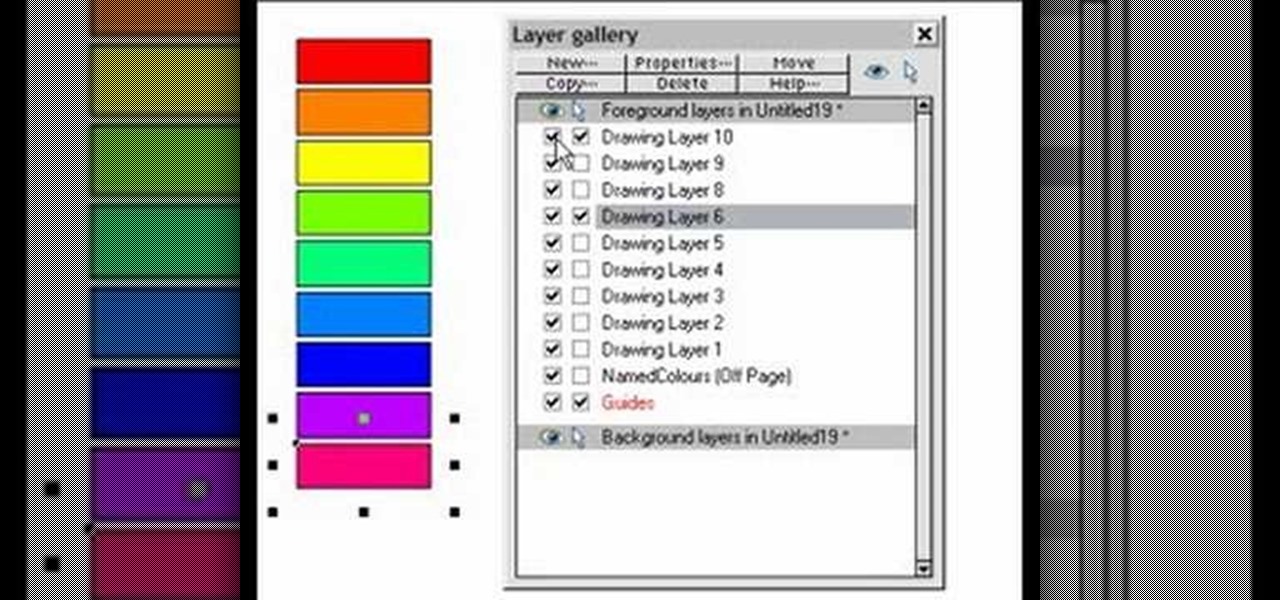
This is a very informative video on creating multiple layers and short cuts on how to edit the already made layers to match your preferences.

What is the difference between a F1.8 lens and a F5.6 lens? It's really very simple! F8.1 has a much larger lens, and therefore it allows more light to pass through. There are several benefits in having a larger lens. Number one: The quality of the background is improved. Number two: Your focus speed is faster. Number three: Low light ability is better. F1.8 lens are a professional level. F5.6 lens are the commercial kind. For a higher quality photo, you might consider using a larger size lens.

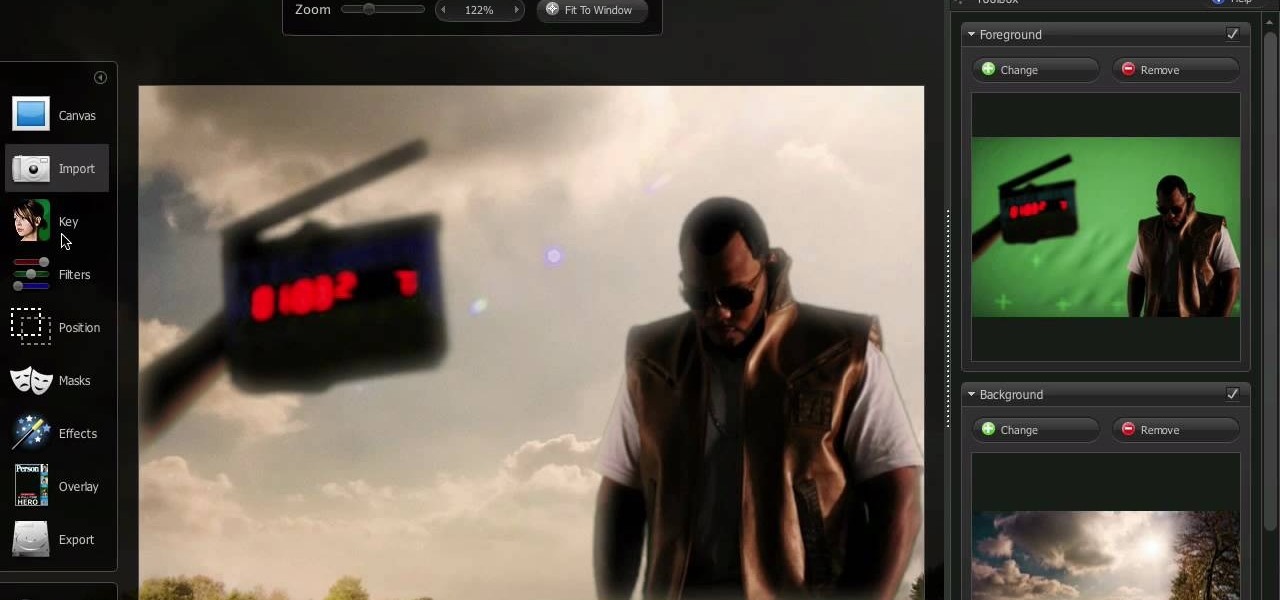
This video is about the use of PhotoKey. It is surely an excellent sales pitch. The video clearly depicts the benefits and advantages of PhotoKey. The easy and short ways to edit background, delete objects and also adjust light to make the photo look more real. PhotoKey is very user friendly and does magic to the project for which it is used. The video by itself makes the viewer feel that this is the best and easiest tool available to edit pictures to their own needs. It also gives informatio...


