Michael Weisner teaches us how to draw an adorable little puppy in this tutorial. Start out by drawing the outline of the dog, drawing in all the details as well as the body. After you have the base done, grab a Sharpie and start to draw the top of the head and the ears. Make lines on the top to make it look like the dog has fur and don't forgot the eyes and nose on the face. After this, trace out the rest of the body, including the front and back paws. Make sure to add in any shading you fee...
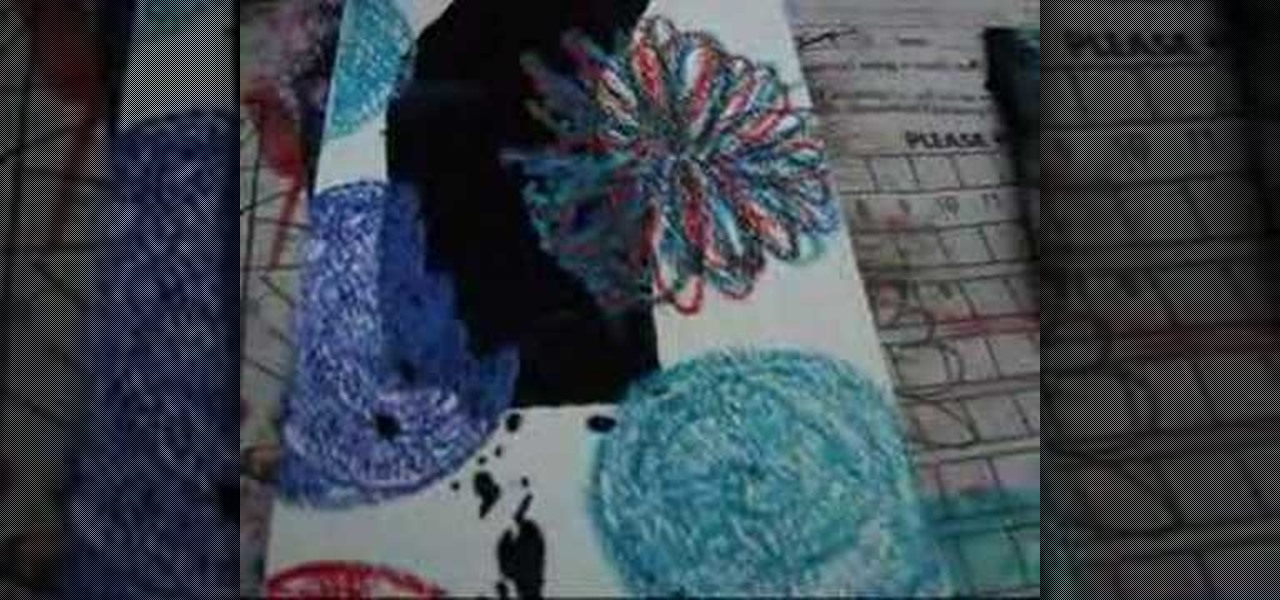
In this video, we learn how to make crayon resist watercolor background sheets. First, draw a pattern onto a piece of paper with crayons. You can make any kind of pattern that you want. After this, add some water color paint to the picture and use a credit card to push the paint around the picture. You will see that the crayon resists the paint and the paint sticks to the paper instead! Let this dry, then you will see that the crayon is still resisting the watercolor ink. After this, enjoy yo...

There isn't a kid out there who doesn't enjoy gobbling up sugar cookies - unless he/she is allergic to gluten, that is. Gluten is a wheat product that some kids and adults have adverse reactions to, but the ingredient is included in many baked goods, from cupcakes to bread.
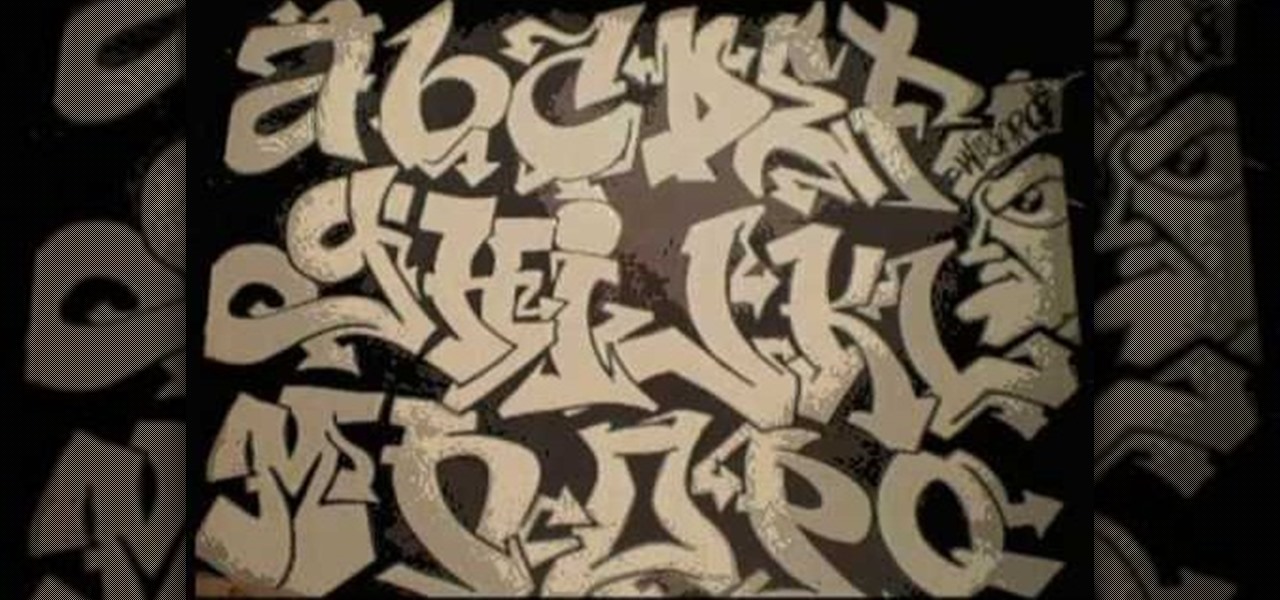
In this tutorial we learn how to draw a graffiti alphabet for beginners. To draw the graffiti letters, you will first need to have a visual to look at while you are drawing them. Each of the different letters have a different look to them. They may be hard to read at first, but they each have a unique look. You will make the letters bubble letters, but have an edge to the bottom and top of each of them. To practice this further, you can trace along different letters to get a feel for how the ...
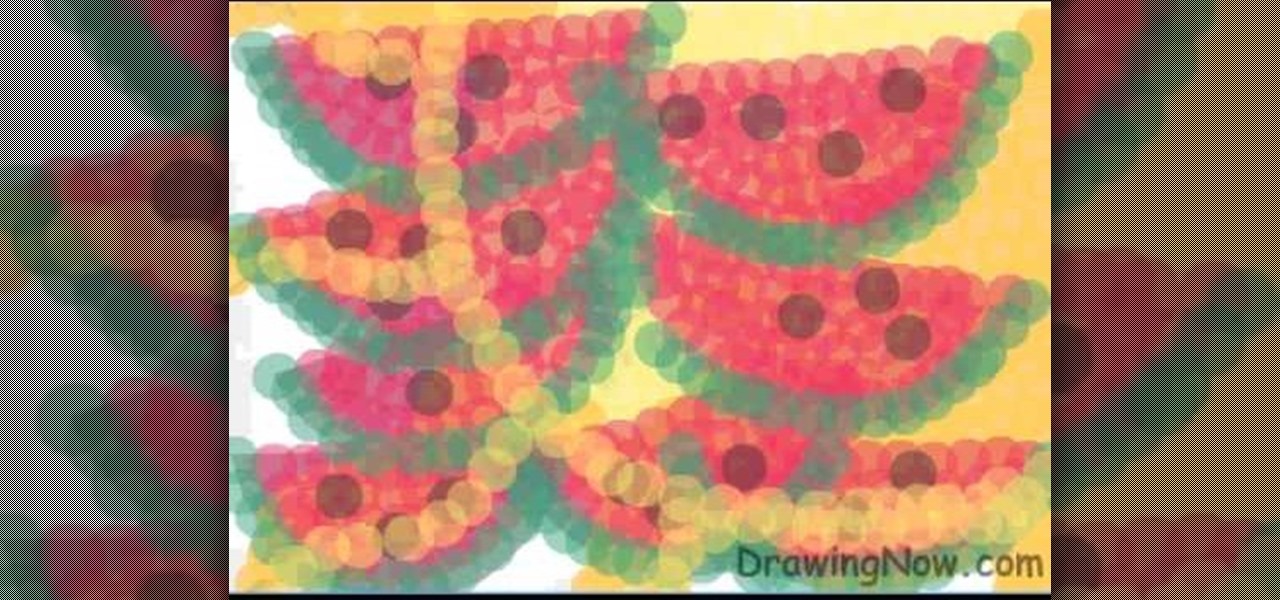
In this tutorial, we learn how to draw abstract watermelons. First, draw a circle, followed by wavy lines coming out of it just like the sun. Next, draw half watermelon shapes all over the picture you just draw. Now, fill in the picture with yellow circles on the inside of the circle shape. Use a dark yellow/orange for the second half of the circle to the bottom. After this, use the orange to fill in half the wavy lines and then use red to fill in the other half and make large half watermelon...

In this tutorial, we learn how to make a lily out of paper and pipe cleaner. First, lay your hand flat on a piece of copy paper. Next, trace your hand with a pen or pencil, then cut it out with scissors. Now use a pencil or pen to curl the ends of the fingers you just cut out. After this, combine two pieces of gold pipe cleaner together and bend in half. Then, place a green pipe cleaner in the middle and make a twist to keep in place. To finish, wrap your paper hand cut out around the gold pi...

In this tutorial, we learn how to decorate your jeans with embroidery. First, you will lay your jeans flat on a surface, then trace out the space you want to make on a piece of paper and cut it out. After this, place the paper on an embroidery sheet to transfer the design. When finished, cut the embroidery out. After this, use a needle and the same color thread as the design to sew it onto the desired spot. When you are finished, you will have a unique embroidery that you designed! This can b...
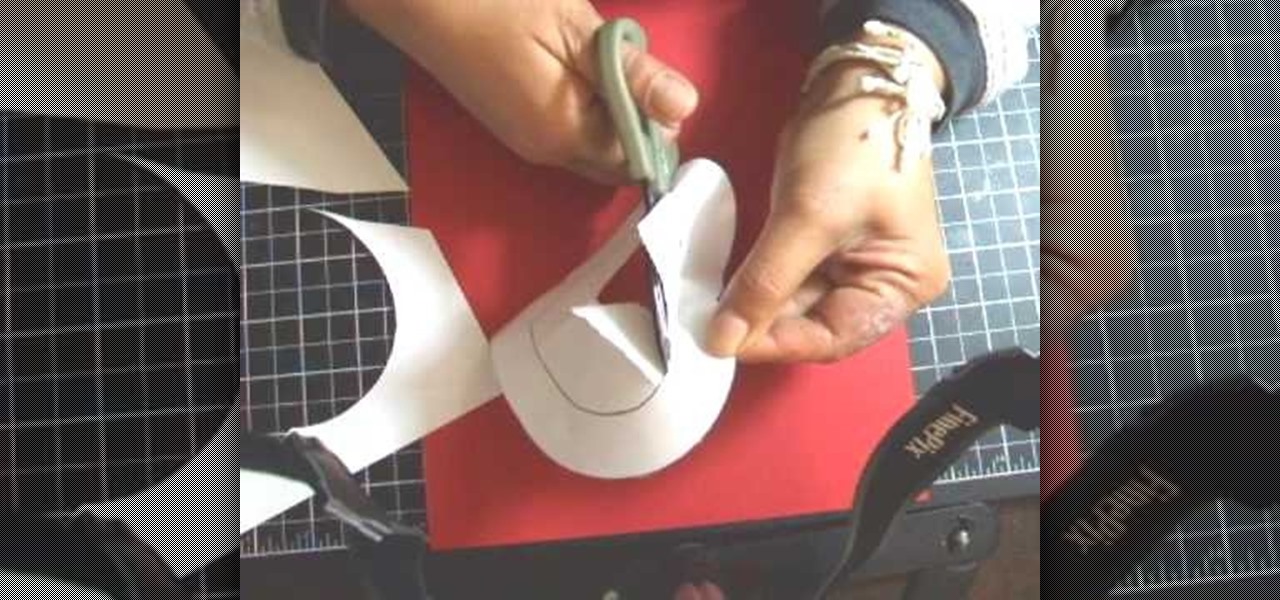
In this tutorial, we learn how to make a Victorian hat from a lampshade with Gwen. You will need: a lampshade, scissors, acrylic paint, paint brushes, glue, a compass, and cardboard. First, take the compass and make the circle as wide as you want your hat to be, then trace your lampshade on the cardboard. Now place the small end of the lampshade around the large circle that you drew. Next, cut these circles out of the cardboard. Leave extra room, don't cut it out exactly on the line. When fin...
In this tutorial, we learn how to draw a sports logo. You will need: paper and a writing utensil to do this. Do a rough draft of the logo with a light pencil before beginning. When finished, draw a basic helmet shape with a Sharpie marker. Trace around the lines that you made and make sure to draw the face guard when you are finished with the helmet outline. Next, add on a grille to the mask and then add more detail to the helmet as it would look in real life. When you are finished, add color...
In this tutorial, we learn how to increase your Wi-Fi signal with a coffee can. Materials you will need are : a knife, a coffee can, tape, USB Wi-Fi adapter, and marker. First, measure 1 inch from the bottom of the coffee can then trace your USB around that mark. Now, cut a hole in that shape in the can. Next, cover the hole with your tape. Next, hook your USB up to your cable adapter, and then place it in the coffee can. Now, plug your USB into your computer and you should have more signals ...
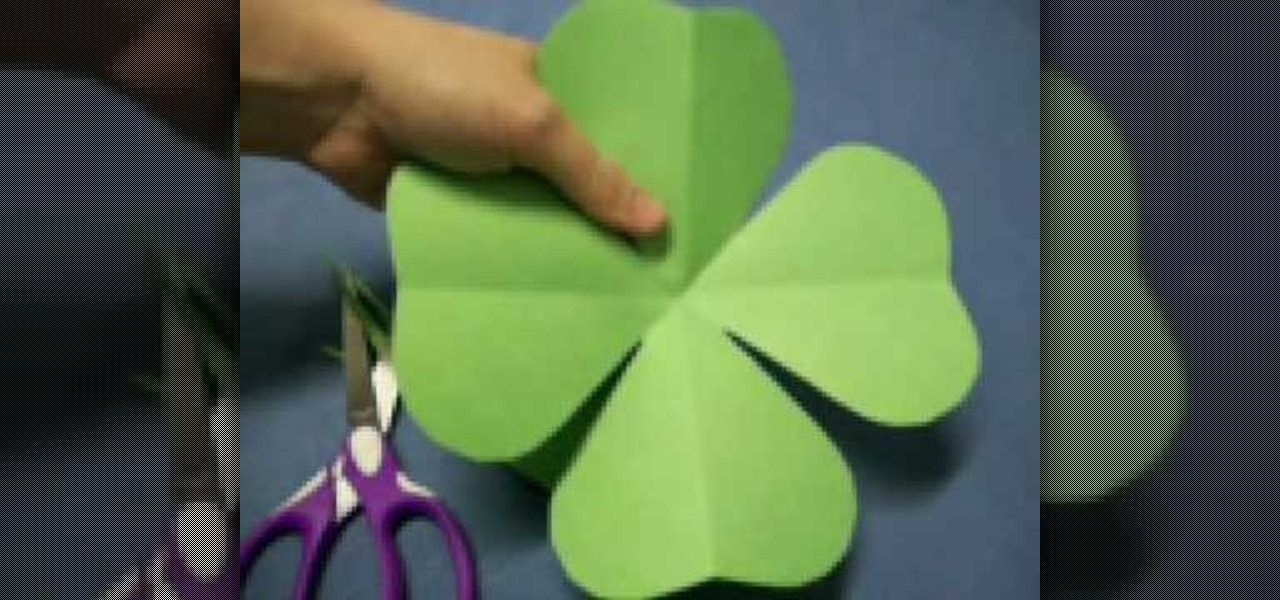
In this tutorial, we learn how to make a four leaf clover pattern. First, fold your paper in half, then fold it in half in the other direction. Next, fold the edges making a point and then cut a half an inch along the edge, making a cone shape. end the shape on the right side, making a heart shape. When you unfold, you will have a four leaf clover! You can use any size of paper to make this, just make sure you use green paper to keep the theme Irish. This is a great project for kids to learn ...
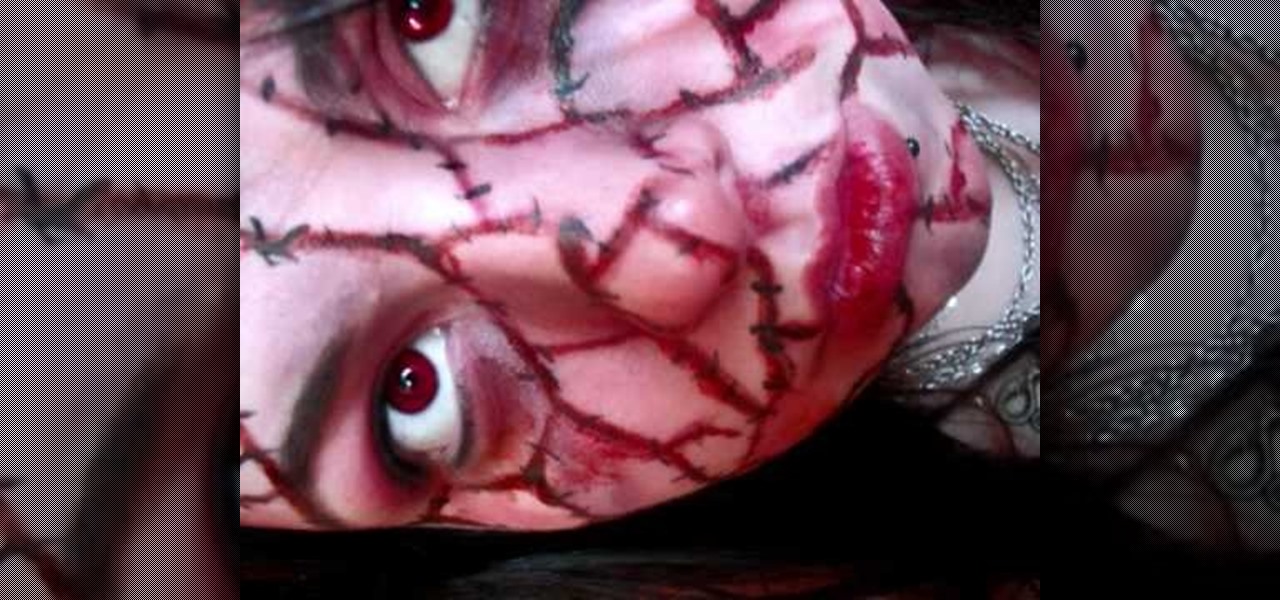
In order to do a bloody makeup look for Halloween, you will need the following: deep red blush, deep shadow Mac paints, eyeshadow, contour shadows, theatre blood, and eyeliner.
In this video tutorial, viewers learn how to make a sawed0off shotgun. The materials required for this project are: hot glue gun, duct tape, cardboard, utility knife, black marker, spray paint and 2 paper towel rolls. Begin by tracing a shotgun outline onto the cardboard. Make 6 layers and glue all the layers together. Then smooth the edges with sandpaper and tape the outside with some duct tape. Now tape the 2 paper towel rolls together and tape it on top of the shotgun. Finish by painting t...
In this video tutorial, viewers learn how to make a stencil. The materials needed for this project are: contact paper, scissors and a pencil. Begin by drawing the design, shape letter or number on the contact paper. Make sure to draw the stencil on the back of the paper and make it reversed. When finished drawing, carefully cut out the design. To use it, simply peel off the invisible paper and place it onto the surface of the artwork. Then trace over it. This video will benefit those viewers ...
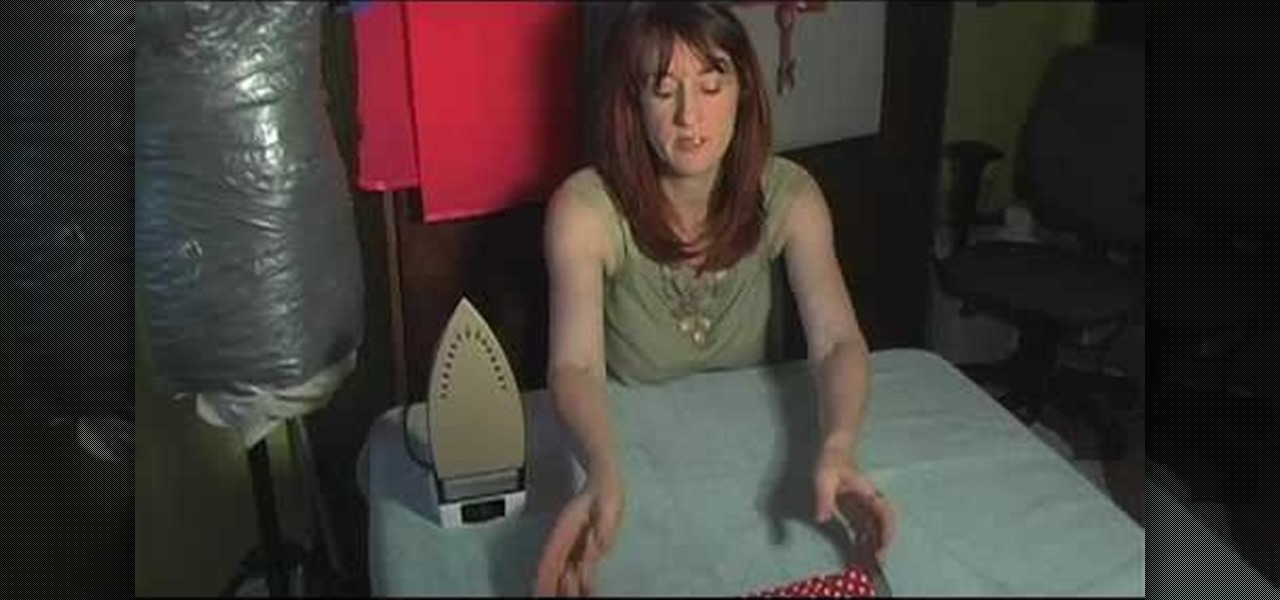
Creating skirts just got easier. You can even make a skirt reminiscent of the ever-famous Marilyn Monroe. Become a chic stylista just by wearing this adjustable circle skirt. This video provides the steps required to make a circle skirt, otherwise known as the Marilyn Skirt.
Photoshop is a useful software program that allows its users to make any photo look better or different using a couple of easy techniques. You can turn one of your favorite photos into a comic book, add some clouds in a cloud free sky, and even show you and your favorite celebrity sitting next to each other side by side. In this video you'll be taught the steps of making stencils using the tracing method and brush tool in Adobe Photoshop, version CS3. Enjoy!
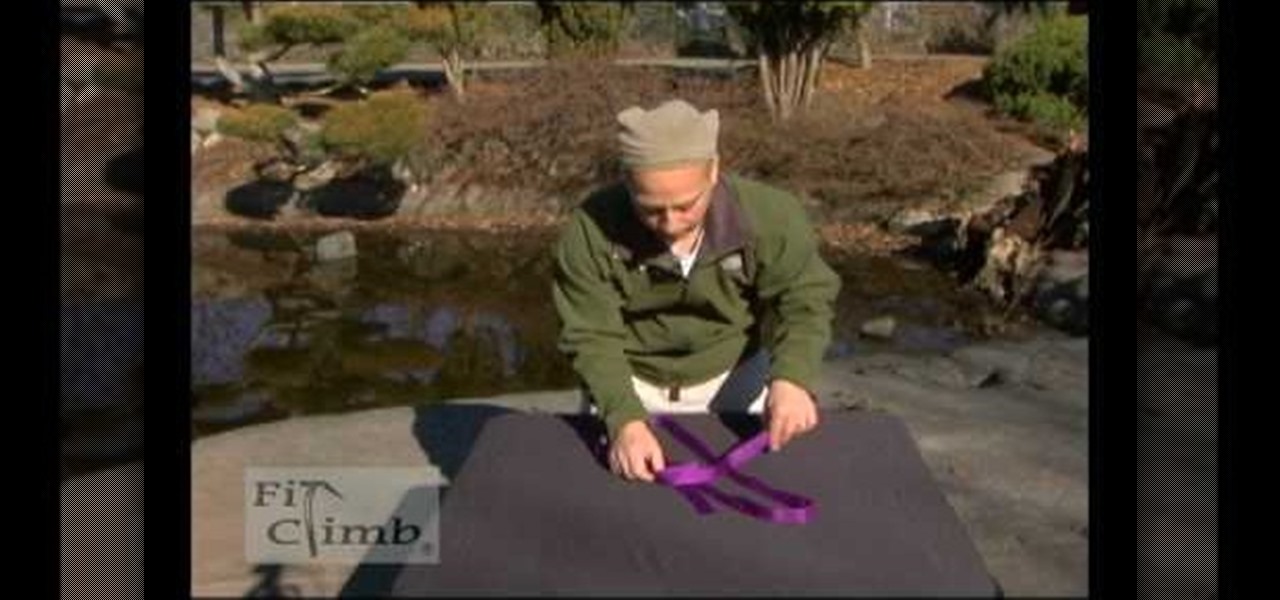
Webbing is not only used in sports like rock climbing and caving, but it also comes in handy in camping and hiking. This video shows you how to tie two webbing ends together to make a loop that will not come off. A square knot does not work for webbing as it will slip through, therefore a water knot is used. Take 4 inches (10 cm) from one marked end and tie an overhand loop. Ensure that the webbing is not twisted. Slip the other end in the knot and trace the second end around the overhand kno...
This video shows how to paint your nails with a very attractive red and yellow nail art design. Using a glitter nail polish, dip it in yellow glitter powder. Pat it on the nail, rather than brushing it on. Then apply large glitter shimmers randomly all over the nail, and this forms the background.
If you want to play "Learning to Fly" by Tom Petty on acoustic guitar you should first pay the chords, F, C, Am and G. These same four chords will be played over and over again to complete the song. The strumming pattern is as follows: When playing F strum down up. When playing C strum up up down. When playing Am strum Down up and finally when playing G strum up up down. You'll want to repeat this through the song. First, you should start out slow then increase in speed with practice. For the...
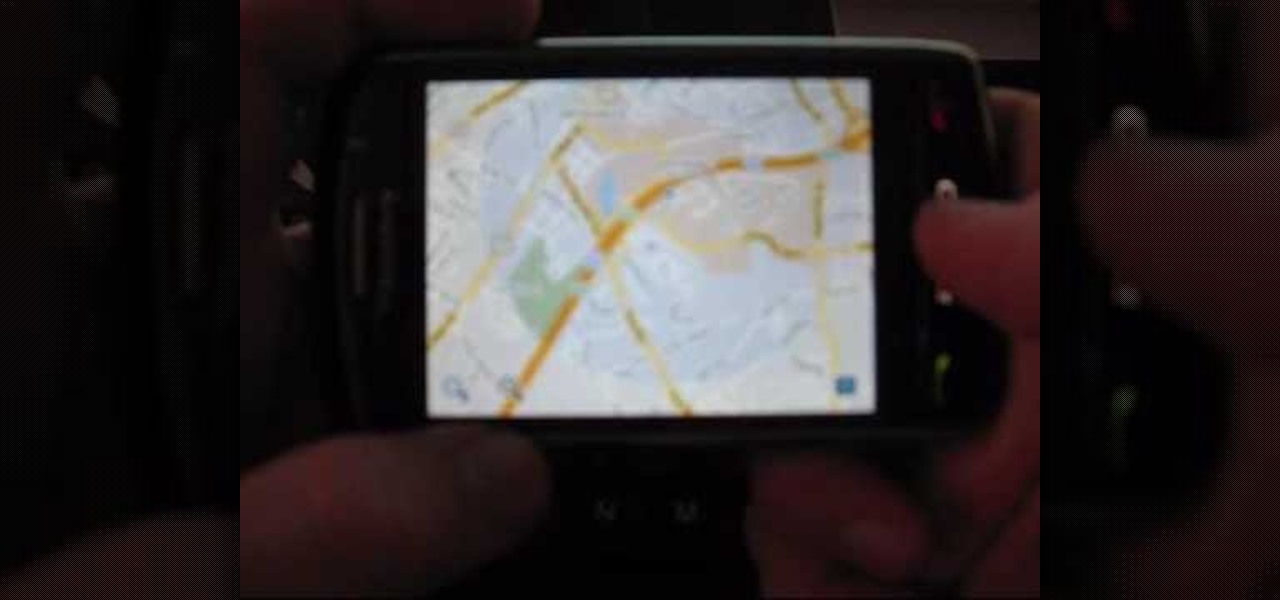
In this video tutorial, viewers learn how to use a GPS/navigation free on a Verizon Blackberry Storm phone. Begin by clicking on Browser and go to this web address: Google Maps. Now install the application onto your phone. To access it, go to Applications and select Google Maps. Once downloaded, users will be able to use the application to navigate the map. It will also trace the point of where the user is onto he map. This video will benefit those viewers wo have a Verizon Blackberry Storm p...
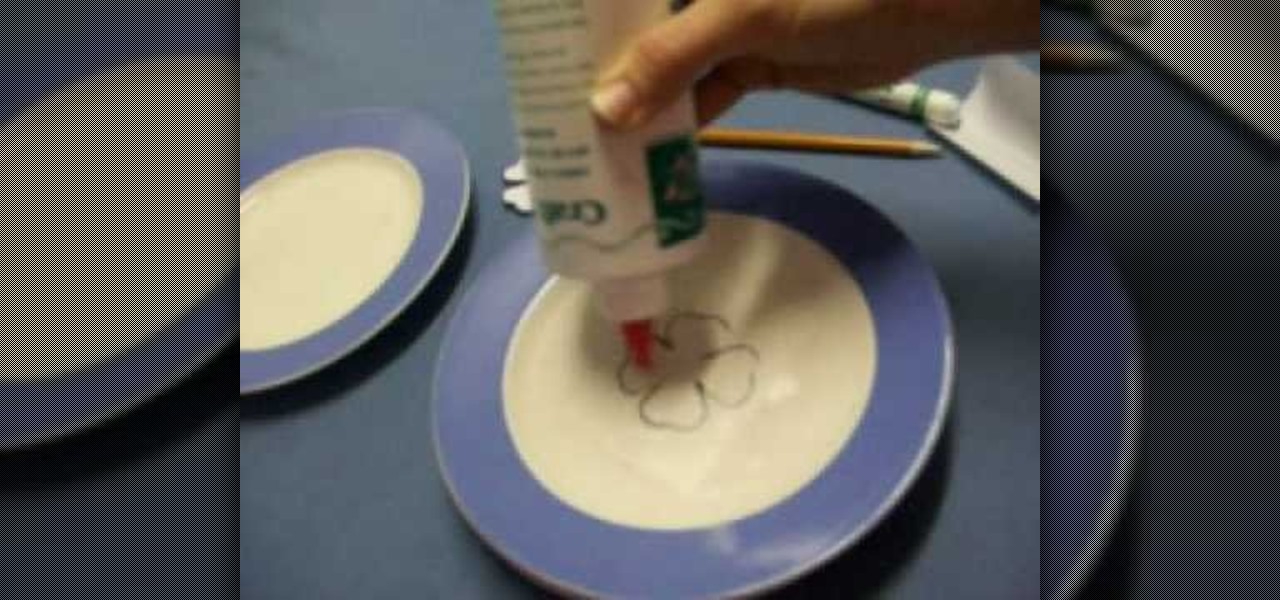
In this how-to video, you will learn how to make a four leaf clover pendant. Start off with contact paper and place it on a smooth flat surface, such as a large plate. Trace a four leaf clover shape onto the paper using a pencil or pen. Fill the entire shape in with glue. Once it dries, you can color the pendant with a green marker. Finally, you can peel off the contact paper. The four leaf clover shape will come right off with it. Viewing this video will show you the fastest and easiest way ...
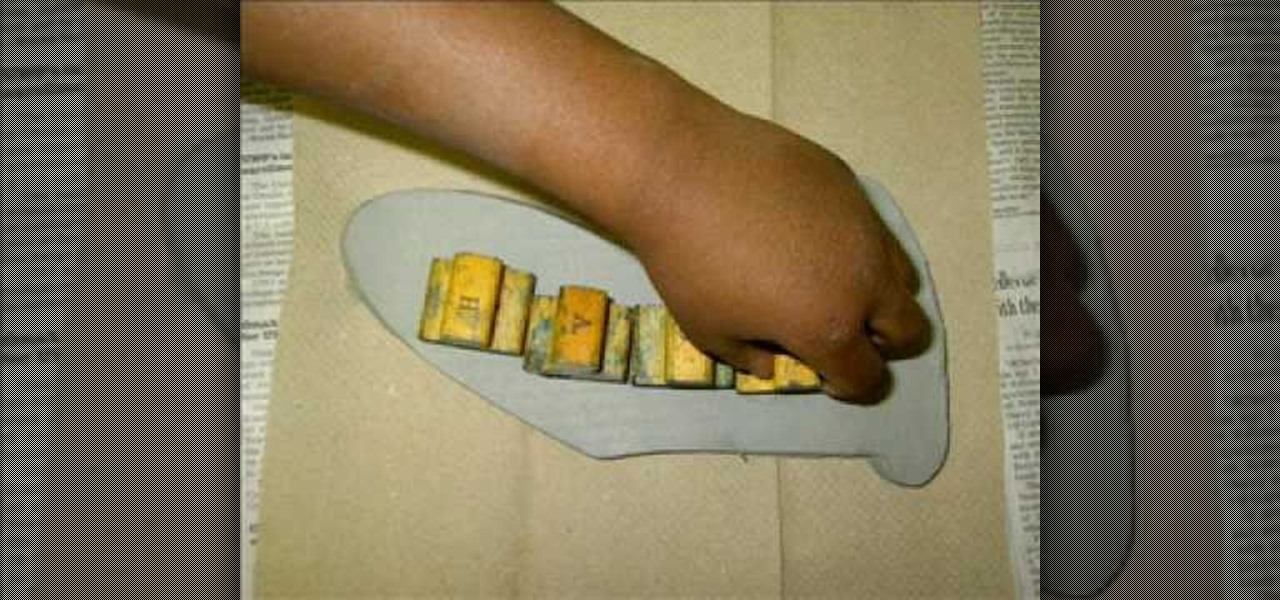
To make a Clay Christmas stocking you need to slice a slab from a block of wedged clay using a wire and two rulers. After you slice the slab trace the shape using a needle and a template. If you want you can add the child's name using stamps. Add decorative stamping. Using a clay extruder, squirt out a clay rope to accent the opening of the stocking. Glue down with slip. Punch out two holes with a straw for hanging. Now you are almost done with your Clay Christmas stocking. You can vary the p...
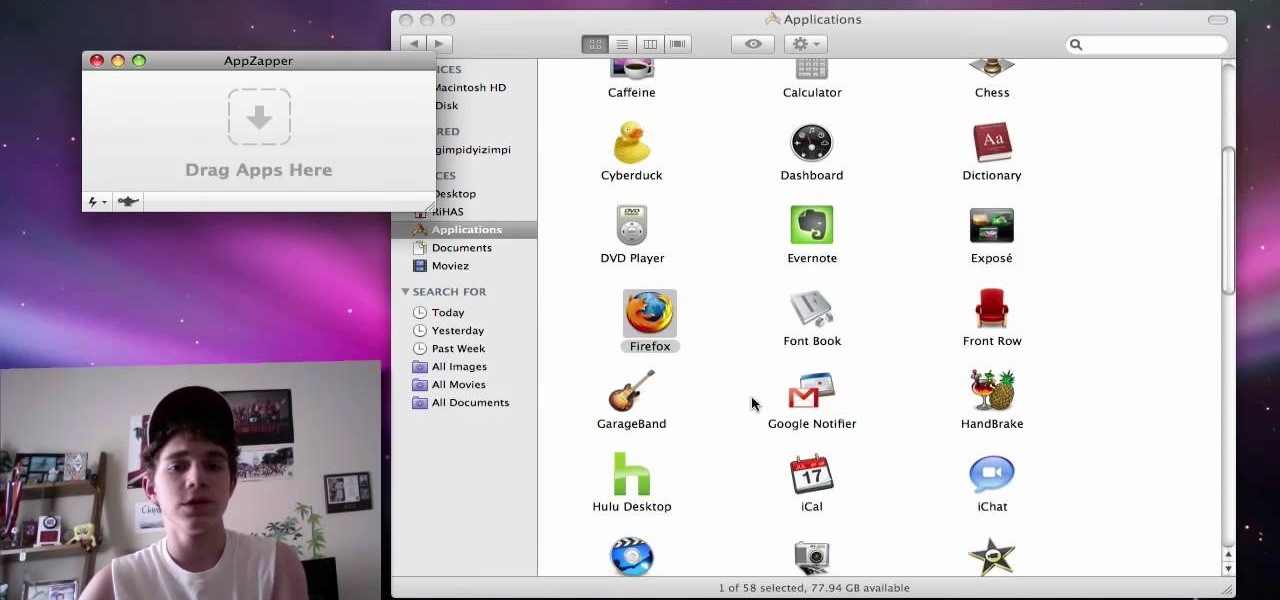
The video is about the full uninstall of programs on a Mac computer using a program called AppZapper. The video begins with explanation on how files deleted from a system often leaves behind traces of files which slows down the system and leaves the hard drive fragmented. To avoid this a program called AppZapper can be used to uninstall the applications. This program is available as a trial version which will zap 5 applications and a full version with three updates for 13 dollars. So when you...
In this tutorial, we learn how to set rhinestones using a Bejeweler. To do this, you will first need to prepare your Bejeweler and the fabric you are using. Lay out the pattern on your fabric and use tape as a guide for any letters you write. The rhinestones may move during this, just push them back in with tweezers. Once the Bejeweler is plugged in, rest it in a stand since it will become hot. Once it's ready, place it over an individual rhinestone for around 15 seconds. When time is up, lif...
In this video tutorial, viewers learn how to juggle the half shower and reverse cascade. Before attempting to do these two juggles, users should already be able to juggle three balls at a time. Once they have mastered the regular juggle, they can start moving to more advanced juggles. For the half shower, begin with a regular juggle. Then start throwing the balls over the pattern on each side, instead of repeating the under juggle pattern. For the reverse cascade, you perform the half shower ...
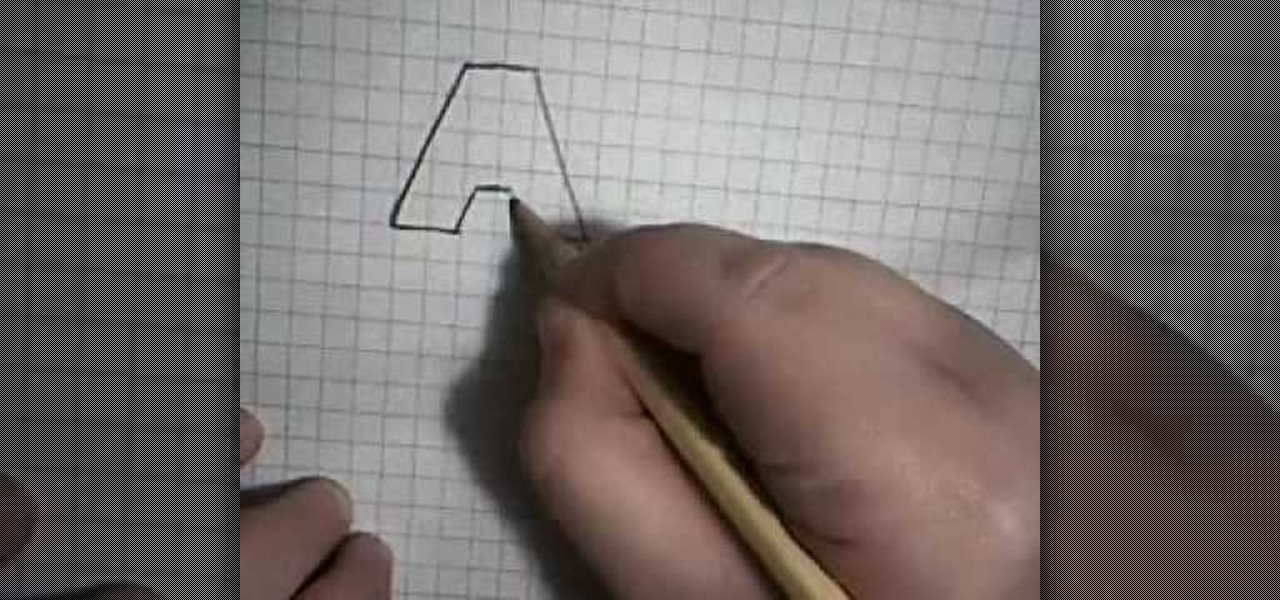
This is an upbeat fun video on how to draw 3D letters; and shows in detail how to draw them from A through L. Start out with a pencil drawing of the letter to make sure it looks how you want it, as you can always erase any mistakes. Then, using a black marker pen, trace over the pencil lines of the letter, then using a gray marker, fill in the 3D depth of the letter, leaving the face of the letter clear. This gives a nice 'cartoon' like effect, which looks great. Watch the second video to lea...
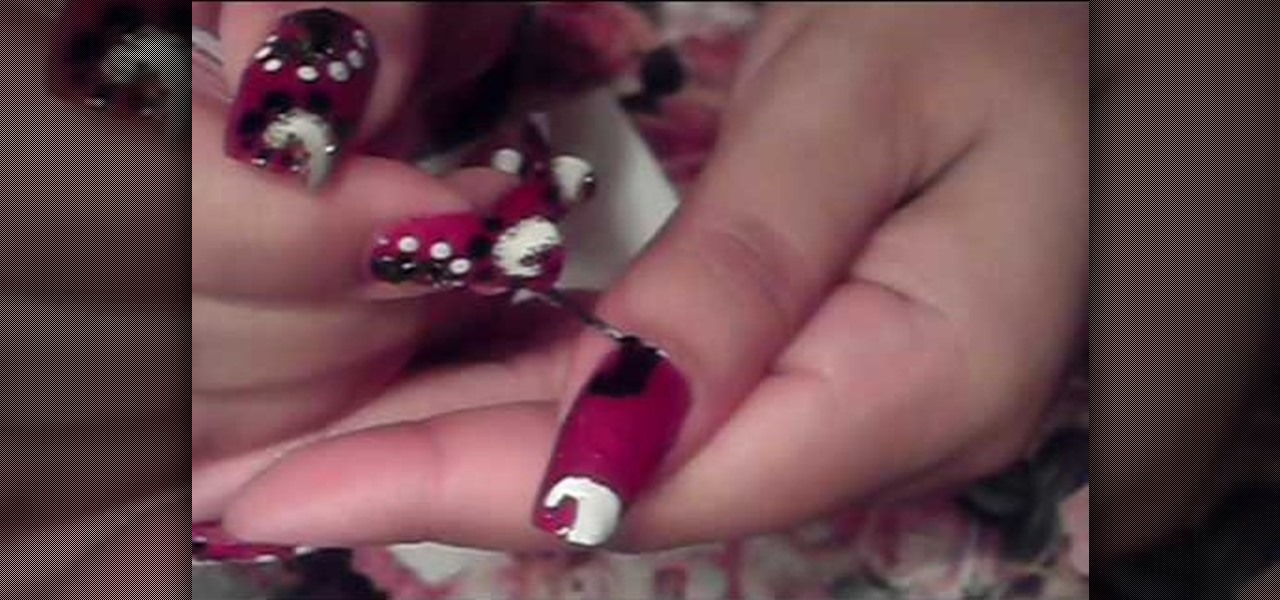
Love4Nails demonstrates a nail design consisting of black and white swirls and dots on a red background. She has already applied a base coat and two coats of red polish. The first step in making the design is the white swirl on the tip. Using the pointed end of a nail dotter, she dips it in the white polish and draws the outline of the swirl, and then fills it in. Next she does the black swirl at the bottom in the same manner.
Learn how to draw Kenpachi Zaraki from the manga series, Bleach. "Drawing Now" teaches fans of the manga series, Bleach how to draw a sketch of the character Kenpachi Zaraki. You will need: a drawing pencil, colored pencils/markers, and a basic idea of how Kenpachi looks. Start by drawing a lighter, erasable outline of Kenpachi (this is so mistakes can easily be fixed before bringing in more color). Using a darker color (preferably black), trace over the lines you wish to keep in the drawing ...
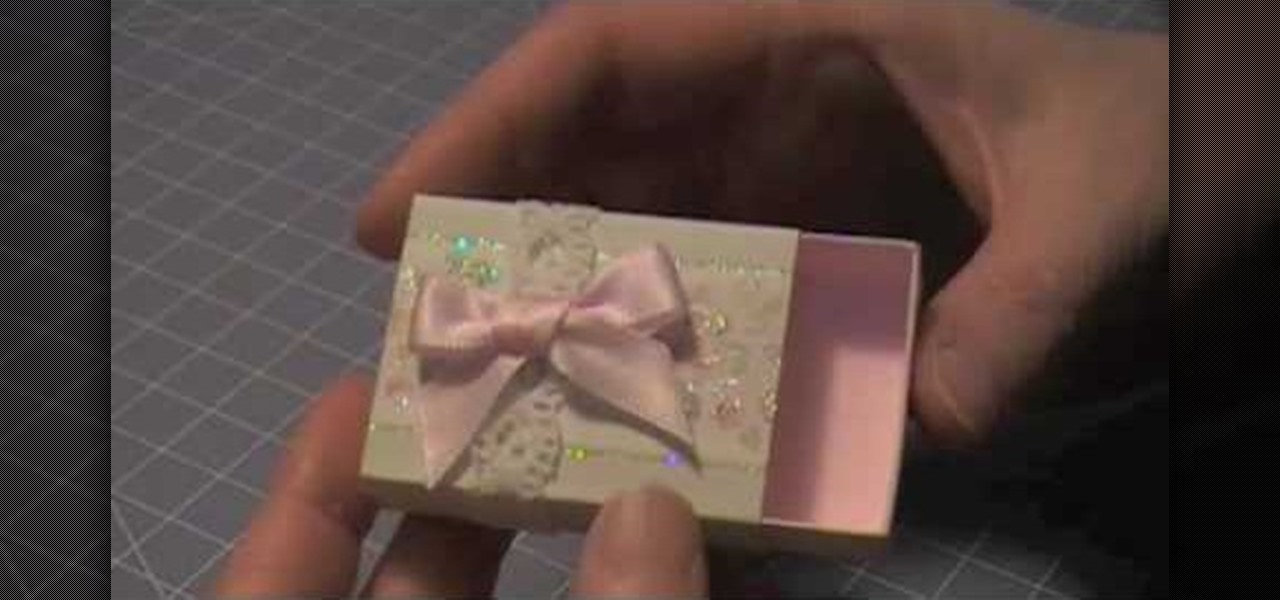
The Artful Paper Doll demonstrates how to make a Marie Antoinette inspired matchbox. Trace the matchbox template onto a piece of decorative paper. Score the template on the creases and then cut the template out of the decorative paper. Fold the creases up. Affix the creases into a square basket shape with dabs of glue to hold the flaps closed. Fold and glue the ends of the box sleeve together. Slide the basket into the sleeve to form the matchbox. Embellish the box as desired. The box can be ...
Terri Sproul shows how to use a really cool technique to make an embellishment for a card. You first need to find a roll of aluminum that is self adhesive. Work on the back of the aluminum, the side with the adhesive. Use a stamp to lay out your design on the back, by stamping the image on the back. Then you must trace the outside of the image. Use alcohol inks to add color to the aluminum. Then she cuts the image out with her scissors. Then she uses a glue dot to place the piece on a card sh...
StudioMallory teaches you how to make a brass Sailor Moon tiara for cosplay. You will need a dremel with a grinding bit, a mechanical pencil, titanium covered scissors, two jewels, cardboard template and a piece of cheap metal. Trace the template on the metal using the pencil. Cut it using the scissors. Use goggles when using the dremel on the metal tiara. You have to grind it to make round corners. Now bend the metal in the shape you want. Use glue to apply the jewels. Once it's all dry, mak...
First, begin by drawing a big circle in the middle of the page. Then draw a smaller circle (about a third the size of the bigger one) above your first circle. This will be the head. Next draw two lines where you want the arms to be, and one leg on the right side. Next draw two big eyes and a big half circle mouth as well as a little curl (for the tail) on the left side, opposite the leg. In heavier ink trace over the head and face and begin to draw arms around the arm lines you drew earlier. ...
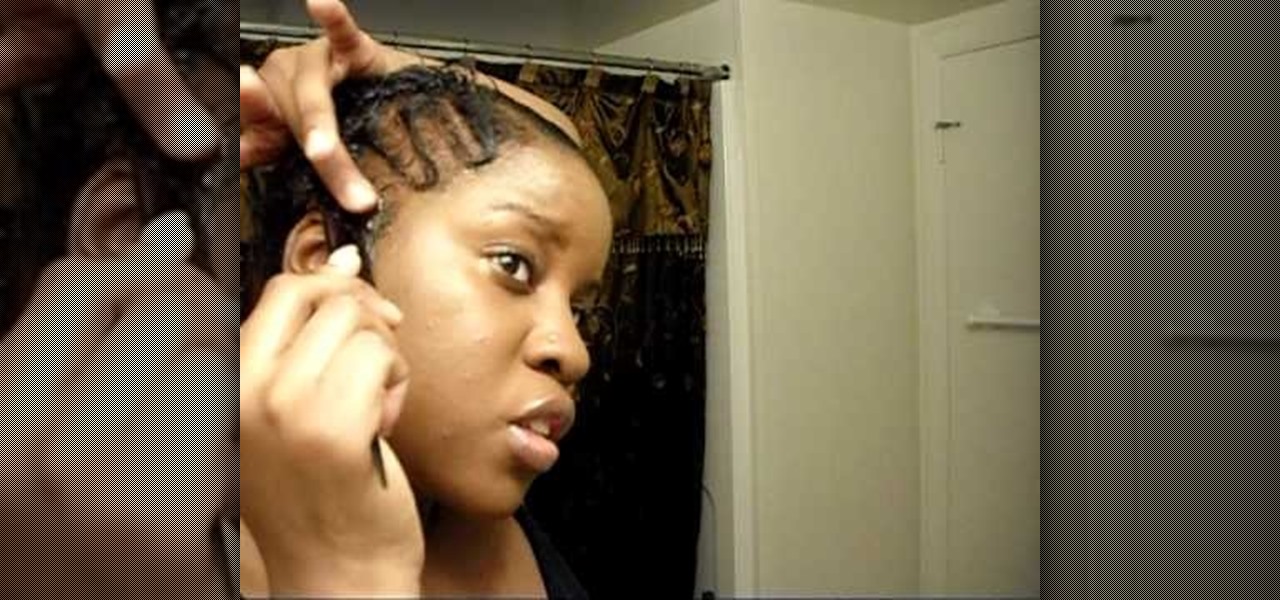
The video starts out with Charmain introducing herself, stating she is about to do a quick tutorial on how to do a short sassy hairdo like the one she has. She advises to use a moisturizer right after showering. She is preparing to demonstrate the hair style on herself. She then sprays her hair with a spray moisturizer. She says to use pro style gel for the front of the hair and icing style for the back of the hair. She then demonstrates how to apply the gel. She demonstrated how to place her...
This video shows how to draw the comics character Spawn, a former CIA operative killed by his own men and afterwards recruited to be a general in Hell's army. Running at a 6x speed, you will find it easy to replicate. To accomplish this task, you'll need a sheet of paper, a pencil and red, grey and black markers. In less than 10 minutes, without any special drawing skills and simply by following the tracing and coloring shown in this video, you will finish a fully colored entire body drawing ...
The template for this heart-shaped window card can be found at [www.stampininspirations.blogspot.com stampininspirations.blogspot.com]. You will need the template and cardstock and the other usual materials needed to make a card. You can re-size the template to about 5 1/2 inches across by about 5 1/2 inches high. Cut out the heart and remove the center heart as well. Take an 8 1/2 by 11 inch piece of red card stock and fold it in half, then trace the inside and outside of the heart-shaped te...
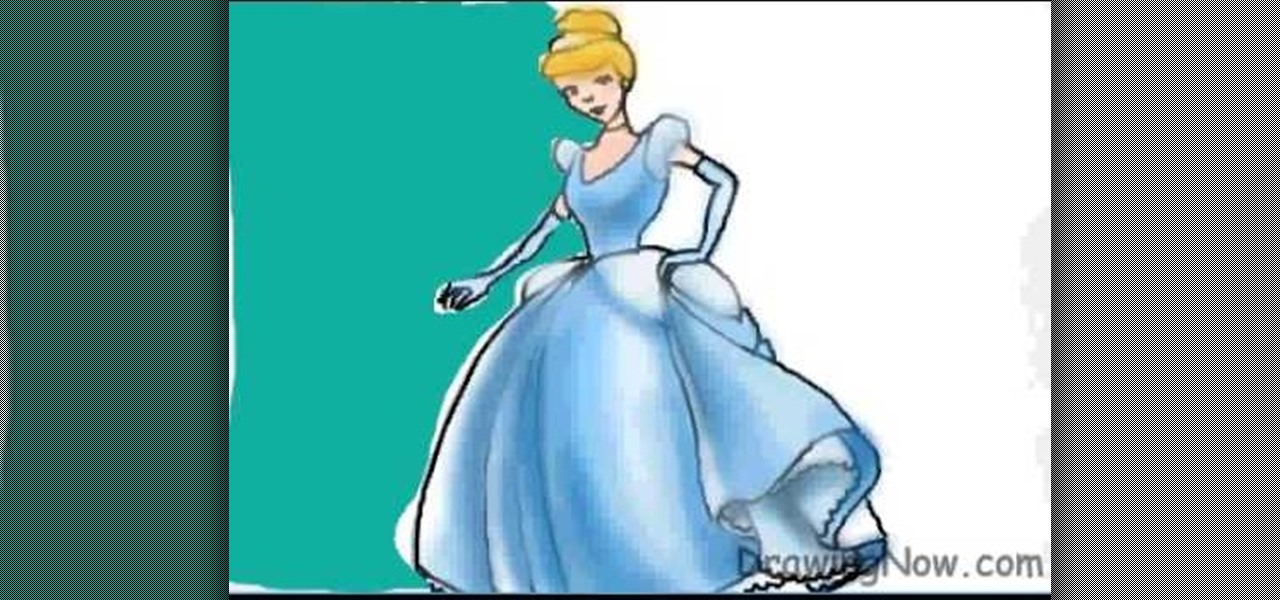
There are few animated characters more iconic than Disney’s Cinderella. Her tale is one of wonder, and her likeness is easy to recreate through a simple process. This video tutorial demonstrates how to draw and color Cinderella. Start with a basic line sketch of the princess herself, making sure to include puffy dress sleeves and a large pleat in her gown. In a new layer, trace over her figure with more definite lines and draw on her facial features. Color in her glorious ball gown with vario...
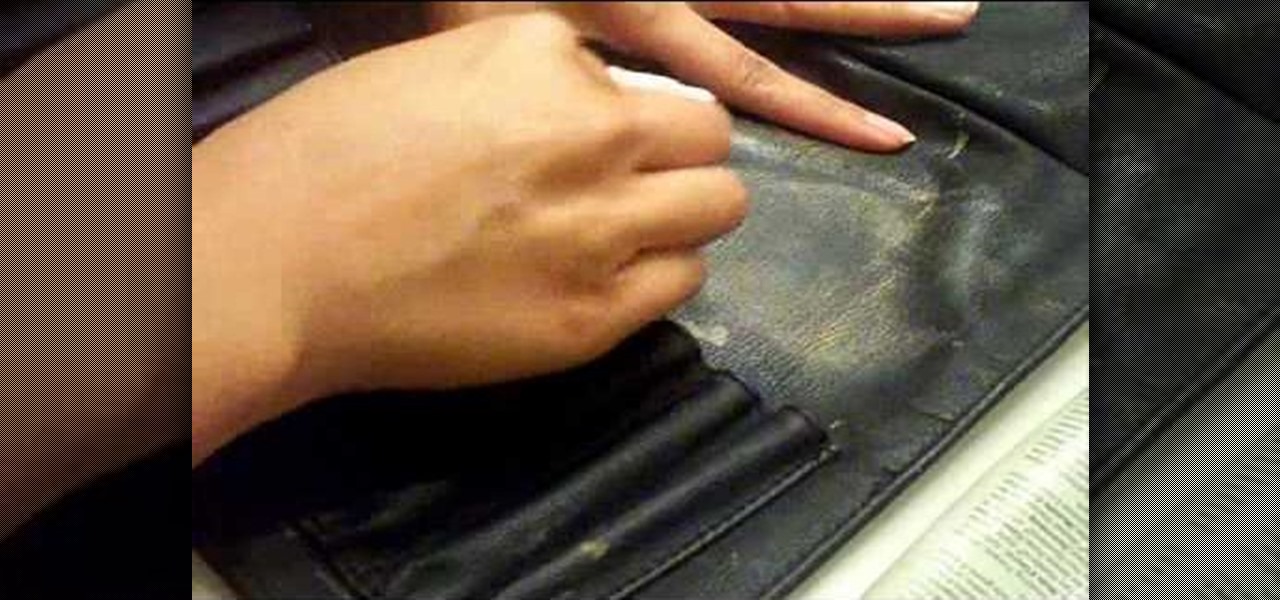
Cleaning makeup brush rolls can be quite challenging and frustrating. MakeupByRenRen teaches us an easy and quick technique on how she cleans her sigma makeup brush rolls. Things you will need: an oil-based facial cleanser or a regular olive oil and paper towel. Grab a paper towel and damp it with your oil-based facial cleanser or regular olive oil. Gently rub the paper towel on the surface of your dirty makeup brush rolls. Make sure that you go in every direction to effectively remove all th...
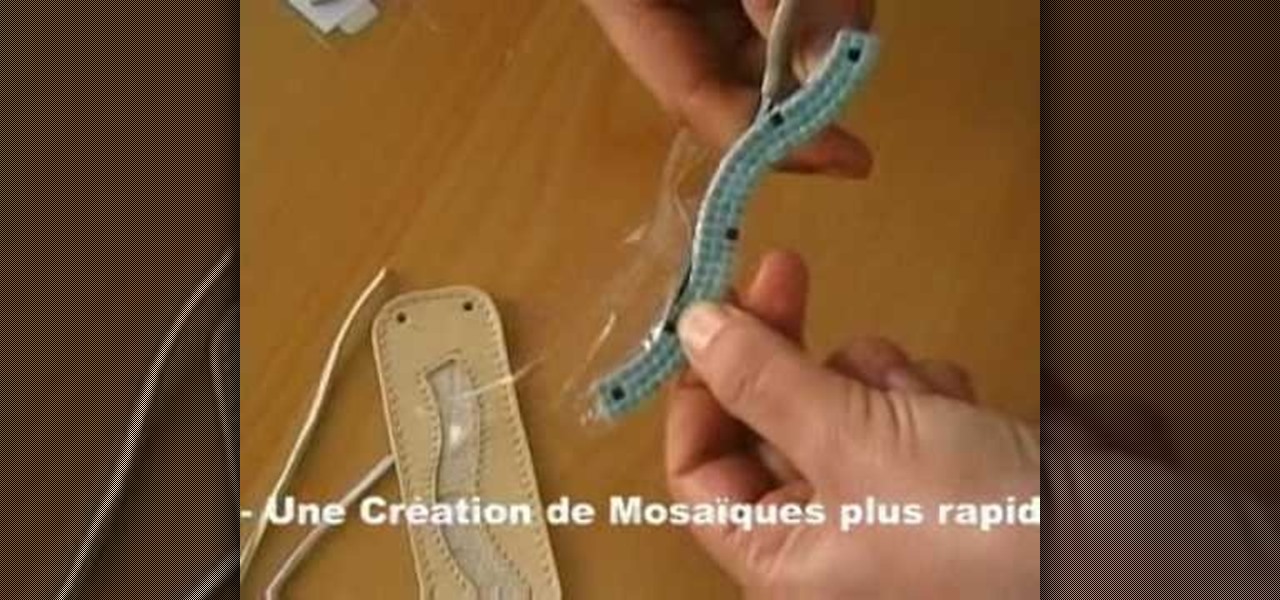
Alea Mosaic shows you how create a beautiful stone-inlaid jewelry bracelet. This video clearly and concisely lays out the steps. First, you affix a pattern underneath clear adhesive foil. Next, you peel the the cover off to expose the adhesive. You then place the stones according to the pattern, and fix a transparent foil on top. Once that is done, trim the plastic from around the stones. Then, you apply glue to the bracelet base, then place the stones inside.
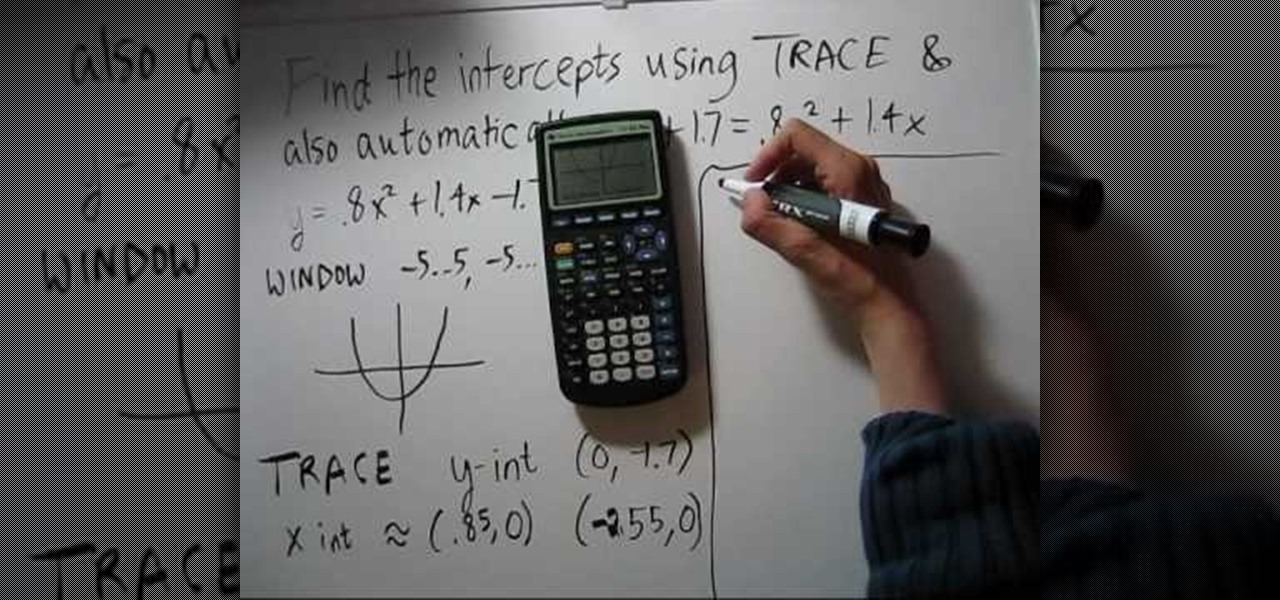
NotesCollegeAlgebra teaches you how to find intercepts on a calculator TI-83. You start with y plus 1.7 equals .8 times x squared plus 1.4 times x. First you subtract 1.7 from both sides, you get y alone on one side. The window should be set to -5...5, -5...5. X scale should be at 1, y scale at 1 and x rez at 1. Make a graph for it, like a parabola. Use trace to get y intercept at negative 1.7. The x intercept is about .85. Continue to use the calculator to get all the values that you need.
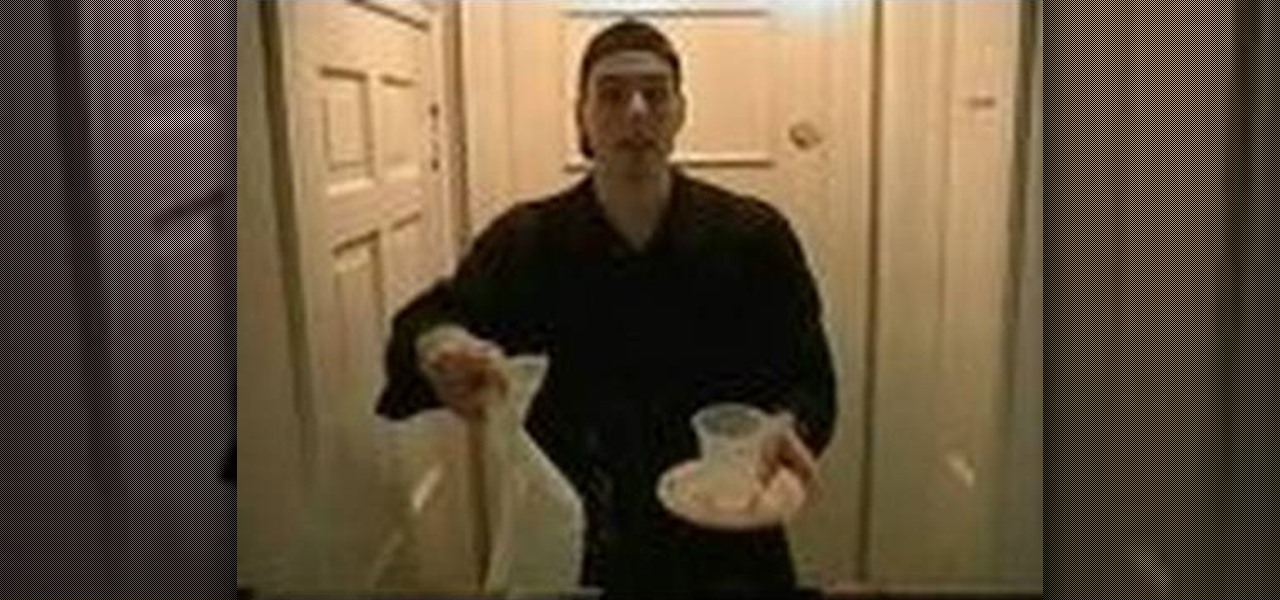
In this video from Socoolscienceshow, Crazy Chris explains to us how magicians make things disappear. For this he uses a plate, cup, and a napkin. You cover the cup and plate with a napkin. He removes the napkin with the cup and shows that he taped the cup to the bottom of the plate so they are both removed at the same time. To maintain the look of the cup in that napkin when it's removed he shows that he trace the cup onto some construction paper cut it out, and tape it to the napkin. Then h...