A helpful feature of Mac's OS X operating system is the "Finder". With the Finder you can view everything on your computer and organize things. You can also use Finder to drag and drop files, install programs, search for things, keep your personal files in folders and check out your system at a glance. In this tutorial, learn how to use the toolbar in your Finder on an Apple. You will also see how to use the sidebar, and change between the four basic view options. THis will also show you how ...
In this video tutorial, viewers learn how to use the Slow Keys access tool in a Mac OS X computer. The Slow Keys feature is located under the Keyboard tab in the Universal Access window. Once Slow Keys is turned on, users also have the option of using key click sounds as additional feedback when a key is pressed . Users are able to set the Acceptance Delay to determine how this feature behaves. The delay of the sound can be set from long to short. This video will benefit those viewers who use...

The skin on a butternut squash is not the easiest to remove. But there are a few tricks to hacking off the outer skins of the squash. This video will show you the trick to peeling and cutting the butternut squash the easiest way. You could use a knife to peel, but the best option is a serrated vegetable peeler. Once peeled, it's a matter of slicing and dicing the squash to perfection, in the best manner. See all the details within the video.
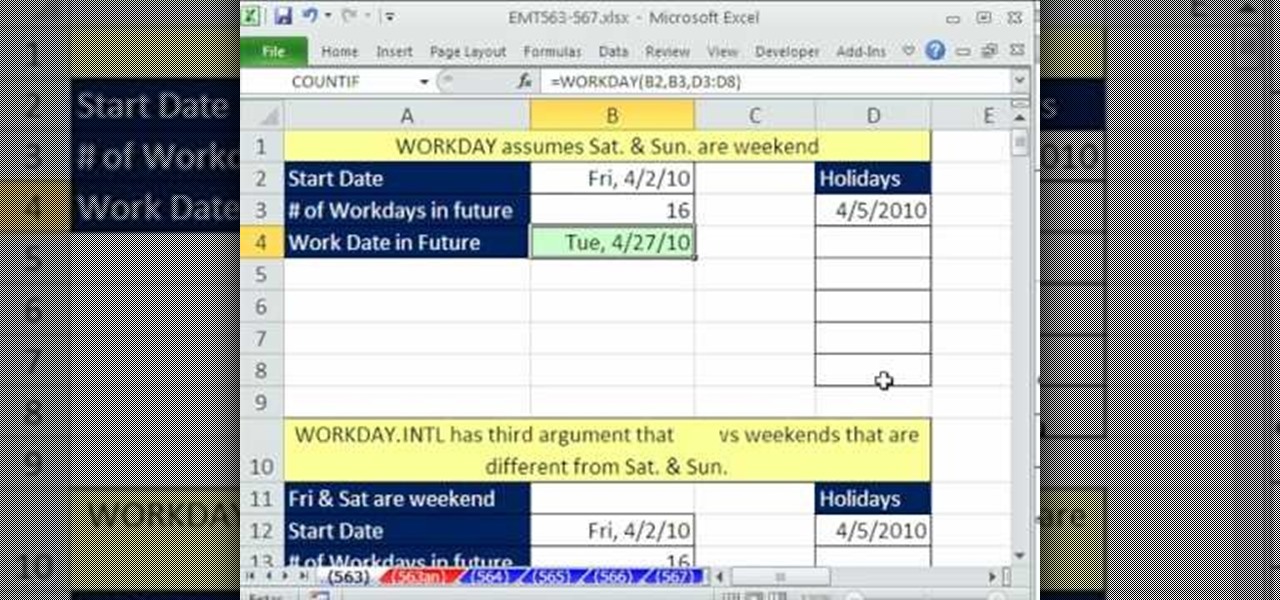
This video tells us the method to use the WORKDAY & WORKDAY.INTL functions in Excel. These functions are used to find a workday after a finite number of workdays in the future. WORKDAY uses Saturday and Sunday as off days. Its syntax is WORKDAY(start date, days, [holidays]). 'days' refers to the number of days in the future and holidays is the list of holidays written below each other in the same column. If Saturday and Sundays are not your off days, use WORKDAY.INTL. Its syntax is WORKDAY.IN...
In this video tutorial, viewers learn how to use the Sticky Keys feature in Microsoft Windows 7. To use the Sticky Keys, click on the Start menu and open Control Panel. In the Control Panel window, double-click on Ease of Access and click on Change how your keyboard works under the Ease of Access Center. Then click on Set up Stick Keys and check the option Turn on Sticky Keys. This video will benefit those viewers who have limited dexterity and find it difficult to use complex keyboard shortc...
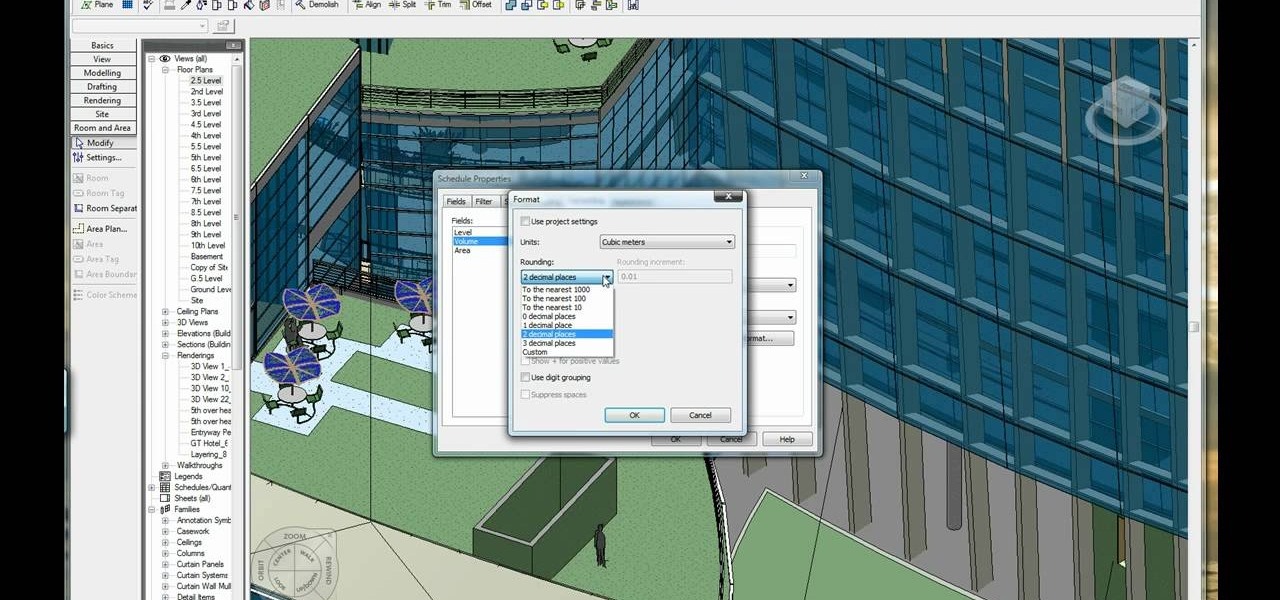
This video illustrate us how to calculate volume and area in Revit. Here are the following steps: Step 1: First of all open the programme Revit and then click on the volume and area on the left hand side, if in case its not there then right click in the gray bar and then various attributes appear, choose from here.

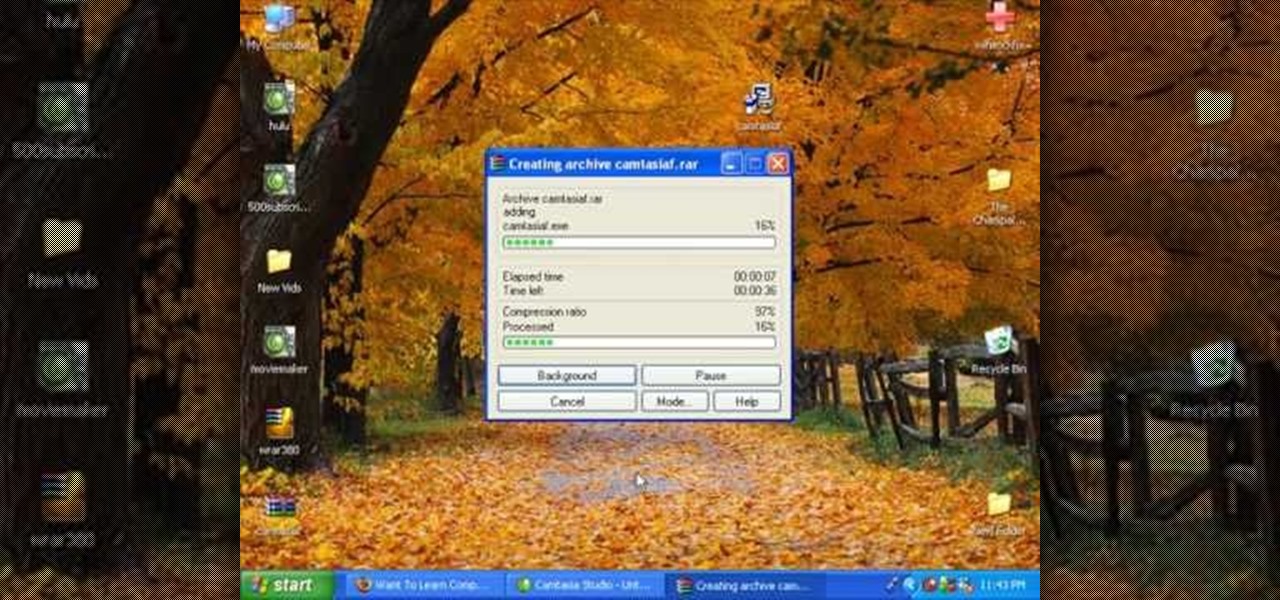
In this video tutorial, viewers learn how to break up large files to easily send through email. Go to the website: and search "winrar". Download the program. Then double-click the file and follow the instructions to install it. Now right-click the file and select Add to Archive. Users will have an option to split the files into volume bytes. Then press OK wait for the program to compress the file into several parts. This video will benefit those viewers who...

This how to video shows you how to change the voice in the VoiceOver Utility program on a Mac. This will be useful if you want a voice that is more realistic or more understandable. First, open the program and choose the speech pane. On voices, click the drop down menu to choose which of the voices you want to use. At the side of this, you can change the rate, pitch, volume, and intonation. To change the voice settings with just the keyboard, press control option and command together. Use the...

In this video tutorial, viewers learn how to use the Filter Key features on a Windows 7 computer. Begin by opening Control Panel and select Ease of Access. Under the Ease of Access Center, click on Change how your keyboard works and click on Set up Filter Keys, at the bottom of the window. Now check the box beside Turn on Filter Keys. Users are provided with several options for he Filter Keys such as: turn off the Filter key wen Shift is held or 8 seconds, display a warning message when turni...

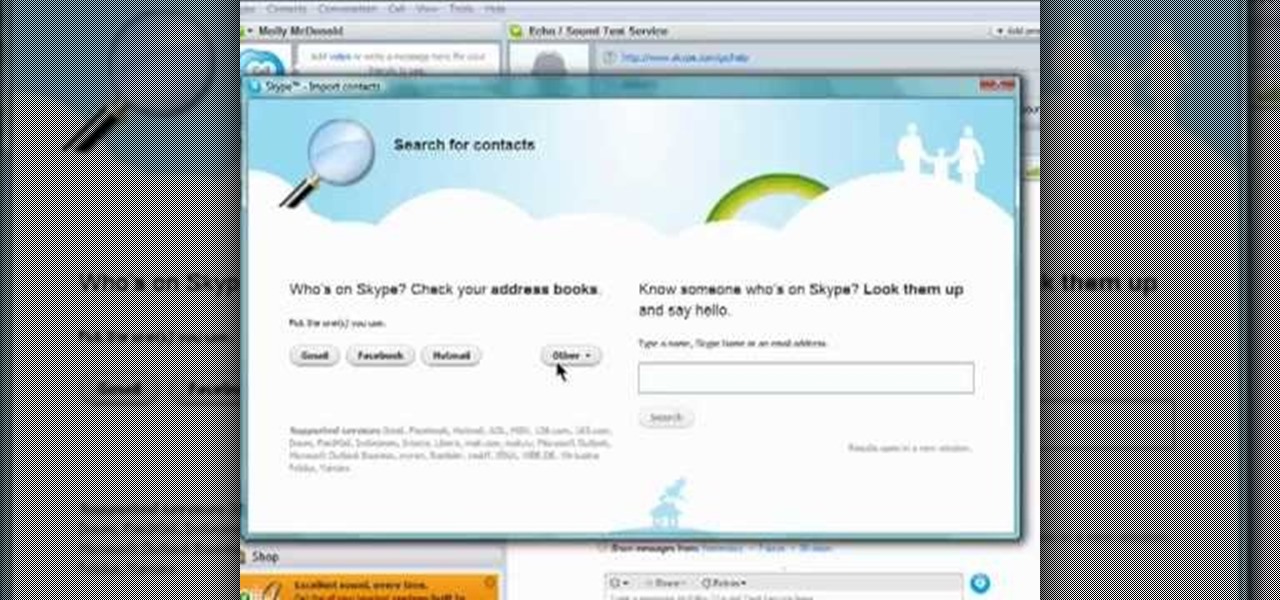
Skype is one of those programs that is not only easy and simple to use, but a great way to keep in touch with loved ones from across the globe. You have a couple different options to choose from when contacting someone. You can choose to have a live camera chat or you can even call them on their cell phone even if they're in a city like Paris! This video focuses on how to add contacts to your Skype account. Enjoy!

Windows 7 provides the high contrast display feature for the monitors. To use this feature go to the desktop. Right click and select 'Personalize' from the menu. This brings up the Personalization window of the 'Appearance and Personalization' option of the Control Panel. Here you can change the visuals and sounds of your computer. Scroll down in that window till you find high contrast themes. Choose one of those themes. When you select them Windows automatically applies the theme to your com...

In this video Mike Callahan walks you through using Skype on the iPhone. To start, download it from the Apple App Store. Next, launch the application on your iPhone. It will immediately prompt you to enter your name and password. If you don't have one you can use this screen to create one. Once you've logged into your account you'll see your list of contacts. Touch one of your contacts to place a call to them. There is a call option at the bottom of the screen that will launch your dial pad. ...

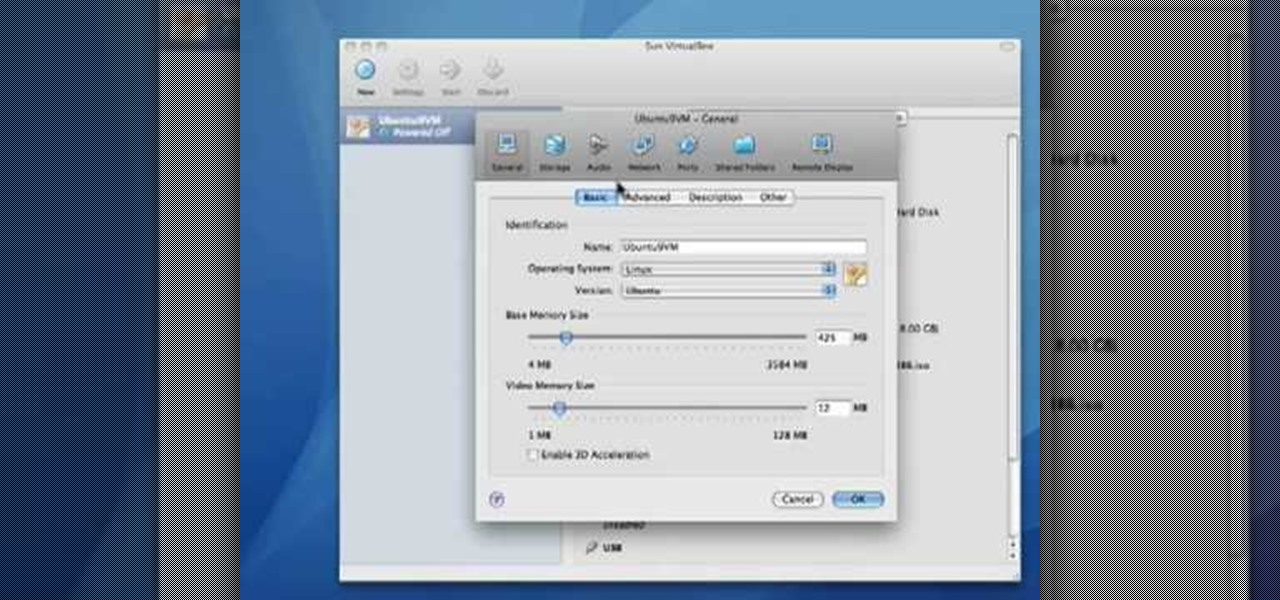
Before you can alter the settings of a virtual machine, you must first have the machine powered off. Load VirtualBox on your Mac desktop and make sure it is powered off on the left hand panel. Double-click General and a window should pop up allowing the changing of several settings. For example, you can include a description to keep many virtual machines separate, or adjust the size of the drive. You can even add virtual devices through ports if they are connected to the physical machine. The...

If Internet Explorer 8 is being a nuisance in Windows 7 watch this video to learn how to uninstall it! Start by clicking your Start Menu, then to Control Panel and then to Programs. From there click Uninstall Programs. It will bring you to a list of all the programs that are currently on your hard drive. Next click Turn Windows features on or off. From there another list of programs will appear, but these programs are all Windows programs that come with Windows 7 Operating system. Watch the r...

This is a "Southwest Yard and Garden" episode that details the proper selection of gardening tools for fighting seasonal weeds. Horticulturist and host Curtis Smith takes us to meet with Ron Jobe, an Albuquerque Master Gardener, to discuss the options available for such a task. Ron covers the various conditions a gardener is faced with, including the soil and the weeds themselves. Some suggested tools are: the Wing Hoe, Skimming Hoe, Raker, Pointed Hoe, and Stirrup Hoe. The use of each is off...

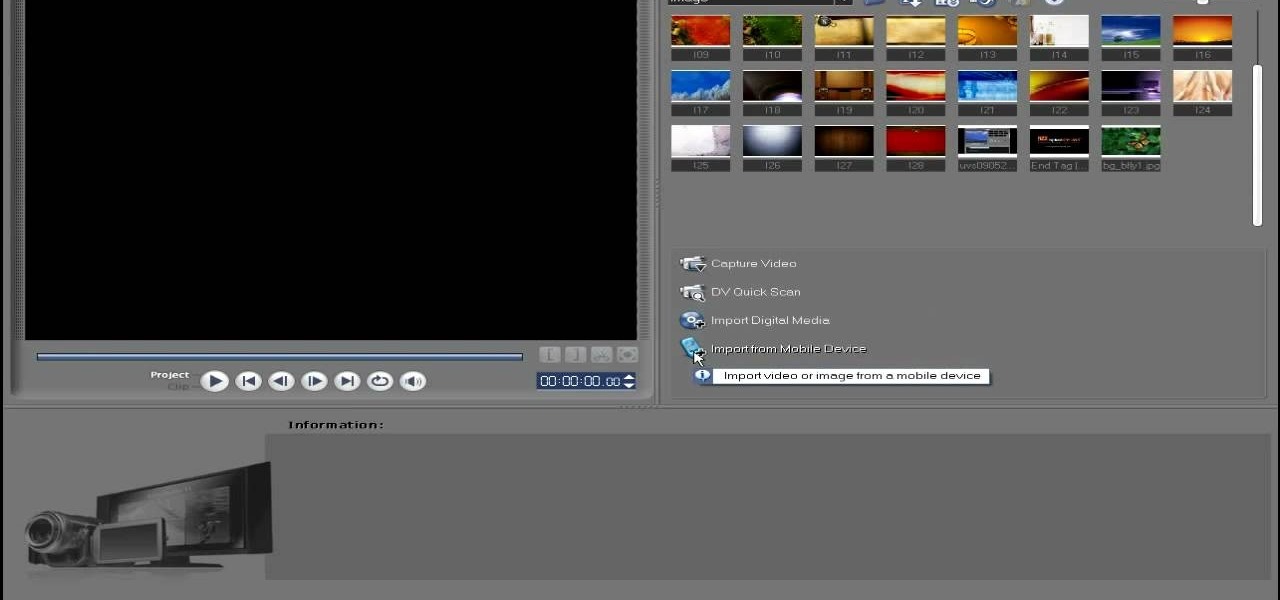
In this video tutorial, viewers learn how to import media from devices in Corel Video Studio. Begin by connecting your mobile device to the computer. It can be any device with a memory card or hard drive. Open the program and click on the Capture tab. Click on the option, Import from Mobile Device and select the device that you want. Select the file(s) that you wish to import and click OK. The program will then import the media to your selection window. This video will benefit those viewers w...

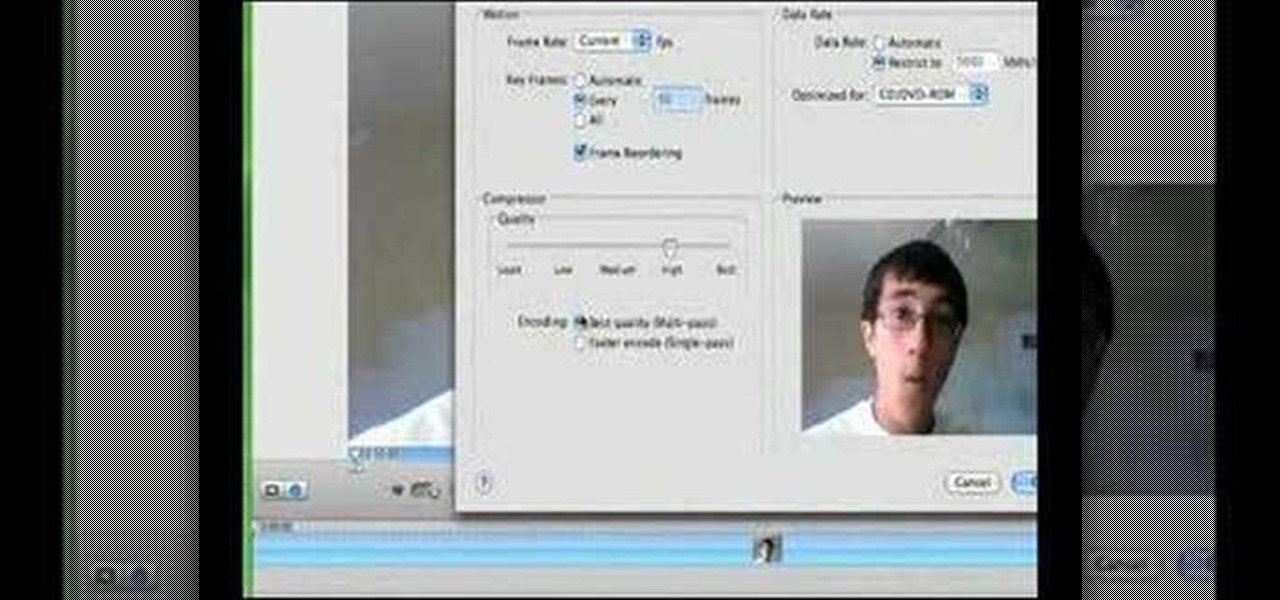
In this how-to video, you will learn how to compress iMovie files into QuickTime files to make them look really good on YouTube. First, open iMovie. Click Share and click Share again. Go to Expert Settings and click on Share. Click on Options and go to Settings. Change it to h264, current frames per second, and every. Restrict should be set at 5000. Optimize it for DVD and change encoding to best quality. Change the size to NTSC 720X486. Check de-interlace video and hit okay. Change the sound...

Kevin shows the different features and options with the program ownspy, which is through OwnSpy and is capable of tracking through phone a persons location as well as texts and phone calls. He first logs in and the first screen that opens is the tracking screen where you can sync how often the program will update the persons location. The second tab is SMS, which will show you all texts and conversations as well as the length, date, and time. The third tab lists all the persons contacts. The ...

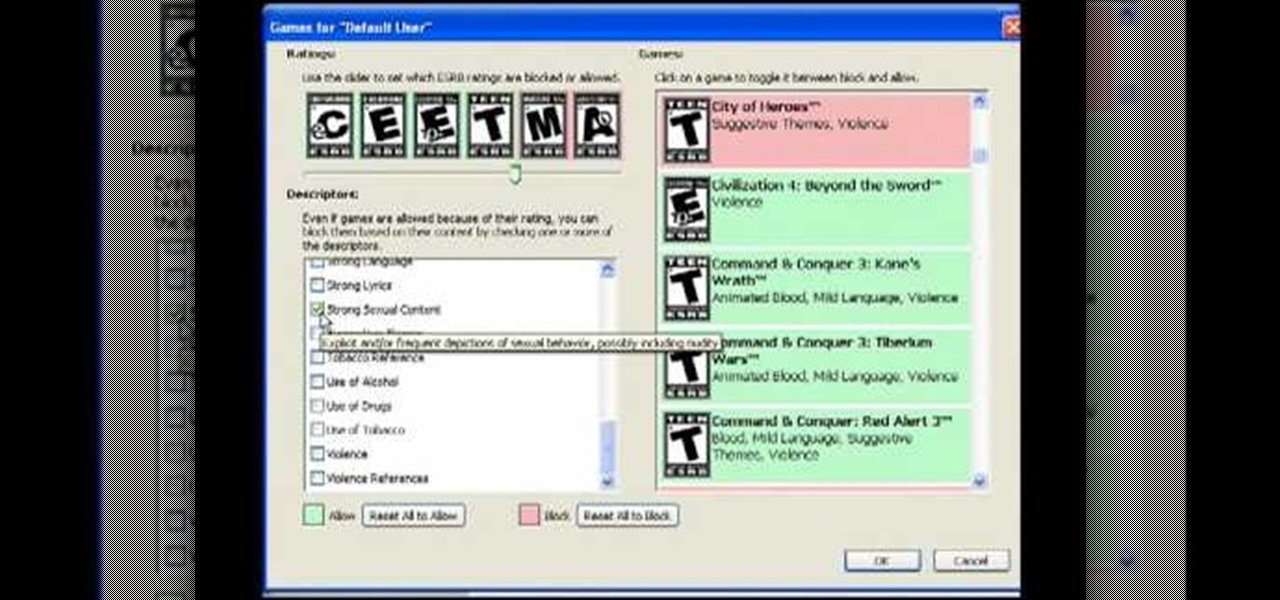
In this video tutorial, viewers learn how to control which games can be played with Net Nanny. Begin by opening the program and select Manage Games under Games. Users will have 3 options on how to block or allowing the games. Users can block by the ratings, games or descriptions. For the ratings, simply drag the slider to which ESRB you want to be allowed. For the games, simply go through the list and click on the game that you want to block. For the description, by checking the content that ...

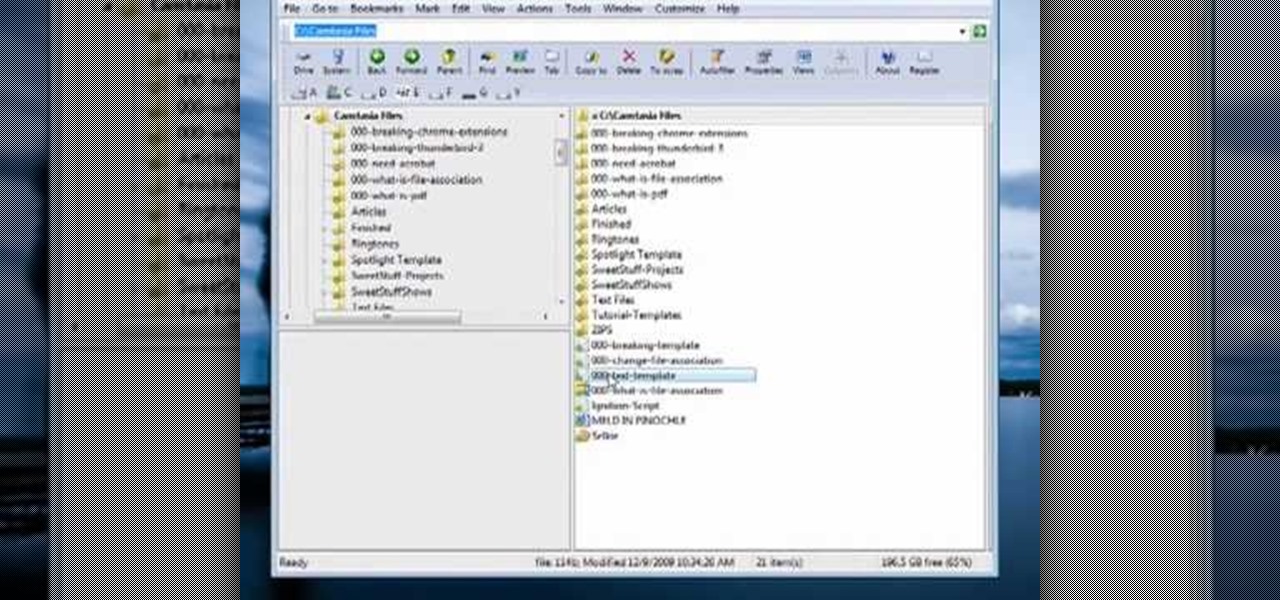
This video tutorial from butterscotch presents how to change file associations on your computer.File association is a link between a certain type of file (.doc, .gif, .txt) with a particular program.For example text files are by default associated with Notepad application.So if you double-click text file it will be automatically opened in this program.In case you want to open this file in a different type of program, you need to change the file association.To do that, right click the file, th...

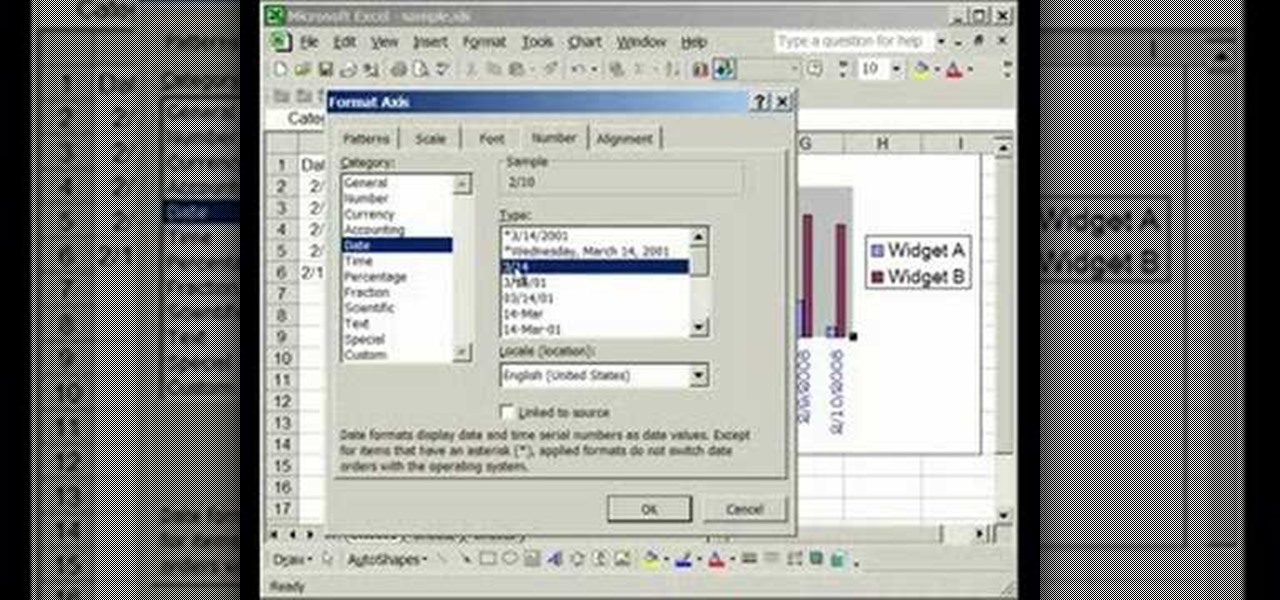
This video is about formatting the charts in Excel especially the x and y axes. The video begins by selecting a chart and right clicking the dates at the bottom of the data points. The format axis window pops up and by making changes to the style, color and the weight of lines given in the patterns tab, you can change the way the x-axis looks like. You can also change appearance of characters appearing close to the x-axis by selecting options in the font menu. You can also change the format o...

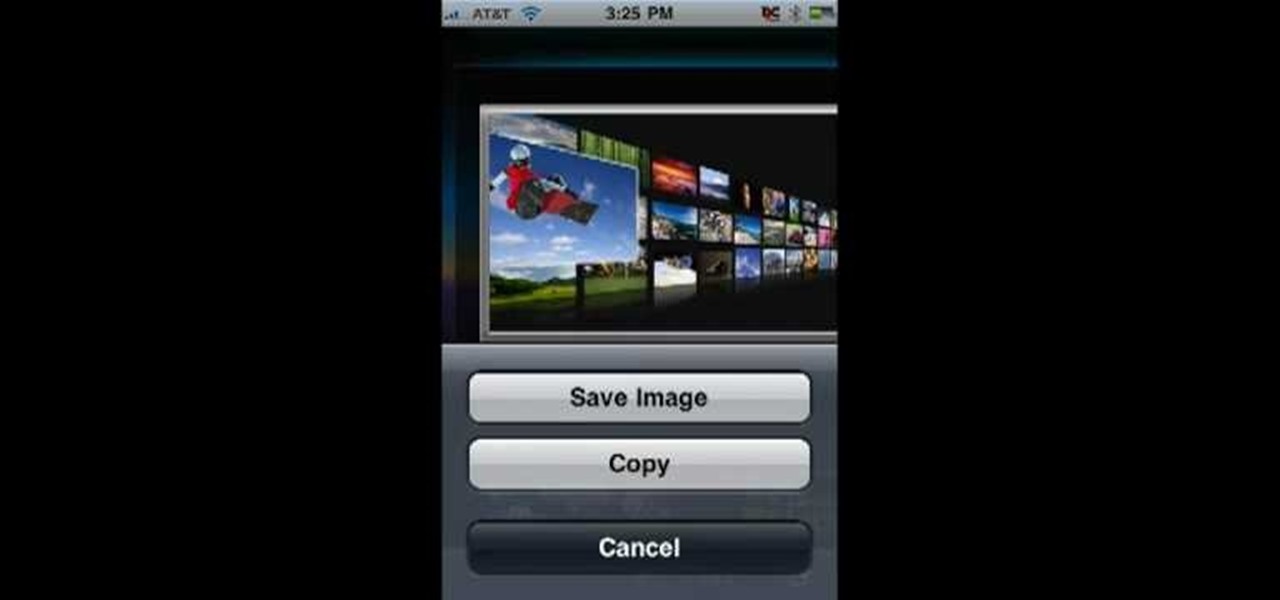
In this Computers & Programming video tutorial you will learn how to save an image from Safari on your iPhone. Tap on safari on your springboard. Go to Cool Iris/ page. You will find a lot of beautiful pictures on this page. Enlarge the pictures and choose a picture that you want to save on your iPhone. Then hold your finger on the picture and a dialog box will open up with the options save image, copy or cancel. Tap on save image and when you back out of safari and go to the camera dialog, a...

Ken Appleby demonstrates how to mask a domain with GoDaddy. Masking a domain enables the domain owner to customize what appears in the viewer's address bar. First, log in to your GoDaddy account. Then, click on the domain manager function located on the left hand side of the page. Next, choose the domain that you would like to work with in the domain name list. Click the forwarding option. In the next window, click on the masking tab. Tick the enable masking function. Choose a masking title. ...

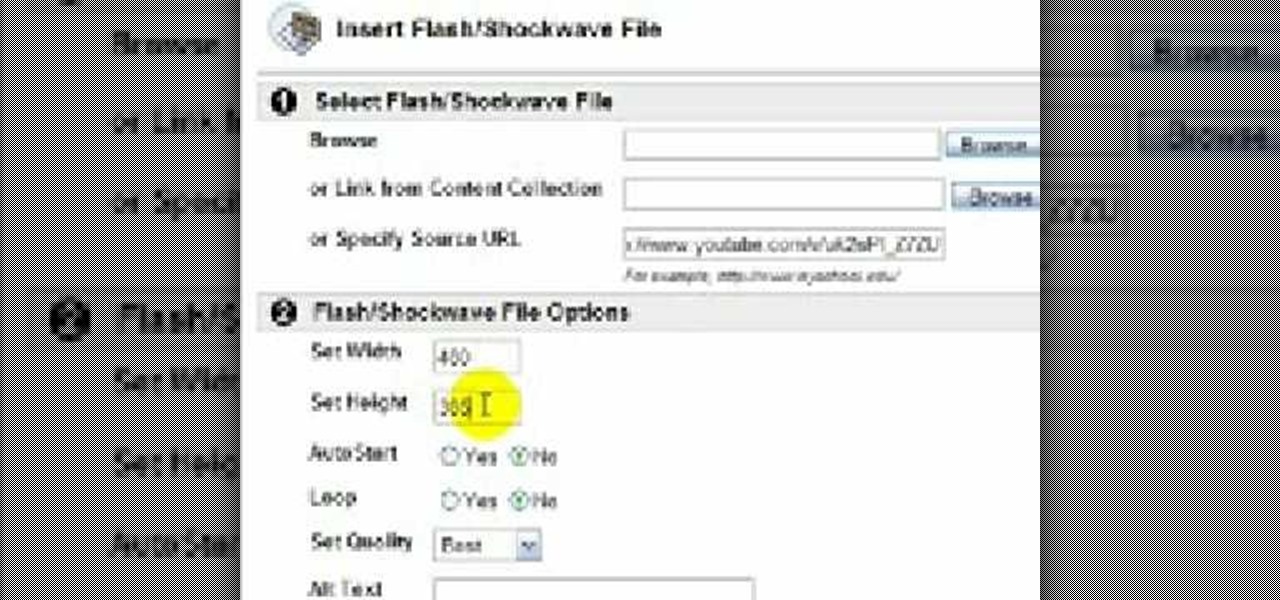
In this video tutorial, viewers learn how to embed a YouTube video into a blackboard forum post. Begin by finding the YouTube video that you want and copy the URL. Then go to your blackboard post and go to a forum that you want the video to be in. Start a new thread and fill out the thread as you wish. Then click on the red F (Add Flash/Shockwave Content). Paste in the URL and fill in the file options. In the URL, delete "watch?", add / after v and delete =. This video will benefit those view...

In this Computers & Programming video tutorial you will learn how to make a simple CD / DVD cover in Google Picasa. Go to ‘Tools’ and select ‘Options’. In the box that opens up next, click on the ‘Printing’ tab and from the drop down menu, select ‘CD Cover Size’ and click OK. Then on the top left hand corner, go to ‘File’, select ‘Print’ from the drop down menu. On the next page, click on ‘CD cover size’ and you get the print preview. Then all you need to do is to just print that out and you ...

Open your first image and go to the rectangular marquee tool and select all of the image. Next click command or control C to copy image. Then go to your second image and click command or control V to paste the image. Select both the layers (hold down shift when clicking the layer), then go to edit, auto align layers and choose the top option then click ok. Last add a mask to your top layer, this is done by selecting the gradient tool (make sure its set black to white, the mode is normal and o...

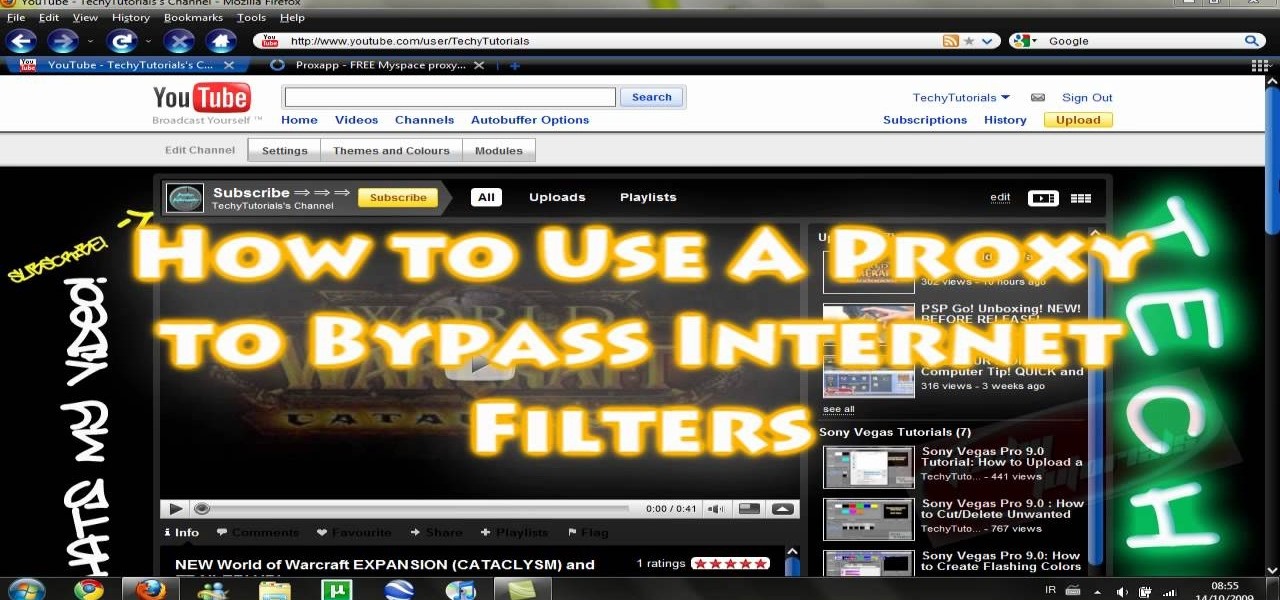
The video shows us how to use a proxy to bypass the Internet Filters. Most of the times in our schools and colleges most of the websites including the social networking ones will be blocked for security reasons and makes us unable to log into those websites. In such cases even the ones from the YouTube, several videos will be blocked. So in this video, we will be shown how to bypass those filters and log into those sites. Firstly go to the website Proxapp and over there you will be asked the ...

In this video the tutor demonstrates the magnifier tool of Microsoft Windows 7. If the size of text is very small on your screen and you are facing difficulty reading it you can use the magnifier tool to resize the text to read it clearly. You can change the resolution but this makes the LCD screen look blurry. So to do this go to the Start Menu and select the Magnifier tool. Now there are two buttons with minus and plus symbol on them. Click the plus button to magnify the screen around that ...

Initially, it is explained what an animated GIF is: a series of frames that are shown in sequence, and are looped 'forever'. There is an example of one of them in the background, and it is stated that it was created in around a minute, using nothing else than a webcam and a free software, found at TagJag.

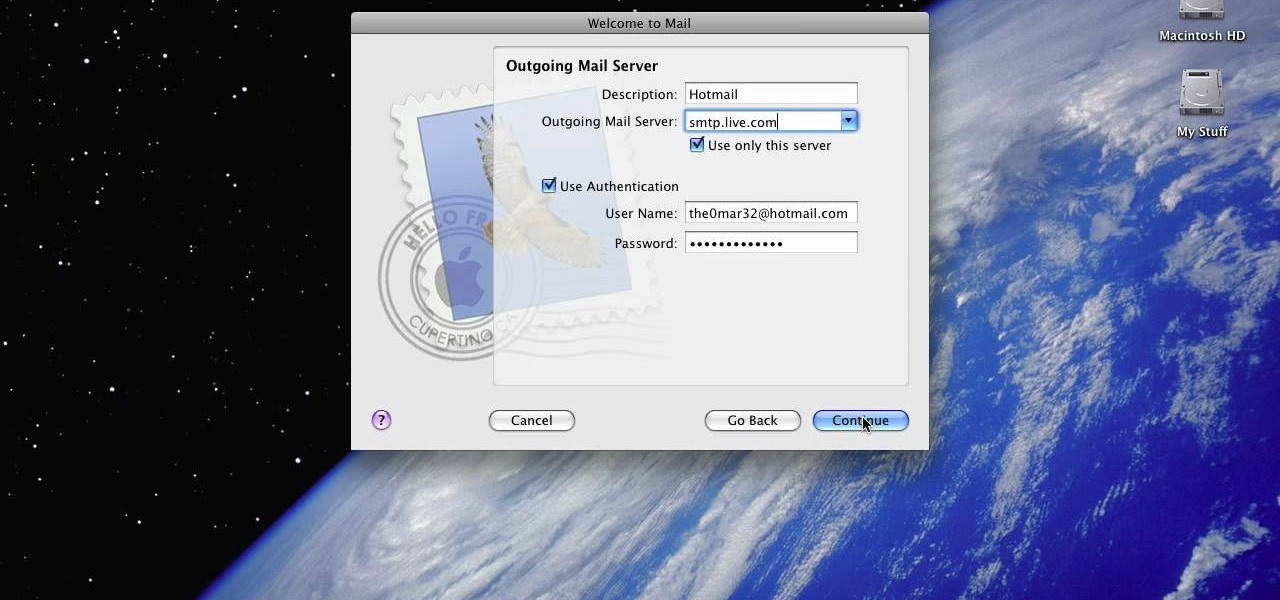
The video shows you how to link your hotmail account to your Mac. The person first asks you to open the mail and write down your full name, hotmail id and the password in the boxes given there. Then click on continue, and in the next option box, leave the account type as POP and then give a description as hotmail in the space provided. Then you have to type pop3. live.com in the box given for incoming mail server. Once done, click on continue and it will ask you for description of outgoing ma...

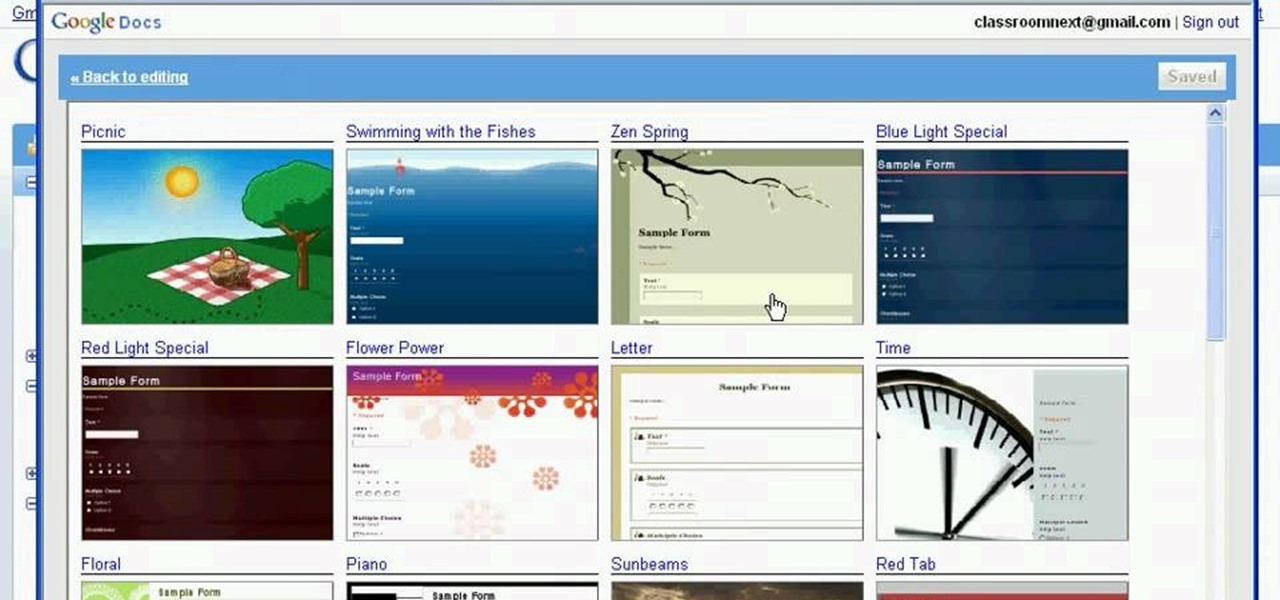
Classroomnext describes how to create a Google form with your own custom colors and designs to give it a personal touch. Once you are logged into the Google Docs main screen, click on the button that says "New" and choose the option "Form" from the dropdown menu. Once your new form appears onscreen, type in a simple test name in the title field and a placeholder question. Save the document. Click on the button that says "Theme" and you will be shown a variety of styles to choose from. Save th...

In this Computers and Programming video tutorial you will learn how to delete temporary internet files in Internet Explorer 8. The video is from FreeComputerRepair. Click on Start -> control panel ->network and internet connections -> internet options. Now the internet properties dialog box opens up. Here you go down to browsing history and click ‘Delete’ button. This will open up the Delete Browsing History window. Here you check all the data that you want to delete. If you don’t want to del...

Follow along as we are shown how to change the power settings for our monitor for Windows 7. -Begin by going to the Start menu and clicking on the Control Panel.

As you type in Microsoft Word, take care to notice when the computer puts a red squiggly line underneath a word you typed. If you see a red squiggly line, the word is spelled incorrectly. If you right-click on the word, MS Word will show you a list of correctly spelled words that it guesses you were trying to spell. If you wish to check the entire document, you can click the Tools tab at the top of the page and then spell check. This will go through the document and point out every misspelled...

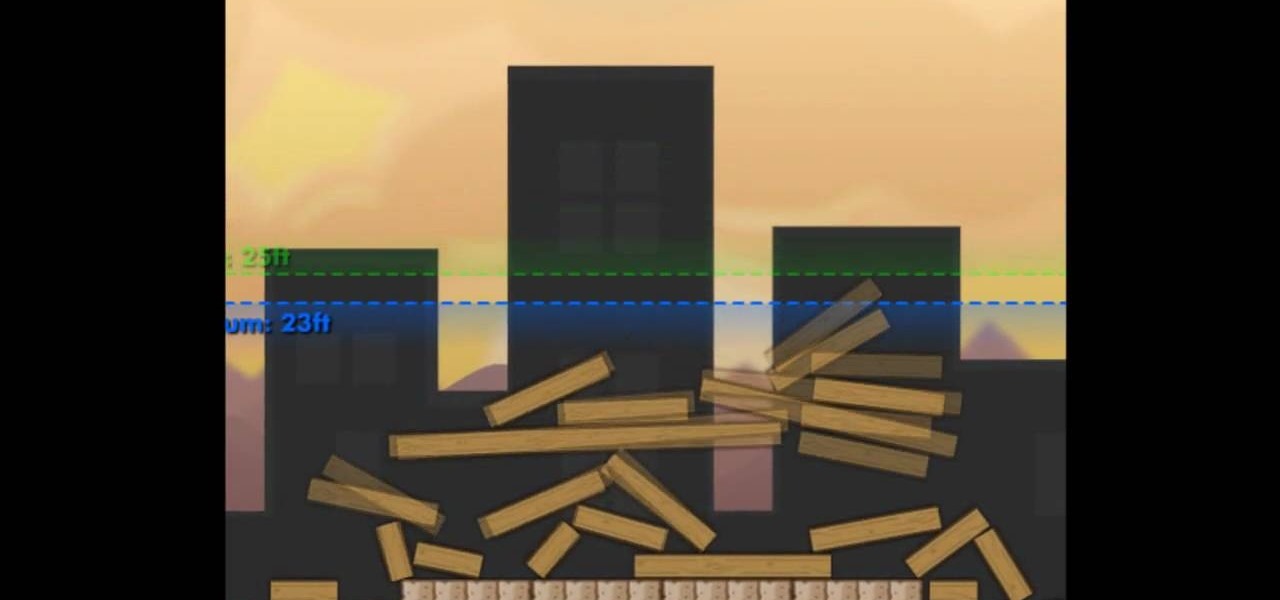
This is a video about "How to Hack: Demolition City 2" by Travis. This is a flash game. To begin hacking, go to the game and enter the first level. At this point, you do not have any cash. Specify that you are using Mozilla in the cheat engine. After you have completed the first level, write "double" variable in value type and then type the value for the first level, and you can easily notice the game appearance seems to be changed, because the second level of the game consists of first level...

This video will teach you how to create a basic logo in Photoshop CS3. In order to create a logo you need to follow this simple steps: 1. Go to File -> New and create a new document with the width and height 500 px. Set the RGB Color and the background transparent. 2. Fill the background with a black color. 3. Create a new layer and create a perfect circle. 4. Select Blending Options and Gradient and use a light red color to fill the circle. Add the text and use some effects for it. The video...

Ever have the problem of people messing with your word documents? This guy shows you the solution by telling you how to create password protected encrypted word documents. The process starts with your open file. Clicking on save as... and in the popup window clicking the tools button in the bottom left corner and clicking general options. There it shows you text entry boxes, one for setting a password to open the file, another to set a password for rights to modify the file. Enter your passwo...

This video shows how to delete a user account on Windows 7. Go to the start menu, the control panel, then user accounts. Click add or remove user accounts. Select the account you want to remove. Choose the option to delete the selected account. Windows will ask if you want to delete everything on the account or keep the information on your desktop while still deleting the account. This will be your choice. The narrator chooses to delete the full account.

In this video we learn how to use Smart Art graphics including creation of Hierarchal charts, flow charts, modify, adding gradients, style, and colors, in Word 2007. The first step is to click on the Smart Art icon in Microsoft Word 2007. Next, you can scroll through the Smart Art object choices. In this example we first want to click on the Text Cycle icon. Once we do that click on OK and the rough drawing will be placed on your document. After that click on design and you can format the gra...

This video demonstrates how to show and hide the ruler in Microsoft Word 2007, along with working with page margins. The presenter indicates that if you click the small button above the vertical scroll bar, Microsoft Word will then display Rulers. To work with margins you'll need to click on the Page Layout tab to display the Page Layout ribbon. The video shows the different options located on the Margins menu. There are several built in settings for wide, narrow, normal, moderate, and mirror...


