This is a detailed explanation on a particular step of an earlier project "Moleksine Notebook Mods". This is my first time working with a video explainer so I'm happy to take comments on whether this is useful, if some voice over would be better, maybe text on the video.

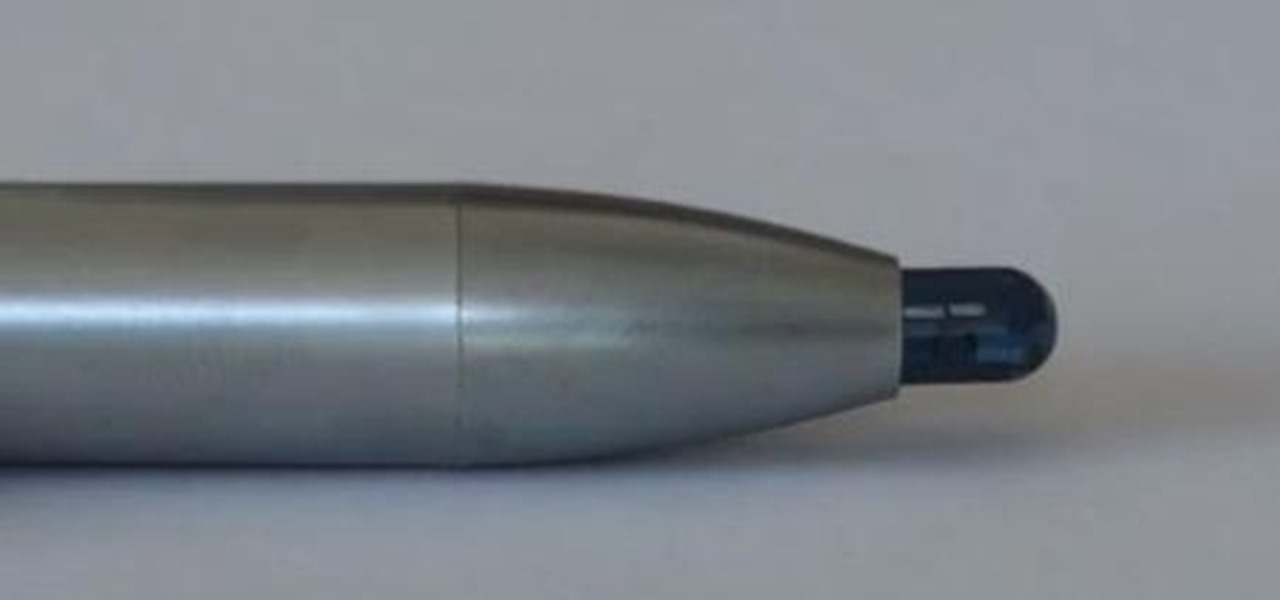
Update: After playing around with our new iPhone 6 and 6 Plus over the last couple weeks, it occurred to me to see if my DIY stylus would work with these new devices. I'm happy to report that it does, just as expected.
In this episode of Mike's Lab, we will be creating our own touchscreen! Video: .
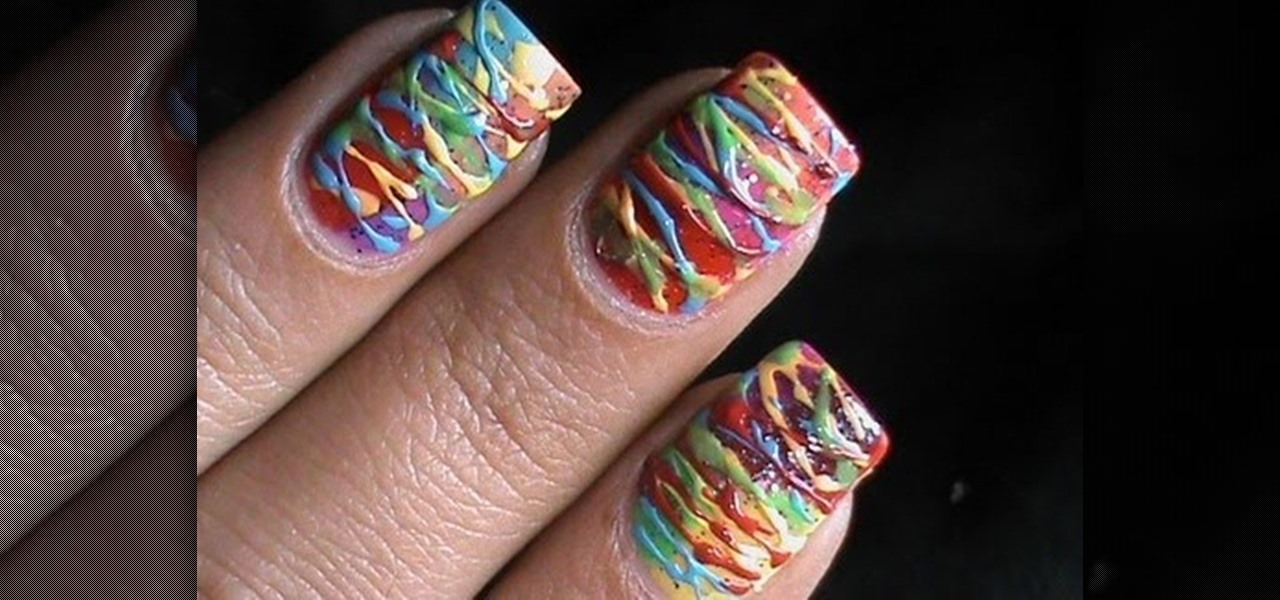
Mess up your nails for some quick and easy style with these bright and stringy spun sugar nails art tutorial - http://www.youtube.com/watch?v=Ir8psJTCV0U
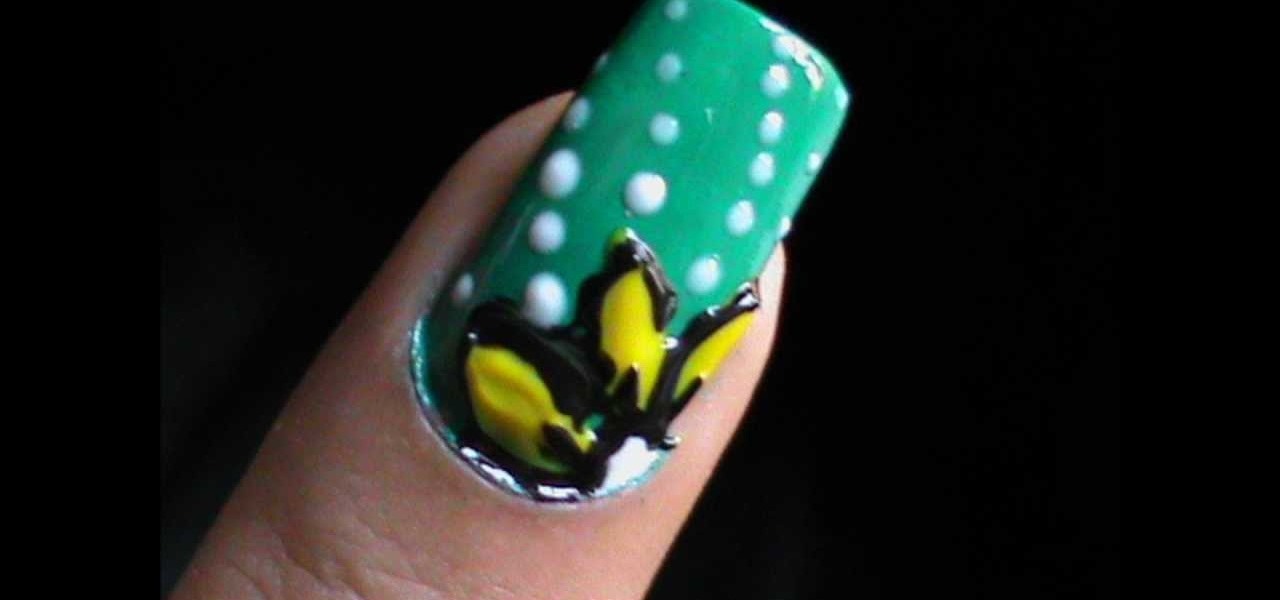
Check out this nail art video to learn how to do nail art with a 3D pen ! Video: .
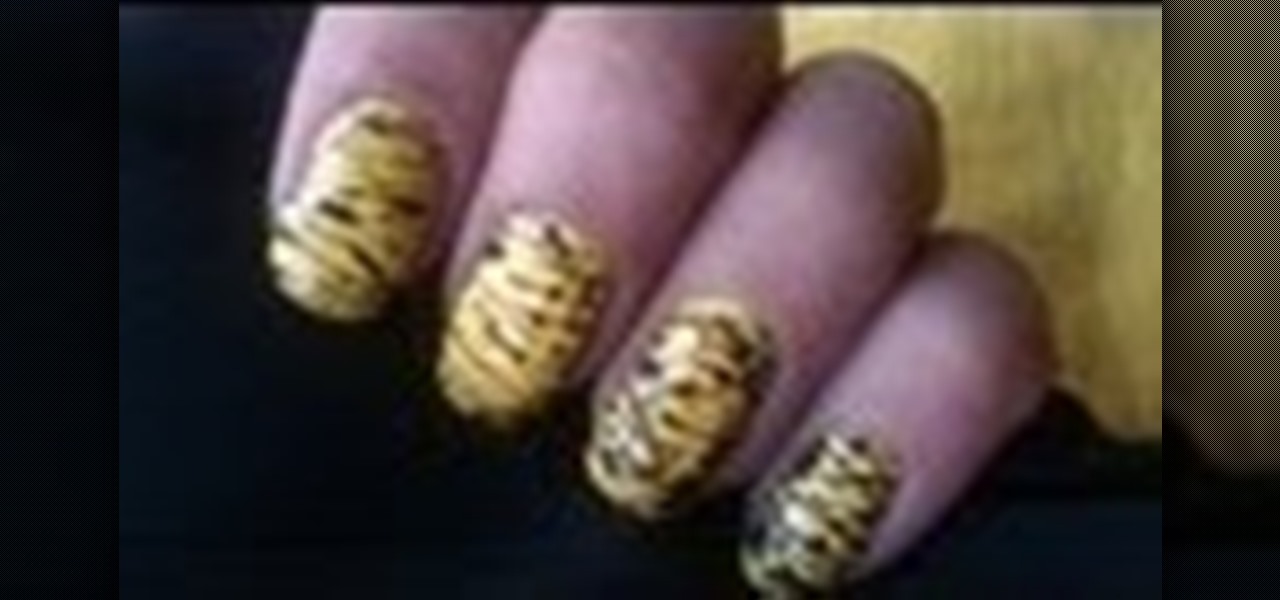
How to do spun sugar nails art ?! Check This video out to learn more ! Video: .

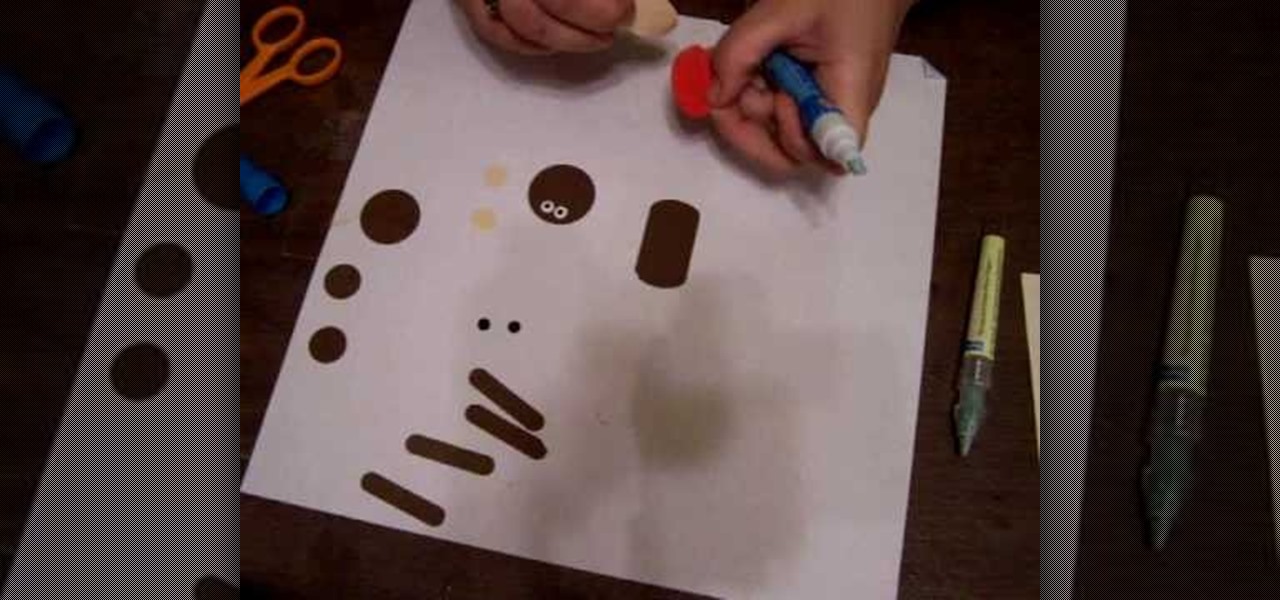
In this tutorial, we learn how to make a monkey with Stampin' Up punches. First, you will need to punch out all the appropriate punches that you need to make this. Once you have them, start to assemble by starting with the head. Place the eyes and the mouth on the appropriate spots, then use a black pen to add in further details on the face. As you continue, make sure to glue the different pieces together until you reach the bottom. Once you are done, add any additional details with the black...

This prank is simple, creative, easy to set up, messy and embarrassing. Five of the first things that we at Wonderhowto look for in a prank. All you need are some basic household materials:

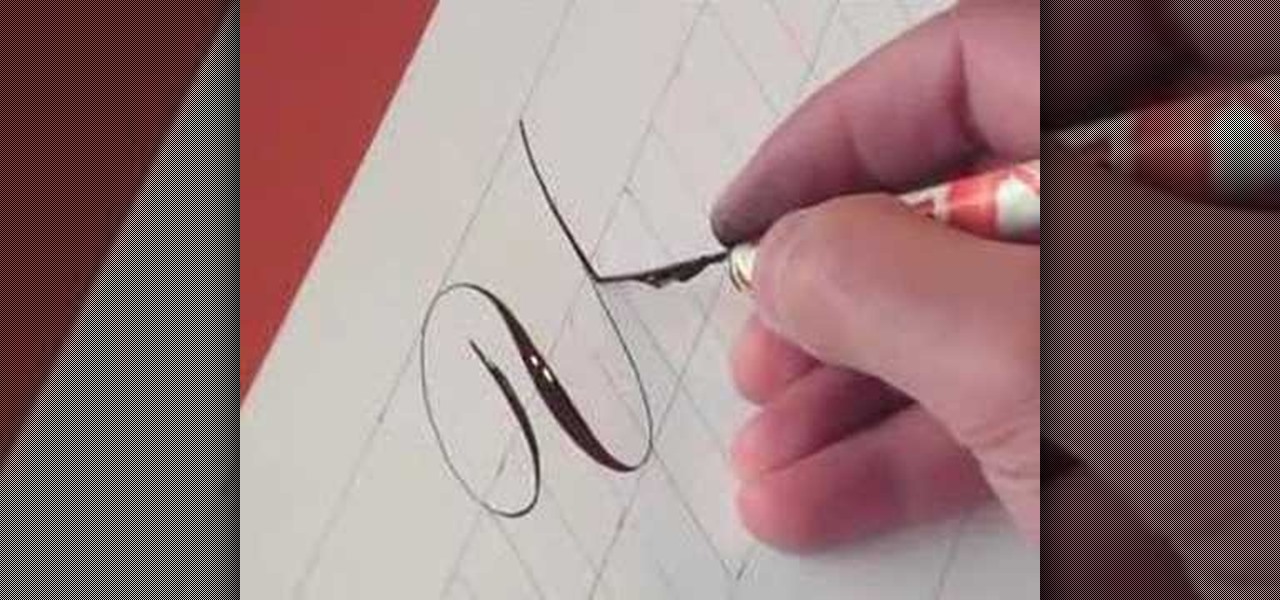
In this tutorial, we learn how to write the letter Y in calligraphy copperplate. First, make a thin line with the pen, going thicker as you go down, make a loop and then come back down. Make a "u" shape, then connect a curved line to the other side finished with a dot on the bottom to complete the letter. To make the lower case letter, make a small thin hump, then drag the pen down to a thicker line. Make a new line on the other side, making a thicker line and connect it with the other shape ...

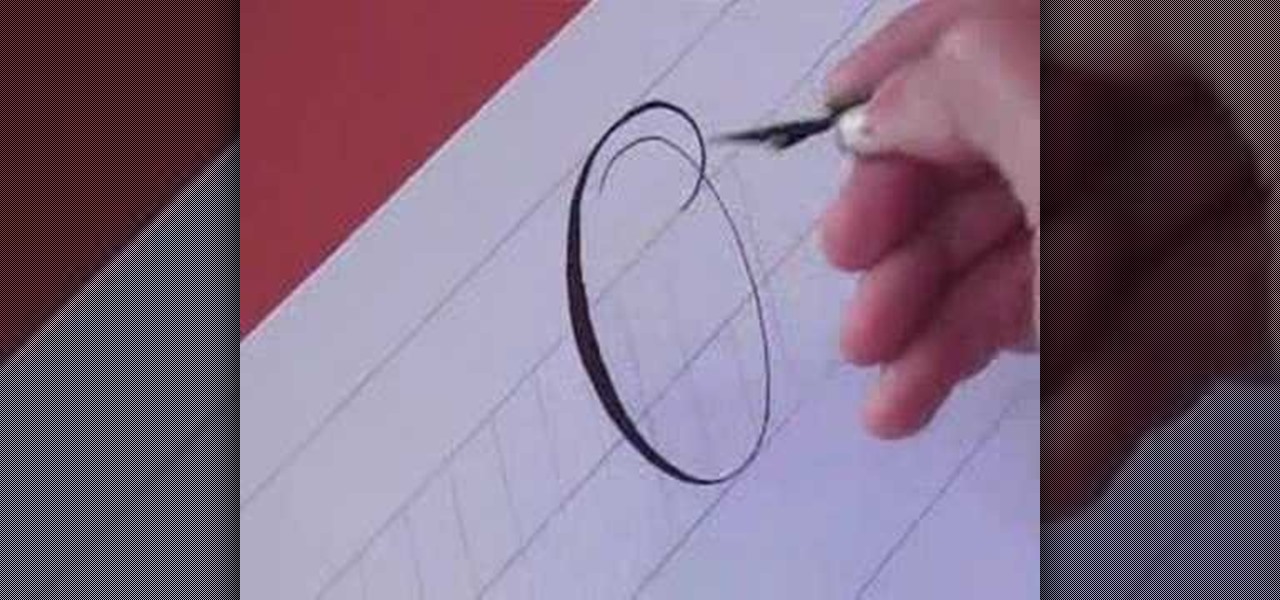
In this video, we learn how to write the letter O in calligraphy copperplate. Take your calligraphy pen and make a medium thick half loop at the top, dragging it down into a thicker line on the left side of the word. Then, continue onto the other side of the O with a lighter touch of the pen making a very thin line, finishing with a loop in the middle. Make the smaller O just like normal, making the thick line on the side and finishing with a small loop bending out to the right at the end. Wh...

In this video, we learn how to write the letter "r" in calligraphy copperplate. Start out by dipping your calligraphy pen into ink, then creating a curved line with a dot at the end of it. Next, fill in the line so it is smooth and there are not ragged edges. Next, draw a large swirl on the left side next to the curved line, then draw it over to make the initial loop on the "r". After this, create a loop in the middle, then draw it back down to make the end hump of the "r". After this, draw i...

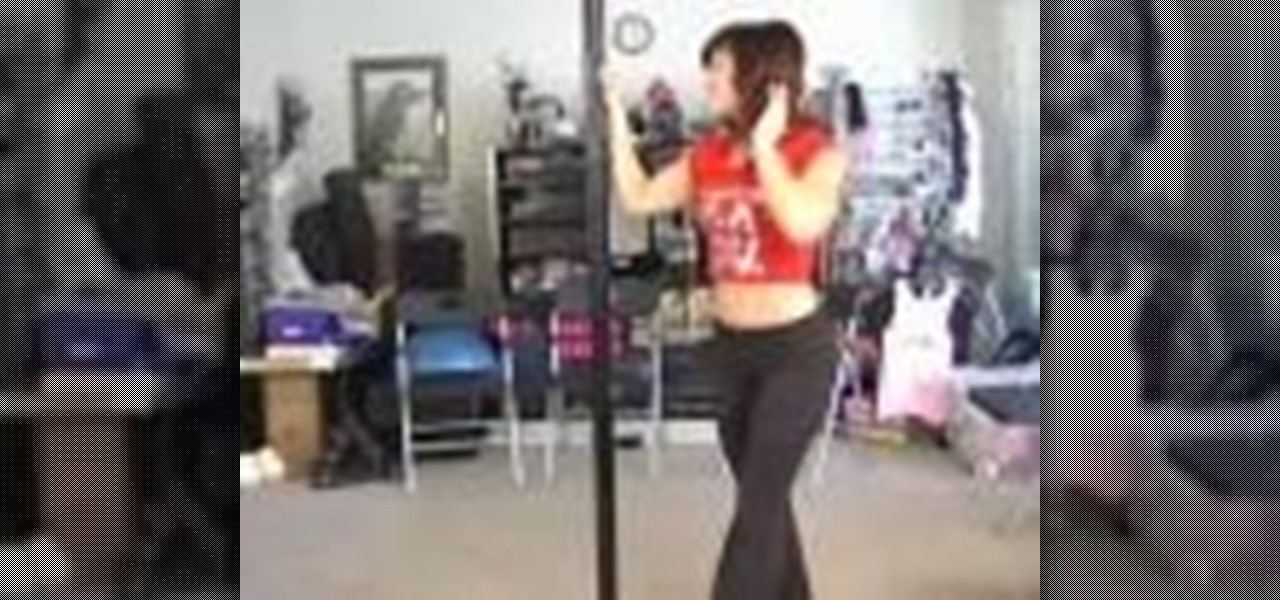
In this video, we learn how to do a pole dance fitness routine with Jennifer DiDonato. This exercise is becoming more popular for women, it's not only a great exercise but can be very sexy and fun! The first move you will do is a basic walk around the pole, while playing with your hair and swaying your hips. Next, turn towards the pole, grab on with your hands and lift your knees into the air while spinning around. Your next move will be to do this again, just leave your legs in the air, but ...

In this how-to video, you will learn how to draw a duck or a swan in the easiest way possible. To do this, you will need a writing tool such as a sharpie, pen, or pencil and a piece of paper. First, draw a v like shape smoothly. Next, Follow the shape once more, except make the outline of the swan. Next, fill the top in to complete the drawing, as well as the eye of the swan. You can add water to the drawing with a blue pen or marker. This video shows just how easy it is to create this drawing.

Why buy something when you can just make it yourself? Instead of a store bought mini dog/cat bowl, you can easily make it for yourself. Buy some polymore clay and roll it into a very small ball. Now take your finger, and press it down on the clay until its flat, not too thin although. Next take a marker and with the bottom of it, press down so you have the bottom of it, make sure you don't go right through it. Next center a circle cutter around the pen and cut straight down and through the cl...

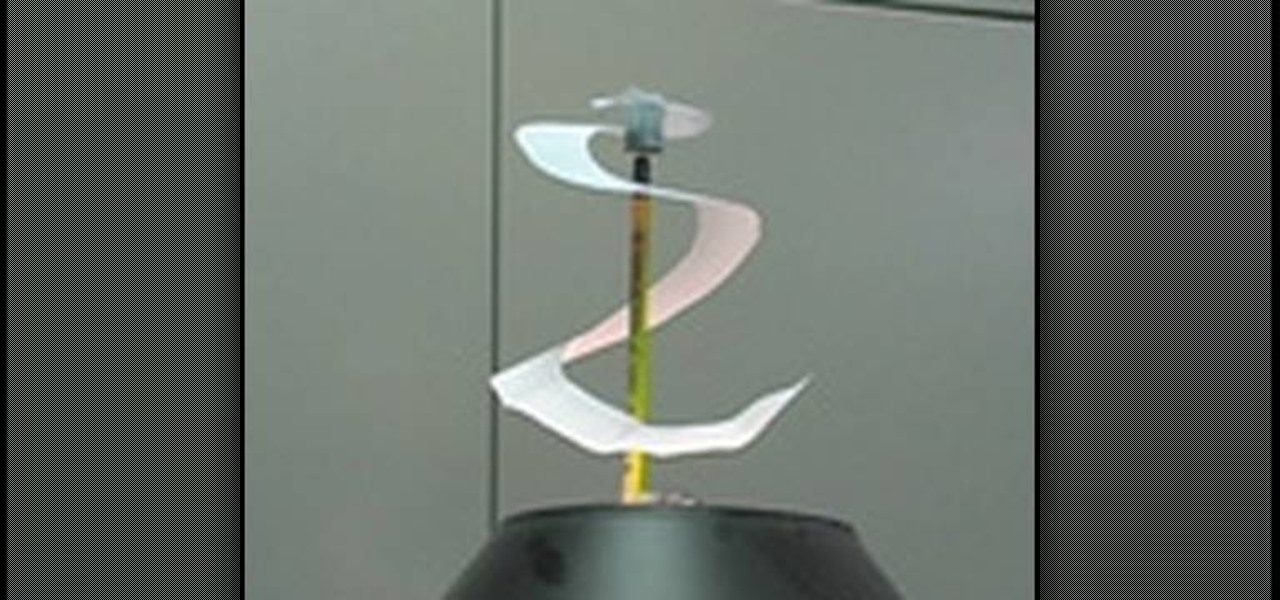
This video teaches the secret of making a cool perpetual spinner with a few little things and science. You will need: white paper, scissors, pen, pencil with eraser on its back, bell pin and a suitable cap. Draw a spiral shape on a plain sheet of white paper using a pen. Now cut out the drawn spiral with a scissor carefully. Punch the bell pin on the tail of a pencil. Stick a small cap (which suits the center of the spiral) to the center of the spiral as shown. Now stick the pencil on a table...

Jason Bill teaches us how to cook and peel hard boiled eggs. The music for this video plays in both ears, however the audio for Jim's voice only plays in the right ear. He first teaches us that soft boiled or raw eggs do not spin well. Hard boiled eggs instead spin and eventually stand up. Do not place the eggs into boiling water but rather put the eggs in and then boil the water. He then peels the ends and blows into the egg in order to peel it.

Did you know that rabbits can be litter-trained? Having a properly trained bunny means less mess and stress for you—and the bonus for your bunny is that she’ll get more freedom around the house.

Discover how Almond Oil can be combined with Maltodextrin to become a crunchy, melty, delicious desert topping. Then combine it with gelato and spun sugar. What more could you want out of desert? This is a lesson in Molecular Gastronomy. Learn how to make gelato with an almond crunch and spun sugar.

In this video tutorial, you'll be working in Adobe Photoshop and learning a little bit about a very specific skill that I think is important for all designers. That is, the Pen Tool and using it to hand-draw clipping vector paths. There are a variety of ways to make selections in Photoshop, but drawing a real vector path is the most tried-and-true and highest quality way to do so. Mastering this tool will make you a better designer and help unleash your creative potential.

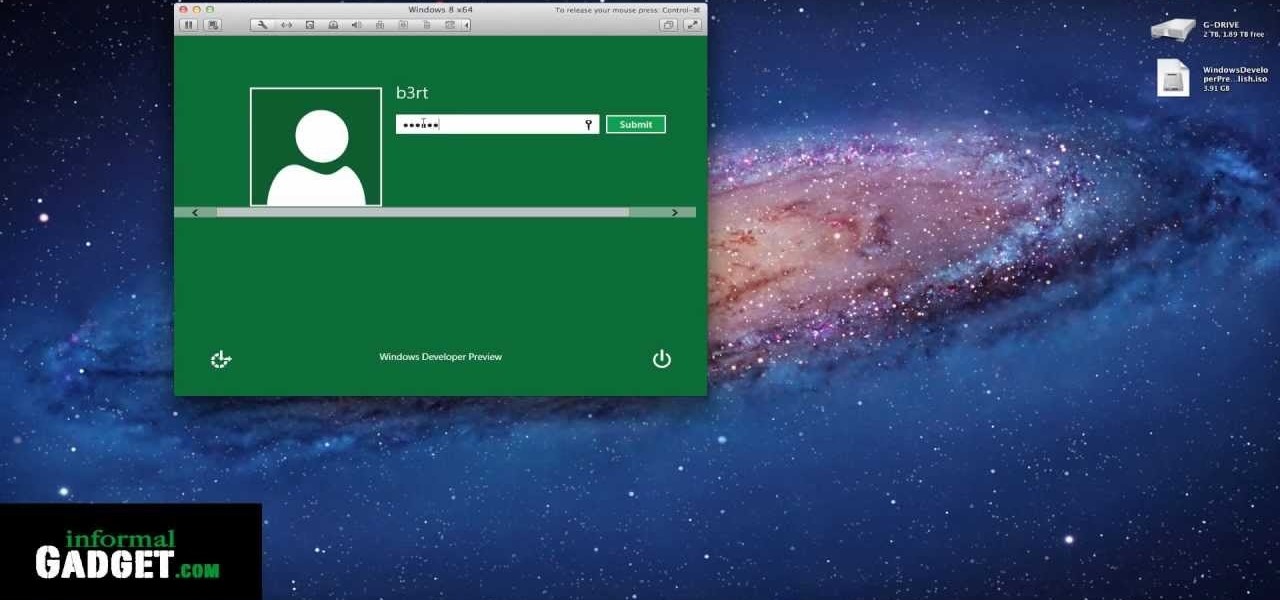
You can give the Windows 8 Developer Preview a spin on your Mac laptop or desktop by installing and running it with VMWare Fusion 4. VMWare Fusion 4 allows you to run Windows from within OSX so that you can have access to both programs and operating systems at the same time.

The Gmail interface is highly customizable, allowing you to organize your email messages in a variety of ways. One of the best ways to organize the email is by changing your inbox view. By trying a different inbox view mode, you can prioritize your email messages by importance, unread order, starred emails, and more. So give the different inbox views a spin and see if it helps you better manage your Gmail messages.

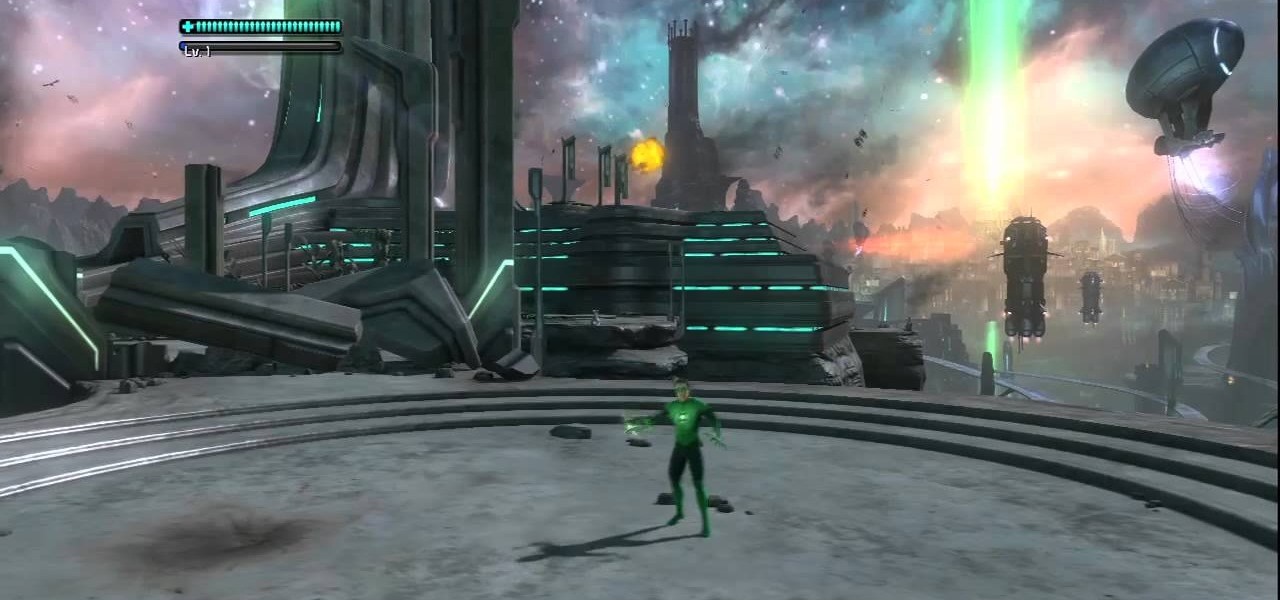
The Achievement Hunter demonstrates how to earn the 'Get Dizzy Y'all' achievement and the 'Shut Your Mouth' achievement in the Xbox 360 game Green Lantern; Rise of the Manhunters. The first achievement is earned by spinning consecutively and the second achievement involves performing several combo hits.

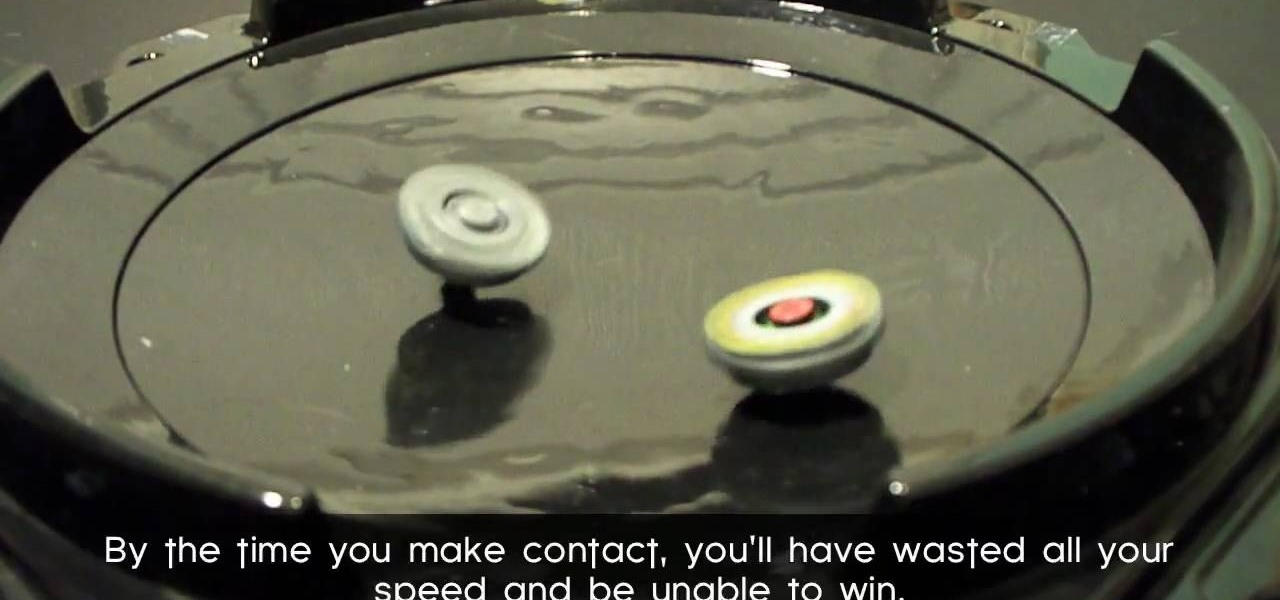
A standard straight up and down Beyblade launch usually sends your Beyblade spinning around the edge of the Bey Stadium. If your opponent's Beyblade is in the center of the stadium this means that you will lose a lot of power before you hit them and probably lose the round. This video will show you how you can angle your launcher to do a sliding shot that will cross the middle of the stadium and win you more Beyblade.

Starting a fire is one of the most important things you can do in a survival situation, but doing so is seldom as easy as you'd like. This video will teach you all sorts of ways to light fires, including making firestarters out of cotton balls and petroleum jelly, using natural tinder, and using the old spinning stick and string method.

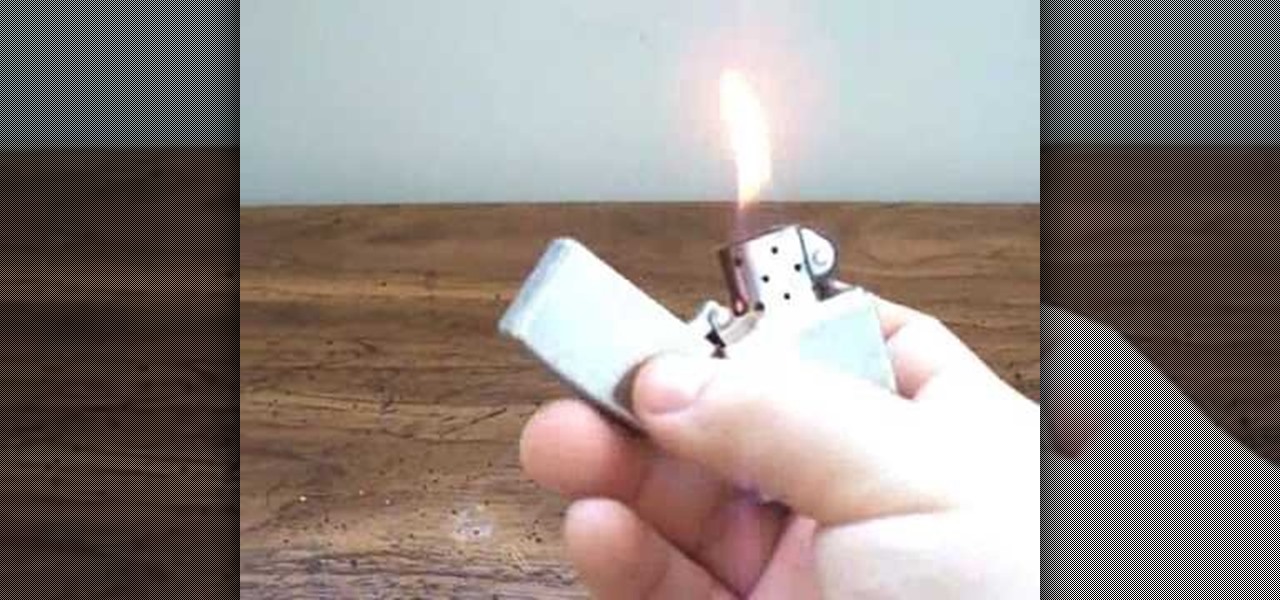
In this clip, learn how to perform a cool, slight of hand Zippo lighter trick, step by step. This video will show you the entire trick - first fast, then slow motion and then give you detailed instructions. With this trick, you will learn to flip your lighter around in your hands and turn it on in the process. Light your cigarettes in style from now on with this illusion.

In this clip, learn how to perform the "ferris wheel" with your Zippo lighter. You will learn how to toss an unlit Zippo into the air and spin it, and then catch it lit. You will fully rotate your lighter just like a ferris wheel and look totally rad, from now on, everytime you light a cigarette.

Turn an old tennis ball into a nifty camera tripod in just minutes. Inspired by an Instructables.com project: http://www.instructables.com/id/SDMK5MWFDO29GEZ/

This square dance video teaches the following square dance calls on the mainstream list: Tag the Line, Half Tag the Line, Recycle, 8 Chain 4/Thru, Spin Chain Thru

This square dance video teaches the following plus level square dance calls: Chase Right, Spin Chain & Exchange the Gears, 3/4 Tag the Line.

Transform your old analog clock to an crazy clock. This makes the clocks arms spin freely and you can freak out your friends. This is a very cool hack for a clock.

This is an amazing experiment! Make a motor from a plastic cup. What is needed? Use two empty cola cans, a plastic (paper) cup, a ball-point pen, and more!

This video will teach you how to C Walk. It covers basic and advanced C Walk dance moves including: The V V Step Back V Variation

Using infrared (IR) light pens and the Wii Remote, it is possible to create very low-cost multi-point interactive whiteboards and multi-point tablet displays. Johnny Chung Lee, Carnegie Mellon University. The software can be downloaded at http://johnnylee.net

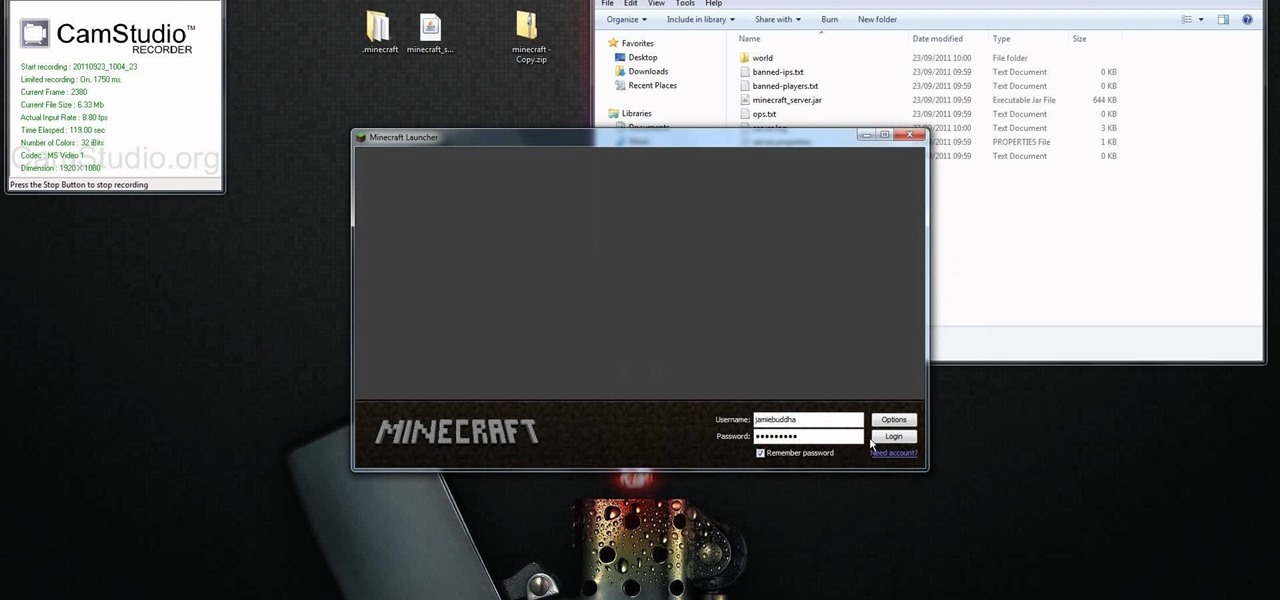
If you're interested in running the Minecraft 1.9 pre-release on your server and giving it a spin (or letting others with the Minecraft 1.9 pre-release client give it a spin), take a look at this guide to setting up and installing the server. This guide will also help people who are getting stuck on the loading screen in the 1.9 prerelease as well.

In this tutorial, we learn how to draw curvy steps using pens. To start, you will first draw a horizontal line with a point in it. From here, you will need to draw lines coming out of the point. These lines will act as your reference point for the different items in the drawing. Next, draw the steps using the reference points. The one at the bottom should be larger, getting smaller as you work your way up. Draw these using the triangle shape in sort of a wedge. Shade in the bottom area to cre...

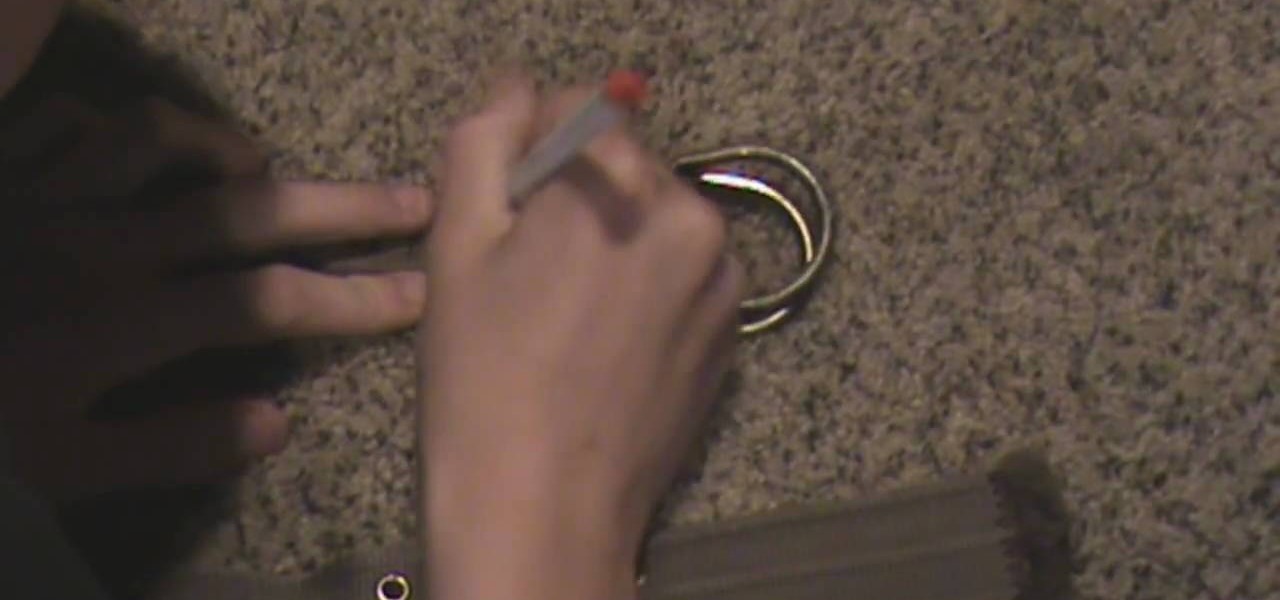
In this video we learn how to cheat on any test by wearing a fake bandage. To do this, you will need a dark belt and a pen. First, you will lay your belt down on a flat surface and then use your pen to write out the information you need onto it. Write the notes out small and use phrases that you will remember when writing down the information. Once finished, wear this with your outfit, just put a big shirt over it. When you are taking your test, you will simply just need to look at your belt ...

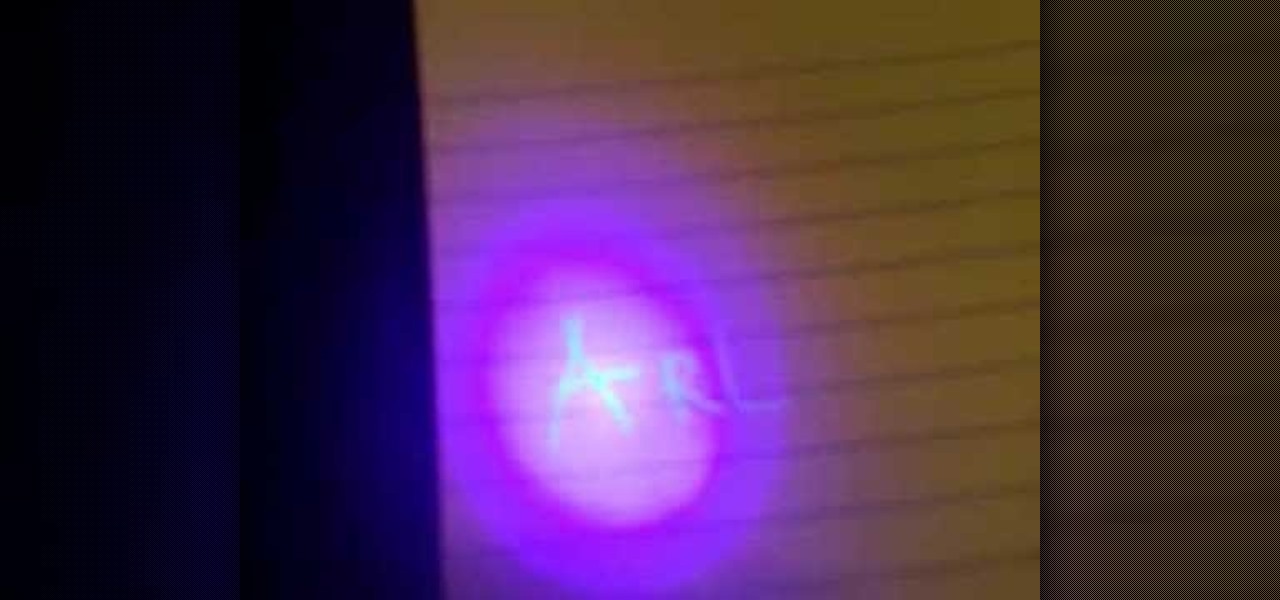
In this video, we learn how to cheat on a test or exam with a light. To do this, you're going to need a small hand held black light and a pen that writes in white. After you have these materials, you will write out the answers and information that you need onto a blank piece of paper with the pen. After you have everything written out, shine the small black light onto the paper. Now you should be able to see the writing as clear as day! Use this on a test and nobody will know you have all the...

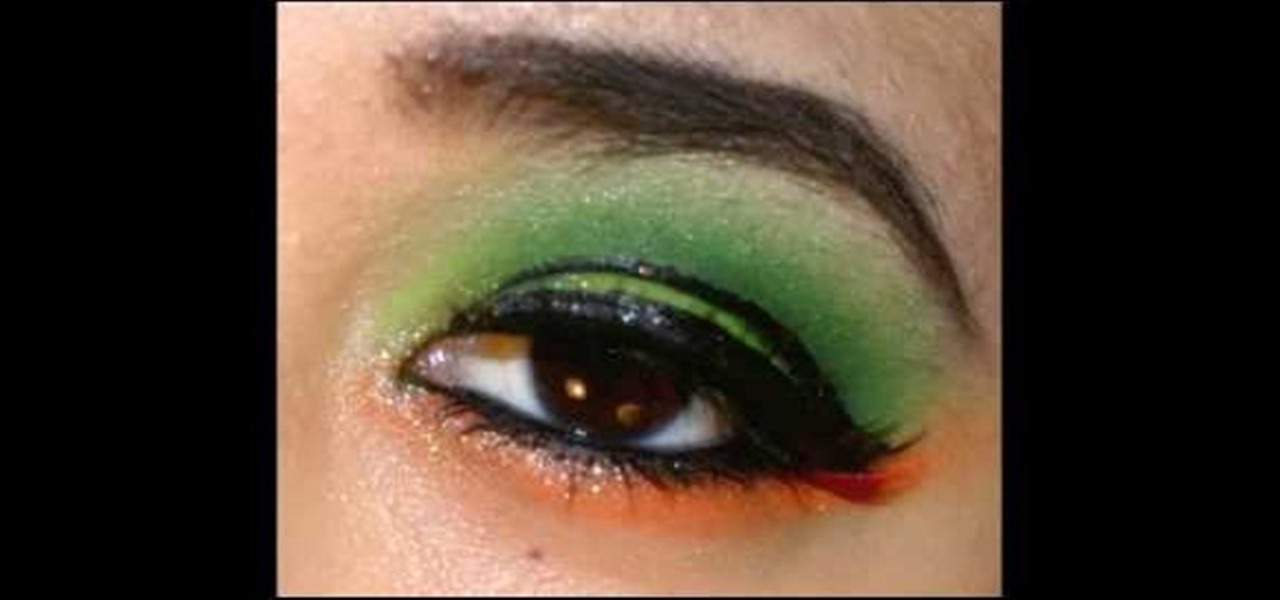
In this tutorial, we learn how to create a neon green and orange look using Kryolan UV. To start, you will brush a shimmery and sparkly white eyeshadow underneath the eyebrow on the brow bone. From here, apply a light green eyeshadow on the eye and into the crease. From here, apply a darker green shimmer shadow to the crease of the eye and blend it into the outer corner. Then, apply a sparkly orange eyeshadow on the bottom lash line, from the inner corner to the outer edge, meeting with the g...

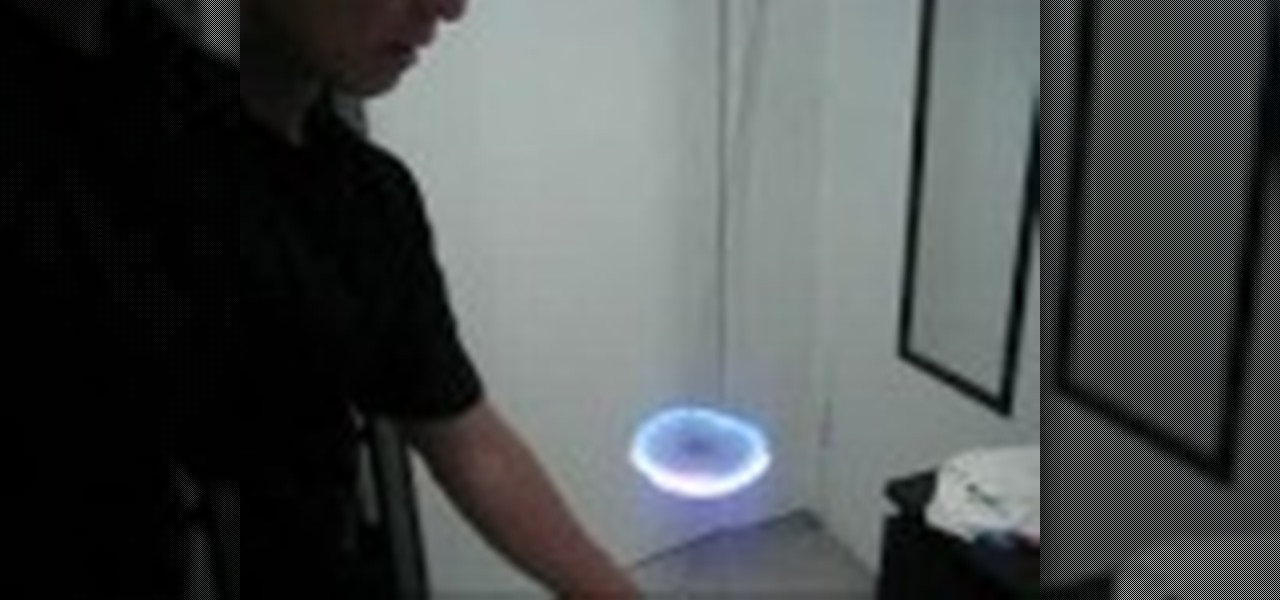
In this video, we learn how to do an orbit at an orbit light show. The light should spin clockwise in one and and counter clockwise in the other. You must pay close attention to keep these spinning back and for. Start out by winding the lights up and mastering this so you can produce different shapes. After you learn the wind up, learn how to make the stars with it by winding it up one direction and let the orbit in the middle unwind itself in the opposite way. Once you're comfortable, you wi...

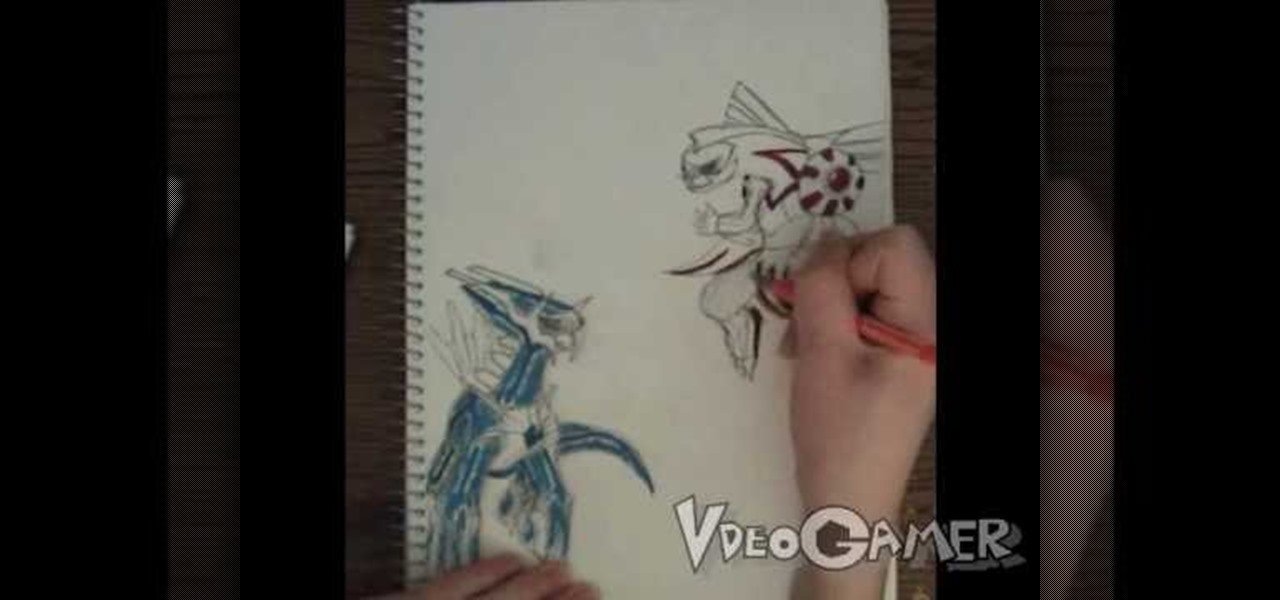
In this tutorial, we learn how to draw Palkia vs Dialga. First, you will need a pencil, pen, sketch paper, and colored markers on hand. Now, start to draw the characters by drawing the outlines of their bodies first. After you have completed this, start to draw in the details of both the characters. Make sure to draw in even the smallest details that are featured on their wings and throughout their body. Next, you will use a pen to shade in some areas darker and trace over, then use the marke...


