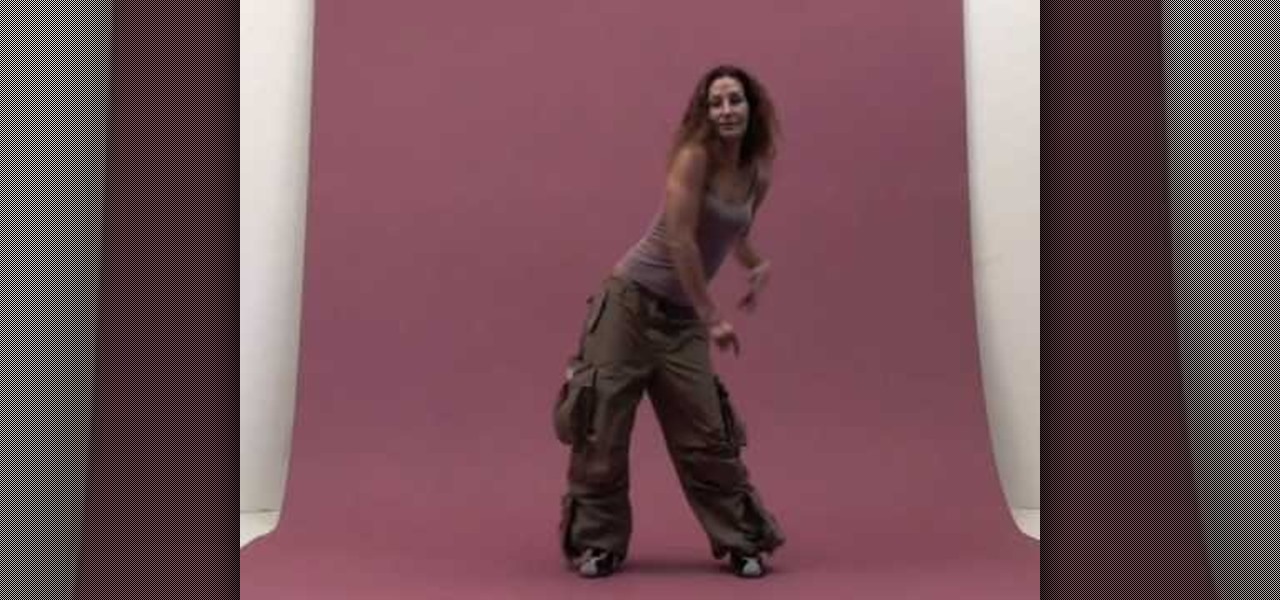
There are few things we'd like to bring back from the '70s: After all, living through super flared bell bottoms, afros bigger than our body, and peace sign shades once was enough. Though we're glad the trendy style of the '70s has faded like yesterday's news, we do love pulling out our Disco Era dance moves.
In this tutorial, we learn how to pick a padlock with a single paperclip. First, check your lock to make sure it isn't broken, busted, or damaged. After this, take your paperclip and bend it out. Next, use pliers to bend the paper clip into a loop shape. Once you've done this, stick the loop into the lock in the middle and twist it. Play around with the lock for a few seconds and continue to twist until the lock comes unlocked. If it's not working, create a bigger or smaller loop in the paper...
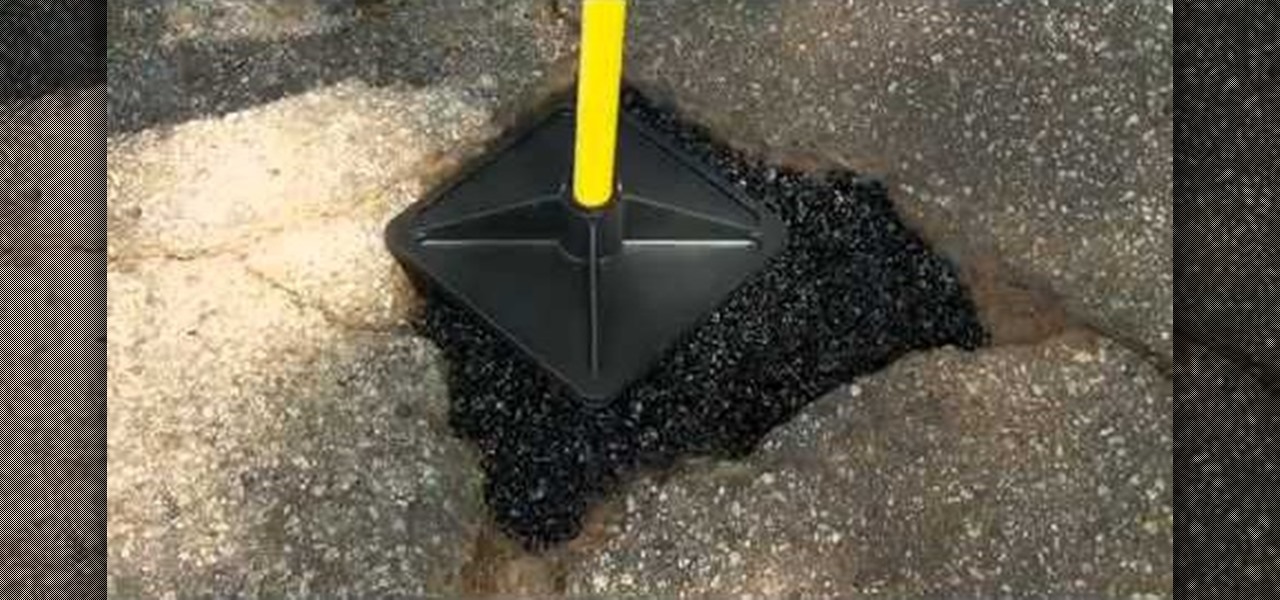
If you've managed to patch all of the unsightly and bothersome cracks in your home's driveway using QPR's Pavement Crack Filler, then you might have some bigger problems to repair— potholes. But don't worry, there's a super easy fix for that, too. QPR's Pothole Repair Products are permanent fixes for ghastly and embarrassing potholes in your driveway.

Rompers aren't just for babies anymore! Rompers and jumpsuits are totally in style these days, but not everyone can pull them off, but that's only because they don't really know how to wear them. There's a romper and jumpsuit out there for virtually everyone, no matter how big, small or curvy. One of the big worries with rompers is the dreaded cameltoe. If the romper you're trying on gives you a camel toe, then just go for a bigger size, and then you can tighten it up to your shape with acces...
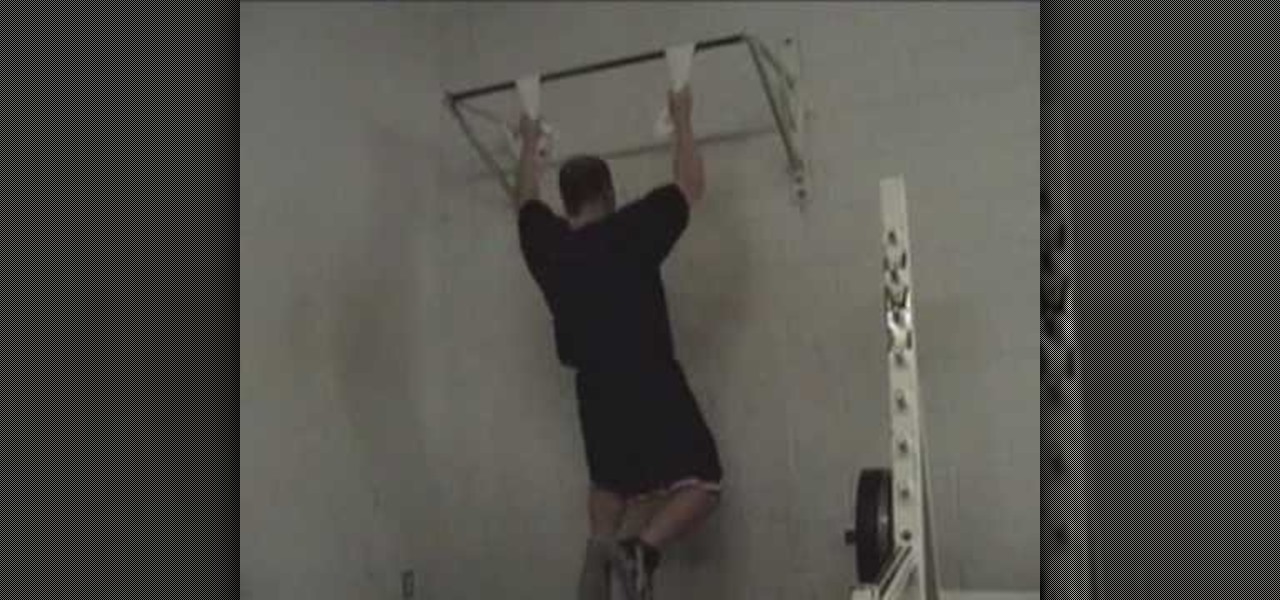
In order to do a big back giant weight sets, you will need free weights, a bench, and a hanging bar. You can use towels or and powder, if it helps you.
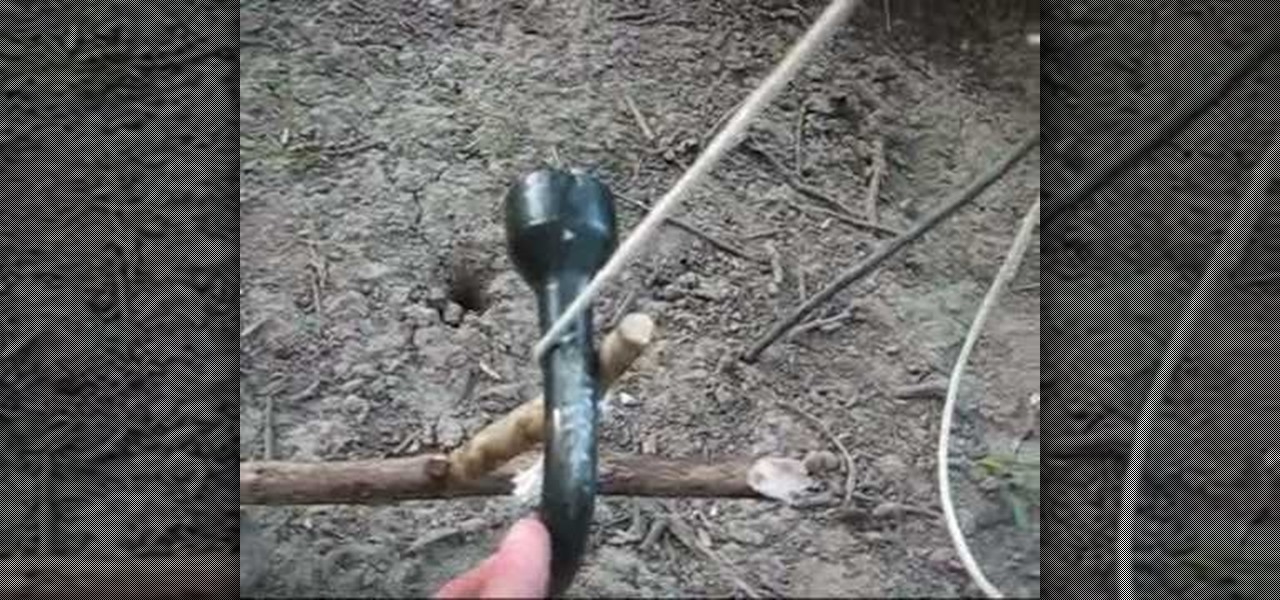
If you're out in the wild and hope to capture something, the best way to do so without using any bullets or a knife is by capturing it. You can do so by making a great trap using mother nature and some other manmade parts.

Owning an RV can be considered a bigger responsibility than owning a normal car. Unlike a car, RVs can be used as a portable home on the road and features many things that a car doesn't have. Bathrooms, water faucets, electricity, etc. So if you begin to hear a pulsing sound coming from your propane regulator, then you may have a problem.

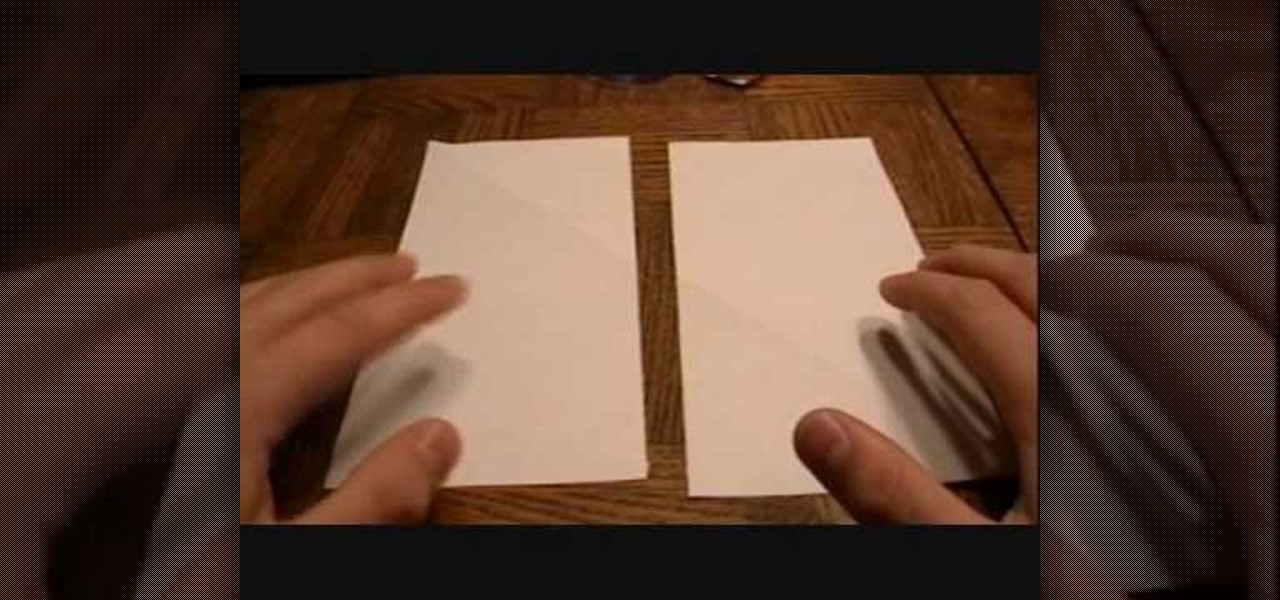
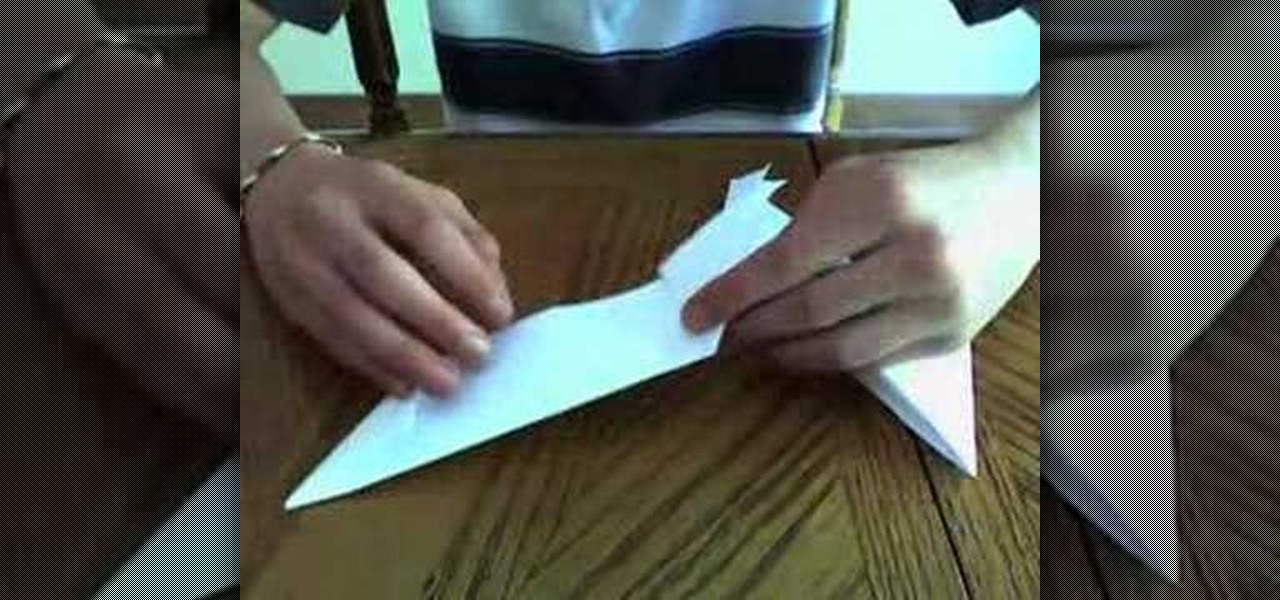
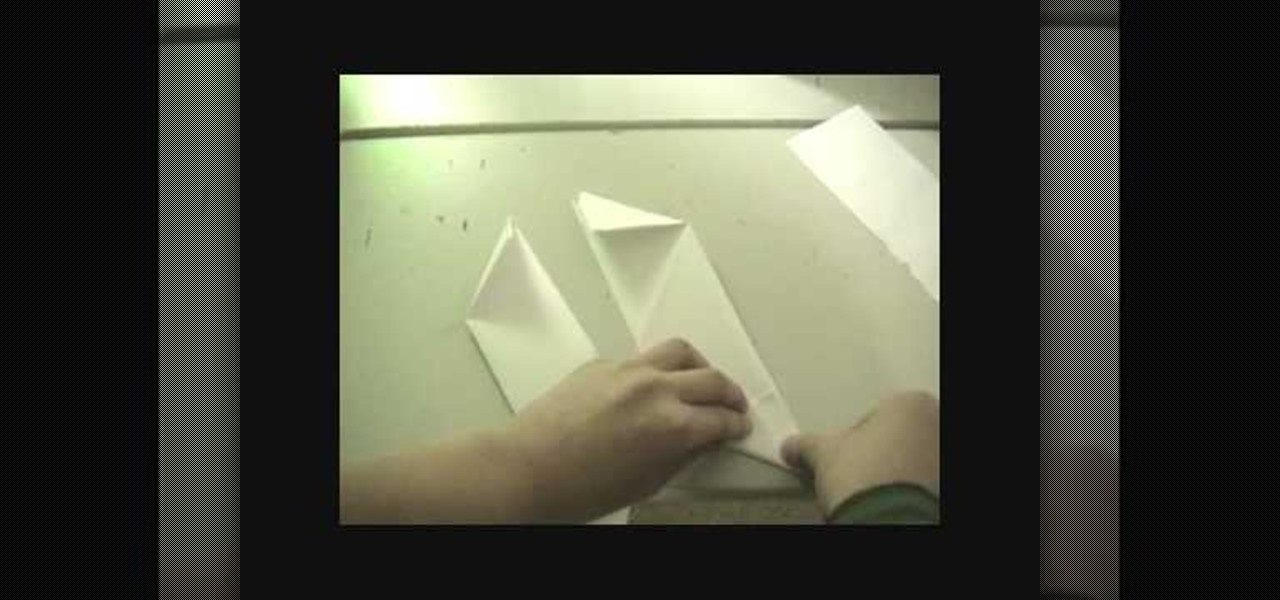
In this Arts & Crafts video tutorial you are going to learn how to fold an origami ninja star. Take a normal paper. Fold it diagonally from one corner and cut off the extra portion to make a square. Fold it in half and cut into 2 rectangles. Fold each piece in half along the length. Fold both ends of each piece in opposite directions to make a triangle. Now fold the ends again to make a bigger triangle at both ends of each piece of paper. Each sheet will form a 'Z' shape. Now place one sheet ...

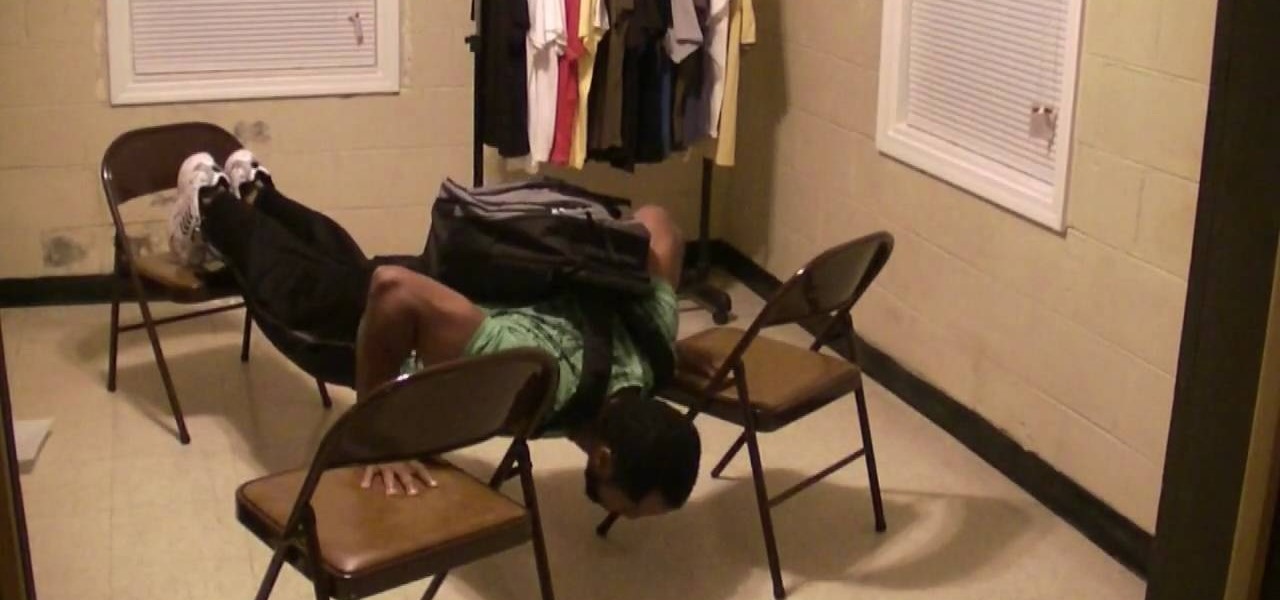
In this tutorial, we learn how to build chest muscles through chair push-ups. To begin, you will need to set up three chairs in a pyramid shape that will fit your body laying down. To begin, place both of your feet on one chair and then push each of your hands laying on a chair. After this, do as many push ups as you can. If you want a more challenging work out, you can wear a backpack that is filled with weights. You can also stay at the bottom for a couple seconds while you are doing the pu...

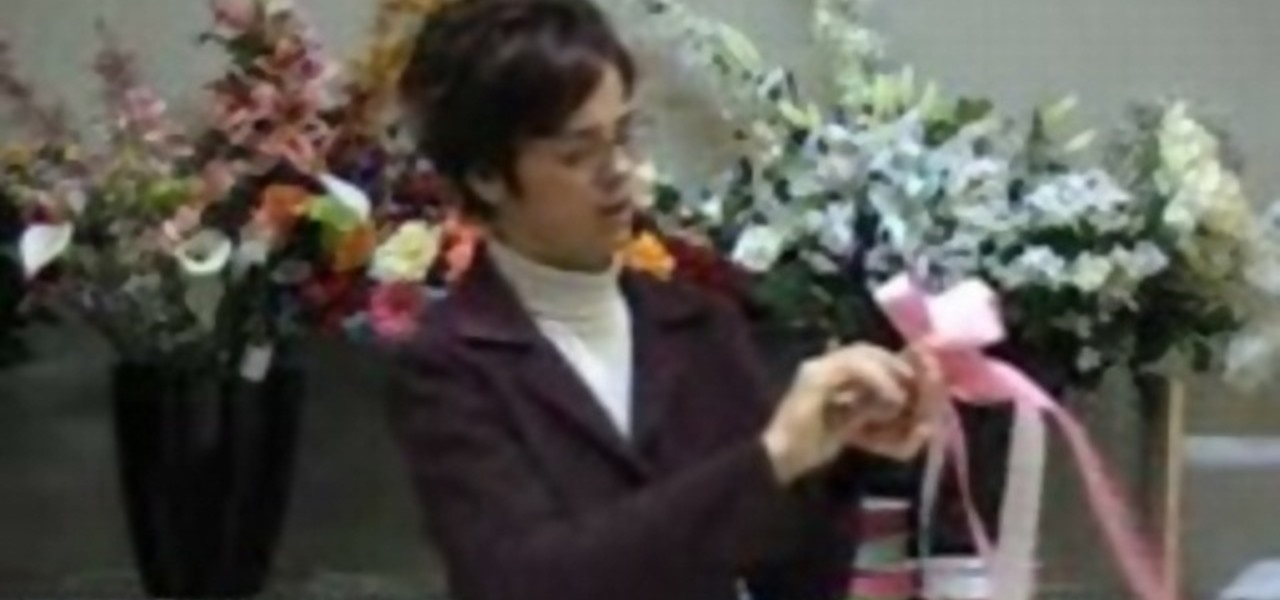
In this tutorial, we learn how to make a double bow with Sandy. First, take two satin ribbons of different colors and place one on top of the other. Leave a long tail, then make a large loop and scrunch it in. Make a loop on the top and a loop on the bottom. Each should get a half a twist and be opposite of the one you made before it. Practice with a single ribbon before you do this one. After you have six loops, create four more to make a bigger bow. When finished, you will have six large lo...

This video tutorial is in the Arts & Crafts category which will show you how to fold a circular teabag paper. This is a simple process and doesn't take much time to do. First fold the circular paper in half to get a semi-circle and then fold it in half again in to a quarter. Unfold the last fold and fold one quarter back to the halfway mark. Then turn the paper over and fold the bigger side of the paper along the fold line exactly matching the edge as shown in the video. Now you get a little ...

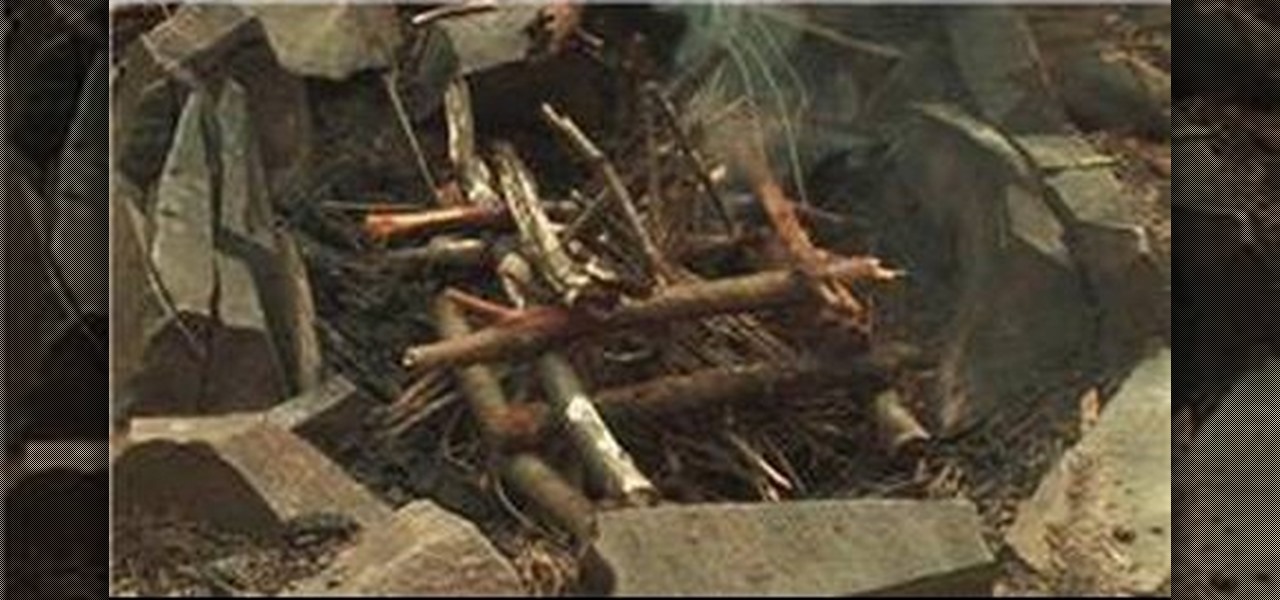
In this tutorial, we learn how to build the perfect campfire. It's important to consider the materials, it's impossible to take a lighter and light a large piece of wood. You want to start the fire small and build it large. Think about the wood you will be using, which will decide if you are going to cook on it or need it for warmth/light. Birch bark is great for a base layer. Cinder is perfect to place on top of the birch, then add in larger pieces of wood as you create a bigger fire. When y...

First, outline the upper portion and lower portion of the right eye. Make the upper line darker than the lower one. Copy and paste this to create the left eye of your anime artwork. Create the eyeball using the Circle tool. Create two more circles inside the eyeball - one bigger and the other smaller. Make eyelashes by using a set of curved lines. Create at least three thick strands of these eyelashes. Create another circle inside the eyeball that intersects the two smaller circles created ea...

There are many different kinds of bait that fishermen use when out in the ocean or in a lake or river. It's important to know which is the right one to use and when. This can lead to a bigger catch for you and others. So in this tutorial, you'll be finding out how to rig your grub when out fishing. Grub is perfect bait when out bass fishing, so good luck and enjoy!

When it comes to fishing, nothing works better than live bait. Not only does it look more attractive, but it can result in bigger fish for you and others to enjoy. One of the best and most deadliest baits to use is live shrimp. This is perfect for fishing out in the ocean and results in great looking catch. So in this tutorial, you'll find out how to easily hook a live shrimp under the horn when out fishing. So good luck, pay attention, and enjoy!

In this Outdoor Recreation video tutorial Dave from 'journey the outdoors' explains how to make a bench shooting bag. This is used by bench or week-end shooters for recreation purposes. For this you will need an old sock. Take one that you don't use anymore and preferably a tight knit sock. Then fill it with rice and tie the open end of the sock. You can also fill it with beans or some other such substance. Rice and beans being bigger than sand, there will be more air in the bag and it will a...

In this tutorial, learn how to fix a missing or corrupt ntoskrnl.exe file on your PC. Cause:

Dave Epstein talks about adding a foundation plant to a home. He is planting a Lavender Twist, a weeping redbud also known as Cercis Canadensis 'Covey'. You will see how adding a foundation plant to your home can make a big impact. You will see a before view of a home to get an idea of what you can do with the space you have available. Also you will get a tip on carefully placing the plant on the side of your home as to not block any windows but also add depth to your home and make it seem bi...

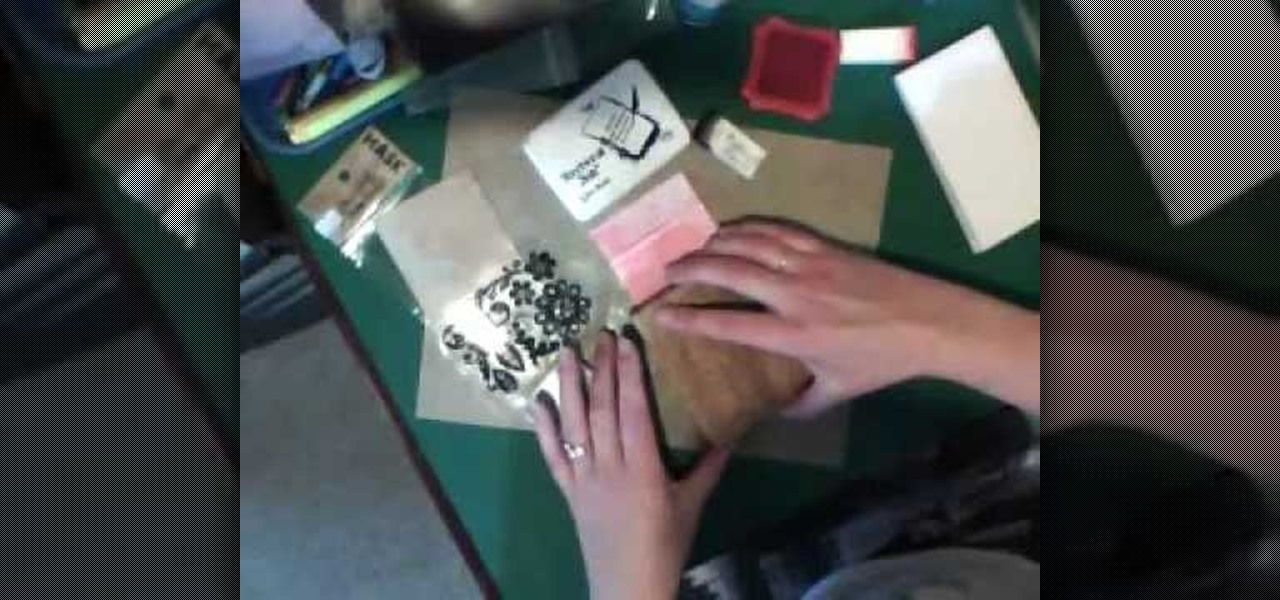
In this Arts & Crafts video tutorial you will learn how to make a stamped notepad cover. Put the note pad on the edge of a bigger sheet of paper, draw the outline and cut the paper along the lines. The paper should be longer than the notepad. Put the note pad on top of the paper aligned with one end and fold the other end of the paper. Remove the paper and crease it properly along the scoring lines. Depending on the theme you want for the cover, apply the required ink with sponge on the paper...

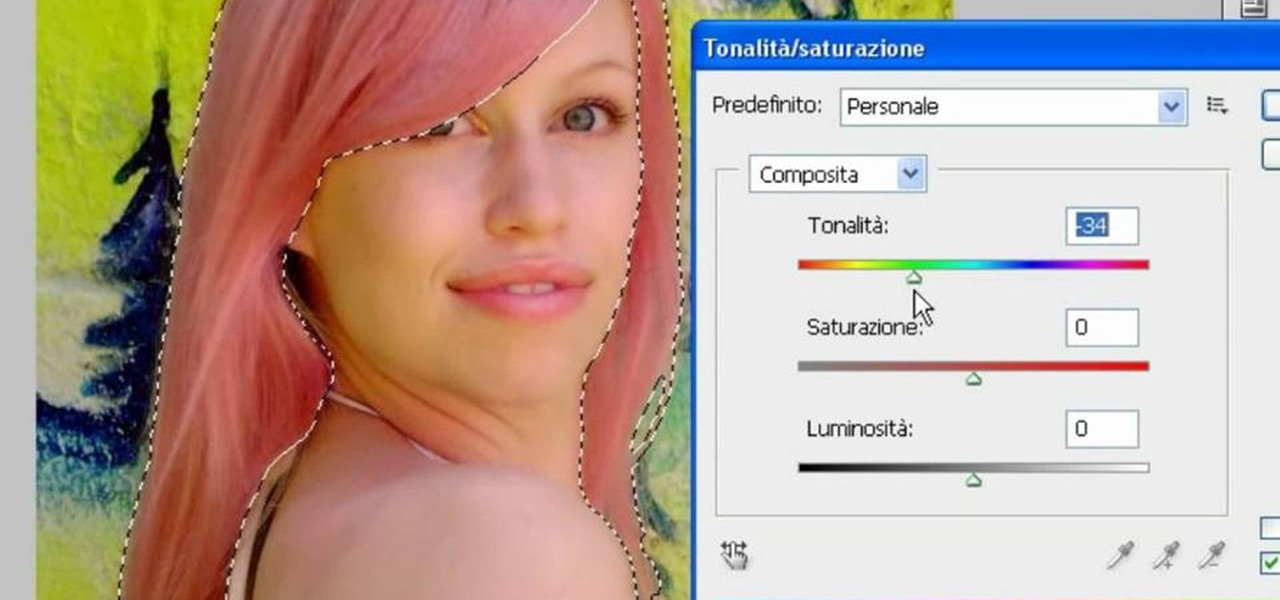
In this video, we learn how to use PhotoShop to change hair color.. First, select the mask tool inside PhotoShop. Now, zoom in on your picture and brush the hair that you want to change the color of. Zooming in and using smaller or bigger brushes will help you be more precise. After this, zoom out and press on the mask tool to create your selection. Then, select the marquee tool and right click and choose "inverse selects". Now, click on "image", "regulations", then "tonality/saturation". Now...

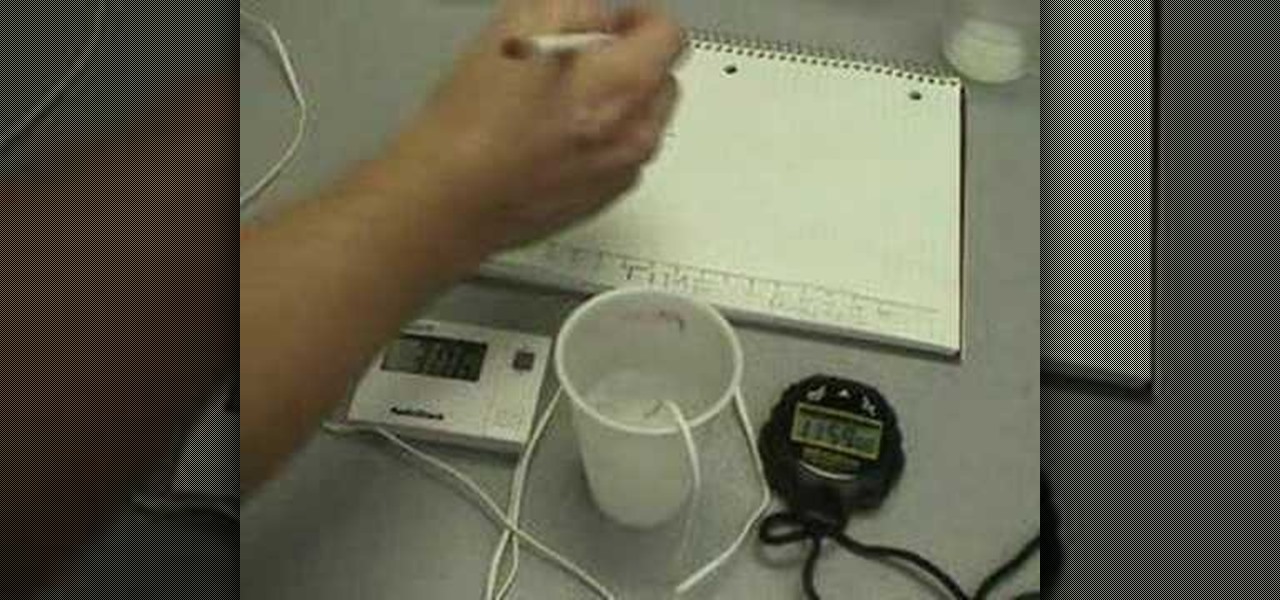
In this Education video tutorial you will learn how to make ice cream and explore the ingredient salt. Ingredients are a cup of milk, sugar, vanilla, some salt, ice and two plastic bags. Add two tablespoons of sugar to one cup of milk, a quarter teaspoon of vanilla, stir it up and pour it in to a plastic bag. Put this bag in another bigger plastic bag, add some ice and about half a cup of salt. Seal the bag and start mashing it. After about 10 minutes, it will turn into ice cream. When salt i...

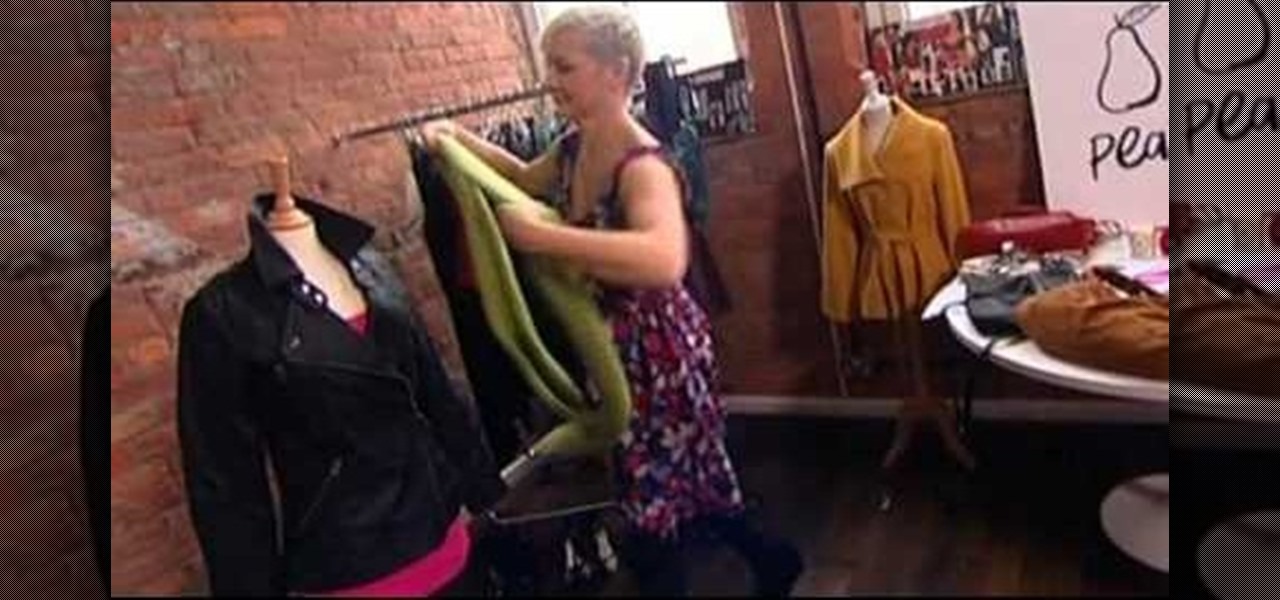
Being pear shaped means your body is smaller on top and bigger around the hips. While this can seem like a difficult body type to dress, a few tips can make a pear-shaped woman look amazing. For example, start with a bright top that calls attention to your bust. Add more volume on top with layers, such as a leather jacket. Add another brightly colored scarf to draw the eye towards your face. You've created a tough chic look very quickly!

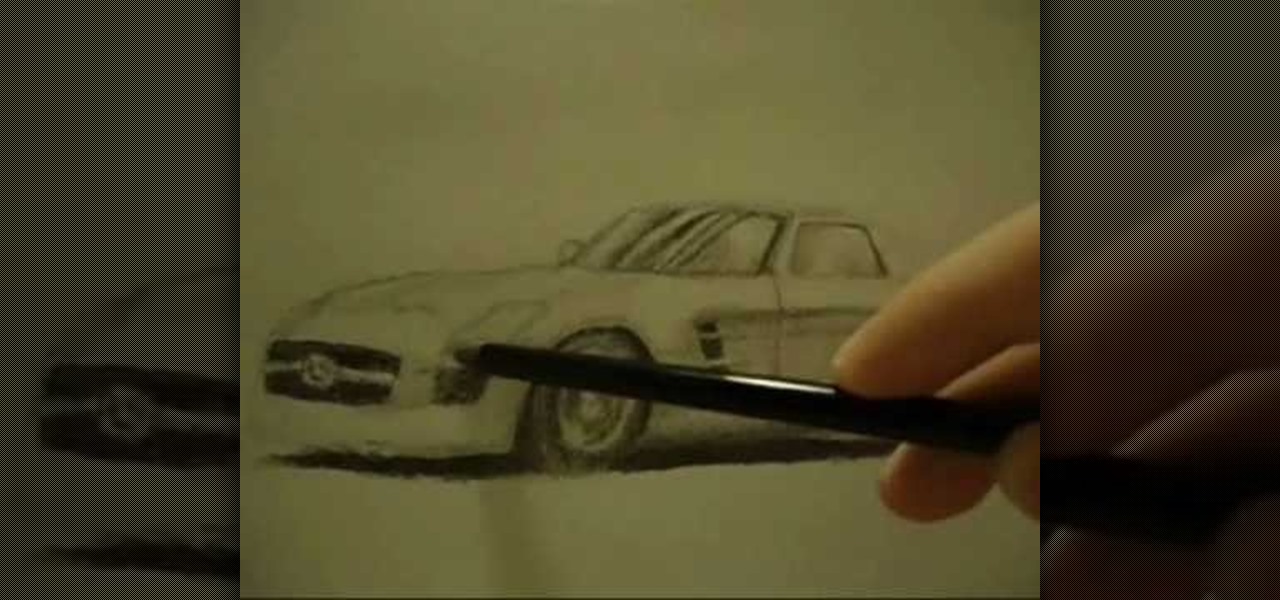
This video illustrate us how to draw a realistic car on paper. Here are the following steps: Step 1: First of all take a sheet of paper and pencil.

In this Disaster Preparation video tutorial you will learn how to start a fire with a "flint on marcasite" method. Mal Stephens, head instructor of Maine Primitive Skill School presents this video. Marcasite is a form of iron pyrite and you can get friction fire from fine grained iron pyrites. For the flint, you can use any hard stone. For the burning material, find some tinder fungus. Now hold the marcasite immediately above the tinder fungus and strike it with the flint. The sparks from the...

In this video, Karen shows us how to decorate cupcakes in different ways. You can use McCormick frosting in a bowl, add neon green food coloring and mix this together. Put some frosting on the cupcake and smooth it out onto the cupcake. Another great thing is to put frosting into a small plastic sandwich bag, cut the corner of the bag and you now have your own icing bag! You can use this to make any design you'd like on your cupcakes. Make the clip on the corner bigger or smaller, depending o...

In this Weapons video tutorial you are going to learn how to make a paper shuriken (or ninja star). Take a square size paper and cut it into half. Then fold each piece in half lengthwise. Fold one end to make a triangle and fold the other end in the opposite direction to make a triangle. Now fold the ends again to make a bigger triangle. Then each sheet will form a ‘Z’ shape. Now place one sheet on top of the other forming a cross. Then fold in the protruding triangles of one over the other p...

In this how-to video, you will learn how to make jewelry using cord in less than four minutes. Corrine Bradd shows you how to easily do this. First, take a satin braid and tie it in a knot. Trim the excess off with scissors and take a cord end. Place the knot inside the groove and then clamp the cord end with a pair of pliers. Turn it around and do it again for the other side. These cord ends come with a loop on top for further use. These look great on jewelry such as charms. You can use a sl...

Would you like to impress all your friends by making 23 different smileys/emoticons on Facebook while you chat with them? Some of them are simple and easy to guess because they are used almost everywhere, but some of them are not so common.

This video illustrates the method of making a eco-friendly earth wallet at home. You will need a paper sheet , glue and a pair of scissors.This can be done as follows -Step 1Take a sheet of paper and fold it so as to create a envelope. Glue it properly to ensure it is bonded properly.Step 2Repeating the above procedure , make two more such paper envelopes - One with a smaller size while the other one a bit bigger.Step 3Stick these envelopes together. Now , using the scissors cut the ends of t...

In this Weapons video tutorial you will learn how to fold a ninja star (shuriken) out of paper. Take a square piece of paper and fold it in half and tear it off to get two pieces of rectangular paper. Fold each piece of paper in half lengthwise. Then fold one end of each paper like a triangle. Fold the other end in the opposite way. Now fold both the ends to get a bigger triangles and the final shape of the paper should be like ‘Z’. Put both the pieces over each other in the form of a cross. ...

This video illustrate us how to draw a graffiti character. Here are the following steps:Step 1: First of all take a paper and start drawing a semi circle and then from this semi circle draw another semicircle bigger then the previous one.Step 2: Now draw two oval within the semicircle and one small square showing the face and the belly of the character.Step 3:Now draw two lines sideways to the character and draw a small circle on these lines showing a tree.Step 4: Now write free hand letters ...

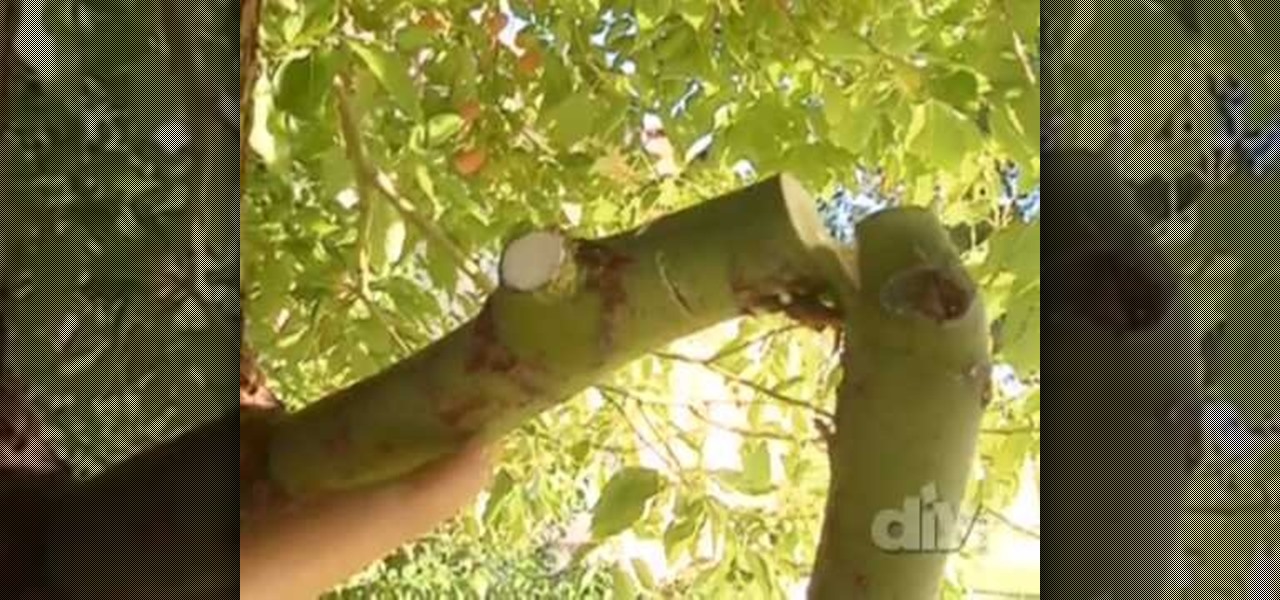
In this how-to video, you will learn how to prune a tree yourself. You start by using the four D's. The four d's include removing things that are dead, damaged, deformed, and dysfunctional. If the branch is brown and crispy, you can remove it. Remove any stubs as this will affect the tree over time. Get close to the branch collar when cutting. Do not cut it near the base if the branch is bigger than an inch in diameter, as this may damage the tree. Do this instead by cutting an under cut and ...

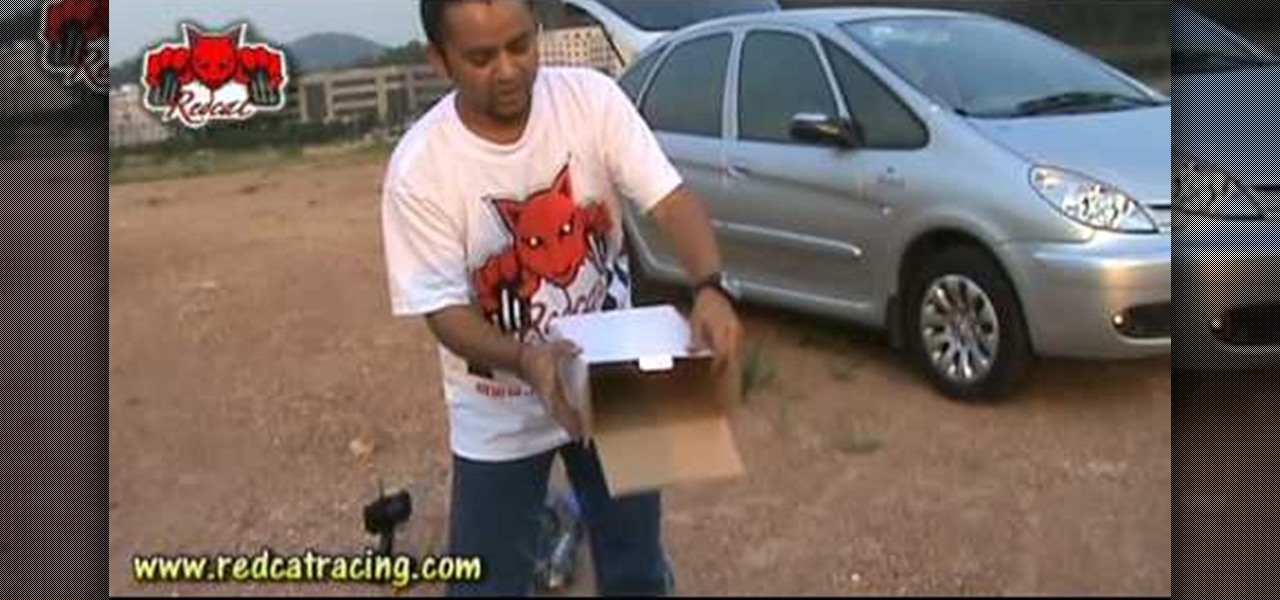
The video demonstrates how to make a great RC jump ramp free of cost. Firstly for this you have to note that you must learn to control your RC in the air because wrong landings after high jumps can cause severe damage to your RC.To make a great ramp for jumping first take a box, a small box is taken here. The same can be done on a bigger box. Then opening the box cut the lateral upsides of the box. After that just put it down and put a tape at the place it touches the box. A curve as you desi...

In this video tutorial, viewers learn how to get bigger and ripped arms with kettle-bells. This video provides three different exercises involving the kettle-bell. The exercises are: gunslinger, triceps extension and push-ups. For the gunslinger, stand up with knees bent and feet slightly wider than the hips. Now shrug your shoulder as you raise the bell. Then point it out and return to the starting position. For the triceps extension, go on your knees and raise the bell straight up. Then low...

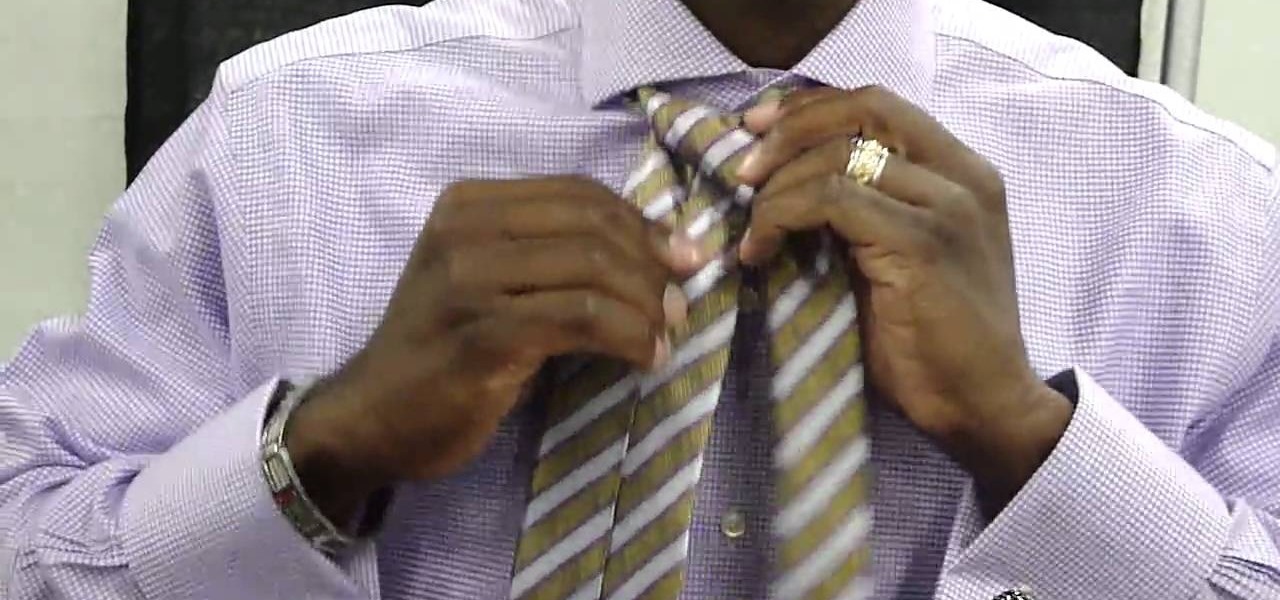
In this how-to video, you will learn how to tie a single Windsor knot. This will be useful if you need to wear a tie at a formal event. First, place the tie around the back of your neck. Next, cross the bigger side over the smaller side and then pull it up through the loop. Next, bring it underneath the knot and around the front of it. Bring it through up through the loop one more time. Pull the end through the knot. Make sure to adjust the tie so that it is at the desired length. By viewing ...

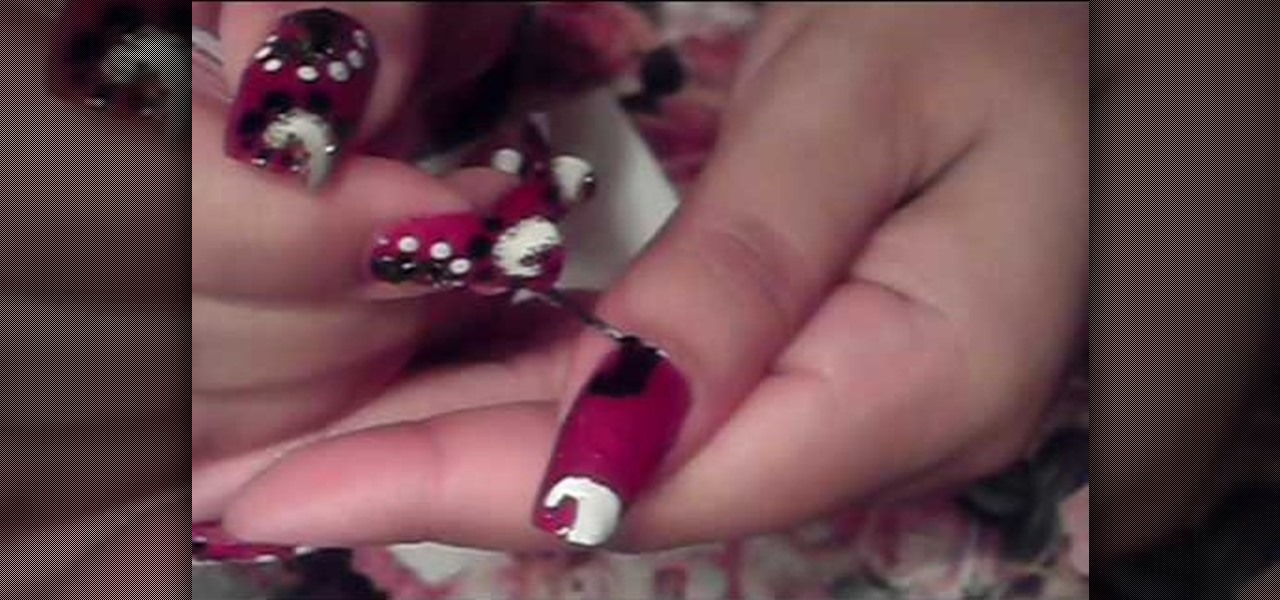
Love4Nails demonstrates a nail design consisting of black and white swirls and dots on a red background. She has already applied a base coat and two coats of red polish. The first step in making the design is the white swirl on the tip. Using the pointed end of a nail dotter, she dips it in the white polish and draws the outline of the swirl, and then fills it in. Next she does the black swirl at the bottom in the same manner.

In this video we are about to see how to plant a garlic in your garden. First of all we should decide on the type of garlic to be planted where and write it down or else we will lose track of it. Garlic always like an area of full sun and a composite mixture of soil. She has double dig the ground and added organic mixtures to get the soil nice and lose and also for it to be fertile. Remove the garlic cloves one by one using your fingers or knives (a better way). Then always garlic is planted ...

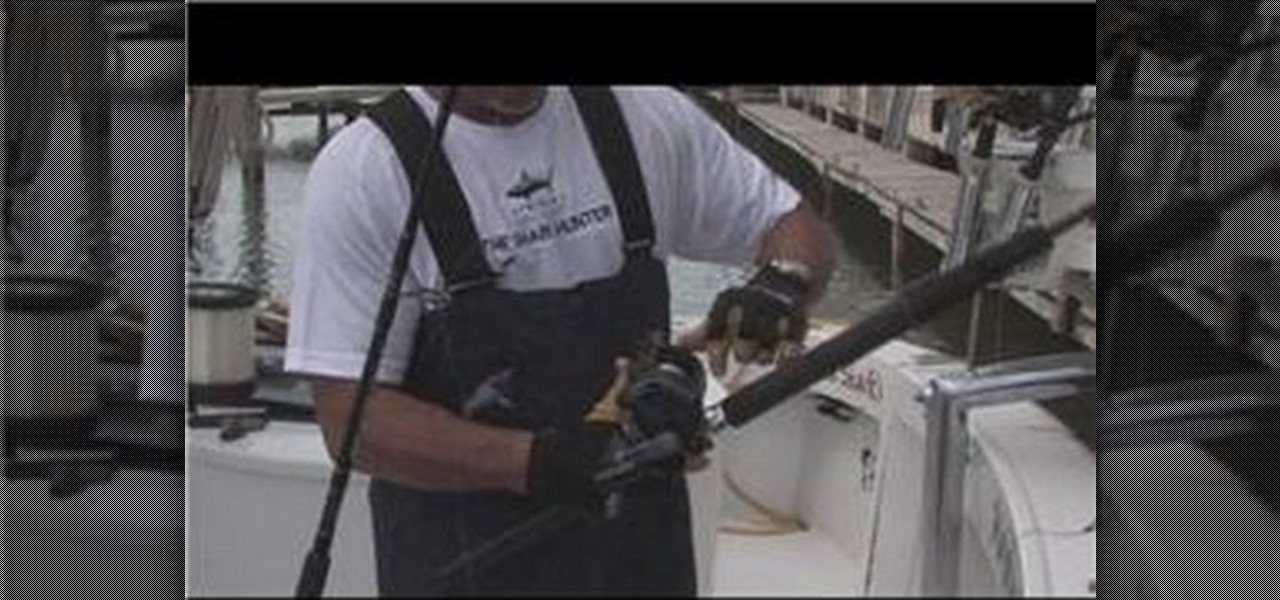
In this video tutorial, viewers learn how to identify the different parts of a fishing rod. This video introduces 2 types of rods, spinning rod and conventional rod. The spinning rod is used for light tackle fish. The line comes off from the bottom of the rod. The rod is designed to bend flexibly. The conventional rod is used for bigger fish. The line comes off from the top of the rod. The rod bends more stiffly. This video will benefit those viewers who enjoy fishing and would like to learn ...

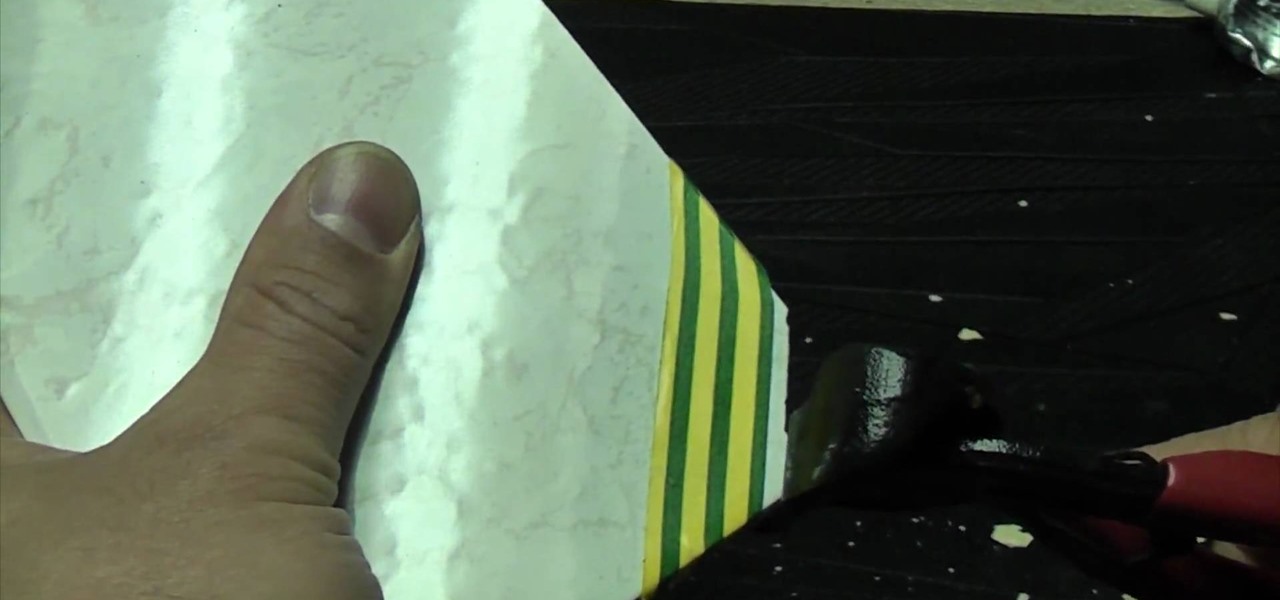
This video demonstrates how to make small cuts on ceramic tile by using Tile Nibblers. The video starts with a quick overview of the tile nibbler tool. It looks like a pair of pliers that have been sharpened. The presenter stresses that a tile nibbler should be just that; nibble away at the tile. If you try to cut out bigger chunks it will result in cracking. Once you get the cut close to how you want it, the presenter uses a tile file to remove the remaining tile and smooth the edges. This v...

This video teaches you how to make a steampunk bunny. You want to start off by making a blob with a fairly light color. Then you want to use a sharp stainless steel tool to create a round head. Make sure to make the head of the bunny is forwarded a little bit so that it looks like a bunny. Next, using your hands create a tail in the back of the bunny. Insert one of the bigger eyes using the little wire. Go ahead take your tool and carve out the nose, the cheeks and the mouth. Next you want to...


