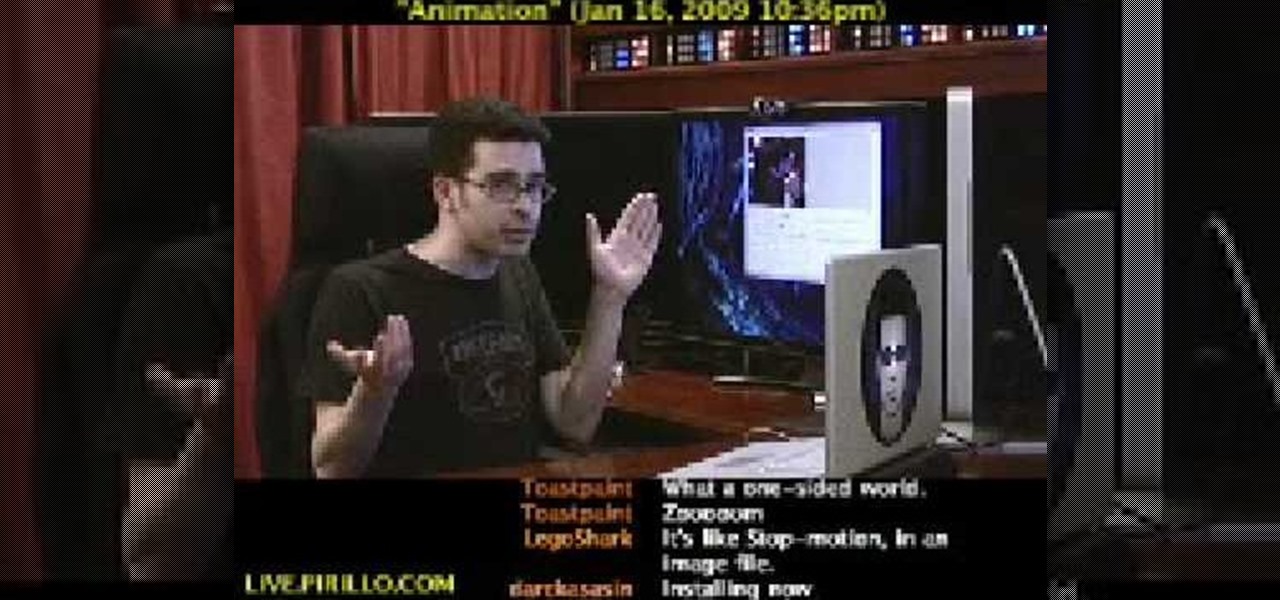
Initially, it is explained what an animated GIF is: a series of frames that are shown in sequence, and are looped 'forever'. There is an example of one of them in the background, and it is stated that it was created in around a minute, using nothing else than a webcam and a free software, found at TagJag.
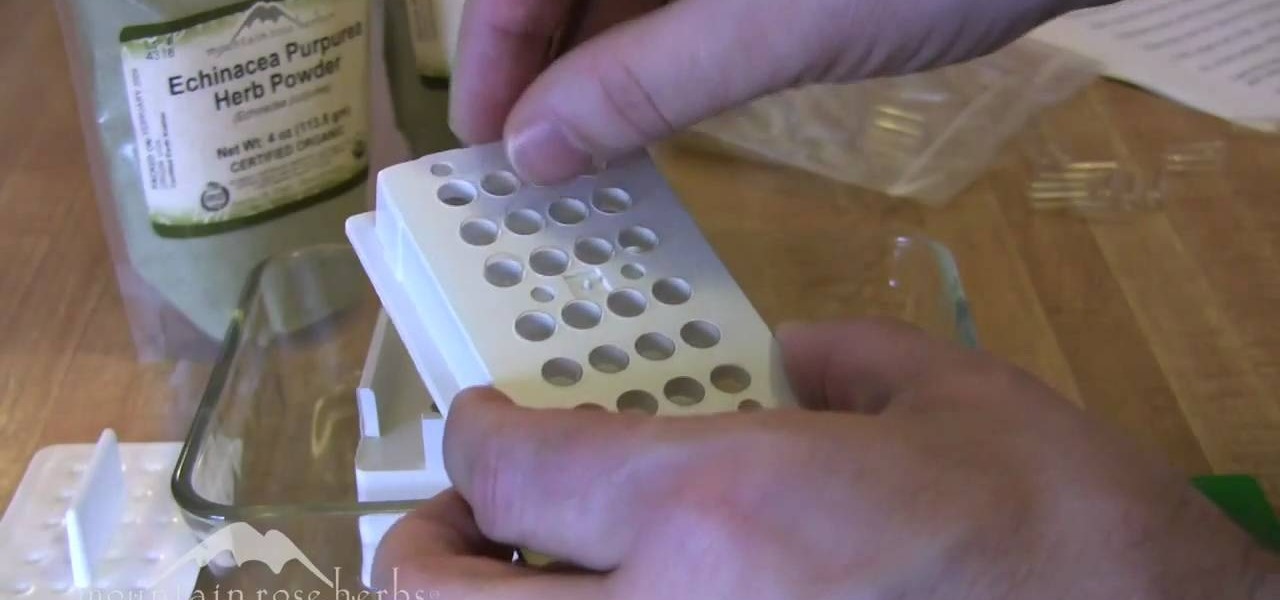
Mountain Rose Herbs John Gallagher shows us how to make our own quality powdered herb capsules using a machine in this video. You will need three things to do this, your powdered herbs, zero size capsules and a zero size capsule machine. He shows us the parts of the capsule machine so we can follow his instructions. Find a container to put the base of the machine in, pull apart the capsules, putting the bottom part in the bottom of the machine and the top in the top part of the machine, filli...
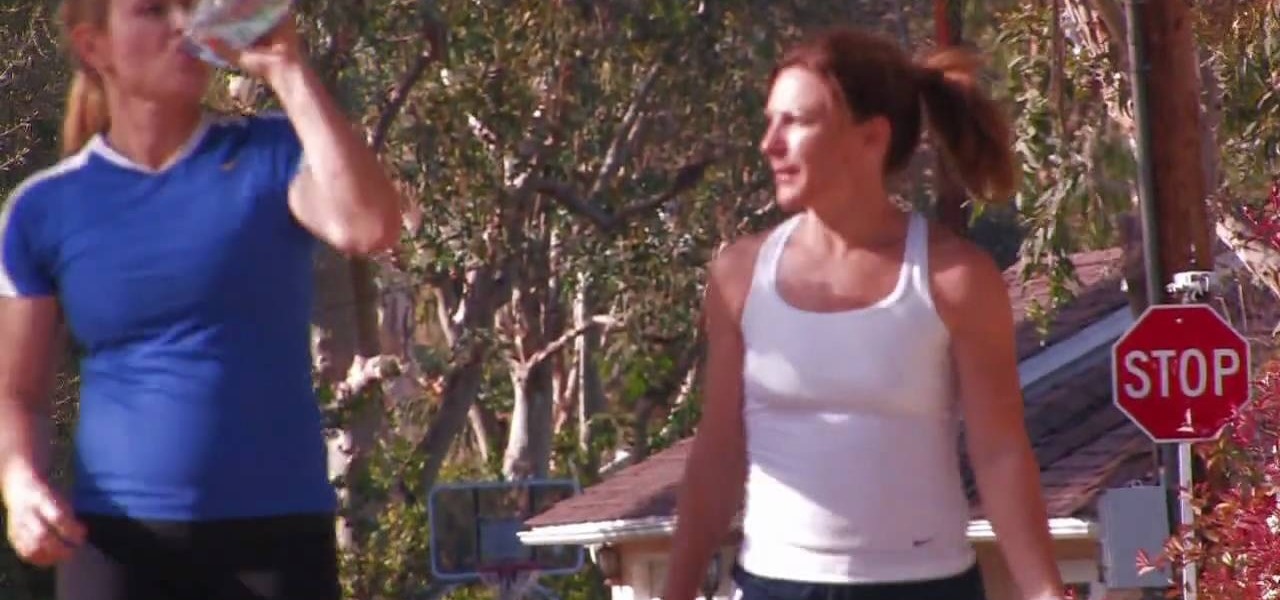
In this video from modernmom we learn exercises to reduce your breast size. You can't lose weight in your breast the personal trainer says. But when you want to lose weight, and you get into an exercise program that is consistent, you will begin to lose weight, and our bodies shed pounds all over, and because there is lots of fat in the breast tissue, you will notice they will get smaller. There's no one specific exercise though. But doing a walking program and watching calories will make you...
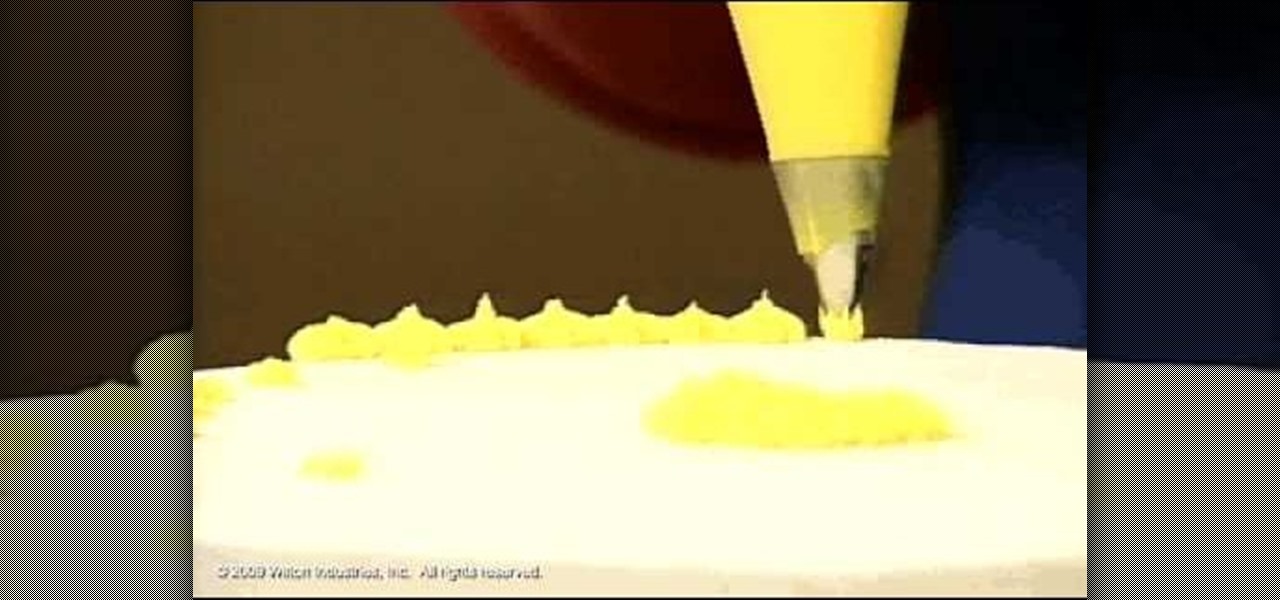
Decorating Tips demonstrates how to use the star tip to decorate a cake or cookies. Use a medium consistency icing and position the bag at a 90 degree angle. Hold the tip 1/4 of an inch above the surface of the cake or cookie. Use the count squeeze, stop squeezing and stop to create a delicate star look with a size #13 star tip. With a size #18 star tip, shorten the count and put the icing stars right next to each other to fill in a cake. Use different colored icings as accents. You can also ...
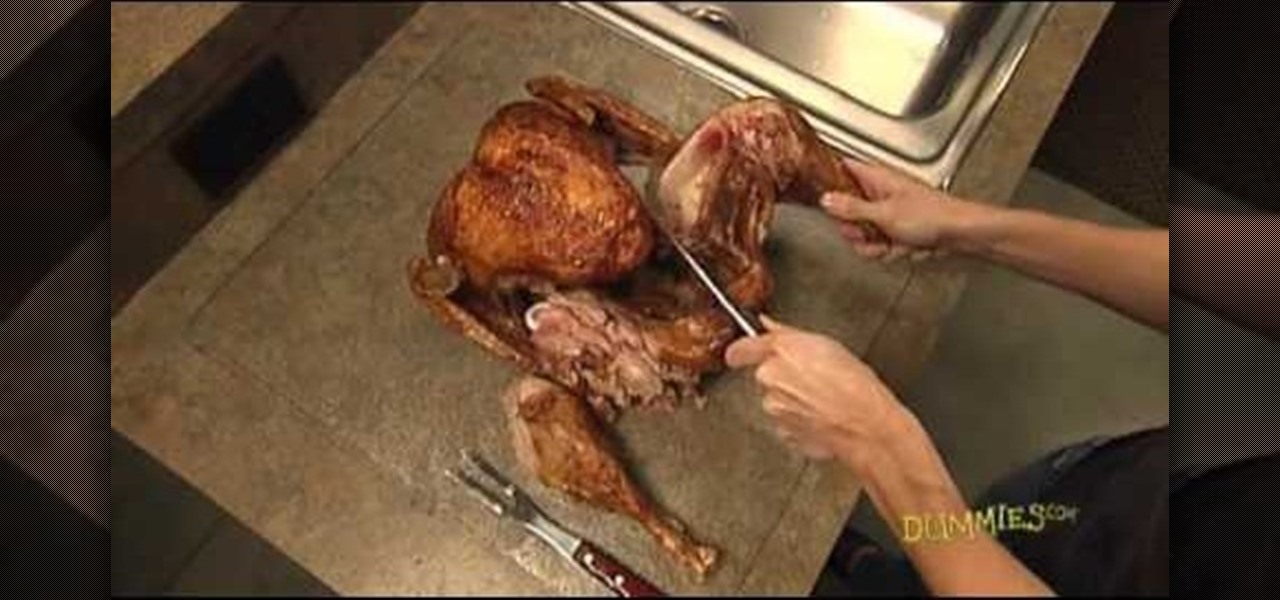
Learn how to carve a whole roasted turkey into serving sizes from this video in simple steps. Place the roasted turkey with its breast side up and the drumsticks facing you. Take the knife in your dominant hand and the fork in your other hand. Start on one side by cutting the leg from the joint where it meets the breast and repeat on the other side. Carve out the meat on the drumsticks on either side by holding it with the fork. Find the thigh bone using your knife and cut the meat off. Slice...
Do you want to compress your video files less than five times the size while keeping the same quality? If yes, then this video shows you how. By compressing video files you can save a lot of space. Then, it can be easily burned to a DVD or even uploaded to a file-sharing website. To do the compression, you need to use Windows Movie Maker software. Open the video file in Windows Movie Maker. Now, move all the clips into the story board. Open the option "Save to computer". Now, Windows Movie Ma...

This tutorial will show you how to create a cool image animation using mask in Flash. First lets import image file and now lets create a new layer. Choose oval tools and now lets draw a shape just outside our scene. Then go to frame 30, and add the key frame and select transform tool. Now lets re-size our shape and go to 50 frame and add the key frame. Then go to frame 80 and add the key frame, re-size our shape and use free transform tools. Now lets create shaped in frame over 30, 50,and 80 ...

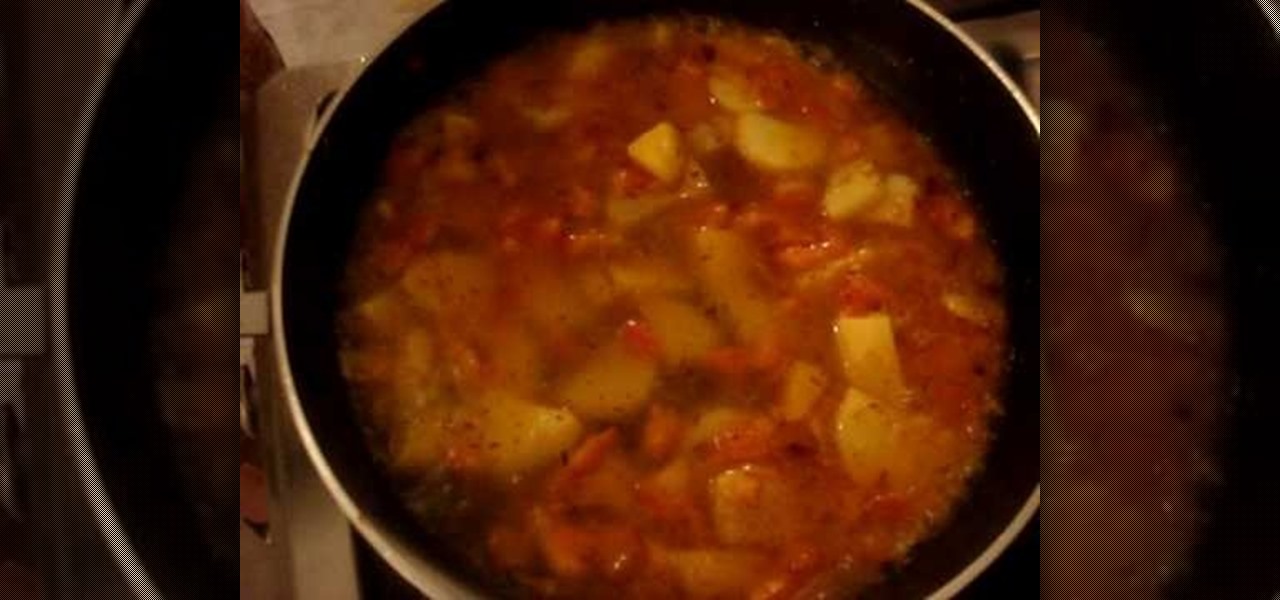
Aaloo cholay sabzi or potato chickpea is a traditional Pakistani dish. It is a delicious, spicy concoction that is actually quite easy to prepare. No matter where in the world you are from, you will love this healthy dish with a Middle Eastern flair.

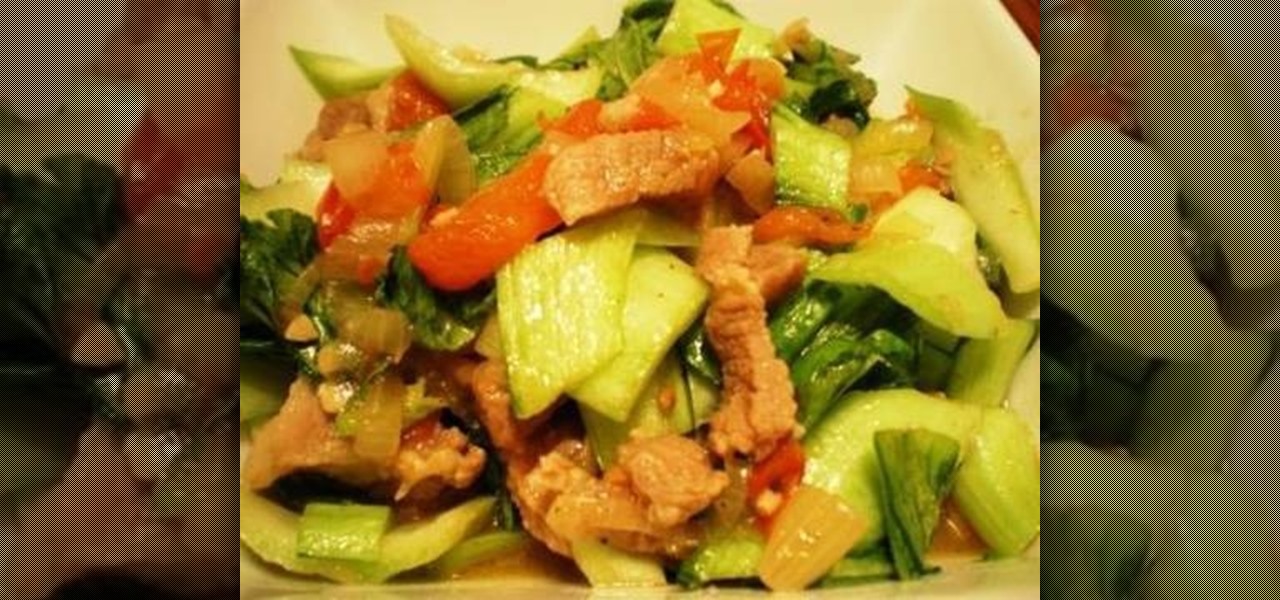
Ingredients: 1 lb baby bok choy or pechay, chopped

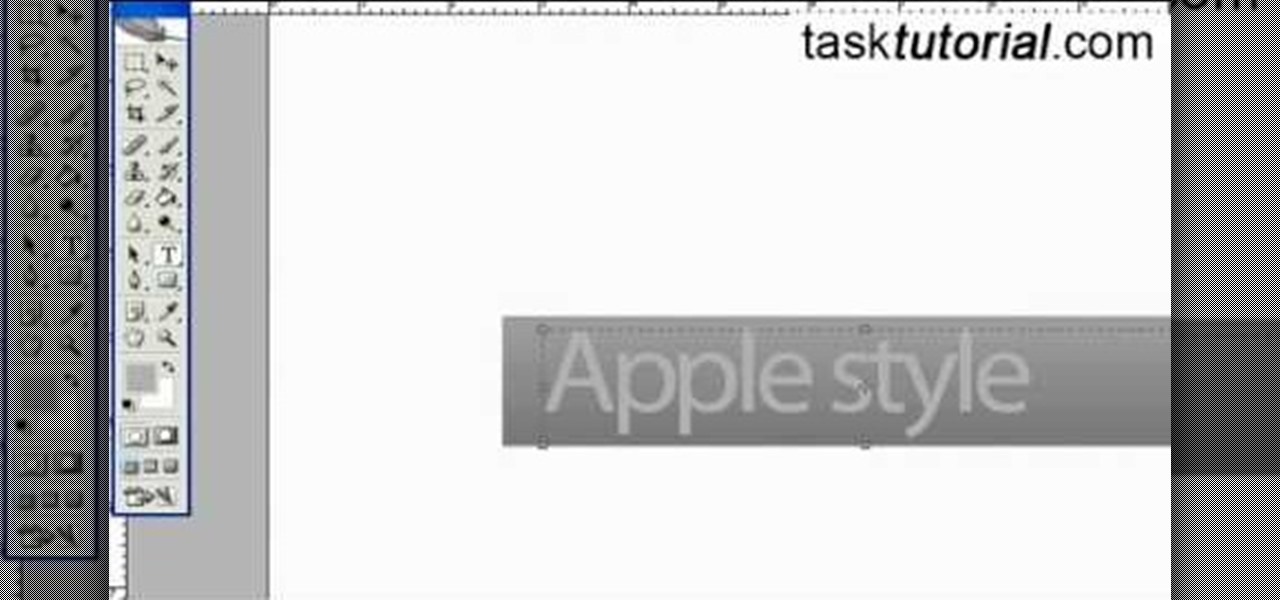
This video tutorial by tasktutorial shows you how to create stylish text in Photoshop. Launch Photoshop and select the type tool and choose myriad-pro font light. Create a text field and type in the text as indicated. Increase the font size and location as desired. Thereafter open the layer options, choose a gradient and create a new gradient by selecting the color as required. Apply a white color outer glow change the size, range and opacity. If you want to add more text create a new layer a...

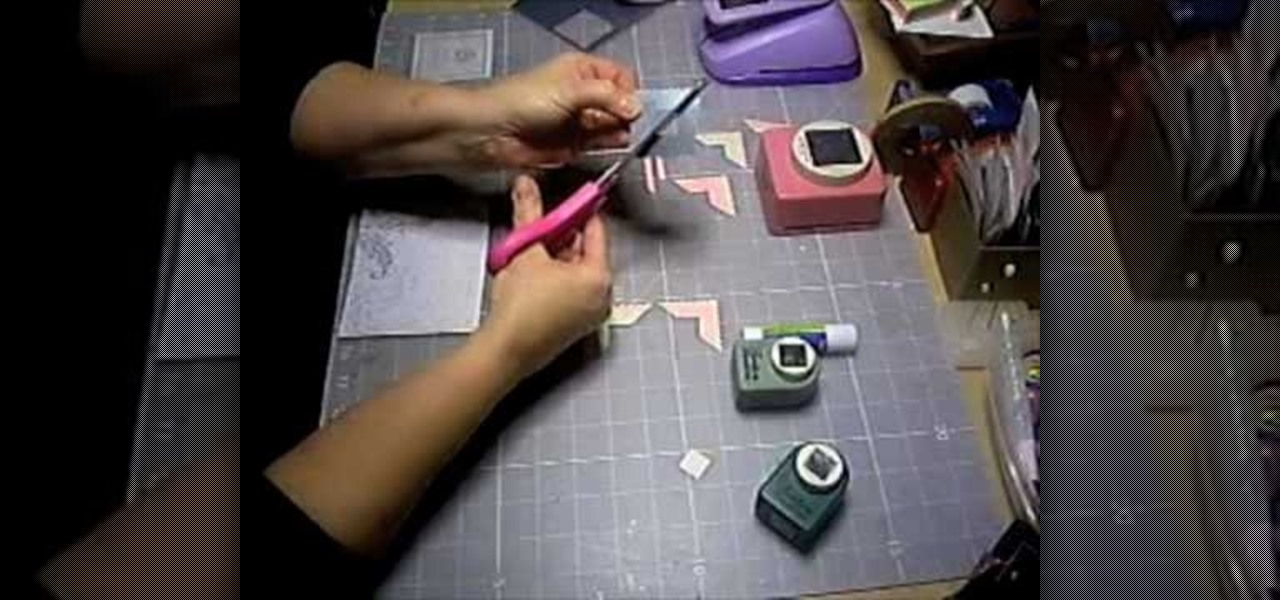
This video shows Joanne McKenzie working at her table talking about making her oversized/giant photo corners for her paper cutting projects. Using an assortment of different sized and colored punches, she explains how to use the punches, saying the smaller one is the better one to start with. She talks about using the next size up and then centering the paper to be cut from corner to corner and layering the different cut out corners for decoration. Very clear and professional.

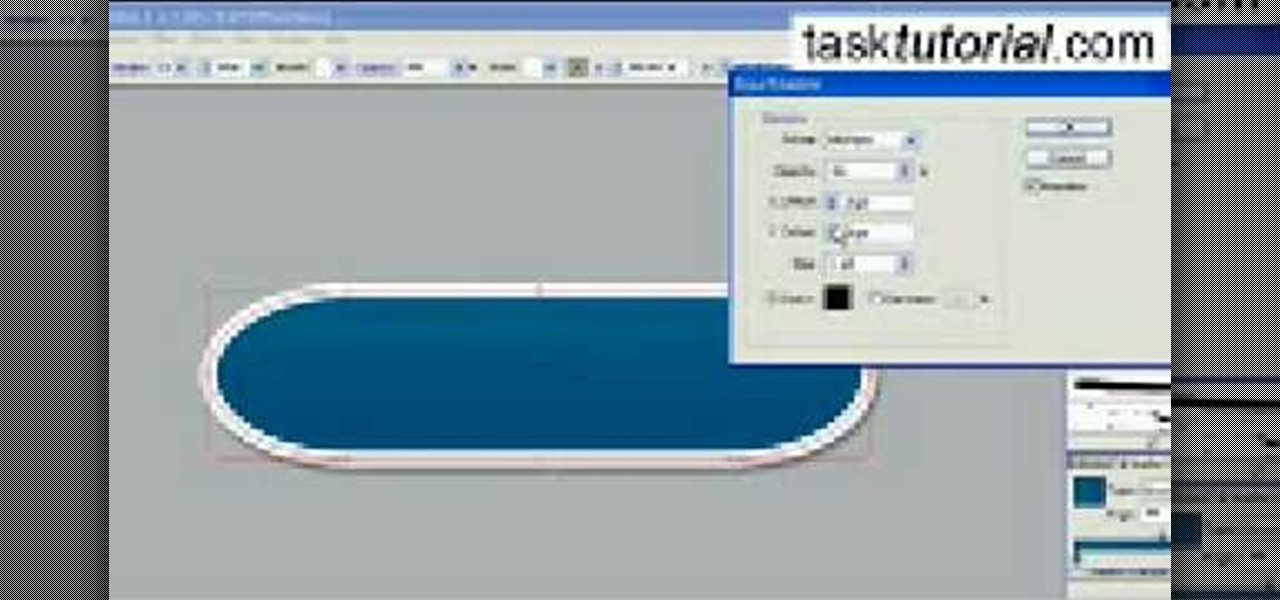
In this online video training tutorial, Task Training shows us, how to create a web button using Adobe Illustrator. The 1st step is to select the rectangular tool in Illustrator and set the size you want your button to be. The 2nd step is holding the shift key you can re-size your shape. The 3rd step is to give the button some color such as a gradient. The 4th step is to add a drop shadow to the button by going to Styles and then selecting Drop Shadow. The 5th step is add text to the button t...

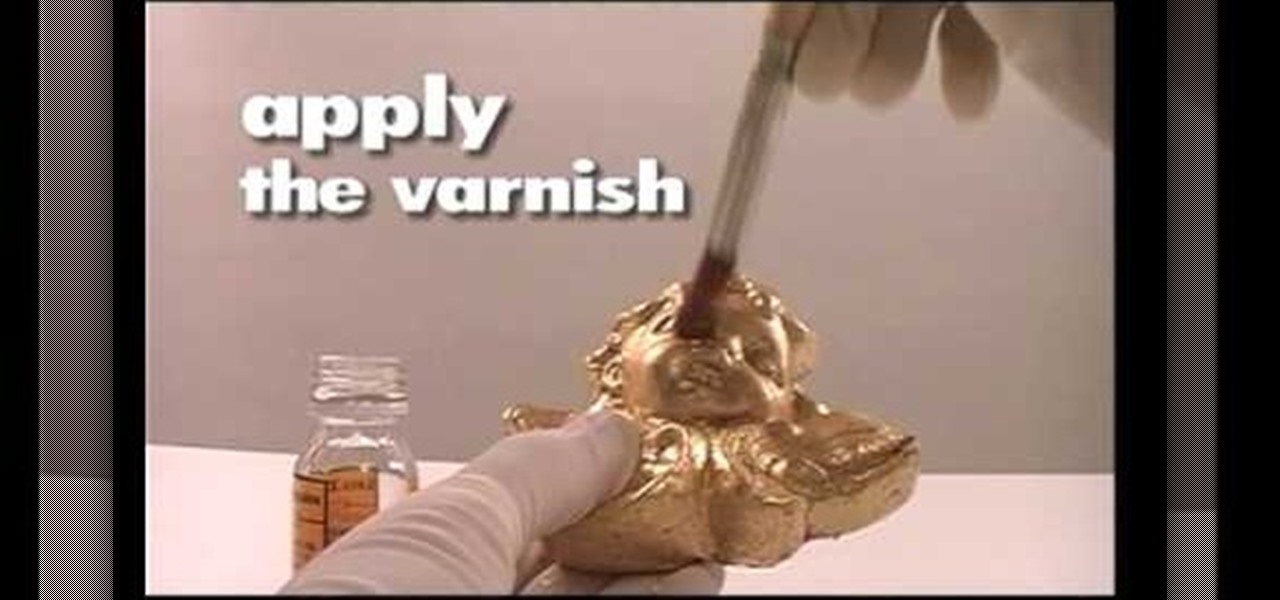
Learn the hand method for applying gold leaf gild to a solid surface such as wood, stone, or metal. • You will need imitation gold leaf, metal varnish, hot hide glue, gilder’s size and brick red synthetic enamel.

Wouldn't it be handy if, while running Mac OS X, you could enlarge some of the fonts and applications like Mail or Safari? Some of those fonts can be relatively small. All you need to do to increase font size in an OS X application is to press the command, shift and plus keys. To make a font smaller, in turn, all you need do is press the command, shift and minus keys. For more on using these key commands to obviate the need for squinting, watch this Apple tutorial.

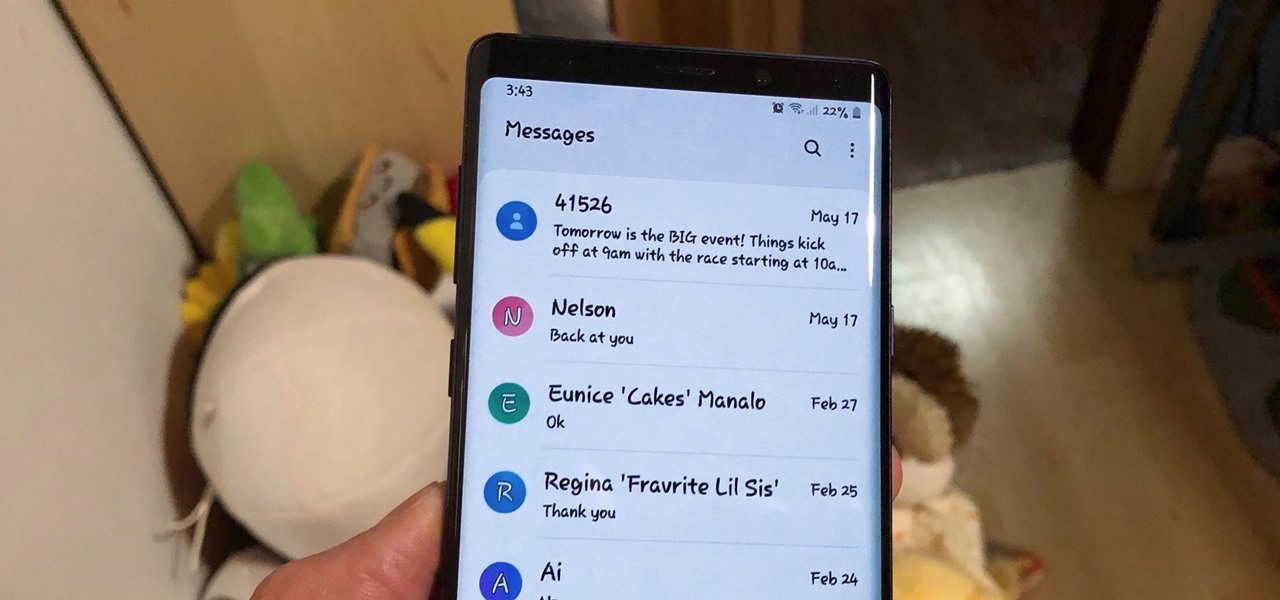
While you can now apply a dark theme to Samsung Messages thanks to One UI, you may want to further personalize your texting app. A great way to do this is by applying a custom font, which not only enhances the app aesthetically, but can also go a long way towards making your texts more readable and help you process information better.

Every model iPhone since the 6s has boasted a 12-megapixel rear camera. You can take some pretty spectacular, professional-looking photos with it, especially on devices that have more than one rear lens. But the file size of each photo can become a problem when sending as an iMessage, which can eat up data.

If you were holding out on an iPhone X but still haven't bit the bullet on the $1,000+ price tag, it may be because you're not sure how it will feel in your hands compared to the iPhone 8 or iPhone 8 Plus, which are pretty much the same size as the last three iPhone models you know and love. We can help you figure this out, though, with a simple printout to compare phone sizes in your hand.

Because of Android's massive array of supported smartphones that carry vastly different display sizes and resolutions, the operating system uses a value known as DPI to determine the size of icons and visual assets that will best suit a given screen.

The Newstweek might be the coolest new device of 2011 that no one is talking about. It's a pocket-sized device that allows you to access the data streaming through a wireless internet access point and change the news being read by fellow users at the hotspot, from any site, however you want. It allows you to do some amazingly inspiring and sinister things, like any really progressive technology, and this video will show you how to use it.

The Sony Dash is a hot tablet, and like most tablets it can be used for all sorts of awesome purposes that full-sized computers are not suited for. Alarm clocks, for instance. This video will teach you how to set music and video to your alarm clock on the Sony Dash.

Most good rap songs, or at least those modeled on the 1990's model, feature a thumping sub bass track designed to max out whatever size subs you've got. If you want to produce classic hip-hop beats yourself, watch this video to learn how to create epic sub bass synth tracks in Reason 4.

This snack is so good it might kill you— literally. These miniature bacon bites will clog even the healthiest of arteries, but it's so worth the risk! Robin Benzle of Chow Time shows you her dangerously delicious recipe for her bite-sized bacon bits, which ate breaded with breadcrumbs and filled with brown sugar, then oven-roasted for crispy delight. If you're daring enough, make these for your next party or get-together— this recipe makes 100!

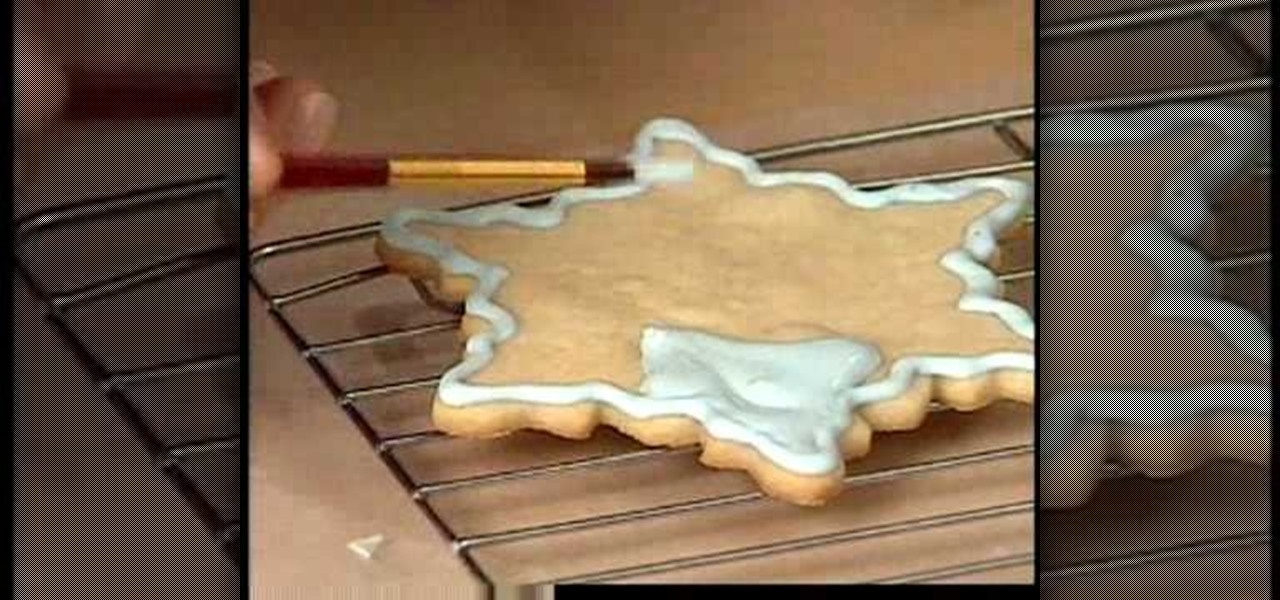
Snowflakes make great cookie shapes because each one is different and individualistic. This means that bakers, from seasoned pastry chefs to the miniature little elves whose tiny fingers help you out in the kitchen during Christmas, can have fun creating snowflake cookies of all sizes.

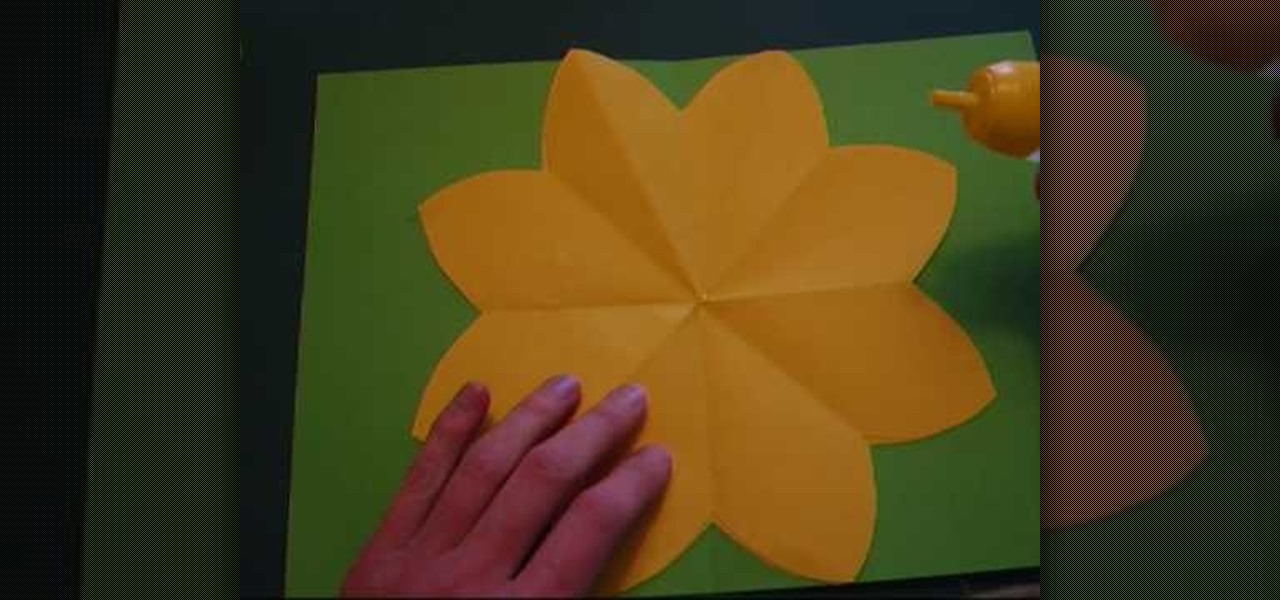
Paper is good for more than just scribbling your crush's name in hearts during a boring history class lecture. Watch this video to revitalize your understanding of paper power and to make a spring craft that will scream hugs and kisses to anyone whom you give it to.

In this video tutorial you will learn about the basics of using Smart Objects in Photoshop. Smart objects can consist of pixel-based content or vector-based content. These smart objects also remember their original size and can be transformed multiple times without loss.

This simple tutorial takes you through the process of creating a widget from any list of videos from http://www.WonderHowTo.com. These customizable widgets can be created in various sizes and colors and then added to your blog or website. Enjoy.

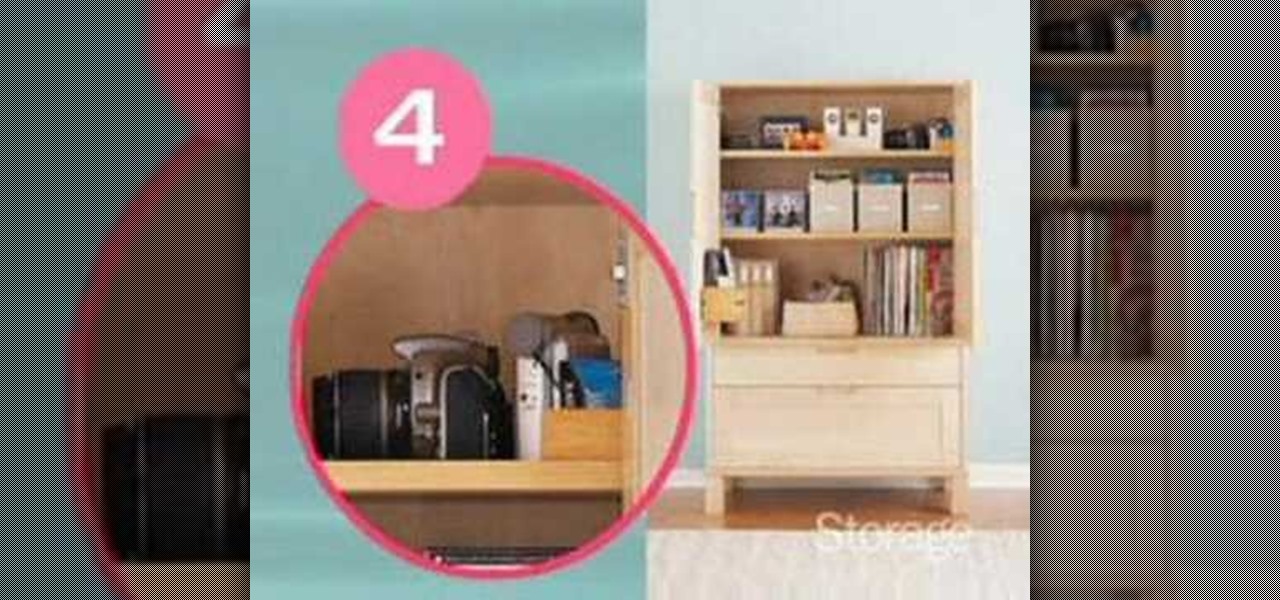
Is you media center in chaos? Watch this video tutorial by Better TV for ten tips on how to organize and down-size your media center.

This video explains absolutely everything you need to know about air compressors, from which one to buy, what size you need, the components of a compressor, and how to use one.

Check out this video for creating a one piece mold using a repro laminating system. This is a professional video not for beginners. The repro laminating system is ideal for working on medium-sized projects, this process is easier, faster, and more economical than the epoxy laminating system. This process can be used in automotive, mechanical, fine art and film special effects uses.

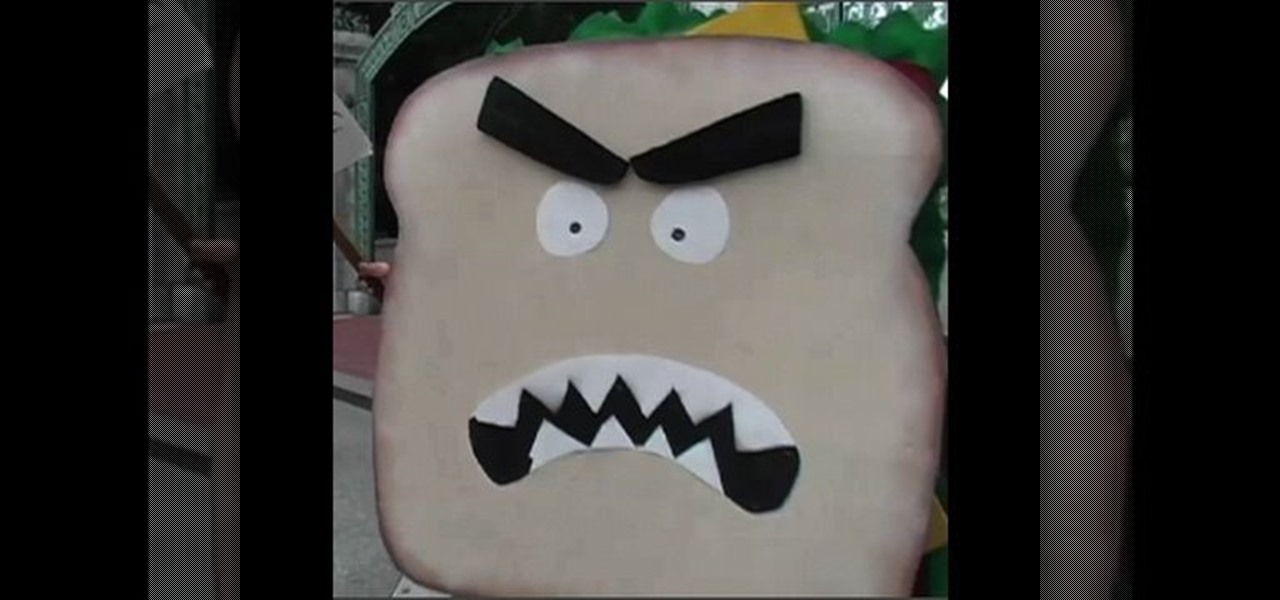
Make a giant sandwich costume for under $40. Brought to you by the excellent prop masters at Indy Mogul.

In this video, we learn how to change hair color in Photoshop CS3 and CS4. First, open up your image and zoom in on the hair. From here, you will click on the selection tool with a circle to select your image. Now, make sure this is the perfect size for the entire image. Right click and make sure it's sized out right. Now, select the hair and a red marker will appear. Select the whole surface of the hair, and as you get to the short hair use a smaller circle tool, don't worry about the smalle...

If you have a folder that contains many images (say anything in excess of 200) and you open it in Windows Explorer with the thumbnail view turned on. You would notice that it takes some time for all the thumbnails to load completely.

In this video, we learn how to partition your hard drive to back up important files. First, go to the start menu and then right click on your computer. From here, go to the left hand side toolbar and find where it says "disk management". Click on this, then you will see the partitions on the computers. Right click on the partition, then go through the wizard that pops up on the screen. Type in the size that you want your partition size to be, then continue on through the wizard. When you are ...

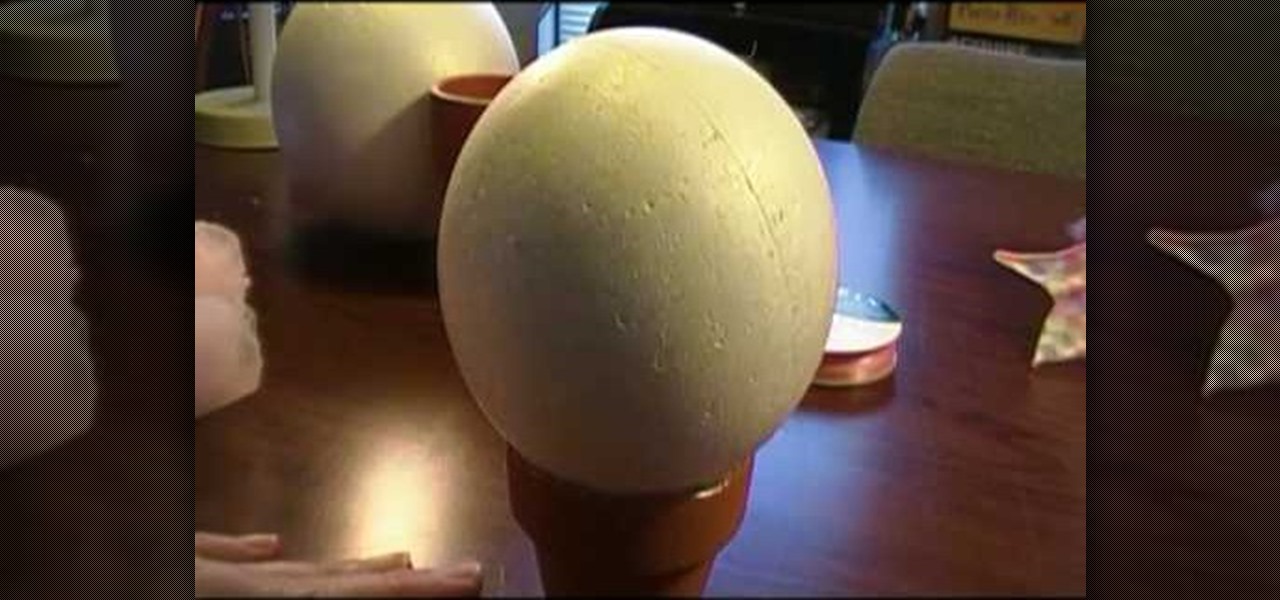
In this video we learn how to make a baby and child hat stand. First, you will need to purchase flower pots from the store along with Styrofoam balls. Use different sizes of balls to fit the size of hats that you are creating. Use marbles to weigh down the flower pots. From here, you will use a hot glue gun to glue the ball to the stand and then let it cool From here, you will be able to use this as a stand for your hat. This will help your hat set after you are done decorating it and display...

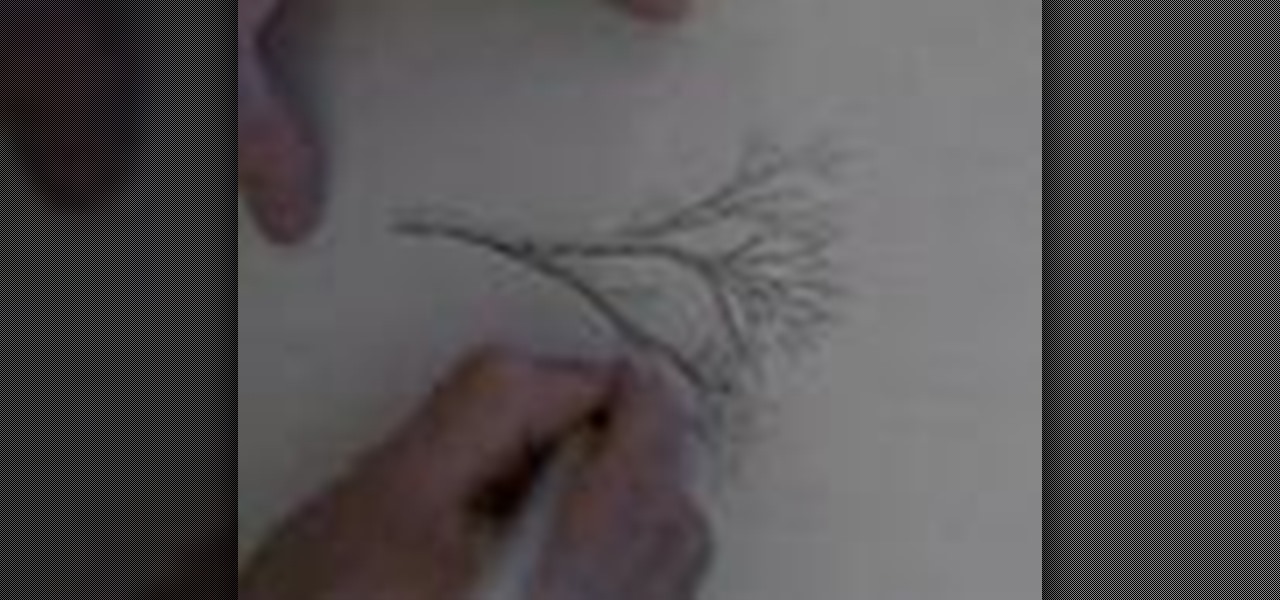
In this tutorial, we learn how to draw a tree branch. Start out drawing two lines for the trunk of the tree. Work these lines up until you reach the top where the branches are located. Then, draw outward lines that will be the branches. Do not make all of them the same size. You want this to look realistic, so make them all vary in size. Draw small lines at the tip of every branch to make it look like wood coming off of them. When finished, add in lines along the branches to show bark on them...

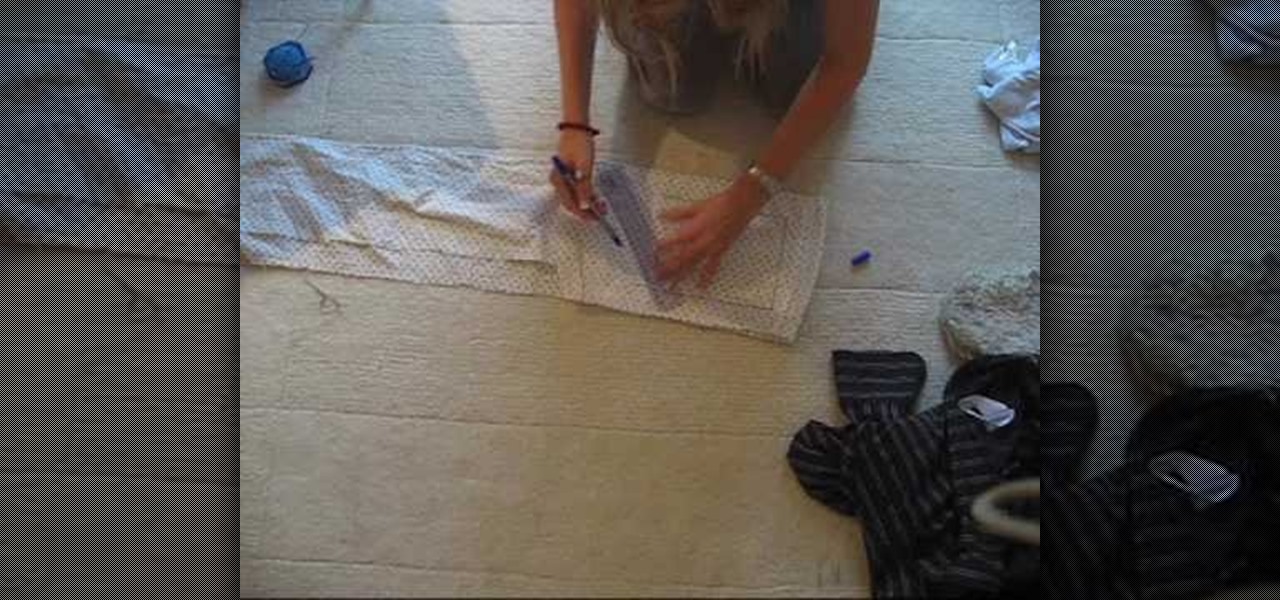
In this tutorial, we learn how to make an over-sized fashion bow fashion accessory. First, take your fabric and cut it to the desired size you want the bow to be. Cut this in a square shape at first, then sew the sides of the square. Then, fold this in half and pull in the middle of the square. Cut this in the middle to make a hole. Then, turn this inside out and push out the edges. Put an additional square of fabric around the square in the middle, then shape it out to be a cute bow to wear ...

In this tutorial, we learn how to optimize a PDF document in Adobe Acrobat 9 Pro. This will adjust the size of the PDF to better adjust your need and work flow. Fire, go to file and then go to properties, then you will be able to see what size the file is. If you would like to change this, go to the PDF Optimizer, which has an "audit space usage" button. From here, you can change the compatibility level and also change the compression and the color bitmap resolution. After you are done editin...

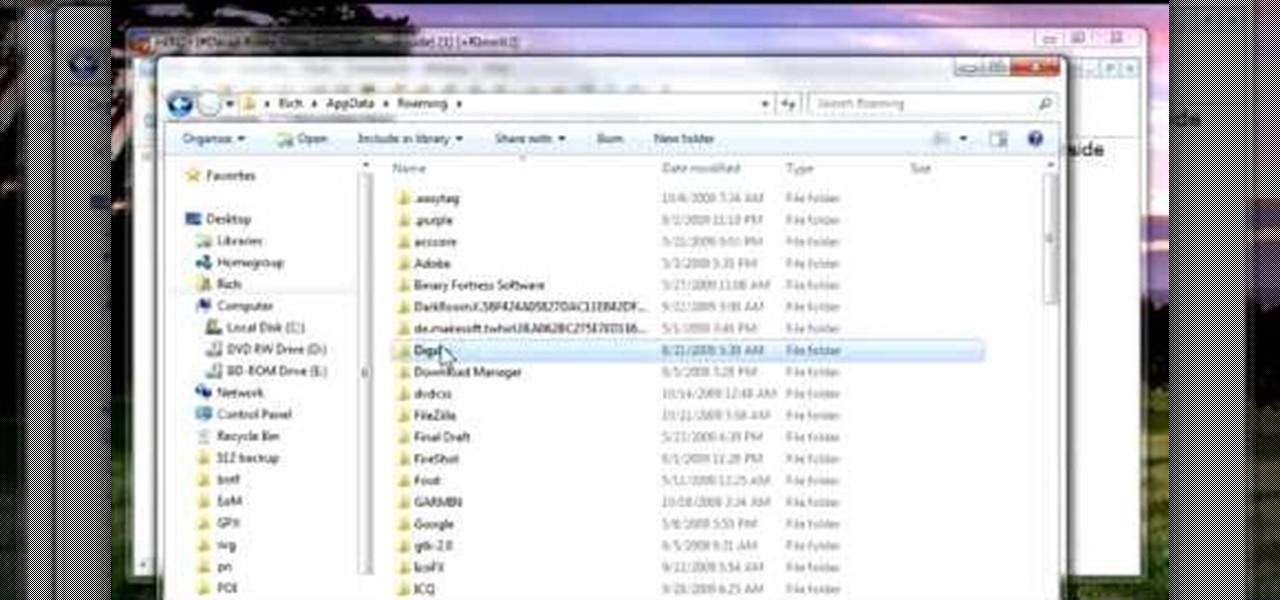
This is a video tutorial in the Software category where you are going to learn how to revert to the Fixedsys font using mIRC. Click on the channel icon and select font. Here you can select the font and the size and then click OK. If you have Windows XP or older version of Windows, you can type in fixedsys in the font window, select the size, click OK and the fixedsys font will be selected. But if you have Vista or Windows 7, this will not happen. So you bring up the Windows explorer and in th...

First select the rectangle tool and draw the bar. Now you have to open up the layer style and choose gradient overlay. Now you need to edit the colors as showing in the video and then go to drop shadow option, you have to change the opacity of it to 20%, distance to 2 and click ok. Now type "Apple style" in new layer as showing in the video, set the size of text to 72pt. Now open layer style for the text and choose color overlay and set its color to dark grey, go to drop shadow and choose nor...

Michael Jackson might be the single most recognizable singer in history. Whether pre or post-Vitiligo, you still know him and have some reaction the second you see a picture oh him. The same applies to this cool Xbox 360 Avatar, which this video will show you exactly how to create.


