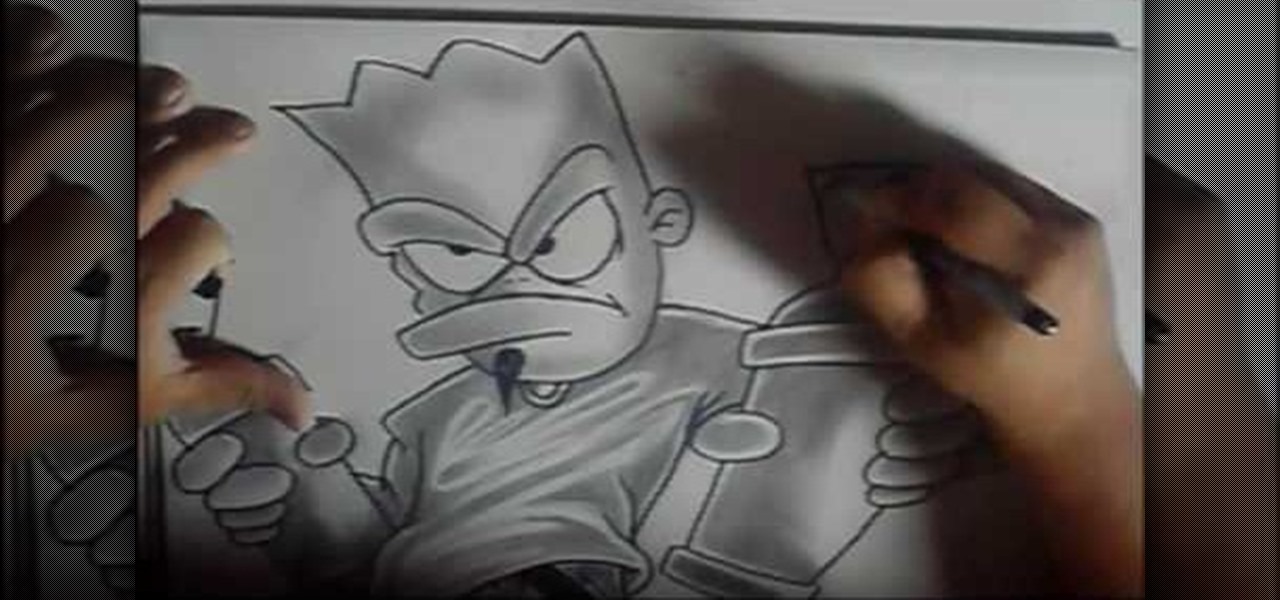
In this video, we learn how to draw a spiky and mischievous graffiti character. Start off by drawing the face and head, giving spikes for the hair. Make an angry face on the character, then draw him holding a spray paint can out in front of him. Draw the rest of the body, then make another spray paint can in the other hand. Next, draw the legs with baggy pants on them, and a loose t-shirt. After this, add a small pointy goatee to the chin and shade in darker areas on the shirt and face. Finis...
These days, with such an intense demand for everyone to be on the go, up, productive, and "happy," it's no wonder we supplement our tired souls with a cup of coffee every morning. In fact, we know of some friends who simply don't function without that first cup...or two.
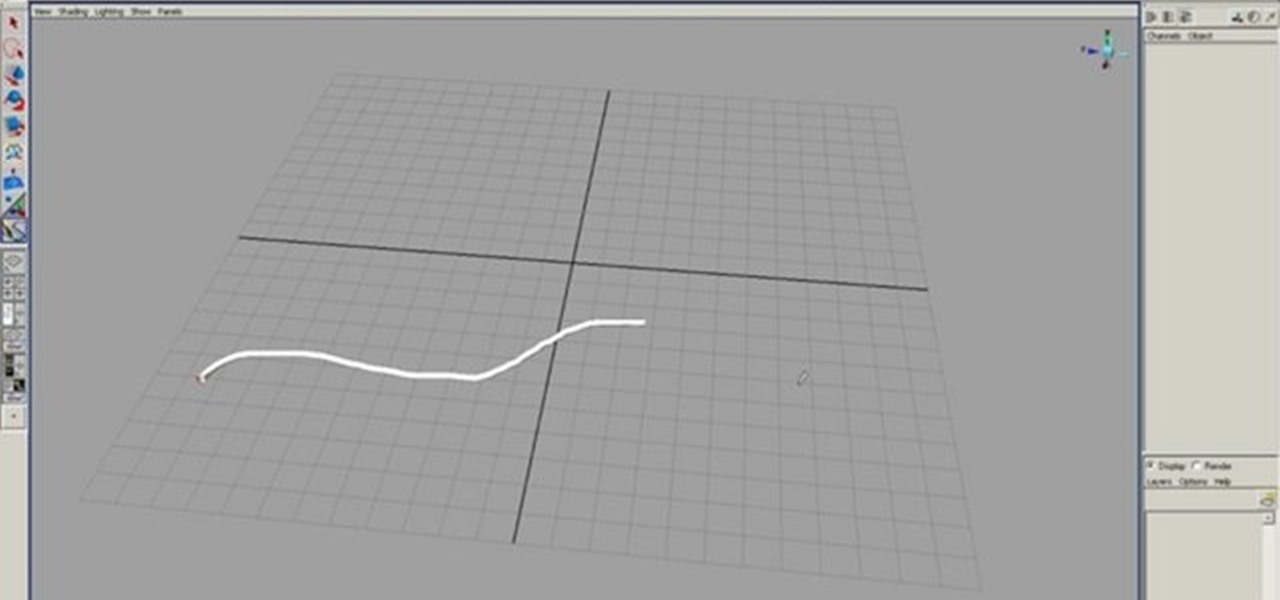
Paint Effects are a great tool that help us fill out scenes and do all sorts of things quickly and easily. Learn how to find the brushes and use them, as well as some of the up sides and down sides of using them. Whether you're new to Autodesk's popular modeling software or a seasoned 3D artist just looking to better acquaint yourself with application and its workflow, you're sure to be well served by this video tutorial. For more information, including detailed instructions, watch this free ...
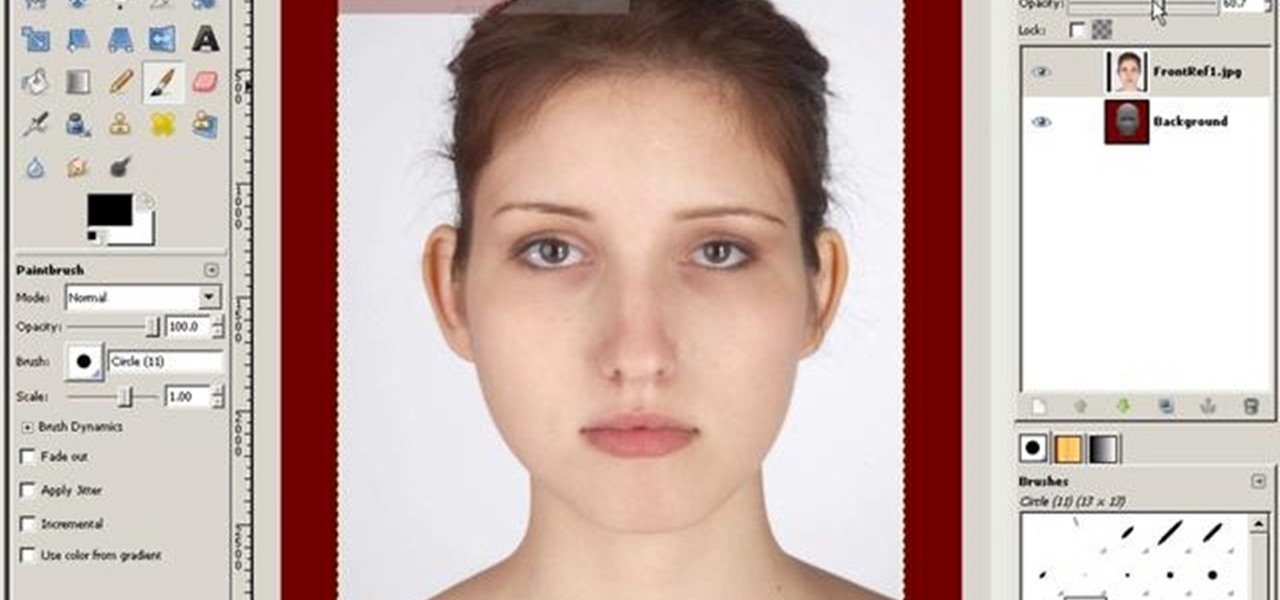
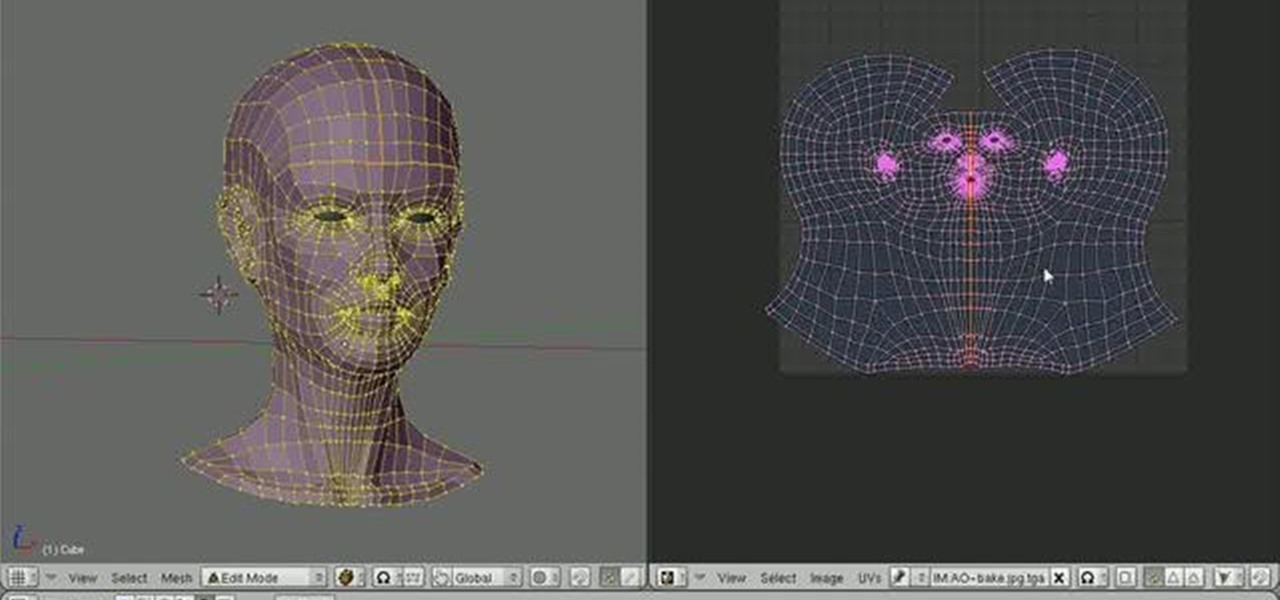
This clip provides detailed, step-by-step instructions on how to texture a head with projection painting when working in Blender. Whether you're new to the Blender Foundation's popular open-source 3D computer graphics application or are a seasoned digital artist merely on the lookout for new tips and tricks, you're sure to be well served by this free video software tutorial. For more information, and to get started texturing modeled heads yourself, take a look!

Learn how to create a character rig when animating 3D models in Blender. Specifically, this clip addresses the following topics: Bone creation, splitting and re-parenting. Weighting with bone heat, mirrored weight painting and posed weight painting. IK setup, bone roll, and pole targets. Advanced foot rig with control to pivot off of the heel, toe, ankle or ball and control to lift the toes. Whether you're new to the Blender Foundation's popular open-source 3D computer graphics application or...
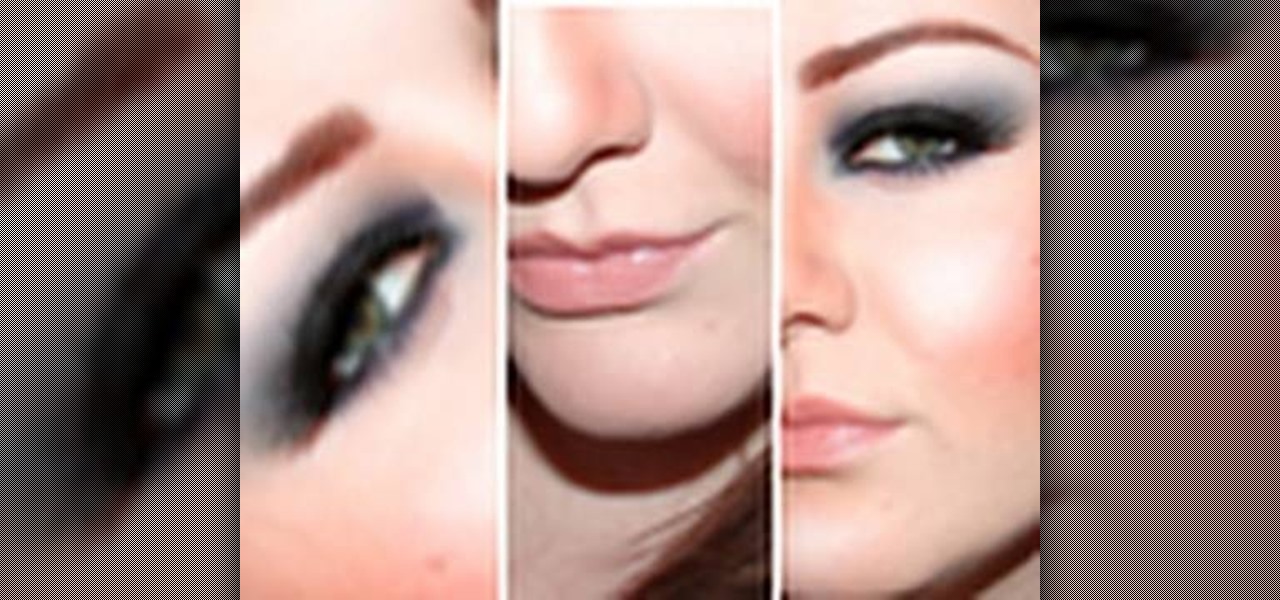
We've always been advised to apply eyeshadow shades that complement our individual eye colors. So for sisters with brown eyes, a deep royal purple or metallic silver will bring out the richness and golden undertones of our eyes, while blue eyed gals look great with sunset tones.

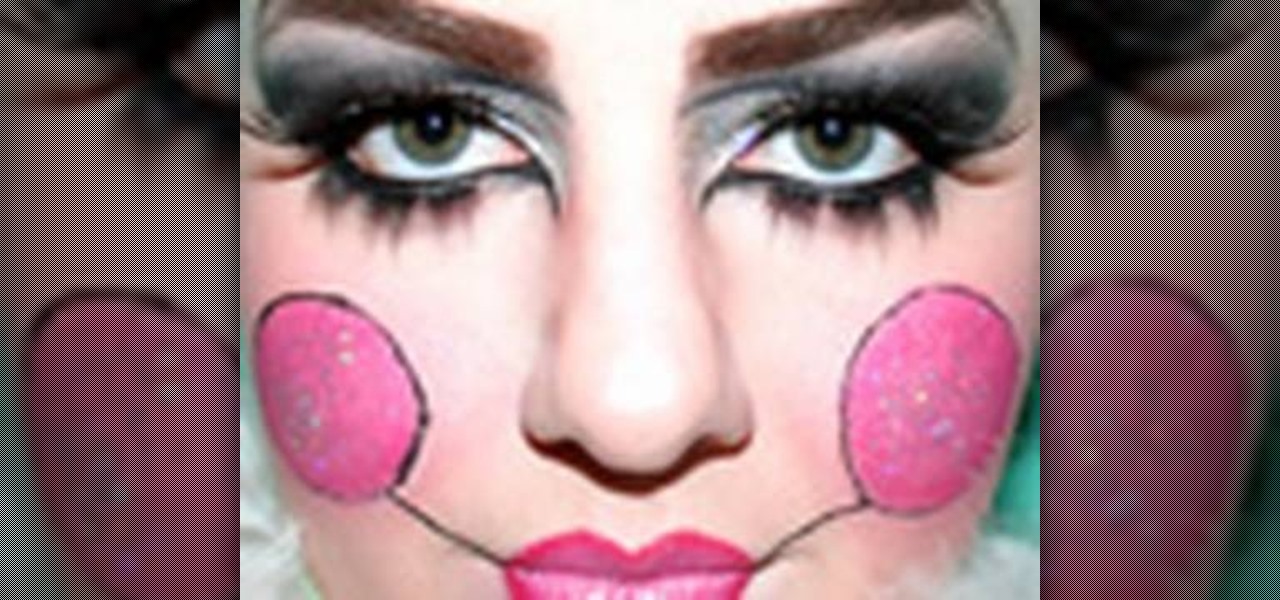
Want to scare the living daylights out of all your friends and family this Halloween? Then dress up like a clown or a doll. Either one will do. Watch this makeup tutorial to learn how to get a "sexy" doll/clown look that's reminiscent of those creepy dool eyes crafted so exquisitely they make the doll almost look...alive (cue spooky music).
With the release of Blender 2.49, comes the ability to stencil images onto your model via projection. This tutorial goes through the process of setting up your model and it’s UVs in order to “projection paint” your textures onto the model. Whether you're new to the Blender Foundation's popular open-source 3D computer graphics application or are a seasoned digital artist merely on the lookout for new tips and tricks, you're sure to be well served by this free video software tutorial from the f...
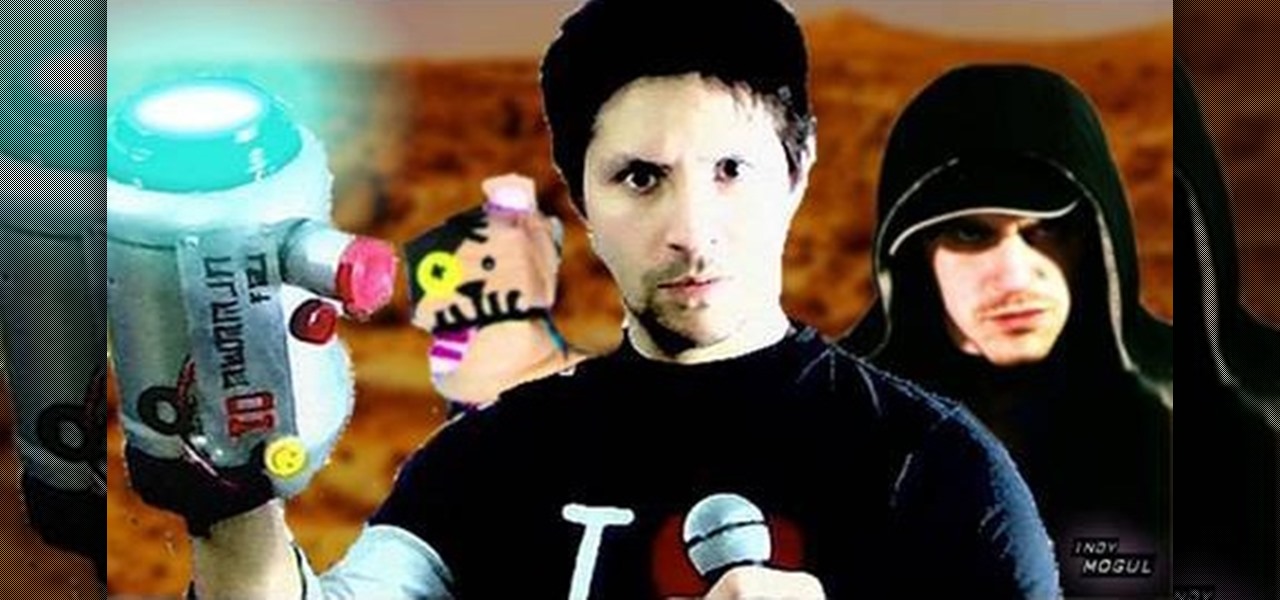
This is a video tutorial that is showing its audience how to make a super cannon arm. The first thing you need is a plastic jug, a switch, a wire, a wooden dowel, spray paint, a tap light, nick nacks, foam lining, and a pin light. The plastic jug will be the casing, cut out a hole for the lightsource and a hole for your arm cannon. Spray paint the jug. Make the handle with the wooden dowel. Then screw the handle into place with two screws into your plastic jug. Once you put the handle in then...
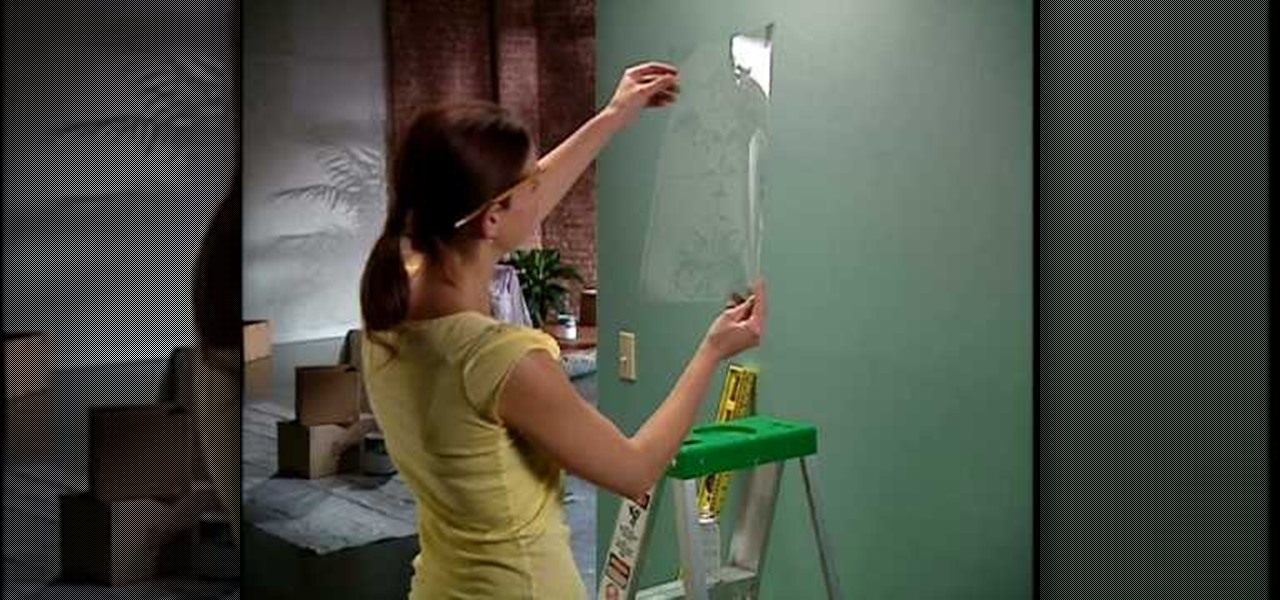
This is a step by step tutorial on stencil painting your walls, brought to you by The Home Depot. Beginning with a brief description of the art of stenciling, you are then shown the materials you will need to proceed. Next, you are shown how to prepare your room and surfaces. The goal will be to use a single stencil in multiple positions. The stipple method of application is stressed to achieve a multi-dimensional application. Two colors are used to give the added dimension of shadow to the i...
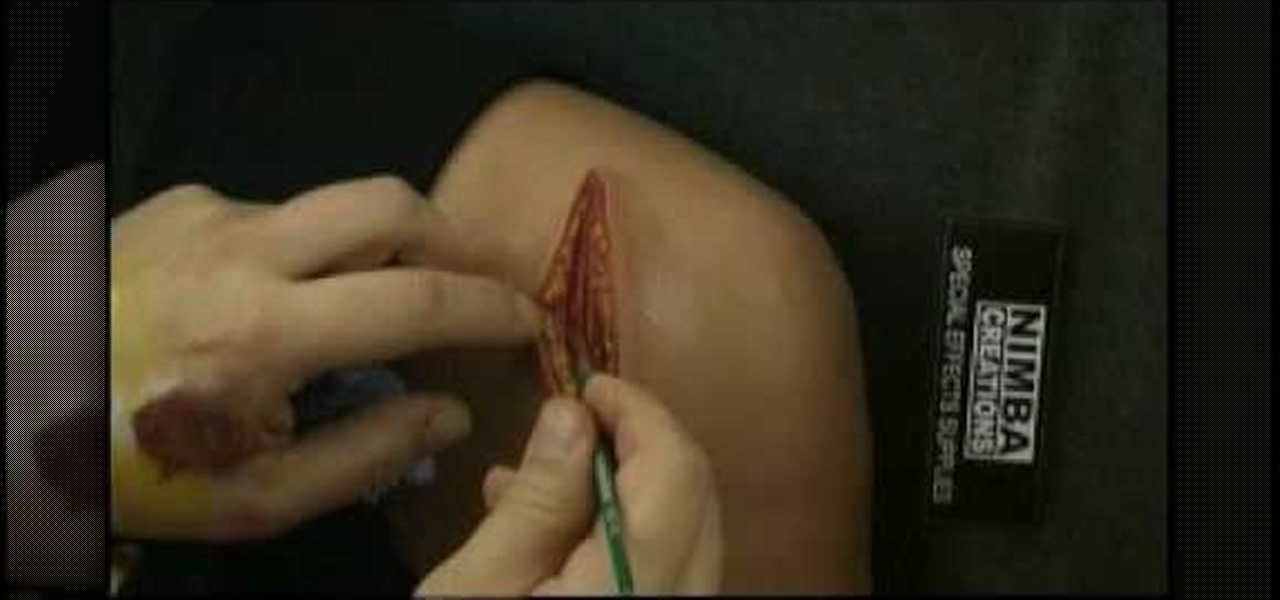
This video describes the coloring techniques to make a realistic gelatine prosthetic wound. The presenter chooses to use grease paint as it applies easily to the rubber gelatine wound mold. First, apply a base color to mimic that flesh tone around the wound and blend it until it matches the skin tone. Next the presenter applies red and pink tones to the wound, the idea is to mimic the color of raw meat. Highlights are then applied inside the wound to simulate fat underneath the top layer of s...
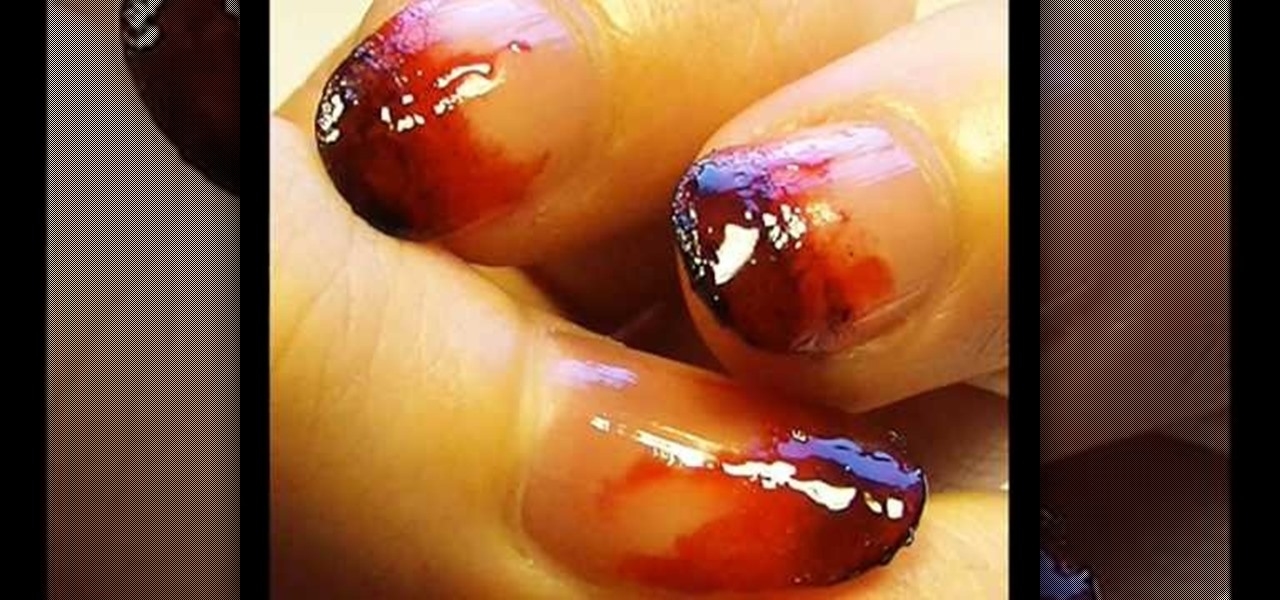
This video shows the viewer how to paint their nails to give them a blood stained look for Halloween. This is done by first putting a small amount of dark red nail varnish onto a sheet of paper. Then apply this in many coats to the nail using a foundation brush to give a layered effect. Then place a small amount of black nail varnish on the paper and using the same section of the foundation brush apply some of the black nail varnish to the ends of the nails. Then apply some of the red varnish...
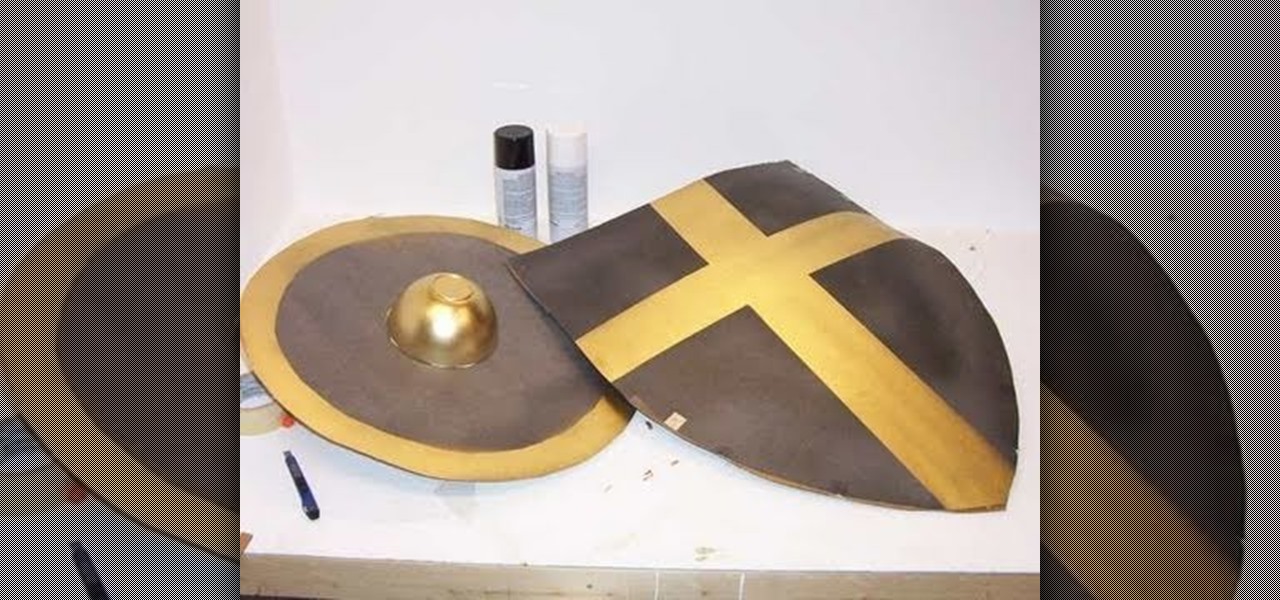
In this tutorial you'll learn how to make a cardboard shield, quickly and cheaply. All you need is some stuff you've probably already got around the house. Get to work, so you'll be ready to defend yourself against any barbarian invaders with cardboard swords!
Watch this fine art video tutorial to learn how to illustrate with markers and colored pencils. "This video shows my process for making an illustration (non tradigital). I use illustration markers (usually prismacolor) and color pencils (usually prisma once again) and a wax blending stick. I make my illustrations in two steps:
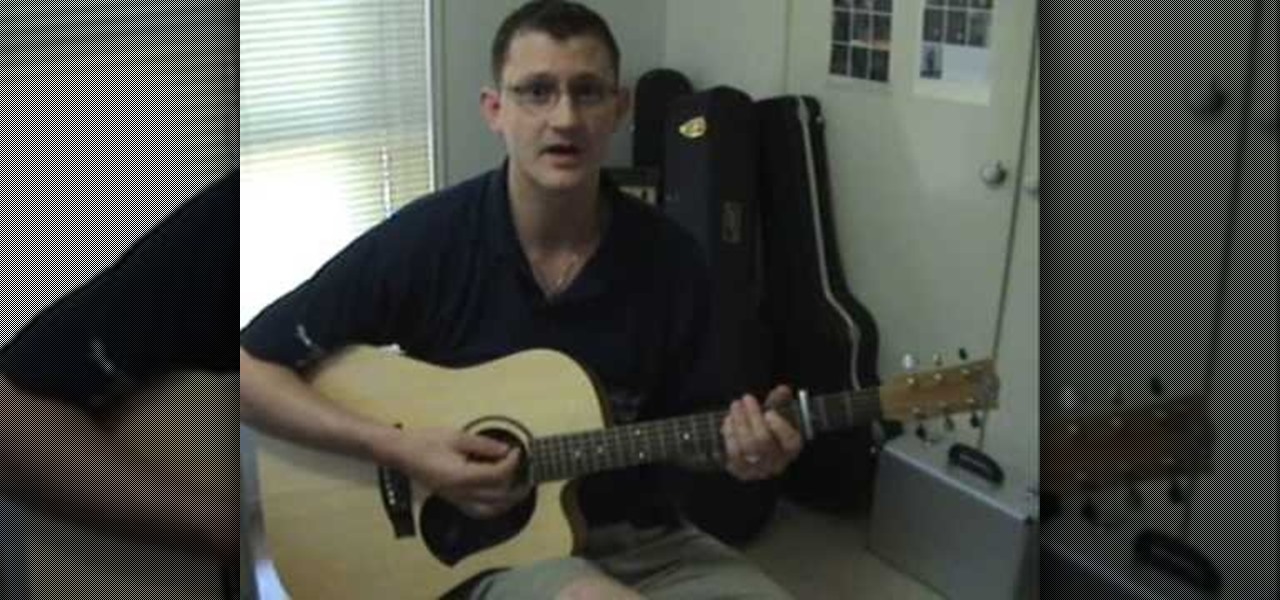
James from Handsome Alvin, the Australian, acoustic duo band who perform in pubs and clubs around Brisbane, wants to teach you an acoustic guitar lesson.
Back in 2007, YouTube user HouseholdHacker posted a parody video on how to make a high-def speaker for under a buck. MythBusters took on the challenge and busted it.
Check out this video to learn how to paint clouds using the traditional Japanese method of Sumi-e ink painting. Clouds are one of the more difficult subjects in Sumi-e to depict because there is no white ink. The white are the areas where you do not paint so shading because very important and painting the clouds becomes more about a sculptural process.
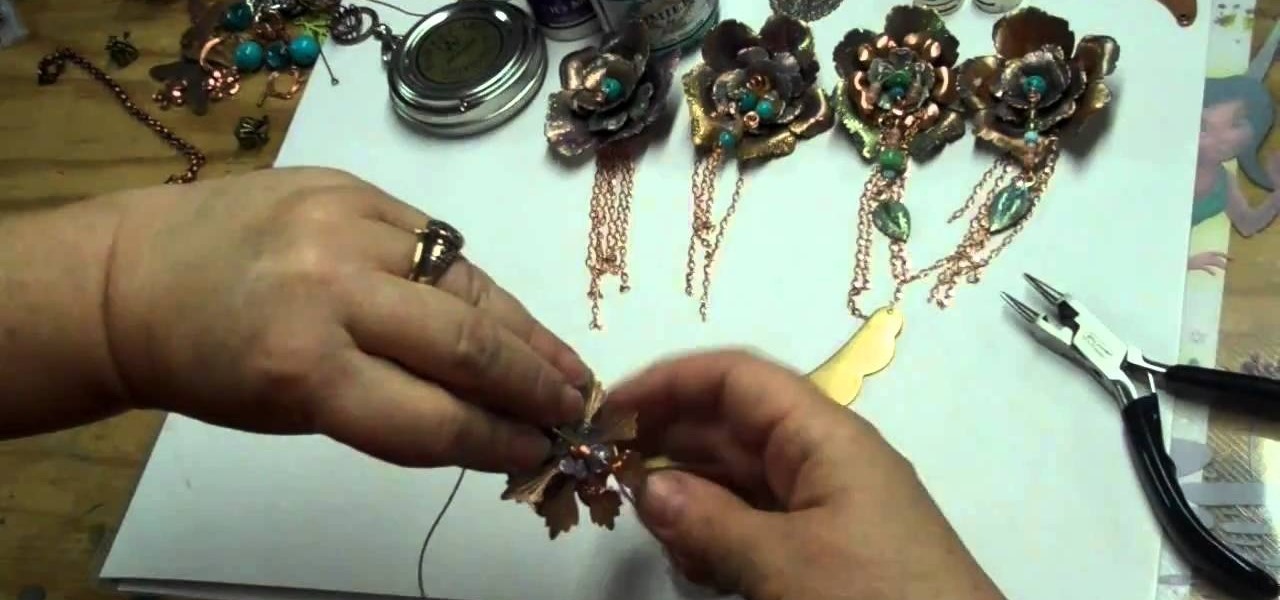
Want to make even the newest of jewelry look antique? Then you've stumbled upon the right jewelry crafting video. Take a gander to learn how to color brass flower findings using Lumiere paints and Gilder's Paste.
To perform the color burst technique using Adirondack paint, you'll need to shake a new dabber really well. Then, you will need to turn it upside down onto a craft sheet, until the paint starts to come out evenly. Once if comes out evenly, you are ready to use. Make sure you recap it, whenever it isn't in use.
In elementary school, we all experienced the wonders of papier mâché, that wonderfully malleable mixture of paper and glue (or maybe paper, flour, and water). Once it hardens, it's a homemade work of art. And homemade papier mâché is art on the cheap, allowing your imagination to soar without breaking your budget.
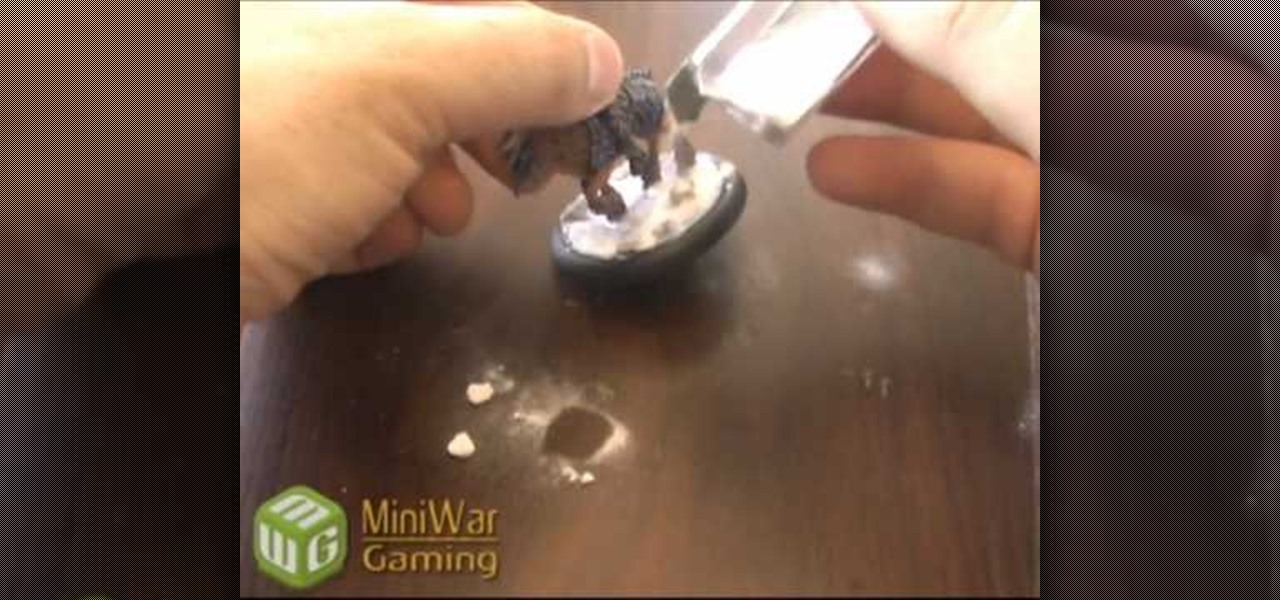
The materials you will need to add snow and other details to the base of your miniature game figure are white tacky or craft glue, super glue, a few small rocks or pebbles, coarse turf, a small paint brush, and baking soda. Begin by using the super glue to apply a few rocks to your base. You don't want to apply too many as the main focus will be on the snow. Add white glue to the base being careful not to get any on the figure itself. Use your paint brush to spread the white glue around until...
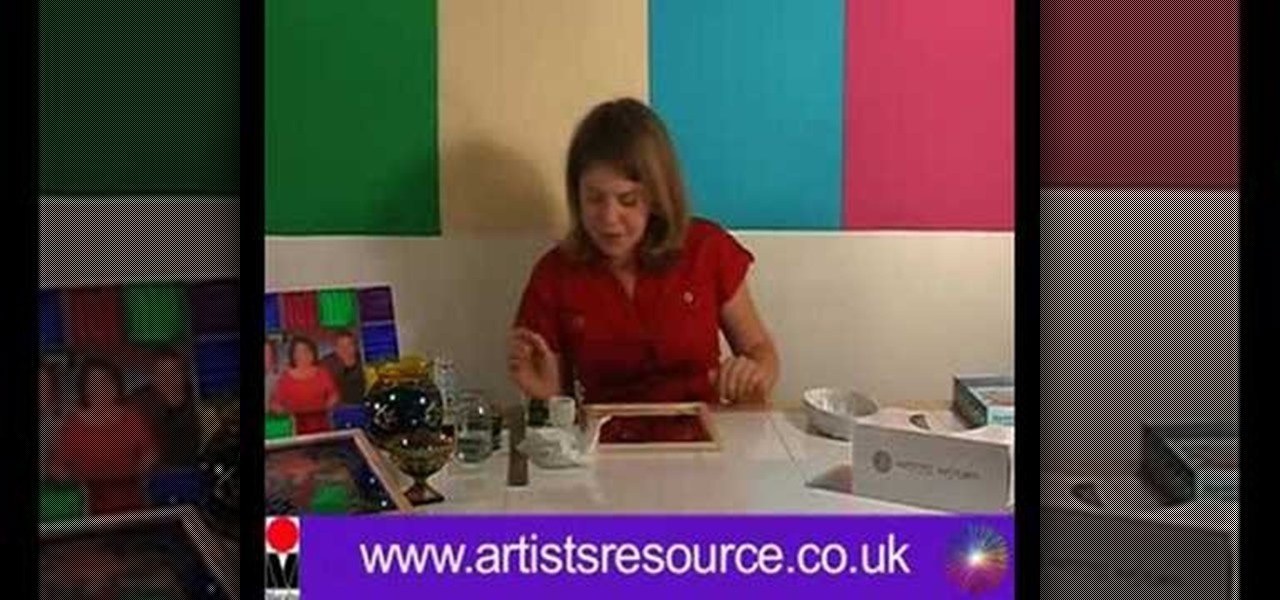
In this Arts & Crafts video tutorial you will learn how to make a stained glass mirror. This video is from Artists Resource. You will need a Marabu GlasArt kit, some spirit, a china graph pencil, scissors, a ruler, masking tape, a container to mix your paint, an object to draw an oval shape, Marabu outliner paint, a mirror and peel off dolphin stickers. Take a few dolphin peel offs and stick them on the face of the mirror; on the edges, to form a design. Place the oval shape object in the cen...
This step-by-step tutorial will teach you the correct way make a Light-Saber effect using Paint.net.In this video, you will learn how to gather the Light-Saber image, paste the image into Paint.net, choose the preferred color for the Light-Saber, and other special effects such as: sizing your Light-Saber, 'blurring' your Light-Saber, and learning the correct way to save your project.Your first step is to right click on the Light-Saber image and click 'Copy'. Next, you open Paint.net. Then you...
Paint your nails with hearts for Valentine's Day. This easy to follow video shows how to get a great Valentine's Day look with just five simple steps:
Learn to create red, green & black nails for Christmas with this video tutorial. This is a really cute look and it is great for Christmas. You could have a really great outfit to match with your nails.
Do you want your house to look dull or colorful? If the latter, then be sure to check out this video to learn how to best utilize the color theory.
Don’t panic if you’ve got a budding Picasso at home—cleaning crayon off of painted walls is simple. Check out this Howcast video tutorial on how to clean crayon marks off of painted walls.
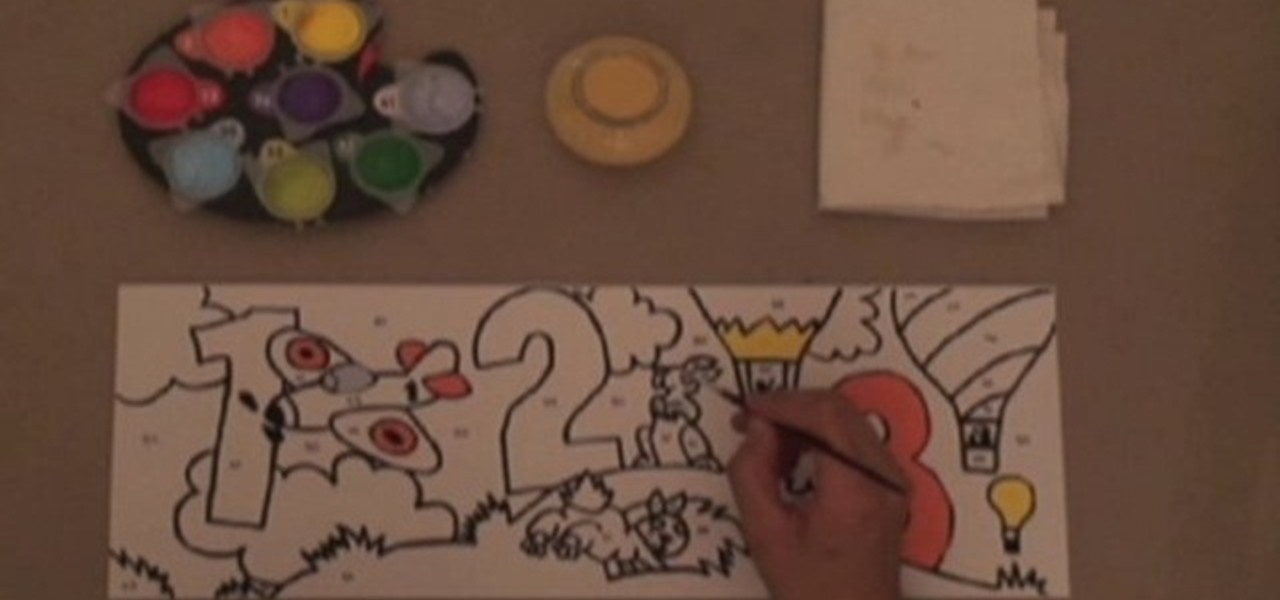
Painting doesn't get any easier than this. Paint by numbers kits come with a drawing ready to be filled in with paint. Each section of the drawing is matched to a number on a paint pot. Use the right number for the right section, and voila, a foolproof masterpiece. Watch this video painting tutorial and learn how to paint. By numbers.
In this series of expert videos, you will receive an introduction to acrylic painting. Expert Kristine Mueller will show you what types of art supplies you'll need to get started and where to buy them. She demonstrates how to pick the best brushes and paints, shows you how to set up a still life to work from, and demonstrates step-by-step how to mix paints and how to use the techniques of painting to create a beautiful work of art.
In these art lessons on video you'll learn how to create a watercolor painting. Our expert will show you what art supplies and materials you will need, especially the types of paints and brushes, as well as how to sketch out your painting, block in colors, and how to add darker colored paints to your watercolor.
In this video clip, learn how to paint a pair of jeans. You can learn how to add a unique and dramatic look to this ordinary piece of clothing. Our expert, Kristine Mueller, shows you tips and techniques for painting on jeans.
This unique craft project adds flare to your wardrobe, and it makes excellent gifts. Our expert, Kristine Mueller, shows you everything you need to know to paint on a leather belt. Learn the paint to use, and how to select the right belt.
In this series of video art lessons you'll learn the basic techniques of painting with oils. Expert artist Vince Fazi shows you what art supplies you'll need to get started, how to set up a still life subject for your painting, and how to choose the colors for your painting.
In these art lessons on video you'll learn how to create a watercolor journal. Our expert will show you what art supplies and materials you will need, especially the types of paints and brushes, as well as how to use text an borders in your journal entry.
In this series of online video art lessons you'll learn the basic elements and principles of painting design. Expert Sue Gill Rose discusses how line, form, shape and space come into play when planning a painting. You'll learn tips on using texture, color, and proportion to add emphasis to certain parts of a painting, and how these design elements can add movement and create a sense of unity in your works of art.
Carolyn Travisano shows us how to paint window murals. Part 1 of 16 - How to Paint window murals.
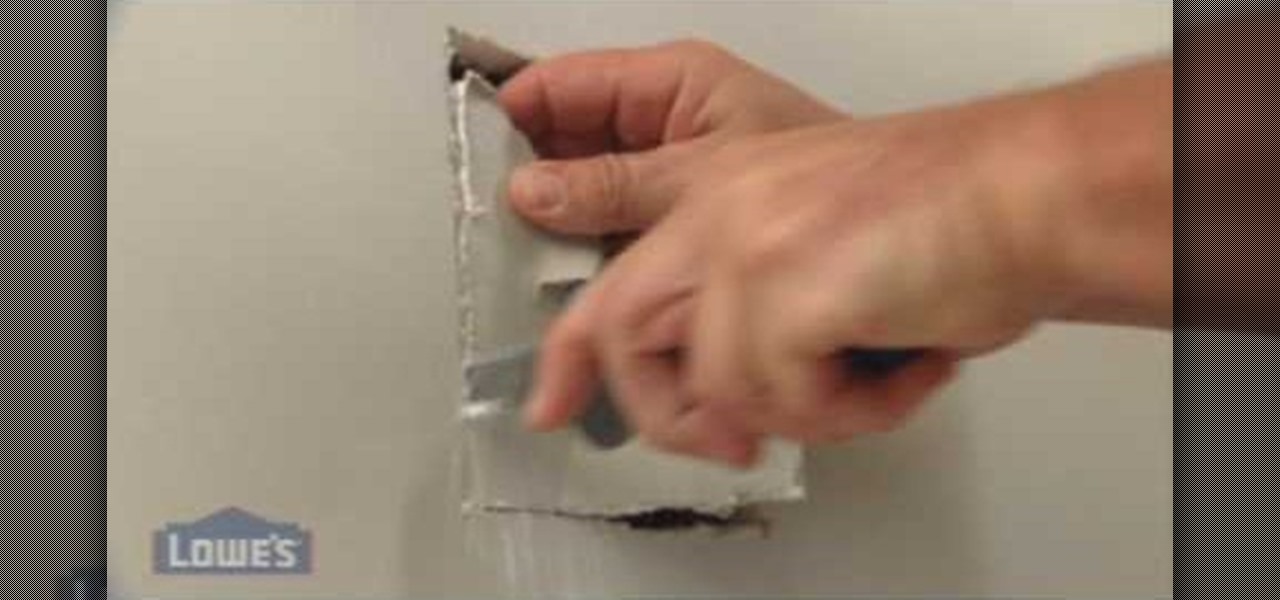
In this tutorial, we learn how to repair cracks and holes in drywall with Lowe's. Drywall can be damaged in a number of ways, but can be fixed easily. If you have a medium size hole in the wall, first place caulking on it and then smooth it out. If you have a larger area, you will need to use a sanding strip around it to smooth out the area and all around it. Use drywall compound to fill in the area that is empty. Then, smooth over it with a flat tool then paint over it with the same color pa...
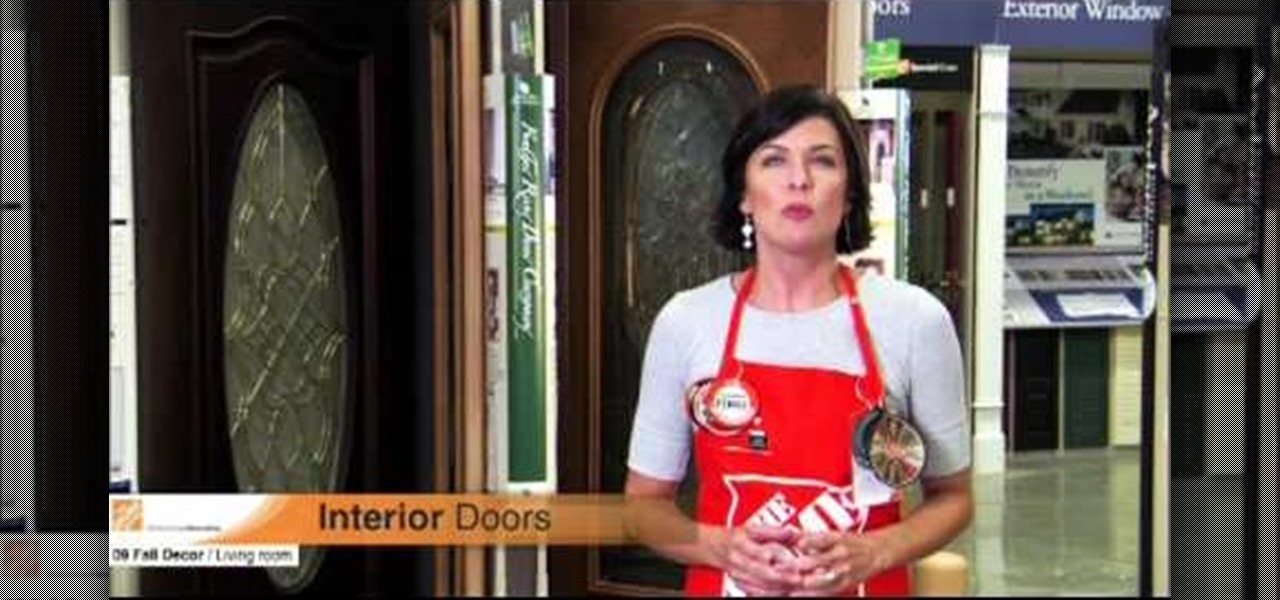
In this video, we learn how to update your living room. First, you can paint your living room with premium colors to give it a richer look. Crown molding will also change the look of the room after you paint. Window treatments will also give your home a nicer look, adding in dimension. Invest in table lamps, which will encourage your guests to sit down and relax. Also, changing the door to your dining room will add a classy touch as well! If you can afford it, upgrading the carpet will add a ...
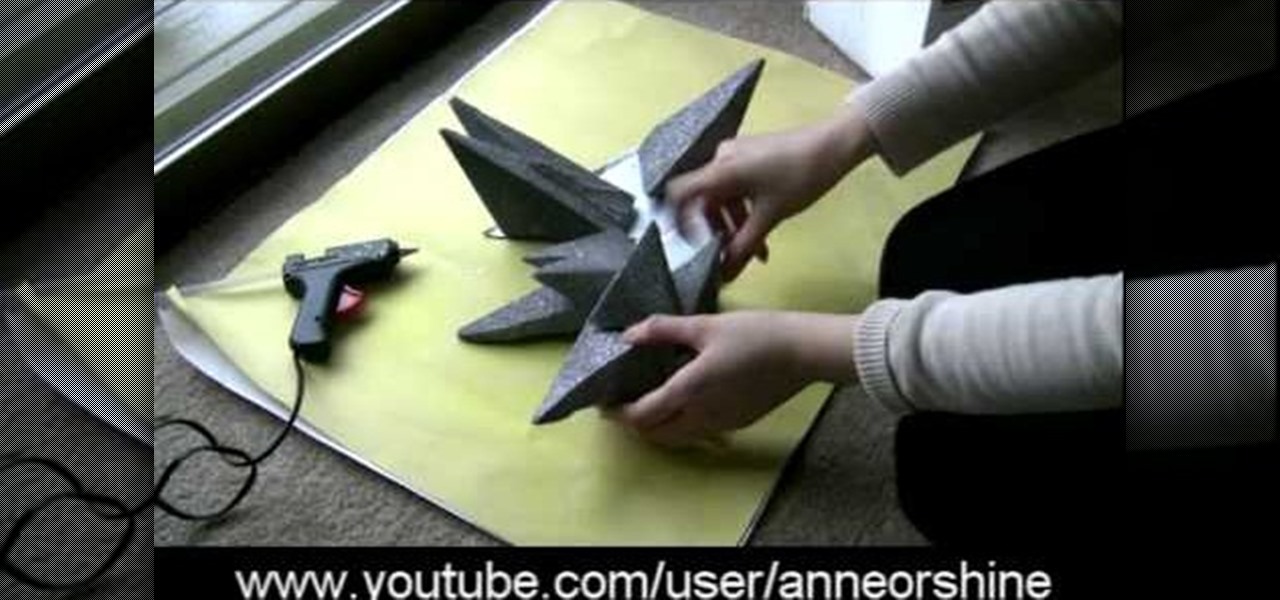
When we first saw Lady Gaga donning this, well, gaga headpiece at the Grammy Awards, we were wondering what the Fortress of Solitude was doing on her head. The headpiece, composed of what look like stalactites crystalized with thousands of swavorski crystals, looked like an Abstract Expressionist sculpture, and made little sense.
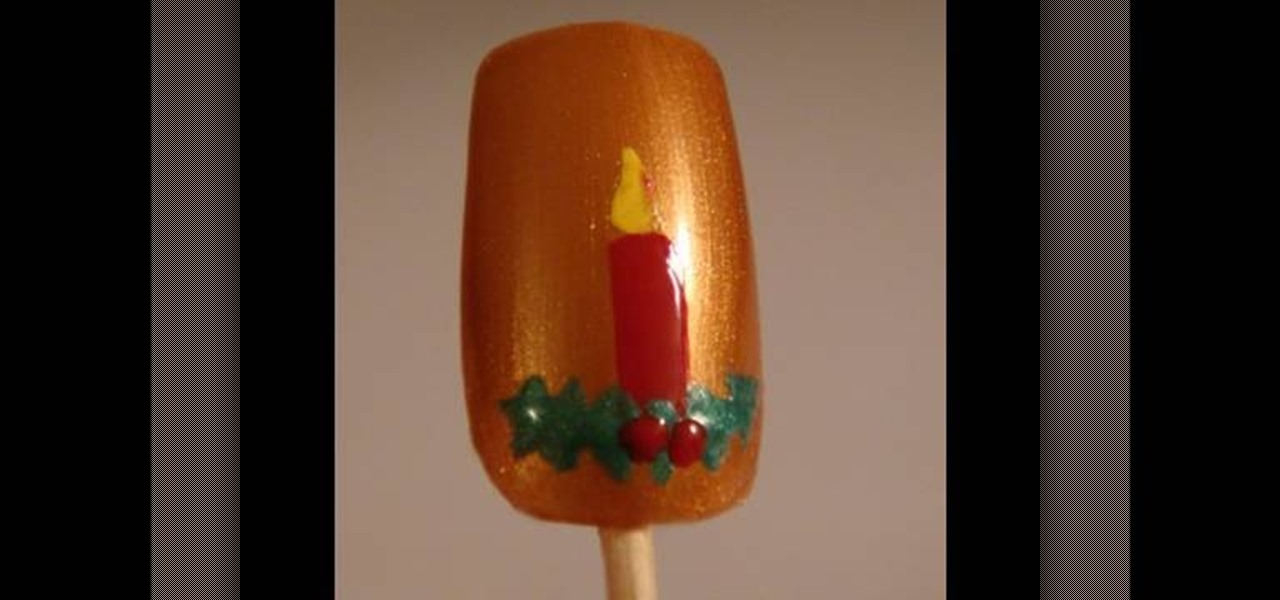
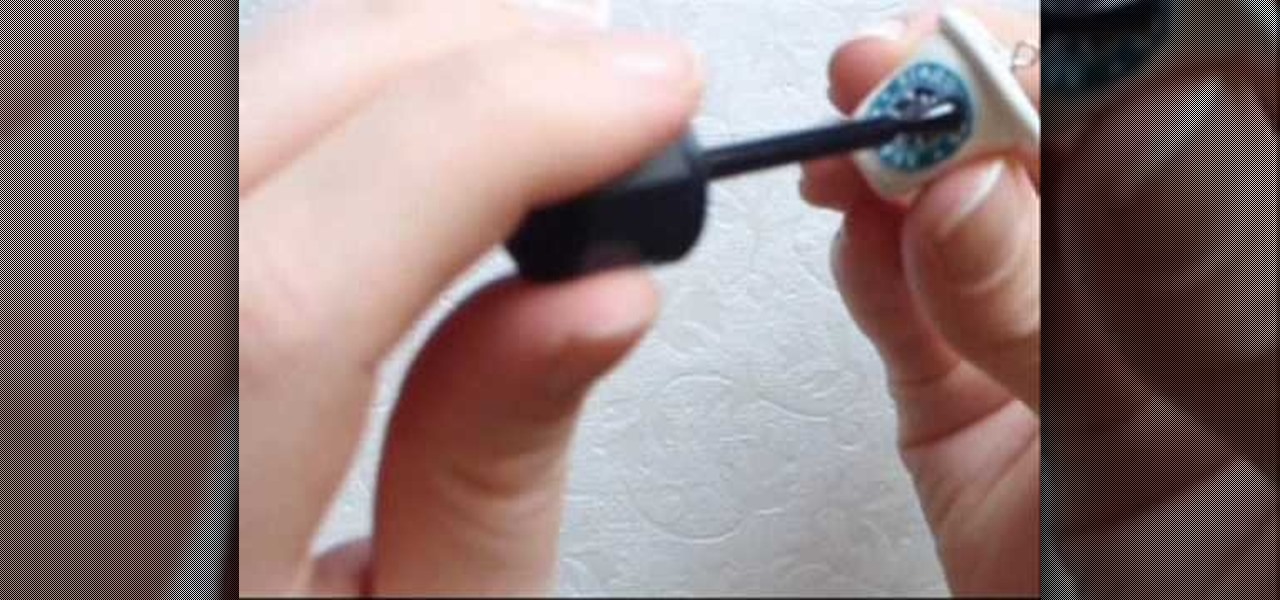
In this tutorial, we learn how to design Christmas holiday winter nails. First, purchase acrylic nails and paint them a burnt orange or copper color. Now, take a very small and pointed brush and dip it into red nail polish. Draw a candle onto the acrylic nail, then paint green around it to make holly and yellow above it to make a flame. Set this aside and let it dry, then continue to decorate the rest of your nails with either the same design or something else Christmas related. Apply to your...