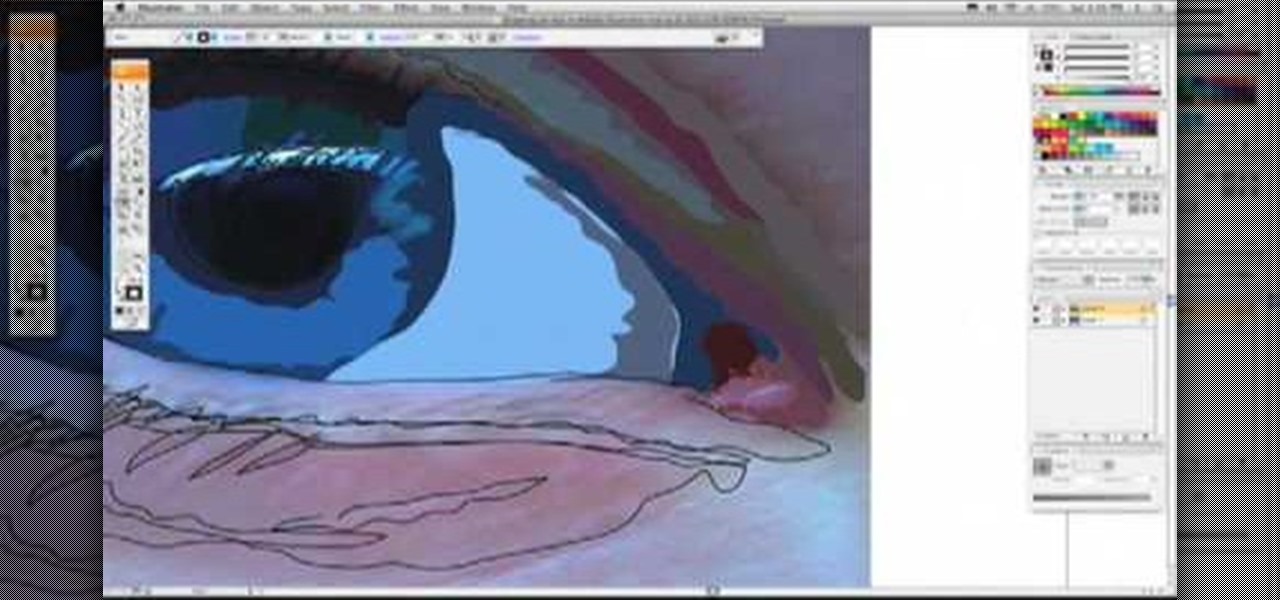
If you love Adobe Illustrator and are looking for an interesting and creative way really to bring the life out of your pictures, this video has an interesting twist. If you remember the movie, "A Scanner Darkly" and the art style that they used, it was quite impressive and unique and called rotoscoping. In this video Karl Gude goes into great lengths showing you his method of tracing the picture and then adding the right colors all the way to the finished product.
In this video, we learn how to use and understand depth of field in photography. If you look at a photo, the depth is how deep the picture looks. You can change the depth by changing the aperture to make the depth of field look shorter or longer. The lighting can also change the depth of field and what you can see in the background. A big aperture will give you a large depth of field, with a small amount of light. If you want a big depth of field in a landscape, then you will use a maximum ap...
In this tutorial, we learn how to use Fiskars Decorative Edge scrapbook layout. First, you will need to pick out the templates, pictures, and paper that you want to use for this project. Now, place the stencil over the card stock and cut out the stencil shapes you want, stars work best if you are doing a fun child theme. Now, apply these to your base card stock, and arrange a frame over the background. Now, apply the picture to the page and add on the stencils you just cut out. Add in quotes ...

In this tutorial, we learn how to draw Shadow the Hedgehog. Start off by drawing the head and then add in the spiked hair. After this, draw in the details of the eyes and continue down to the arms and the rest of the body. Draw in the feet and a gun in the character's hand. Now, use a pen to start drawing the outline over the pencil marks that you just made. Continue on to draw in details on the picture that make it look more realistic. After this, color in the picture with colored pens and u...
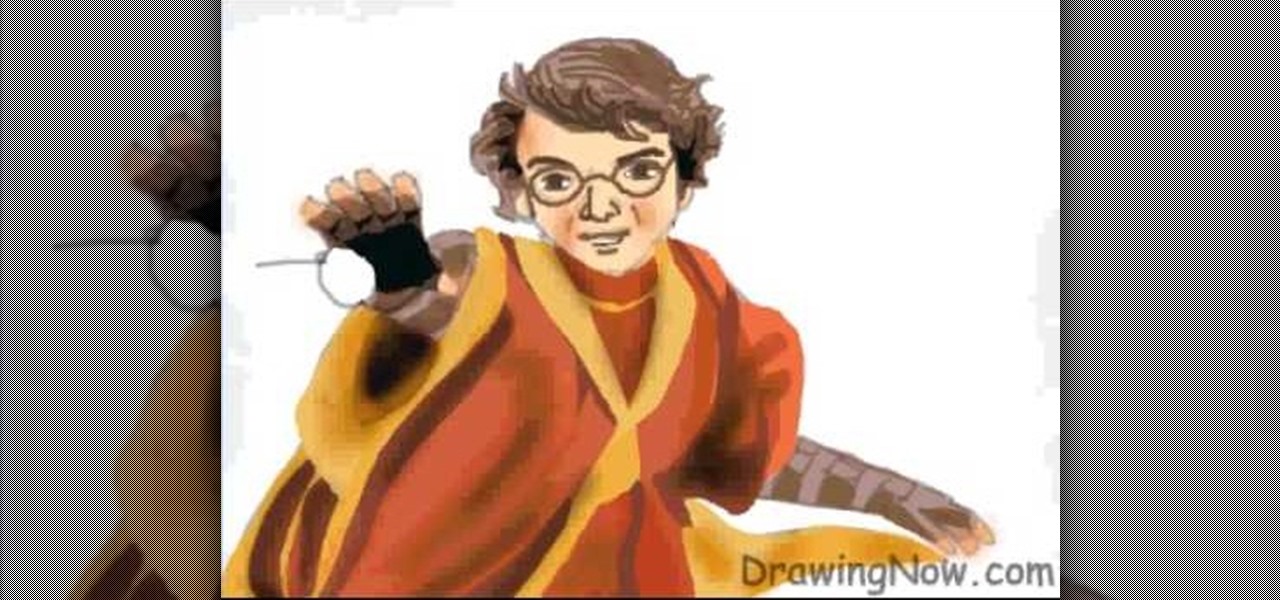
In this tutorial, we learn how to draw Harry Potter. Start out by drawing Harry's face, adding in all the details, such as: his hair, eyes, glasses, nose, and mouth. After this, start to draw his upper body wearing his Quidditch robes, and draw his arms. One arm should be reaching in the air for the ball and the other should be to his side to balance him out. After this, start to add colors to the picture. Add in his skin color, then add in his brown hair and gold and red for his sports robes...

In this tutorial, we learn how to properly draw with a pencil. First, start off by drawing squares and see what it looks like when you color them in and shade them all differently. This will help you learn how to control your pencil and see how hard you have to press to make the shades look different. You can also scribble a line going from really dark to light. Make sure you are making a range of different colors so you are learning how the pressure on the pencil effects how the color comes ...

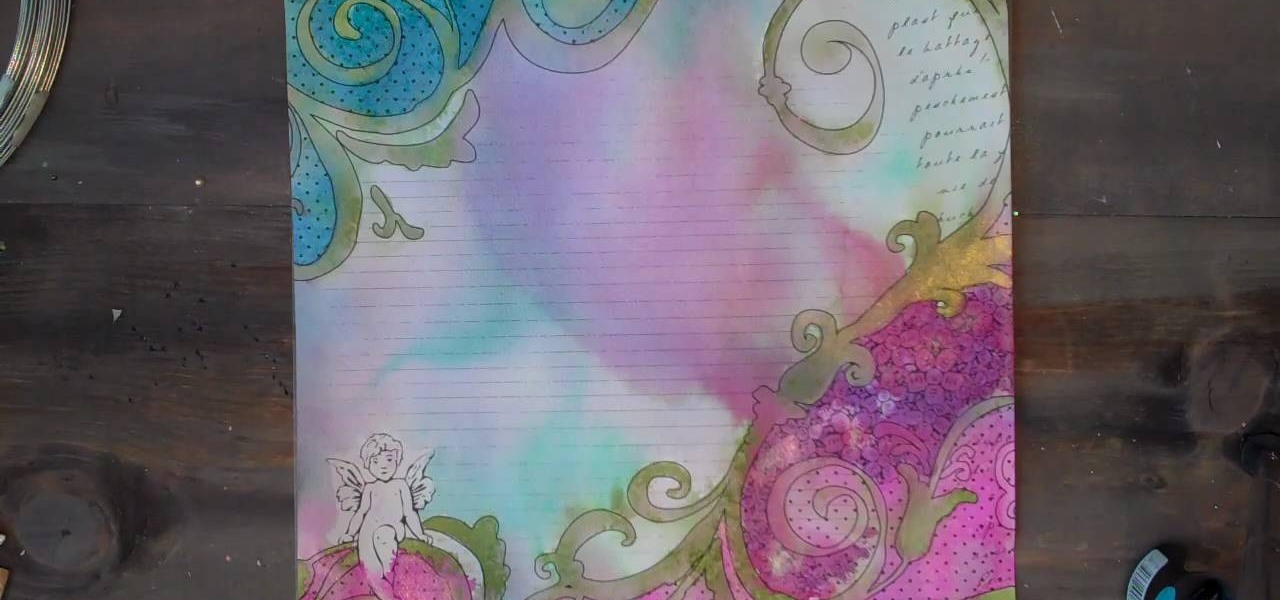
In this tutorial, we learn how to use Prima Paintables paper. These are meant to watercolor on and are very thick pieces of paper. You can take a paint brush and open up a bunch of different paint colors. Start to paint your picture, then allow it to dry. When finished, you can spray a water bottle on it to bleed the picture and make it look unique and your very own. This is something that is fun to do and makes it easy to paint your own creations using this paper that is made just for painti...
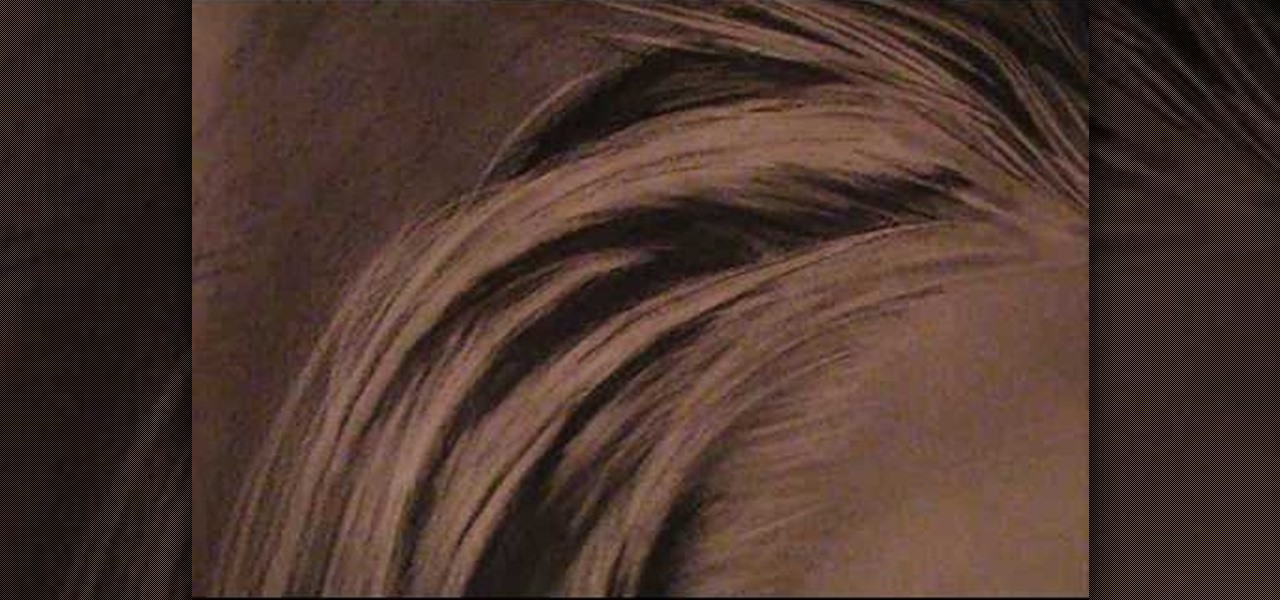
In this tutorial, we learn how to draw realistic hair. Start out with a rough outline and look where the hair is clustered together. Draw the clustered area first. Then, cross hatch over the entire surface of the area and blend in. Add hair to the forehead area, then use a darker pencil to form the shape of the hair. After you do the clusters, start to draw the hair that is separated from the rest. Keep looking at the picture you are drawing, then use an eraser to change the drawing to match ...
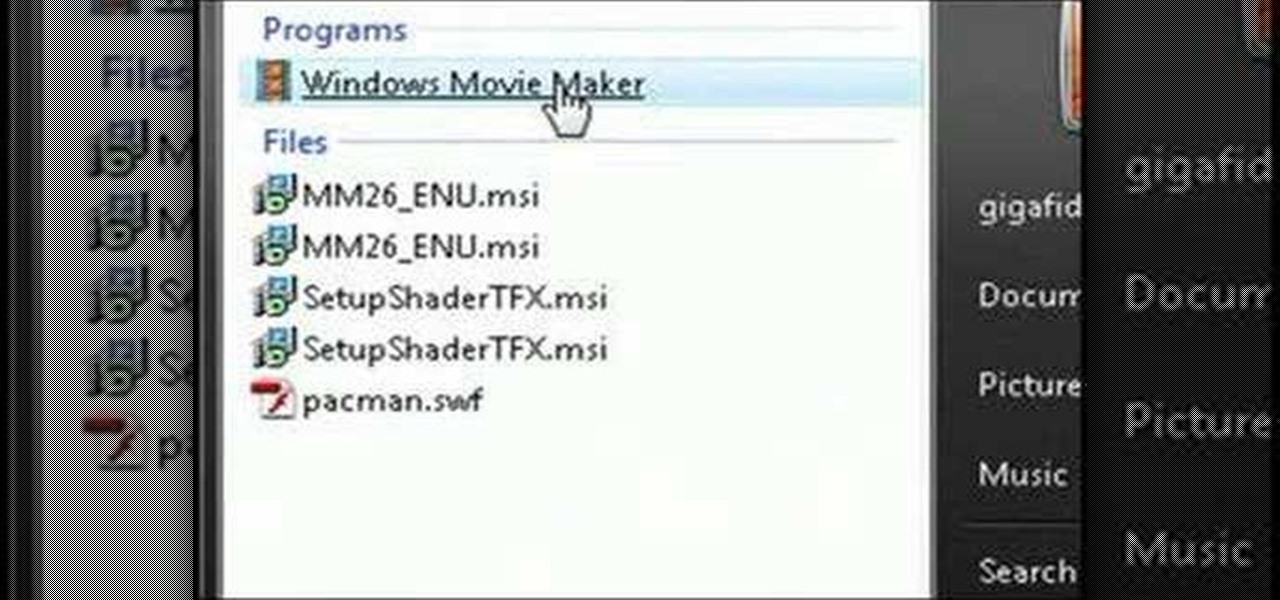
In this video tutorial, viewers learn how to make stop motion animations. Begin by mounting the camera onto a stable surface position, such as a tripod. Then layout the figure to a desired position for the first frame. Now take a picture and slightly move the figure for the second frame. Continue moving the figure and taking frames until you have completed your animation. Then upload the frames onto your computer. Open the images in a movie editing program and make sure to set the picture dur...
Everything is so much cuter - and tastier - in edible form. Take dogs, for instance. Whether you miniaturize them to top a cupcake or make them out of buttercream to top your cake, they becomes instruments of decoration and pleasure once they get adapted to cakes.
We love shiny things. Pretty baubles, Swavarski crystals, long link chains holding art deco pendants. And that's why we also have an extremely messy jewelry storage system. Basicall this is how it goes: we buy a necklace, wear it once or twice, and then toss it into a sort of bin type thingy.
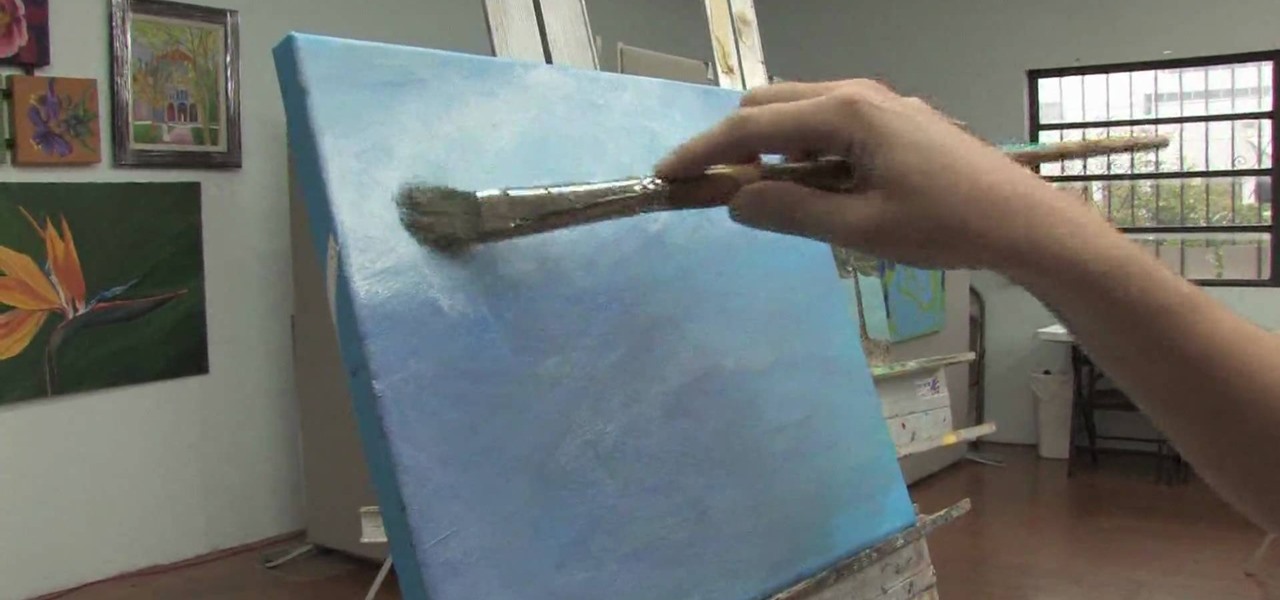
In this video, we learn how to embellish a painted sky. To do this, use white paint and gray paint. Add some clouds with your paint brush and make them loose and puffy in the sky of a painting. Be very loose and let the blue shine through the white like a regular sky. Paint the tops of the clouds more white than the other parts and paint this throughout the entire picture. If you want to take off some of the embellishment, use blue paint to cover up some of the white you have painted on. This...
In this video, we learn how to improve short-term memory. There are many brain exercises that can help, that will jump start your abilities. Remember to focus your attention, take mental snapshots, and connect your snapshots with memory. This will help you not only remember different things, but it will also help you to connect pictures and different details along with it. Just small things like this while you are younger can help improve your short-term memory while you are both younger and ...
In this Electronics video tutorial you will learn how to take a picture with your LG GW620. First you got to press and hold the camera key on the side of your phone. This will open up the camera options. If you tap the screen you will see the options icons on the side. The various icons are zoom, exposure, flash, macro and settings. On the right hand side you have the back, camera mode and the gallery icons. To take a photo, tap on the camera mode icon. The photo will be clicked and then a li...
This tutorial shows you how to create a picture rotating slideshow, that fades in and out using Adobe Flash. Using optimized embedded photos is not the only way, but it is a very basic and easy method to create a slideshow picture rotator. Whether you're new to Adobe's popular Flash-development platform or a seasoned web developer looking to better acquaint yourself with Flash CS3, you're sure to benefit from this free software tutorial. For more information, including detailed, step-by-step ...
It's obviously important to look better than everyone else on your wedding day (sorry, but you know it's true), but even more vital to look great in wedding photos since you'll be looking back at them 10, 20 years down the road and you want to know you looked your best on your special day!
Popularized by the likes of Andy Warhol, pop art has long been an art genre associated with the glittery excesses of Studio 54 and a modern aesthetic.
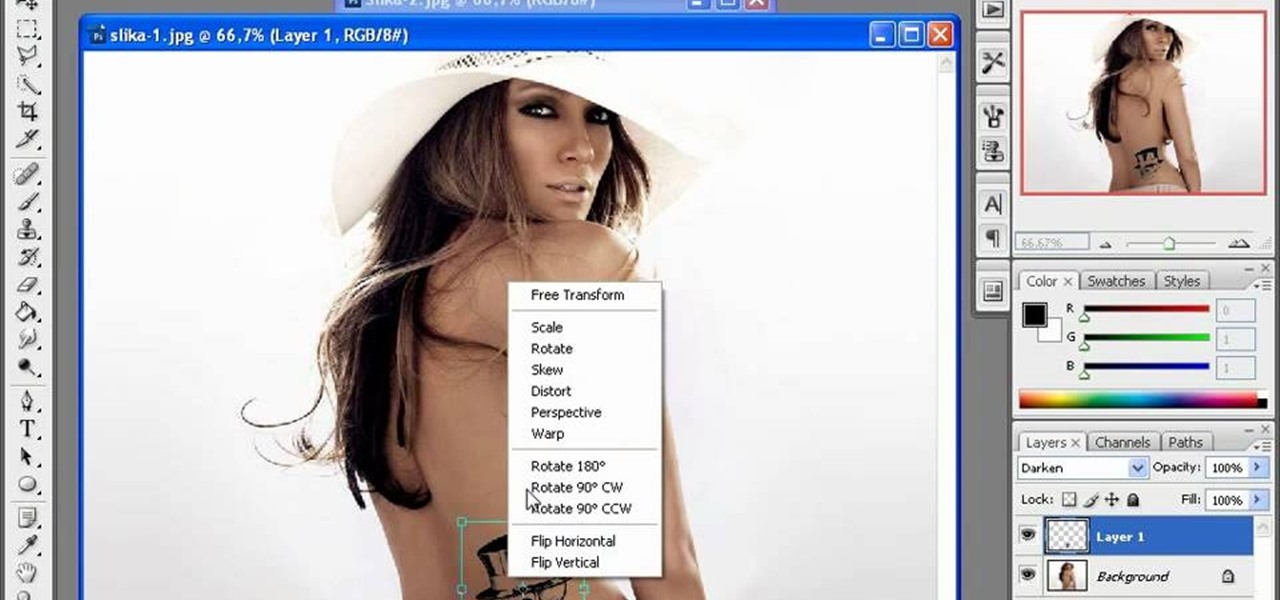
Photoshop is one of the most powerful and widely used program out there on the market. Not only can people use it to make their own photos look better, but they are able to take other pictures and images and enhance them to whichever way they want. That can be seen as both bad and good. Somtimes, to do so it involved using the layers and moving a picture to a new image. In this tutorial, you'll find out how to move a layer to a new image using Photoshop. Enjoy! It's quick, easy, and will be a...
If, for whatever reason, you need to show someone else a photo of your computer screen, you will need to take a screen shot. In this tutorial, learn how to copy your screen on a Windows based PC.
In this Arts & Crafts video tutorial you will learn how to make a vertical Easter greeting card. Take a 6x6 yellow card and fold it in half. Using the Valentrio Fiskars corner punch, you can punch one corner. Cut a 2 1/2” wide metallic cardstock, a 1” wide paper strip, stamp a picture or a design and punch it with Fiskars punch. Punch the 1” wide strip with the Fiskars border punch and glue both the pieces above and below the metallic card stock. Glue the metallic card stock and the pic...
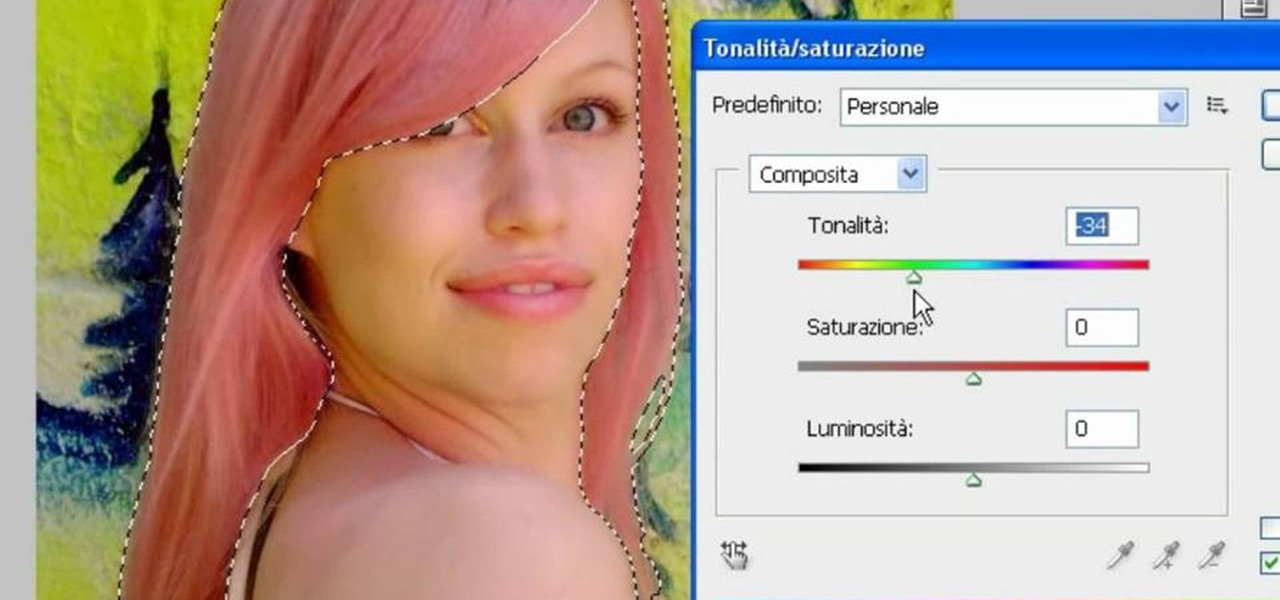
In this video, we learn how to use PhotoShop to change hair color.. First, select the mask tool inside PhotoShop. Now, zoom in on your picture and brush the hair that you want to change the color of. Zooming in and using smaller or bigger brushes will help you be more precise. After this, zoom out and press on the mask tool to create your selection. Then, select the marquee tool and right click and choose "inverse selects". Now, click on "image", "regulations", then "tonality/saturation". Now...
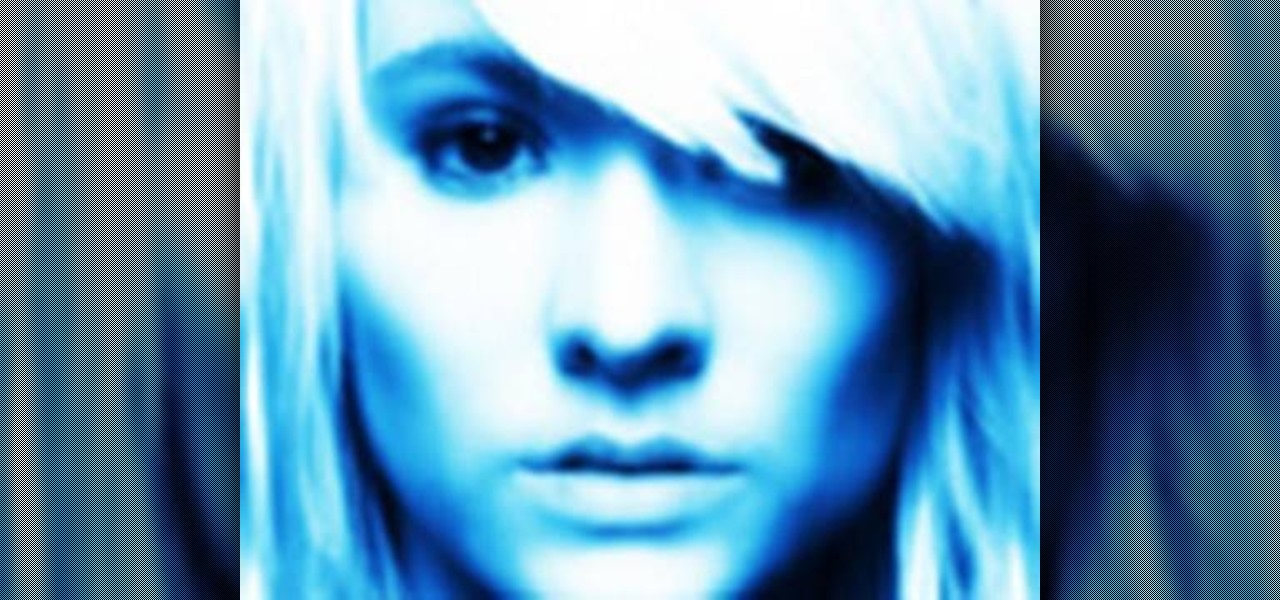
In this video, we learn how to created a chilled look on a photo using PhotoShop. First open up PhotoShop and open up the picture you want to change. First, duplicate the layer on the photo. Then press "control" then "u" and make the picture blue. Now, click "filter" then "blur" and add a small amount of blur to the photo. Now you can click on "overlay" and you can see the photo change. If you want to make it look more blue, duplicate the layer again and you will see more of a chill factor on...
Clicks are made on "Image",then "Adjustments", followed by "Brightness/Contrast" ; contrast is set to 30 and brightness is set to 60 to add more light to the picture. "Adjustment", "Variations" are clicked in that order and both yellow and red are increased. "Filter", "Render", "Lightening Effects" are chosen in that order and a new window appears; within which the style is set to "Soft Omni". The brightness is decreased ;similar to the way it was increased, and contrast is increased to 60. T...
In this Software video tutorial you will learn how to make a copyright brush using Photoshop. Open up Photoshop and open a new document by clicking ctrl+N. Create a new text layer on the right side and type in your text. Right click on the text layer > rasterize type. On the left side select the ‘rectangular marqee tool’ and draw a rectangle around the text. Go to edit > define brush preset. In the next box, give it a name and click OK. Then go to file > open and select a picture on which...
The first thing to do is open up Photoshop. Find a pic of a person and clip art you would like to use. Open those documents. On the side of the toolbar, find the brush tool to adjust the clip art correctly. Make a rectangle inside the clip art. Then hit Ctrl+c to cut the clip art out of the box and paste in the picture of the person. Then you remove the white in the picture by clicking on layers, and darken. When you do that, you are ready to shape the clip art to the body by clicking the box...
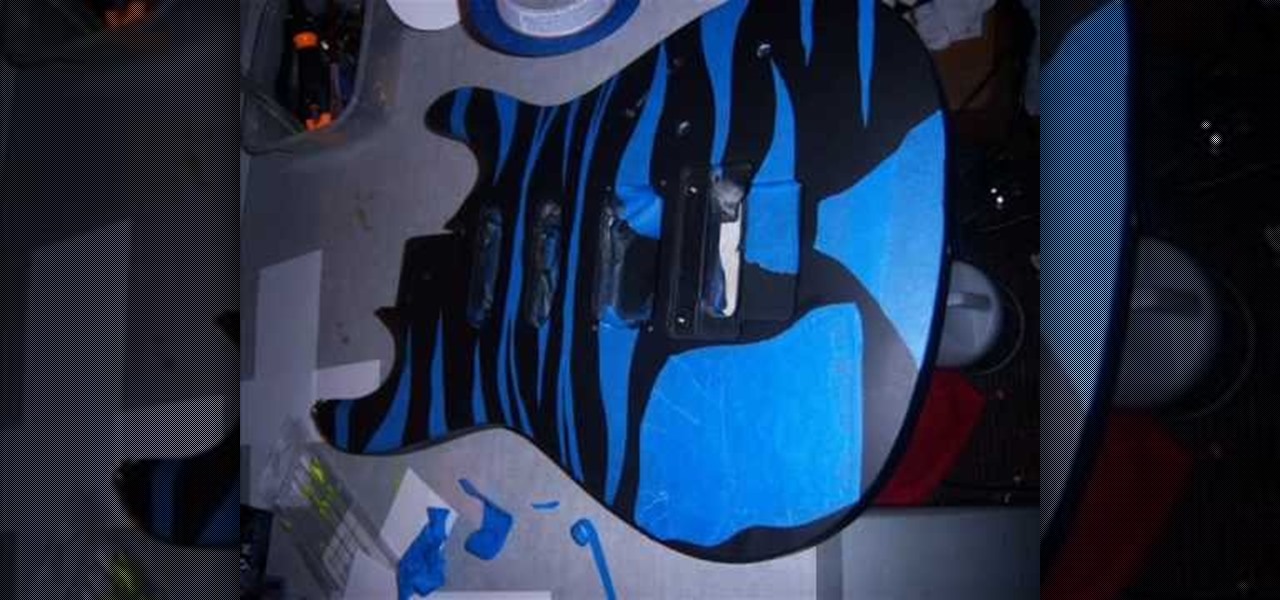
In this video Teddy Zane shows you how to paint a guitar with spray paint. It begins by painting the whole guitar with one color of flat paint, and then creating a panel where you want the picture, out of tape. Next lay your picture on top of the tape and use a scalpel or razor to cut out the design as a template carefully ensuring you do not cut the guitar, only the image and the tape. Once the entire image is cut, pull off the tape to expose the guitar beneath. Cover the rest of the guitar ...
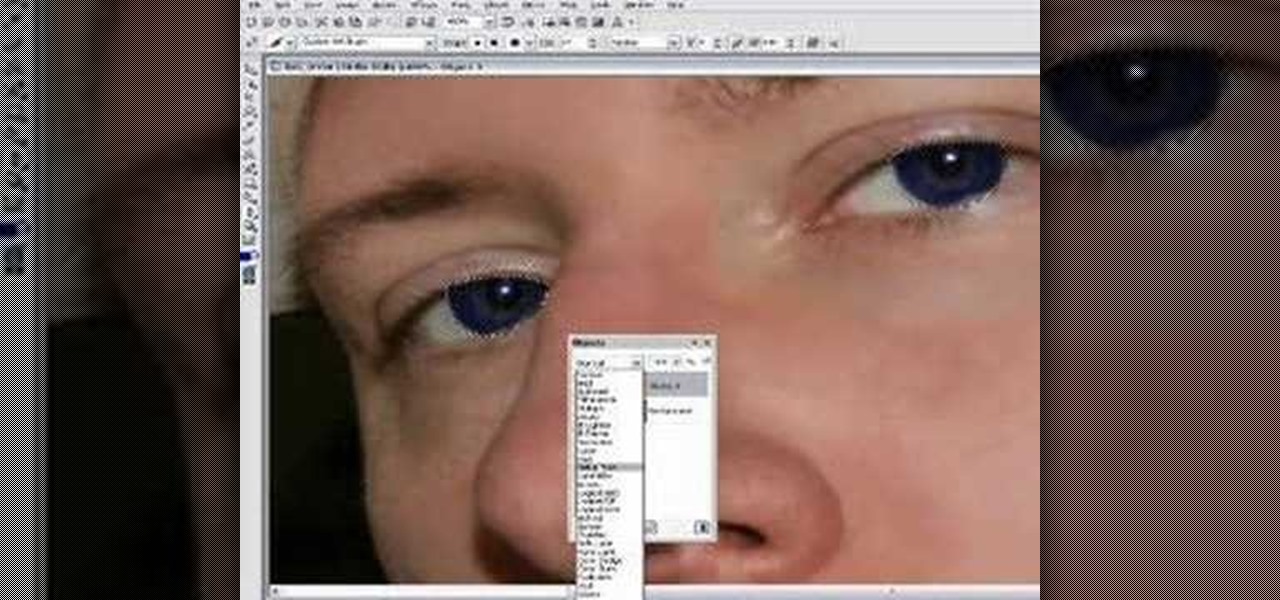
In this Software video tutorial you are going to learn how to change eye color in Corel Photo Paint X3 with masking. Select your picture and the 1st thing you will do is to create a mask around the eyes. Select the standard paint brush tool. Adjust the picture so that it is large enough and both the eyes are visible. Now press Alt and hold down to select the entire eye. Do the same for the other eye also. Then go to subtractive mode and fix the outer edges of the iris of the eyes. Now select ...
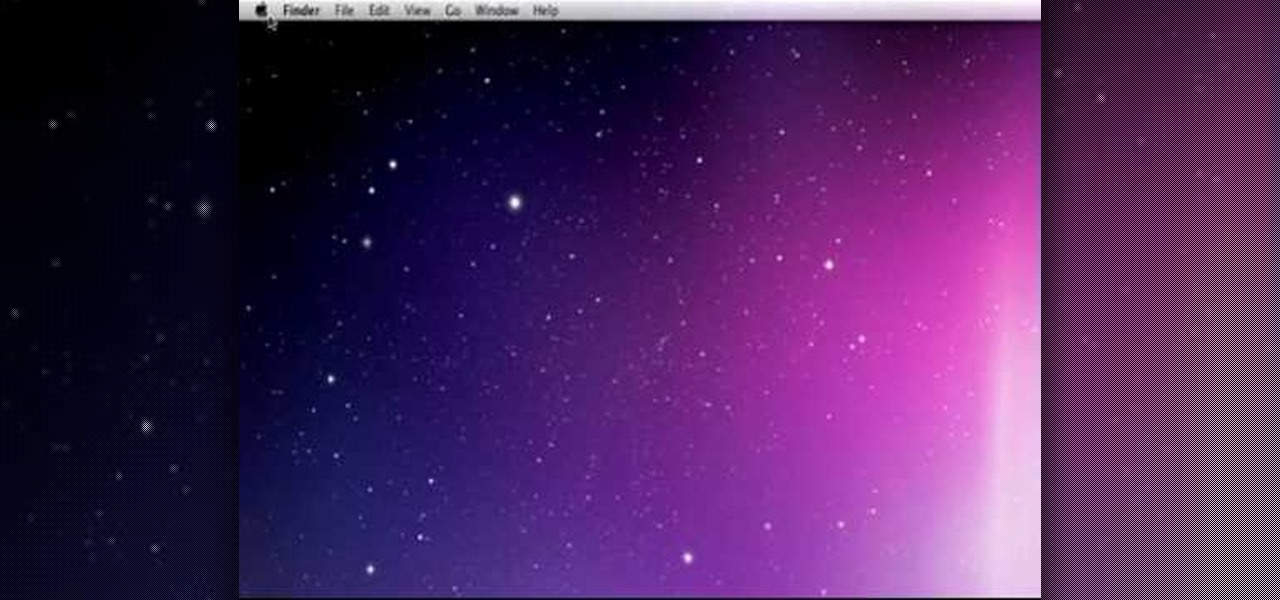
In this how-to video, you will learn how to quickly set up the background image on your Apple Macbook Pro. First, right click the desktop and select Change Desktop Background. A new window will pop up where you can change it. Also, you can go to system preferences and selecting desktop and screen saver. To change the image, select any of the options available. This includes solid colors to large images. You can also go to your iPhoto albums and choose any picture in there. You can also go onl...
In this video tutorial, viewers learn how to change the white flash screen on the iPhone/iPod Touch when taking a screen shot. Users will need to have their device jailbroken. Begin by opening Cydia. Search for "SBFlasher" and install it. Then download the file from the video description and save it. Go to SCiPhone and chose a picture that you want. Save to your desktop as SBScreenShotBG.png. Next, drag and drop your picture into the SpringBoard.app folder, located in the folder you downloade...
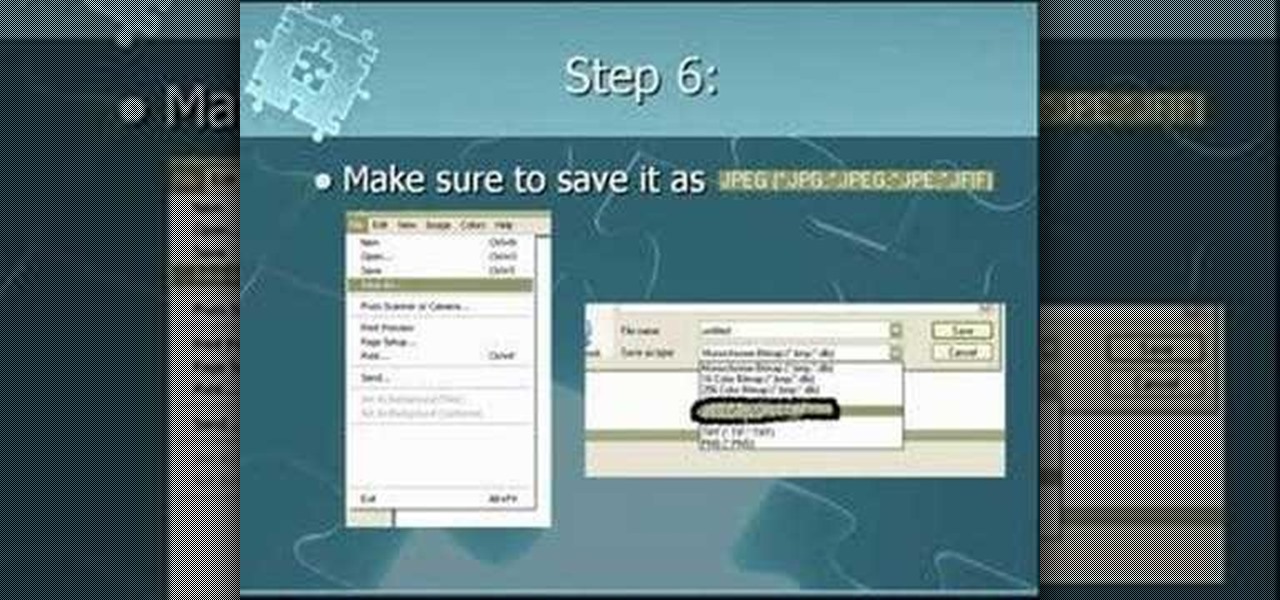
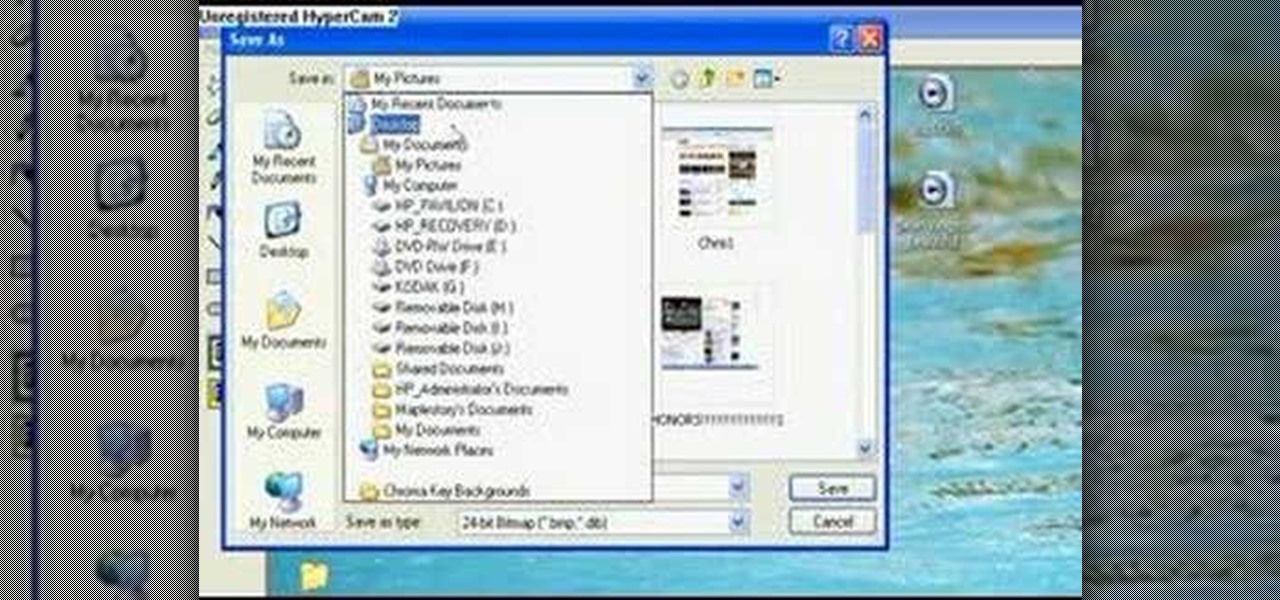
You don't need a camera to take a screen shot of your computer. In fact, a camera would probably give you an extremely blurry picture! There is a special button on your keyboard called Prnt Scrn. All you need to do is press that button. The screen shot of your desktop is then stored onto your clipboard. To get it off the clipboard, you need to paste it in paint. Open it up, go to edit and click paste. Then go to file and click save as to save your file. Choose where you want it to be saved, n...
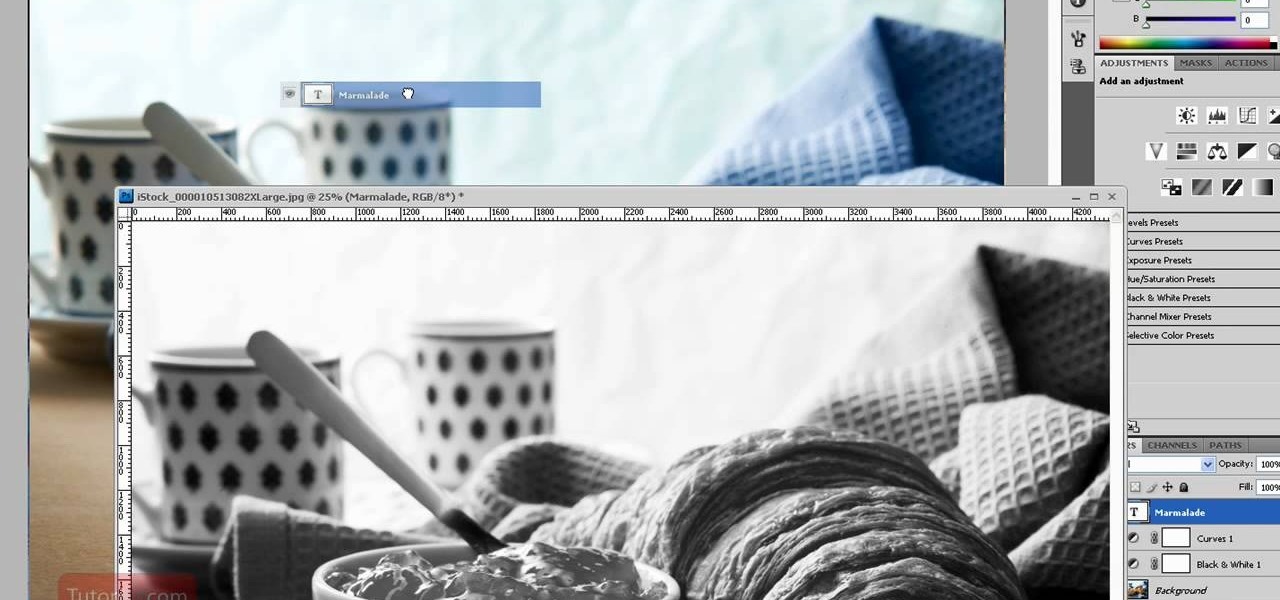
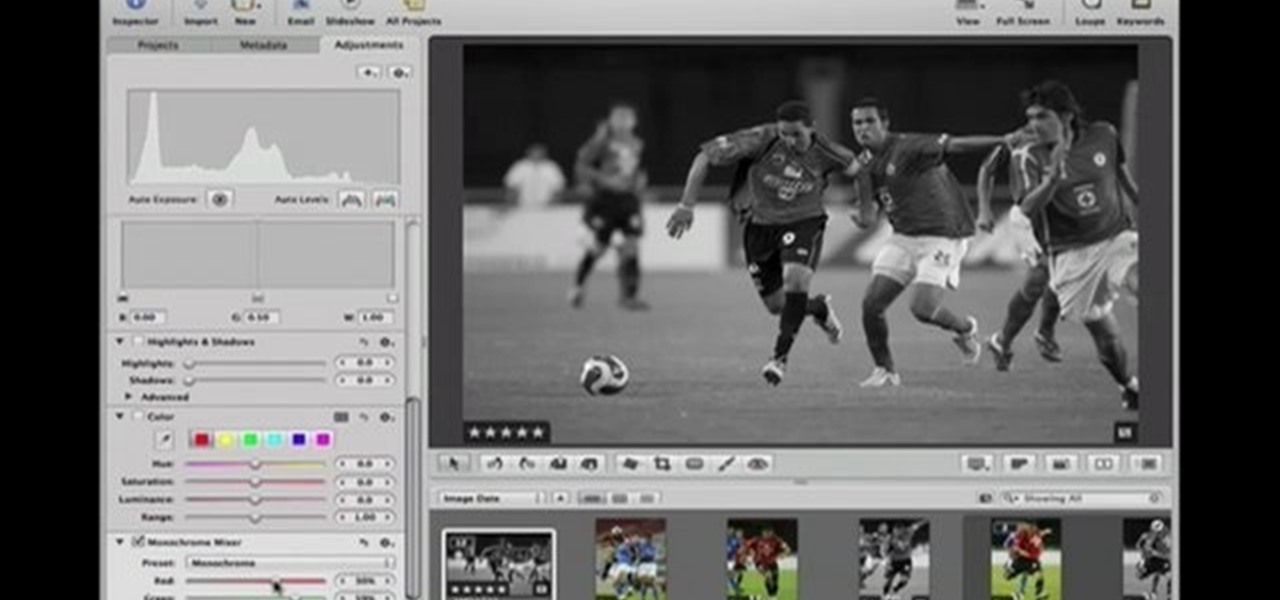
This Software video tutorial shows how to convert color images to black and white in Aperture. Scott Bourne presents this video. Open up ‘aperture’ program and select a color photo that you want to convert to black and white. Now move from the ‘projects’ page to the ‘adjustments’ page by clicking on it. Then click on the ‘+’ sign and select ‘Monochrome Mixer’. When you do this, the picture instantly turns to black and white. It’s as simple and easy as that. For editing the picture further, on...
In this video you will learn how to Draw a Sunflower. The artist starts with a rough sketch, then the details, followed by coloring and shading. The sunflower is more of a cartoon like sunflower with eyes and blush marks. The picture takes about 2 minutes to complete if following the artist correctly however you can always pause the video or fast forward in order to catch-up or speed ahead. The picture doesn't include any backgrounds of any sort however it shows the sunflower which takes up a...
This video shows the viewer how to use the copy and paste function on an android smart phone. This feature is only demonstrated for text. The text is copied by highlighting it with a long press. A second press brings up a menu; copy is one of the options. Once the text has been copied it can be pasted into the desired location by moving the cursor to this point. Another long press will then bring up a menu with the option to paste the original text. Furthermore the video also explains how whe...
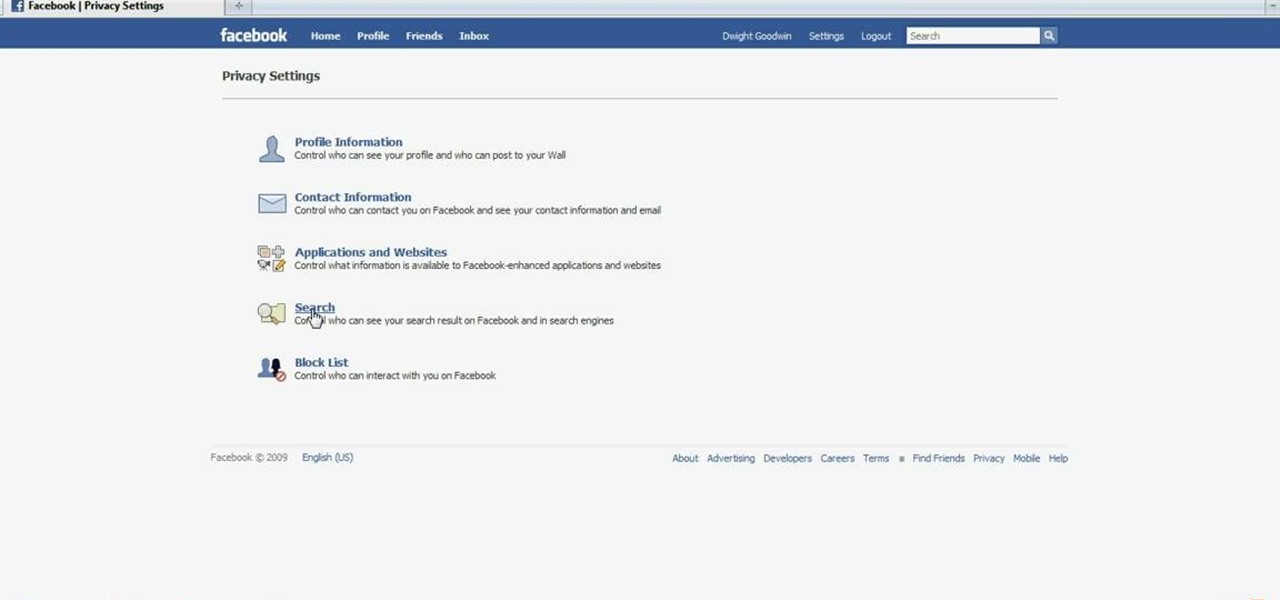
ClassroomNext demonstrates how to change your Facebook privacy settings. To adjust your Facebook privacy settings, first log on to Facebook and open up your profile page. If you would like to change your privacy settings so that your pictures are not indexed by search engines like Google and Yahoo, click on the settings options which is located in the toolbar at the top right of the Facebook page. Select the privacy settings option from the drop down menu. Next, click on the search option. Ma...
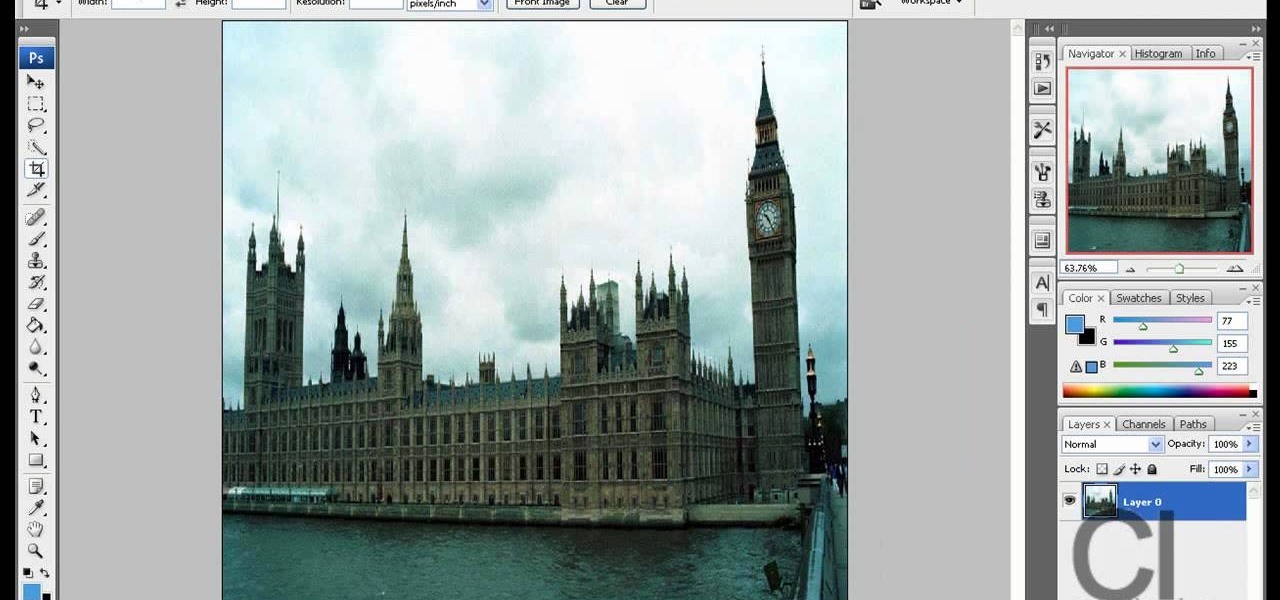
This video shows a user how to create a panoramic picture using Photoshop. In this video the details like how to merge a photo and other options which are very useful to a learner are shown clearly. This video is very practical for keen user as different things like the layouts and merging a photo are explained in detail. In this video a user can find different filters that are used in creating this panoramic picture. One will find it very easy and one with artistic heart will definitely appr...
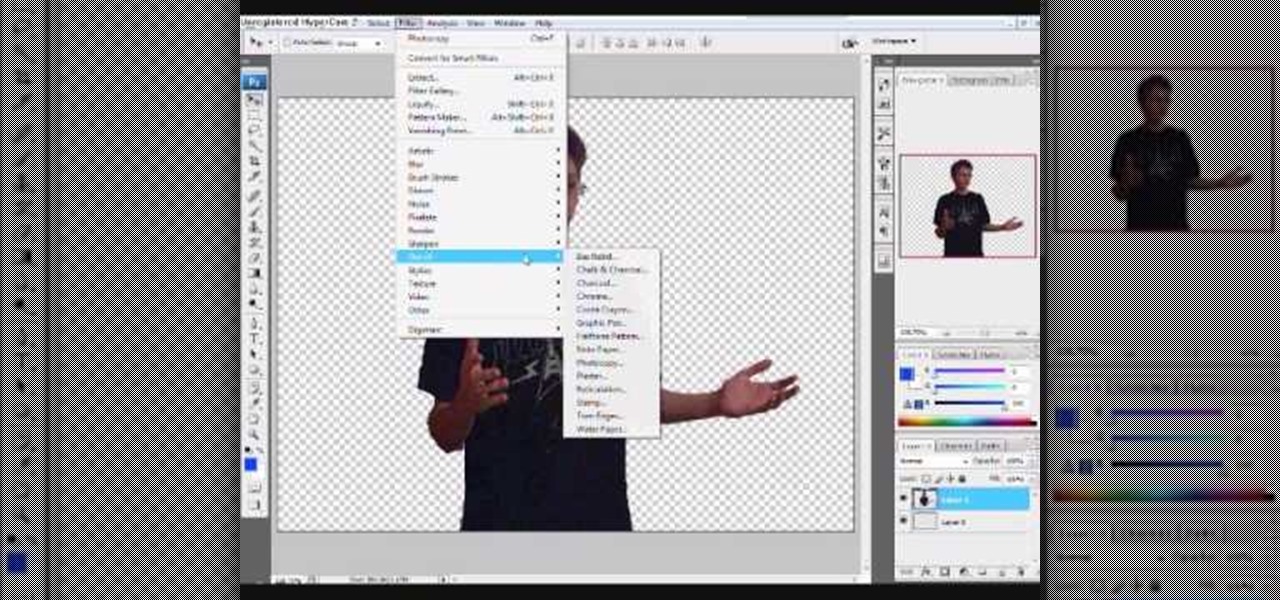
This is an animation style which takes real pictures and outlines it to make you look almost cartoon-like. To start with you want to take a picture and get a cut out of the subject with the background transparent. Then get yourself a nice color for the outline and go to filter, sketch, and photocopy. This will look roughly like a colored outline of the subject but then you want to add some more touches by adding detail (usually around 3) and darkness (around 35 is nice).
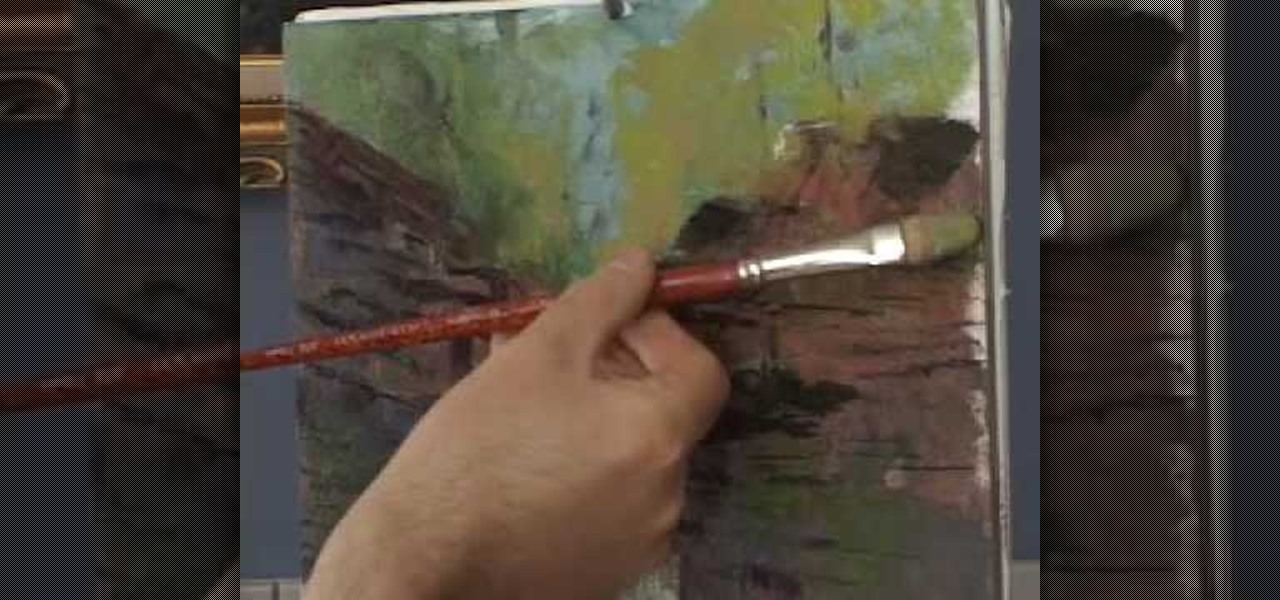
When painting the foliage make sure that you use a dry brush technique and that you use this to break up the harsh rock formations that you have created by simply pressing the brush down against the rock formation. Make sure that you don't segregate the areas in the painting. Make sure that you blend the areas together to make the picture complete. You want to take the warm, more contrasting areas and use them to break up the harsher style of the rest of the picture. You want to layer the col...
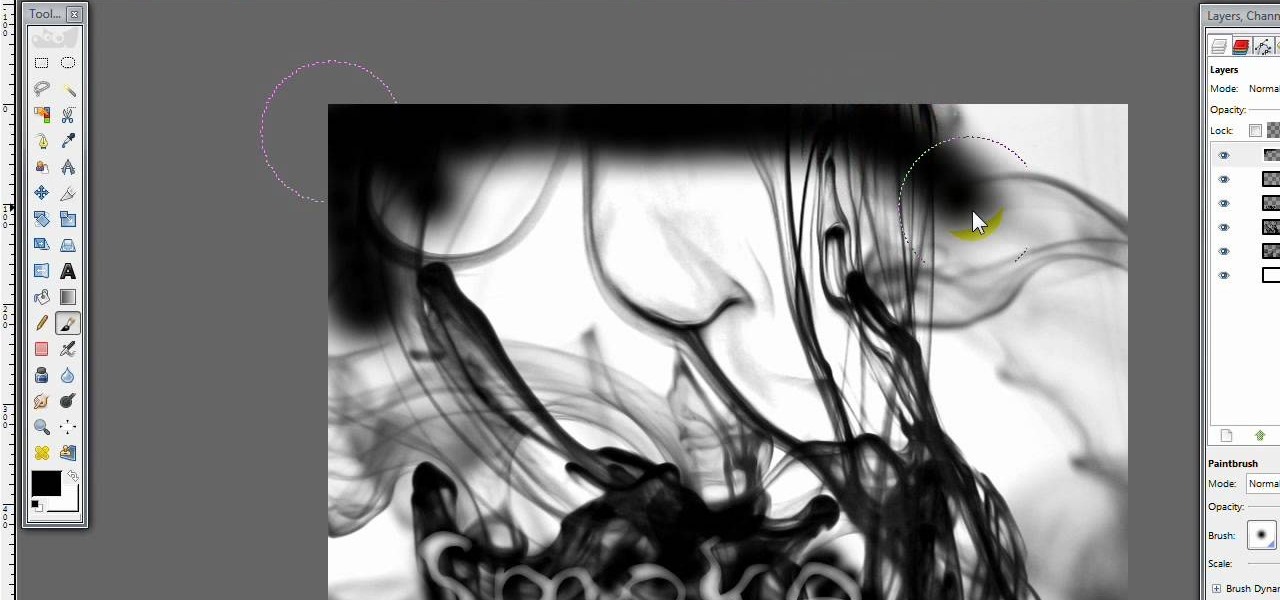
This video opens up with a computer screen displaying the finished product of a smoke design as a wallpaper. Next the video switches to the program used to create the smoke design, using a plain white image. Next the screen is switched to another program with the text smoke displayed. Then he switches back to the program and pastes an image into the window containing smoke. He then pastes the text smoke into the image and distorts it a little, followed by changing the color darker. After that...
Steps on how to cut copy and paste on a Mac. Make sure that all your Windows are closed. 1. Click the Apple on the upper right corner. 2. Select and click System Preferences and a small window will appear. 3. Double click the small mouse picture and a bigger mouse picture will appear 4. Click on the right tab that says Primary Button and click to select Secondary Button. 5. Close the window. 6. When you right click the mouse a menu will appear and you can already cut copy and paste just like ...
Watch this video to learn how to make a little planet effect in Photoshop. Go to Image>Image Size and resize the picture making the width and height equal . Don't forget to unmark the "Constrain Proportions" option. Now that you have a squared photo go to Image>Rotate Canvas>180. Go to Filter>Distort>Polar Coordinates and select the option "Rectangular to Polar". Now rotate as you want to and remove any failures.After you select the picture, make sure the sides are alike and that the horizont...