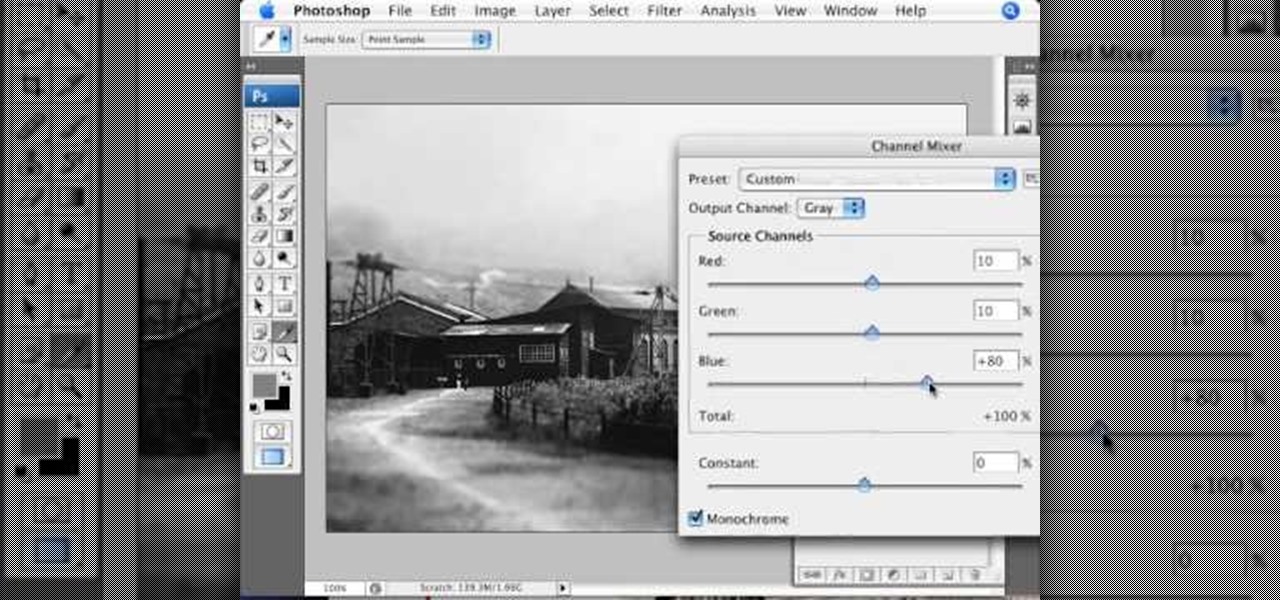
This video demonstrates the split tone effect in Photoshop. A split tone effect makes a picture look more rustic by changing the tones. First, add an adjustment layer to the picture by opening the channel mixer window. Select Monochrome and adjust the RGB values to create a black and white image to your own personal preference. Next, add another layer by opening the color balance window. Here you can change the colors of the light areas by selecting Highlights and changing the color sliders, ...
This video will show you how to make a stop motion film using an editing program called Windows Movie Maker. Find a place to film your stop motion movie. Preferably a well lit area where the light source is constant. Set your camera on a tripod and position at the angle you prefer. Place the object you want to use in your film outside of the camera's view, and take a picture. Move your object slightly into the camera's view and take another picture. Repeat this many times, until your object i...
Rick Vanman reveals the secrets to professional video effects using your own computer software. Position your model houses into a setup of your liking. Take a picture of the houses with a digital camera using the macro setting. Edit your picture in Photoshop. Disguise any unwanted objects with the cloning tool. Separate the foreground and the background of the picture into 2 different layers. Film yourself in front of a green screen. Key out the green with your video editing software. Using y...
Oftentimes, a photo may not capture the true vibrancy of color in real life, but Photoshop can fix that. Photos with lots of color can be given even greater hue saturation by adding extreme contrast in Photoshop. By using multiple effects, including overlay blend modes and noise across multiple layers, a picture's color intensity can be made more bold with these techniques. By following the steps in this video, colors can be made more vibrant using extreme contrast with Photoshop software.
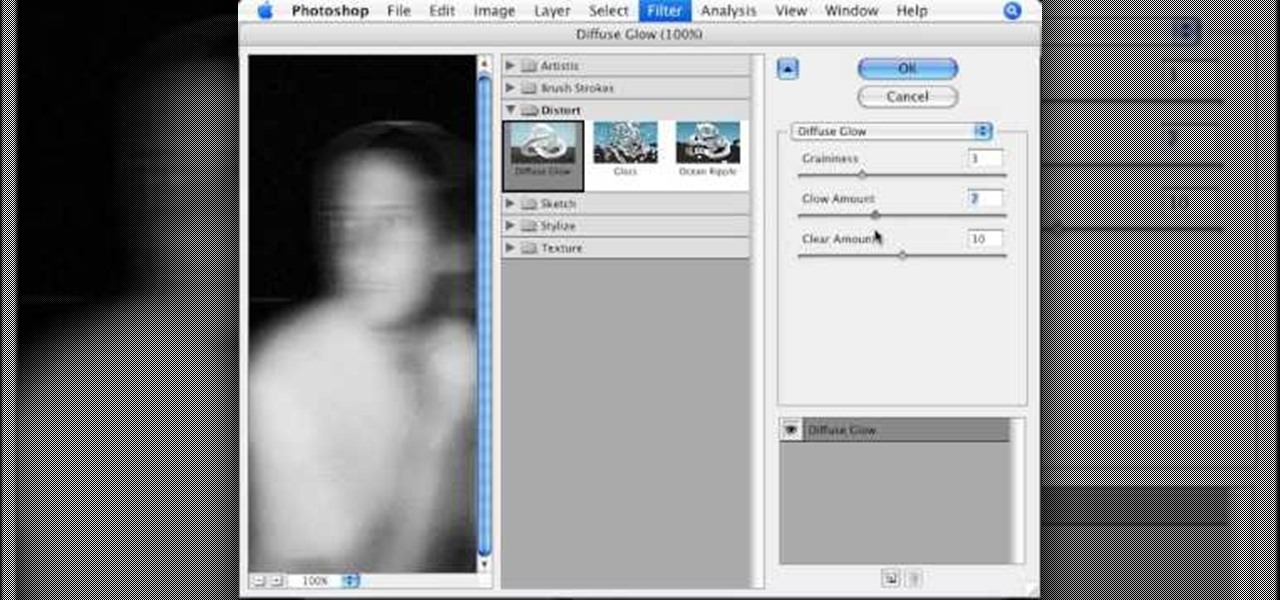
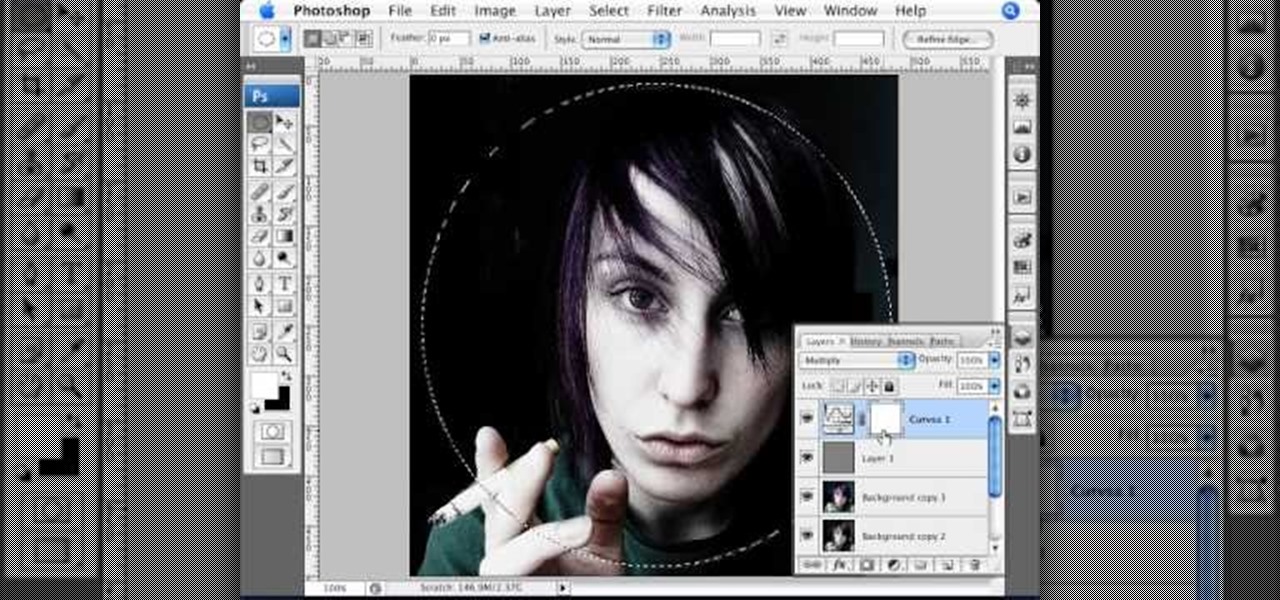
To manipulate photos and turn someone in a photo into a ghost, there are several filters that can be used in Photoshop. This video takes us through the steps of how to take an ordinary picture and turn the subject into a supernatural being using the motion blur technique and the diffuse glow filters among others to alter an image. The best types of pictures to use are ones where the background is relatively dark. By following these simple steps in Photoshop, you can turn anyone in an ordinary...

Fine tune your photography skills with this video lesson on how to take a picture of an exploding water balloon. You'll see what equipment you'll need, like cameras, lights, flashes, etc. Pixel Catcher shows you how. It's a matter of perfection, so check out this video to see how to take that photo of exploding water balloons. You could apply this principal to any photograph!

Check out this DIY video tutorial from Curbly, the best place to share pictures of your home, find design ideas, and get expert home-improvement advice.
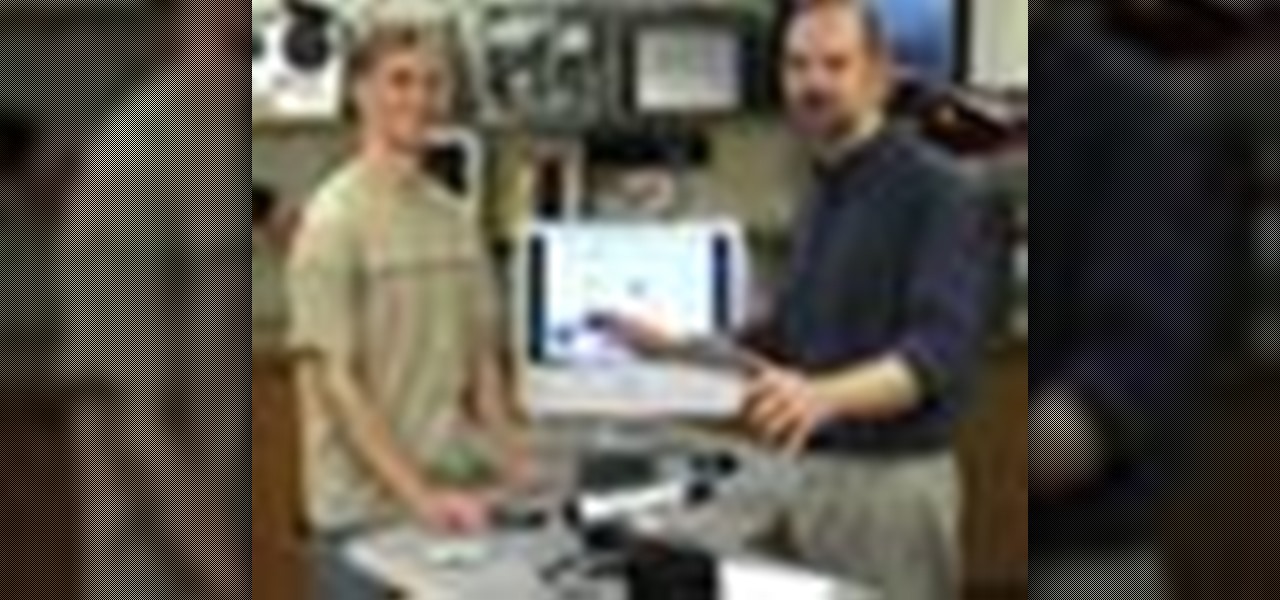
In this episode we show you how to import pictures off of your Bluetooth capable cellphone and onto an iMac. Should you buy a digital camera or camcorder? What features should you look for? The techies give their input on what to look for in making those decisions. Along the same theme, the techies offer some suggestions on where to buy electronics including digital cameras and camcorders. (31min 59sec)
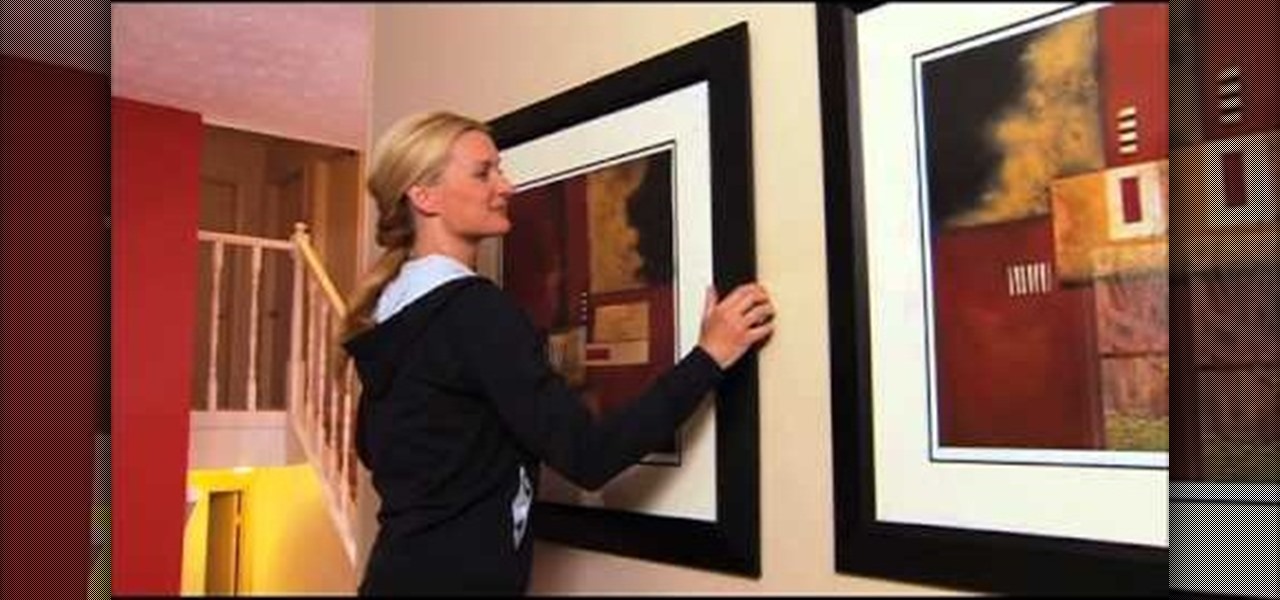
Until you decorate, your house won't feel like a home, but when you start hanging picture and frame on your living room walls, you should watch this video from Lowe's for some pre-hanging tips!
In this tutorial, we learn how to isolate your subject to get better photos. If you are taking a picture in an area with a lot of people or surroundings in the background, have your subject stand up on something. After you do this, you can take the shot and have nothing in the picture with your subject but the background. You can also have a child go on a playground and zoom in on them if you are taking a picture of a child. On the playground, you can find tons of spots where the child can be...
In this tutorial, we learn how to sync iPhoto albums with Facebook. First, open up iPhoto on your computer and highlight all of the pictures that you want to import into Facebook. Once you've done this, go to the top of the window and click on "share". Next, click on "share with Facebook" and then choose who you want the pictures viewable to. After this, click on the "publish" button and wait for the program to load the pictures. After this, go to your Facebook account and see the pictures th...
In this tutorial, we learn how to use R1C1 speedlight when shooting photos. First you will want to place the attachment ring and adapter ring to the camera. After this, grab the remote flashes and the built-in flash panel. After you have installed all of these things on your camera, you will be ready to start taking pictures. Find the object you want to take pictures of, then start to use the wireless flash system to take quick picture that look great. As you click the remote, the flash will ...
Imitation is the best form of flattery, right? In the case of this picture of a roadside apartment complex, imitation will help you learn about perspective and vanishing points, and how architectural features align with these two drawing caveats to create a realistic picture.
In this software video tutorial you will learn how to add hyperlinks to PowerPoint presentation for Dummies. With hyperlinks you can link part of your presentation to another slide within the same presentation, a separate presentation, a website, an e-mail address or to a file like a word document. Say, for example, you want to create a hyperlink to a picture in your presentation. Click on the picture to highlight it, click on the 'insert' tab, and select the 'hyperlink' option. Choose the de...
In this video tutorial, viewers learn how to upload pictures from their cell phone to their computer. Begin by connecting the DCU60 USB cable to the cell phone and connect it to your computer/laptop. Then insert the software CD into the computer. Install the software, depending on the type of phone that you have. When the phone is ready to be used by the computer, select media transfer to upload the pictures from the phone. This video will benefit those viewers who have a cell phone, and woul...
This tutorial teaches us how to touch up eyes while using Photoshop. First, open up Photoshop and zoom into the eyes on a picture you want to touch up the eyes on. First, select the adjustment layer icon and brighten the image. Next, invert the mass and select the "v" key, then pain the eyes on both sides. Next, click "filter" and then click "blur" so you will soften the edges so the picture doesn't look fake. Now, you can click on "before and after" to see what the picture results look like....
In this video tutorial, viewers learn how to make a red-cyan anaglyphic 3D photo, using Adobe Photo-shop. Begin by taking two pictures of the same image. The second picture should be 6,5 cm to the right of the first picture. Now load both images onto Photo-shop and drag the second picture over the first one. Select Layer, click on Blending Option and uncheck Channel R. Place the red on the left side and cyan on the right side. This video will benefit those viewers who photo editing and would ...
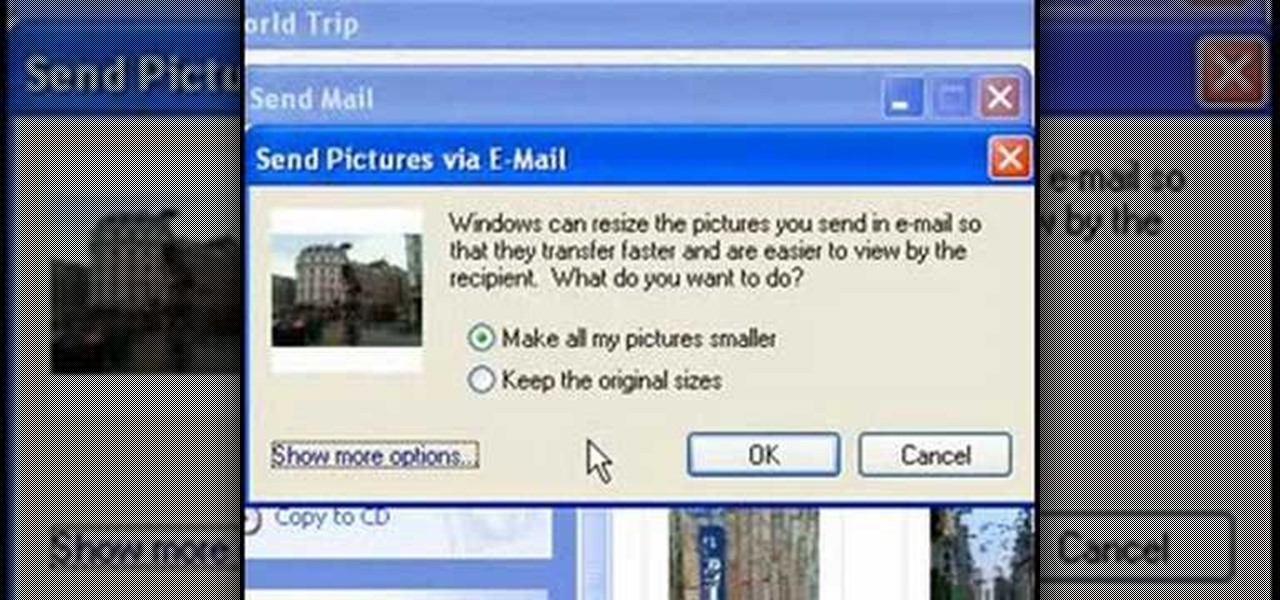
This video tutorial from easycomputercoach shows how to easily attach pictures to email addresses. In Windows XP you can send pictures resizing them in the process, in case you have large file sizes.
In this video, we learn how to create a picture frame on a photo using PhotoShop. First, open up the program and open the picture that you want to change. Next, select the rectangular marquee tool from the toolbar on the side. Now, create a selection of what you want to frame. Then, click with the right key and select "inverse". Click again with the right key and choose "layer via copy". Now, click 2 times on the layer to open and the layer style menu will show up. Now put the contour to crea...
In this video, we learn how to put eyeshadow onto a picture using PhotoShop. First, open up the program and open your picture. Click on layer then new the click layer again.On the new layer put as blend mode "multiply". Make the opacity 50% and choose a color. Then select the brush that is the right size for your picture. Next, you will be able to brush the mouse over the eyelid and put eyeshadow onto the lid of the eye. You can change the intensity of the eyeshadow by changing the opacity hi...
This is a video about how to use the printscreen button. You can take screenshots with the printscreen button on the keyboard. First you have to a pick an image whatever you want to save in your PC. In this video he is explaining about how to save the a picture about the animal description. Next press the printscreen button when you get the image. Next go to start button and next Accessories and next paint and open the new page on paint. Then go for paste in the edit. Then you will see the pi...
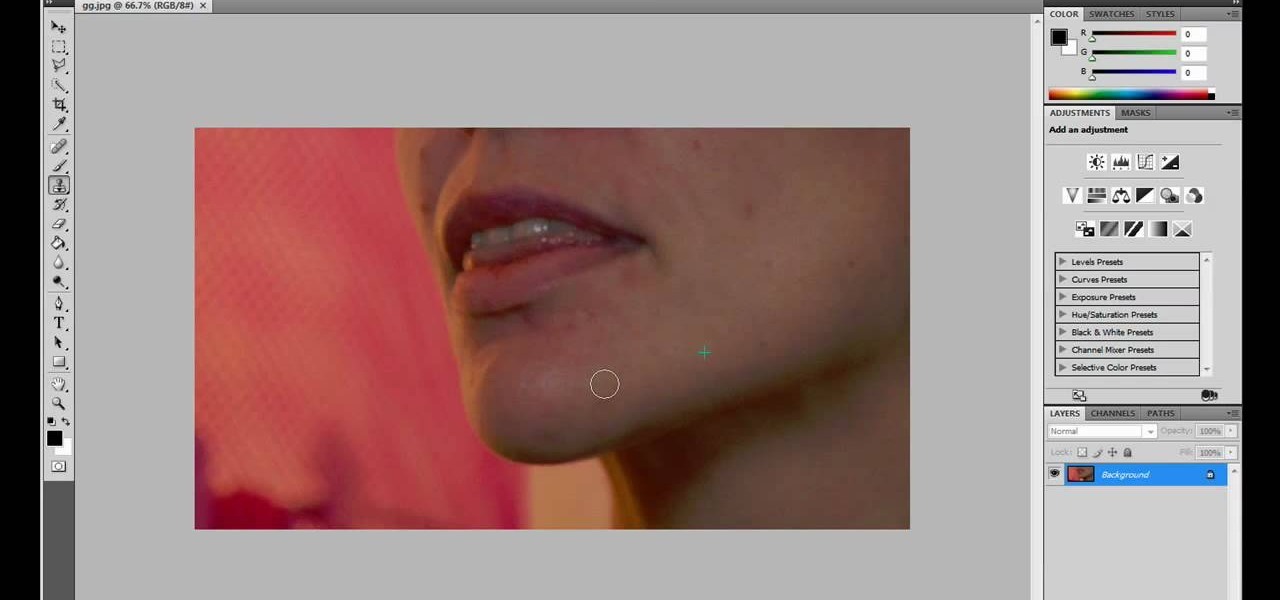
JdudeTutorials explains how you can remove zits, blemishes, and other unsightly skin problems, from pictures using Adobe Photoshop. He begins by opening up a picture of a female's lower face. Left click on the stamp on your toolbar, and select the Clone Stamp tool. You will see a small circular cursor. He explains that you should find a skin tone on the picture that matches the skin surrounding the troubled area. He holds the alt key on his keyboard and left clicks the spot that most resemble...
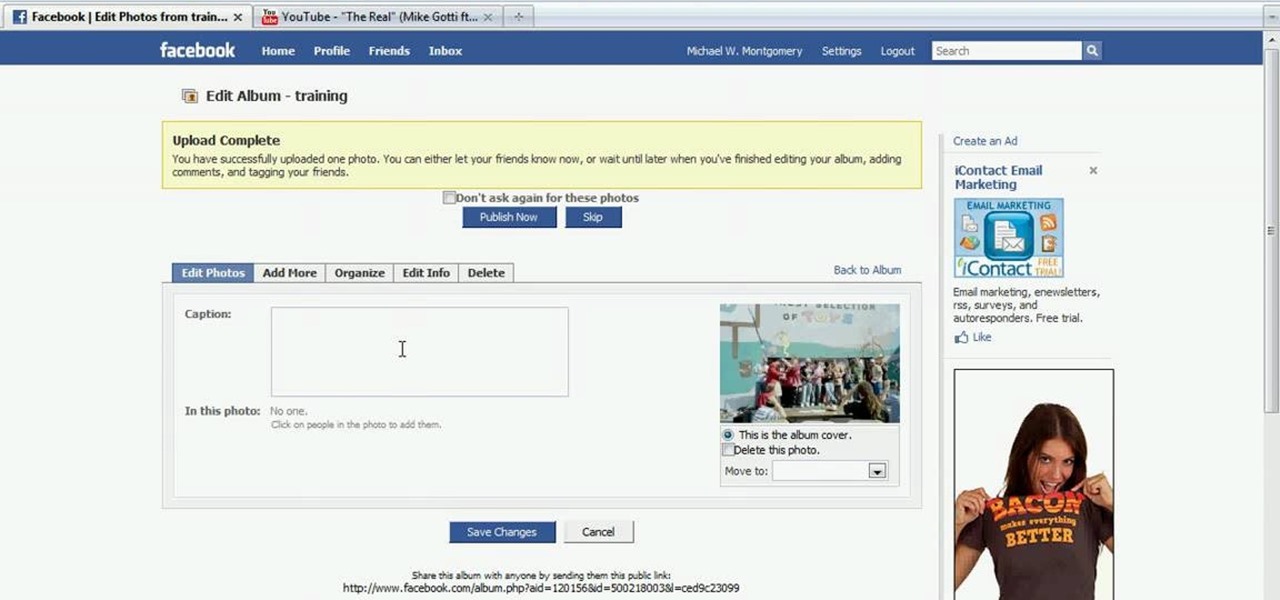
In this tutorial, Mike Montgomery shows up how to tag a friend in a picture on Facebook. First, log into Facebook and click your photos and upload your photo to the desired photo album, or create a new one. Once it's uploaded you can add a caption to the picture as you wish, then click on "publish now". If you would like to involve your friends in the picture that have Facebook, click on the "tag this photo" button. You can click on their faces in the photo, then a drop down menu of your frie...
Get to design your own watermark for your documents. Here's a video showing these easy steps to watermarking your documents. 1. Go to the "Page Layout" tab in Word 2007 and look for the "Page Background" section of the toolbar and select the "Watermark" button. 2. Click on the "Custom Watermark". 3. Click on either picture or text watermark, whichever you prefer. 4. If you select the Picture Watermark, you need to insert a picture by clicking the select picture. You can also customize the sca...
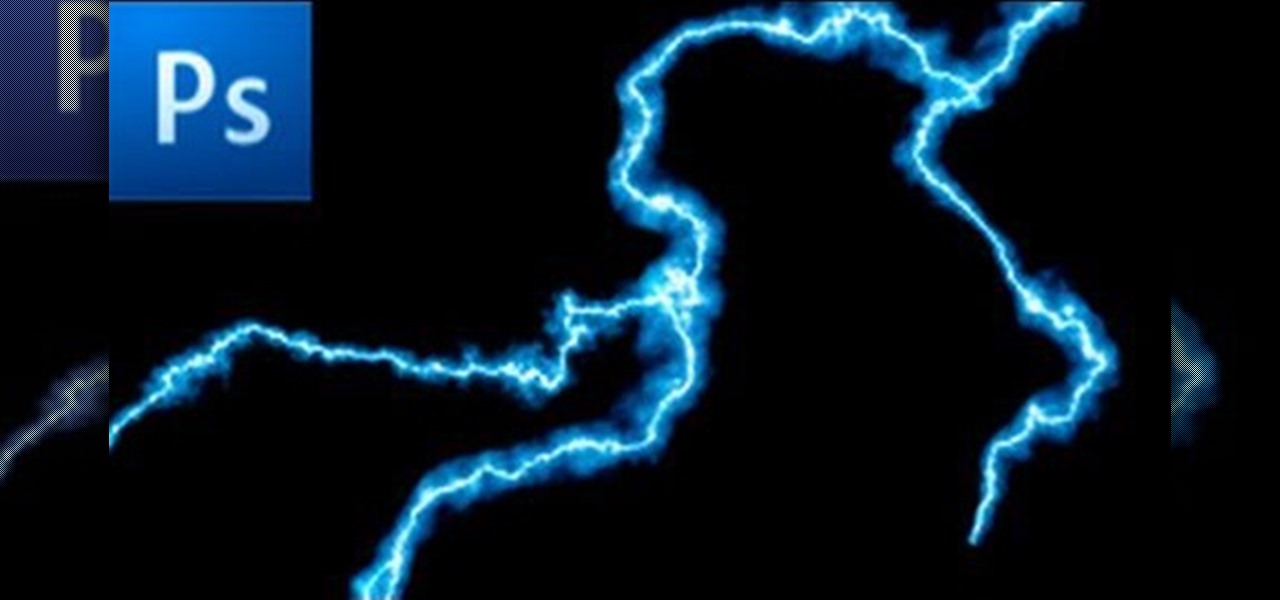
This is a tutorial showing how to make a lightening effect on Photoshop. First click on the gradient tools and then click on the colors. Check to see if there is black on one side and white on the other, if there is then click the ok button. Then hold the shift key while dragging the mouse across the screen. This will make a black to white gradient effect on the screen. After that, click on the filter button at the top of the screen, then click render, and then difference clouds. After the cl...
In this video from Dom Bower Photography, he demonstrates how to make it look like a person is levitating in a photo. He sets the timer on the camera and takes the picture of himself. It takes a few tries to get a picture where he is airborne when the picture is taken. The trick is to try to pose while jumping so that it doesn't look like you're jumping. It might take a few tries, but if you use some of the tricks shown in this video, you'll be able to take a picture that makes it look like a...
First add video to the video section. Then take what we want to add and place it just below the video in the video section. Now look at the bar just over the video section. There will be a video camera sign. Click on it. There will be many tabs. Click on the "overlay feature tab" then click on the "Enable picture in picture" option. Now choose "Full Screen" in the drop down menu in the preset options. Now set the Video Transparency option to whatever you want.
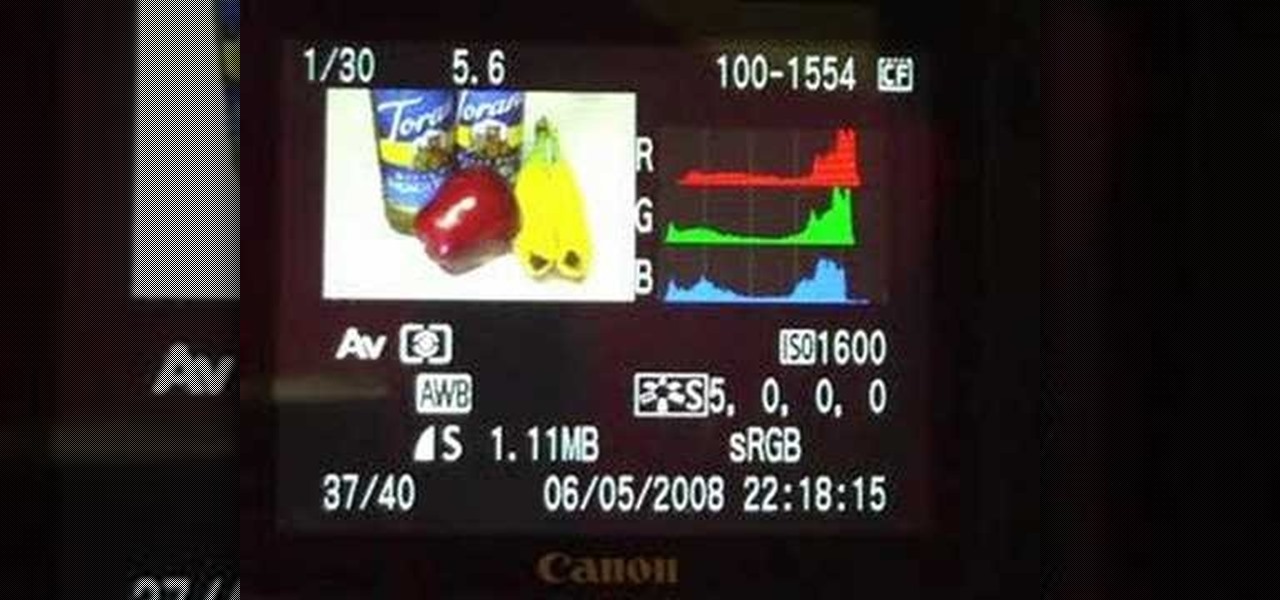
This video shows how to set a custom white balance with a Canon 40D camera. Whether you have fluorescent, yellow tungsten, or camera white light, you will still get a good picture with the custom white balance. The video shows pictures taken with the different lighting and different vibrant colors without the custom white balance that come out pretty good. Then a picture is taken of a white paper towel or something pure white. Then the custom white balance is set by going to the menu, white b...
Ok, so you ditched the ex like a bad habit but now every picture on your Myspace features their face? No problem! You can use PhotoShop to cut objects out of your picture or to make people disappear. This video shows how to do both of those so you can forget the bad memories and move on! After you master the techniques shown you can also use them to cut the background out of your picture and then replace it with a background of your choice!
Ryan instructs you how to post pictures on Facebook. 1. Go to groups and choose which groups you want to post pictures.
To upload pictures to your Facebook account, this video instructs, you'll want to start by knowing where the exact picture or pictures you're wanting to upload are located on your computer. Then, from your main Facebook account page, click on "photos". From here, you decide how private to make the photo. Then, remembering the location of the photo you wish to upload, you must go there and click on it. That done, you can choose a caption for the photo, and click confirm. The biggest social sit...
Interested in animation? Let's animate some photos with Adobe ImageReady. First, put all pictures in a single folder. Open ImageReady and import the folder with the pictures. The photos will be arranged in the timeline but they play too fast. You can adjust the timing of each picture which has an icon under it. To save it as a gift file, click Internet Explorer on the toolbar. Then right-click it to "save picture as" and save it. It will help you in making slideshows/presentations.
With all of the technology literally at our fingertips, there's no excuse for things not to be easy, right? Don't get frustrated about not being able to send pictures with the simple click of a mouse. Educate yourself with this video so you can send pictures to your cell phone. That way you can have that awesome photo from last weekend available no matter where you are. This video will show you how to send pictures from your computer to your phone.
This short video shows how to get great split-screen or Picture in Picture effects in Sony Vegas using a free tool called PIP Selector tool.
This video explains how to make a picture in picture video. However, this technique does require Quicktime Pro.
With each update, Chromebooks are slowly becoming the Android tablet we always wanted. They already run your favorite Android apps and recently added a multitasking feature introduced to Android smartphones a few years ago: picture-in-picture mode.
Released last year for iOS devices, Frontback is a simple photo-taking and sharing app that not only snaps a picture of what's directly in front of the camera, but also behind it, which is to say, a selfie.
Uploading certain pictures to Instagram can be problematic, especially when the dimensions of your picture exceed the dimensions of the square crop that's forced upon you. Why should I be forced to hack up my awesome fisheye picture inside of a lame square? I get the whole square thing, and I love it, but there's just some times when you can't be bound by the rules.
There are several ways to send pictures to others on your smartphone—picture message, email, Bluetooth, and even by bumping phones together. Now there's an even more unique way to transfer pictures from one Apple device to another—with sound. Chirp for iPad, iPhone, and iPod touch
Windows 8 comes with a bunch of new features, and none may be cooler than the new Picture Password option. If you're tired of the old lock screen and login options, or don't want to remember any more passwords, than you'll like this great new addition to Windows.