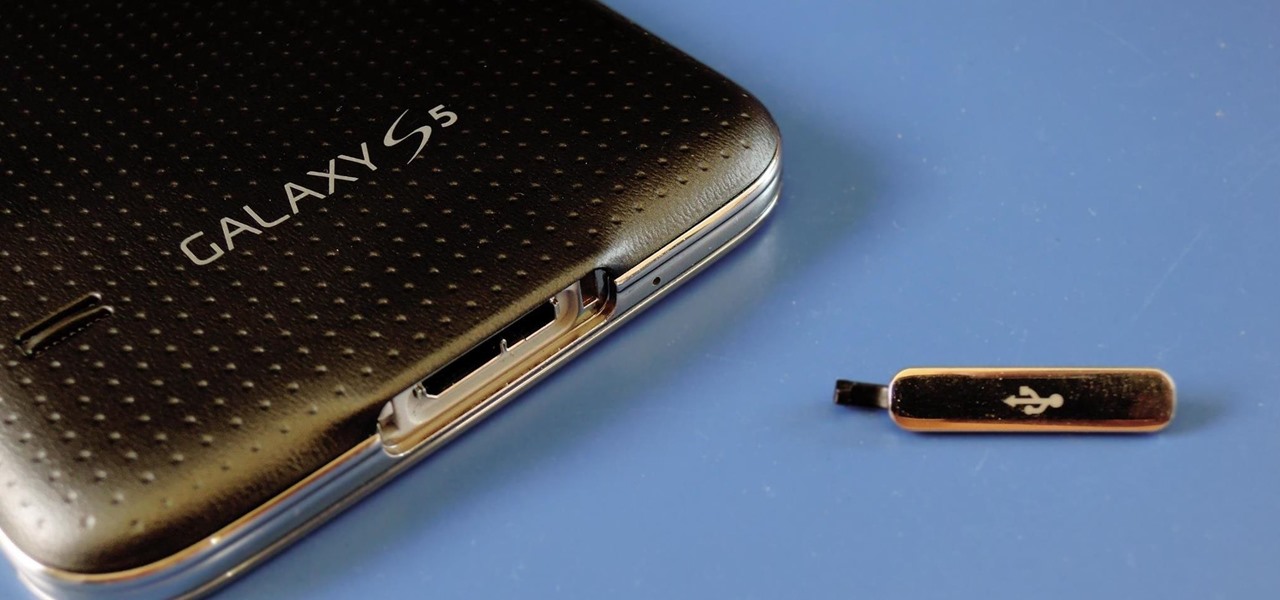
Having a dust- and water-resistant phone is truly useful, but it comes with a price. In order to achieve this functionality, Samsung had to literally plug up any holes in the Galaxy S5, and this included the charging port.
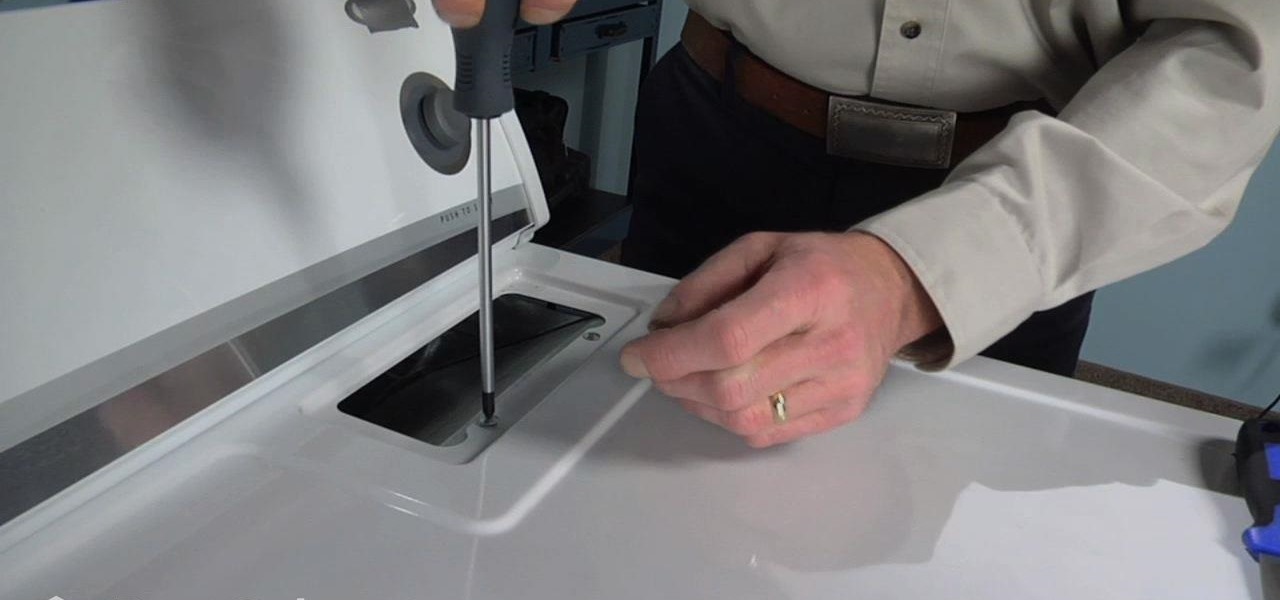
Over time, the dryer belt can become hard and brittle when the drum is turning loud noises such as squeaking, squealing or thumping noises can occur. Replacing the belt is an easy task for the do-it-yourselfer. All that’s required is a few simple tools. Here’s a step-by-step guide to help you install a new belt in your dryer.
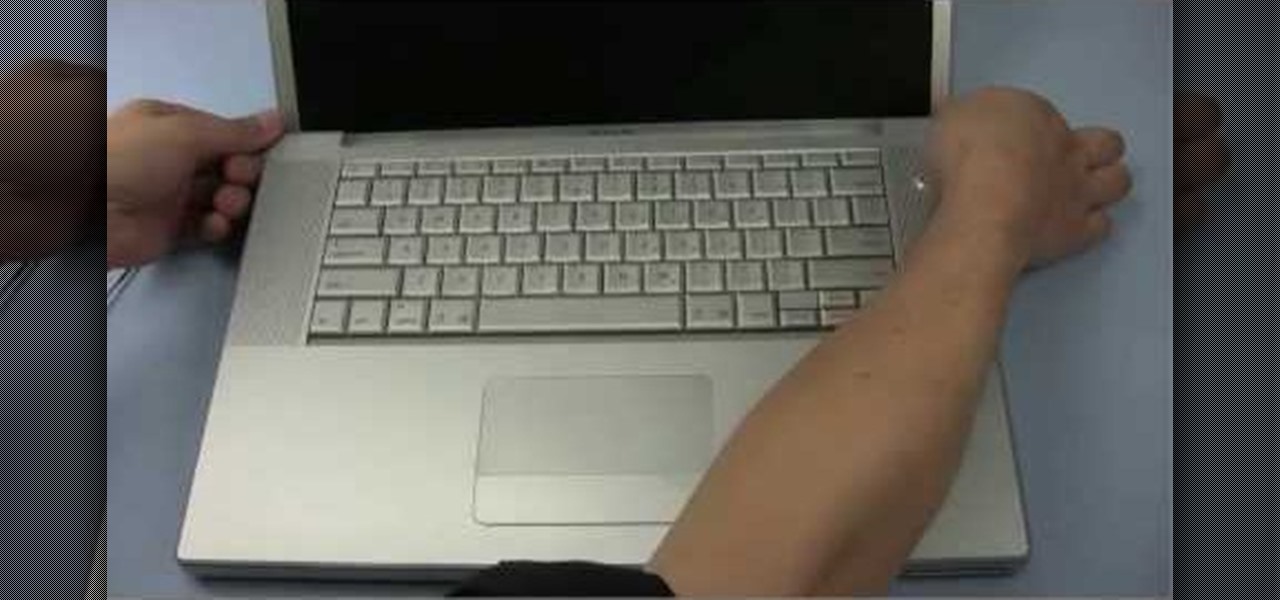
The video starts by informing about the basic safety precautions, tools needed and backing up data prior to hard drive replacement. There are a series of screws which need to be removed in the following order.1. Removing the battery from the back and then remove three screws thereby removing the RAM cover.2. Two more screws to be removed under the RAM cover.3. Two screws from inside front edge.4. Four screws from the bottom rear.5. Two screws each from the slim sides.6. Two screws near the hi...
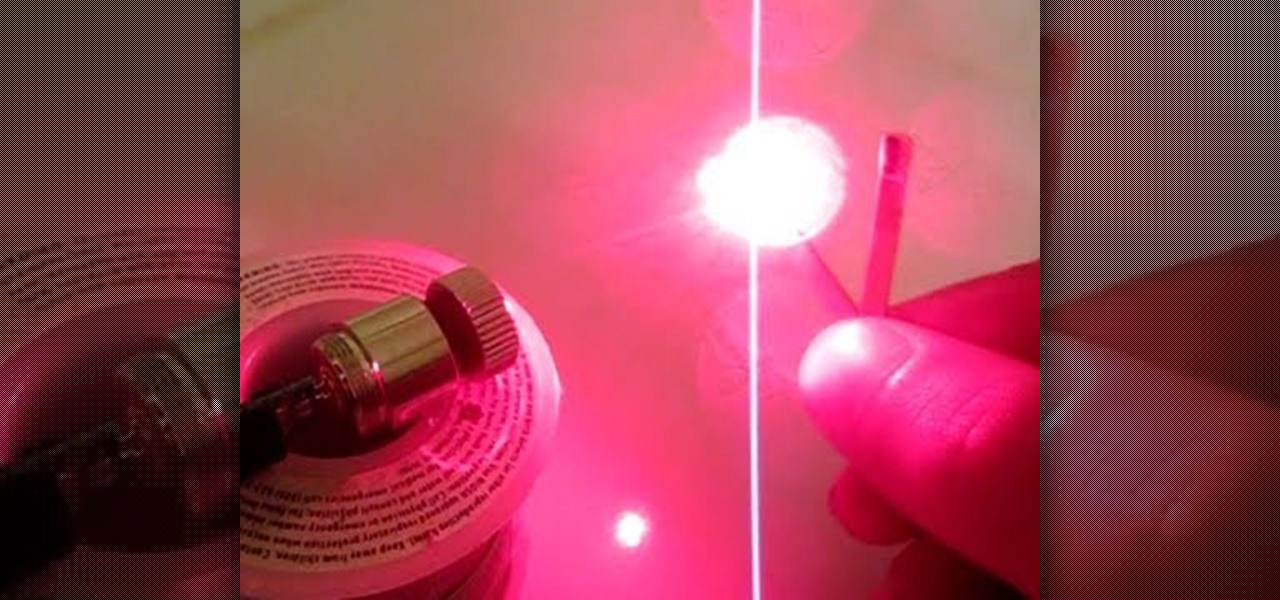
You can construct your own burning red laser very easily and very cheaply. All you need are a soldering iron, Phillips head screwdriver, an LPC-815 laser diode, and a RKCSTR driver. Once you have everything together, follow this video to build a burning red laser.
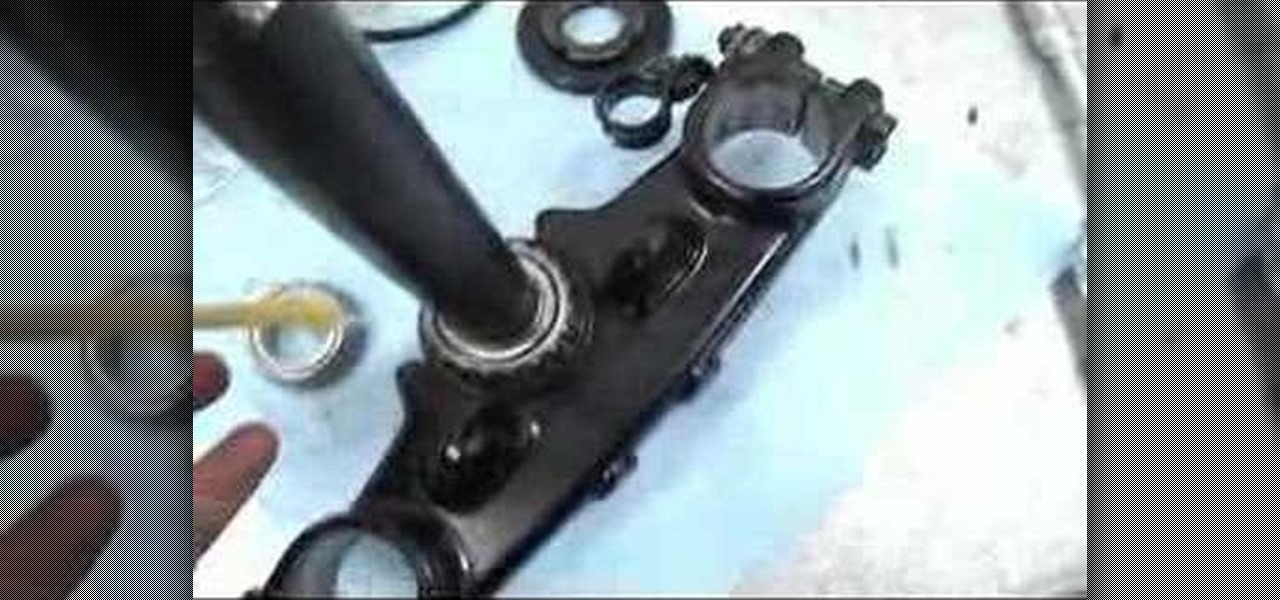
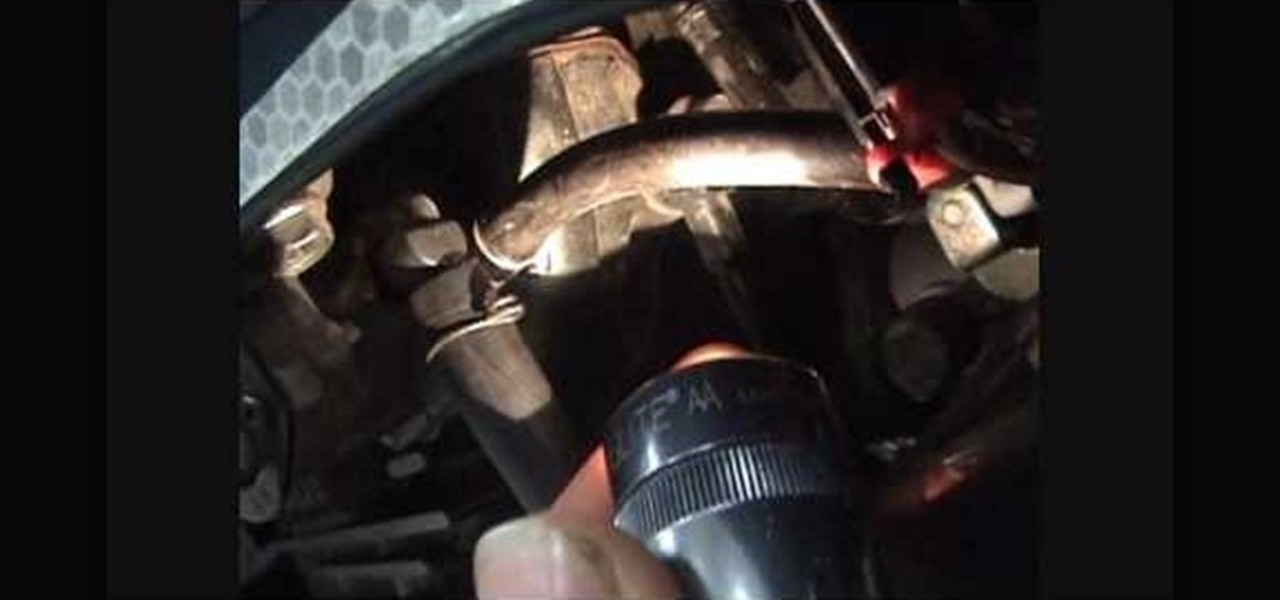
This motorcycle parts tutorial shows you how remove the steering stem (fork and triple tree) on a Kawasaki KLR650 bike. If you are replacing the steering stem or just doing work on your KLR 650 and need the steering stem off, this video will show you how to remove the steering stem. Make sure the front wheel is removed before starting.
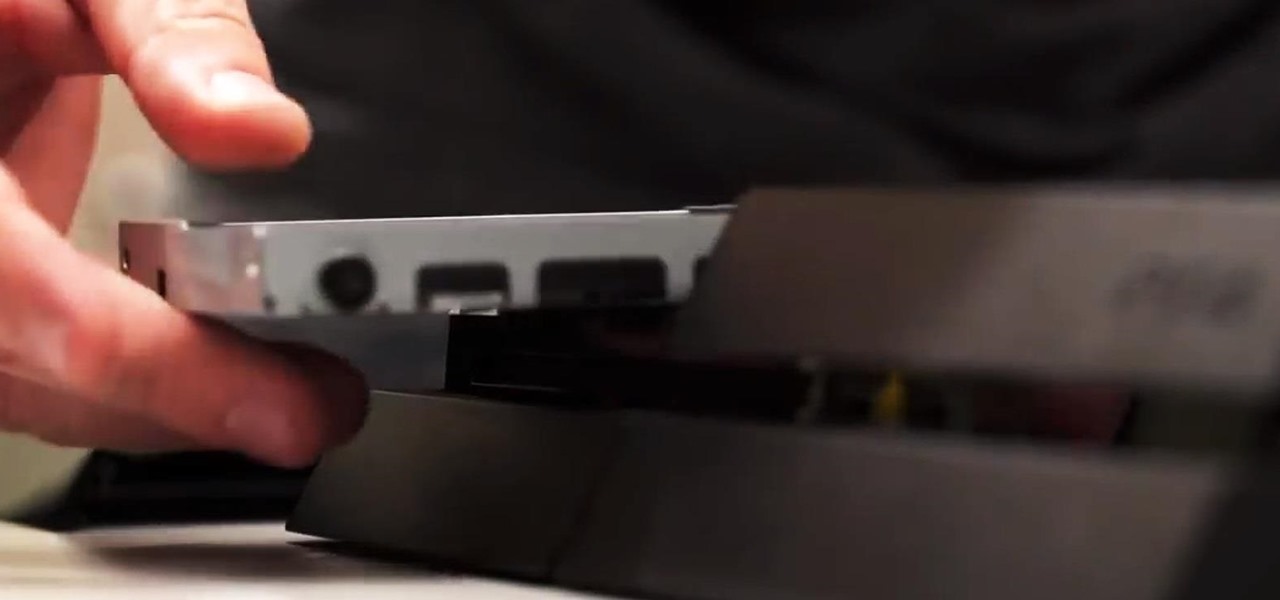
Bigger and faster. Two words that are pretty much always wanted no matter what the scenario is. The new PlayStation 4 has been out for only a few hours now and people are already looking for ways to one-up their friends and upgrade their already awesome systems.

This motorcycle maintenance tutorial will show you how to remove and then reinstall body work on a Kawasaki KLR650. It is necessary to remove the body work any time you need to do repairs or maintenance such as oil changes or fluid replacements. If you plan to work on your KLR 650 at all, you definitely want to watch this video and learn how to remove the body work first.

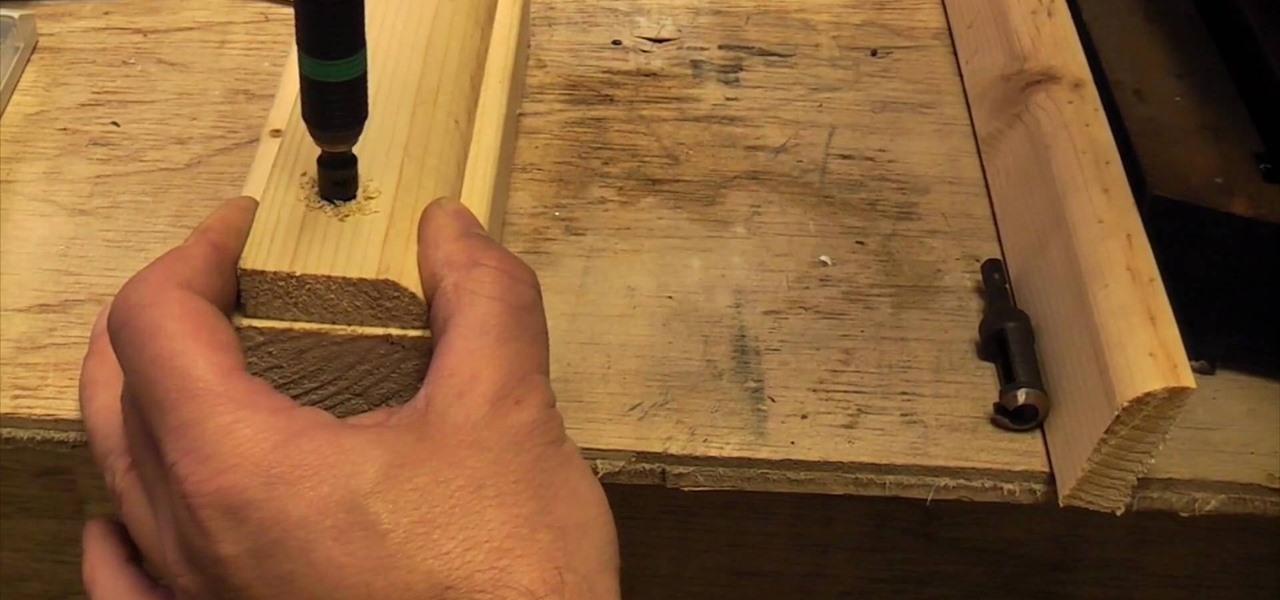
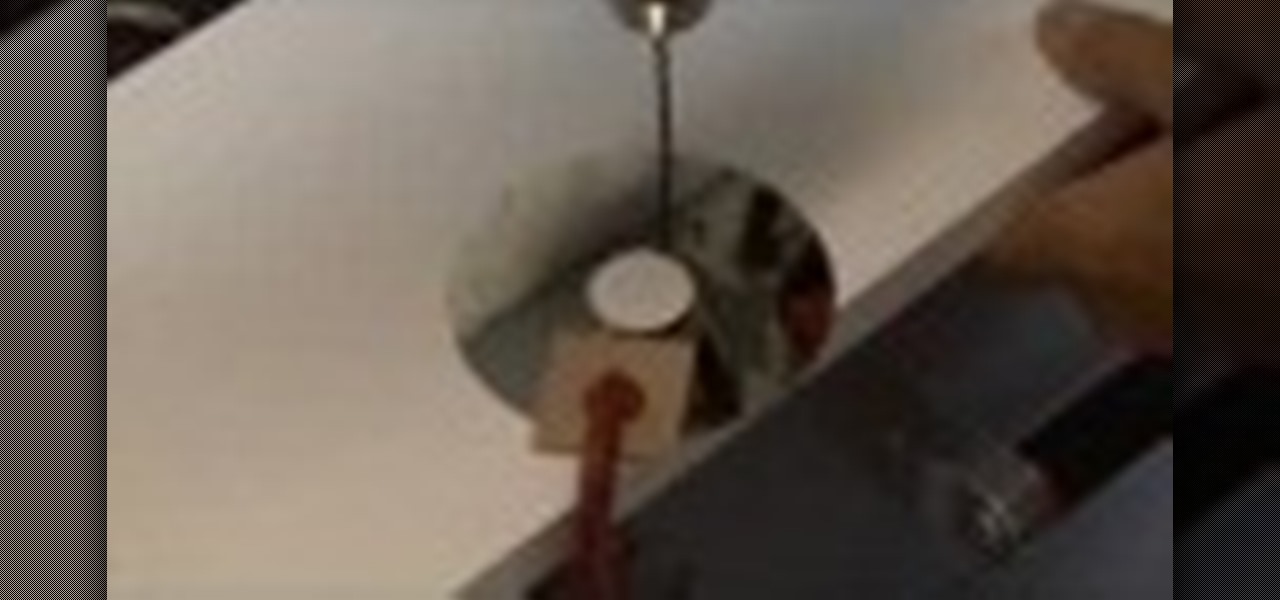
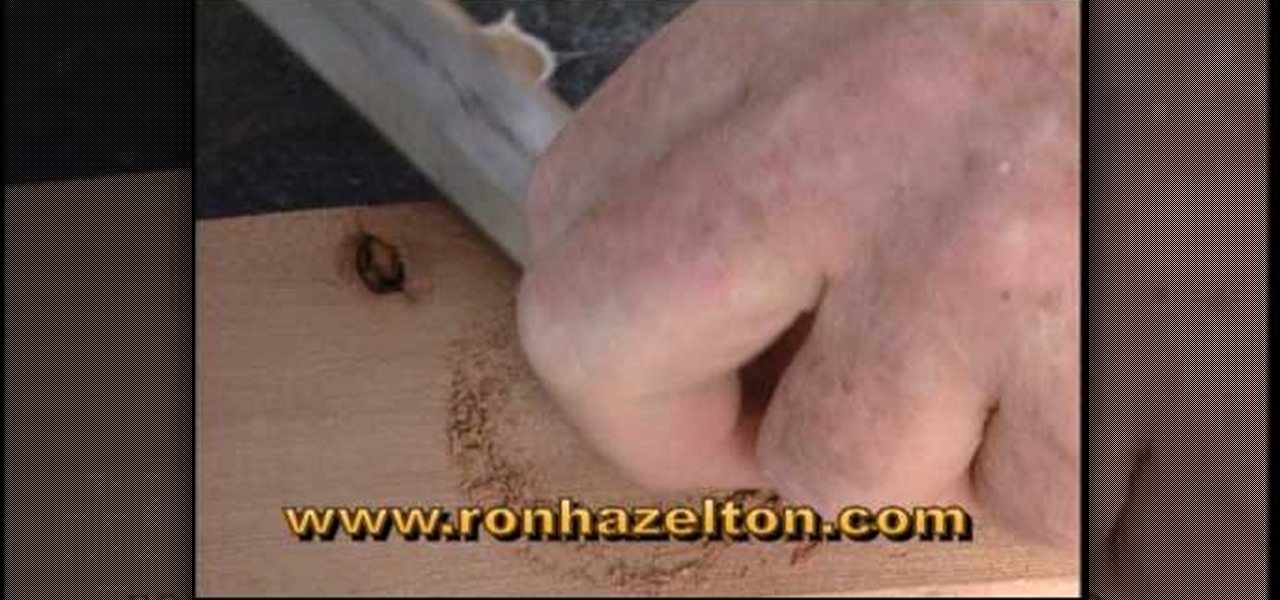
In this Home & Garden video tutorial you will learn how to conceal screw heads. This video is from www.ultimatehandyman.co.uk. It is very easy to do. You will need a kit called screw digger and plug cutter set for size 8 or size 10 wood screws. Using the drill bit from the set, drill the hole. This will drill a hole for fitting a plug in addition to the hole for the screw. Now take a piece of similar wood and cut out a plug with the plug cutter tool as shown in the video. Drive the screw in t...

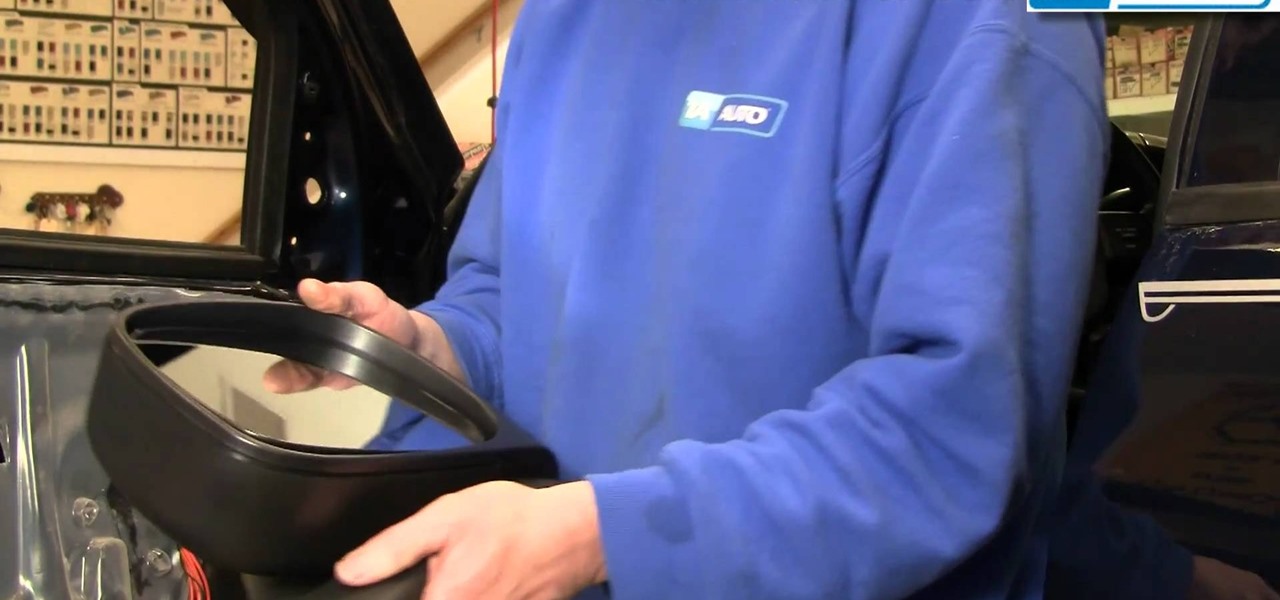
This video will show you how to install a replacement side rear-view mirror on a 2002-2008 Dodge Ram truck. For this auto repair, you will use a T40 Torx driver, a Phillips screwdriver, a flat blade screwdriver and a 10mm wrench. This video also contains instructions for the electrical hook-ups to control the mirror.

This soup is ideal for hungry people who can't cook. Phillips Woodworking shows you how to make a hearty vegetable soup, that's so simple a child coud do it. You just add some frozen vegetables to the crockpot, some storebought beef broth with low sodium and no MSG, and plug in your crockpot. That's it. No mess, no fuss, and a hearty dinner for you.

A sticking bifold door can really cramp your style, and access to your linen closet or pantry. To fix the problem, you'll have to take the door off the hinges, and take a sander to it. Phillips Woodworking shows you how to sand down the sticking part, and cover it up with some paint. Your door will be opening and closing like new!

This motorcycle video guide will show you how to remove the handlebars of a Kawasaki KLR650. If you are replacing or repairing your KLR 650 handlebars, watch this video and see how to do it yourself.

Gerry (Jerry) Phillips and I have been playing songs on our hands for 38 years! This is a tutorial on how to play songs on your hands! Not everyone will be able to do this but, some of you will!

As introduced by the late DJ Screw of Houston, Texas, and popularized by artists like Three Six Mafia and Paul Wall, the chop and screw technique involves both scratching vocals and slurring a track in either full or part by utilizing the pitch control on your turntable. In this how-to video, you'll learn to perform the chop and screw technique on your own DJ rig.

Bob Schmidt teaches us how to screw drywall to studs with a drywall screw gun. A countersink bit is a great option to help you screw drywall studs in. This will fit in a variable speed drill for setting counters and drywall. Use a DeWalt screw gun, which is specifically made to install drywall. It has a clutch driven head with different adjustments on the head for different screws. The gun should be inexpensive and doesn't have a very large motor, so it's perfect for a homeowner. If you just ...

How to build a set of strong, stackable sturdy sawhorses. Let's face it, one of the most useful pieces of carpentry equipment would have to be a set of sawhorses. Every worksite, garage or workshop needs a set of sawhorses. They have numerous uses from stacking timber on, using as painting racks, to using as a temporary workbench by laying a door or some ply across two sawhorses. You can even use them as trestles for a dining table!

In this video tutorial, viewers learn how to cover screws and nails with drywall mud during drywall installation. Users will need a taping knife tool. Apply the drywall mud over the screw or nails and use the taping knife to flatten the mud over the screw or nail. Use the knife to take off any excess mud. Apply 2-3 layers of drywall mud over the screw, depending on how long the screw head is. This video will benefit those viewers who are in the construction trades or doing home renovation and...

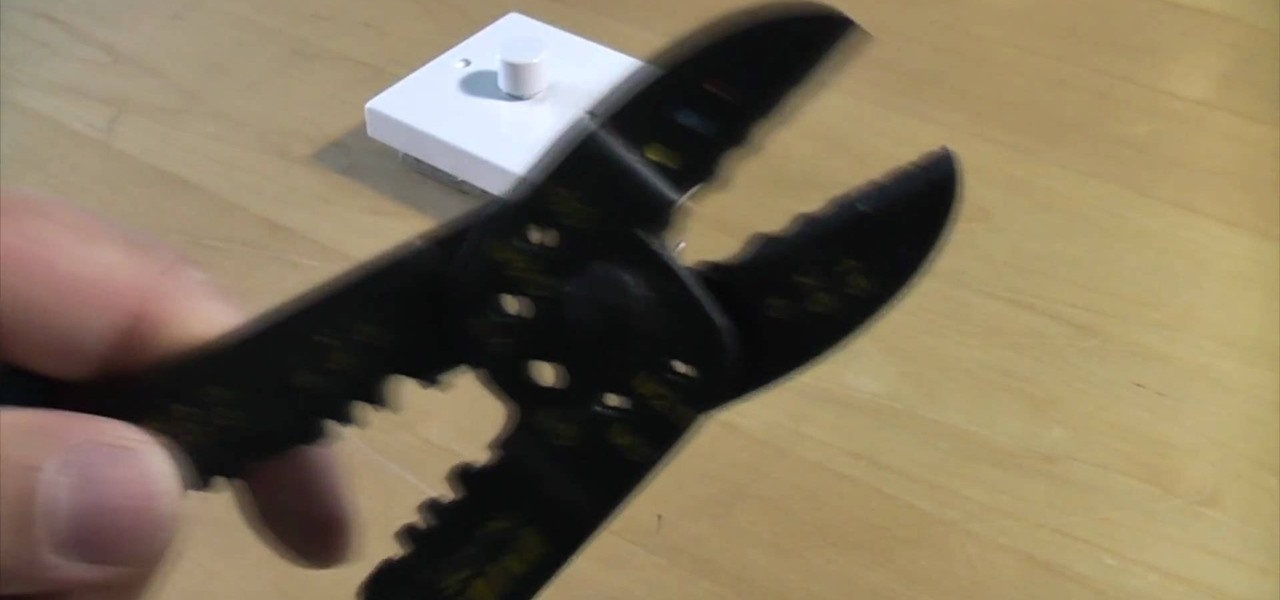
Every electrician knows you have to cut a screw every now and then to make it fit. But do they do it properly? Most will probably just use their linesman's or dikes, but using your wire strippers equipped with screw cutting is the proper way. Watch this video tutorial to see how to cut a machine screw without damaging the threads. An electrical screw or machine screw can be easily cut with a pair of electricians pliers. Cutting metric screws this way means that the thread will not be damaged ...

A CNC router machine is probably the most useful tool a hobbyist can own, but the price for a CNC machine on the market is way more than the average hobbyist is willing to spend. You can build your own CNC with very basic tools, little knowledge of machinery, mechanics, or electronics, but be warned, these machines are inherently dangerous, so wear the proper protection and use common sense. At the very least, read the instructions and precautions on every tool you use.

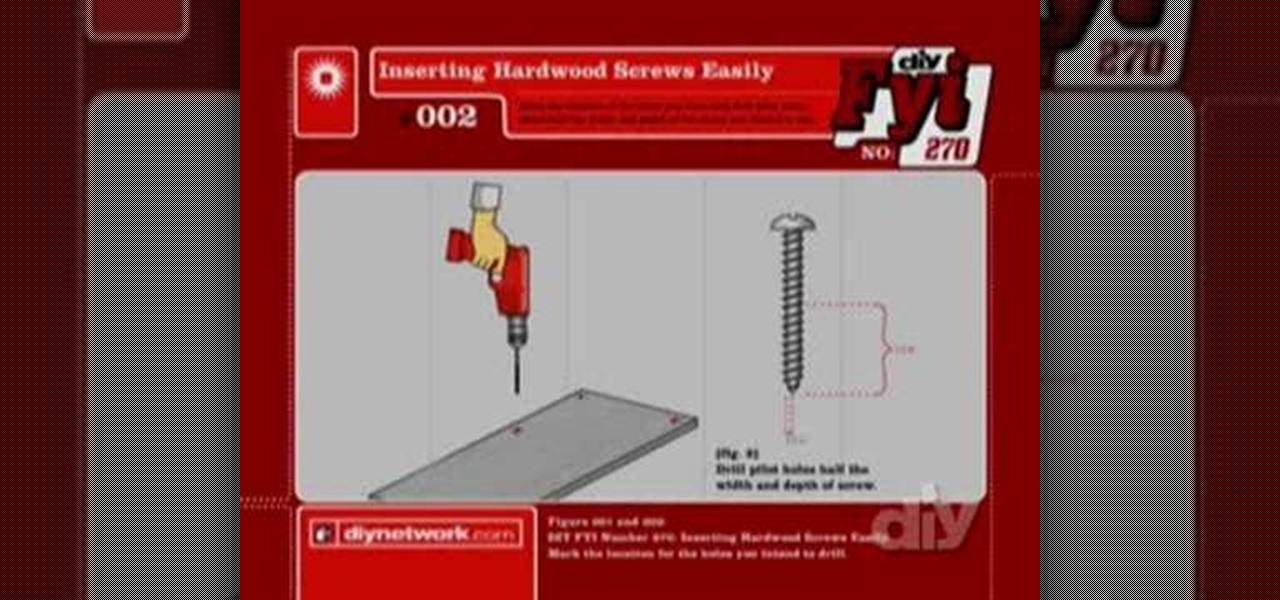
Watch this how to video to get tips and tricks on how to insert screws into hardwood. This simple soap method makes driving screws into hardwood far easier. Start my marking spot where the screw is to be inserted, draw pilot holes, run the screw across a bar of soap and finally drill it into the wood.

How to build a really easy, but AWESOME Grind Box.! A grind box, or a skate box is a must for any skater. The grind box in this video is not only very easy to build but it can be made in under a day and with minimal tools. This grind box also has wheels that makes it incredibly easy for the kids to move around. The coping is galvanized steel with a slightly rounded formed edge. This makes for an ultra smooth grind! The skate surface is thick plywood, which makes for a very solid and tough gri...

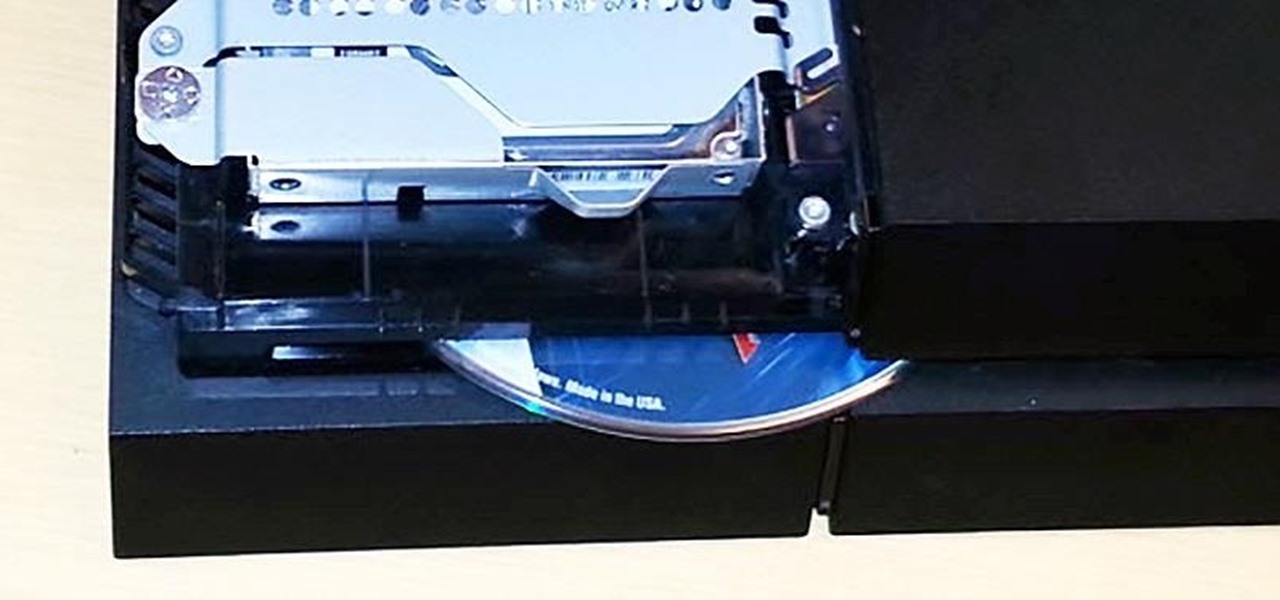
You know how annoyed you get when you put a quarter into the vending or washing machine and it gets stuck? There's a quiet rage that boils inside you. Now, imagine that quarter is a sixty dollar video game, and it's stuck inside your brand new, four hundred dollar PlayStation 4 system.

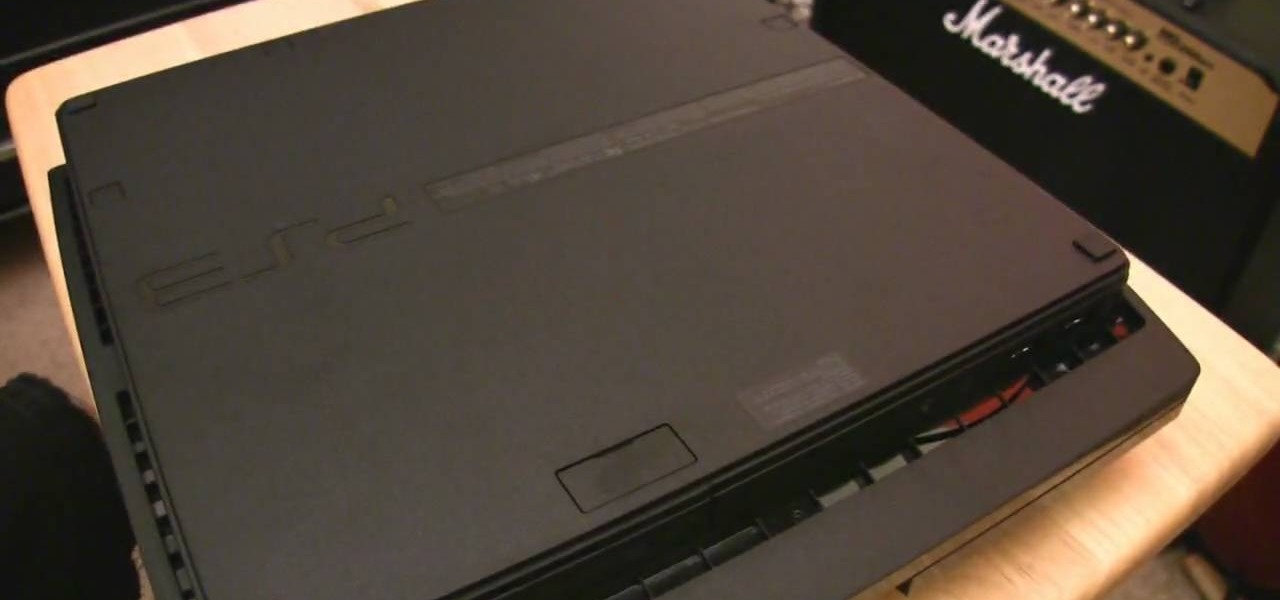
In this video, we learn how to upgrade the hard drive in a Sony PS3 Slim. First, flip the console, then pop the cover and remove the HDD screw. Next, remove the HDD cover and slide out the HDD. After this, locate and remove the four screws, then pop the HDD out of its tray. Next, replace it with a new HDD and screw back into place. Then, place the HDD tray back into its place and replace the cover back on. Screw in the original screw and replace the top back on. Now, flip your PS3 back over a...

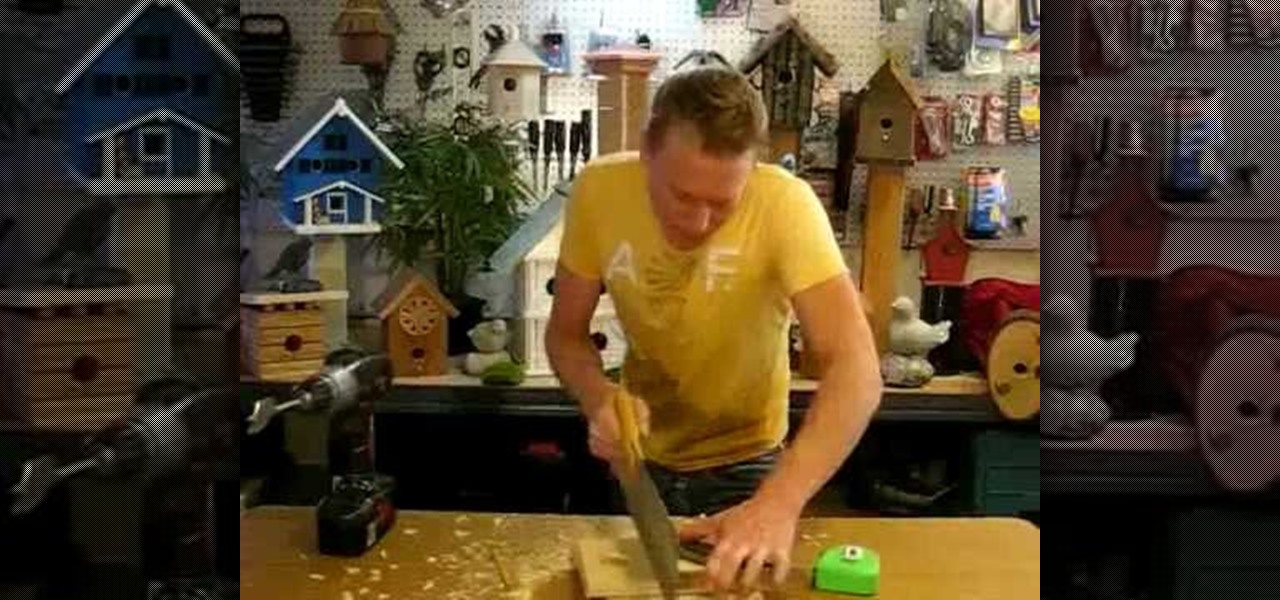
Give a bird a home with help from this handyman tutorial! Learn step-by-step how to build a professional looking Bluebird nesting box bird house. To build this nesting box you will need the following tools & materials: rough cedar or pine, a tape measure, pencil, speed square, hand saw, compound miter saw (if possible), exterior wood glue, drill bits, screw gun or drill, paddle bit, coarse thread drywall screws, deck screws, galanized finished nails, and a hammer.

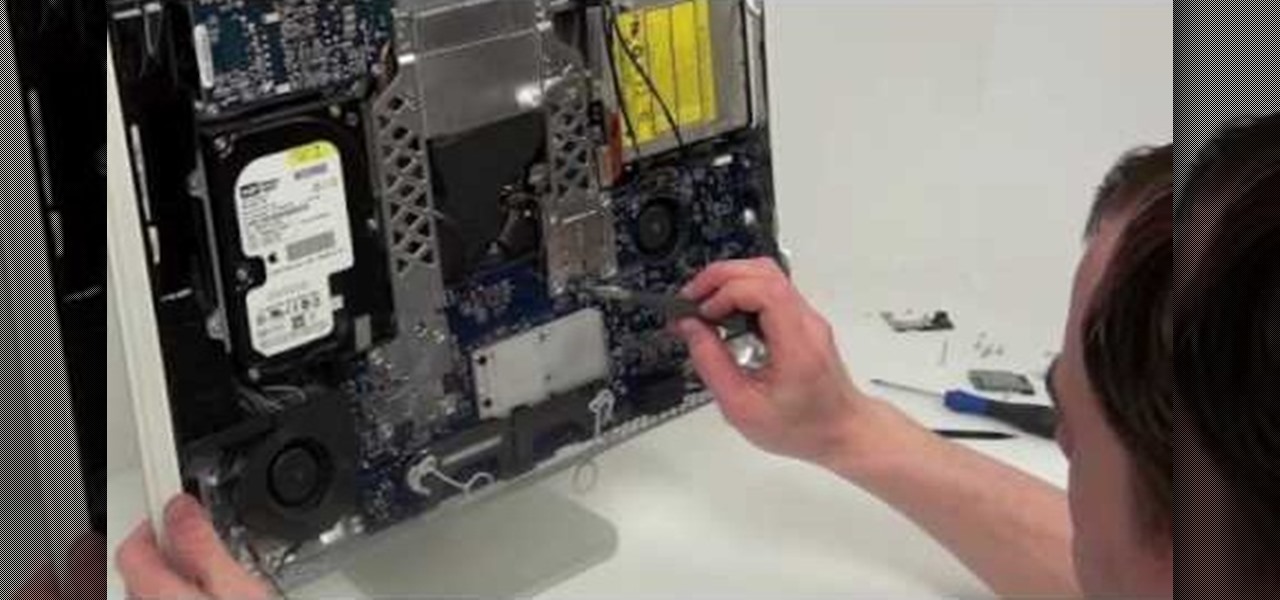
In this how to video, you will how to remove the logic board from the iMac G5. First, get the t6 screw driver and remove the screws in the corner. Unplug the airport card. Now, unplug all the cables connecting to the logic board. Now, unscrew the torx screws located on the logic board. Unplug the optical drive cable by unscrewing the 2 torx screws holding it. Next, unscrew the torx screws located near the center top of the board. You can now remove the logic board. However, there is a hard dr...

MAKE zine aims to bring the DIY aesthetic and mindset to all the technology in your life. They want you to break open things and put them back together in a better way. In this video, MAKE and KipKay show you how to build a lost screw finder attachment. It'll help you find any screw, including plastic ones that a magnet would not be able to pick up.

Installing shelves in a closet turns dead space into useful storage. You Will Need:

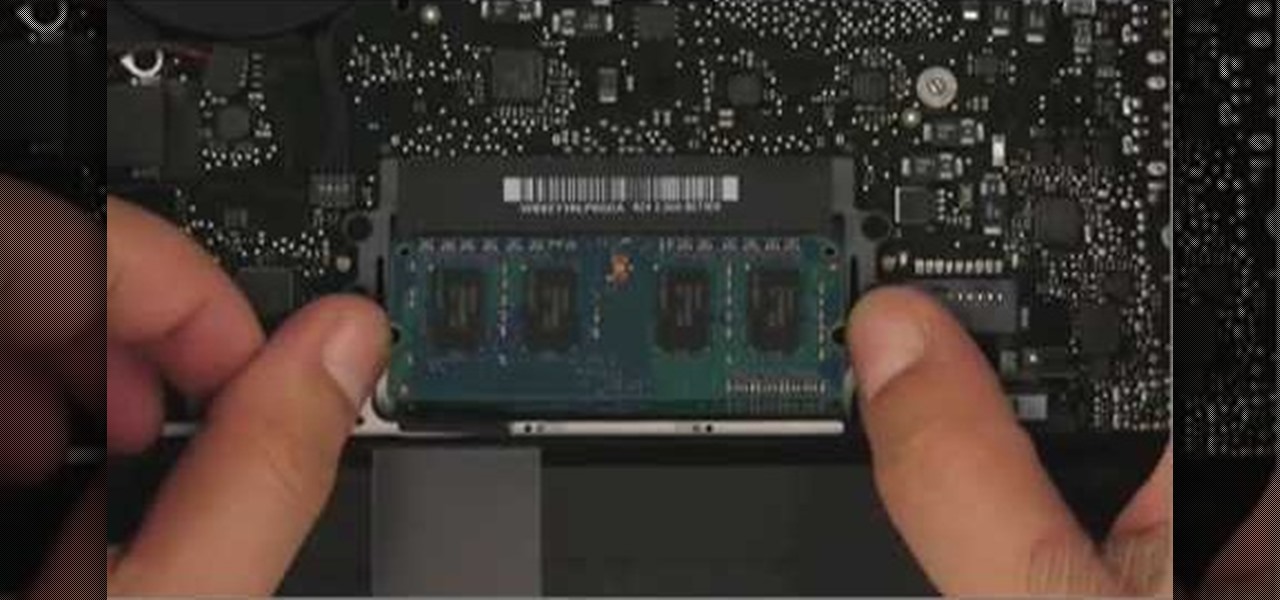
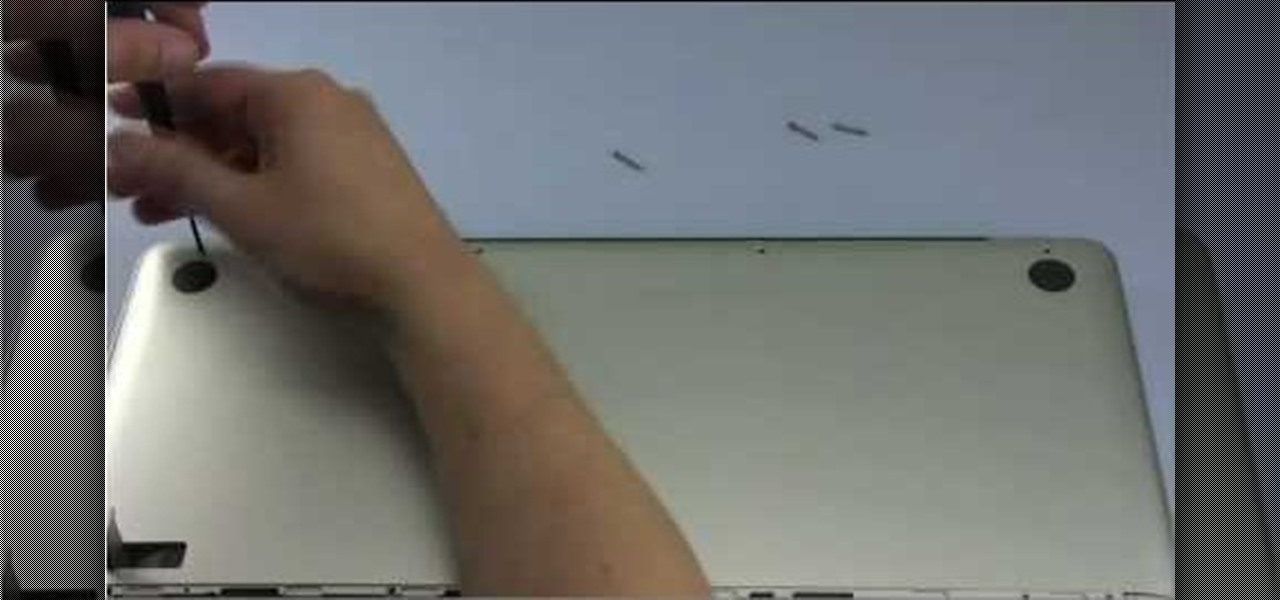
This video demonstrates the installation of memory in a 13” Macbook Pro (mid 2009 model). It’s easy to perform and takes about 10min time. You’ll require a #00 Philips screwdriver (available in the Newer Technology 11- piece tool kit). Take care to work in an anti-static work space. Close the Macbook Pro and flip it over with the hinge side up. You can note 10 screws along the border. Start unscrewing the 3 screws on the right on the top edge, these are longer than the rest. Now unscrew the r...

It only takes 15 minutes to install new RAM in a Macbook Pro. Before starting, remember to make sure that the power is off. Turn it over and release the latch in the left hand side. This will release the door and expose the battery. Remove the battery. With a #00 Philips screwdriver, remove 4 small screws lined up on the top of the opening. Next, remove the other 4 screws on the other side next to the hinge. When that is done, remove the cover. You will see the RAM directly in the middle. On ...

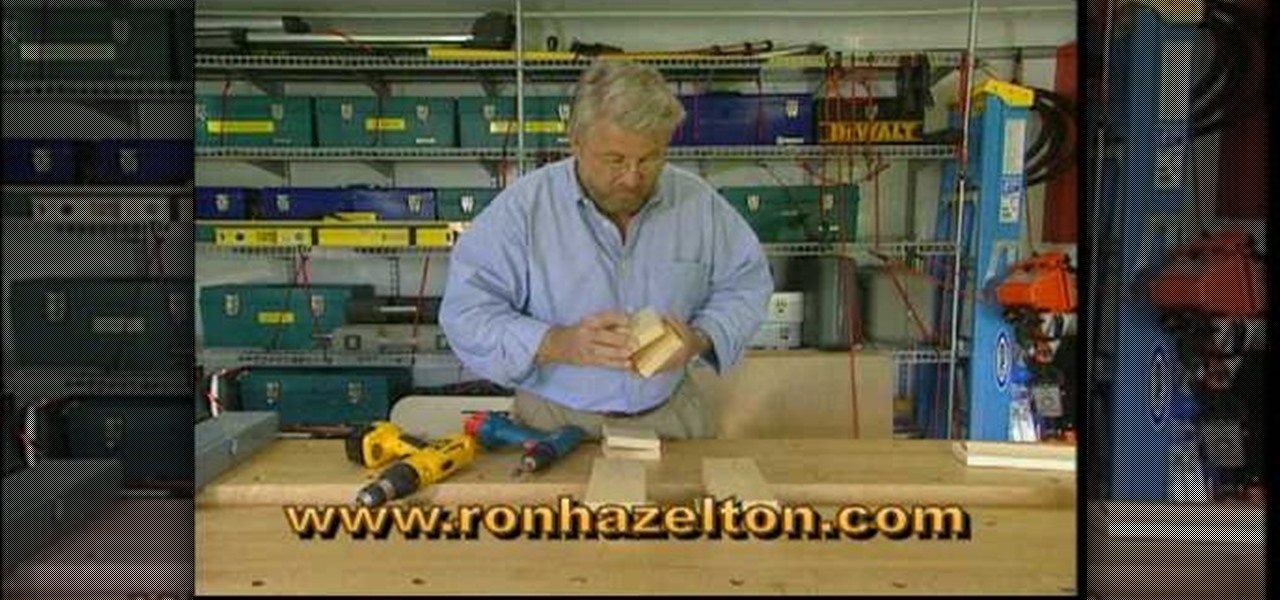
Drywall screws were originally created specifically for drywall projects. But they have become increasing popular for woodworking projects because you can often screw them into a soft piece of wood without having to drill a pilot hole. But because they have threads all the way up to the head of the screw they will not pull two pieces of wood tightly together. So to get the drywall screw to hold two pieces of wood tightly together you have to drill a shank hole through the first piece of wood ...

Screwing hooks into a ceiling can be a real pain. In this how to video, home improvement expert Danny Lipford gives you a great tip on screwing hooks into the ceiling. All you need is an electric drill to easily install screw hooks into your ceiling.

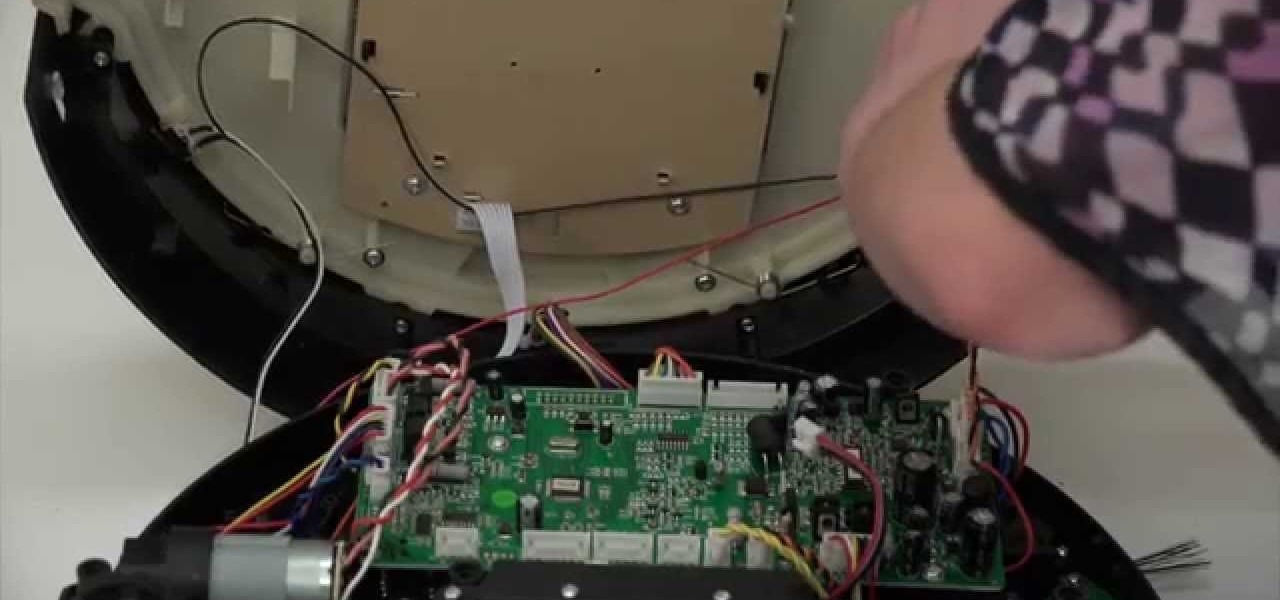
A step-by-step guide to replacing the side brush motor on bObsweep Standard or Pethair. Follow the video or multimedia directions in order to open up bObsweep, remove the main board, replace the side brush motor, then close your vacuum for future use.

November is officially Movember, a month that brings light to men's health issues, especially prostate cancer. "Mo" is the Australian slang for mustache, which is appropriate because during November the quest of Movember is to have guys lay off the shaving for a month and grow mustaches to spread awareness.

Is a squeaky door in your house bringing you down, and making the house seem haunted? Well, it's a simple solution to fix. As Phillips Woodworking shows us, it's merely a matter of greasing the hinges. Once you get some WD-40 and apply it correctly, your door will make no more noises.

Learn how to reuse a crashed hard drive or two for a set of wind chimes with this great tutorial. Easy to make and sound great. You will need a #6 and a #8 tork screwdriver, an exacto knife, a pair of needle nose pliers, a phillips and a flat screwdriver, red fishing line and an old hard drive.

If you need to paint the screw heads you can do it without making a mess. If you try to hold them in your fingers and paint them you will get paint all over your fingers. Now you don't have to do that. Take a plastic shopping bag and cut the bottom off of it. Take that bottom piece of bag and stretch it over a can like a drum. Tape the bag tightly to the can so that the bag is stretched tight. Take the screws and screw them into the plastic on top of the can so that they are standing up. Now ...

There are a number of ways to deal with screw holes that are visible. You can buy some wood buttons and put them in the holes. You put a little wood glue in the hole and then tap the wood buttons into the holes using a hammer. This is a decorative solution to cover up screw holes. If you want to completely cover up the holes completely put a plug cutter on your drill and cut a plug out of a piece of wood that matches the wood that the hole is in. Take the plug put a little glue on it and tap ...

Don’t pay a handyman to do this simple job—learn how to become handy yourself! You Will Need:

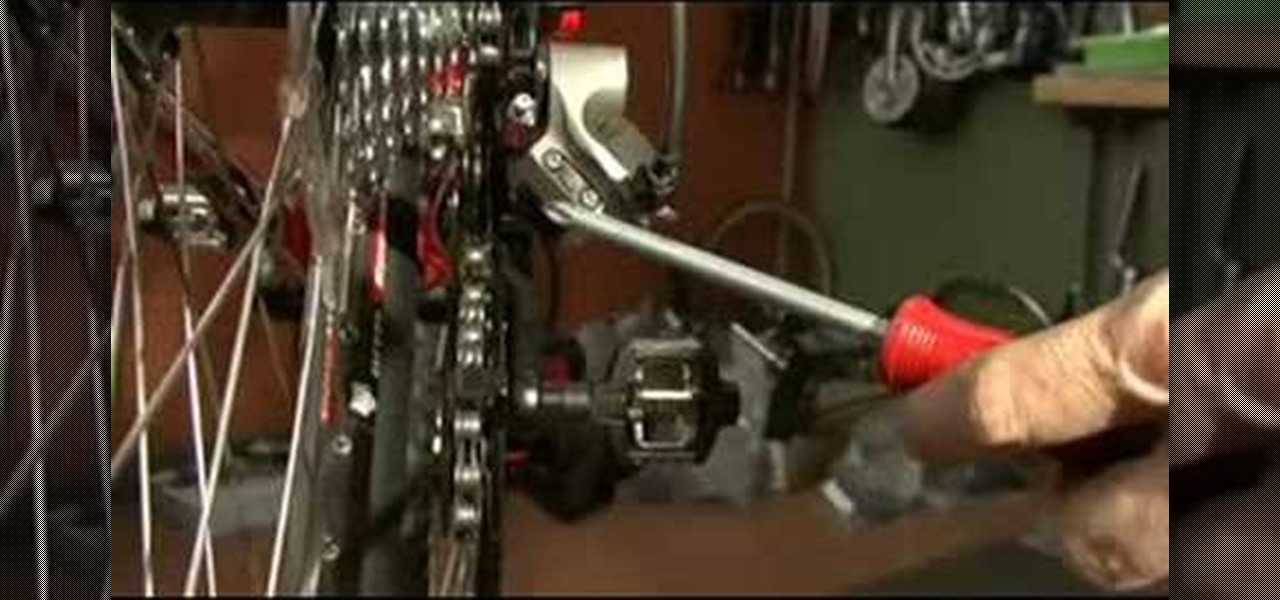
Use a 5mm Allen wrench and loosen the bolt holding the cable on the rear derailleur. Thread the shift cable through the cable stays and tighten it in the rear derailleur with as little slack as possible. Make sure that the adjustment screw on the shifter is in the mid point of the adjustment.

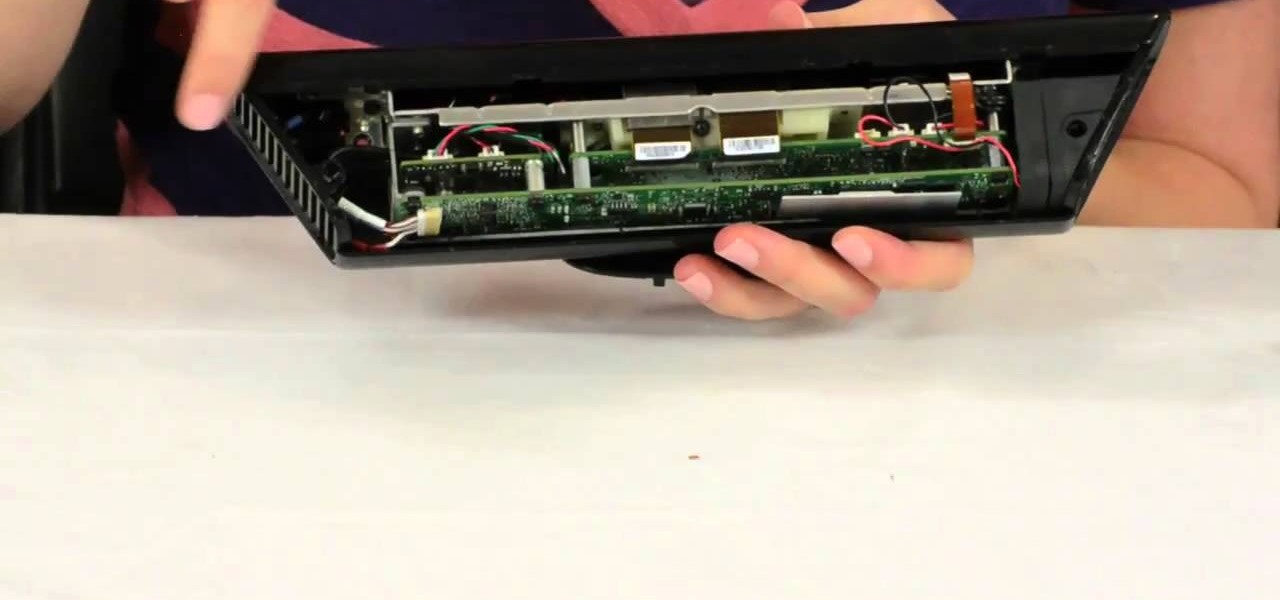
Microsoft's Kinect is gaining popularity with Xbox 360 owners, but what's really more fun? Playing games with this revolutionary hands-free gaming device or gutting the sucker to see what it's all about? We'll take the latter choice.


