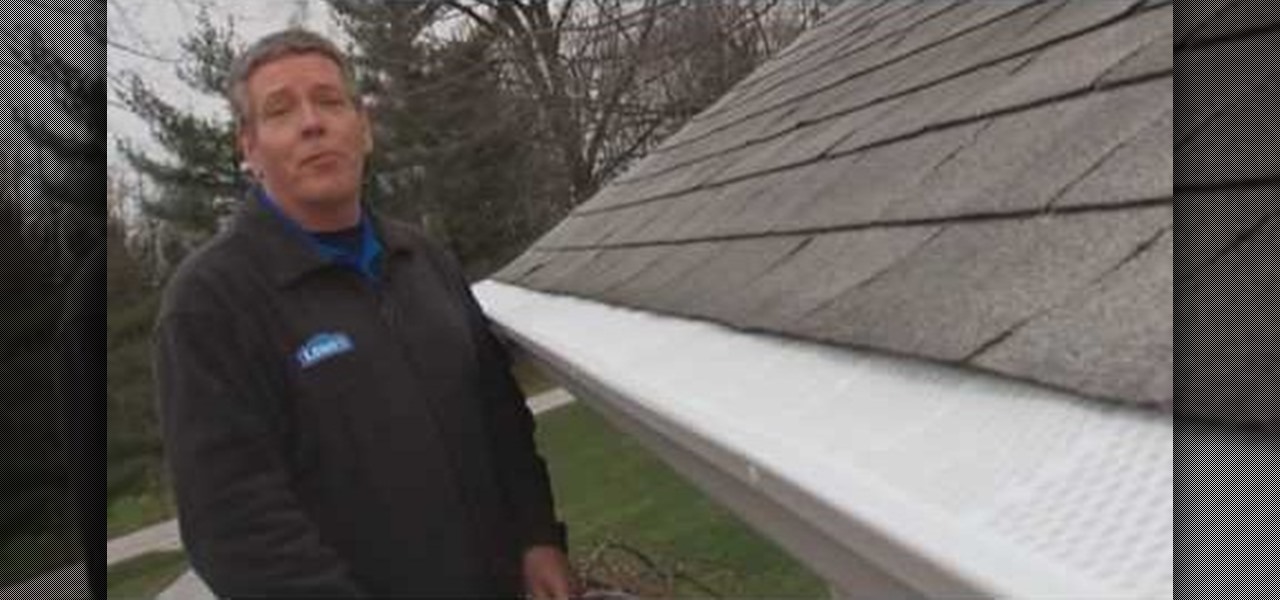
In this video tutorial, viewers learn how to install gutter screens. The materials required for this task are: tape measure, tin snips, drill with bits and sheet metal screws. Begin by measuring the gutter to determine how many screens to buy. Start at one end of the gutter and slide the back edge underneath the shingles. Then snap the edges in place and continue down the length of the gutter. Now drill holes in the edges of the screens and screw in the sheet metal screws to secure the gutter...
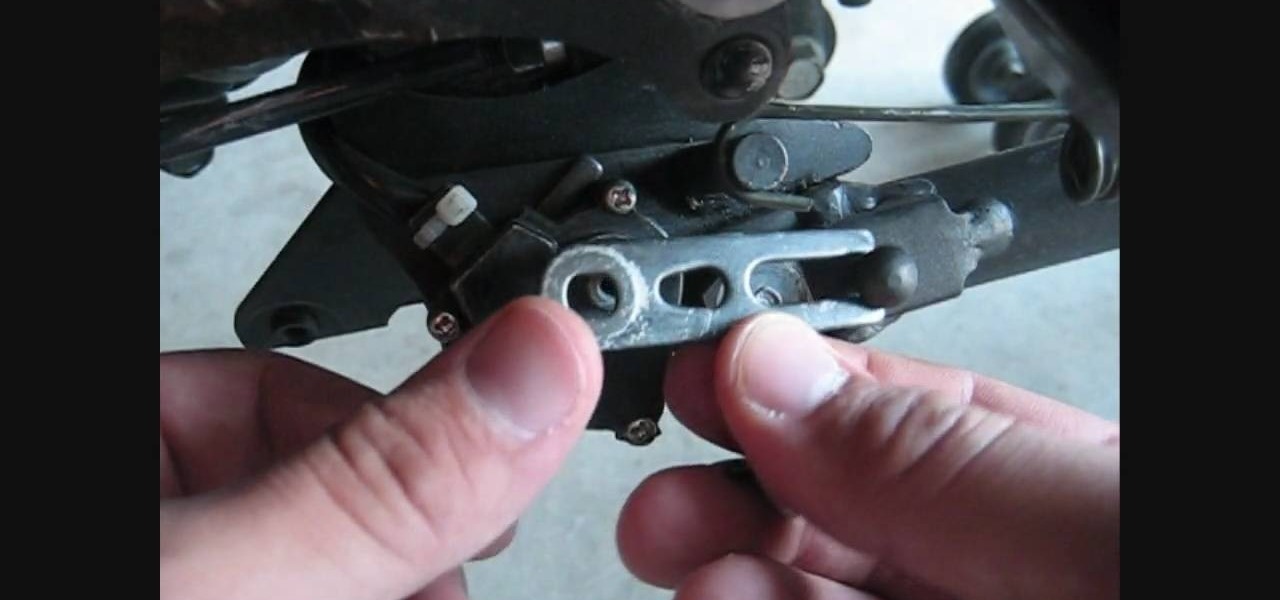
In this tutorial, we learn how to replace the kickstand safety switch on a Ninja 250R. When this is broken, it will turn your engine off when you put it into gear and cause your motorcycle to not run properly. First, remove the screw from around the safety switch until you can remove the switch from the bike. After this, replace a new switch onto the bike. Next, replace the bolts and screws back on the switch where they originally where. Use clamps or a screwdriver to help replace the screws....

In this how to video, you will learn how to replace the touch glass screen digitizer on an iPod Touch. First, use a pry tool and run it along the sides of your iPod Touch. Once this is done, remove the cover. To remove the battery, run the pry tool along the edges and gently pry it out. Remove the black tape from the bottom to reveal screws. Now use a screw driver to remove the screws shown. Remove the screw hidden by the wires connecting the battery to the board. Next, remove the metal shiel...

In this Video Games video tutorial you will learn how to access your Xbox 360 hard drive. You need four tools for this. They are an exacto knife, T6 torque wrench, T10 torque wrench and a small fly head screwdriver. With the exacto knife cut a hole in the sticker as shown in the video so that you have access to the screw underneath it. Remove the 4 screws with the T6. Pull out the back, with the screwdriver pop up the two clips on top and remove the back. Now remove the 4 screws with the T10....
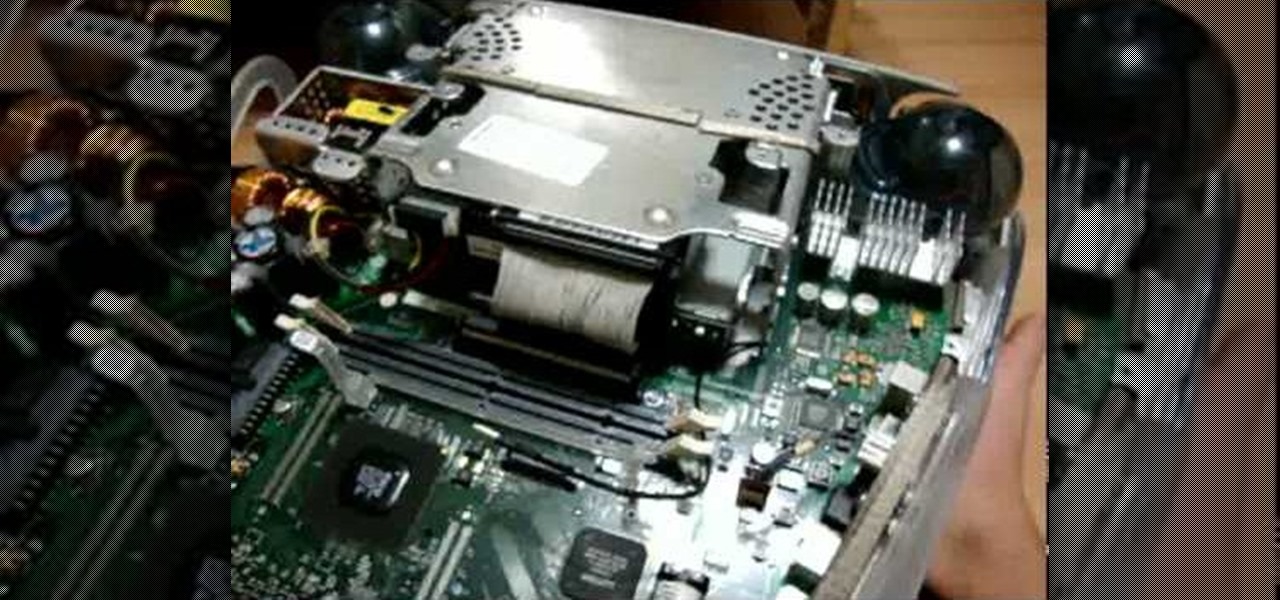
bghoo8313 describes how to swap an imac G3 hard drive. Unscrew knob on the hatch on the back of the computer unit. Remove the RAM and the card. Take out 4 screws, 2 on the top and the other 2 under the guard. Pry it open with a screwdriver. Take out the outer screws under the guard. Open the unit from the "Apple" logo on the back. You will hear snaps, but the unit is not damaged. There are 6 radiation screws, take them out. Use a magnetic head screwdriver to avoid dropping screws. There are 4...

In this how-to video, you will learn how to replace a broken axle on a Volcano SV. First, take off the wheel. Next, remove the axle piece out with a hex wrench. To get it entirely out, use your hex wrench to move out the long screws. Make sure you take them out at about the same time, or you will break one of the screws. You can remove the screw to free the upper suspension arm. This will make it easier to remove the broken axle. Next, replace it with a new axle. Clean the axle before making ...

In this video tutorial, viewers learn how to reassemble an XBox 360. To begin, put the mother board onto the bottom plate of the console. Plug in the fan and put on the fan cover. Now plug in the DVD drive. Screw in the RF module on the front of the case. Place the top of the case on and screw it in. Now place on the top piece and screw it in. Then place the bottom piece on. Finally, place on the side panels and face plate. Make sure while assembling, all the pieces are secured and fit proper...

You can very easily replace your normal light switch on the wall with a dimmer switch. The first step is to turn the power off at the circuit breaker. To prevent anyone from accidentally turning the circuit on put a piece of tape over the fuse switch so that it is clear that it is to stay turned off. Remove the screws that hold the switch plate and use a tester to make sure that none of the wires are still live with electricity. Remove the two screws that are holding the switch itself in plac...

Three hundred people die every year from carbon monoxide poisoning. Don't risk being a part of that statistic.

Board up a window for protection against strong storms and hurricanes. Learn how to board up a window.

Watch this video to learn the perfect mix to a slow comfortable screw. All you'll need for this drink is orange juice, vodka, Southern Comfort and sloe gin.

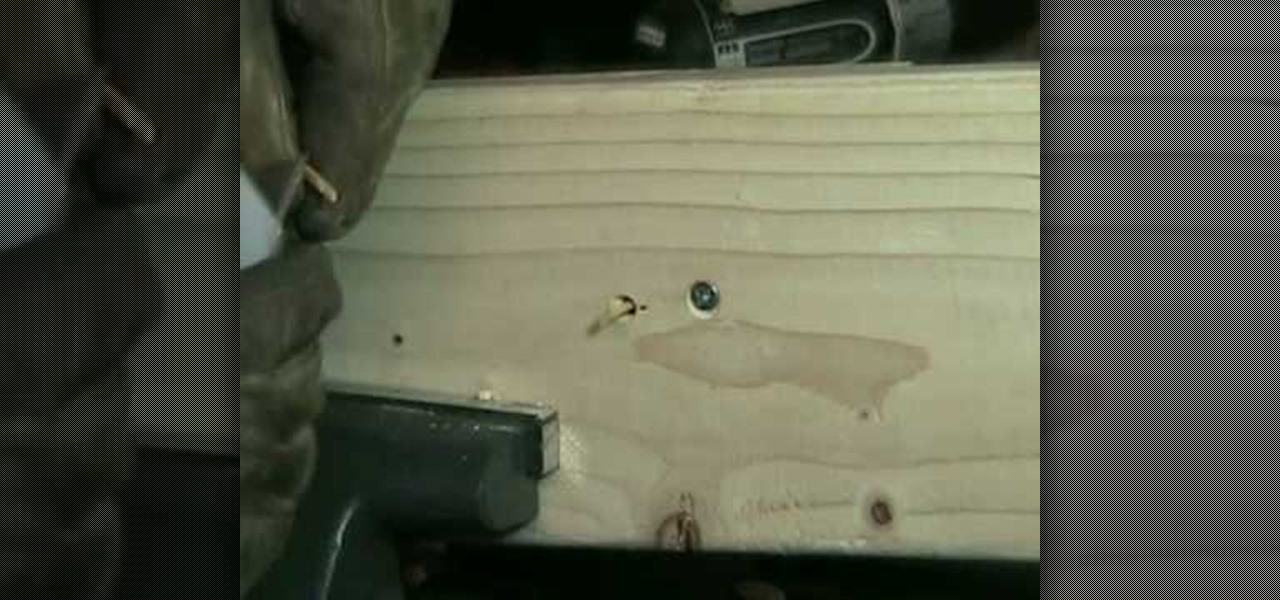
In order to repair stripped screw holes in wood, you will need the following, a hammer, screws, matches, awl, a flat headed punch, a utility knife, and side cutters.

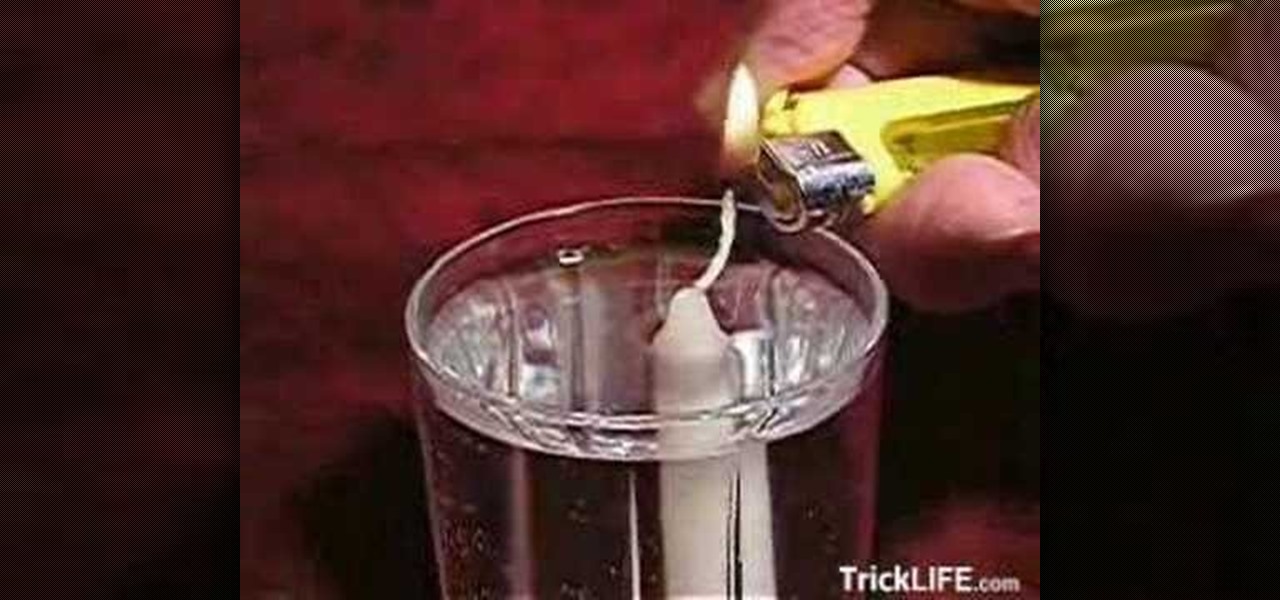
To make a floating candle you will need a screw, a candle, and a glass of water. If you take the candle and just put it down in the glass of water the candle will not float. To make the candle float take the screw and screw it into the bottom of the candle. Then you can take the candle and put it down in the glass of water. With the screw screwed into the candle the candle will stand upright in the glass of water and the wick will float just above the water line. So now you can light the cand...

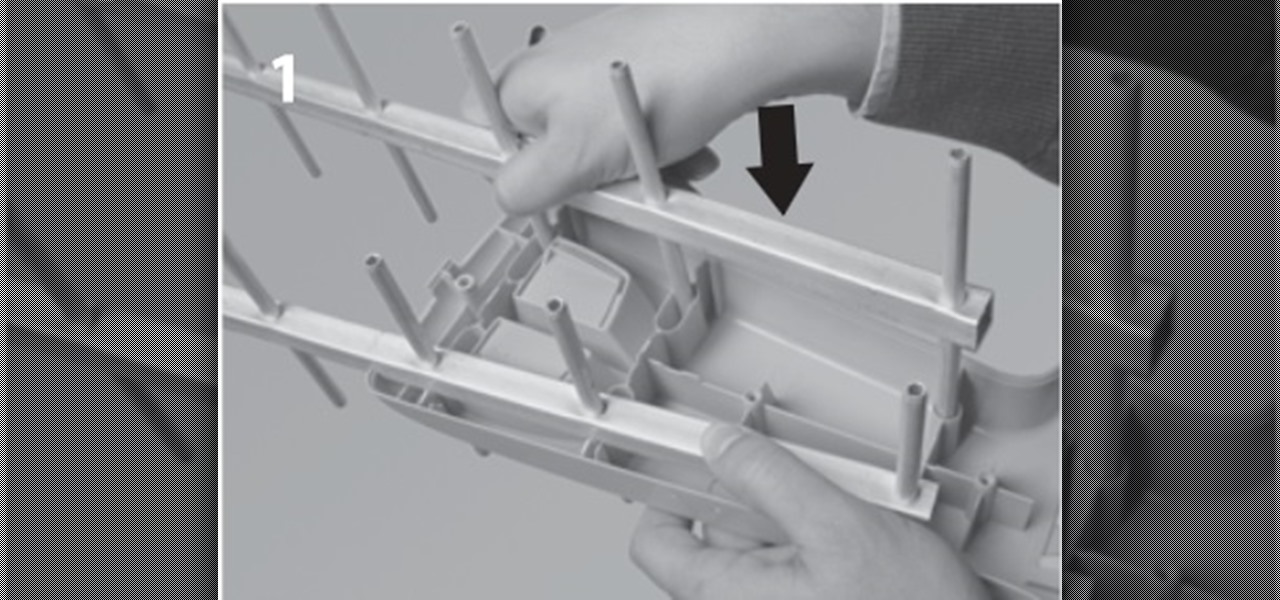
In this post I'm going to explain the assembly of an UHF antenna, step by step. Assembly of v HD Antenna of TELEVÉS We will need a Screwdriver and wrench.

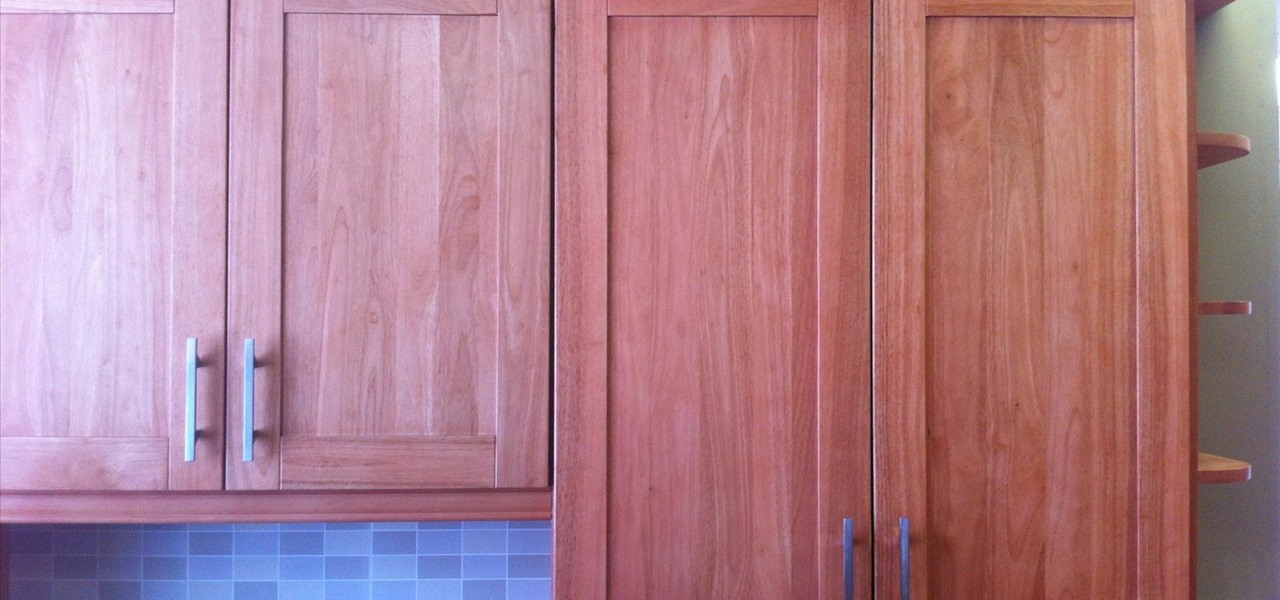
Poor alignment of cabinet doors will cause a kitchen to look run-down and may be embarrassing to the homeowner. Luckily, with a single screw driver and a little ambition, the door alignment can look brand new.

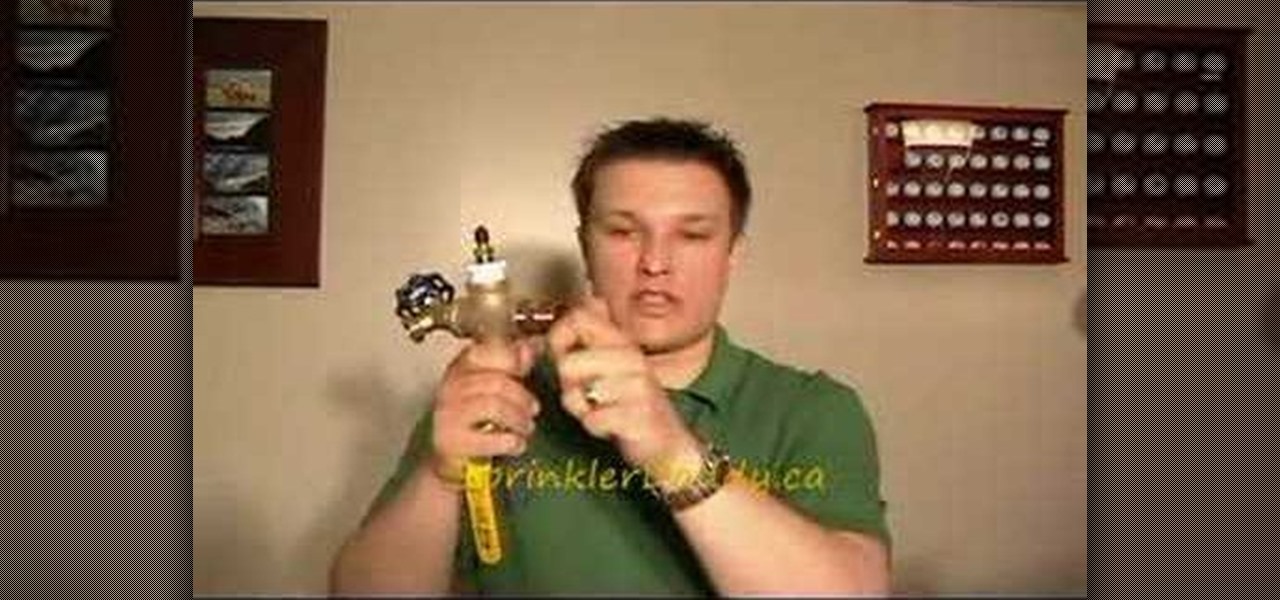
Connecting your sprinklers to the water line is actually fairly easy when you're installing your own sprinkler system. Basically, you just go to your outside tap, screw it off and screw in your house connection.

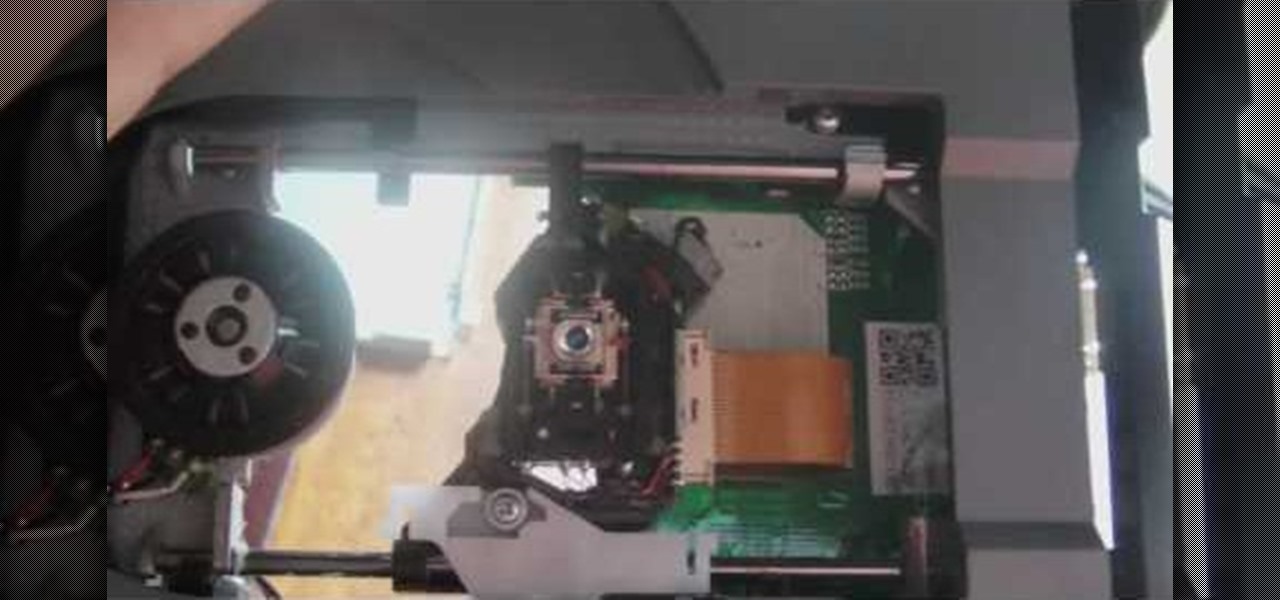
In this video we learn how to fix the Xbox 360 open tray error. First, open the console up and find the laser power. There are two screws around this laser that need to be changed. The left one should be screwed up a slight amount until it's slightly lifted. Once it's lifted, put your entire console back together. Once it's back together, you will notice that the open tray error stops coming up on your screen. You may also need to place something inside of the screw so it stays slightly up. E...

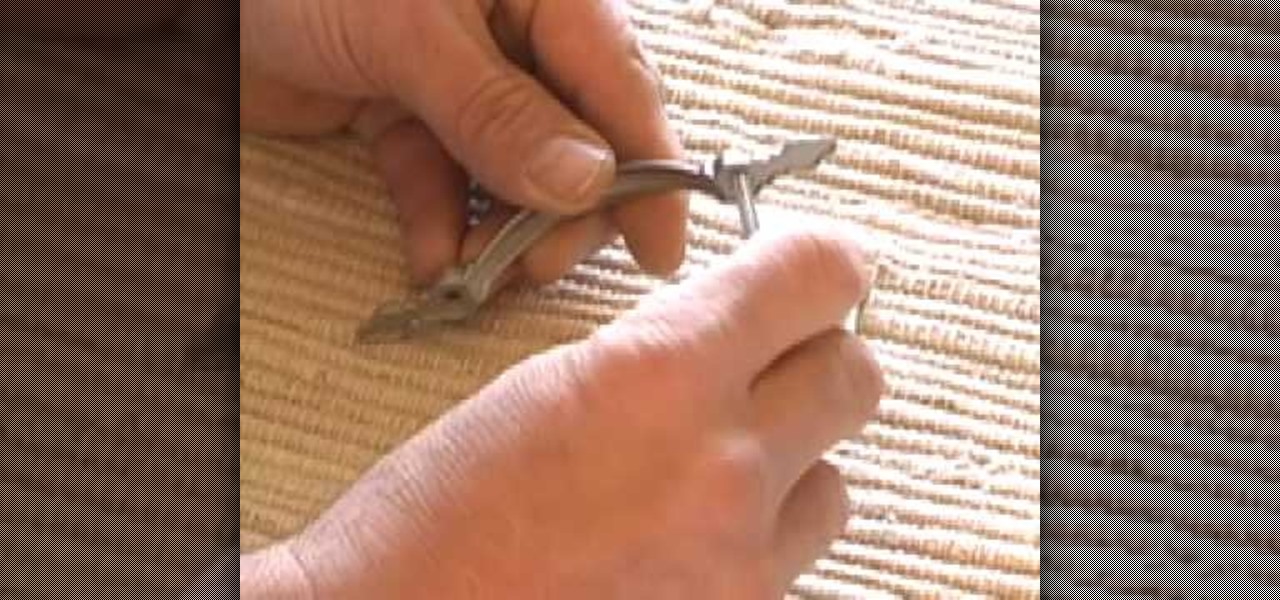
Bob Schmidt teaches us how to install cabinet knobs, handles & pulls in this video. You can easily spruce up a new cabinet or door my just changing out the handles or knobs. First, always take off your hardware and take it with you to the hardware store so you can grab a similar one to fit the right size. Once you find the right handles and screws you will be ready to install the new handles. Place the screw into the appropriate holes on the handles. After this, twist the screws into the hole...

In this video, we learn how to change your toilet into a silent toilet seat. A silent toilet seat will shut itself by going down slowly without the loud slam. To remove the old toilet seat, go to the back flaps and pop them up. Remove the plastic screws with a screwdriver and then set them aside. Replace this with your new toilet seat and screw the screws back into the back. Now, lift your seat and the lid up and tap them gently. After this, the toilet seat will slowly start to lower and clos...

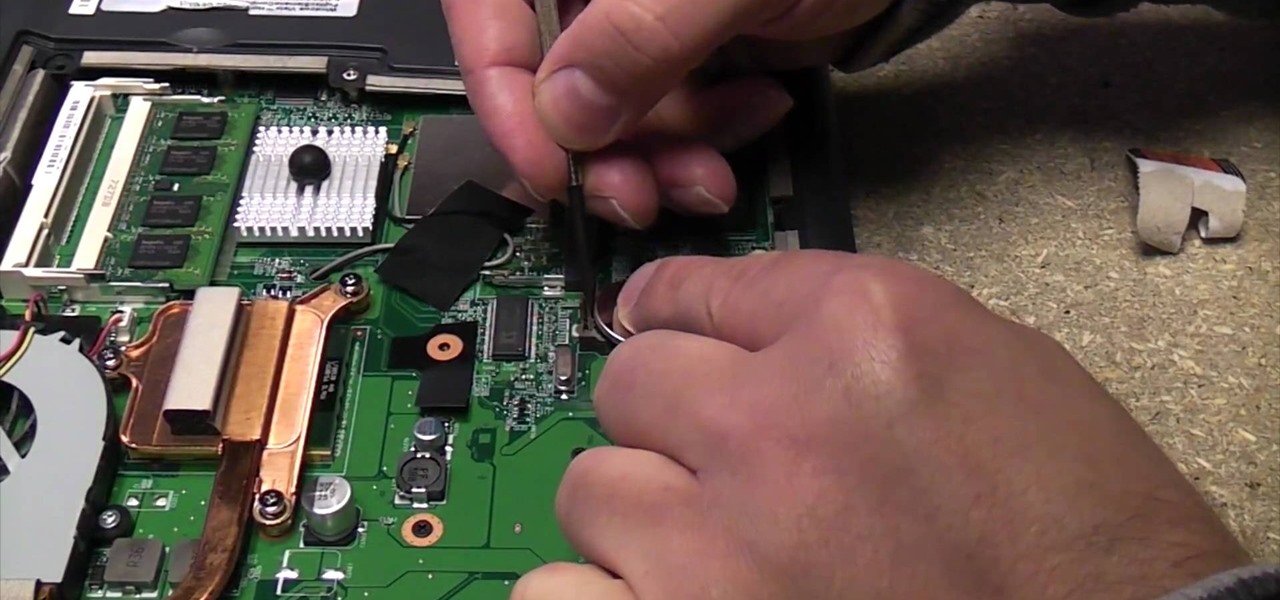
In this video, we learn how to replace a laptop CMOS battery. First, turn the laptop upside down and remove the screws around the panel you need inside. Set these aside and then pry the top up with a flat screwdriver. Now you will see the CMOS battery, remove this with the tab that is on top of it. Remove the battery from the area it's at and then replace it with the new one. Make sure you place it in just how it was before. After this, replace the panel on the top and screw the screws back i...

In this tutorial, we learn how to take apart the Google Nexus One. First, take the battery cover off, then remove all the screws along the side and top of the phone on the back. Next, use an opening tool to pry the case off of the back. Then, pry the bottom cover off and then remove the two T5 screws underneath that. After this, take the casing tool off of the back and then remove all the Philips screws. Now, remove the three flex connections and the cable connected and set them aside. Pry th...

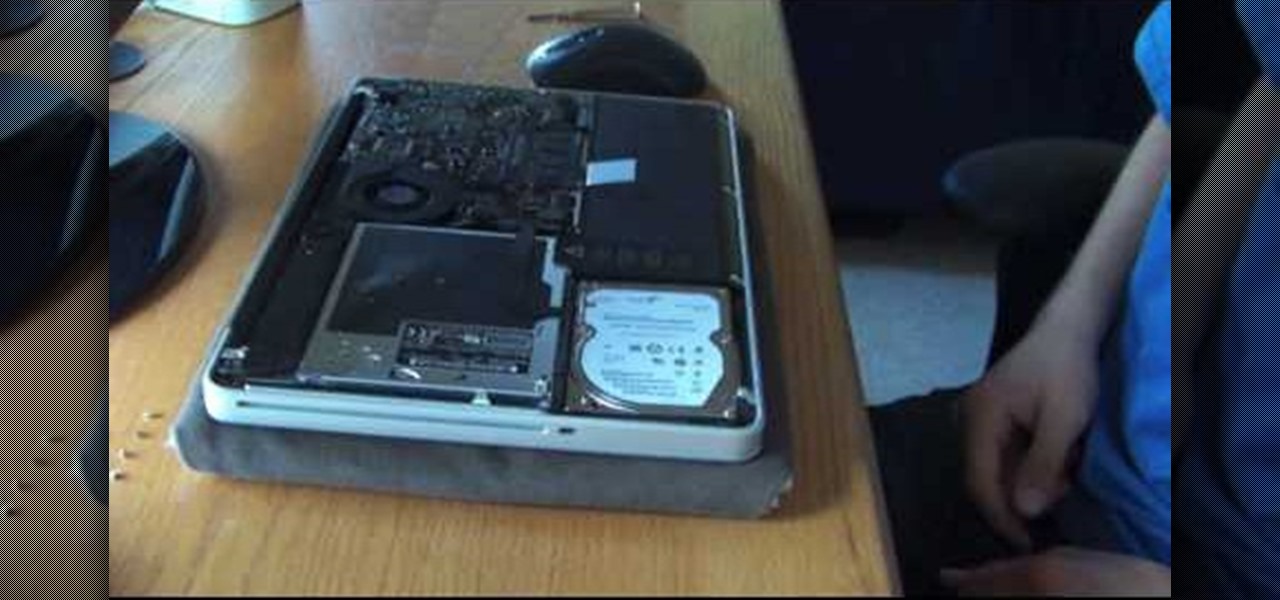
You can change your RAM in a 13" MacBook Pro. To do this you need a screw driver and a new ram. So first put your notebook on the table and take all the screws out of the notebook but be careful when doing this. Now place your fingers on top and the bottom and leisurely take out the back cover. Now there are two slots located at the right side and you have to push it out to remove the old rams. Now take the new ram and make sure you put it as the video showing and place it where you removed t...

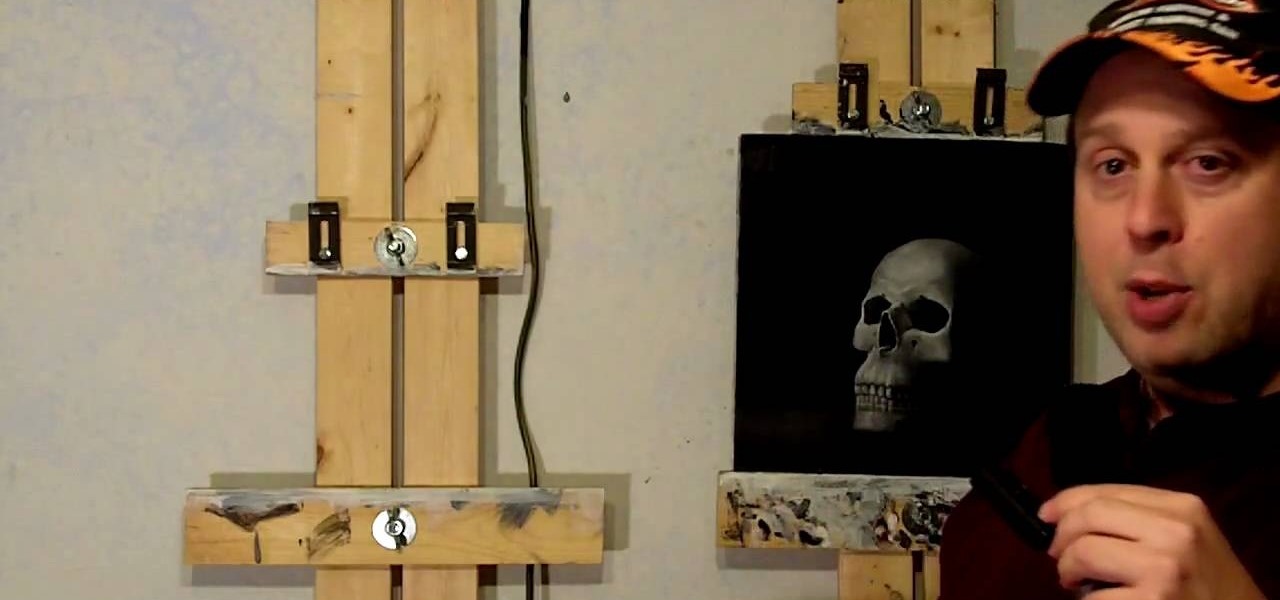
In this video, we learn how to make an easy $20 DIY art easel with Patrick Lawrence. Each side should be about 6' tall, and make sure you screw it into the wall when you are finished. First, you will hold these together with a carriage bolt that slides up and down the two pieces of wood. At the top, screw the screws into the wall and at the bottom, bolt it up the same way as in the middle using a wing nut and a big washer. That's all there is to making an easel yourself, saving you tons of mo...

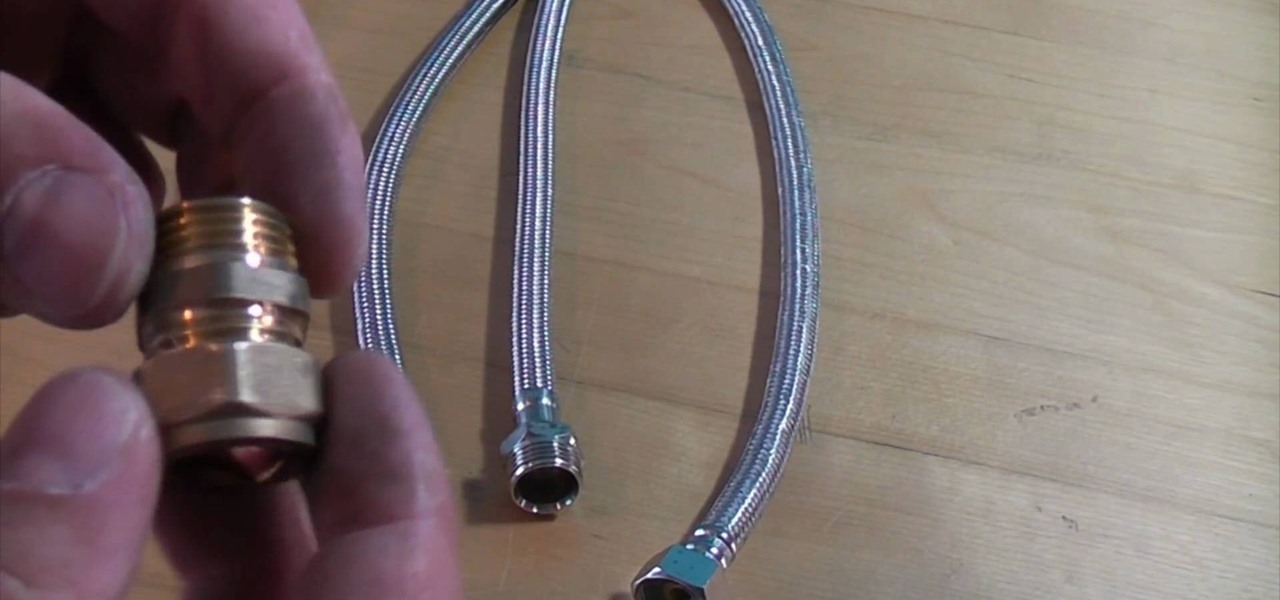
In this video, we learn how to connect flexi-tails properly. First, take your flexi-tails and grab one with a female end that will screw onto the end of a male. After this, use an isolating valve to fit the compression onto the valves and then tighten it up. Screw the flexible tail onto the end of this. Be careful buying this off Ebay, because a lot of fittings will not screw onto a compression knot. It is very simple to make this, you just have to connect the two tails and make sure they are...

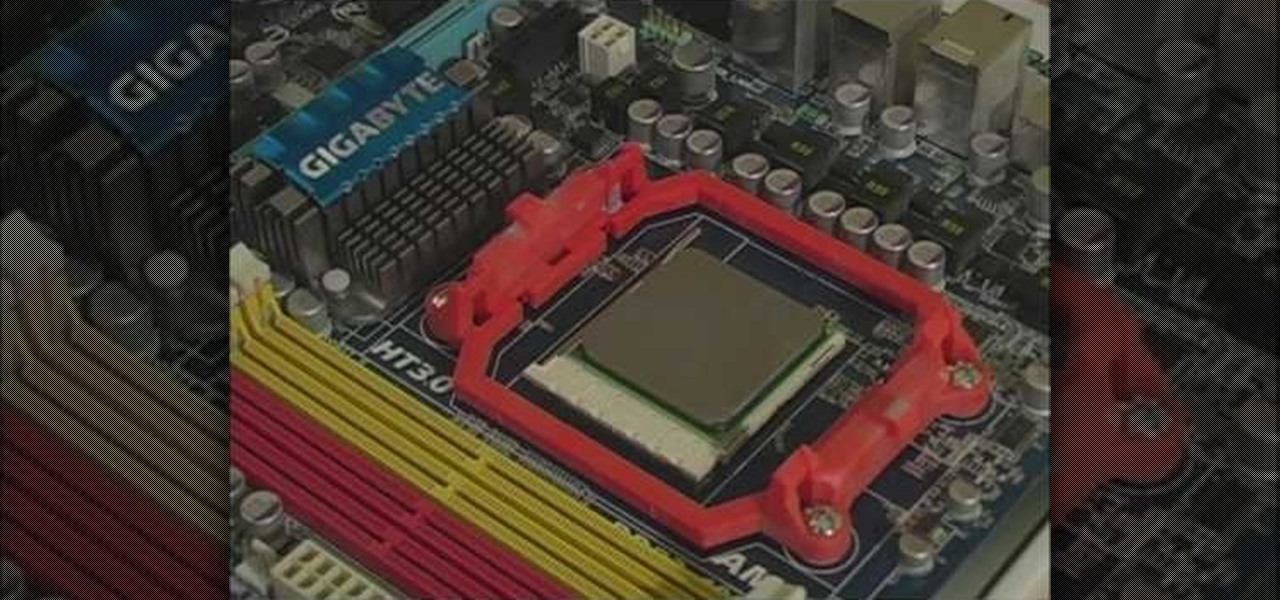
In this tutorial, we learn how to build a gaming PC at home. First, grab your processor and place it into the socket of the motherboard. Lock it into place, then apply compound on top, rubbing it in evenly. Next, install the heat sensor, which will keep the processor cool. after this, install the RAM into the correct slots. After this, insert the motherboard inside the case, matching it to the slots in the case. Use a screwdriver to screw it in, then install the cases. Install the hard drive,...

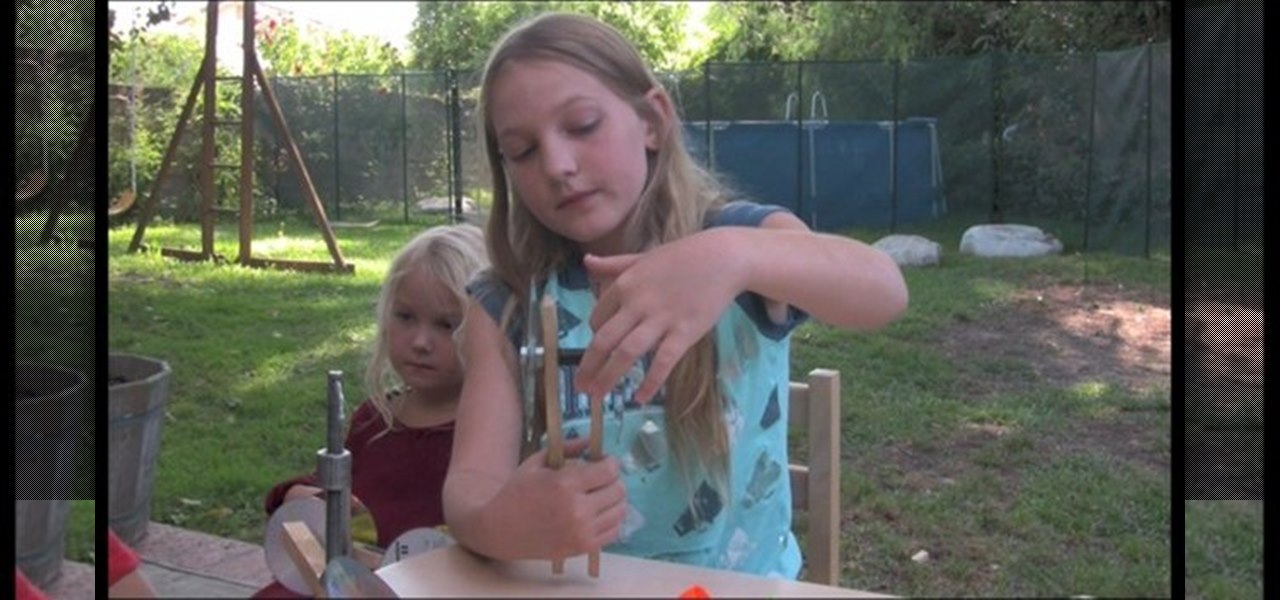
In this video tutorial, viewers learn how to make a toy car with CD wheels. The materials required for this task are: 2 thread spools, long piece of thing wood, 4 CD's, 2 screws, 2 washers and 2 bolts. Begin by drilling a hole in the spools and 2 holes in the wood. Then place a washer on the screw. Now place the CD on the washer. Then add another washer and secure it by screwing on a bolt. Now put the wheel through the first board of wood. Then put it through the spool and other wood board. N...

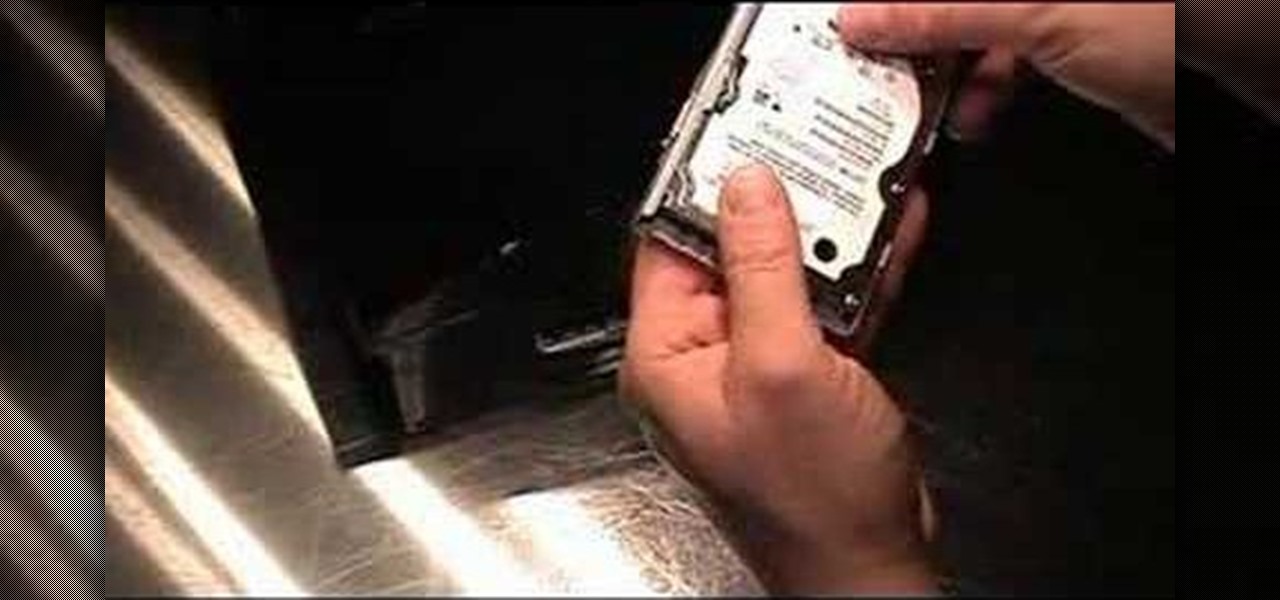
In this video tutorial, viewers learn how to upgrade the hard drive on a PlayStation 3. Begin by removing the plastic side panel on the PlayStation console and remove the blue screw on the tray. Then open the metal latch on the tray, move it to the right and remove the drive. Now unscrew the 4 screws on the tray that hold the hard drive on the tray. Then replace the old hard drive with the new one. Finish by replacing the screws, putting the tray back into the system and place on the plastic ...

In this video tutorial, viewers learn how to install a PlayStation 3 hard drive upgrade. Make sure to turn off the system and unplug it before installing the new drive. Begin by removing the plastic side panel and unscrew the blue screw. Then open the metal latch, move the tray to the right and slide out the drive. Now remove the 4 screws that hold the tray of the hard drive. Then swap in the new hard drive and replace the screws. Finish by inserting it back into the system and place on the p...

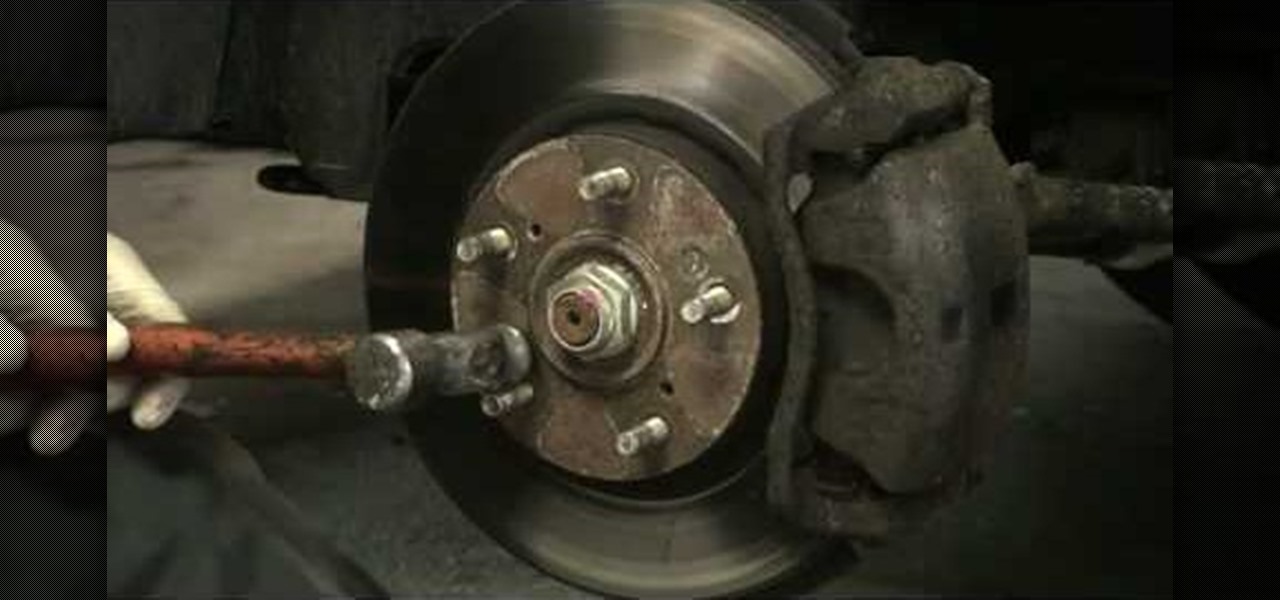
If you own a Honda, then this may be a problem that you are fully aware of. If you don't, if you need to remove anything near your brake wheels, it's important to know how to remove the rotor screws. This can be quite difficult to take out and so a special tool is needed in order to do so. In this tutorial, you'll find out how to remove any screws that may be stuck with a special tool. So good luck and enjoy!

Adjusting the rear derailleur on a bike is an important way to fine-tune your bike's shifting performance, but is complicated and can vary in method and effectiveness depending on the brand of derailleur. This video features instructions on how to adjust a low-normal rear derailleur using the adjustment screws.

This is a video tutorial describing how to modify a nerf nite finder toy rifle. The first step is to take the nerf nite finder toy rifle out of the box and unscrew all of the screws on the gun. Then unscrew the light in the gun and then unscrew the back wiring and pry the metal out of the back. Next pull out the plunger tube assembly by unscrewing the two screws. Next add a pvc pipe to the connector piece from the gun, connect it to a piece of brass. Then add springs to your gun, and add a pi...

In this how to video, you will learn how to dismantle an Xbox 360 vision camera. First, take off the sticker on the bottom with a knife. Next, unscrew the the screws on the bottom. You should note that the sticker is really easy to place back on. There will be two screws revealed once the sticker is off. Unscrew these to access the inside of the camera. The bottom plate will come right off now. There are two more screws holding the inside of the camera. Unscrew these to entirely dismantle the...

Starting with the cooling head you are going to have many different screws that could require a screw or a hex. After the screws are removed you can easily lift the cooling head from the engine. The plate underneath should pop right off along with the sleeve and the shim. Make sure you keep the sleeve and shim together. The starter will off once the screws are removed for it as well repeat the process for the backplate. Rotate the piston and this will allow you to pop the sleeve off. To remov...

In this how-to video, you will learn how to take apart a Blackberry 9700 Bold. First, set the Blackberry on a sturdy and flat surface. Next, pry off the bottom front plate with a non-metal tool. Remove the battery and place it aside. Next, unscrew the front plate with a screw driver. Be sure not to lose these screws. Now, carefully pry the front bezel off. The keyboard pad will come off as well. Now, remove the screws around the area where the screen is. Once this is done, you can easily remo...

This Home and Garden video tutorial shows how to hang heavy art on lath and plaster walls. This is really very easy and simple to do. Heavy objects of art will need big size nails for hanging. Hammering big size nails on lath and plaster wall is not possible. The nails just go in after a little distance. Then what do you do? There’s a really very simple and easy method of hanging heavy art objects on lath and plaster walls. You just need to screw in. Take a screw, hold it perpendicular to the...

Reverse lights are not something to let slide. Having a reverse light out can cause a serious accident. Before you kick your car into reverse, make sure your reverse lights are working properly. Replacing them is easy and takes only a few minutes.

Sometimes it's more than just inconvenient when your electronics lose power. Sometimes, losing power could be dangerous. Never worry about a dead cell phone again! Charge your portable electronics by harnessing the power of the sun.

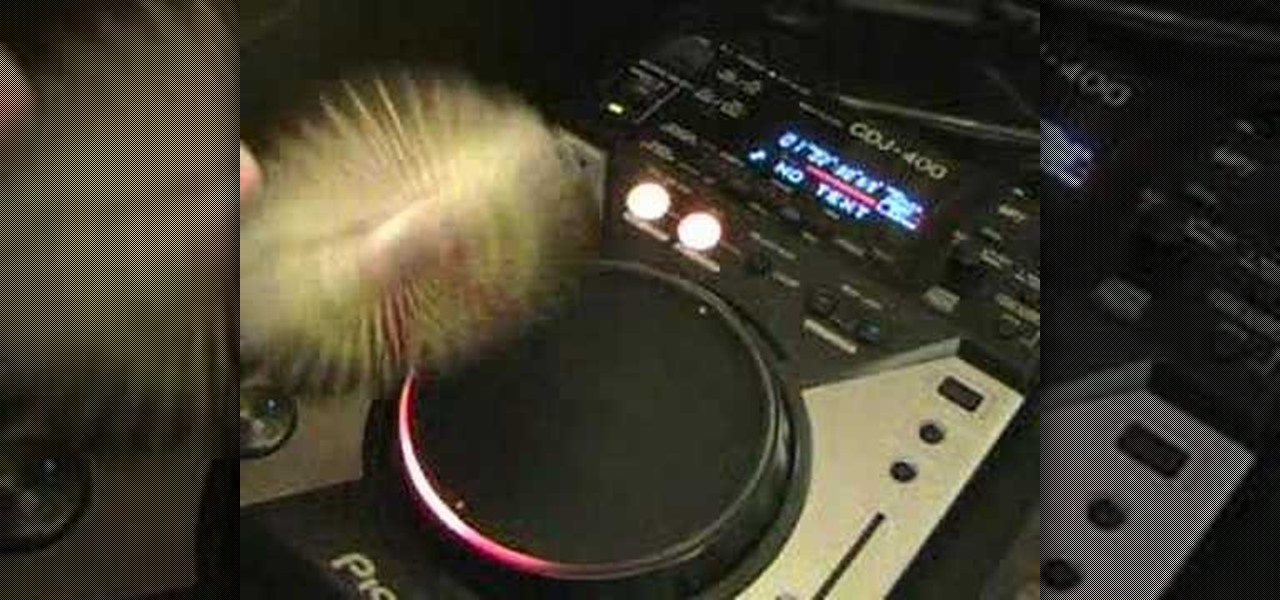
Want to mix and scratch like a professional DJ? To be a good DJ you need to understand the concepts of mixing tracks, adding cool effects, and of course you need a good sense of rhythm to line up the beats. This how to video explains how to pimp up your Pioneer CDJ-400 mixer. Just follow the simple step by step instructions: remove the two small screws and take off the see through piece of plastic, place a picture down on top of the platter and replace the cover, and re-screw the two screws. ...

Here's how to spot nails and screws with joint compound. This instructional video will show you how to coat nails and screw holes in drywall with a thin layer of spackle. Use a metal putty knife and fresh joint compound to get a smooth surface of spackle and avoid heavy sanding.

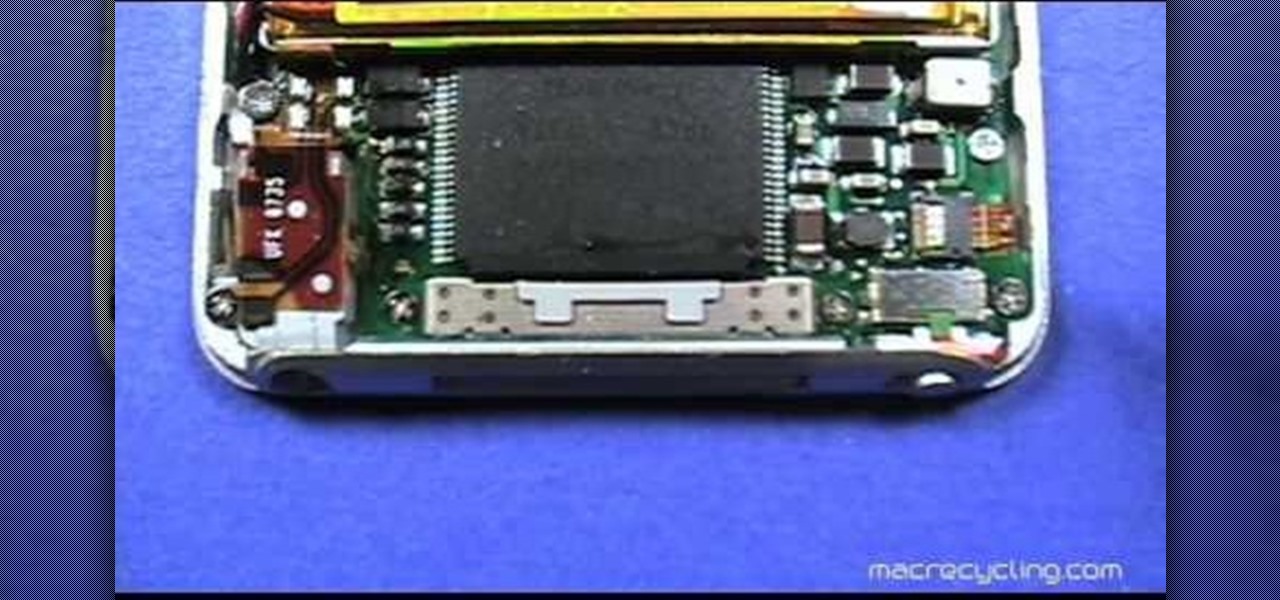
This how-to video serves as a disassembly guide for MAC's 3rd generation iPod Nano, breaking it down into the pieces: display, battery, logic board, housing, cables, etc. If you're determined to do your own iPod repairs, installations, or modifications, at least follow some advice on you to open up the Nano without causing damage. You will need a Phillips head screwdriver, a black stick, a plastic pick, and a chisel tip screwdriver. Watch this video iPod tutorial and learn how to take apart a...


