Trying to replace your iPod battery, change the screen, or doing some modification that a MAC pro wouldn't suggest you doing yourself? Before you can start tinkering around inside this delicate piece of equipment, you're going to at least need to know how to get it open and take it apart without damaging the the inner pieces. You will need a small Phillips head screwdriver, a plastic pick, a blackstick, and a chisel tip screwdriver. Watch this video iPod tutorial and learn how to take apaart ...
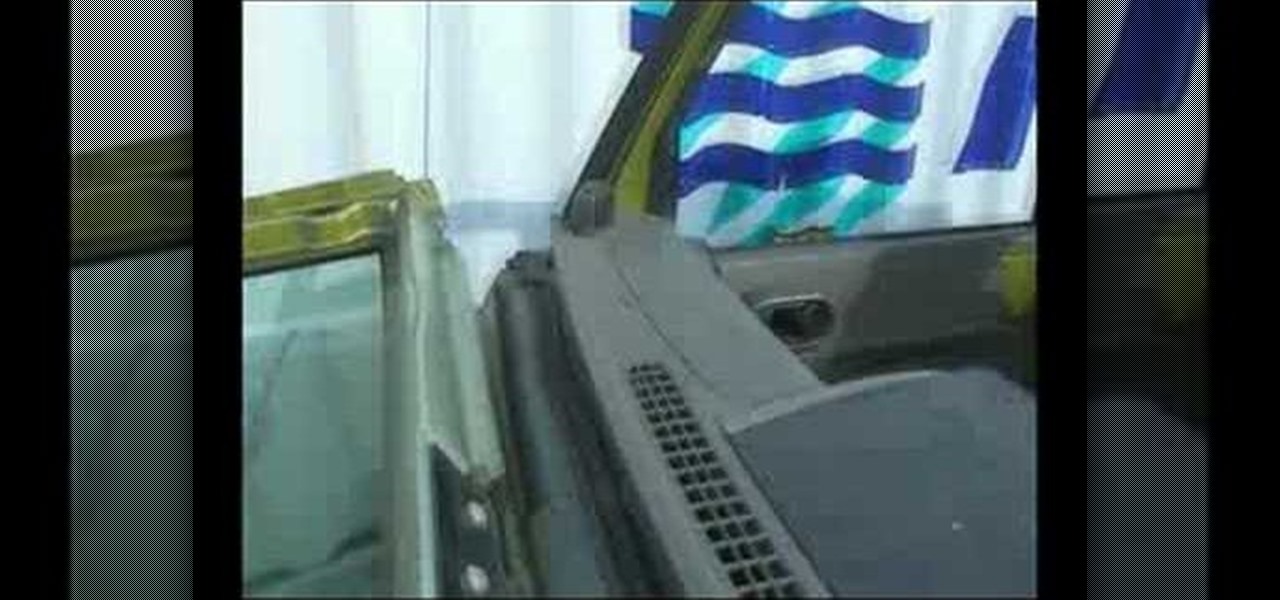
This is a step-by-step video tutorial on how to fold the windshield of a Jeep Wrangler JK. You will notice there are three tools needed; a Phillips head screwdriver, a 13mm deep well socket w/ ratchet and extender, and a t40 torx. First you should remove the plastic covers on the A-pillars of the Jeeps windshield. Make sure you put all bolts back into the holes they came out of for safe storage. That will also keep dirt out of the threads as you drive your vehicle with the windshield down. Ma...
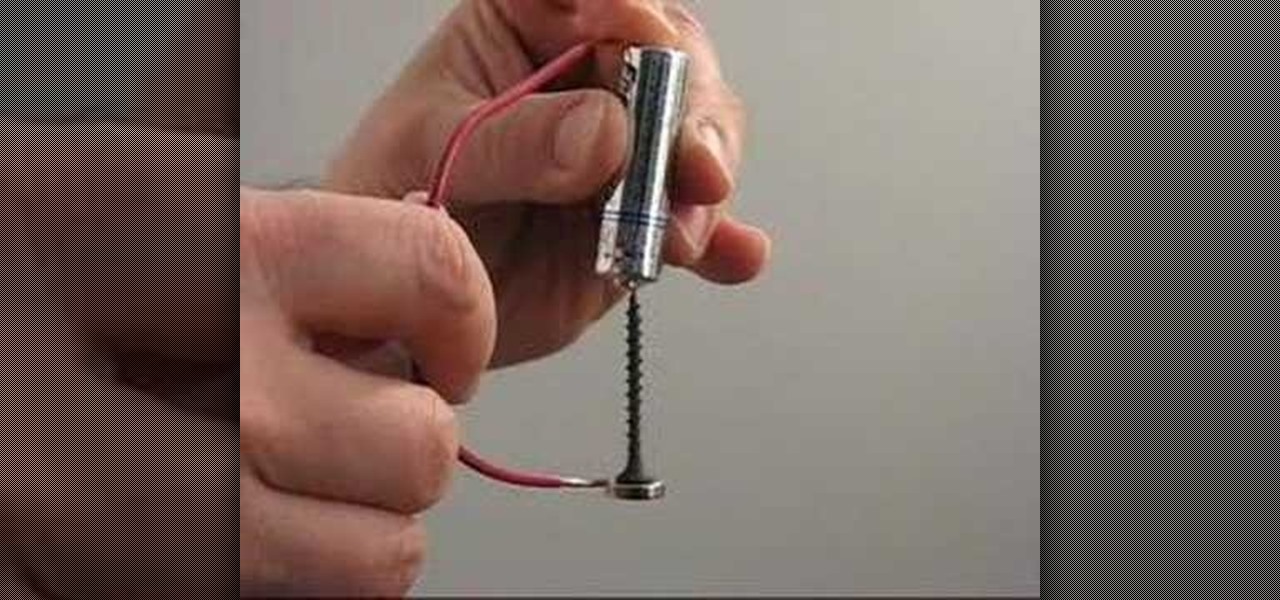
Build a faraday motor with tips from this how-to video. In the early 1800s, physicist Michael Faraday invented the first device to convert electrical energy into mechanical motion. This is an easily built version of his motor. The magnet sets up a magnetic field, and the electrical current through the screw sets up a separate electromagnetic field around the screw. The two fields react and the result is rotation.
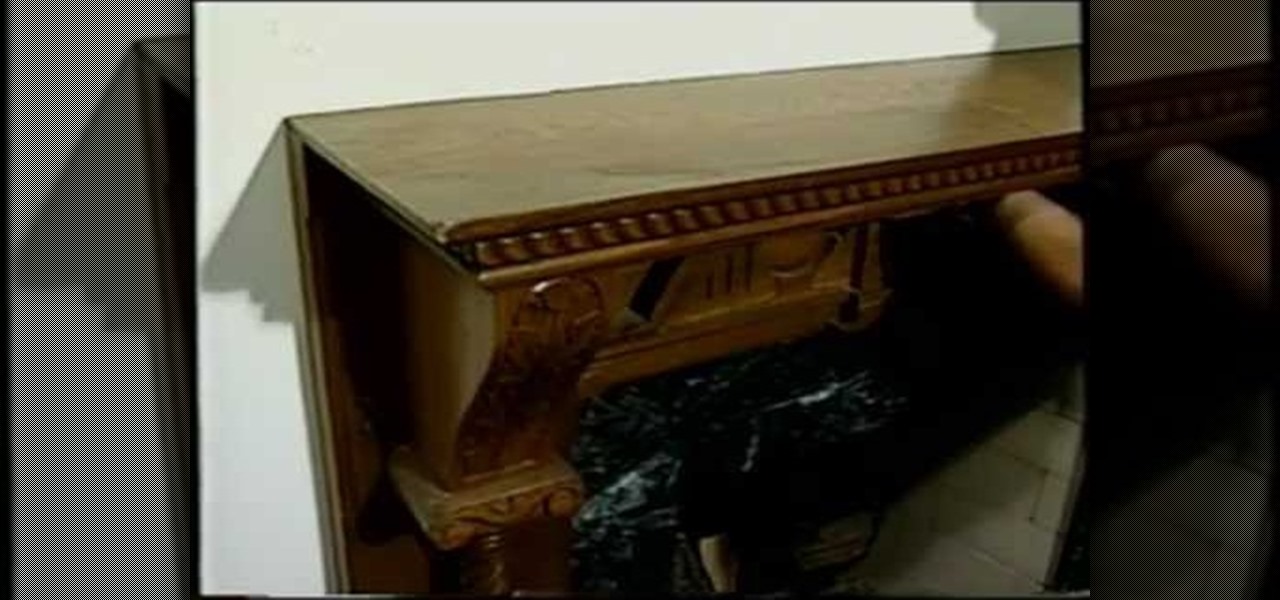
Tim Carter demonstrates how to use a hidden French cleat to attach a gorgeous fireplace mantel to a wall. Learn this clever way to attach the mantel to the wall without using screws or nails.

Learn how to make a great tasting drink with an interesting name - the Slow Comfortable Screw. You'll need Southern Comfort and Sloe Gin.
You can get an expensive ticket for driving with a busted tail light. But that's not all. Driving with a faulty brake light can be dangerous. Replacing the bulb is a simple task that takes only a few minutes.

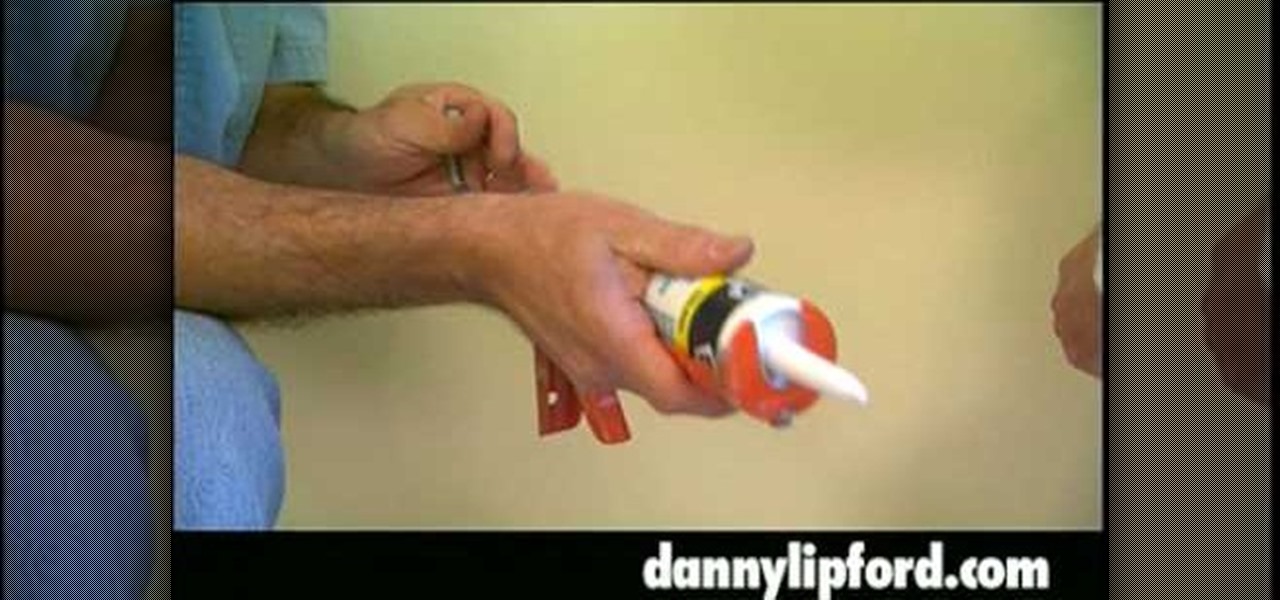
Home improvement expert Danny Lipford talks about a caulk tube extender. Check out this video tip to see how to get everything out of your caulk tube.

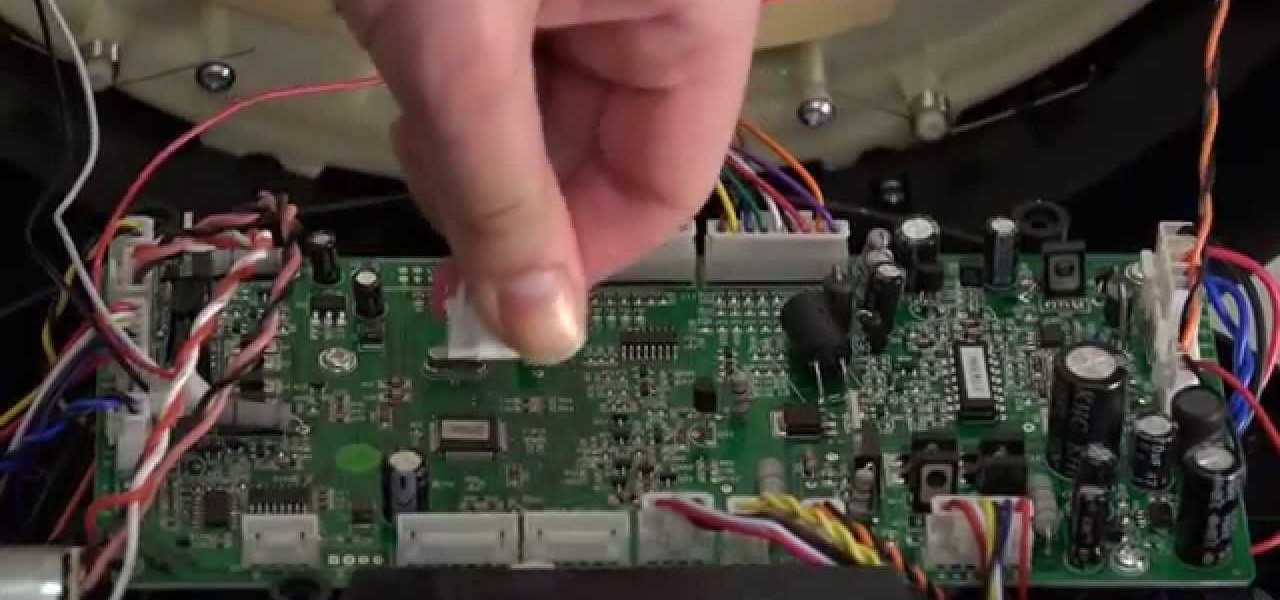
The bumper for bObsweep Pethair and Standard are installed the same way. It holds the sensors that allow Bob to see any obstacles in his path. If a repair of the wall detection sensors is needed, the steps for replacing the whole bumper are the same when working on either bObsweep model.

Microsoft has behaved pretty douchily as far as managing the hard disc drive (HDD) sizes it made available for the XBox 360. The 20GB drive included in most models of the system is woefully inadequate, and many have been convinced to give Microsoft even more money to get a larger one. That's not necessary. This video will teach you how to upgrade the XBox 360's hard drive yourself, putting in any large-capacity SATA drive you wish and massively increasing the storage capacity of your XBox 360...

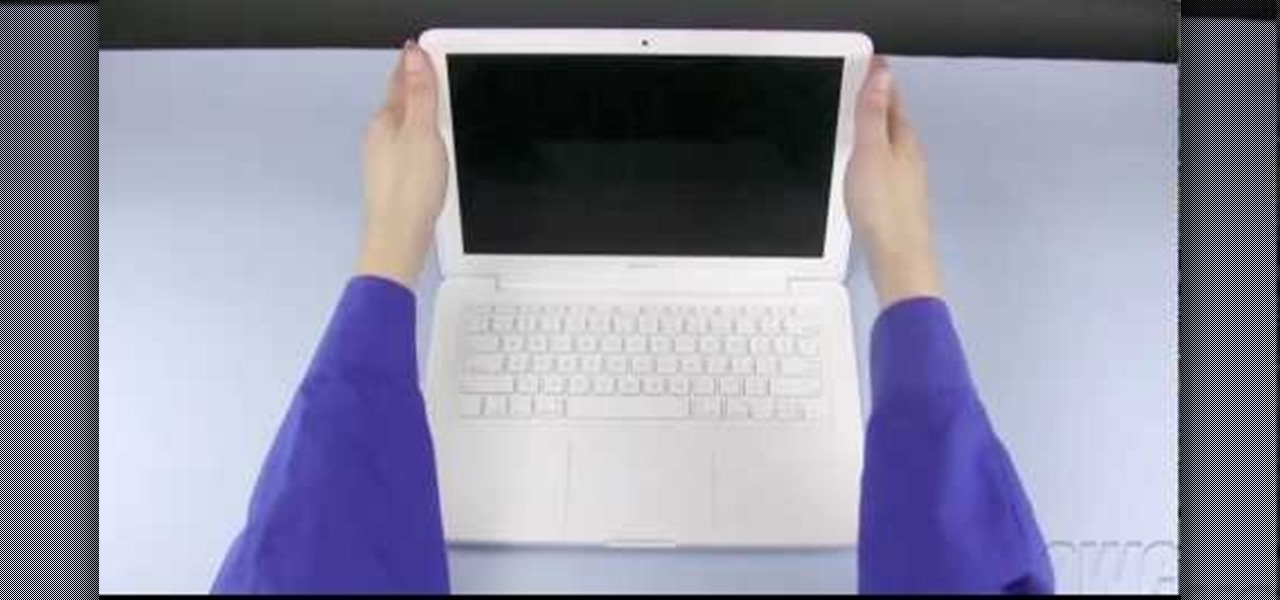
OWC, Other World Computing, demonstrates how to install RAM or upgrade and replace the memory in a 13-inch Macbook unibody. Installing RAM will take approximately 10 minutes to complete and is a relatively easy task. It will require the use of a Philips head screwdriver. First, discharge static electricity before performing the upgrade and make sure the computer is turned off. Close the lid, flip the Macbook over and remove the eight screws on the underside of the computer. Then, lift up the ...

Kim the in-house mechanic for Driverside shows you how to quickly and easily replace your cars air filter. The reason you would need to change your air filter is that over time the flow is reduced which consequently reduces your car's gas mileage. To change your air filter you first need to locate it on your car. The air filter is under the hood and usually in a box that either has clips of fillip's head screws holding the cover on. Remove these to gain access to your filter. From there you c...

First of all take one eight inch 'Ellen ' wrench and take off the back screw. Now you have to slide out the back plate. There is no need to take the front plate apart. You can clean it using some hot water.You can run hot water over it for a minute. You can also set it in a sink and then run hot water from the tap. You can see a scratch mark on the shaft. That is there to show you the vertical. Now insert in to the round so that this mark is in line with a little mark over it. If it is not al...

Hanging closet hooks is one of the simplest ways to expand your storage space. You will need hooks, drill and bits, a steady hand, a stud finder (optional), a hammer (optional), & wall anchors (optional).

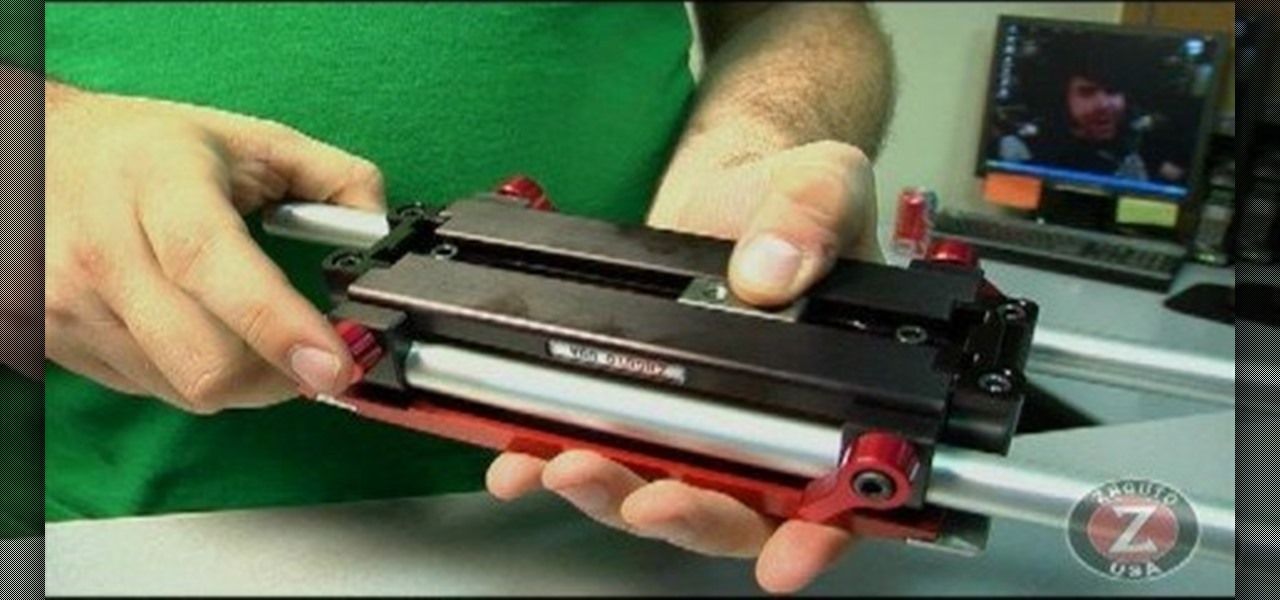
Zacuto Universal Baseplate V3, includes 12-inch rods and works with all cameras. Zacuto's Universal Baseplate allows mounting accessories off the front and the back of the rods. Our new version 3 Universal Baseplate is 22% lighter then Version 1 or 2. The baseplate measurements (excluding rods) are 7 x 4 x 1 ½

Instead of pushing, pulling, and cursing, why not fix that door that sticks? You Will Need

This video shows you how to take apart a Microsoft Zune HD. To take it apart, you will need a tri-wing screwdriver. Using the screwdriver, remove the four screws at the corners. Once the screws are removed, you can easily remove the back cover. To remove the bottom cover, slide it off with your fingers. Next use a T5 screwdriver to remove the three screws, one on each side and one in the middle. There is one more tiny screw near the bottom that has to be removed. Using a prying tool to remove...

In this video, we learn how to fix a wobbly chair. First, you will need to flip the chair upside down to see what the problem with it is. After this, you will need to apply wood glue to the inside of all the joints on the chair. Next, you will need to push the pegs to the inside of where they belong and then wipe off any excess glue from where it leaked out from. Allow this to dry for several hours then flip it back over and test it out. If this worked you are done, if not, you will need to p...

Jerry Phillips teaches us how to kick a field goal in this tutorial. To begin, take three steps behind the football that is laying flat on the ground. Next, take two steps to the left. After this, kick the ball half way on the ball towards the bottom half. You want to hit the bone on your foot in just the correct spot and not hit your toes when you are kicking. With practice, you can kick a field goal in no time. Just keep practicing the placement of your foot and what part of it you use to k...

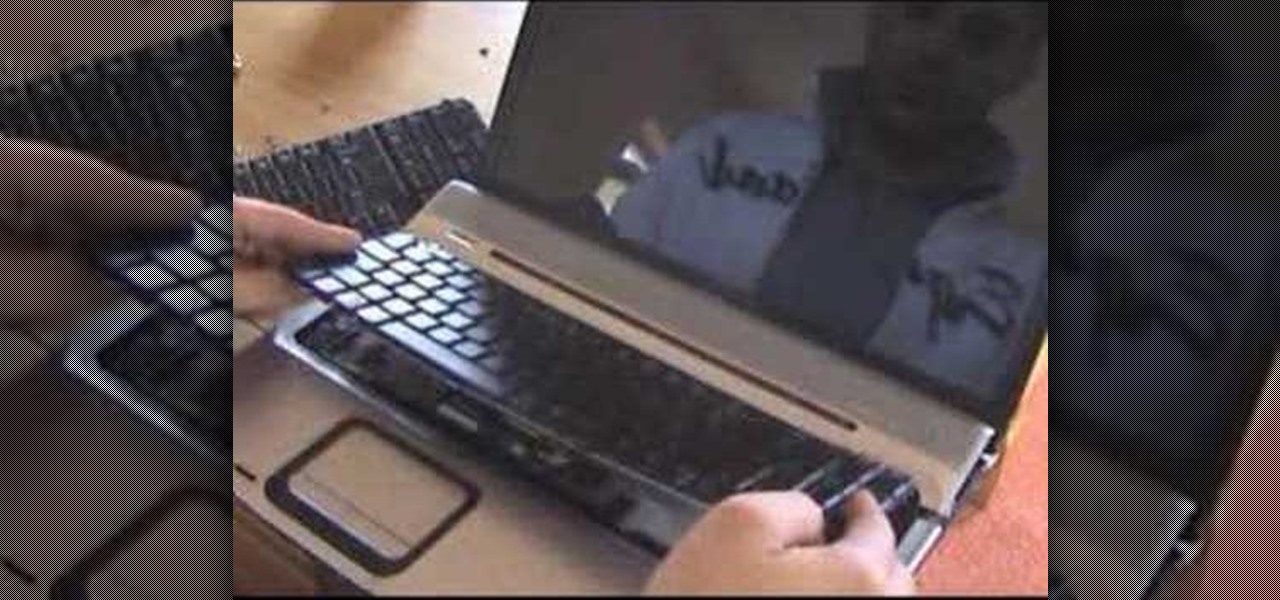
This video tutorial is in the Computers & Programming category which will show you how to change the keyboard on an HP Pavilion laptop. First remove the battery and then remove the 6 screws in the battery cabinet. Now remove another screw as shown in the video. Open up the laptop and remove the panel located on top of the keyboard. Now remove the screws that hold the keyboard in place, slide out the ribbon connector and take out the keyboard. Then take the new keyboard, slide in the ribbon co...

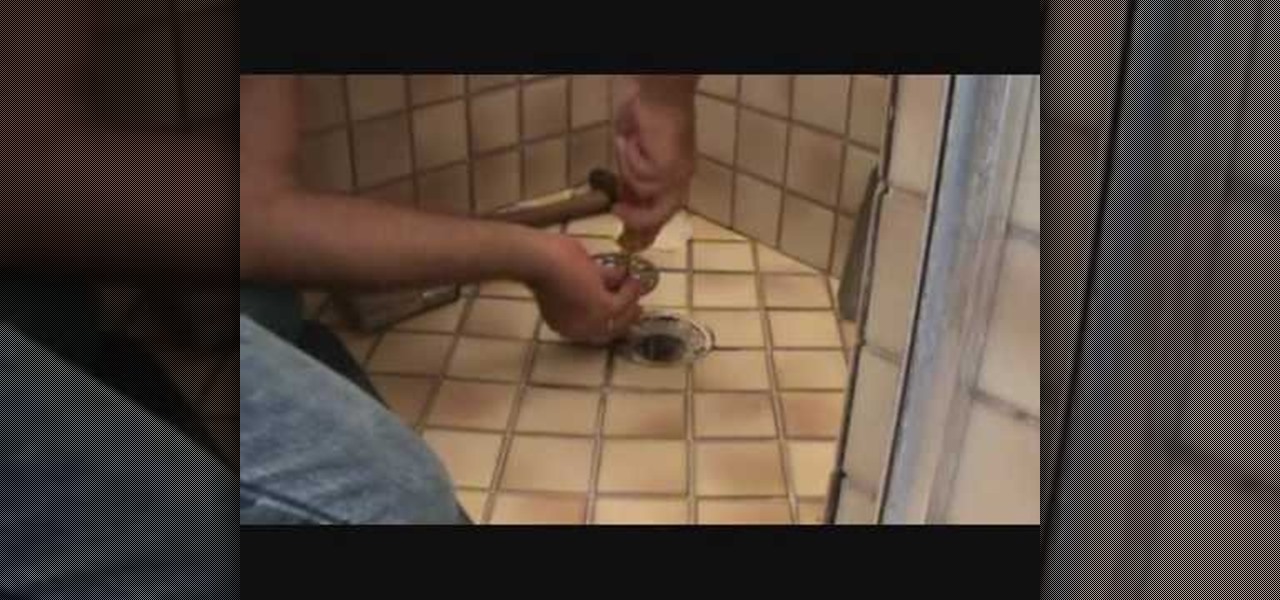
To replace your old rusty drain cover. First, some masking tape over drain cover, to prevent screws from falling into drain. Sweep debris away, as so not to clog up the hole. Remove old shower drain cover to measure, take it to the store, to get the exact size. It's best to take along the screw too, just in case there isn't a screw thats of the same length. Chip away debris from old drain cover, as to make new drain cover fit in easily. If you follow this video, you'll able to replace your ol...

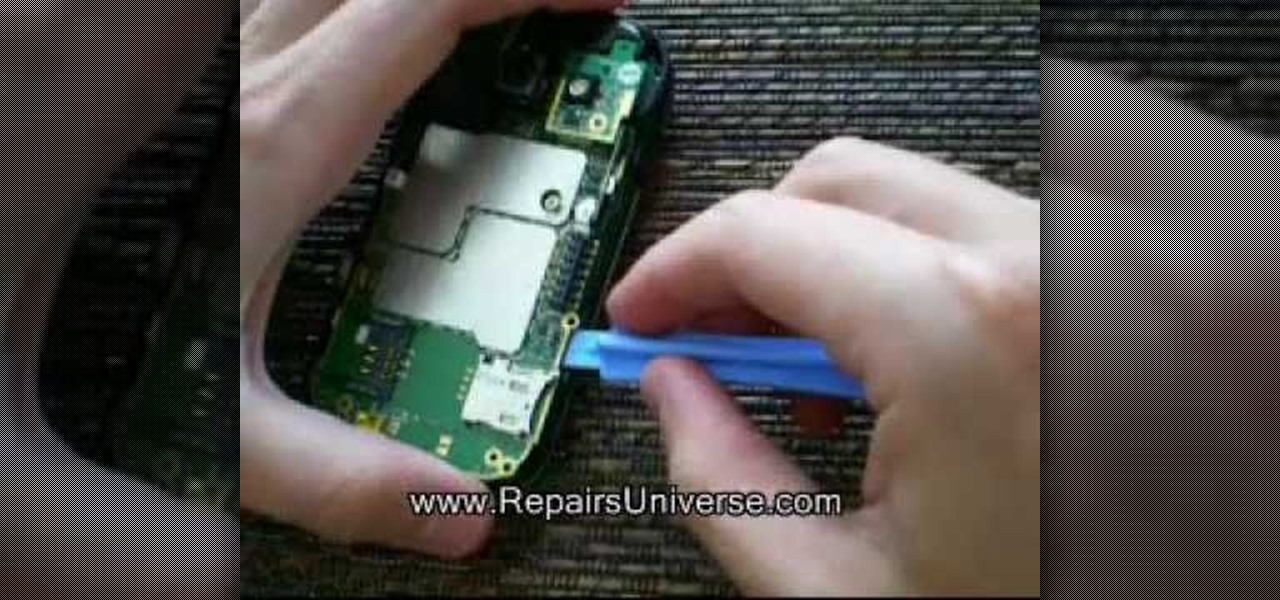
This how to video shows you how to take apart an HTC 8525 and replace the LCD screen. First, remove the SIM card and the battery. Next, remove the screws in the back. Using a pry tool, slide it along the edge of the phone at the bottom to release the clips. Once they are released, remove the back piece. To remove the motherboard, release the ribbon connector with the pry tool. Carefully lift the motherboard from the case. Remember that it is still connected to a ribbon that must be released. ...

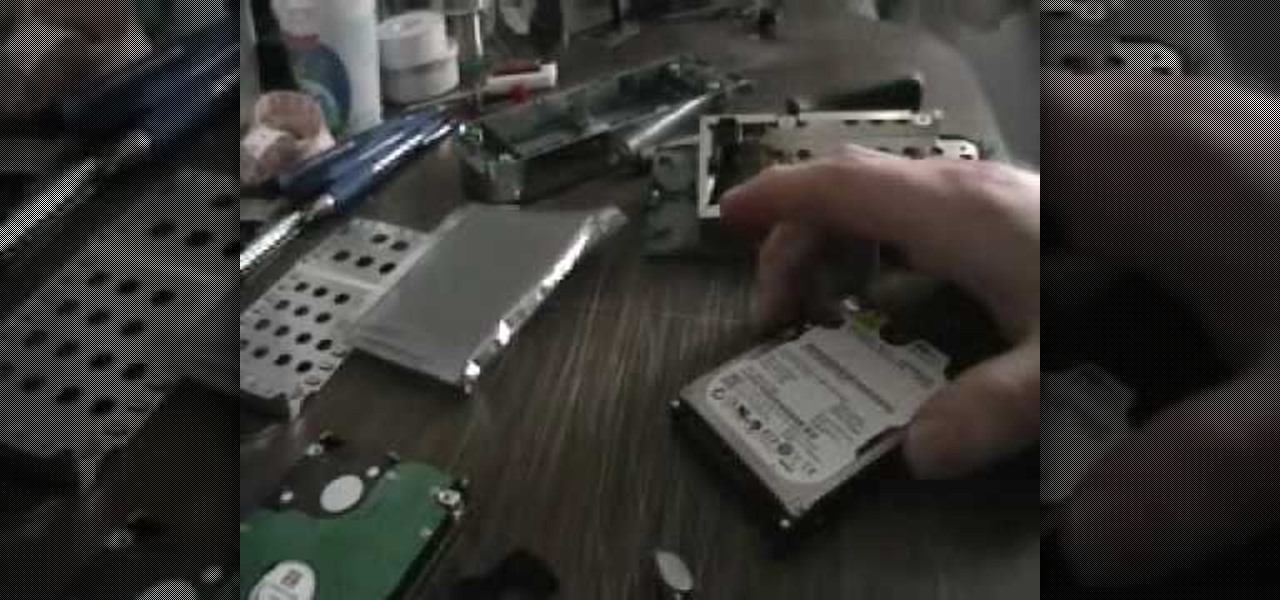
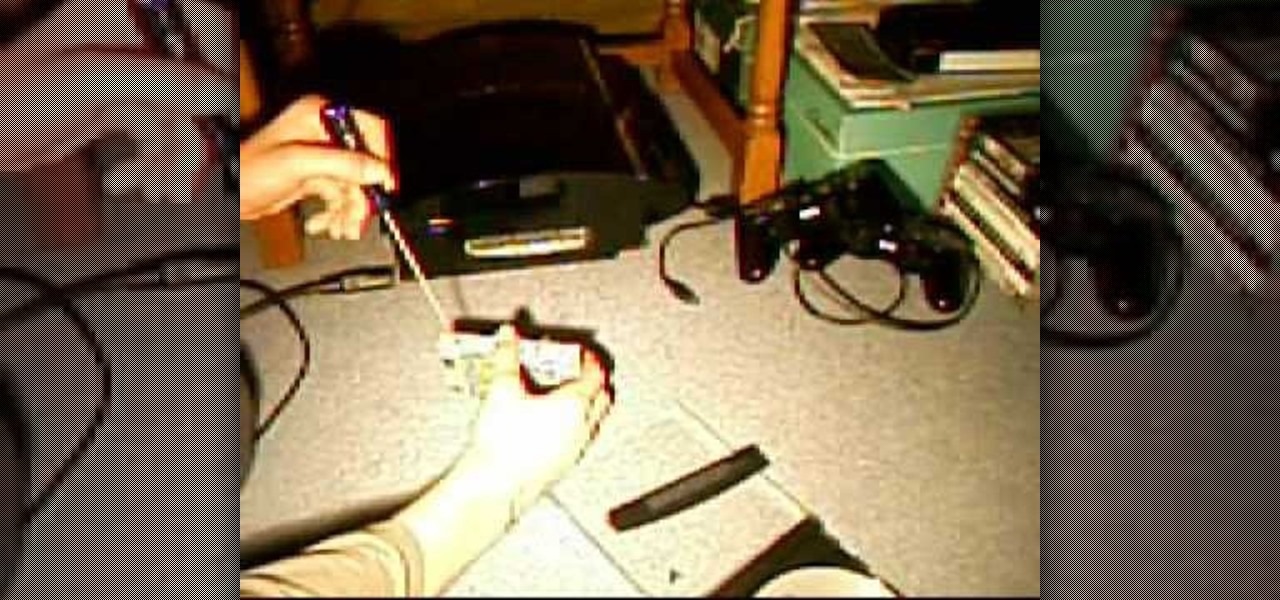
If you download a lot of content onto your Playstation 3, you're eventually going to have to upgrade your hard-drive for more memory to be able to keep all of your content. This video tutorial will show you step-by-step how to do this once you have the appropriate hard-drive. It involves a lot of unscrewing but the process is relatively easy. As precautionary measure the narrator advises you to have a place handy to keep all the screws since they are very small. First you remove the small cov...

This video shows you how to countersink a wood screw. 1. Find appropriate pilot hole drill. This should match the shank size of the screw.

Looking to take some safety precautions for the exterior of your home? Motion detector lights are a good way to ward off unwanted intruders. Installation of motion detector lights isn’t as difficult as it sounds, since most are pre-wired and preassembled.

A CNC router machine is probably the most useful tool a hobbyist can own, but the price for a CNC machine on the market is way more than the average hobbyist is willing to spend. You can build your own CNC with very basic tools, little knowledge of machinery, mechanics, or electronics, but be warned, these machines are inherently dangerous, so wear the proper protection and use common sense. At the very least, read the instructions and precautions on every tool you use.

A CNC router machine is probably the most useful tool a hobbyist can own, but the price for a CNC machine on the market is way more than the average hobbyist is willing to spend. You can build your own CNC with very basic tools, little knowledge of machinery, mechanics, or electronics, but be warned, these machines are inherently dangerous, so wear the proper protection and use common sense. At the very least, read the instructions and precautions on every tool you use.

This parlor trick video aptly demonstrates how to open a bottle of wine with an ordinary swiss army knife when that feisty cork screw goes missing. This video is a great alternative for college students who seem to inevitably misplace or loan their cork screws and want to seamlessly open and enjoy a nice glass of wine.

Doing a little remodeling and construction around the house? Choosing the right tools can be a daunting task. This home and garden how to video demonstrates the proper operation and use of an impact driver to drive screws into wood.

In this video Bob Schmidt shows you how to properly use nails and screws while nailing and screwing the drywall your hanging in your home remodeling project.

Ever notice that water just doesn't come out of the faucet like it used to? Chances are that the screw on the aerator is clogged.

In this video, we learn how to make a BBQ smoker out of a drum. First, turn the drum upside down. Next, paint the entire drum green and make vents in the side bottom of it, with covers that can be moved or set aside. Drill screw into the top of the drum then add in wood and charcoal to the bottom of it. When you are done with this, you will be able to hook your propane to this, then light it on fire. To smoke a piece of meat, you will need to put the foil underneath a grill rack and then plac...

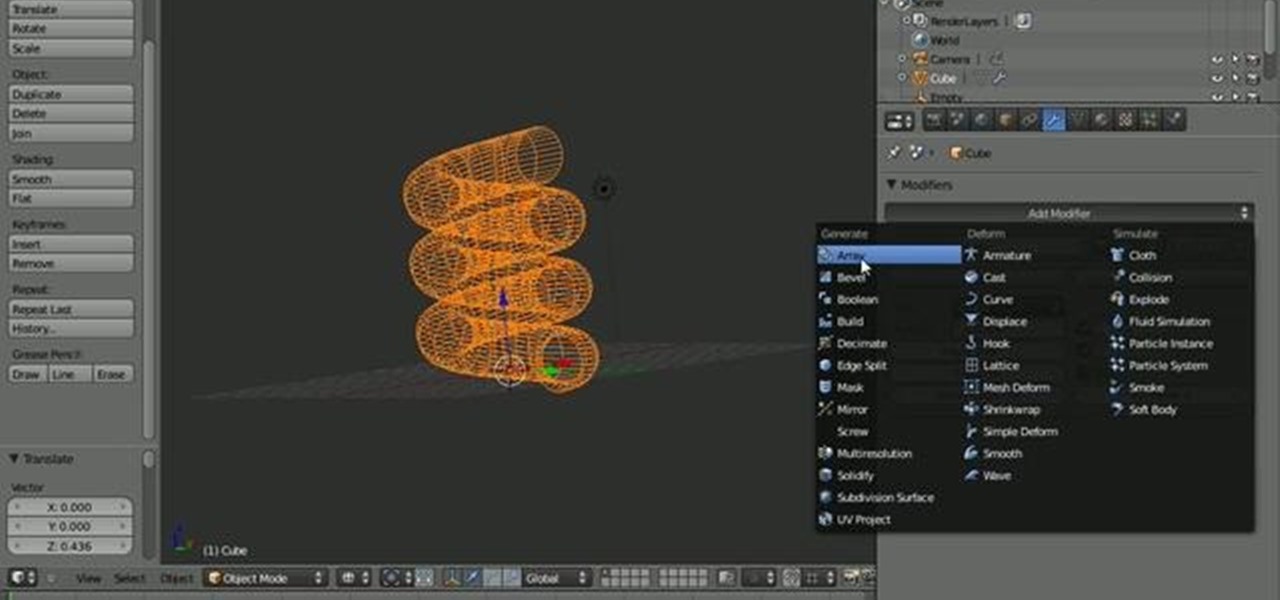
In this quick Blender 2.5 video tip, you'll see how you can use the Screw modifier to quickly create threaded objects or springs. This method is non-destructive and very quick to use. Whether you're new to the Blender Foundation's popular open-source 3D computer graphics application or are a seasoned digital artist merely on the lookout for new tips and tricks, you're sure to be well served by this free video software tutorial from the folks at CG Cookie. For more information, including step-...

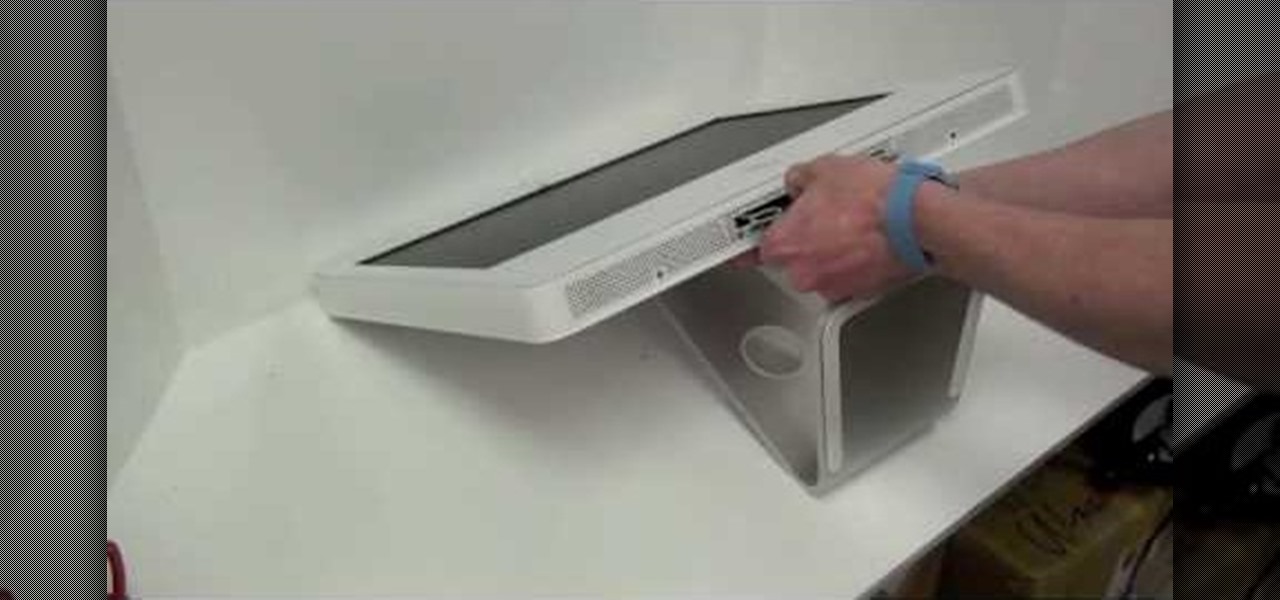
In this how-to video, you will learn how to remove the front case of an iMac G5. First, lay the case on its back. Remove the screws in order to get the ram bay cover off. Once this is done, pull on the release tabs to remove the ram modules. Next, remove the torx screws on the bottom side of the casing. Once these are removed, work your way around the casing to remove the front from the back. Do not pull too far as you might damage the wires to the camera. Unplug the camera once you are able ...

In this how to video, you will learn how to remove your hard drive from an iMac G5. First, open the cover of your iMac. There will be torx screws that have to be removed from the left hand side of the hard drive. Once this is done, you will have to unplug the two cables located on the bottom of the drive. From here, remove the hard drive up and out. Unscrew the screws attaching a bracket to the hard drive. Once this is done, you can swap in your old drive for a new one, or make modifications ...

This is a video tutorial that is showing its audience how to make a super cannon arm. The first thing you need is a plastic jug, a switch, a wire, a wooden dowel, spray paint, a tap light, nick nacks, foam lining, and a pin light. The plastic jug will be the casing, cut out a hole for the lightsource and a hole for your arm cannon. Spray paint the jug. Make the handle with the wooden dowel. Then screw the handle into place with two screws into your plastic jug. Once you put the handle in then...

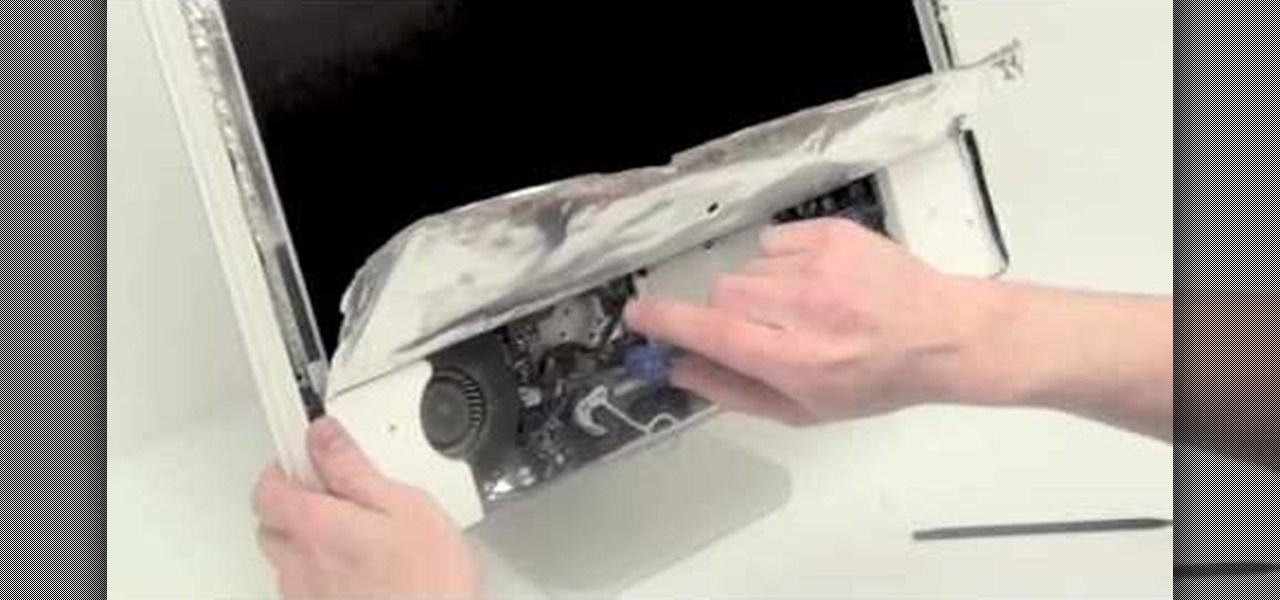
In this Computers & Programming video tutorial you will learn how to remove the LCD display from a G5 iMac. This video is from powerbookmedic.com. First, loosen the rubber band around the display by inserting a pointed object and freeing it slightly with your fingers. On the bottom, free the lower end of the sheet and lift it up. Now remove the two screws and dismantle the part as shown in the video. Then on the top of the display unstuck the two stick pads and remove four screws from the fro...

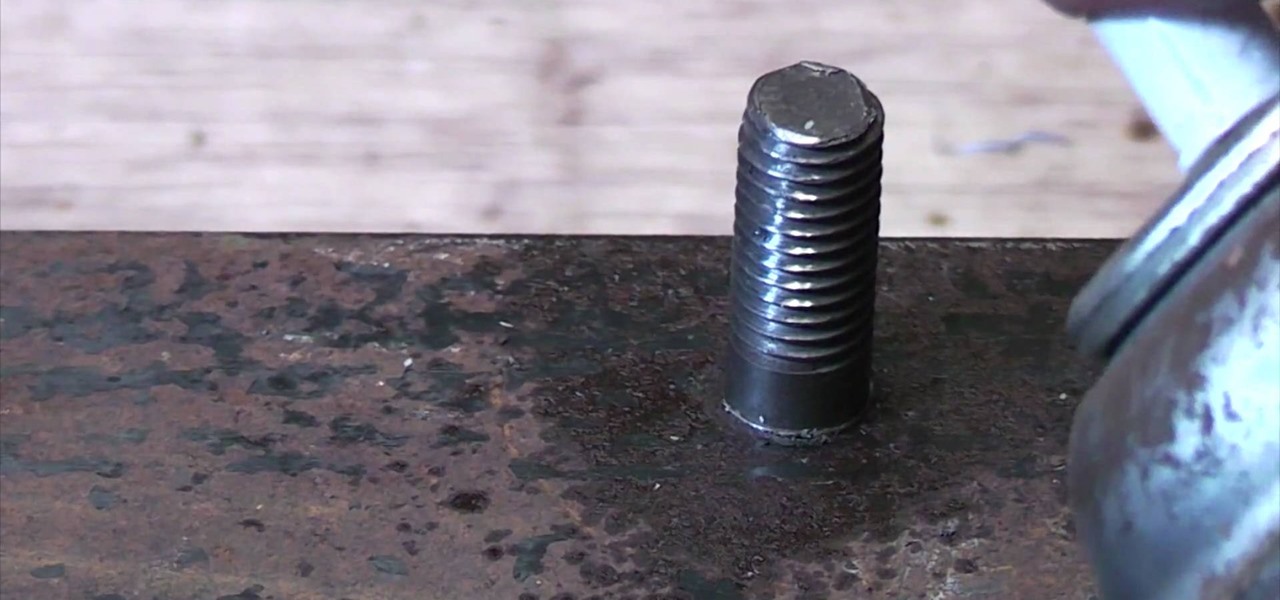
Ultimate Handyman demonstrates how to remove a threaded stud from a threaded hole. You will often find threaded studs when you are doing car repair. First, remove the nut from the stud. Then, spray it with lubricant. Next, screw the nut back on the stud. Screw another nut on top of the first nut. Grip the bottom nut with a wrench while tightening the top nut. Grip the bottom nut and turn it in a counter clockwise direction. The stud should then pull out of the threaded hole. It may be difficu...

In this video tutorial, viewers learn how to repair a broken Les Paul Guitar Hero guitar controller for the Xbox 360. Begin by unscrewing the screws in the neck of the guitar. It is recommended to detach the neck from the guitar for easier access. Now open the top part of the neck and carefully remove the green chip from the tab. Then put the green chip in front of the original tab. Now screw the neck back together and attach it to the guitar. This video will benefit those viewers who enjoy a...

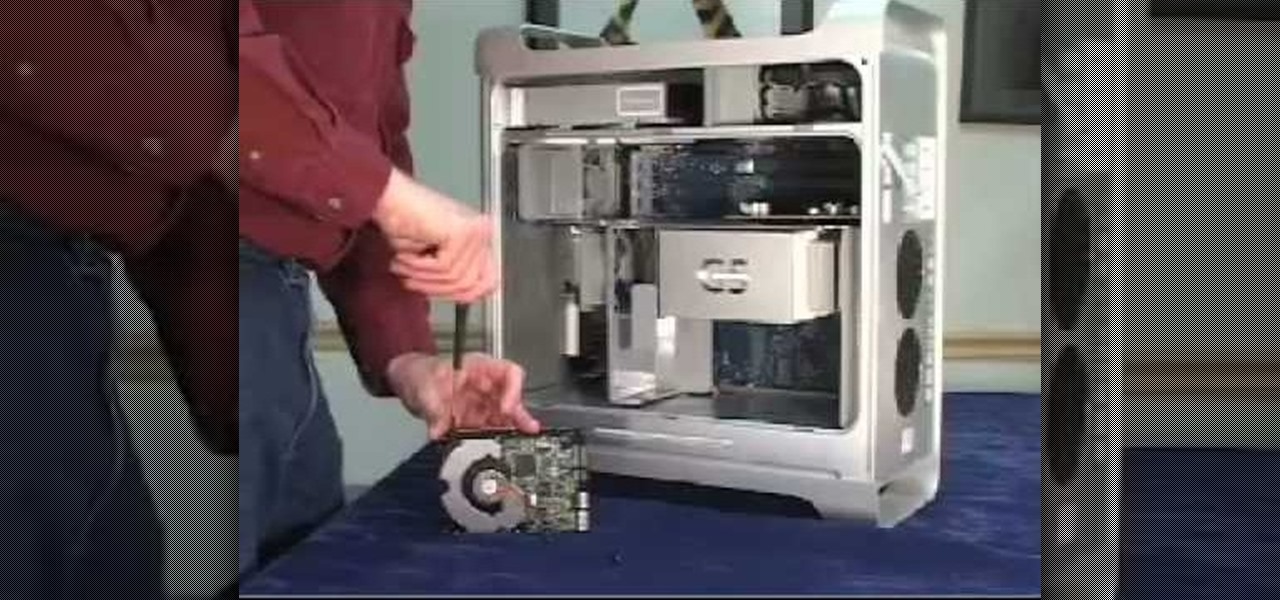
This video is about installing second serial ATA drive into a Power Mac G5 system. The video is a step by step demo starting with the removing of the door to the machine and the air pack. The first hard drive is at the top rack and you have to remove the four screws at the bottom and insert them into the top and bottom screw alls on each side of the drive. The hard drive is inserted below the first hard drive and the data and power cables are plugged into their respective slots. The video is ...

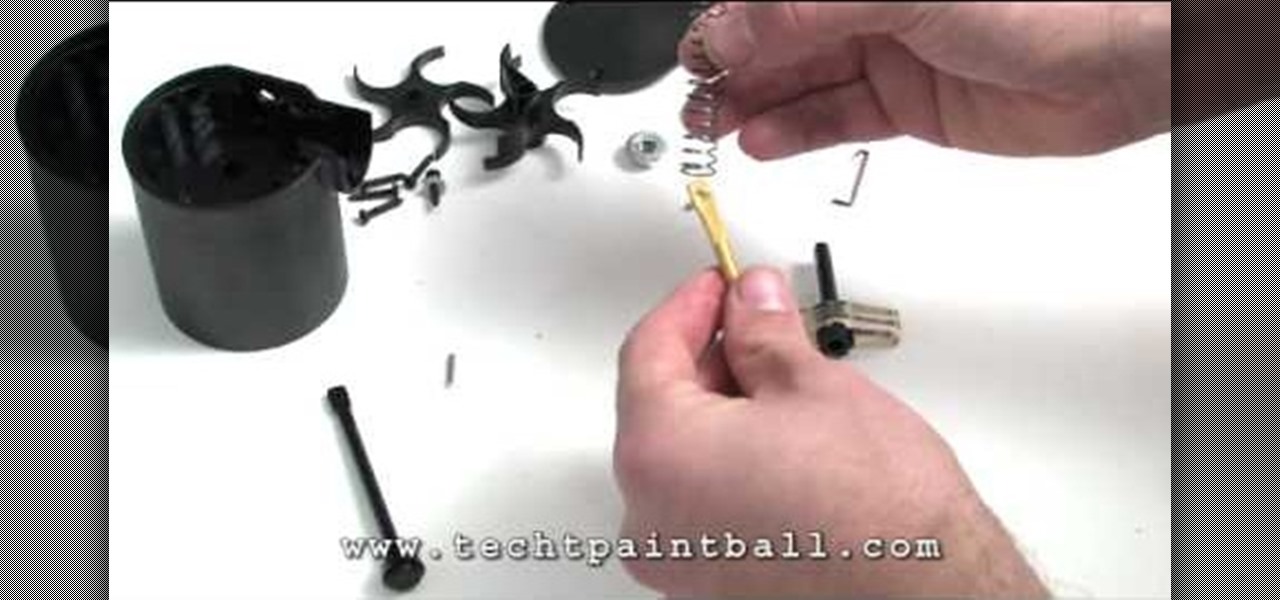
In this video, our author, KRASHARPSHOOTER, shows us how to install a TechT Lightning Rod. First we remove the screw on the underside, and turn it over and remove the four base screws. Now lift up on the piston housing and remove it. Then, remove the nut and the tension guide. Now you can remove your ratchet axle and rod. Now remove the pin that hoods the ratchet rod and axle together.


