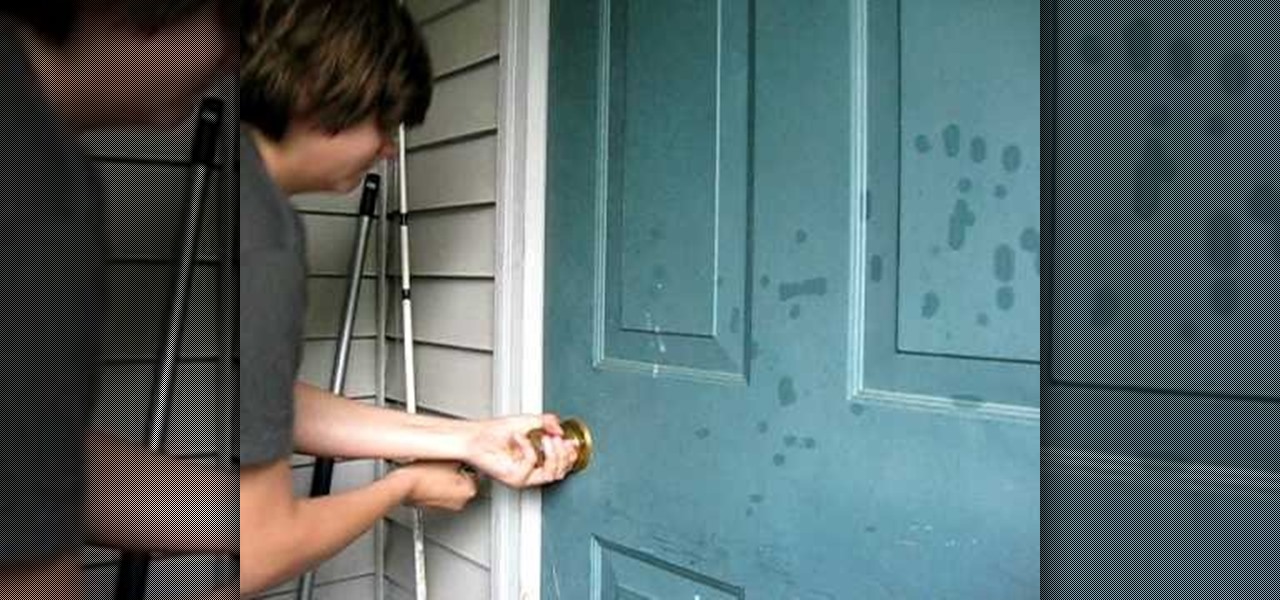
In this tutorial, the instructor shows us how to open up a door with a screwdriver. For this to work you will need a locked door and a screw driver. You first will need to take the screw driver and push it under the two latches on the side of the door on the lock. Keep pulling back on the latches with the screwdriver until the door pops open, this can take a few minutes or a few seconds depending on the lock strength. This will work on most normal door locks. Be careful because this will leav...
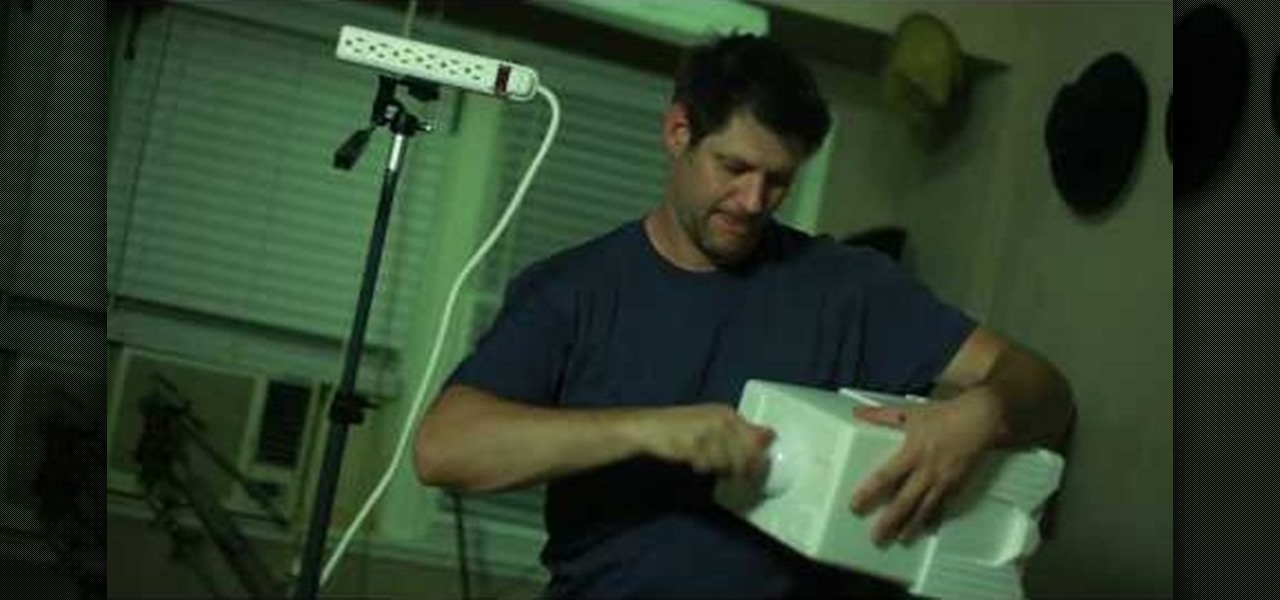
This video shows how to make a studio softbox light for under 20 dollars. It is made with items found around the home or easily acquired. The author takes us through the process in a step by step manner. It starts with a cheap camera tripod upon which a plastic electrical outlet strip is attached using either a screw or strong plastic adhesive. An electrical plug with a light socket attachment is plugged into the strip to allow the light to be attached. A small cooler with a hole cut in the b...
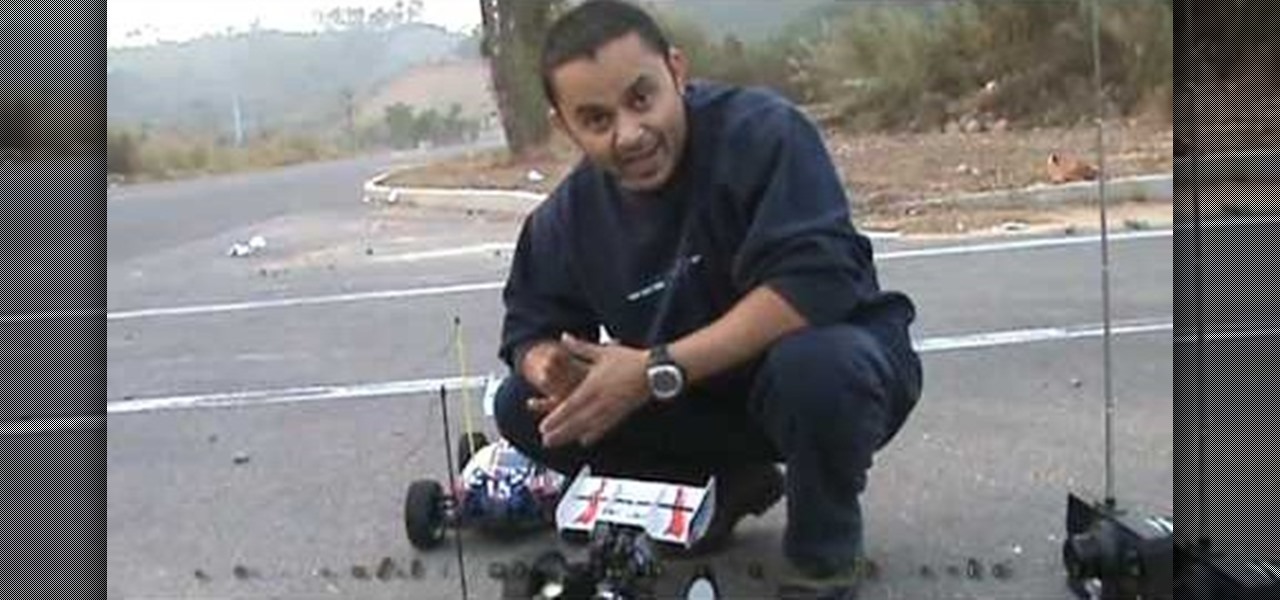
This video shows you how to tune the ACME attacker 1/8th scale nitro engine buggy. Use the high end valve and the idle speed screw as show in the film. Turn the engine and get it to the operating temperature and drive round to the see how the car performs. If the acceleration is sluggish then the low end valve should be adjusted. If the engine is having too much RPM then the idle speed should be reduced using the idle speed screw. If the engine bogs down and makes noise on full throttle and i...
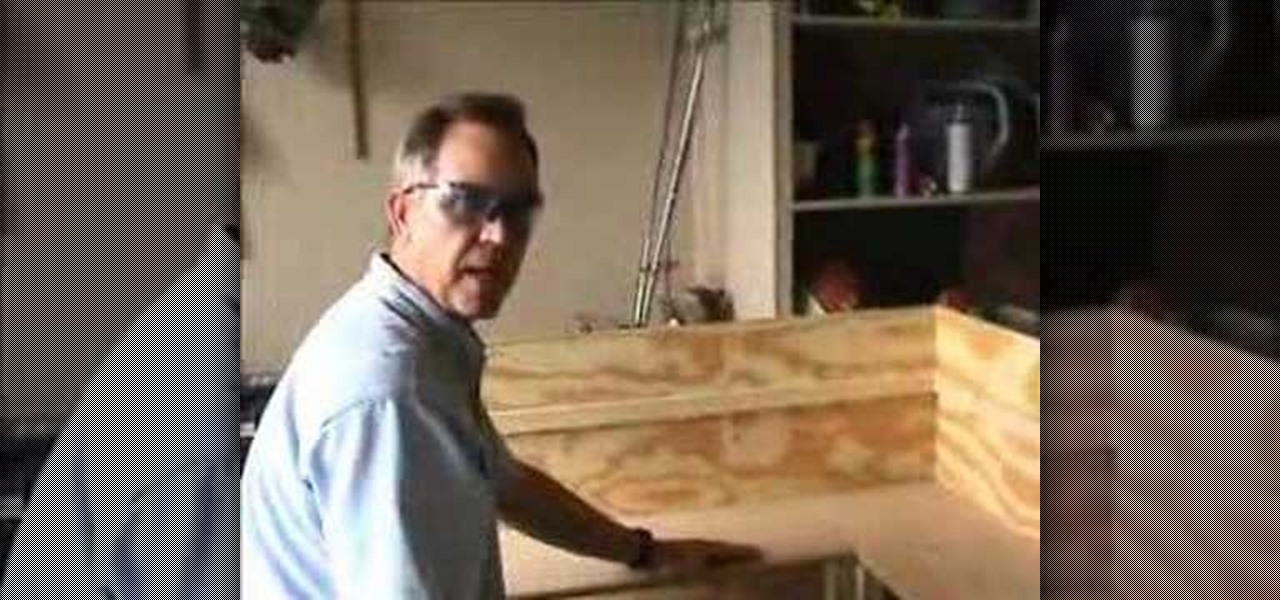
Nine inch storage shelves are spaced and constructed in a practical way. It shows the right screws. This requires a drill some wood. The viewer is shown how to make a good back brace for the shelves. It shows how to make the shelving unit level. You learn the screw head must be flat. You are also shown how to put in a good support for underneath the shelves. It shows the center support being constructed. He shows how to set the shelves up so there is support from all sides and to make the she...

To install foam gaskets under light switch plates and outlet covers you will need a screwdriver. Installing foam gaskets under light switch plates or outlet covers on an outer wall is a great way to stop air leaks in your home. First, use your screwdriver to remove the light switch plate cover. Install the foam gasket by placing it over the light switch. Next, replace the light switch plate. Return the screws to their original positions and tighten the screws with your screwdriver. Follow the...

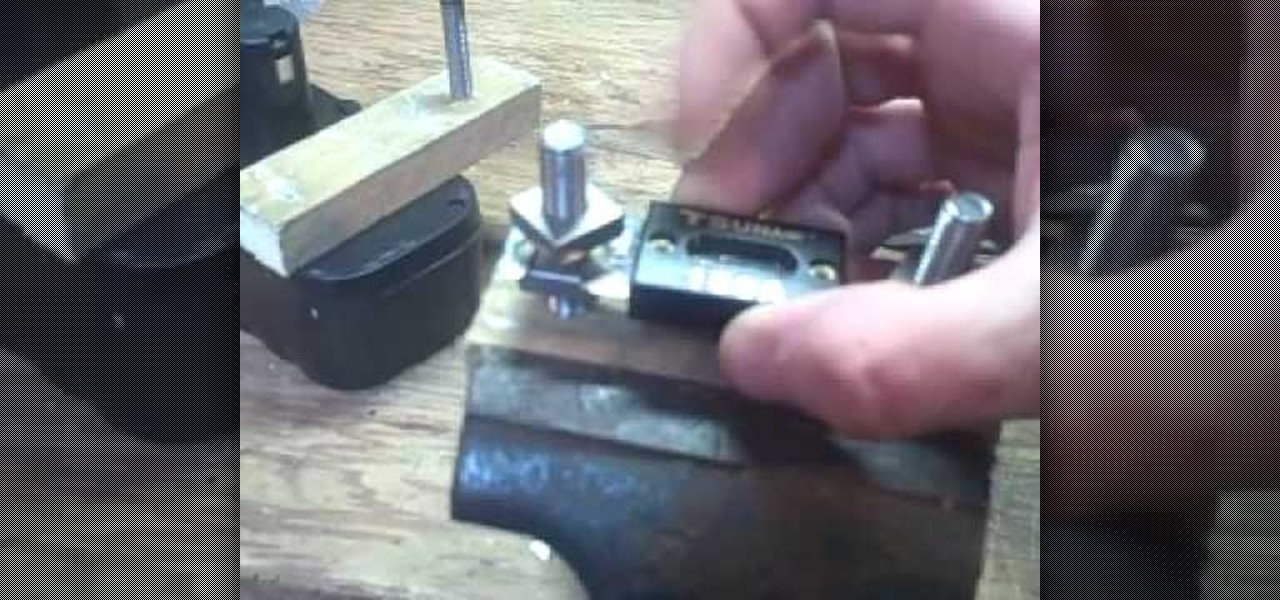
In this Home and Garden video tutorial you will learn how to build a simple miter clamp. Chuck Miller in this video explains how simple and easy it is. When you glue in two parts together, you need to hold them in place so they join firmly. A simple way of doing this is by a miter clamp. Take a spring clamp, remove the protective seals from the end of the clamp, put some oil and drill a hole through it. Using a wooden block hold the jaws apart and screw in a fine threaded screw on both the ja...

In this video Danny Lip ford is showing how you can convert an old sponge mop into an inexpensive pole sander for your household purposes. For this, take an old sponge mop and remove the sponge from it by loosening the screws. Then cover the rectangular sponge fully with the sheet of sand paper. Now screw back the sponge with sand paper to the head of the mop. You can do your sanding in the wall very easily now. If you were to use just a sheet of sandpaper and sand the wall, it would take a l...

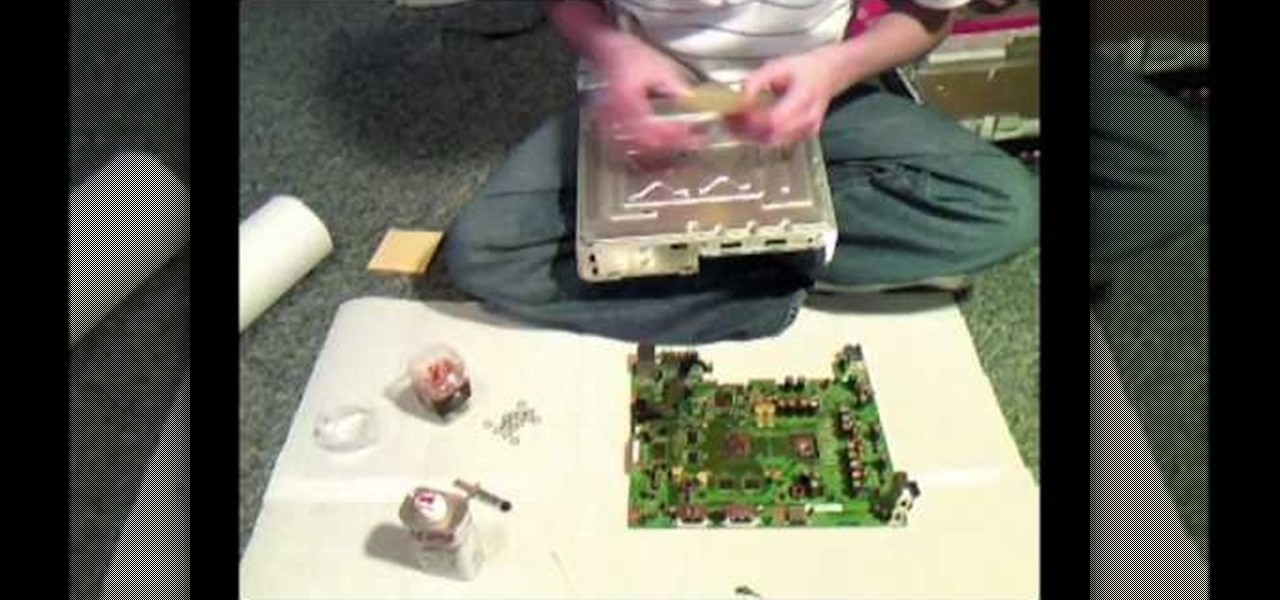
Disconnect all wires from XBox. Hold power button for 2 minutes to clear electric charges from XBox. Remove hard drives by pulling hard drive button and just straight up. Remove faceplate in XBox by gripping on the sides. Remove the bottom and top panels. Separate them. You'll hear a pop when they release. Complete separation by unhooking the tabs with your fingernail. Use a Tore T10 star screwdriver to remove the 6 screws in the video. You don't need to remove any other screws. Set them asid...

If your replacement faucet is not the right size, pick up a connector and fitting from the hardware store. You will also need wrenches. First turn off the water supply. Then, brace the pipe with a pipe wrench. Use another wrench as a lever and remove the faucet. Take a piece of plumber's tape and wrap the brass connector. Make sure you thread the tape in the same direction that you screw on the connector. Screw the connector on by hand and tighten it with a wrench. Use the other wrench to kee...

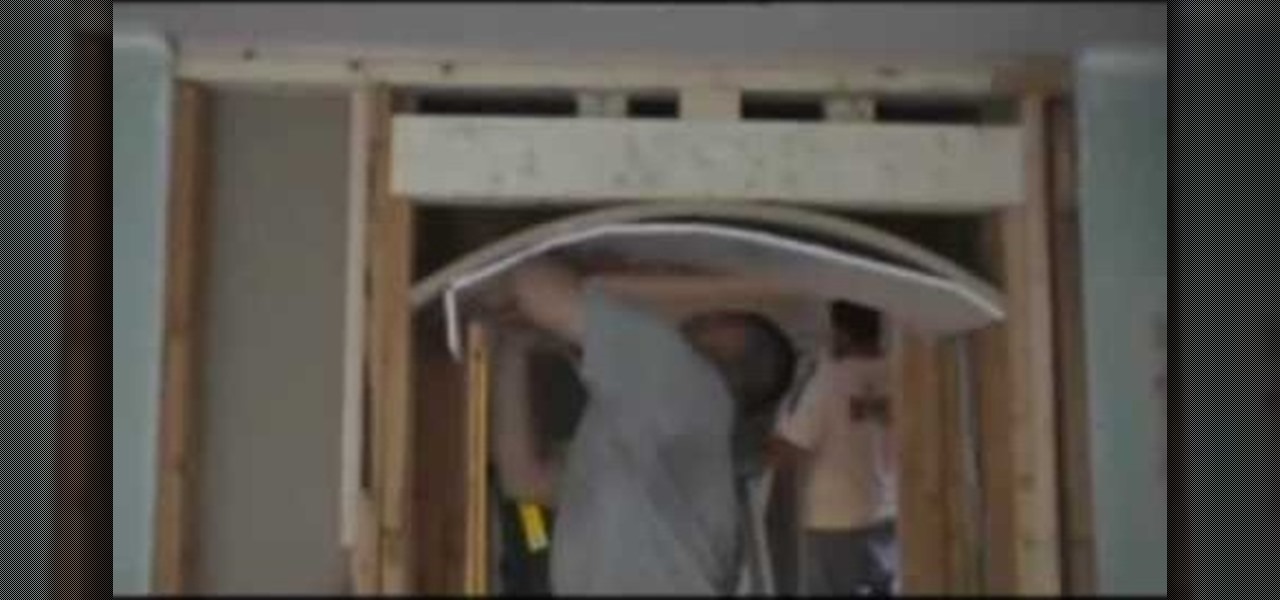
Watch this video learn how to drywall an archway in five quick and easy steps. Measure and cut drywall to fit your arched opening. Score the back of your drywall to help it bend to your archway. Place drywall into opening. Tack or nail to hold the drywall in place. Screw drywall into arch. Mark and cut the drywall for the face of the archway. Place drywall over archway and use as a template to cut the drywall. Nail/Screw drywall to the face of the archway. It is now ready for corner bead, tap...

This video describes how to make flower with the help of paper. Take a card paper, one cutter and screw. Firstly cut the paper with the help of cutter. The cutter cuts paper in form of flower, then cut this paper from corner and then make a hole in the middle of this paper. Now take a another piece of paper of a different color and cut this paper in the shape of a small flower. Now put this small paper in the middle of the first paper and tighten with screw. Now your paper flower is ready you...

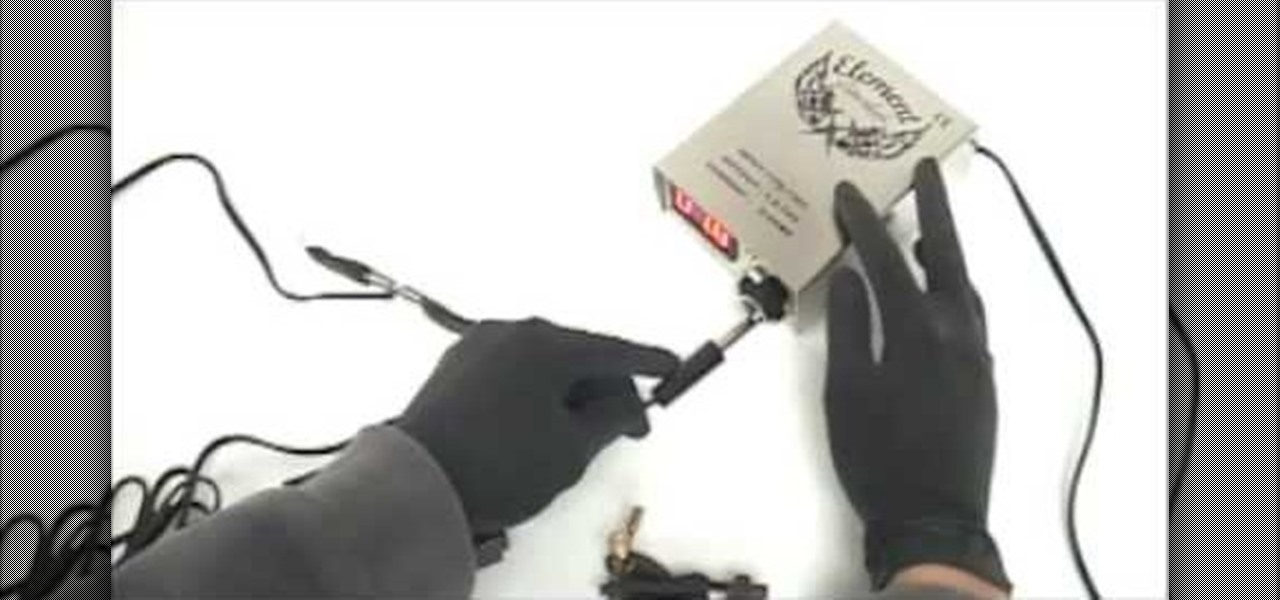
This video describes the process of tuning a tattoo machine. The video starts by explaining the different parts of the tattoo gun. The presenter shows the different settings for the contact screw. For doing outlines the contact screw should have a gap the width of a dime. If you are filling a tattoo in with shading, then adjust the gap to the width of a nickel. The presenter then hooks up the tattoo gun to the power supply and adjusts the voltage to eight volts.

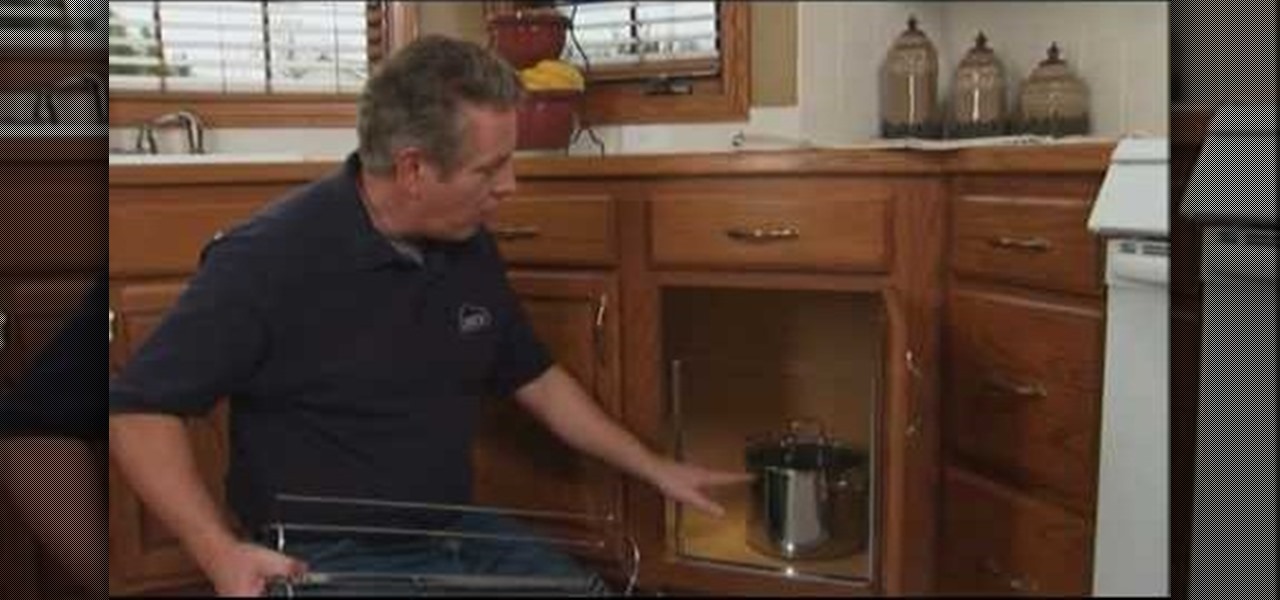
This do-it-yourself video from Lowe's describes how to plan and install a pull-out wastebasket and a two-tier shelf. He explains how storage should work within the kitchen triangle. The pull-out wastebasket frame attaches easily with screws. He then adds a slide-out feature so that the door pulls the wastebasket out. The two-tier wire basket is used to hold pots and pans. Slides are attached to support brackets, the frame is set inside the cabinet and attached with screws. Cabinet organizers ...

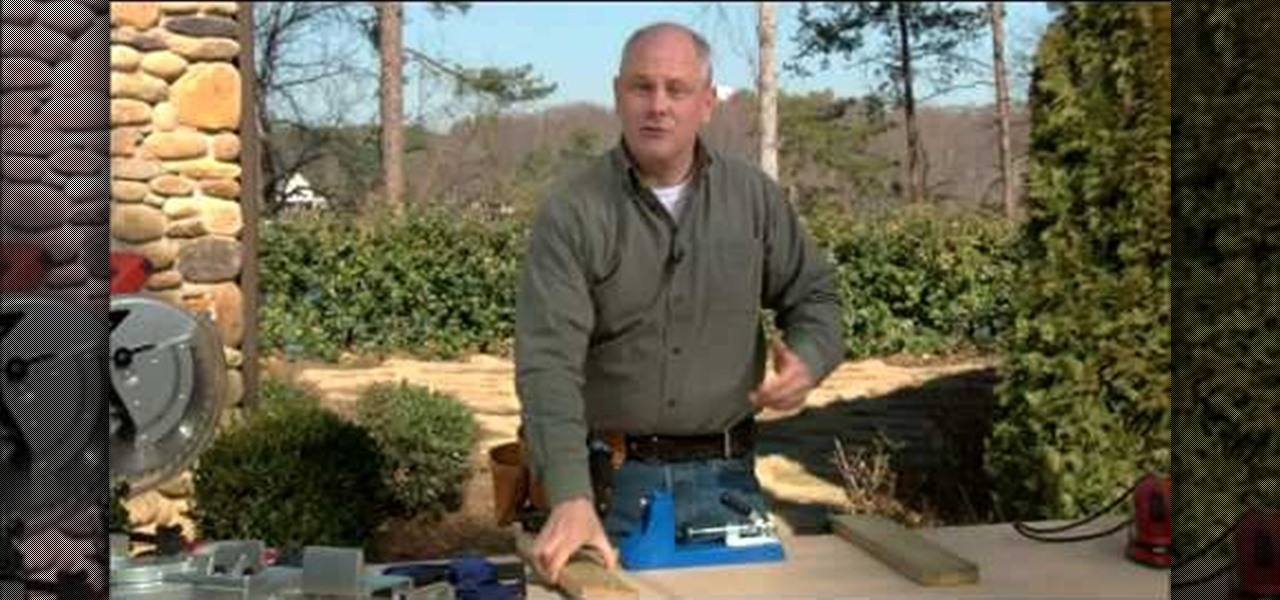
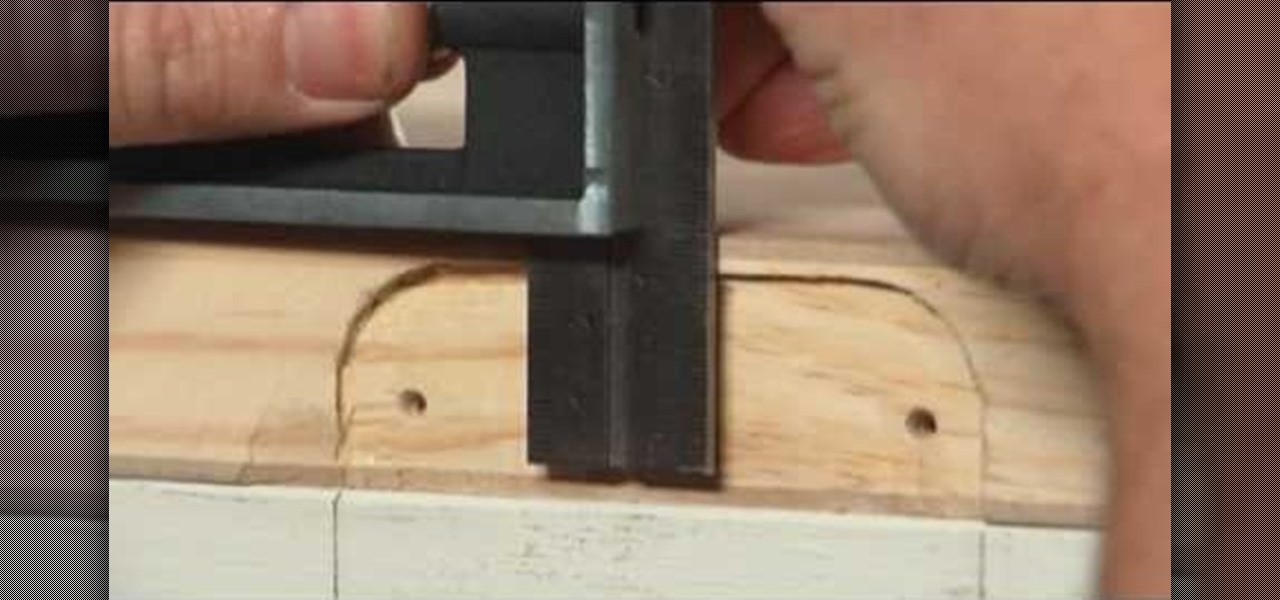
Professional furniture makers have used pocket hole joinery for years... and for good reason. It's a simple way to achieve a strong, permanent joining of two pieces of wood.

This video shows the viewer how to hang dry wall easily and efficiently. In the video the creator uses a utility knife to score the sheets he will be using to construct the wall. He then snaps the sheets and finishes the cut with his utility knife. He uses a dry wall lift to hold the sheet in place before he screws it to the wooden frame. He specifically fastens the screws working across the sheet - not fastening the corners first. This stops the sheet from buckling due to errors and allows i...

Headline: Make an astrojax Description: Here you can make an astrojax which is a cross between juggling and a yo-yo.

You use a bike rack that extends from floor to ceiling. Pick where you want to put your picture and place the bike rack there. Adjust the bike rack so that it is at the level you want the picture. Then take a clamp light and clamp it to the pole of the bike rack. If the light slips on the pole, you can wrap some duct tape on the pole to create a surface that the light will stay on. Point the light toward where the back of the picture is going to be. If the picture you want to hang does not ha...

Picture this: You're putting together your new desk or bedframe from Ikea, you go to drill in your final screw with your power drill, and the screw just keeps turning. The hole is stripped, and your brand-new piece of furniture is far from sturdy. What to do? This wuick how-to video clip by professional do-it-yourself Ron Hazelton has the answer. Three different options, actually. Watch this video home improvement tutorial and learn how to fix a stripped screwhole.

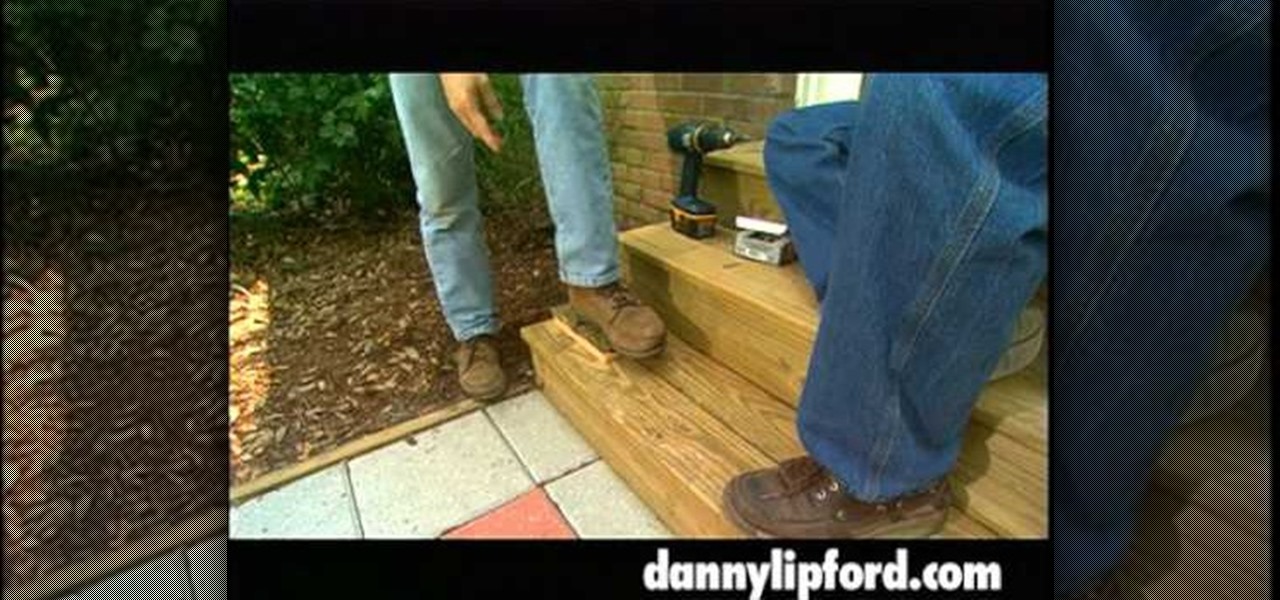
Check out this door mat boot scraper from Home improvement expert Danny Lipford. Just watch the video tutorial to see how to make door mat boot scrapers on your exterior stairs.

In this how to video, you will learn how to replace the screen on your Blackberry Storm 9530 and 9500. First, remove the battery and sim card from the phone. Lift off the covering over the camera lens with a pry tool. Gently do this, as it has glue. Next, turn the phone over and do the same for the bottom section of the phone. Using a torx screw driver, remove the screws underneath the section you just removed. Turn the phone over and remove the four screws shown. Use the pry tool and run it ...

In this video it is demonstrated how to put a spare tire in your car if any of your tire is flat. First of all you should turn your car off and take out your auto manual to find out the location of spare tire and tool kit. Once you know that, take out the spare tire and the tools (mainly jack and spanner). With the help of the spanner loosen the screws in the tire. Then, with the help of a jack , raise your car a bit above the ground. Then take off the loosened screws from the tire and remove...

To replace a door, refer to Lowe's do-it-yourself for a step by step guide. Replacement is not very difficult. To replace just the door, tools and material required are: a new door, hammer, screw driver, tape measure, pencil, combination square, saw horses, clamps, chisel, a door lock installation kit, a drill with bits, circular saw, level, work gloves, dust mask, safety glasses, plane, shims, cardboard, and a utility knife. Before removing the old door, take a few measurements like the widt...

In this video we learn how to change a flat tire. If any tire of the car is flat you should not drive it further as it can be dangerous. Hence you should immediately bring your car to a side and start off your hazard button. Next you should take out your jack and put it in the right position below the car so as to lift your car and enable you to take the flat tire out. Once the tire is lifted above the ground, take out the spanner and unscrew the tire screws. They might be very tight so you w...

If you have ever found yourself working on a car project at your home and ran out of fuses, this tutorial is for you. Instead of going out and paying around $30 to $40, make your very own. It's wasy and saves you time and money.

How to fix and repair the LCD screen on the HTC Touch

In order to make a brushed metal effects in Photoshop you should first go to your gradient tool and select a dark grey or a black and click okay. Shift and drag your mouse to create the gradient. Next, go to filter, Noise, and then add noise and change the percent to 40% and click okay. Now, go to blur and ocean blur and change the angle to 0 and distance to 100 pixels. Now, for the sides to look like brushed metal, crop those sides out. Now you have a metal effect. To make a screw, click on ...

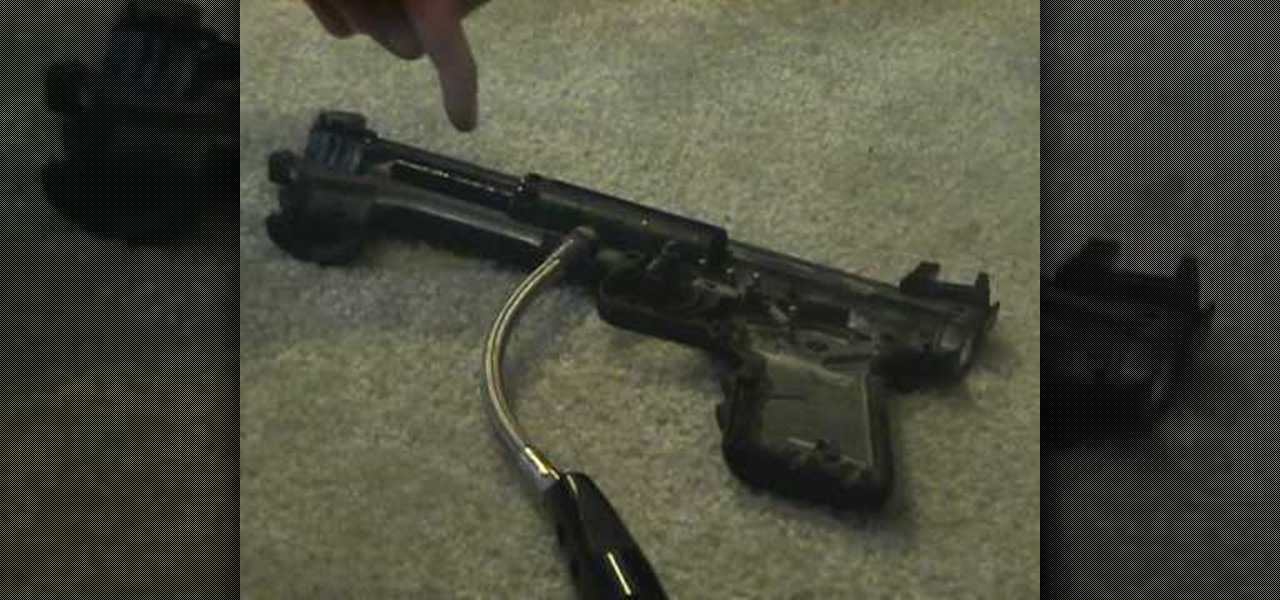
This video shows how to clean a Tippmann 98 Custom paintball gun. Materials needed are Pliers, gun lubricant, paper towels, Tippmann 98 Custom and Appropriate sized Allen Wrenches.Step 1. Unscrew barrel, take off hopper connector and tae off bolt cap.Step 2. Next use the Allen wrench to take off Co2 connector and handle grip.Step 3. Then take out the 6 screws that hold the 2 sides of the gun together.Step 4. Take out the front and back bolt.Step 5. Spray lubricant on the places and on both O-...

ultimatehandyman shows you how to Rewire a fuse from an older style consumer unit. What you need: fuse from an older style consumer unit, a tester/screwdriver, fuse wire of right thickness1. Use a tester to determine whether your fuse is in working condition or not. Once you are sure it is not working unscrew the screws partially which are found on both ends. 2. Unwind the old fuse wire from the screws and remove. Take the fuse wire that is of same rating as the one you just removed. 3. Inser...

In this lesson he shows the way to restring a Floyd Rose tremolo style system. You will need some Allen wrenches. Use an Allen wrench to take off the bolts at the nut area of the guitar which is located at the top. Next, loosen all the strings. You can simply cut the strings with a pair of wire clippers. The next step is to remove in strings from the tremolo. Use the Allen wrench again to loosen the screws holding the strings. There is a screw for every string. Once all of the old strings hav...

Put the newspaper down on a work surface. Pick up the 5 MW green laser pen and unscrew the battery cap. Remove the batteries and put them and the battery cap aside.

Team Member, Nacelle takes us through the process, showing us how to put a beautiful water feature for your garden which could be the reason for the envy of your friends.

Here, Rich Pin demonstrates how to troubleshoot the door check link by working on the Saturn S series. Typical example is the popping sound you hear when you open and close the door.

Looking for a new DIY project? Follow the steps in this video to get a great view of big blooms and colorful posies with box planters hung beneath your windows.

A mason jar is a great way to preserve your food, but did you know that you could use a mason jar with a blender?

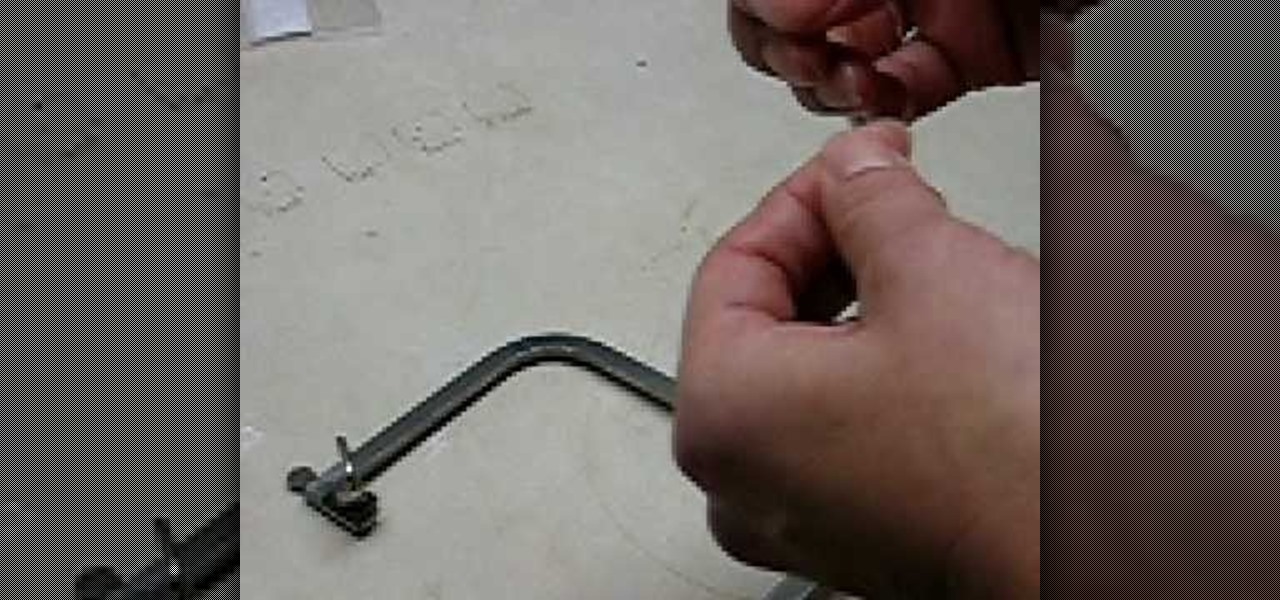
Learn how to install a blade into a jeweler's saw with this two-part video tutorial. Make sure your jewelers saw blade is facing outward and the teeth are pointing down. Run a finger over the blade before inserting it to make sure it is in the right position. Once it is in correctly, tighten the thumb screws at the top and bottom first.

If your new window treatments include blinds, save the hefty installation fee by hanging them yourself.

Try these simple fixes to salvage your specs. Learn how to fix your eyeglasses with this helpful guide.

A CNC router machine is probably the most useful tool a hobbyist can own, but the price for a CNC machine on the market is way more than the average hobbyist is willing to spend. You can build your own CNC with very basic tools, little knowledge of machinery, mechanics, or electronics, but be warned, these machines are inherently dangerous, so wear the proper protection and use common sense. At the very least, read the instructions and precautions on every tool you use.

Take a look at this tutorial to learn how to install the X-Clamp mod fix for your Xbox 360. In this video, the instructor only ordered one set of washers and so when he accidently drilled the wrong side on the metal case, he was forced to improvise. Instead of using 4 screws and those washers for one heatsink, they were divided between the two because the heatsink for the CPU wasn't tight enough at all without them. So 2 screws were installed in a diagonal direction for the GPU and 2 in a dia...

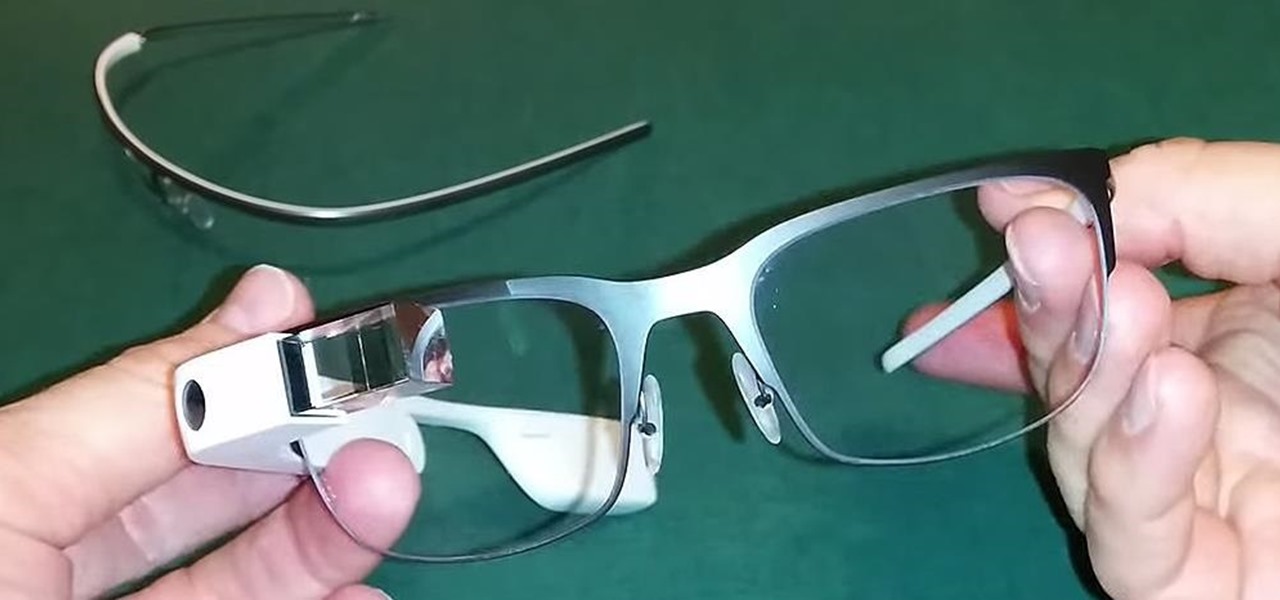
A creative Google Glass Explorer has solved a problem for prescription glasses wearers, as he modded his pair to work with his actual prescription set of glasses.


