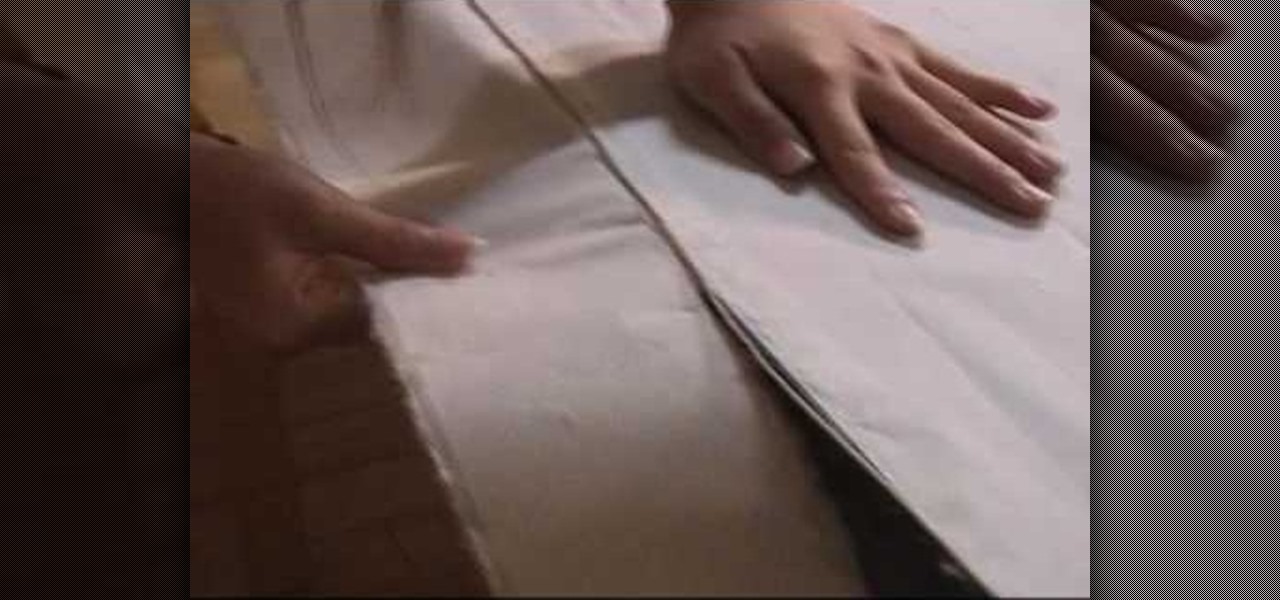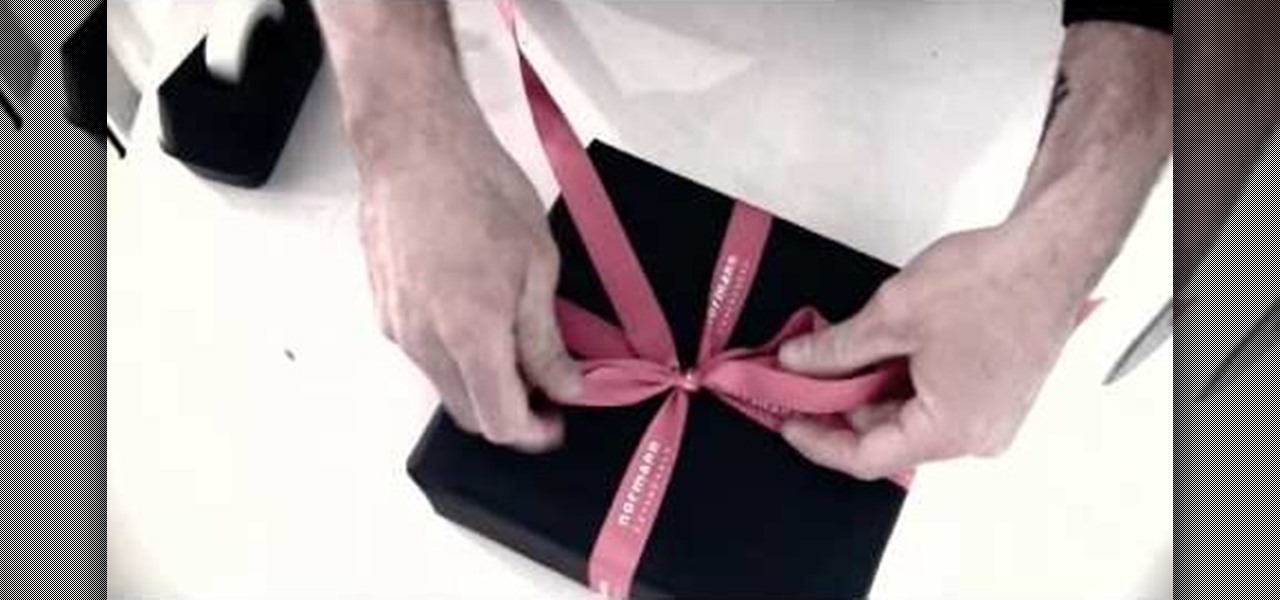
In this tutorial, we learn how to wrap a gift the easy way. To begin, lay the wrapping paper down on a flat surface. Next, lay your gift down upside down on the middle of the paper. Next, fold the paper over half the gift, then tape it. After this, measure the other side to meet in the middle, and make a crease. fold it over the middle and tap it. Now, fold in the sides. To do this, fold in the edges first, then push the top layer down, and bring the bottom layer up. Tape this. Now, turn the ...

IIDearDiaryII gives instructions on how to make a hair bow out of a feminine pad wrapper in this video. Start with an empty wrapper, making sure everything is pulled out even and straight. Fold the top horizontally, about one inch fold. Then the next fold will be in the opposite direction, also about a one inch fold. Keep repeating the fold until you reach the end of the wrapper. Once done, you will need to make sure all the folds are together and then tie a knot in the middle. Do not unravel...
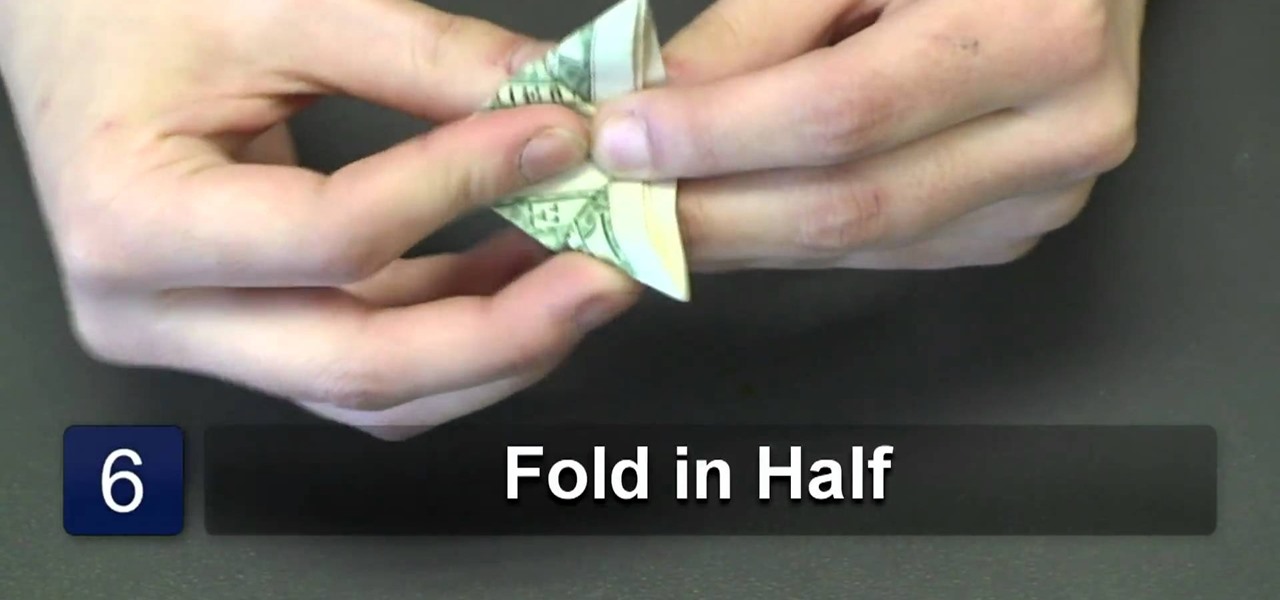
This video shows the viewer how to fold an origami butterfly using a dollar bill. The woman in the video demonstrates the step-by-step technique used to create the butterfly with the dollar bill. Overall there are seven required steps to take an ordinary dollar bill and fold it into a butterfly. The woman carefully explains and demonstrates each step with great detail, so that by the end, the viewer should also be able to fold a dollar bill into a butterfly.
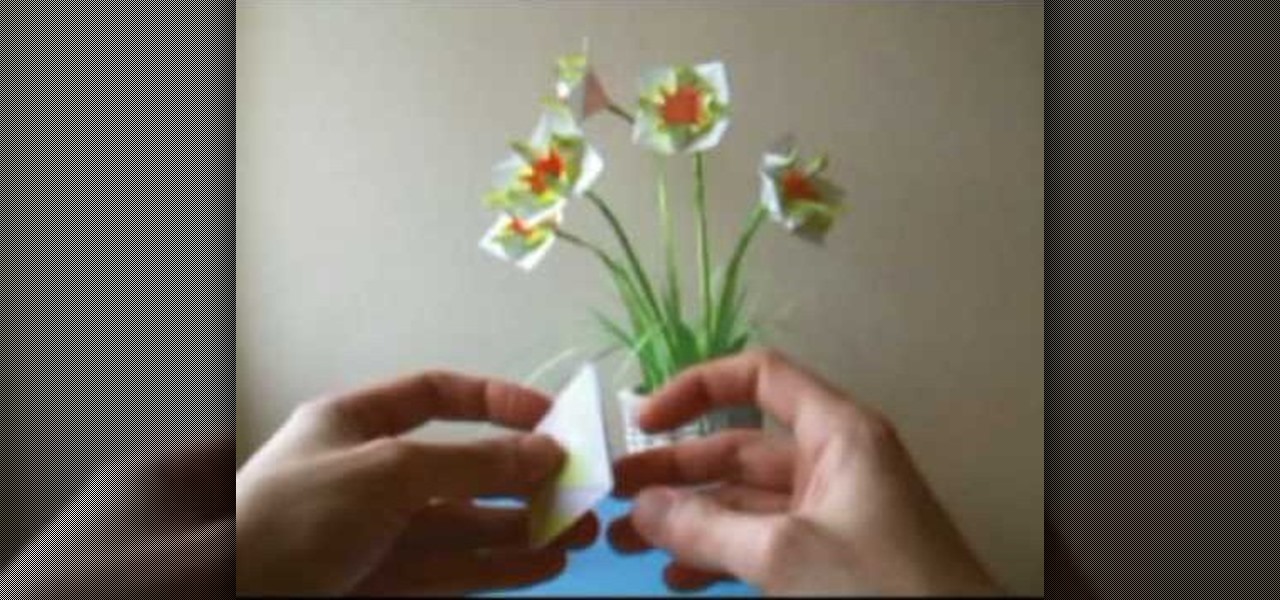
All coloured patterns are drawn by hand for making these origami flowers. The flower looks like a daffodill but it's slightly different. Design: Joost Langeveld
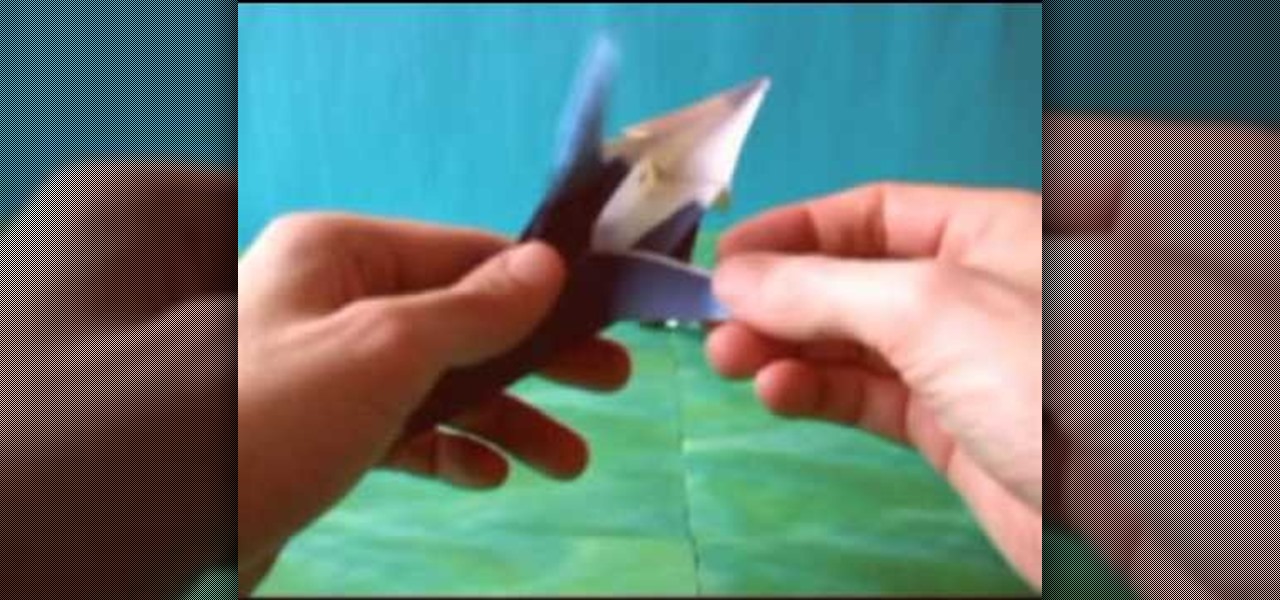
Funny origami toucan designed by Joost Langeveld. This is an origami tutorial brought to you by Joost Langeveld origami, a dutch origami artist. Joost offers some of the prettiest, most creative models. Joost has been doing origami for seven years and about a year and a half a go, started designing models.
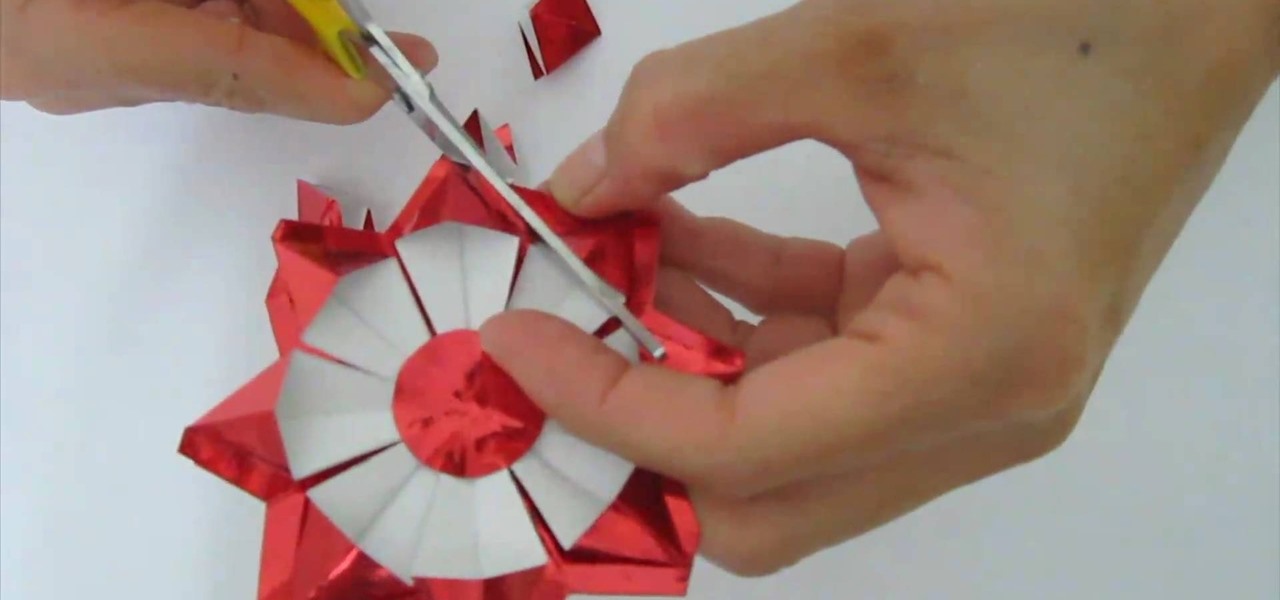
If you've folded more origami cranes and frogs than you can count and you've exercised your fingers to the point that they can do handstands when you're not looking, then you are ready to embark on a truly glorious origami folding mission.

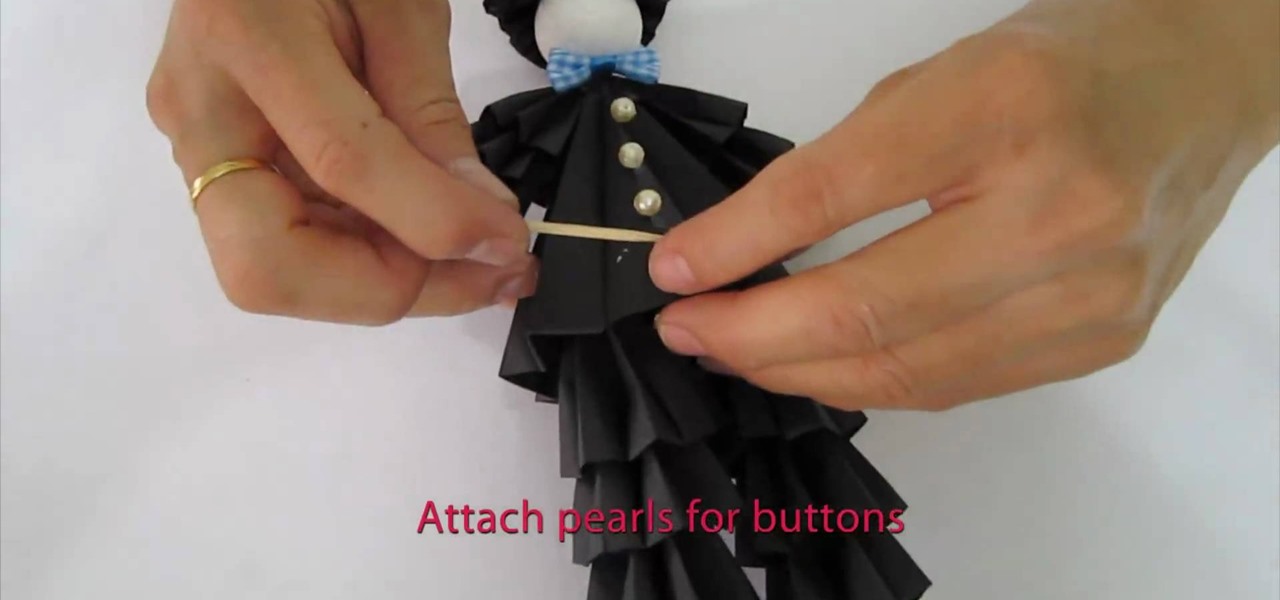
Okay, so you can probably tell by the picture of this project alone that it isn't for origami beginners. That being said, if you feel you are a true origami folding, finger aerobatic champion, then check out this video to learn how to fold a complex 3D man wearing a ruffled tuxedo.

In this video, we learn how to fold a pocket square for your suit jacket. For the two point fold, you will first take your pocket and fold it vertically. Then, fold it horizontally so it's smaller. Next, hold it on the side and then fold it down at an angle so you have two points at the top. From here, take the right end and fold it back and then fold the left end back. Now, stick it into your pocket and wear for a night out! Adjust it while inside the pocket if you need and you're finished, ...

In this video we learn how to make a unique paper rose. First, grab a square piece of paper and fold it into quarters while maintaining the fold. Then, fold along the diagonals and fold lower in half twice and the top in half twice. Then, fold the halves in half and repeat the previous steps. After this, follow the folds that you created, rotating the paper as you continue to fold. After all of the lines are lined up and you have folded it, it will become a unique paper rose that you made! En...

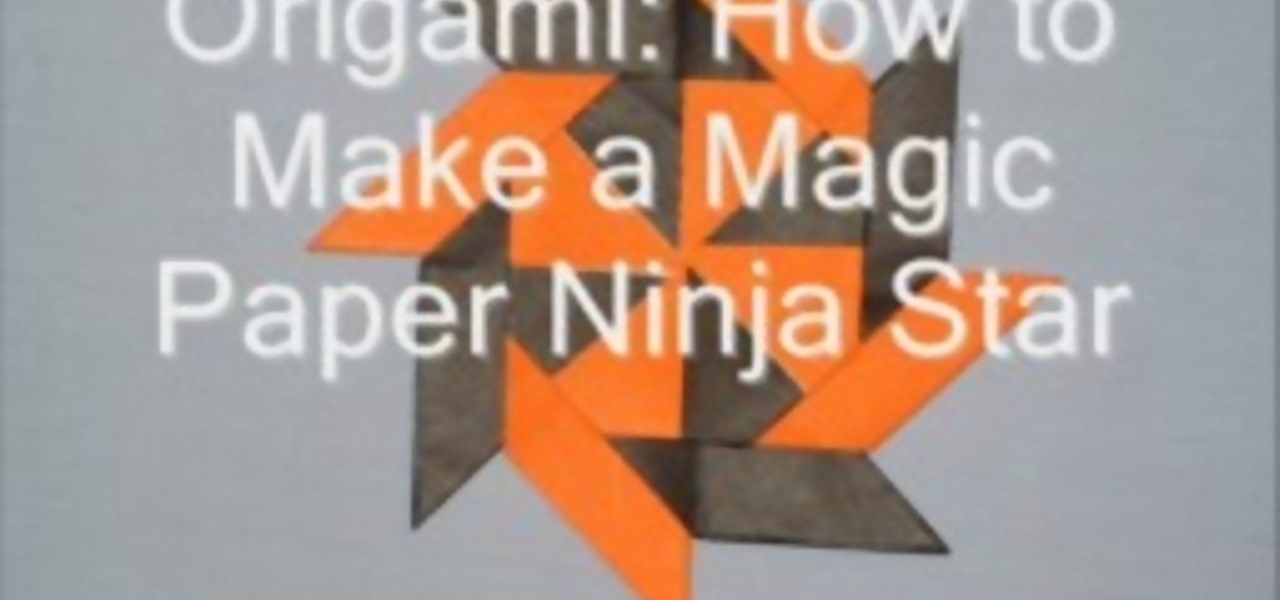
This video tutorial is in the Arts & Crafts category where you will learn how to make a magic paper ninja star. For this you will need 8 sheets of square paper, all of the same size. Fold one sheet in half, open it up and fold both corners of one edge inwards along the centerline. Now fold the whole sheet in half inwards. Then fold the lower part in a triangular pattern, make a crease and open up the sheet. Fold the lower part inwards from the center and collapse the sheet over the fold. Do t...

This video shows viewers how to make a paper airplane. You should begin with an 8.5 x 11 piece of paper and fold one corner to the opposite side, making a triangle. This should be repeated on the other side, so that a cross is formed on your paper. Folding down opposite sides of the creases, you should have a triangular flap on your paper. Fold both sides of the flap upwards and then flip the paper over. You should then take the tip of the paper and fold backwards. Fold the paper in half so t...

In order to make a paper bag out of a newspaper, you will need the following: 2 sheets of newspaper, a ballpoint pen, cardstock with 2 holes, organic glue, and 2 pieces of rope.

This video tutorial is in the Arts & Crafts category which will show you how to make a paper football that flies well. For this you will need a piece of paper. Fold it half way along the longer side. Open it up, flip it over and fold it again. Now tear it along the fold. Now fold it again in half along the longer side. Then take a corner that is away from the seam and fold it back along the other edge of the fold to make a triangle. Now fold the triangle back over the sheet. Keep repeating th...

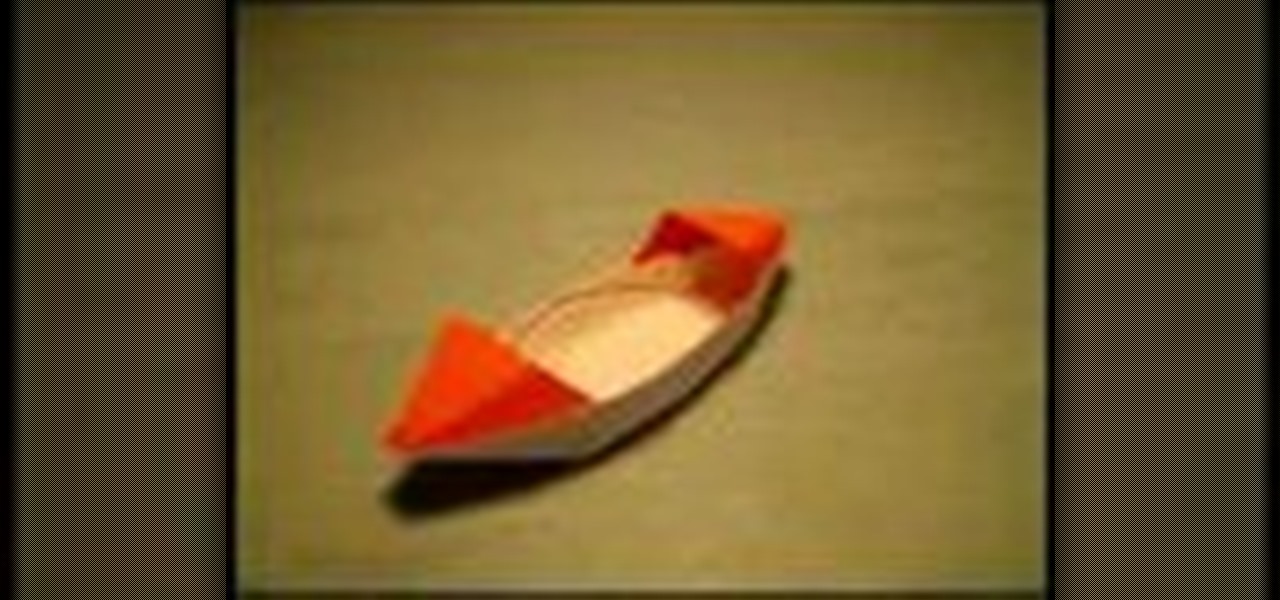
Make a paper sampan boat! With this guide, you'll learn how to make a paper boat using origami, the traditional art of Japanese paper folding. For more information, including a step-by-step overview of the folding process, as well as to get started making your own folded-paper sampans, watch this free origami lesson.

With this guide, you'll learn how to fold a small paper star using origami, the traditional Japanese folk art of paper folding. For more information, including a step-by-step overview of the folding process, as well as to get started making your own tiny stars (which work wonderfully as party decorations), watch this free origami lesson.

With this guide, you'll learn how to make a 3D flexiball from folded paper using origami, the traditional art of Japanese paper folding. For more information, including a step-by-step overview of the folding process, as well as to get started making your own folded-paper cookie trays, watch this free origami lesson.

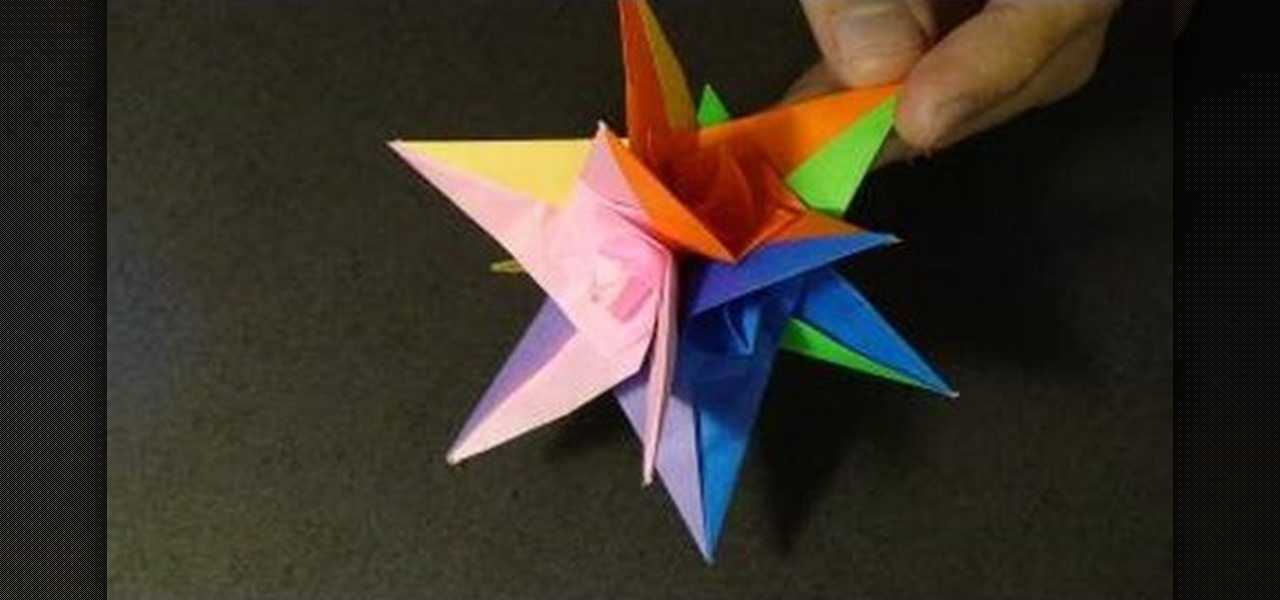
With this guide, you'll learn how to make a 3D spiral star from six sheets of folded paper using origami, the traditional art of Japanese paper folding. For more information, including a step-by-step overview of the folding process, as well as to get started making your own folded-paper spiral stars, watch this free origami lesson.

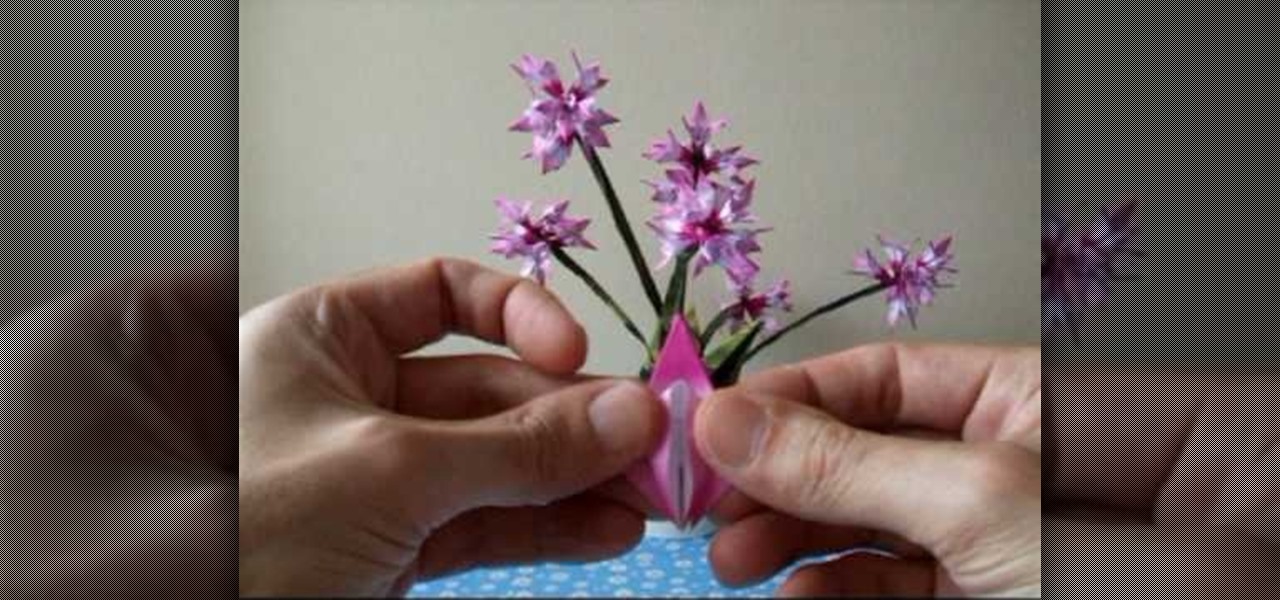
With this guide, you'll learn how to make a folded-paper bulb flower with origami, the traditional art of Japanese paper folding. For more information, including a step-by-step overview of the folding process, as well as to get started making your own colorful paper lilies, watch this free origami lesson.

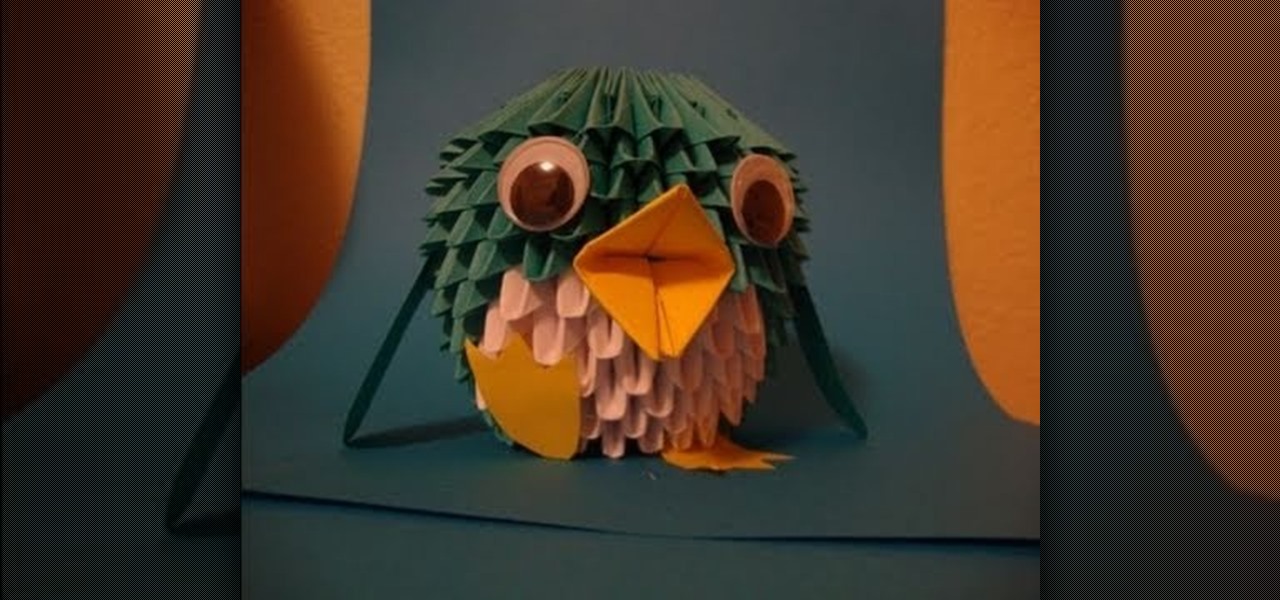
Looking to add specimens to your paper menagerie? Make a 3D folded-paper penguin with origami, the traditional Japanese art of paper folding. This free origami video lesson presents complete instructions for making your own penguin from a sheet of folded paper. For more information, and to get started making your own paper penguins, take a look!

In order to make a Pandora's Box, you first need glossy paper. The paper should basically be in the shape of a square, length 15 cm one side. Then divide the paper into 5ths. Now make 5 such folds on the paper and be sure that every fold is equidistant. Similarly, turn the paper around and start folding it from the other side too, in the same fashion. By doing this you will realize the folds have resulted in equal, similar sized boxes on the paper, 25 in total.

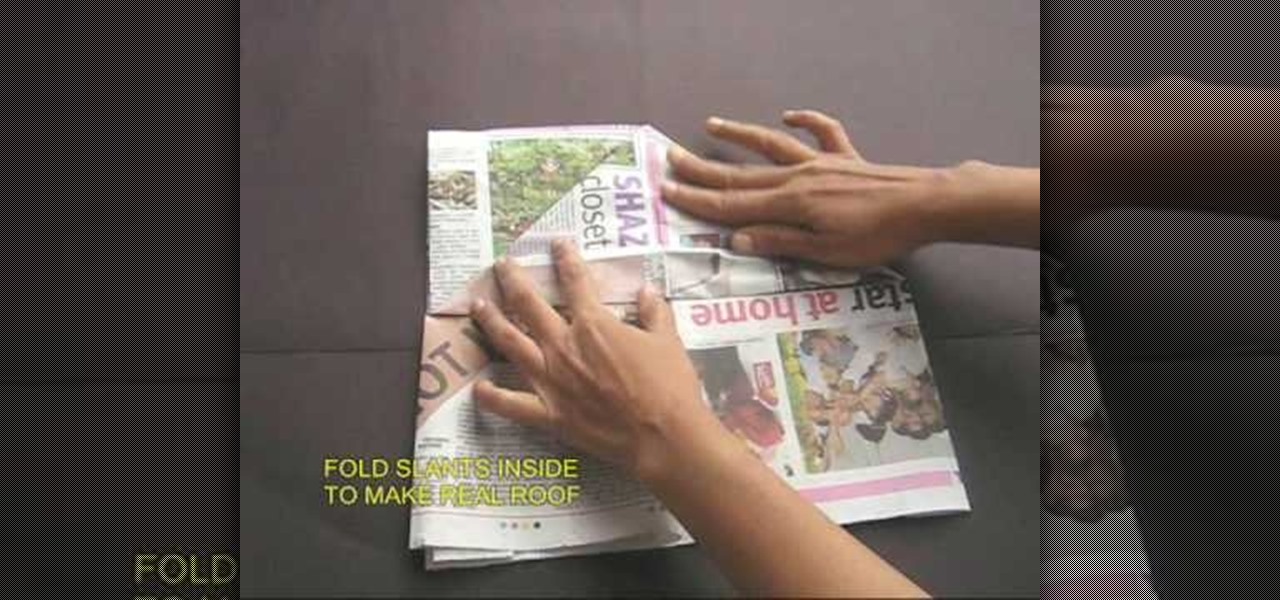
The man on the video explain how to make a cricket cap from just a half sheet of newspaper. You start off with a half sheet of news paper, and fold the sheet in half, and then fold it again into a quarter. Then it shows you to fold down the two tops sides as if you were making a "roof". Then you are to fold the roof to the mid point of the base. You are then told to open the whole sheet of newspaper again, fold in both of the long edges to about 4 cm. You are then to fold the sheet in half wi...

Take a piece of paper and fold it triangle wise. Then unfold it and fold two edged sides towards the center. Then turn back in the same manner and fold right there. Then again turn back and fold two sides as done before. Then straight that part and fold into two sides and then fold one side to an upside direction. Then fold it downwards holding the center part. Then again fold downward the folded portion and a little bit upward the edged part. Keep intact the edged portion. Then fold the next...

In this Arts & Crafts video tutorial you will learn how to make a ring from folded paper with origami. For this, you need a square sheet of paper. First you fold it diagonally across to form a triangle. Then fold it again across the other diagonal. Open it up and fold two corners up to the center point. Fold them in once again so that each side is divided in to four. Open up all the folds and fold one corner back up to the center point. Now fold this triangle twice over in a manner as shown i...

This video is a demonstration of how to make a winged heart design with folded paper. Start with a square piece of paper and fold it in half. Unfold it and fold it in half again, and unfold it. Using the creases as a guide, fold one edge up to the crease. Turn it over and fold the corners of the folded edge down toward the middle crease. Turn it over and fold the large edges inward toward the crease and unfold them. Lift that side up, forming a pocket underneath. Fold the sides inward inside ...

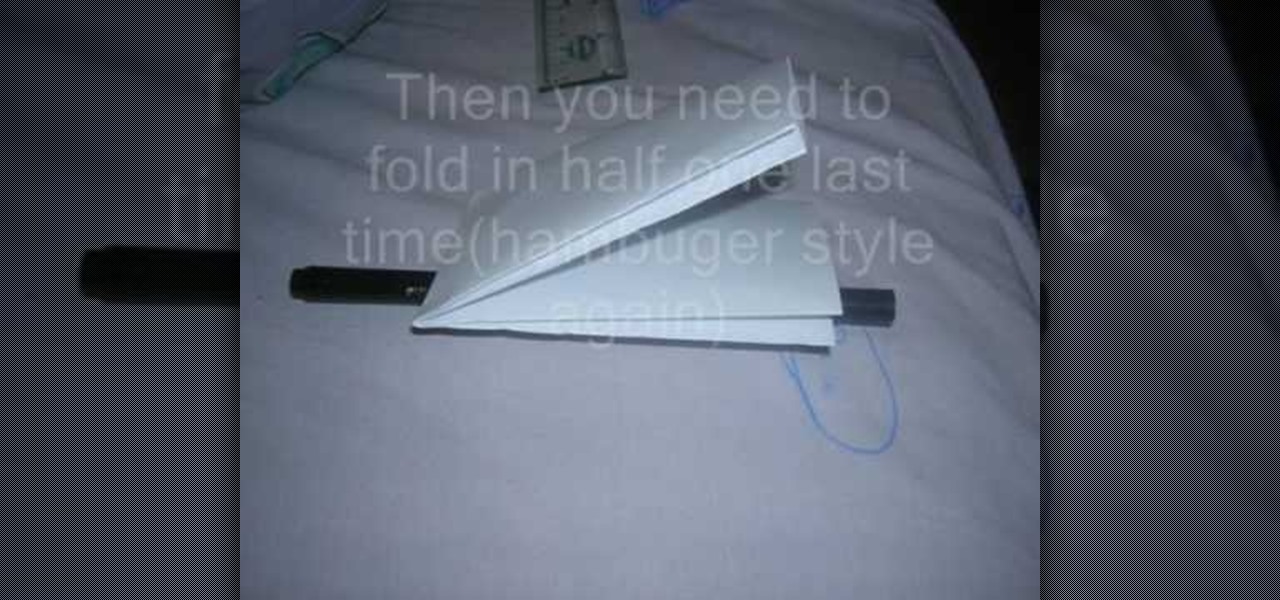
In this video, you will learn how to make a wallet out of paper. First, you will need a piece of paper, a pen, a straight edge, and something to cut the paper. Place the paper on a flat surface. Fold the paper in half, hamburger style and unfold. Fold the bottom half up to the middle crease. Now fold the top half to the middle crease. Fold this in half again and fold it in half one more time in the hamburger style. Now, unfold the paper. Draw lines where you need to cut the paper. Once this i...

Fyeo shows a cool way to fold a bandanna. Naturally you start with a bandanna. Lay it out flat and fold it so you get a nice big triangle. Then, fold it one more time so you get a smaller triangle. You then fold it again. Not so the corners meet, but so that just a little is hanging off. Then you take the corner and fold it in and under. Take about five inches up and fold it under so that a tail is hanging out of your back pocket. Once you've completed this, place the bandanna in your pocket....

Create a photo frame out of an origami paper or any art paper in minutes! 1) Lay the paper down on a flat surface. 2) Fold the paper in half with the shortest ends together. 3) Fold in half again so that you get quarters. 4) Unfold step#3 and with the first fold at the top, fold the top corners down along the center fold. 5) Unfold the corner flaps, open up the original fold and fold the corner flaps inside, now close the original flap. 6) Fold the lower edge up as far as it will go, do the s...

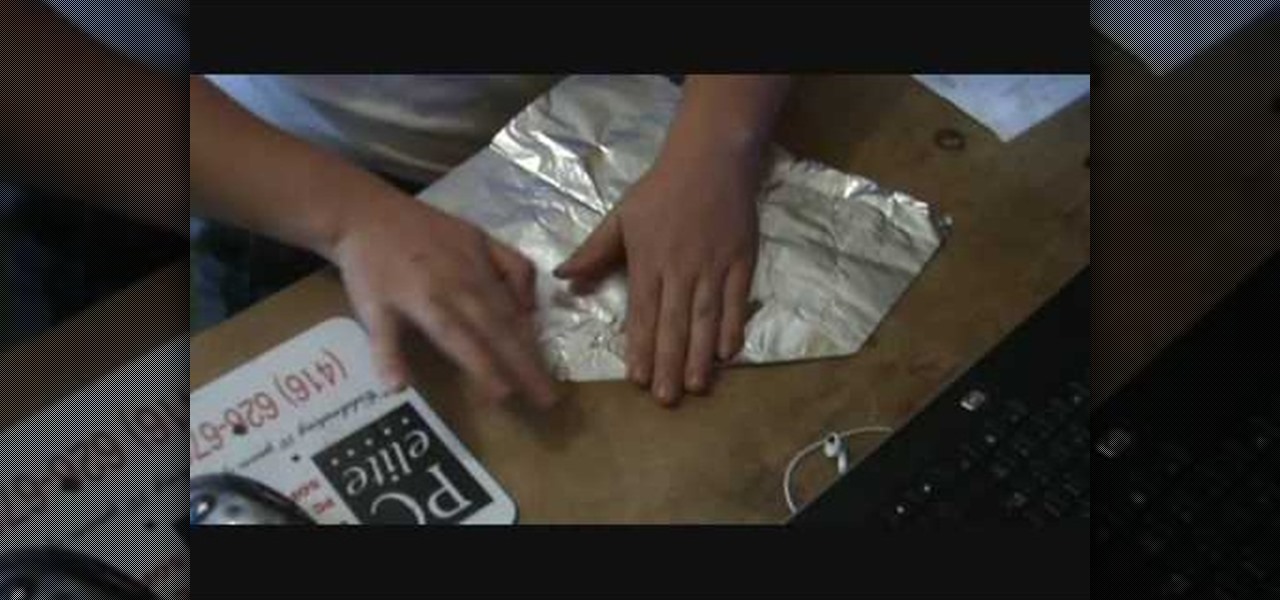
Learn how to make the perfect tinfoil airplane glider, every time. Obtain a rectangular sheet of tinfoil. Fold the shorter side of the rectangle foil in half and make a crease. Unfold the foil. Fold one of the corners into the middle crease. Fold the opposite corner into the middle crease. Fold the side into the middle crease. Fold the foil in half along the middle crease. Fold each side down so that it meets with the bottom crease and creates flaps. Press down on plane to strengthen the crea...

Place the paper colored-side down on the table. Fold the piece of paper in half to form a triangle. Match the upper right corner to the bottom left corner. Run your fingers along the edge of the triangle to complete the fold. Shrink the triangles size again and fold it in half once more. Match corner to corner. This fold forms a smaller triangle. Ensure the corners match up evenly. Run your fingers along the edge of the smaller triangle to complete the fold. Open up half of the triangle. Pres...

Christina of Bright ling Beads explains how to use a fold over crimp to finish an organza ribbon necklace. First, fold down the ribbon approximately an eighth of an inch. Then, fold it down over once again. Make perpendicular folds bringing each fold towards the middle and making the end of the ribbon as wide as the crimp bed. Lay the folded ribbon inside the crimp, leaving a small piece of the ribbon sticking out of the top. Use flat nose pliers to hold the tab of the crimp and hold the ribb...

Hang gliders are exciting, but if you can't fly in the sky, free as a bird, then try the next best thing-- making a paper version that you can make soar through the air. This four-part series from Science Toy Maker will show you exactly how to fold and fly an origami paper airplane hang glider, plus you'll get valuable information behind the principles that make it work. Also watch the last video for the principles that make it possible for life-sized hang gliders to move along the sky withou...

This is a video about how to fold an awesome origami elephant by the help of paper only. For this you have to complete the following step (1) Fold half of the paper. (2)Again fold in two outer edges. (3)Fold corner across middle and then fold edge into center(4)Collapse triangle inside and fold corner inwards.(5)Create the ears and trunk also, at last create the body of elephant. This is a very good origami to use or play.

Take a paper: we need 60 rectangles (length-width ratio of 6:1) And fold in 4 equal parts.

-Fold paper where you want it cut -Take a wet piece of string and insert it in the fold, pressing it firmly

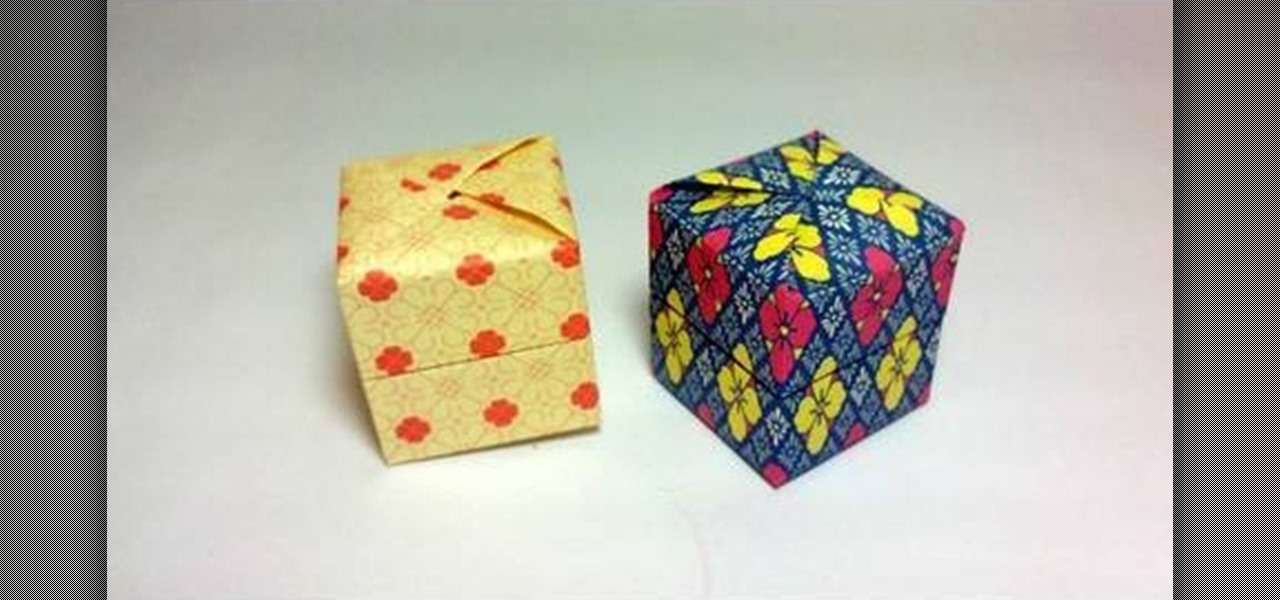
This origami video tutorial shows you how to fold an origami 3D box. 1. Prepare a square paper. 2. Fold from 1 corner to opposite corner. Make a "x" on the folded line of the paper.

Take an A4 SIZED paper. The paper is A4 size and it should be an INSTRUCTION paper. The paper size should be maximum, so that it will fly. Twist the papers into halves. Thus 2 papers are formed using folding. Put the papers horizontally. Fold them into half. So the papers are TWO HALF sized papers. Fold each OF the 2 halves again into 2 FOLDS. So the paper is divided into 1/4 papers. So the paper is divided horizontally 4 times. A line DIVIDES the paper in THE MIDDLE. This is arranged in such...

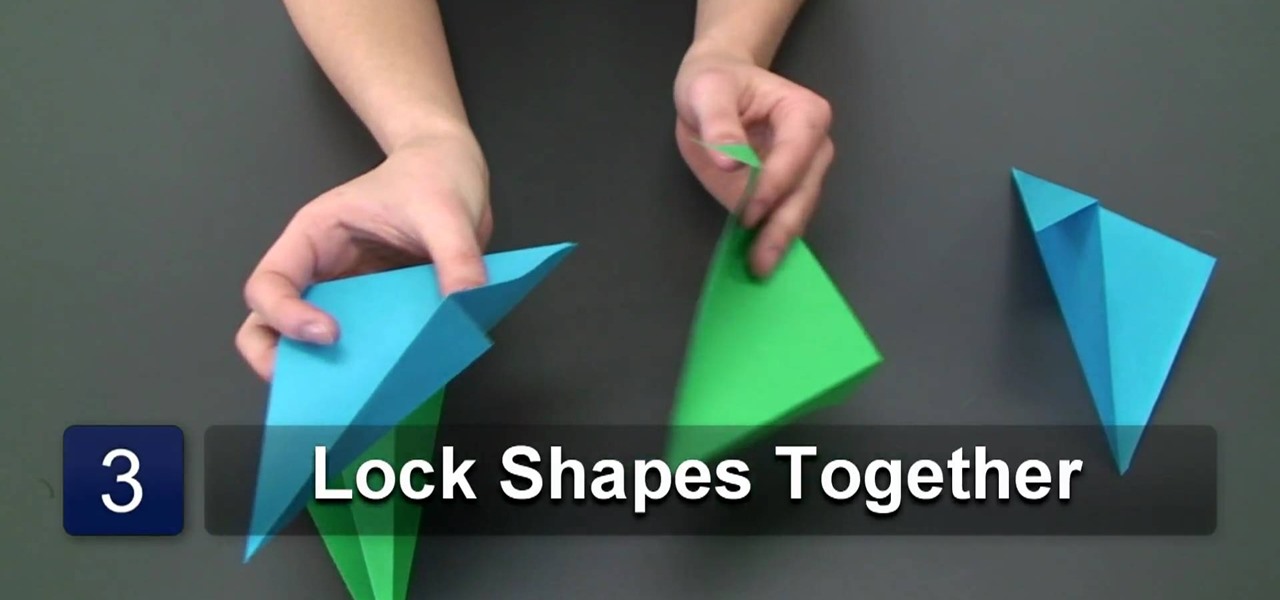
In this Arts & Crafts video tutorial you will learn how to fold a hanging origami ornament from Ana Maria, an Origami artist. You will need four sheets of rectangular paper of two different colors. Take one sheet and fold it diagonally. Flip the paper over and fold back along the same diagonal again. Now fold both the protruding corners back to match the edge of the paper. Repeat these steps with the other three sheets of paper. Then you got to lock the four folded sheets as shown in the vide...

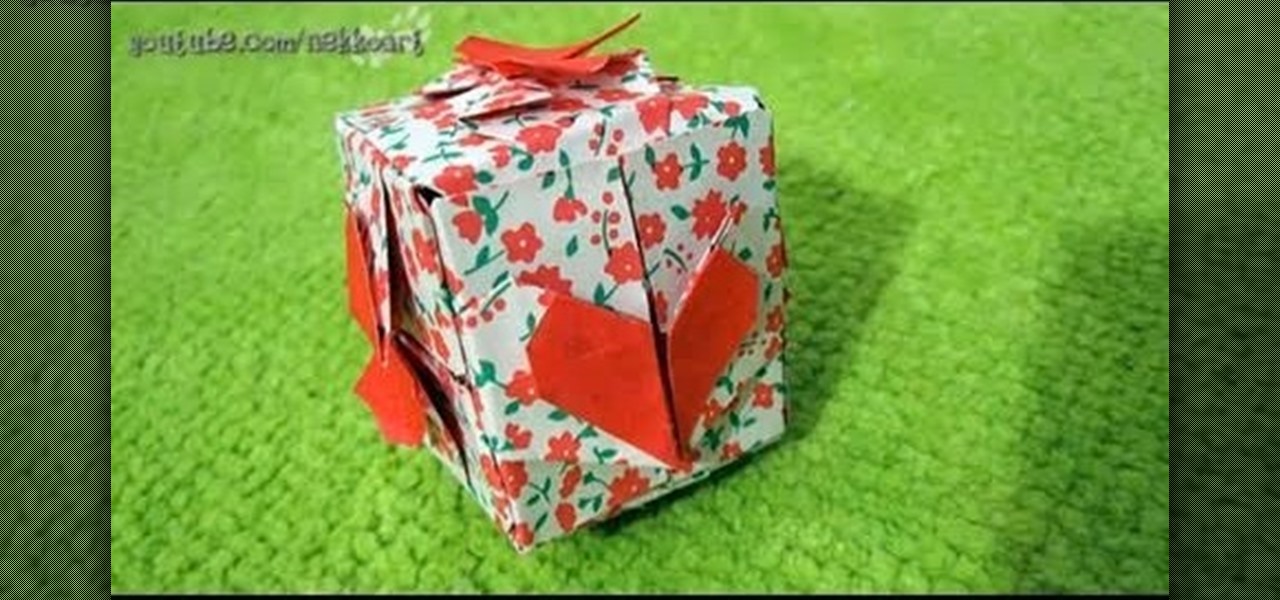
Origami's an art, and when you get into 3D origami, it definitely gets harder. It involves more than just one piece of paper and a few folds. It requires plenty of paper, plenty of folds, and plenty of patience. This six-piece modular heart cube can look great, but you need patience, and probably some practice to get it right. So, check out this two-part video tutorial to see exactly how to fold the six-piece origami heart cube.

The T-shirt may be the king of casual wear, but take care of it like your finest dress shirt and you'll be able to stay casual a good long time.

This video is about making an origami of a volcano. The video begins with aliMcRose talking about the geographical formations of Japan and then she shows a finished origami. The materials required are one piece of two sided paper and a pair of scissors. Fold the piece of paper in half on one side and make sure the fold is a clear line. Now unfold the paper and fold it on the other side in a similar way.The piece of paper will now have four squares. Now fold these four squares into triangles a...


