Bhavna shows us how to store ginger, garlic and green chili paste. The demonstration is done with ginger. Cut the ginger into small pieces. Skin can be left on or if you prefer you can remove the skin. Put the pieces of ginger into the food processor and blend. After the ginger has blended, remove and put into a bowl. Add lots of salt for freezing. Fold the salt into the ginger. Place into plastic containers for freezing. The same process is done for garlic and green chilies. When you are rea...

TooSmartGuys teach viewers how to hack their iPhone using Black Ra1n and Sn0w. First, if you have a jail broken iPhone you should back up your apps by downloading a program called App Back Up. Now, plug your iPhone in and let iTunes load. Allow it to update and you should see the iTunes icon on your phone and the cord picture. Open up Blackra1n and click the button that says make it rain. Your phone reboots and there will be a new app on there called blackra1n. Launch this app and you can put...
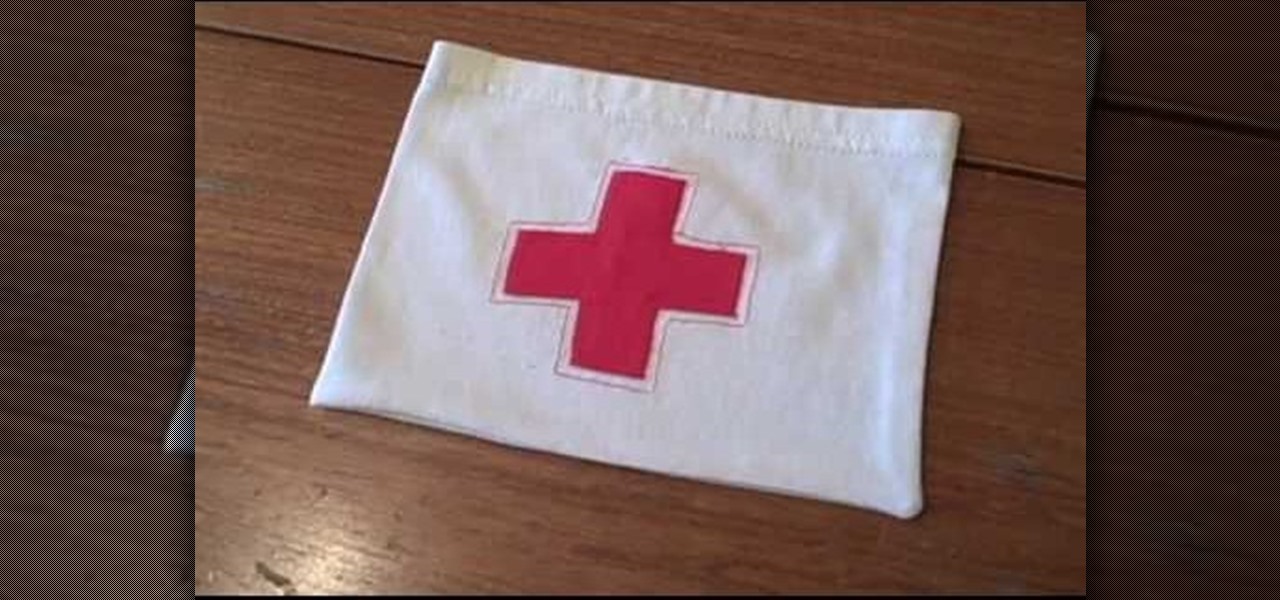
Whitney shows a quick way to make a bag out of t-shirt sleeves. This bag has so many household uses and is easy to make. You'll need a sleeve, safety pins, scissors, scrap fabric, pins, thread, an iron, and a ruler. Start by cutting a 1 inch wide strip of fabric and any design you'd like. You can make the bag as large as you like. Cut your rectangle using the ruler. Position your design to the fold. Sew around the design you choose, refold your rectangle and pin. Sew along those two lines. Tu...

Jen Spencer teaches how to save money by making a Ribbon Tree at home. You can create this by using some of your ribbon scraps. Cut them into two inch strips, you'll need scissors, a hot glue gun, and a green floral tree. They come in a variety of sizes and also white. Fold the strip in half making a loop. Add a dab of glue on the end and close it. Jen warns be careful with the glue gun. Do that with all the ribbon strips. Place a little glue on the tree and glue the strips on. On top you can...
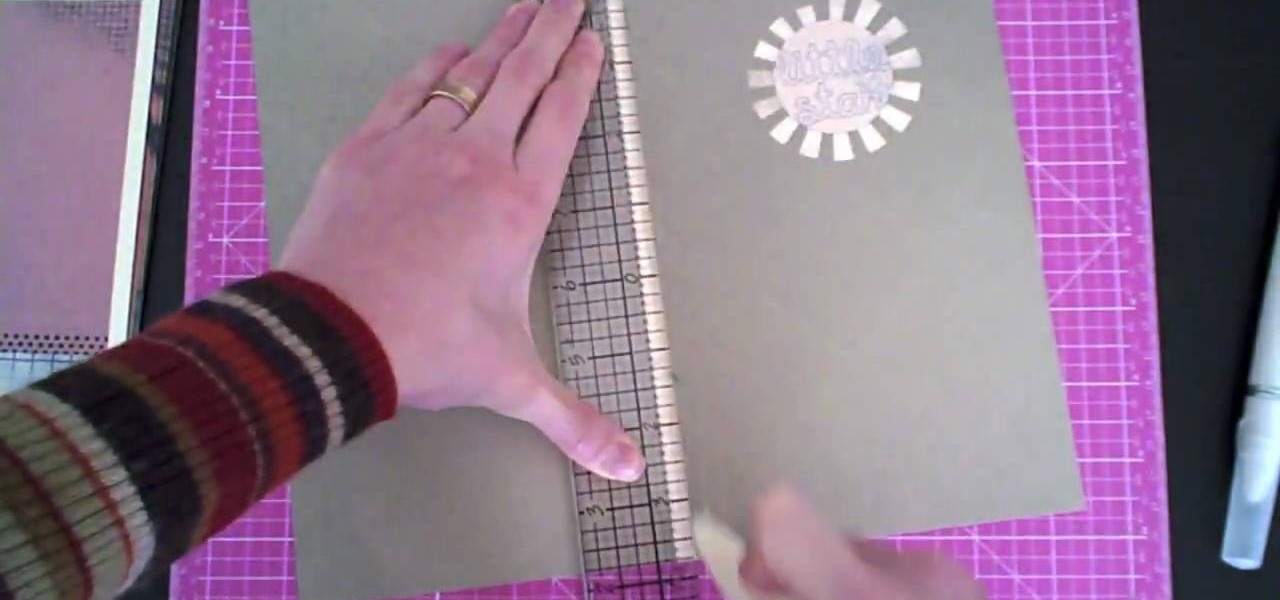
Creativity Prompt demonstrates how to make a hybrid board book. First, select printed paper of your choosing. Cut off the excess paper with a cutting blade and crease the paper for the spine. Fold and burnish the paper. Apply a generous glue stick layer to a recycled board book and adhere the paper to it. Burnish the paper with a brayer to strengthen the adhesion. Let the glue dry and trim off the excess paper. Cut the rest of the paper for the board book pages. Cut out photos and titles for ...
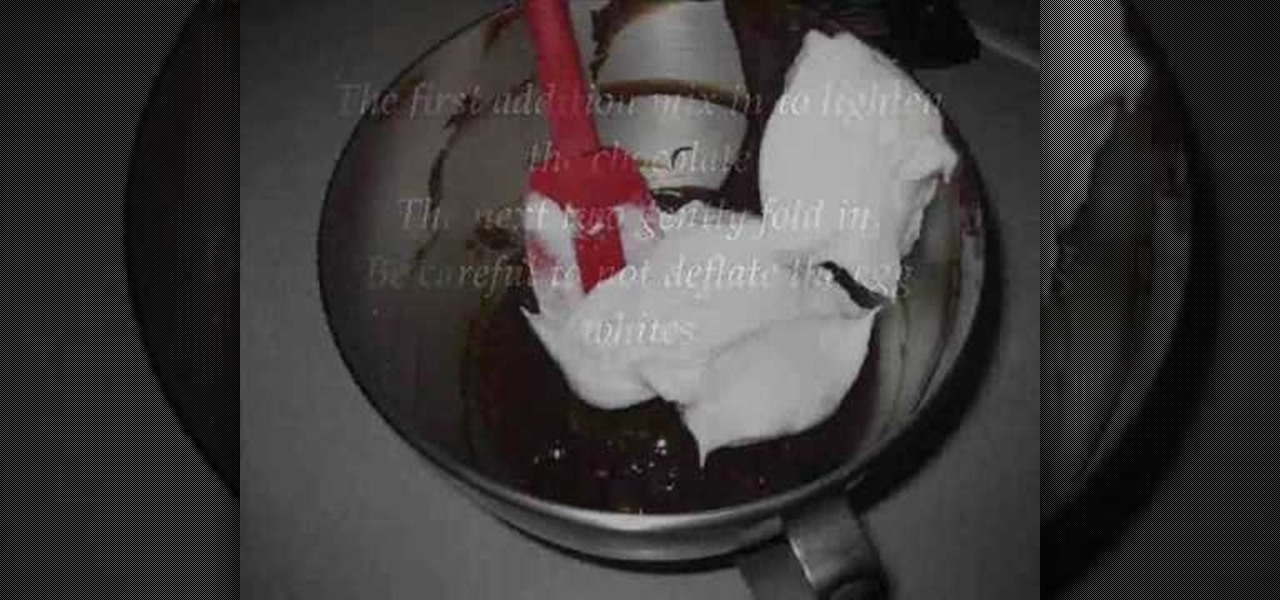
A cake for people with a gluten allergy, and for anyone who just likes chocolate. The only ingredients for this cake are semi-sweet chocolate, eggs, sugar, butter, vanilla, and an optional shot of espresso. To make the cake you first need to preheat the oven and grease the pan. After that you melt the chocolate with the butter and let in cool while you separate the eggs. After the eggs are separated, mix the yolks with half the sugar, and beat until fluffy. Add the cooled chocolate mixture to...

Penny Halgren demonstrates how to use a handy little gadget known as a bias tape maker. First make the bias binding by cutting strips of fabric on the bias and stitching them together. Then press all the seams in the same direction. The fabric will go through easier if the strips are fed through the bias tape maker with the seams facing away from the front of the tape maker. Put the bias tape maker on the ironing board and start feeding in the fabric. The handle allows you to pull the tape ma...

The old frame of the wreath of a previous year containing only two old ornaments is used. Placed on the frame are plastic bags from the grocery store . The bags were green in color however colored bags may be used for creativity . Fluff and fold the bags and wrap them around the frame. Nearly a dozen bags are used. A boy is made using two pieces of the same cloth of a complimenting color to that of the wreath, to form a bow. The bow is attached to wreath and placed on the outside part of a do...

How to do a loud fingerless whistle

This video illustrates the method of making a eco-friendly earth wallet at home. You will need a paper sheet , glue and a pair of scissors.This can be done as follows -Step 1Take a sheet of paper and fold it so as to create a envelope. Glue it properly to ensure it is bonded properly.Step 2Repeating the above procedure , make two more such paper envelopes - One with a smaller size while the other one a bit bigger.Step 3Stick these envelopes together. Now , using the scissors cut the ends of t...

A simple and creative way to make your own wallet. A few folds and snips of the scissors and you've created your own pocket wallet. You can even use different color of the carton to achieve a different and unique kind. It is extremely simple, the only things you need are your hands, scissors, tape and stapler. Open the carton, flatten it out, cut, tape the cut sides, staple and apply adhesive strips. You can apply whatever color of tape you want, this can make the wallet even more personalize...

Watch this video and teach yourself how to make an easy and cheap clutch wallet using duct tape. The materials required for this are a pair of scissors, a rod, Velcro sticky tacks and duct tapes of different colors and you can use as many colors as you want. Cut out 12 inch strips of duct tape and stick five of them slightly overlapping one over the other. Then stick five more of the duct tape strips as in the above procedure so that the sticky sides of the two layers will be stuck together. ...

Beryl Stokes from Cajun Cooking shows us how to make delicious fajitas using some leftover pork tenderloin. Chicken or steak can also be used to make these.

This video illustrates the method to Make a nuno felt purse. You need colored paper, a piece of cloth and a pair of scissors to make it. This process is comprised of the following steps -Step 1Cut a oval shaped figure from the sheet of colored paper. Make a crease in the middle and fold the paper.Step 2Cover the paper with the cloth piece. Stitch the end of the piece of cloth and cut the cloth in a proper manner.Step 3Make the oval shaped figure into a rectangular figure. Add some nuno paste ...

This video illustrate how to do Taylor Swift curls with low heat curlers.Here are the following steps.Step 1: First of all pick a very good hair styling kit, Now wet your hair lightly.Step 2 : Now take low heat curlers and part your into half inch partitions.Step 3: Now take each partition and roll it around the curler back to half of the hair strand, fold the roller to hold it into place.Step 4: Now complete the rest of the partitions in the above manner.step 5: Now blow dry the hair lightly...

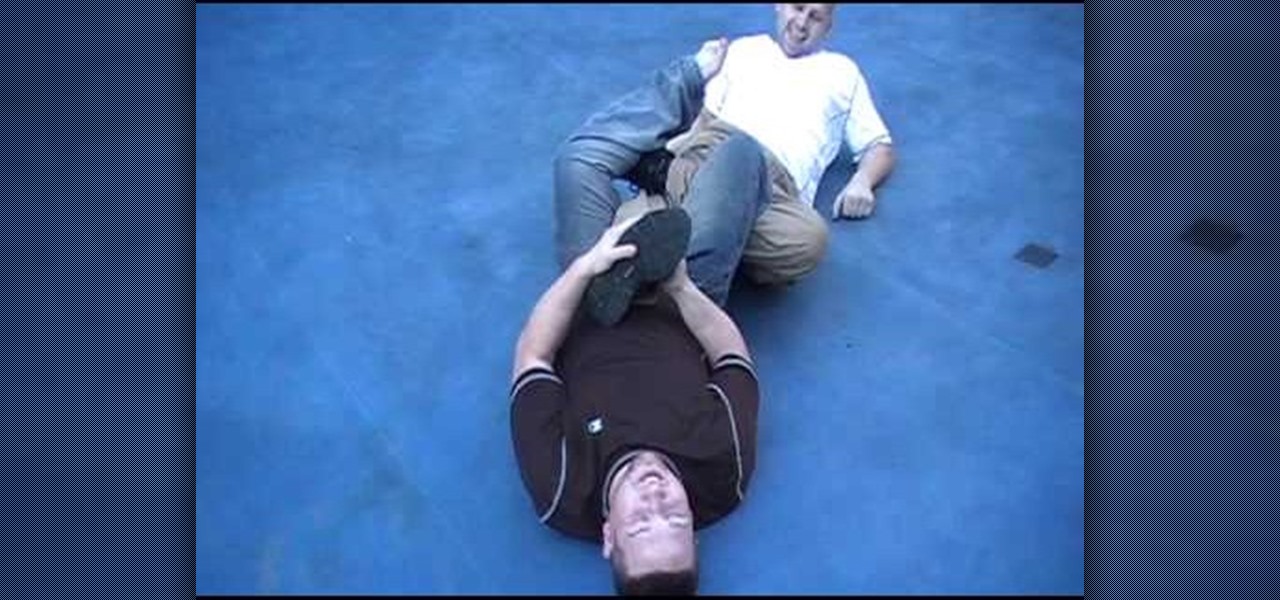
Professional Wrestler John will show you how to perform a Figure-4 leg lock, step by step. He first leads in with a Snap Suplex to put his opponent on the ground, and then demonstrates a proper Figure-4 Leg Lock. John then talks you through the entire process, while demonstrating. He first instructs you to grab your opponent’s left leg, lift their foot up, and step in with your right foot while bringing your left foot over their hip to their other side. Extend and bend their knee, and then br...

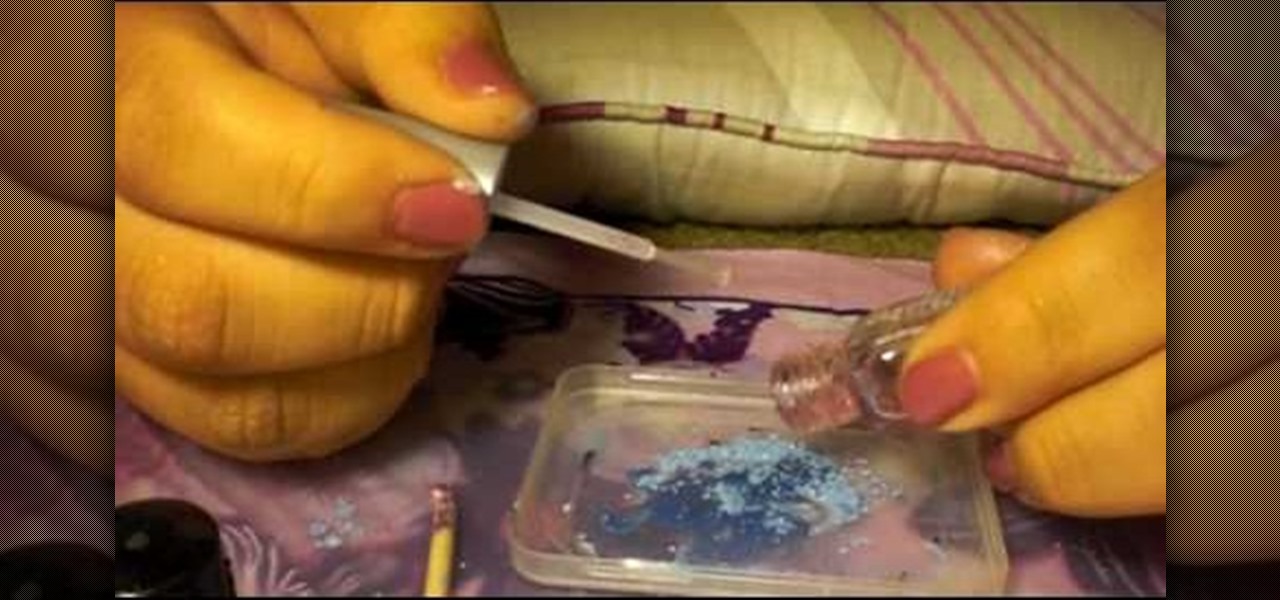
Try making your own nail polish with old eye shadow you don't use anymore or perhaps they are old and you don't want to throw them away.You will need a clear coat nail polish, pigments such as eye shadow or NYX pigments. Put a little pigment on a plastic lid and pour clear coat onto eye shadow. Use more clear coat than pigment. Mix thoroughly and brush on nails. If you like the color and want to keep it, take an index card and fold into a cone like shape. Put bottom of cone into the nail poli...

In this video, the instructor shows us how to perform a reset on an Apple iPhone and iPhone 3g. You will want to perform this when the phone will not turn on or is just unresponsive. To perform this, hold down the top bottom and home button simultaneously for approximately 10 seconds. You should see the power bar come up but keep holding the buttons and the Apple logo should show up. After the Apple logo appears, you can remove your fingers and your phone will reboot. The regular home screen ...

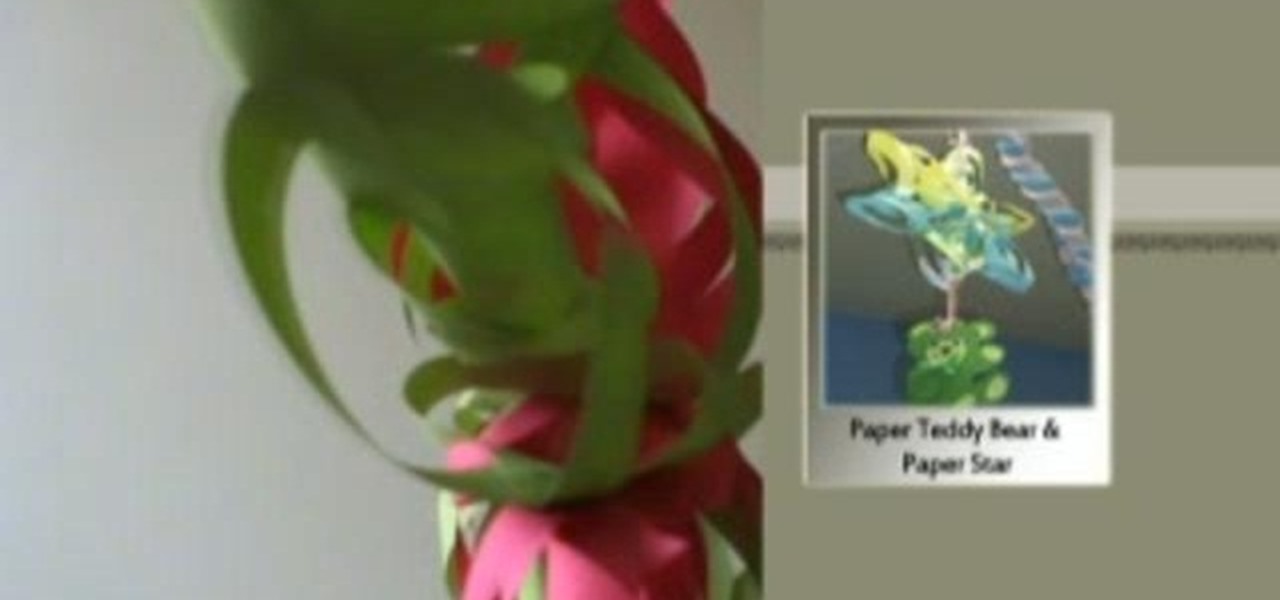
This is a great instructional video on how to make a decorative paper star. The materials you need are color papers, ruler, stapler, scissors, adhesive tape, pencil and cutting pliers. Take a paper and make a square of 20 cm side. Now fold the paper twice and get a triangular shape. Now draw four lines on it. Then cut along the lines with the help of scissors. Take the middle square and staple it. Then go to the back side and staple the ends. Repeat this process and get a star. You can make t...

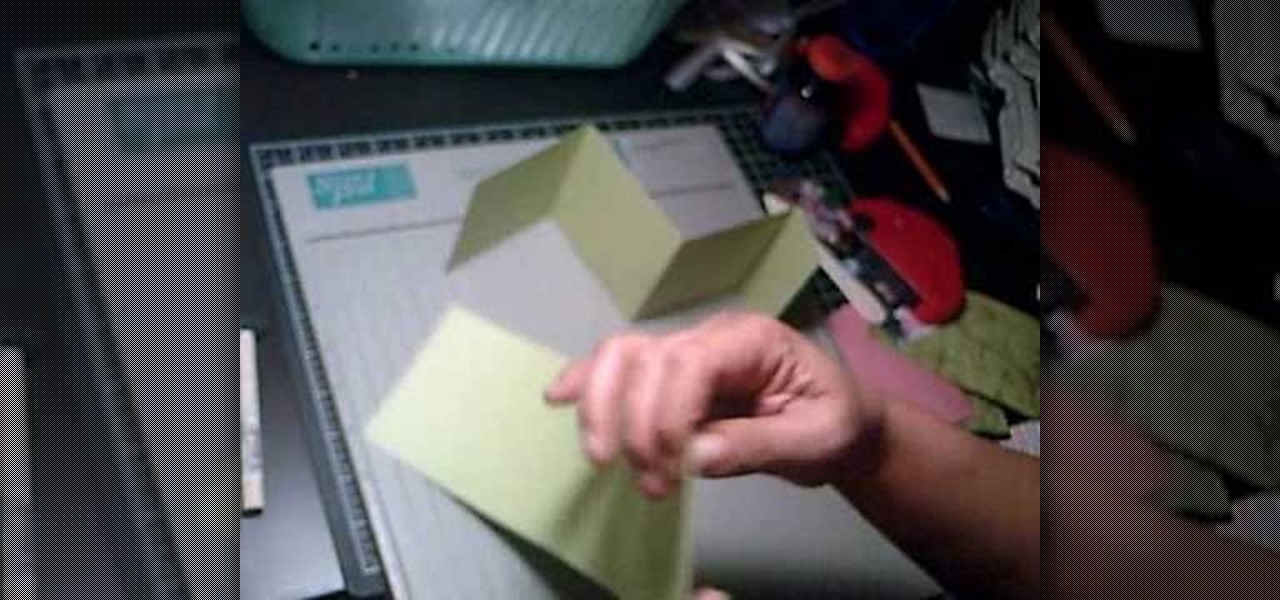
Maria from [www.stamininspirations.blogspot.com stampininspirations.blogspot.com] shows us how to make a 4x4 mini double accordion picture album. You will need a 4 x 9 in. piece of designer paper, a 4 x 9 in. piece of card stock, a 3.5 x 8.5 piece of designer paper, two 3.5 x 12 in pieces of card stock and two 4 x 4 in pieces of chipboard as well as some smaller pieces of designer paper and card stock and some ribbon. Rubber cement, a scorer and some double sided tape are also needed. Maria s...

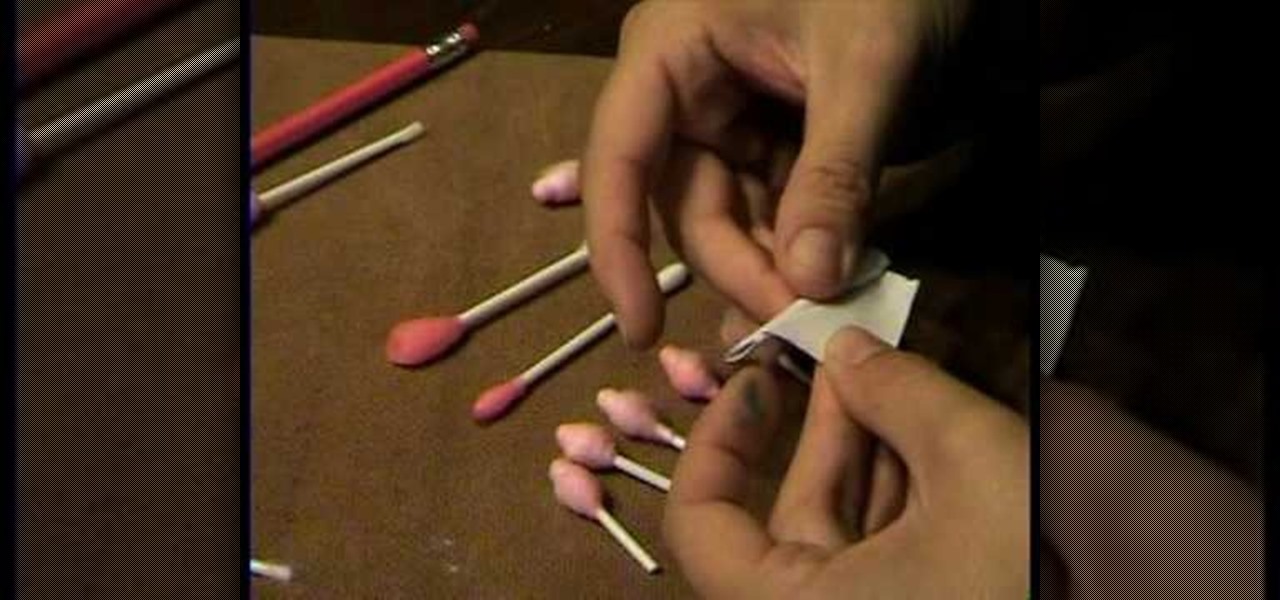
Use a q-tip (ones for little kids will have a larger base, but are not required). Put a few drops of red food coloring in a glass of water and stir it up as necessary. Dip q-tip in red water, get it nice and saturated. Remove q-tip and let sit overnight. Cut q-tip in half, then take a small rectangle of paper, apply glue from glue stick to one side, then make a small fold from a corner and roll (this may take some work). Use scissors to cut down to the correct size. Next rub q-tip's cotton si...

This video shows how to make a bay girl and boy head made of clay. The first thing you need to do is get a small round ball of clay that is a skin color color. Then you get the small black beads and place it firmly on the ball they will act as the eyes. Then make the eye creases on the side of both eyes. After that you add the other physical features like nose, mouth, ears, and eyebrows. The last thing you do is fold two square pieces of clay into the shape of a bow then place it on the top o...

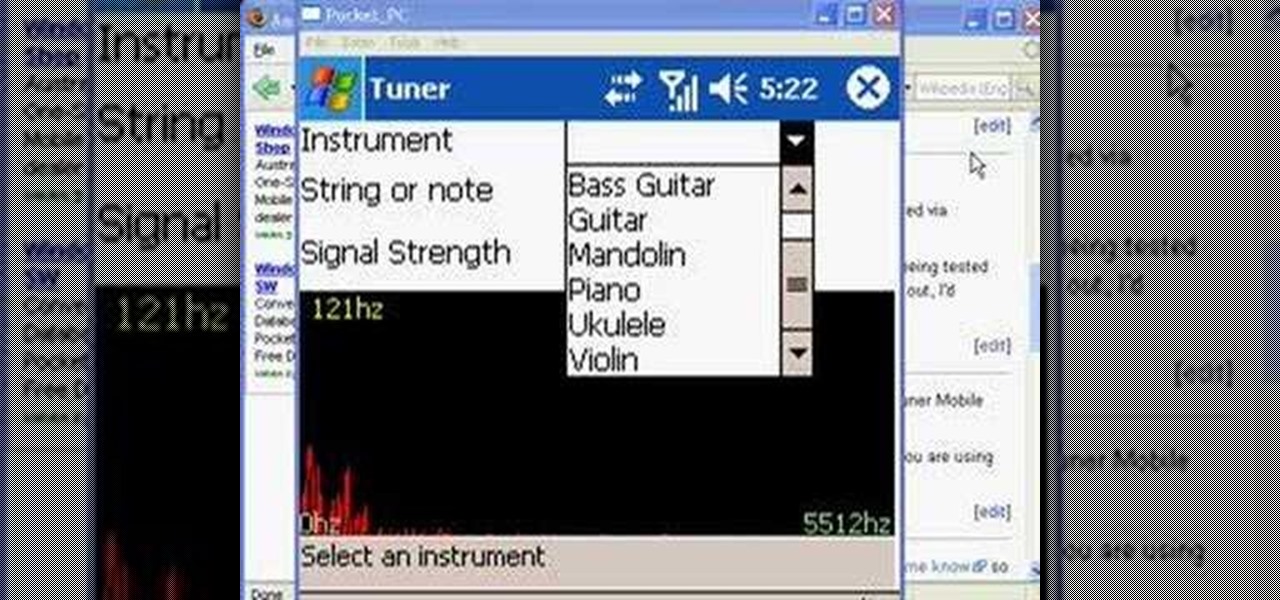
In this video tutorial, viewers learn how to tune their ukulele or guitar with a Windows mobile. Begin by going to the link in the video description and download the Audio Tuner Mobile program. Connect the mobile your PC and install the Audio Tuner program. Open the Audio Tuner program in your mobile phone. Users are able to choose from a variety of instruments such as: the banjo, bass guitar, guitar, mandolin, piano, ukulele and violin. The users are able to choose which note they want to tu...

You will need a penny, a roll of caps, and a seloptape to make an impact cracker with a penny. First take the roll of caps and rip off of the beginning and end parts that are without caps. Then divide the roll of caps in half and take one half of the roll and start folding it in half all of the way from the beginning to the end. Then take your penny and wrap the caps around the penny, the penny should be off center. Then wrap your wrapped penny in seloptape to finish. Make sure that all of th...

This video demonstrates the making of zebra beads presented by Garden of Imagination. To make zebra beads, take white and black clay. First take the white clay and flatten it and then do the same with the black clay. Arrange them in five flatten layers one white strip and other black strip respectively. Cut it with cutter and fold around (up, down, right, left) the round bead of white clay and roll it in your palm to make it round. To make it as a bead poke it with pokeyard from both the side...

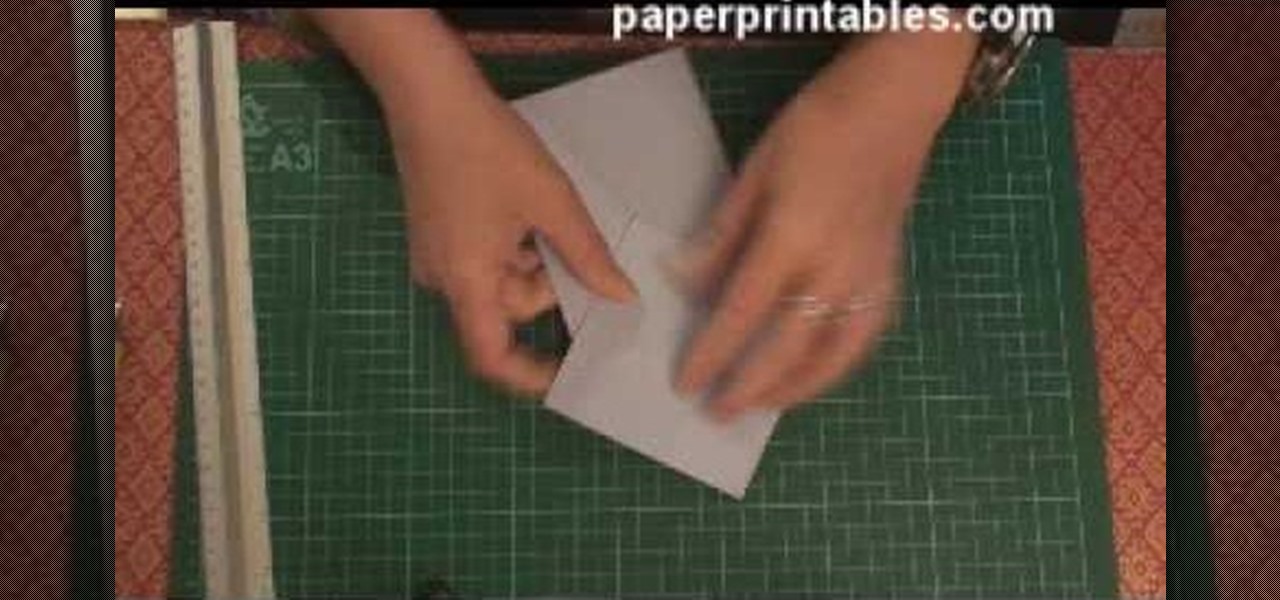
Watch this video to learn how to make a stunning diamond topped 3d card from a single sheet of A4 paper! 1. You'll need one A4 sheet of paper and some printed papers to decorate. 2. Score at 10. 5cm across length and 10. 5cm from one end. 3. Crease both scores in the same direction (mountain folds). 4. Turn card over mark 13cm from top on centre line an 17. 5cm from top on both edges. 5. Score from central 13cm mark to 17. 5cm mark on each edge. All printed papers used in this tutorial are av...

Dr. Schultz explains how to get rid of skin tags. Skin tags are harmless pieces of skin that can be found in skin folds, under the arms etc. To remove them your dermatologist will simply remove them with a small scissors. It is painless and there will be no bleeding. It will heal really fast, within a day or so. Visit your dermatologist to remove them easily and painlessly.

Do you own an iPhone or iTouch and are looking to learn how to SSH into your phone? You've come to the right place. Learn how to SSH into your Apple device with help from this video. In addition, you will learn how to open a virtual connection with your iPhone or iTouch & your computer, to access your phone or iTouch's system files to modify & personalize them. Links & downloads you will need:

In this video, award-winning golf teacher Gary Wiren focuses on hookers. Not THOSE hookers, though Gary offers an interesting bit of trivia about those too. He's focused on hookers in the realm of golf, swings gone awry that can really affect your game. Gary talks about the four main reasons hooking happens, discussing and demonstrating each type for the viewer. These reasons are: deceleration in the left arm, bringing the club too high (and allowing the wrist to "fold over" at the top of the...

In this video we learn to make a zigzag Chinese staircase friendship bracelet. You can go wild and make it all different colors or all one color. You start off with 5 strings about a yard long and fold then in half. Then you make a knot creating a loop for the end and to hold to a nail or clip while you make it. Take a strand and make 5 forward knots. With the same strand you then do 5 backward knots. Repeat this one time, so in all are 20 knots and then switch color, or to another strand. Do...

Vanessa is teaching you how to make arm and leg warmers for babies or toddlers. She is simply using some socks that she got by going to the dollar store and buying them. They only need one seam. You need to cut off the top of the sock first. Then you cut the heel and toe off the remaining sock piece. You need to fold the bottom part of the sock in half and make it into a loop. Put the loop over the raw end of the top of the sock. This will make it so all of the round edges are together. Stitc...

This video is in the Family category and it will show you how to use a baby sling properly so that both you and your cuddly baby have a great time. It’s really simple and easy to do this. This video is presented by Nancy Stone, parenting coach. First take the sling and find the thickest part on the edges. You fold it in half from there making a tube of sorts. The thicker portion should be outside when you put the baby sling around your neck and shoulder. Ensure that the thicker part is away f...

Garden of Imagination presents the making of polymer clay cabbage. She starts with a ball of polymer clay she has pre-baked in the oven. She, then starts to make the leaves. She flattens a piece of the green clay and then adds texture with a scalloped cake decorating tool. She folds the leaves around the ball. Halfway through, she instructs to bake it again. Then, she finishes adding "leaves" around the cabbage. The goal is to achieve a ragged realistic cabbage head. Finally, she gives bonus ...

The woman in the video want to show how to tie a toga for men and woman. Everything you need for both types of toga is a bed sheet, folded in half. First, men toga. You wrap the sheet around once and then roll it over your shoulder. For the woman toga, take the sheet, wrap is around you, and than roll it over your shoulder. You can even have clothes under it, because the most part of them won't be able to be seen. You can also put a crown on your head, made from leaves. Enjoy your toga!

This six and a half minute long video shows how to fold a square piece of paper into an hollow inflatable box or cube. Even simple origami projects like this one are just about impossible to instruct someone in using words alone, so a video like this one is the perfect way to find out how to do this project. Origami paper would make a nice box or cube, but any piece of paper will do. It is easy to square off a regular piece of typing paper and that works just fine. In just a few minutes you c...

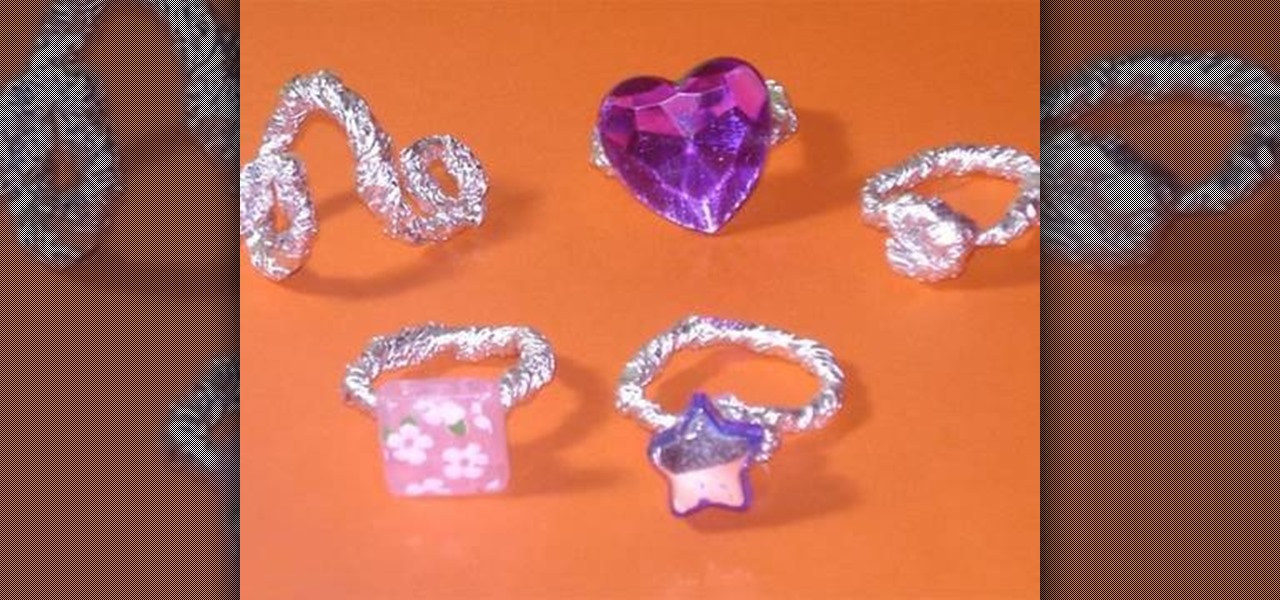
In this video tutorial, viewers learn how to make aluminum paper rings. This video provides all the materials required to make the rings. The materials required include: aluminum paper, glue, plastic gems, beads and the bottom of any decorative element for the top of the ring. Begin by folding the foil into a thin line and twist it. Now bend the foil around your finger to shape it into a ring. Then tie and wrap up the top. Put some glue on and add the bead or gem to the center. This video wil...

With this simple recipe you will be enjoying a great dessert in no time. This recipe is for lemon semifreddo and to begin you want to crack 4 large eggs into a mixing bowl. Next, you want to add 1/2 of sugar plus another tbsp or two and whip up the mixture until it's light and fluffy. Next, you want to zest 2 large lemons and mix the zest into the mixture. Now, take half a lemon and squeeze the juice out into the bowl, making sure to avoid getting seeds inside it. Next, take 2 1/4 cups of hea...

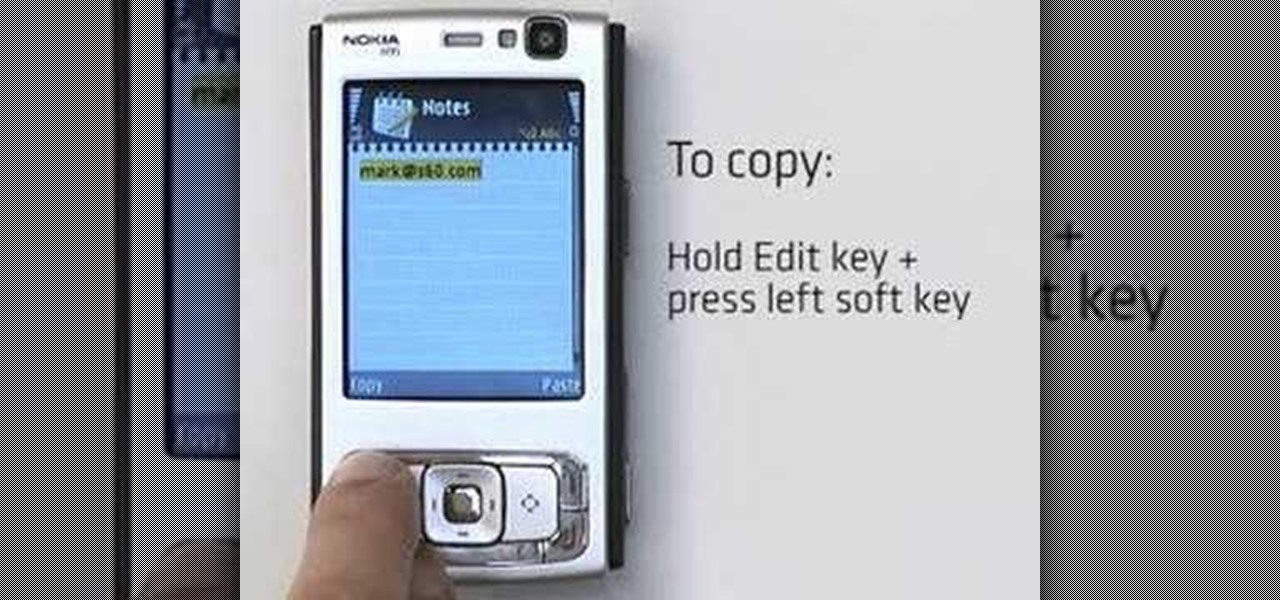
In this video S60 online explains how to copy and paste using your S60 phone. First, have what you would like to past saved on your notes application. Next, when you want to paste it to a webpage for instance open your notes application. When you open the notes, press and hold down the edit key and the directional key to highlight what you would like to copy. Still holding the edit key, press the left soft key to copy the text. Now you can past the text where you need it. Go back to where you...

AMICLUBWEAR created a tutorial on how to host a tea party based on "Alice in Wonderland". The video begins with a step by step instructional on how to make tissue paper "flowers" as decorations for your tea party. The tissue papers are layered in opposite colors, after which the tissue paper is accordion folded and tied together using a pipe cleaner. Afterwards, the tissue paper is carefully extended layer bay layer and shaped into a flower. Next, there was a tutorial for making the "EAT ME" ...

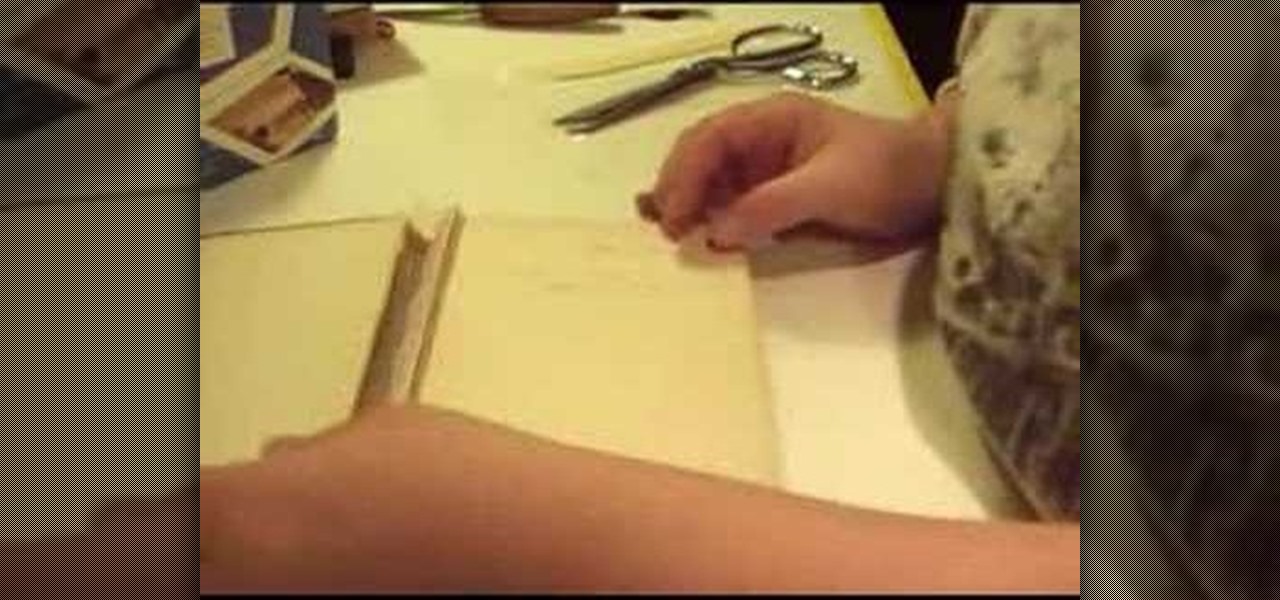
In this video molly1216 explains her method of repairing a hardcover book hinge. She mentions that this method should be used for inexpensive books that are not worth being sent to professionals.


