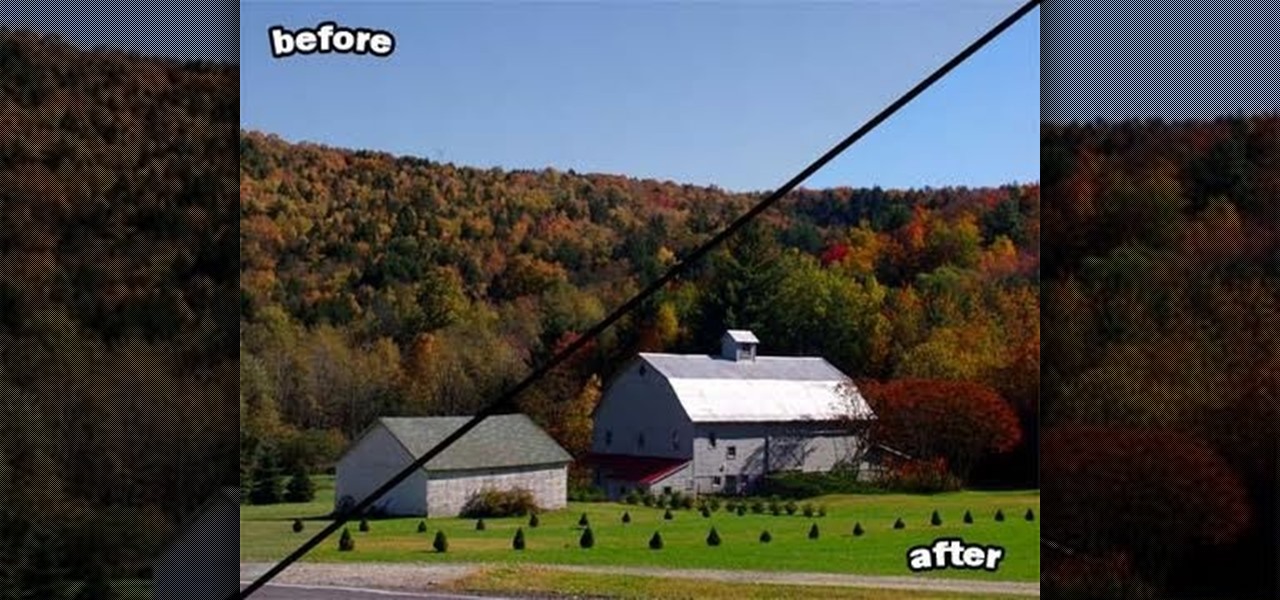
Bring out all the colors in your photo! Make them extra saturated so your image has exceptionally vivid colors. This tutorial shows you how to use the luminosity and other light effects in Adobe Photoshop to make the colors really pop for your project.

Are you tired of your fireplace? It's actually not too hard to give it a fresh new look by refacing it with stack stones. This video will show you exactly how to do it, whether you're starting from brick (easy) or not (harder). If you have brick, you don't even need to modify or remove the existing face!

In this tutorial, we learn how to create a Lomo effect in Photoshop. This is a contrast that gives the photo a "cool" vibe and change up the effect that you see. First, load up your picture into Photoshop and then go to adjustments, then curve. From here, add a slight s-curve and then add a green channel with the same s-curve that you just created. Go to the blue channel and create the opposite s-channel from the others, then click "ok". Now, go to layer, new adjustment layer, then gradient m...

In this video, we learn how to capture your holiday in eight digital photos. This is a challenge for most people, but it can help you remember your vacation without taking hundreds of photos. First, make sure you have different lenses to capture shorter and longer distances. Find photographs of the most beautiful places, using travel guides and locals as help on where they are. Capture a beautiful sunset or a memorable church with your camera, this will help you remember your surroundings. Al...

GIMP is an amazing, free image editing program that allows you to edit your photos just like in photoshop! And if you've been looking for how to create a more vintage look to your pictures take a look at this video! You'll see the different changes he makes to the color, opacity, saturation, brightness, and other settings to give it a truly vintage look and feel.

If you're creating a family scrapbook, cutting and cropping is more than just a few straight cuts. Use your creativity and these cropping techniques to help you shape and display your treasured photos in a beautiful album.

You never would have guessed, but you actually should clean your exhaust duct on your clothes dryer. Bet you didn't even know it existed! This video will show you the various steps you'll need to take to thoroughly clean and maintain your clothes dryer and its exhaust duct.

Want to edit or rename a station you've created on Pandora? It's easy. And this brief video tutorial from the folks at Butterscotch will teach you everything you need to know. For more information, including detailed, step-by-step instructions, and to get started customizing your own Pandora radio stations, take a look.

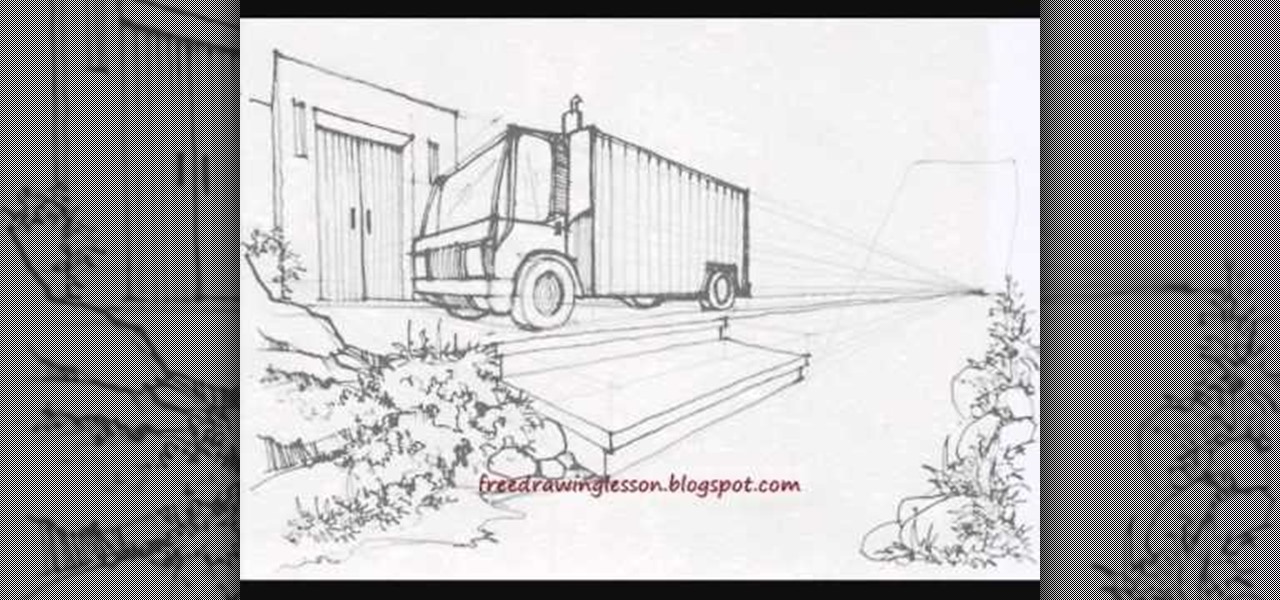
Sometimes the most common, everyday subjects are also the best for practicing basic drawing methods like drafting and shading and contouring. Just take the truck, people, bridge, and garden in this drawing tutorial, for instance.

This video tutorial will show you how to create a list of links on a WordPress website. Every version of WordPress brings with it new features, new functions and new ways of doing things. Fortunately, the very same technology that allows an open-source blog publishing application like WordPress to exist in the first place also makes it easy for its users to share information about its features through videos like this one. Take a look.

Want to make your photos look professional, but don't have a digital SLR and don't want to go through tedious and neverending photo tutorials? Then you've hit the right video.

This clip offers advice on how to customize the appearance of a YouTube clip embedded within a post on your WordPress blog of website. Every version of WordPress brings with it new features, new functions and new ways of doing things. Fortunately, the very same technology that allows an open-source blog publishing application like WordPress to exist in the first place also makes it easy for its users to share information about the abovesaid.

Learn how to edit a WordPress posting after the fact with this free video tutorial. Every version of WordPress brings with it new features, new functions and new ways of doing things. Fortunately, the very same technology that allows an open-source blog publishing application like WordPress to exist in the first place also makes it easy for its users to share information about the abovesaid things through videos like this one. Take a look.

See how to choose and install a free theme from your WordPress dashboard with this free video tutorial! Every version of WordPress brings with it new features, new functions and new ways of doing things. Fortunately, the very same technology that allows an open-source blog publishing application like WordPress to exist in the first place also makes it easy for its users to share information about the abovesaid things through videos like this one. Take a look.

This video goes through how to set up WordPress Multisite in 3.0. Every version of WordPress brings with it new features, new functions and new ways of doing things. Fortunately, the very same technology that allows an open-source blog publishing application like WordPress to exist in the first place also makes it easy for its users to share information about the abovesaid things through videos like this one. Take a look.

Learn how to work with the new Menu Manager tool in WordPress version 3. Every version of WordPress brings with it new features, new functions and new ways of doing things. Fortunately, the very same technology that allows an open-source blog publishing application like WordPress to exist in the first place also makes it easy for its users to share information about the abovesaid things through videos like this one. Take a look.

Learn how to install and configure Pixopoint's Multi Level Navigation plug-in within WordPress 3.0 Thelonious. Every version of WordPress brings with it new features, new functions and new ways of doing things. Fortunately, the very same technology that allows an open-source blog publishing application like WordPress to exist in the first place also makes it easy for its users to share information about the abovesaid things through videos like this one. Take a look.

This next arts and crafts tutorial will show you how to make a homemade photo album. It's a perfect video to follow, if you're looking for an easy gift to make for your mother, friend, or relative. So check it out, pay attention, and find out how to make this great gift that is sure to last a long time. Enjoy!

Poisoning can happen to both children and adults, and is one of the most preventable forms of illness that exists. Poisoning can sneak up on your in various ways including household products, expired medications, foods and even alcohol. So, take the tips in this clip from Dr. Savant and avoid this unnecessary illness in your household.

From Ms Lola, learn how to attach a lace frontal so that it integrates with your existing hair. Lace frontals are designed to add thickness and length to thin and/or bald hair lines and crowns, where hair is needed. When applied correctly, they give a totally natural appearance, are extremely comfortable and stay secure for weeks! Learn how to strut your stuff in this unique style with help from this free video.

Take, edit and send pictures on your Samsung Reality smartphone. This free video tutorial will see that you need everything you need to know to take, share and edit digital photos on your Reality. For thorough instructions on how to use your Reality's camera and picture editing software, watch this cell phone guide.

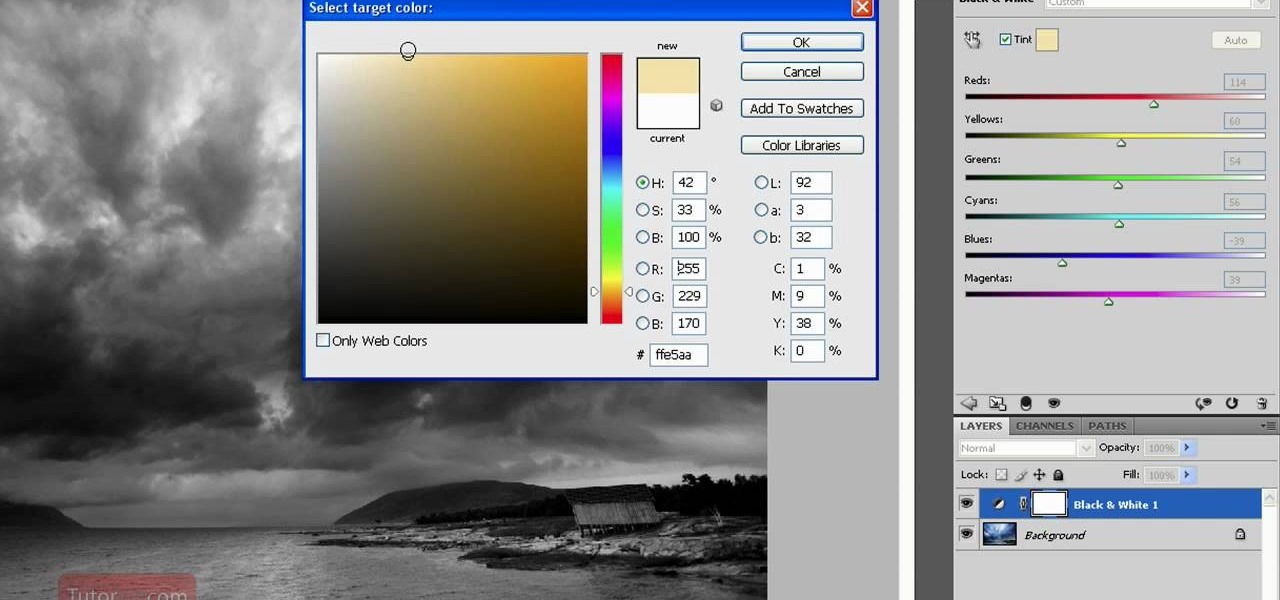
Black and white photos are great to look at and remind others of a time when technology was simple. They add a certain sense of drama and mystery to them it can be kind of relaxing to look at. In this tutorial, you'll find out how to take a normal photo and convert it into a black and white image using Photoshop CS4. Enjoy!

Just getting started with Photoshop? In this tutorial presented by Yanik's Photo School, learn how to use the patch tool in Photoshop instead of the healing brush. The patch tool retouches images using sampled pixels or pattern and comes in handy when trying to touch-up a photo.

If you've ever wanted to sketch something from scratch and realize you don't have the time to take formal classes, then Photoshop might be what you need. In this helpful tutorial, you'll find out how to take your photos, or any other photo out there, and turn it into a beautiful masterpiece. So sit back and enjoy this tutorial on how to turn a picture into a sketch using Photoshop CS4.

Creating sketches from scratch can be a difficult task, especially those who have no idea of what they are doing. Luckily for them, there's Photoshop. In this tutorial, you'll find out how to transform a photo into a sketch. It's fairly simple to do and will impress any of your friends and family. Good luck and enjoy!

This Photoshop tutorial is one that is widely used amongst professionals and everyday people. It can be used to add shadows to photos, darken the skin of family, friends, or even models, and even make the sky in a photo look more menacing. This tutorial focuses ont the burn tool and how it can strengthen an image's tone. Enjoy!

Photoshop is all about being creative. The more you know, the better you become at mixing certain tricks and techniques to make amazing pieces of digital photography. But there are so many it can take a good chunk of your time to fully understand the power that Photoshop holds. In this tutorial, find out how to easily combine photos and text using this awesome piece of software. Enjoy!

Photoshop is a great way to perfect your photos and artwork. In this tutorial, learn how to straighten a horizon, or create a straight one in a landscape image.

If the subject of your photo doesn't look as fresh as you'd like, check out this tutorial and learn how to soften skin with the surface blur tool in Photoshop. This tool is quite easy to do and in less than five minutes you could make a dramatic difference to your photos.

Are you a major networker with a cell phone full of digits? Are you horrible at remembering names and often times look at incoming calls with a look of confusion? There's a way to remember them from this day forward. Once you get a number, snap a picture of them and set it up as their caller ID. When calling, their photo will appear giving you a hint who it is! In this video courtesy of Best Buy Mobile, learn how to set a photo as caller ID.

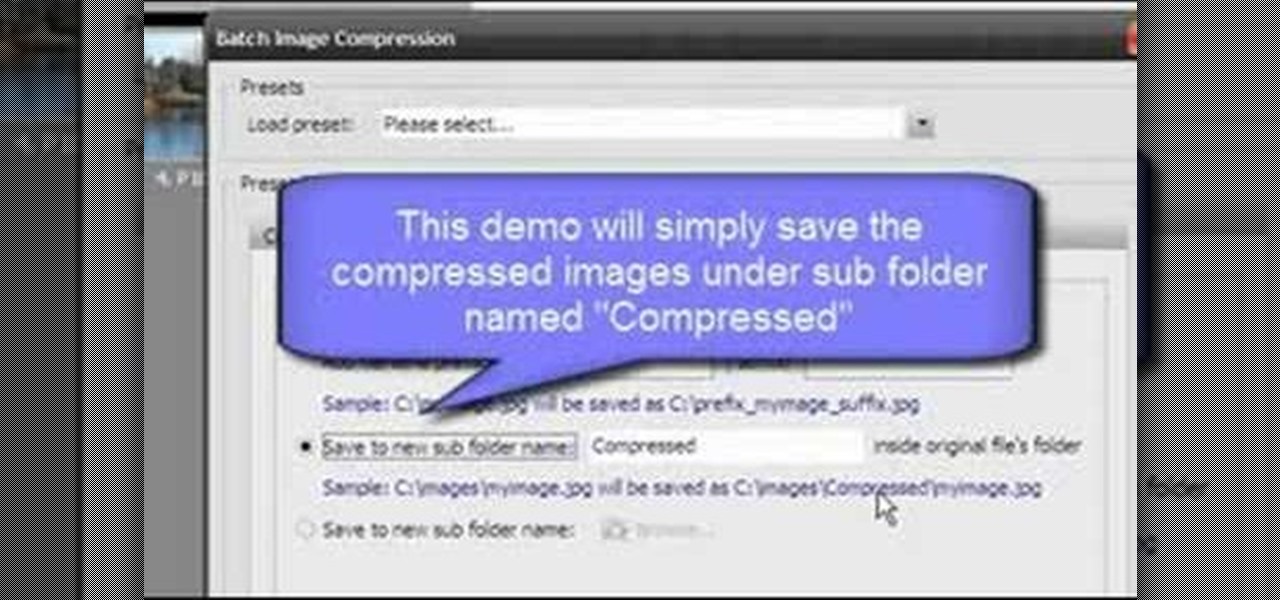
Open Image Compressor 2008 and go to the Image Tray. Pick the images you want with the image selector and click on them to add them to the Image Tray. If you want to add every photo in a certain folder, you just click on the Add All button. Once you have the photos you want, you can batch compress them. You can go to File>Batch Compress to start the process, or just click on the Batch Compress button in the toolbar. Then, pick the compression options you want, or edit the images. You can also...

Going to miss the fireworks extravaganza this Fourth of July? Doesn't mean you can't fake the experience, and that's exactly what we're going to do here—in Photoshop. You're going to learn how to take any night photograph and insert fireworks into it. It's the next best thing to watching some fireworks display firsthand.

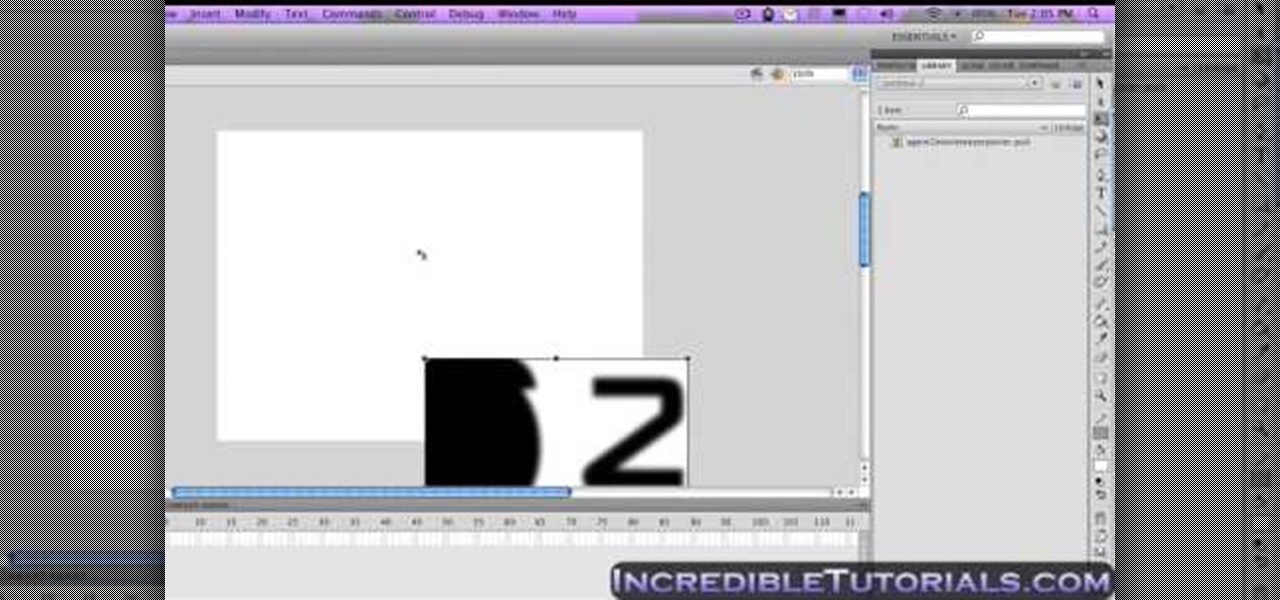
This video tutorial will help you to use the bone tool on an imported or Photoshop image while in Flash. If you want to use an image from Photoshop you must first pull the image up in the Photoshop program. Once the photo is pulled up in Photoshop you can save it by going to, file, and save us. Save your file as whatever file extension you would like to use (Photoshop, jpeg, etc). Pull up the Flash program and find file, and import. At this point you can import your Photoshop picture to your ...

Want to install a suspended ceiling yourself (perhaps enlisting the help of a construction-savvy buddy)? If you have the time and necessary tools (and provided your existing ceiling is structurally sound), the process is quite simple. This free DIY guide will walk you through the process from start to finish. Build your own suspended ceiling with this how-to.

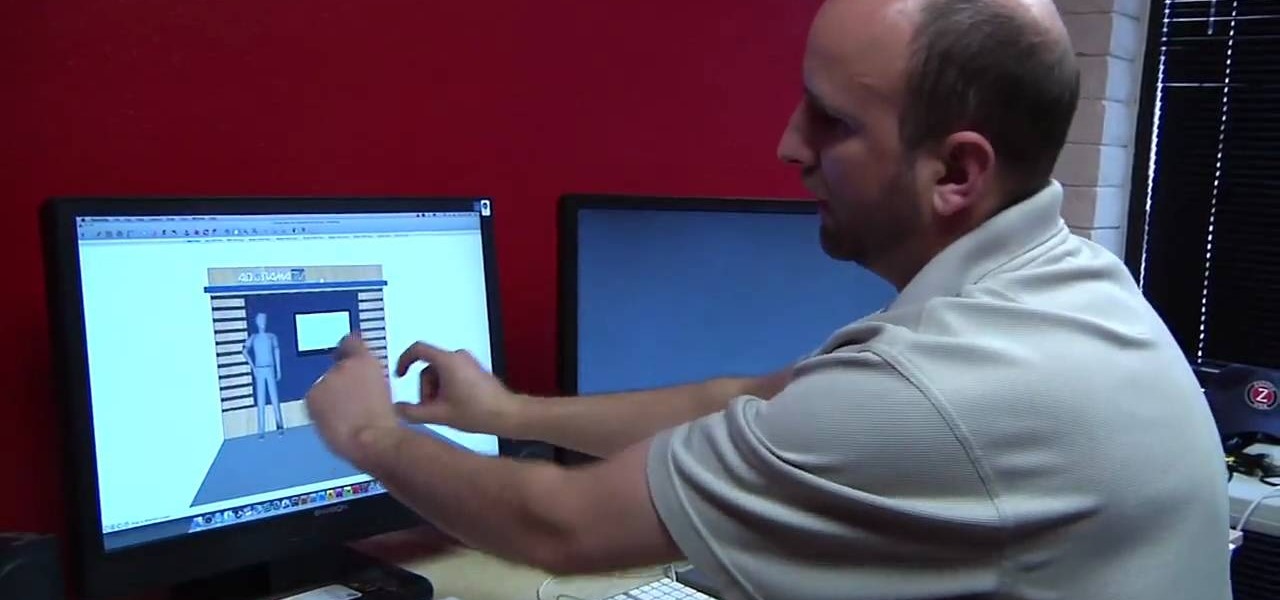
Need to build a for a set for a film, TV, stage or photo production? This free video tutorial will walk you through the entire process, from design and sketching to fabrication and assembly. For detailed instructions, and to get started building your own professional quality sets, watch this free set designer's guide.

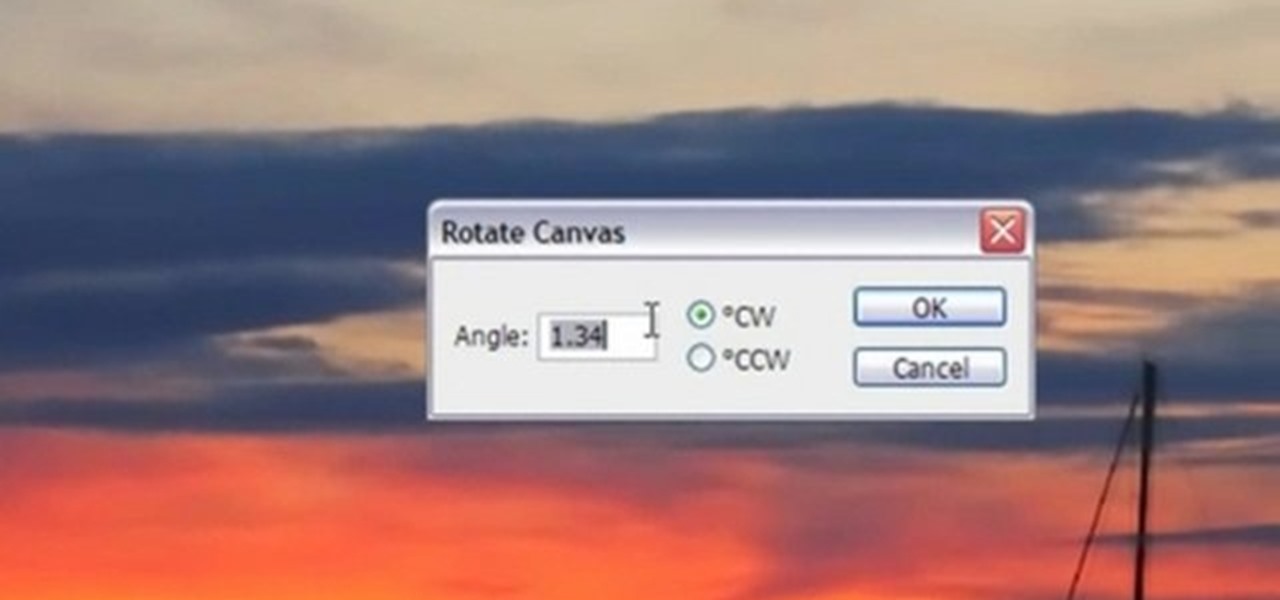
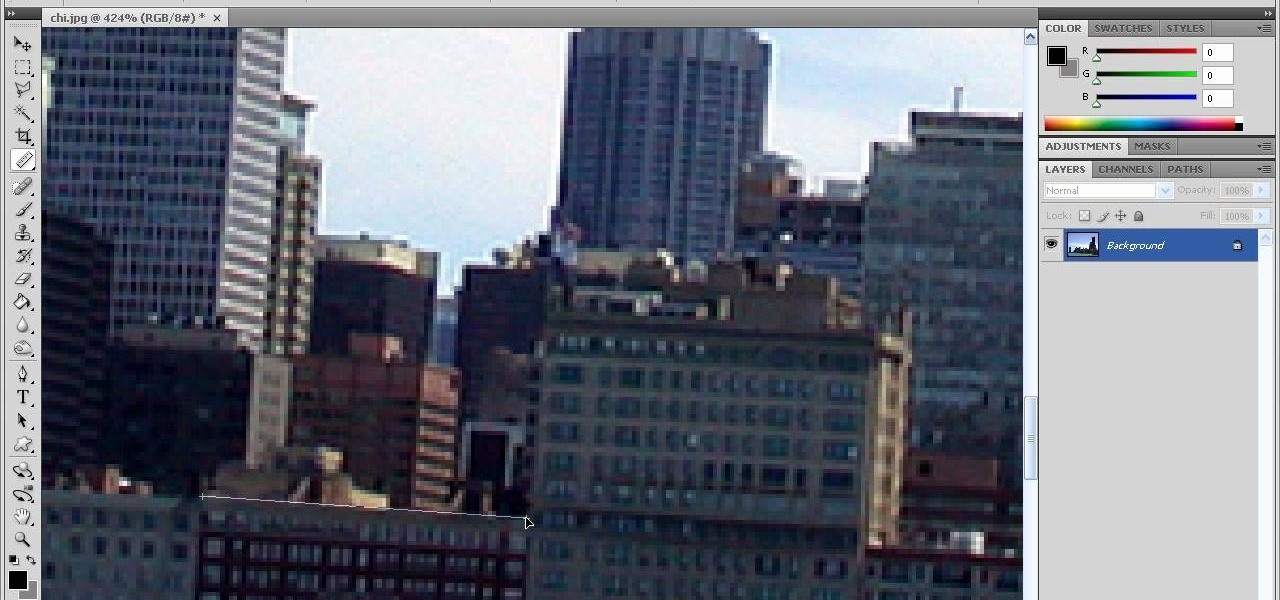
In this how-to video, you will learn how to straighten crooked photos in Photoshop. First, open the photo you want to straighten in Photoshop. Next, use the ruler tool under the eye dropper tool. Select it and zoom in to an area. Find a crooked line to straighten, such as a building rooftop or ground line of some sort. Click, hold, and drag. Next, zoom out. Go to image, image rotation, and arbitrary. Click okay and your image will be adjusted. Go to the crop tool and crop out the spaces. Hit ...

In this tutorial, learn just how easy it is to enhance your subject by changing their backdrop. By changing the background of a photo you can place your subject in new and exciting places, and enhance the color of their skin and eyes with the right color pallette.

Robert with Roberts Productions demonstrates how to give your photos depth of field with Photoshop. You can create this effect by having a clear foreground and a gradually blurry background. First, duplicate the background layer. Then, go to filter and select Gaussian blur. Set it to a believable radius like 12 pixels. Create a mask by clicking on the mask icon. Then, make sure the foreground is set to black while the background is set to white. Next, go to the gradient tool and make sure tha...

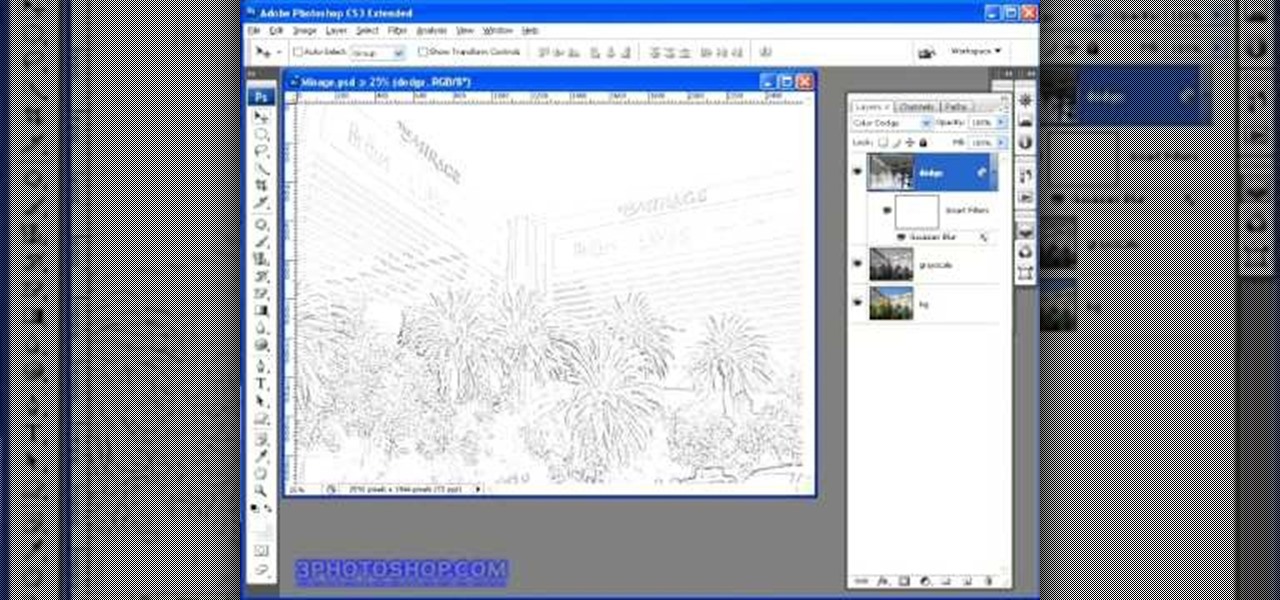
In this how to video, you will learn how to turn a photo into a line drawing in Photoshop. First, open your image in Photoshop. Create three layers of the same photo. The top two layers will be worked with. The bottom layer will remain the same. Take the top layer and change it to color dodge. Select control and I on the keyboard to invert it. Go to filter and blur to choose Gaussian blur. If you have dark lines, use a small amount of blur. You can use a lot of blur to get a unique look. Clic...

Chances are if you've used a computer in the last decade or so, you've probably used Microsoft Office at some point. Activating Microsoft Office standard 2007 will give you access to functions you might not have even known existed that can increase your productivity and improve your work flow. This video will show you to activate Microsoft Office standard 2007.


