
How To: Recreate Hilary Duff's Maxim makeup
Hilary Duff is a very fun pop starlet. She does it all: sings, dances, acts, models! And with this look, you will feel like you can do it all too!


Hilary Duff is a very fun pop starlet. She does it all: sings, dances, acts, models! And with this look, you will feel like you can do it all too!
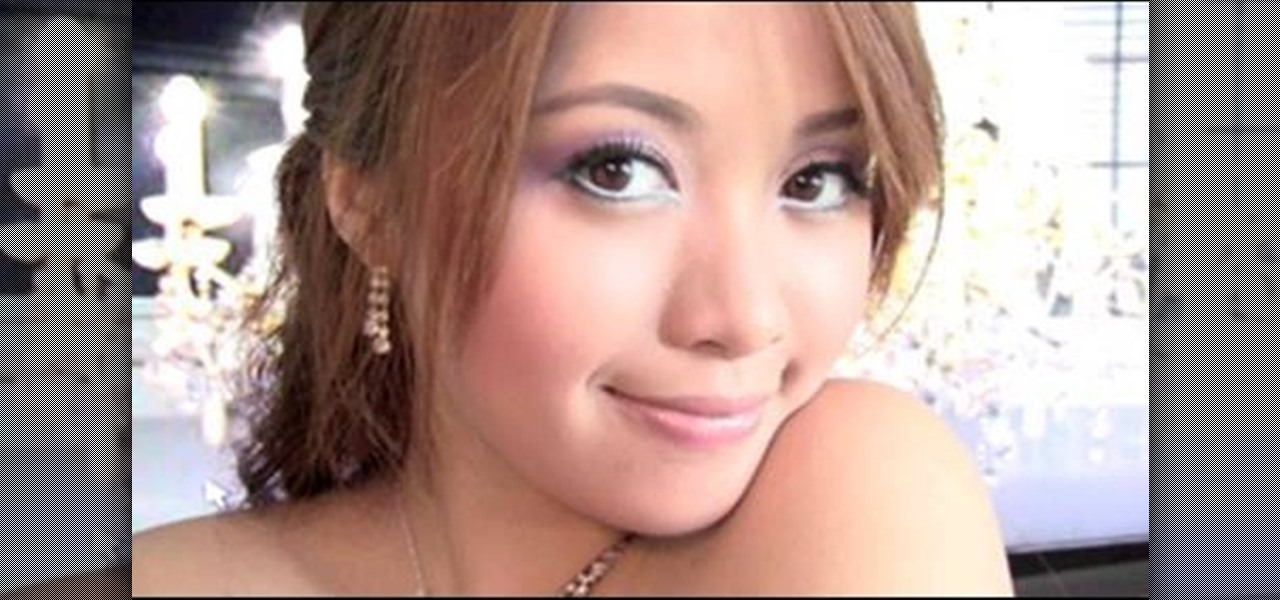
In this tutorial from Michelle Phan, learn how to look perfect for prom! Don't waste money on a makeup artist for the big day, do it yourself and look gorgeous!

A new introduction into the iPhone community is WordPress which easily allows you to easily control things like your WordPress blog on the move. Start off by tapping in your blog details, start writing a new post with a single tap, setting your tabs or publishing data right from the main editor through this. This also allows you to add photos directly taken from your iPhone's camera, you can change your publish date and set a password on your posts to decide who has access to them. Finally yo...

Whether you're new to Adobe Photoshop or a seasoned graphic design professional after a general overview of CS5's most vital new features, you're sure to be well served by this (17-minute) official video tutorial from the folks at Adobe TV. In it, you'll learn how to do each of the following: realistically blend colors on canvas with the new Mixer Brush; create superior composites for print or web layouts with new technology that makes it easy to select even the trickiest image elements, like...
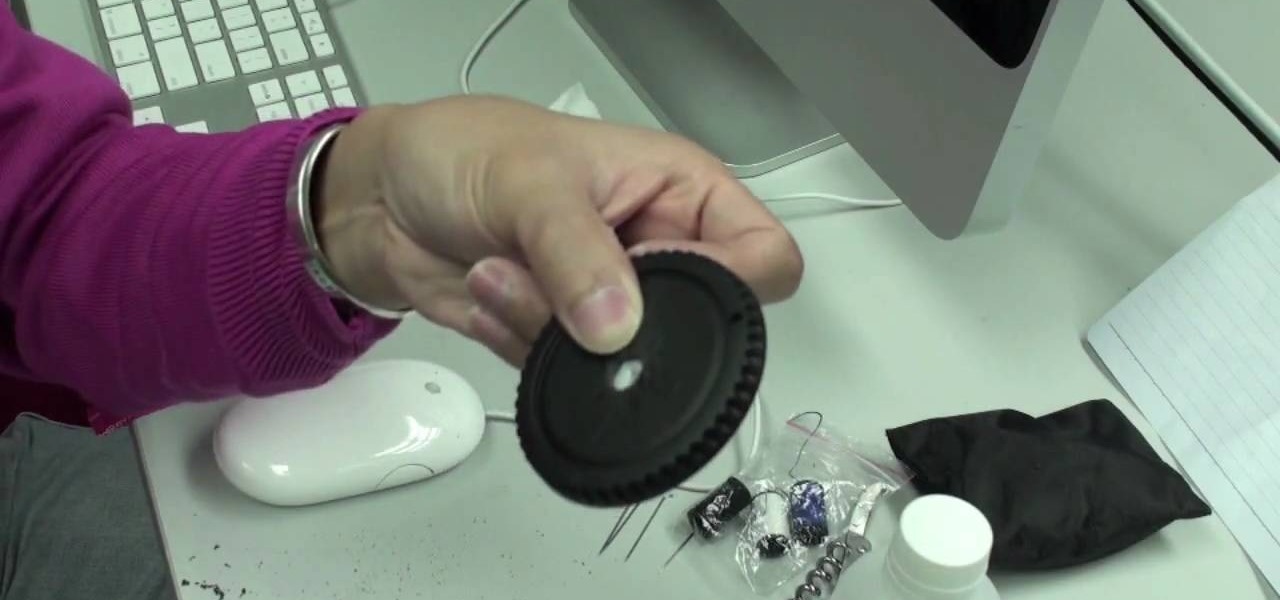
In this video you learn how to make a digital pinhole camera. The video begins with an introduction addressing the main themes to be dealt with in the video - tight budgets, photography and specialized lenses. In this video, Kai modifies a photo lens cap by poking a large hole in it. After making this large hole, he makes a smaller hole in a thinner material and lines the hole up in the center. He calculates the size of the hole he needs based on the wavelength he will be photographing. He us...
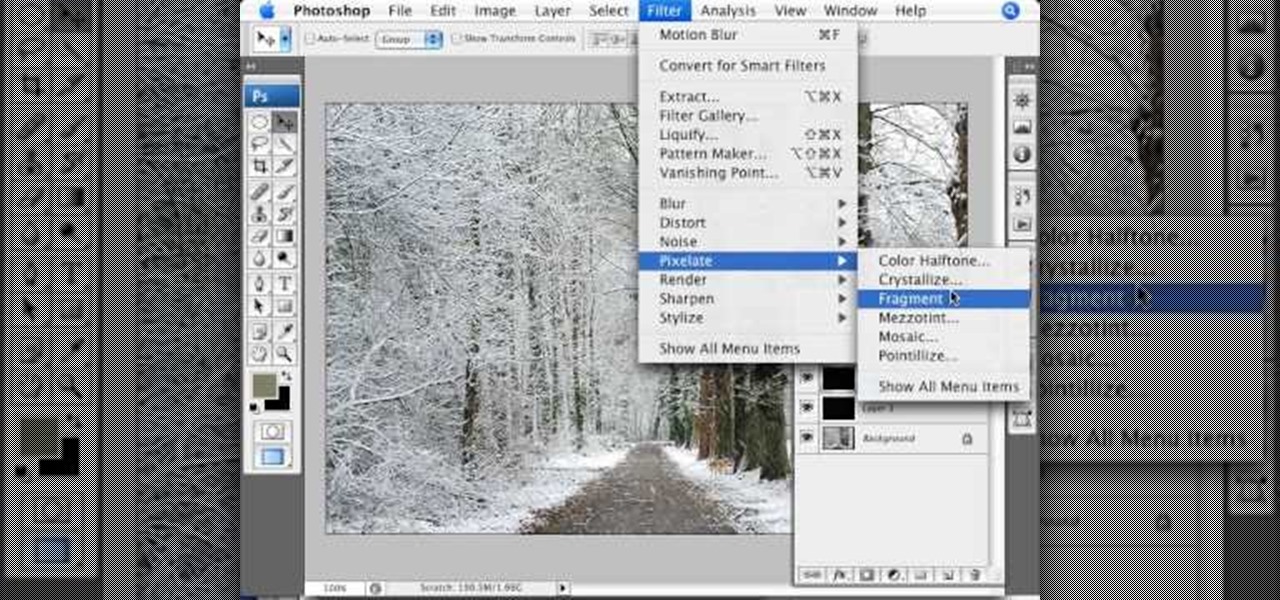
Learn how to simulate snow in your photograph in this video tutorial by photoshopuniverse. For this you'll need a photo depicting winter scenery. Add a new layer, fill it in with black, go to filer noise and add noise as shown using the given amounts. Go to filter effects and add blur to the layer. Go to images and adjust the levels to reduce the snow-flakes as shown. And add some motion blur to it. Change the blend mode to screen, duplicate the layer, rotate the new layer, apply the filter c...
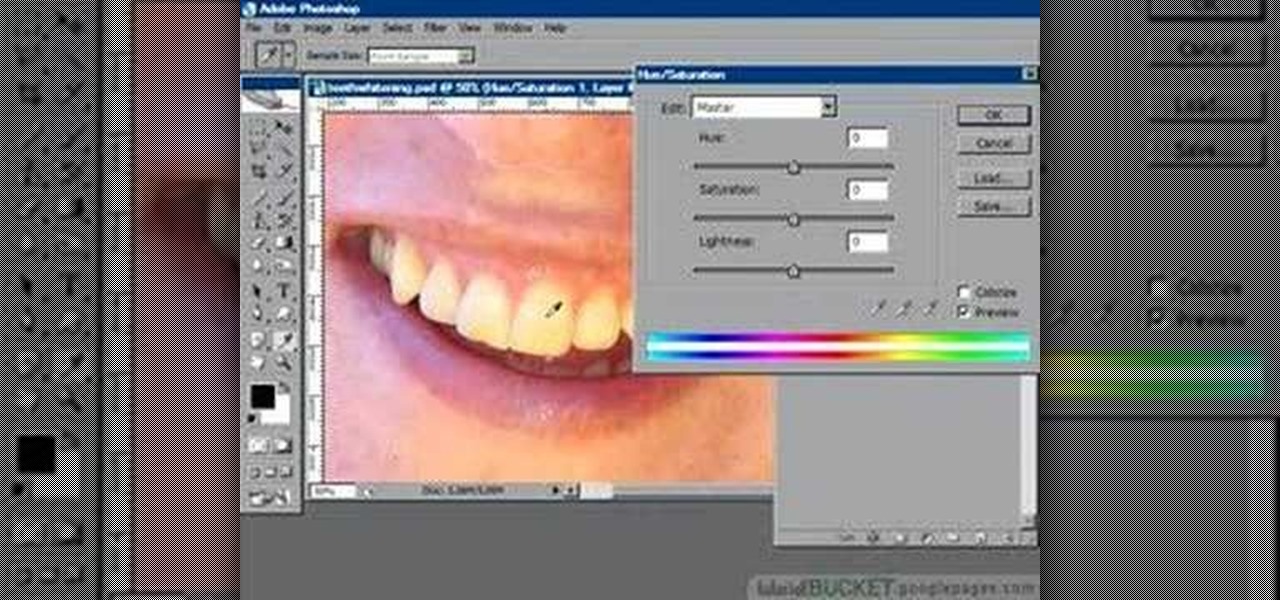
You know that you can edit almost anything in PhotoShop but did you know that you can make your teeth look dramatically whiter with just a few PhotoShop tweaks? Watch this video to learn how to select the teeth that you want to whiten and then how to adjust the hue and saturation of your teeth. Teeth tend to give off a yellow cast in photos even if they are not yellowish in person. You will need to leave a little bit of the yellow to keep your teeth natural looking.
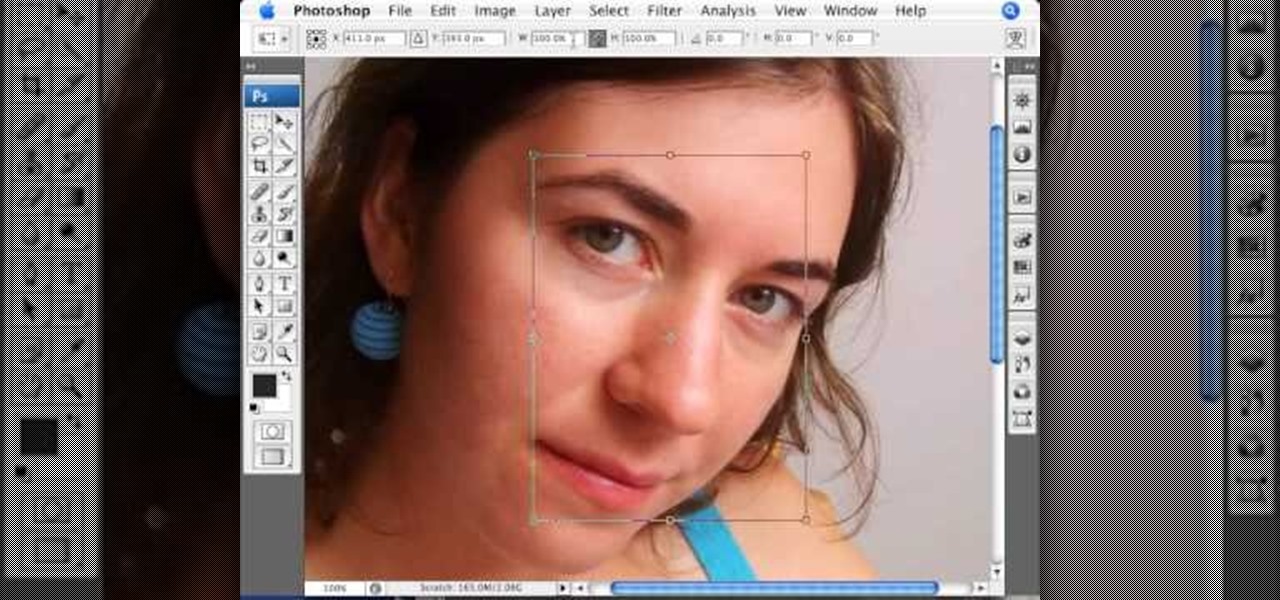
This Photoshop tutorial on performing a nose job using Photoshop contains detailed instructions on the use of Photoshop tools to, depending on taste, enhance the appearance of an individual. The person narrating the tutorial specifies the necessity of subtlety with the modification of the picture in order to remove any appearance of modification. The way described is essentially to select the general nose area, feather the selection by an optional amount, and set it in a separate layer. Then ...
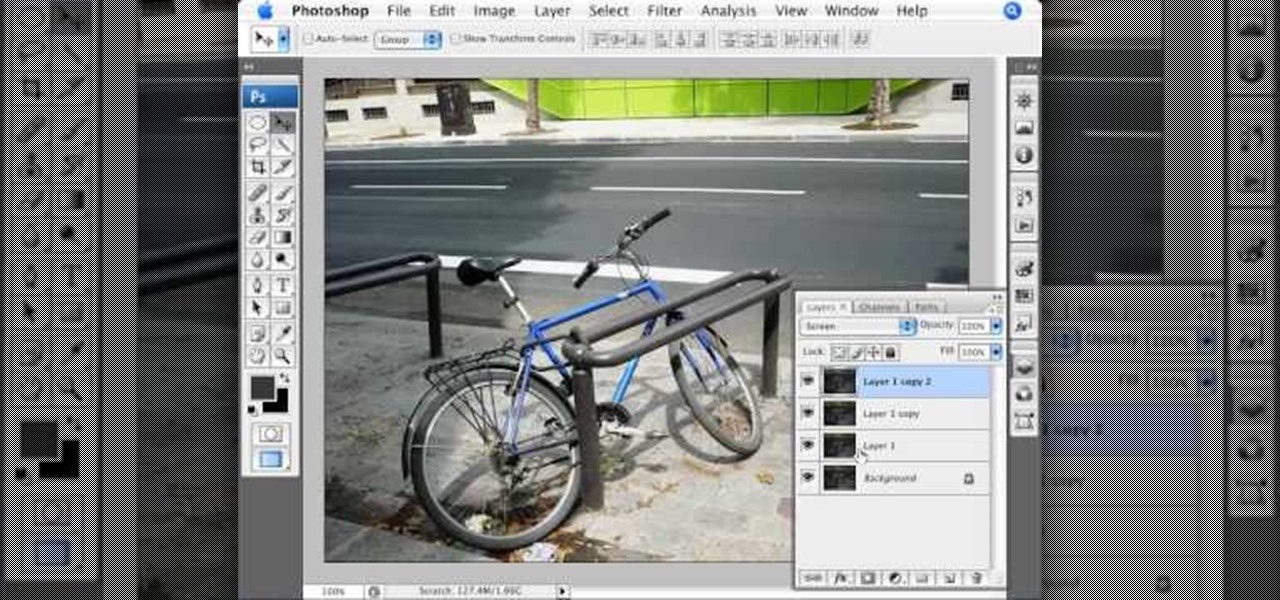
This video shows you how to use an aspect of Photoshop so that you can fix snapshot pictures that may have gotten an exposure level you did not want. This quick and easy tutorial video shows you how easy it is to adjust the layers in the screen. With different adjustment tricks for the layers to use if you are unsatisfied with the results you are getting. Each video will take moments to do and once saved you can move on to edit any other photos that did not come out with exposures that you wa...
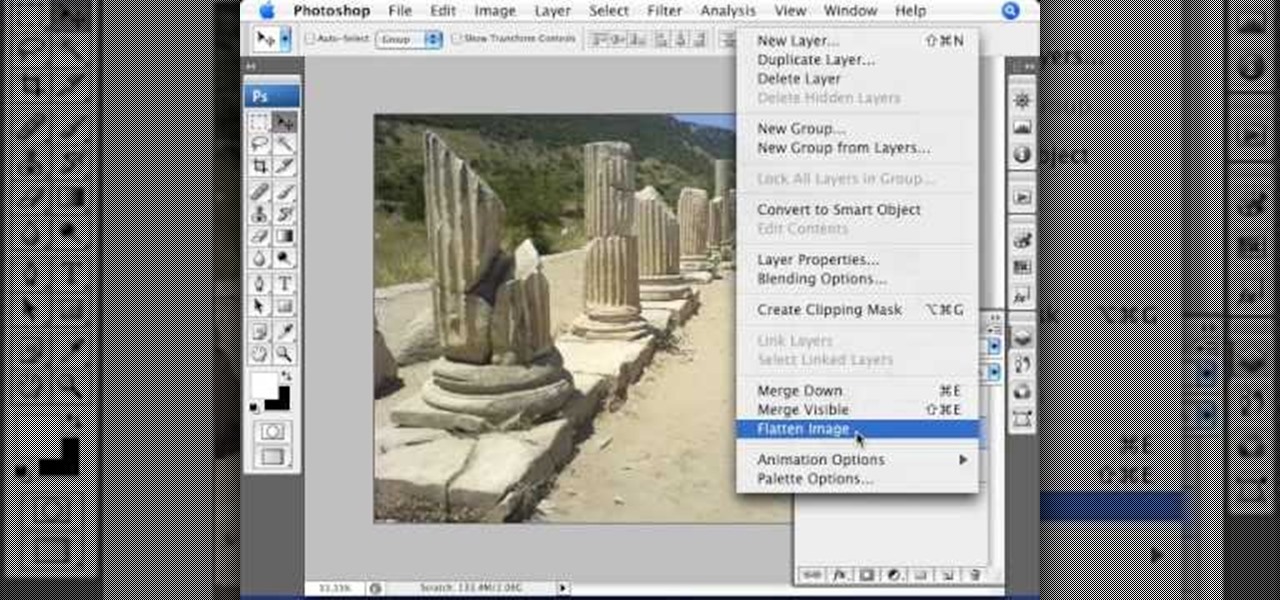
A lot of photos look fantastic when you first take them, but you start to notice some issues with the image when you get a good look at them on your monitor. The color will be nice, but there is noticeable room for improvement in the raw image. You can enhance the color in your image by using automation in Photoshop. This video will take you through the necessary steps to make your final image livelier and more vibrant in Photoshop.
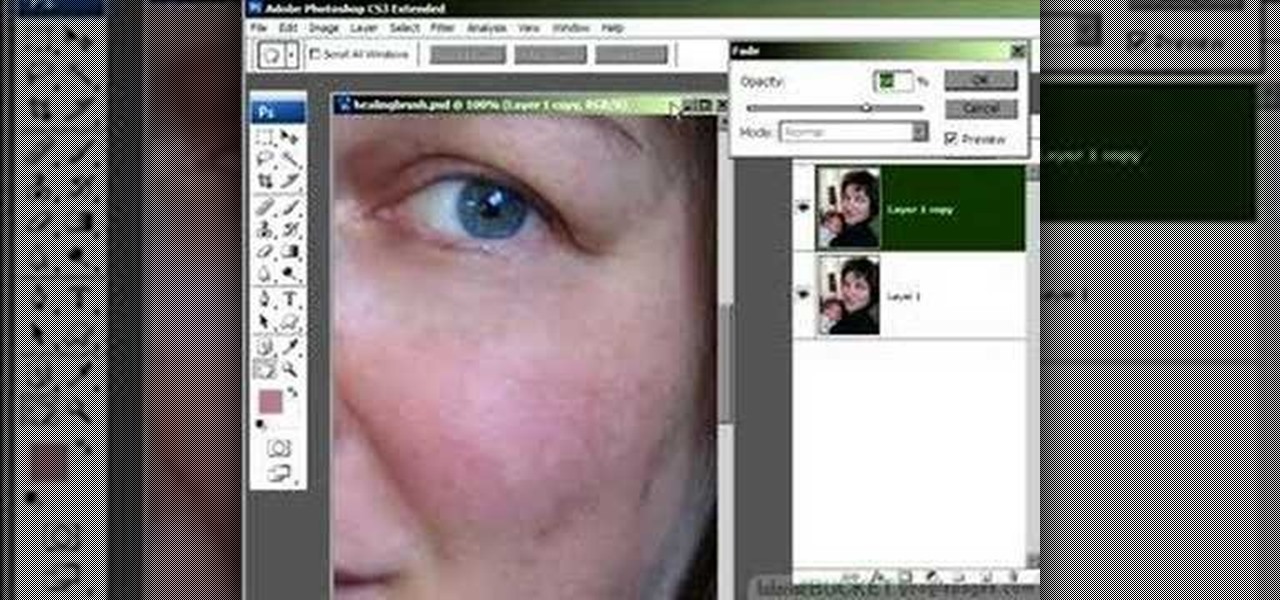
Do you love to edit your photos in Photoshop? Watch this quick video that contains some really neat tips on how to use the healing brushes and patch tools in Photoshop. The spot healing brush makes it easy to brush away blemishes or other marks on the skin. It's good for small spots, not larger areas. You can use the patch tool for larger jobs. These two tools combined will give you a pretty impressive end look. It can remove tattoos, wrinkles, acne and so much more!

This video shows you how to enhance the sky in pictures using a program called Adobe Photoshop. With this program you can use a gradient tool to layer different areas and change the color to enhance the picture of the sky. You can also invert colors and do a lot of different things using this tool. It is a very helpful tool to have because it drastically changes how bold the sky looks and could help a photographer out a lot to learn this skill.
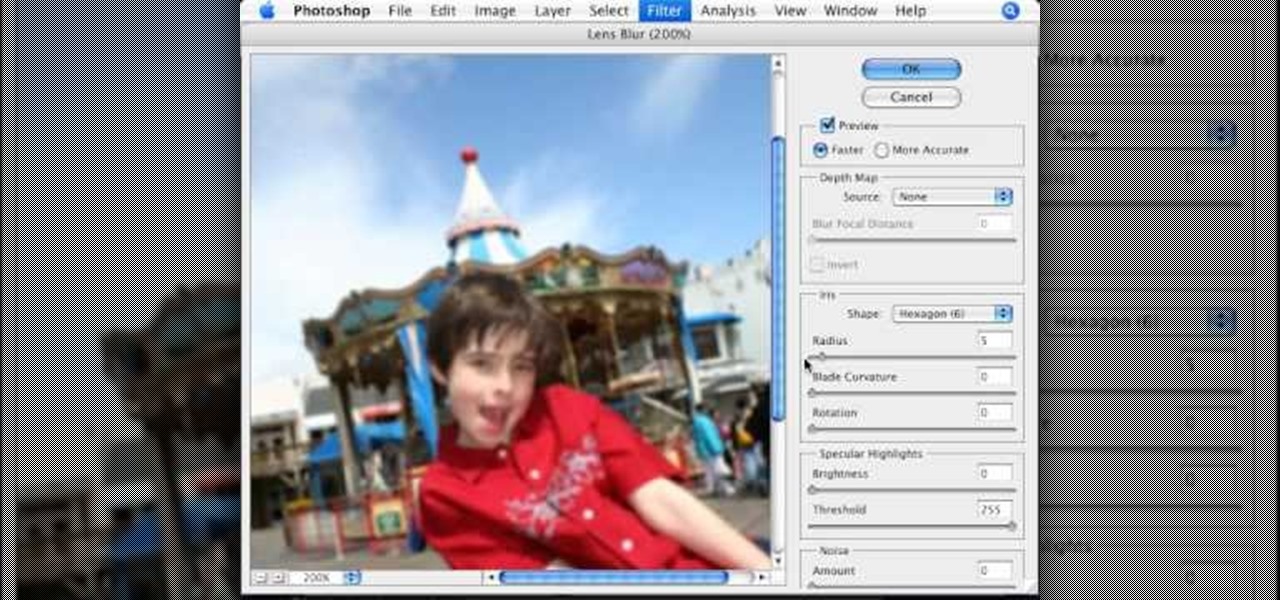
This video tutorial, by photoshopuniverse, shows you how to reduce the depth of field after a photo is taken using Photoshop. This enables you to ensure that your main subject is clearly in focus while the background is out of focus or blurry. First duplicate the layer using the short cut that was mentioned and apply the filter lens blur to the new layer and adjust the radius so that an adequate amount of blurring is achieved. Add a layer mask and bring the subject to focus by selecting the b...
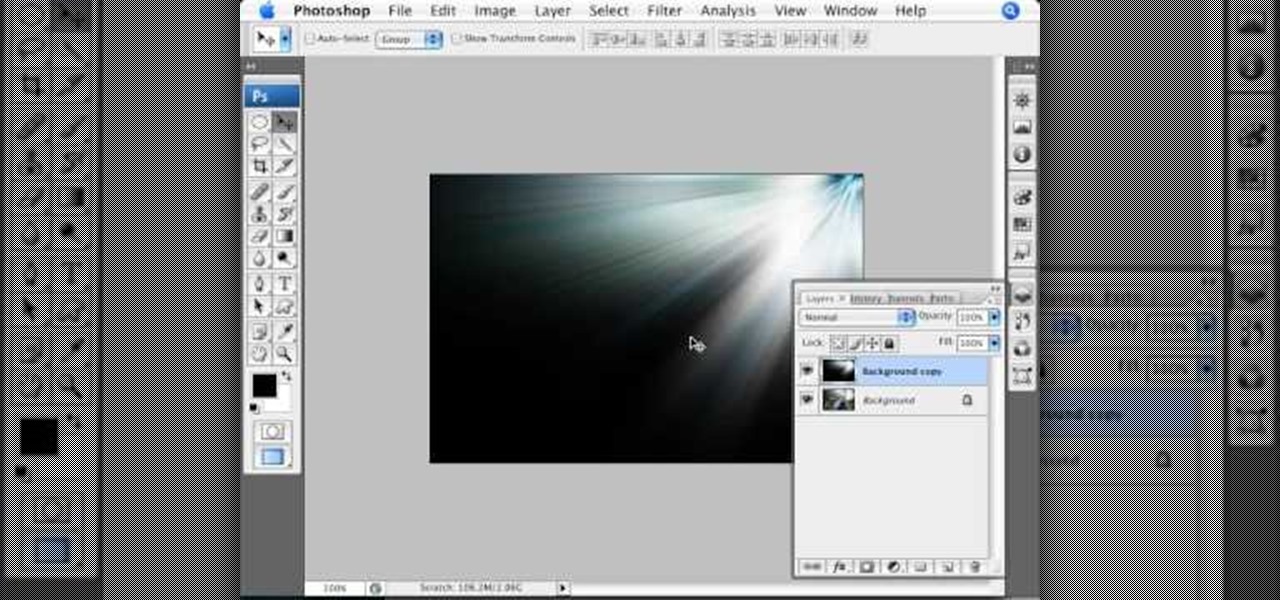
Photoshop Universe shows you how to add a simulated ray of light to your photos. They give you advice on how to use levels, the radial blur filter, and the lighten color blend mode. You can give your pictures a nice added touch by learning this simple and easy to understand technique. A great tutorial for beginners, and a useful tutorial for even more advanced users, these are easy to learn and extremely useful tips and tricks that all Photoshop users should know.
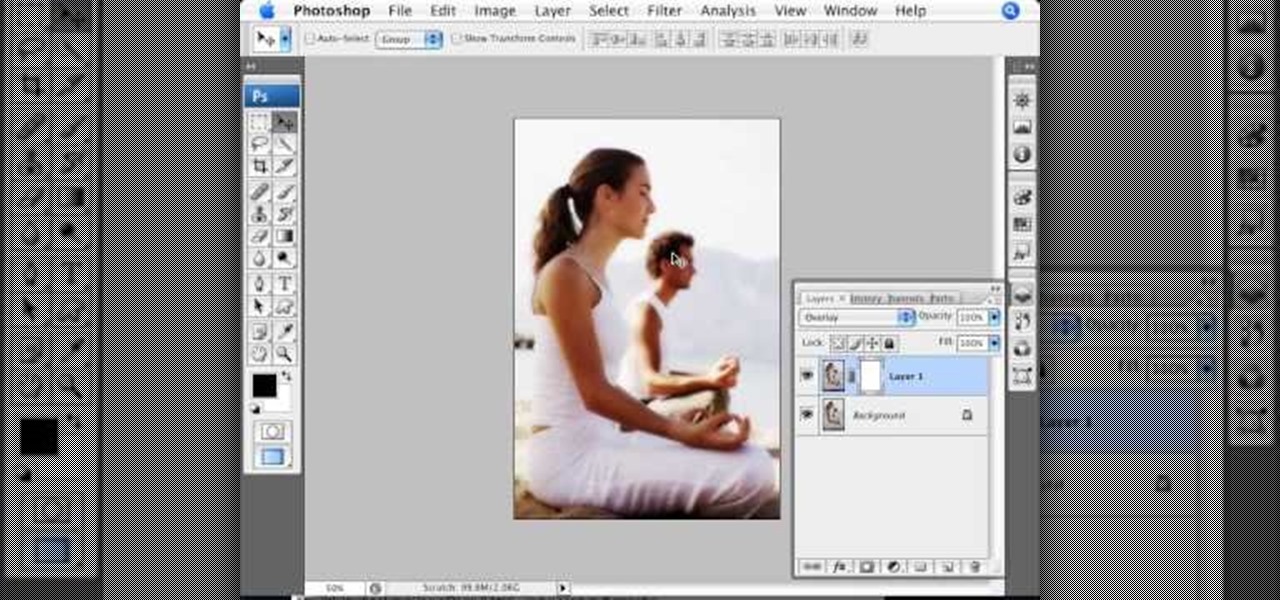
In this Photoshop video tutorial, hosted by photoshopuniverse, from Free Photoshop Video Tutorials, you will learn how to create a romantic touch effect to photos using Photoshop. The host will teach you how to use the soft overlay diffusion effect to achieve this. Guiding you, step by step, through the process of navigating Photoshop to find and use the tools you will need achieve this kind of effect. He also explains in detail what the tools are, as well as what they do, as you follow along.
Photoshop can be a confusing program, especially with all the different settings and effects you can tinker with. Learn to master the vanishing point filter in this fun, easy to follow tutorial with the Pixel Perfect team. Clean up your pictures and smooth over any unwanted imperfections as he takes you how to make them "vanish" with the program. Alter the perspective of an image and add it on to another and change that cloudy day into a snowy background. Each step is carefully explained with...

You can use starburst to make stars in photos stand out or you can use that feature to make reflections and glares on cars, mirrors and other shiny things. You use different layers in Photoshop to create the starbursts then add it to the photograph that you select. You can choose the pixel, size and color. The tutorial also teaches you other buttons to use in conjunction with the starburst feature, which teaches you other things so you can work on other pictures.
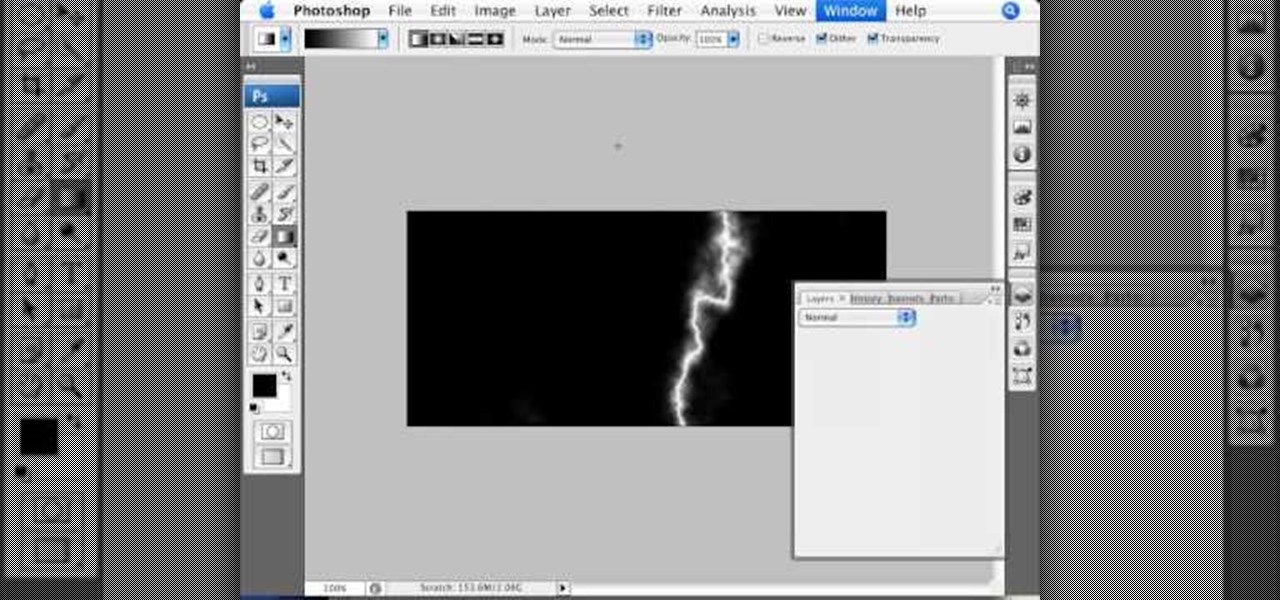
This video by photoshopuniverse shows you how to simulate lightning in a night time scenic photo. For this a night time scene is required. Open the image in Photoshop and create a new layer and with the gradient tool create a gradient as shown from the top left to the bottom right. Apply the filter, difference clouds on the layer and inverse the layer as shown. Exaggerate the lightening by using the adjust levels command. Change the layer mode to stream and tweak the hue and saturation so tha...
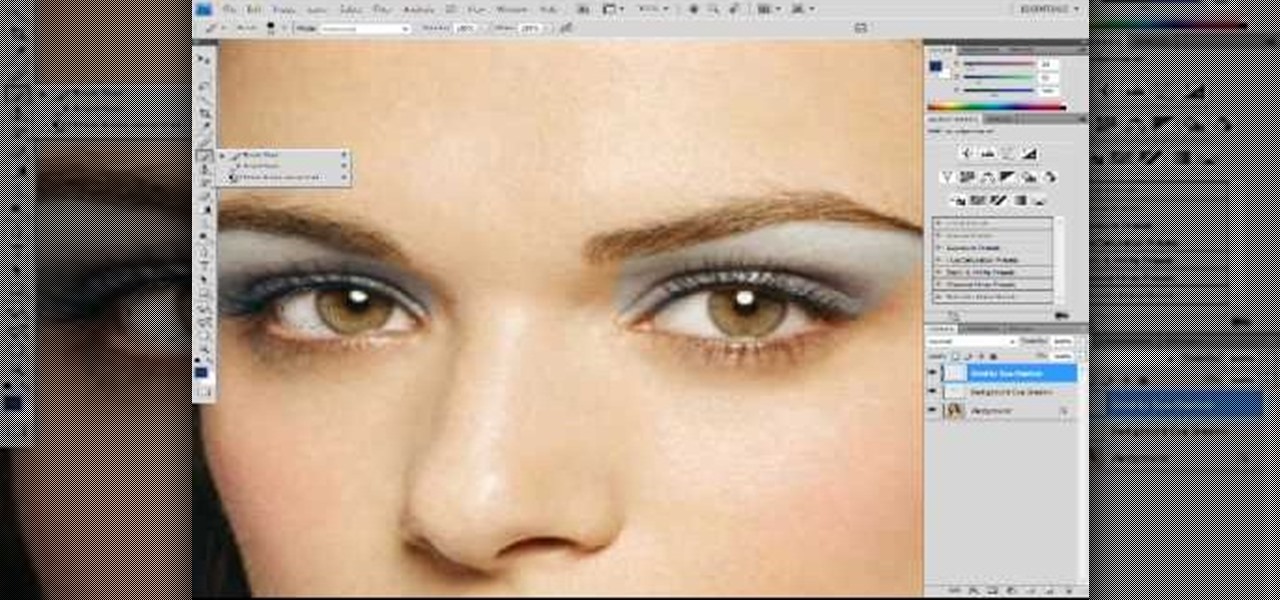
Did you forget to apply makeup before you had your photo taken? No worries, this tutorial will teach you how to add eyeshadow and blush to a photograph using computer software rather than a makeup brush. This tutorial will teach you how to create layers, change brushes and choose colors in Adobe Photoshop. It will also walk you through step by step how to apply and use layer modes to blend the color into the photography. After you learn the skills taught in this Photoshop CS 4 tutorial you wo...

This video describes how to import pictures from a digital camera onto your computer and use them in various ways. Simply plug in a flash drive with your stored pictures and they will immediately load onto your computer. Once this is done, you can share your pictures on Snapfish by opening the program and using its various programs. Within the program you can print your images, share, or even create gifts such as posters and mugs with your uploaded pictures. If you would like any more informa...

Your wedding day is vastly important and every bride would like the wedding pictures to reflect how beautiful they felt that day. In this tutorial presented by Smashbox Cosmetics, learn how to get the perfect camera-ready makeup look, perfect for your special occasion.

Tired of the lame dull background in Finder windows? Conveniently, Apple integrated a feature which allows you how modify the color or image that is displayed in Finder windows. This video will show you how to modify these settings to snazz up your Mac.
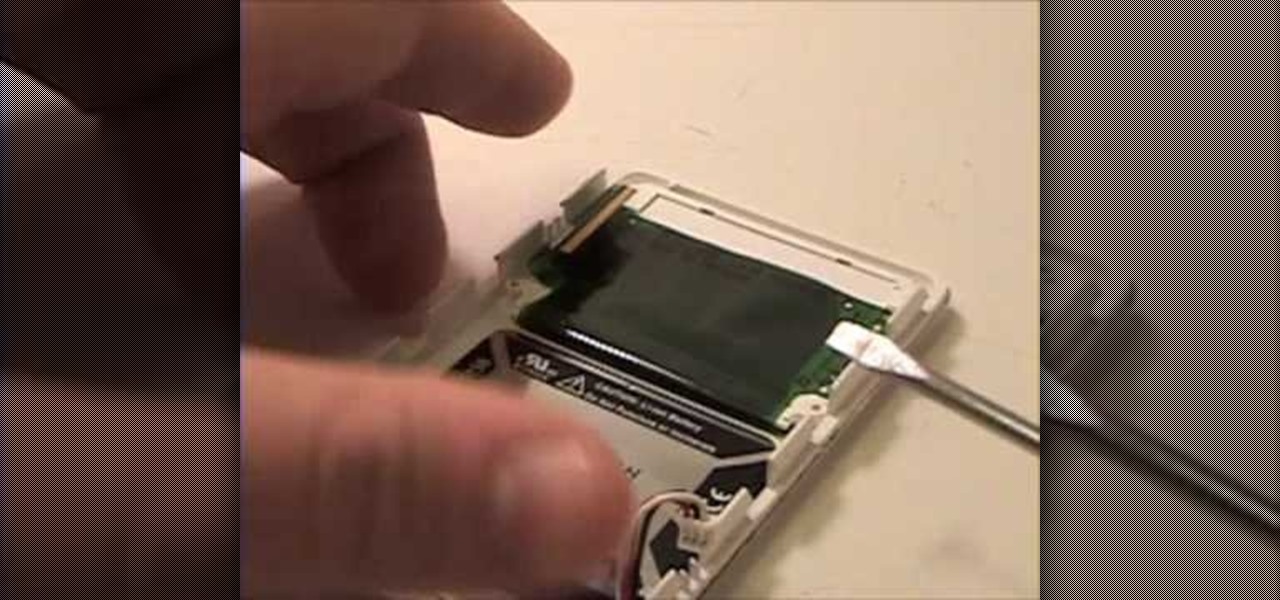
PowerBook Medic is the ultimate resource for Mac computers and electronics repair. They have helpful tutorials on most Apple products including the MacBook, MacBook Pro, PowerBook, iBook, iPhone, iPod, and more, covering topics from disassemblies, to RAM upgrades, to replacement hard drives.
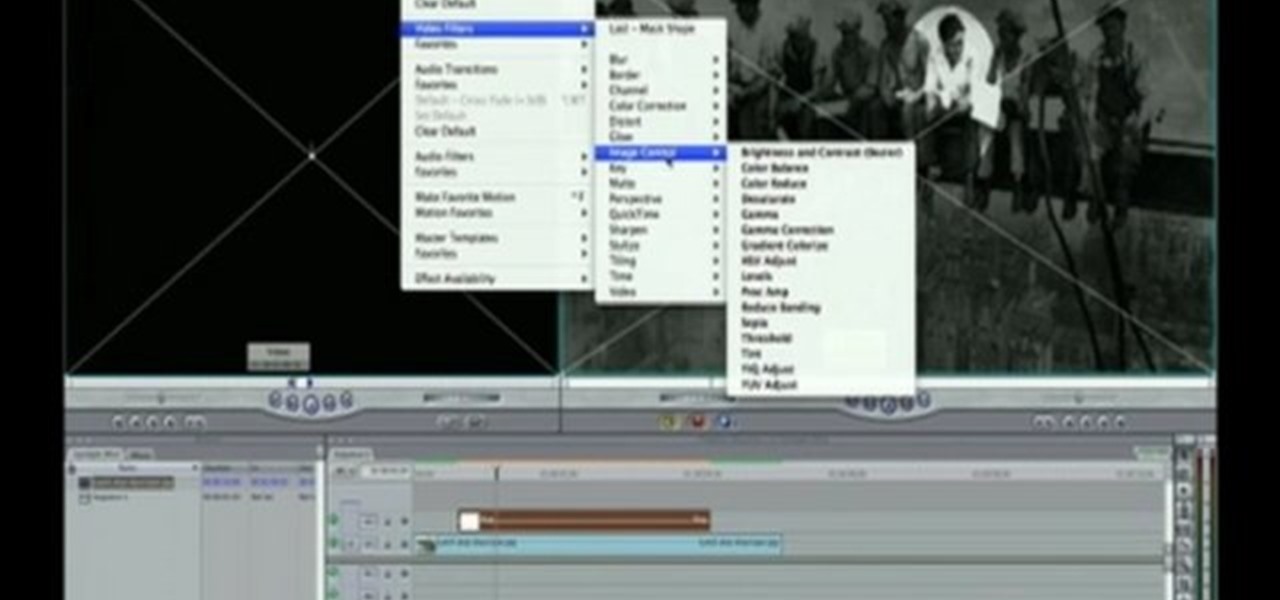
For this Final Cut Studio video tutorial, Zach King will teach you how to create a spotlight effect in Final Cut Pro. To create a spotlight effect, just drag your photo of choice into the timeline, set and in and out point, go to video generators, and use the slug. Then press the red overwrite button. Next, select the clip, go to the Effects tab, go to Video Filters, Matte, and then Mask Shape. Check out the rest of the process in Final Cut. Let the Final Cut King show you how!

Instead of using Photoshop, why not give Apple's Aperture a try? Aperture is designed more for post-production work for professional photographers, letting you cull through shoots, enhance images, manage massive libraries, and deliver stunning photos.

Instead of using Photoshop, why not give Apple's Aperture a try? Aperture is designed more for post-production work for professional photographers, letting you cull through shoots, enhance images, manage massive libraries, and deliver stunning photos.
The application the makes Apple's Final Cut Studio is the film editing app Final Cut Pro. With its ability to log and capture video onto your hard drive for editing, you can easily edit and process your indie film, or maybe even a professional movie. Final Cut Pro is a non-linear editing program that even the best editors use.
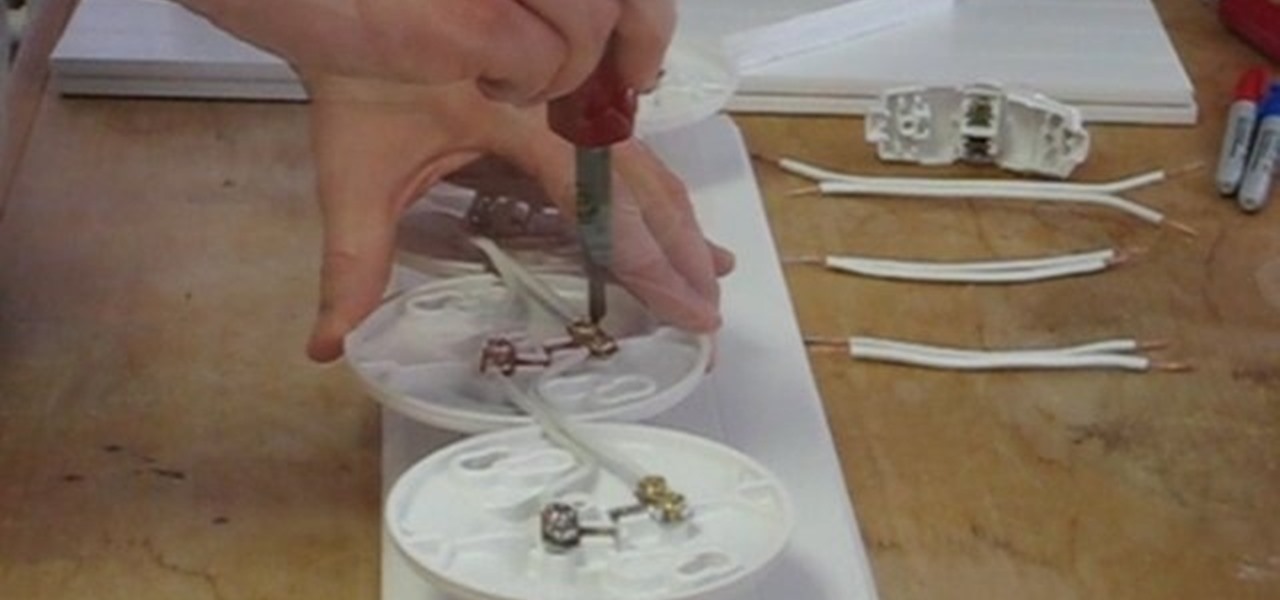
Bring a little life to your films, or maybe a little "light". Watch this video to see how to make your own 400-watt video light for film or photography. You can make this video light with mere parts from the local hardware store, such as plastic paneling (which is cheap, easy to cut and non-conductive), zip ties, 4 plastic bulb sockets, lamp cord (like Romex), a cheap plug, and good and cheap diffusion. With all of these materials, you'll have your own homemade light for any film or photo pro...
Is the battery in your Apple iPod just not up to par? Well, maybe it's time you replaced it with a high capacity battery. These detailed instructions will get you through the difficult, but easy process of doing so. Make sure you observe static safe precautions. Ground yourself before opening your iPod and don't walk around while performing this upgrade. This video tutorial will guide you on how to install a high cap battery in a 4th Generation iPod Photo.

iMovie is the basic video editing software on MAC computers, the iPod Touch 4th generation, and the iPad 2. If you're new to film editing or just new to the program in general, this iMovie tutorial is a great introductory course to the program.

Editing out unwanted objects, people, and distractions from your photos just got a lot easier on your iPhone, iPad, or Mac. Before, you would have to use apps like Google Photos or Snapseed to erase background distractions or perform spot healing, but it's now a native feature in Apple's Photos app for iOS, iPadOS, and macOS.

Your iPhone has a neat trick up its sleeves that gives you total control over the focal plane in all the portraits you've already snapped. This gives you the power to significantly enhance the composition and emotional impact of each image. In some cases, you can even focus on new subjects in regular stills and Live Photos.

Your iPhone has plenty of already-created Apple wallpapers just waiting for you to set as your Lock Screen and Home Screen backgrounds. But using a photo from your own library can provide a more emotional connection, help you express yourself better, and give your phone a more unique look. To maximize these effects, auto-rotate your personal images daily, hourly, when locked, or when tapped.

If you have a screen recording with distracting UI elements, black borders, and other unneeded visuals, Google Photos can help you crop out all the junk from the video, leaving you with only the important stuff.
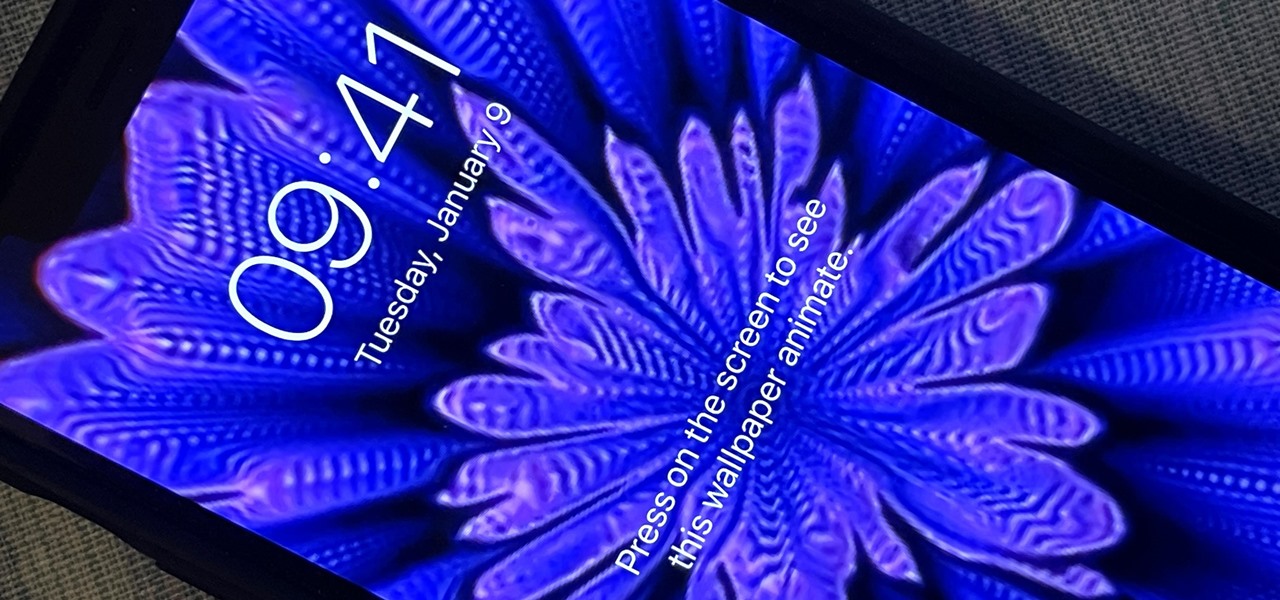
You can set a GIF as the wallpaper for your iPhone's lock screen, but it won't animate like it does when looking at the image in the Photos app. It's an annoying limitation on iOS, but one that's easily bypassed with a tiny bit of work.

If you've been using an iPhone for years, chances are you have thousands of photos and videos in your Photos app. And while it may be fun to browse them when you have free time, finding a specific one can be a chore if you're not searching your gallery right.

Night mode on the iPhone 11, 11 Pro, and 11 Pro Max is a godsend if you want clearer photographs in dimly lit environments. But if you want to keep the image dark or full of shadows as an effect of sorts, it's not immediately obvious how to disable Night mode, which turns on automatically when the app thinks you need it. But it can be turned off.

If there's any silver lining to being stuck at home right now, it's the fact that many of us have way more time to take care of those things that have been sitting on our back burner for ages, like beefing up our resumes.

Like other popular social media apps, TikTok features a tagging system — dubbed TikCode — to follow people in your immediate vicinity. Instead of searching for their username, you can scan their TikCode, and TikTok will launch their page immediately. Of course, you have a TikCode of your own, so you can share yours with others in the same way.

Following someone on Twitter is an investment. You virtually agree to have their opinions, tirades, and hot takes spewed across your timeline. It can get annoying real quick if they're known to post controversial comments periodically. However, there are other ways to stay updated on someone's tweets without you having to hit the follow button and go all in.