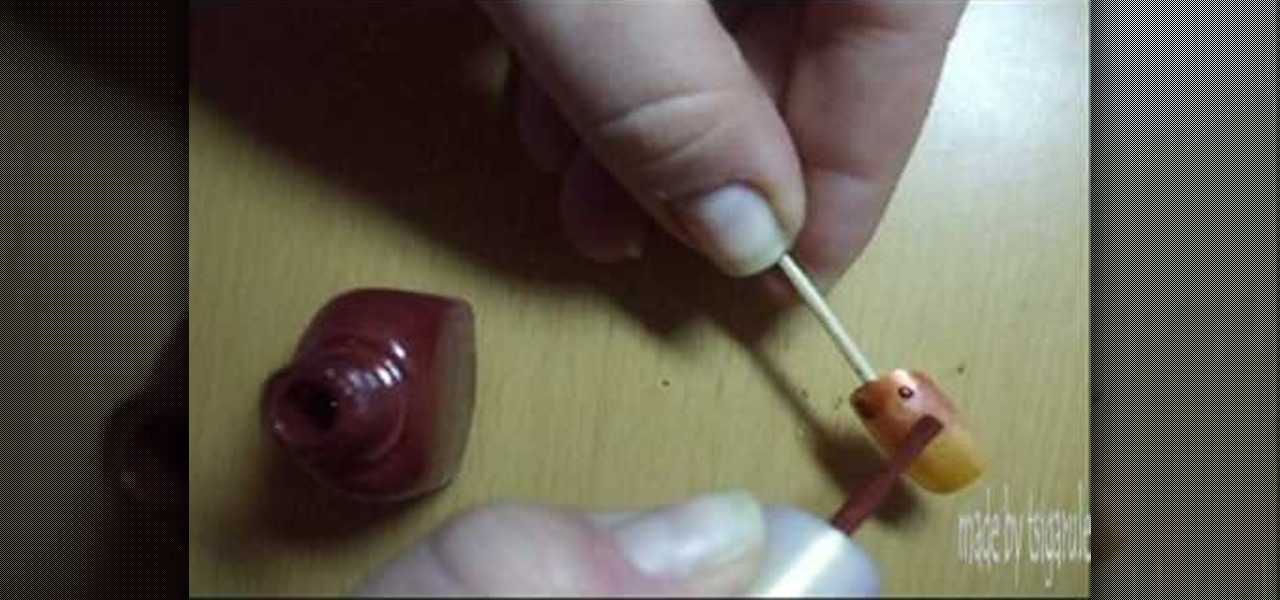
How To: Paint leopard print nails
This video tutorial will show you how to paint leopard print nails. 1. Apply orange color to top half of your nail starting at the cuticle


This video tutorial will show you how to paint leopard print nails. 1. Apply orange color to top half of your nail starting at the cuticle

In this video, Tsigarulez shows you how to paint dotted flowers on your nails in these few simple steps.
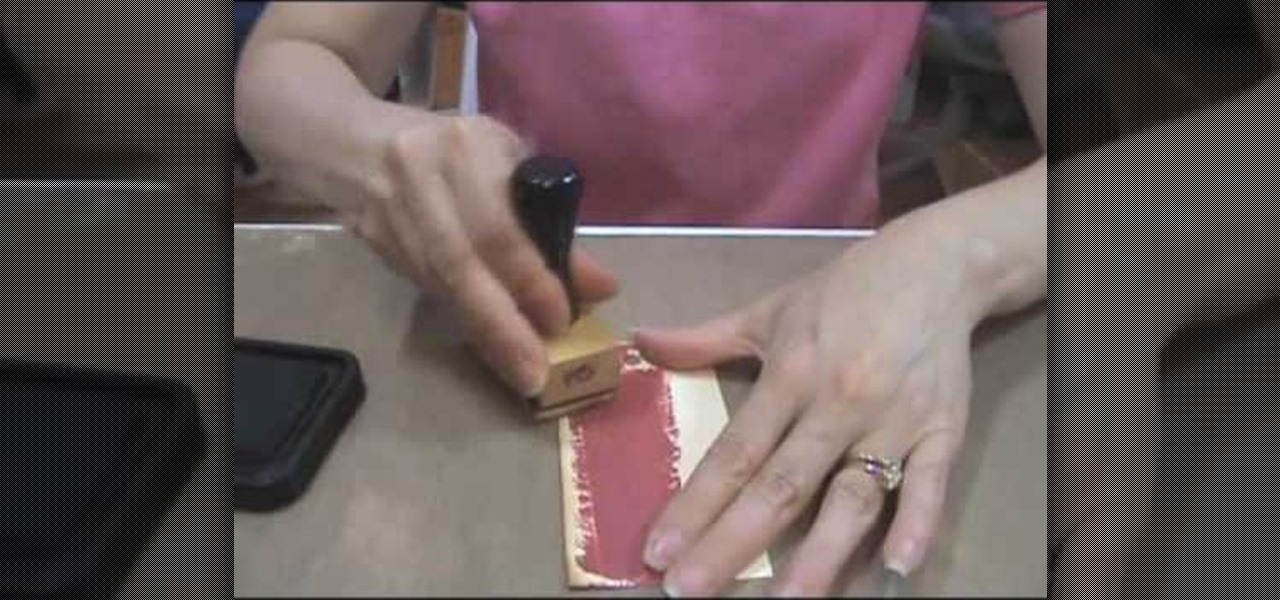
Learn how to use the Tim Holtz' Distress Crackle Resist technique with this tutorial that gives step by step instructions on applying this method to a Manila tag. Materials you will need include distress crackle paint, distress ink (for this project, in "Vintage Photo", "Fire Brick" and "Black Soot"), Inkssentials' ink blending tool, foam, nonstick craft sheet, Inkssentials' Mini Mister filled with water, heated craft tool, paper towel, stamp, and a Manila tag. After done, use this tag in a s...

This lesson is the second of a series exploring alternative process photography. In this lesson, learn how to create a Cyanotype using a digital negative. Step by step instructions are included with samples and illustrations. Follow along with this photo lesson and learn how to recreate this old-fashioned print technique. You'll need a cyanotype kit, a fine bristled paint brush, a watercolor rag, a contact printer, a pair of clamps, a large tray, a UV light source, and a digital negative.

This step by step video will show you how to reassemble an Xbox 360 Controller after completing a custom paint job or mod. This is integral and the final step of any great mod, paint or customization job.

Here's how to make the new Krylon cans spray like the old cans did so that you can tag, spray graffiti and do space paintings. The can's new nozzle effects how the paint sprays and can interrupt your art.
Devolped by the same team of engineers responsible for LightWave 3D, modo, lowercase, delivers the next evolution of 3D modeling, painting and rendering in a single integrated and accelerated package for the Mac and PC. And now, modo is a true end-to-end solution that includes true 3D sculpting tools, animation and network rendering! More than just features, modo is a truly elegant integration of technology, raw horsepower and refined workflow. With such a wealth of inbuilt features, however,...
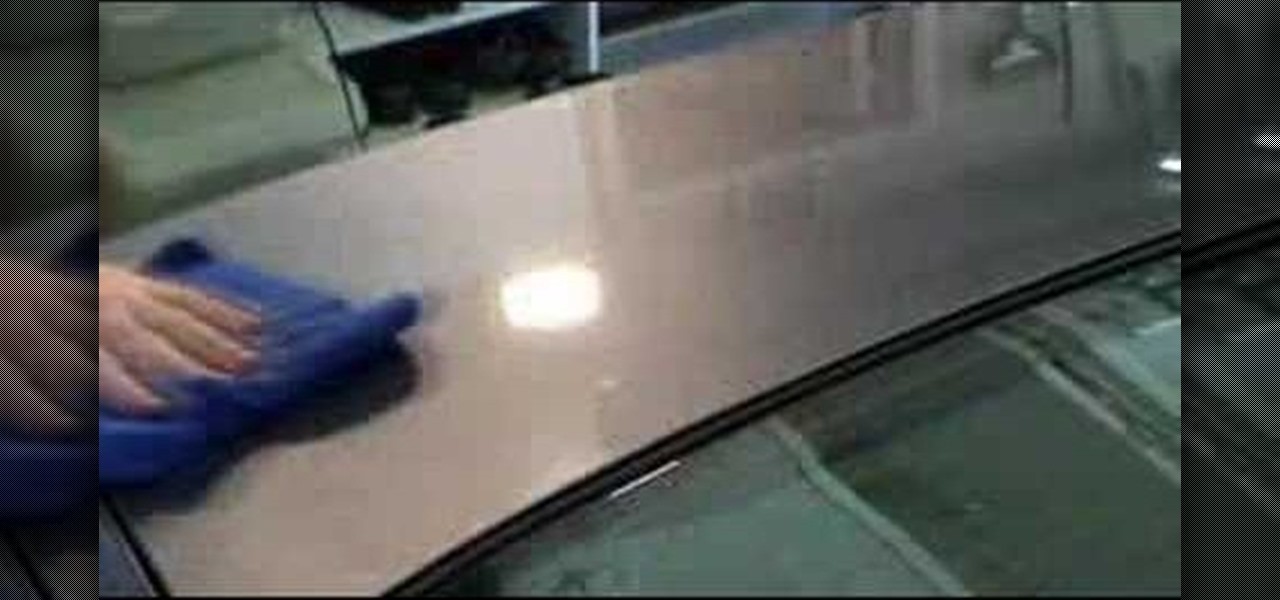
This automotive tutorial shows you how to maintain the color and finish of your car by applying a sealant. Specifically you will learn how to apply Wolfgang deep gloss paint sealant using a power buffer or hand application. Make sure to use a small amount of sealant and not to apply pressure when applying Wolfgang's deep gloss paint sealant to your vehicle.
Check out this video from the Handy Goddess to see how to make sure you have the right frame for your artwork. Make sure you choose the right frame for your artwork or painting is important for the design of your living room or dining room or wherever. One way to get the right frame for your environment is to take a photograph of the picture where it will stay. Then, use the photo as reference when searching for that perfect frame to accommodate that perfect piece of artwork.
Ever worked on a painting project and had the paint spill everywhere? This quick and easy pot made from a plastic soda bottle and tape will not spill, even when it tips over. Learn how to make this pot that does not spill(for paint, glue, machine oil, etc.) by watching this video tutorial.

Get inspired from the smell of paint and, well, start painting.

Simon Leach shows us how to paint bands on mugs
Tim Carter demonstrates how to get professional painting results by caulking all cracks between woodwork and walls before painting.
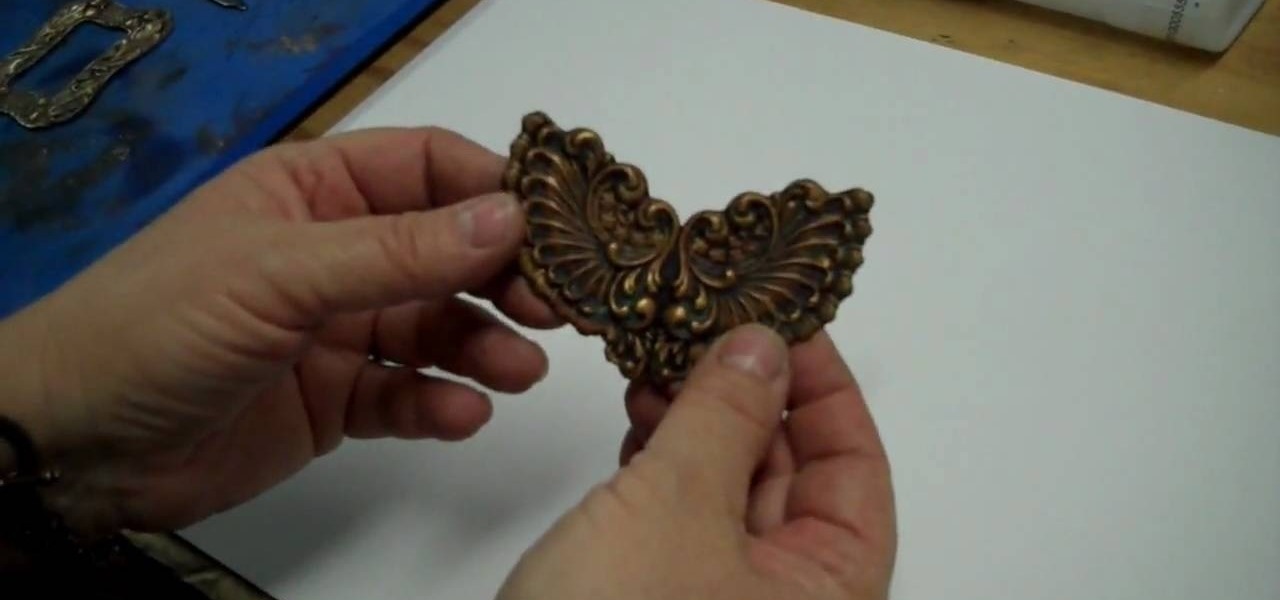
Adding a patina to brass stampings is what gives it an aged, beautifully vintage look. If you've never worked with patinas before, then check out this jewelry crafting video to learn about how to use different types of patinas - including resin and acrylic paint - to make a flower you can attach to a pin to make into a brooch.
This video begins by showing what a folding painting canvas looks like and what the final stretched canvas should look like. The first step shown is to make sure the bars are measured and marked with a simple A and B for easy measurement recall. After a wood frame is added over the canvas you must fold the material over the back of the wood and nail in place. Once the canvas is nailed to the frame you must add A, B, C and D markings to continue proper alignment procedure. The last step shown ...

In this tutorial, we learn how to apply Jack Skellington skull Halloween makeup. Start off by applying black eyeliner around your eyes on both the top and the bottom in thick lines. From here, draw a circle around the eyes with black paint and then draw a white circle around the face. Next, fill the white circle completely in with white paint. Now, fill in the black circles with black paint until it's completely finished. Then, use a thin brush to paint on the smile with black and draw on sti...
It's not a new technique in the auto body industry, but cutting and polishing is a great way to smooth out your paint job. This two-part video will show you the process of sanding and polishing your auto paint. The first video shows you the steps for sanding the painted surface before buffing, which removes the imperfections after painting. The second video shows you some 3M polishes for buffing the car finish. This will polish the surface into a luster shiny paint job.
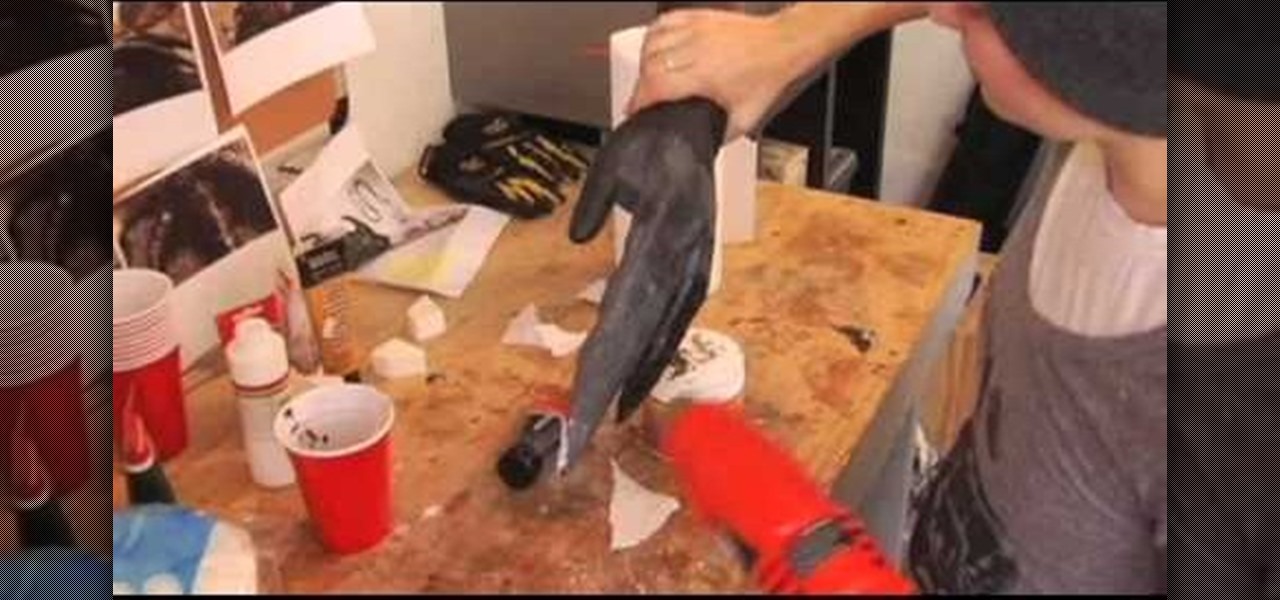
You will need: rubber glove, paper towels, liquid latex, paint, and newspaper. First, fill the glove with newspaper, then secure the fingers with electrical tape to make only 3 fingers. Then, mix up the liquid latex with black paint and apply it to the fingers. Then, place the paper towels over this in coats and shape them so they are pointy. Add in some texture using paper towel strips and cotton balls. Continue to paint over with the liquid latex/paint until you have made your desired textu...
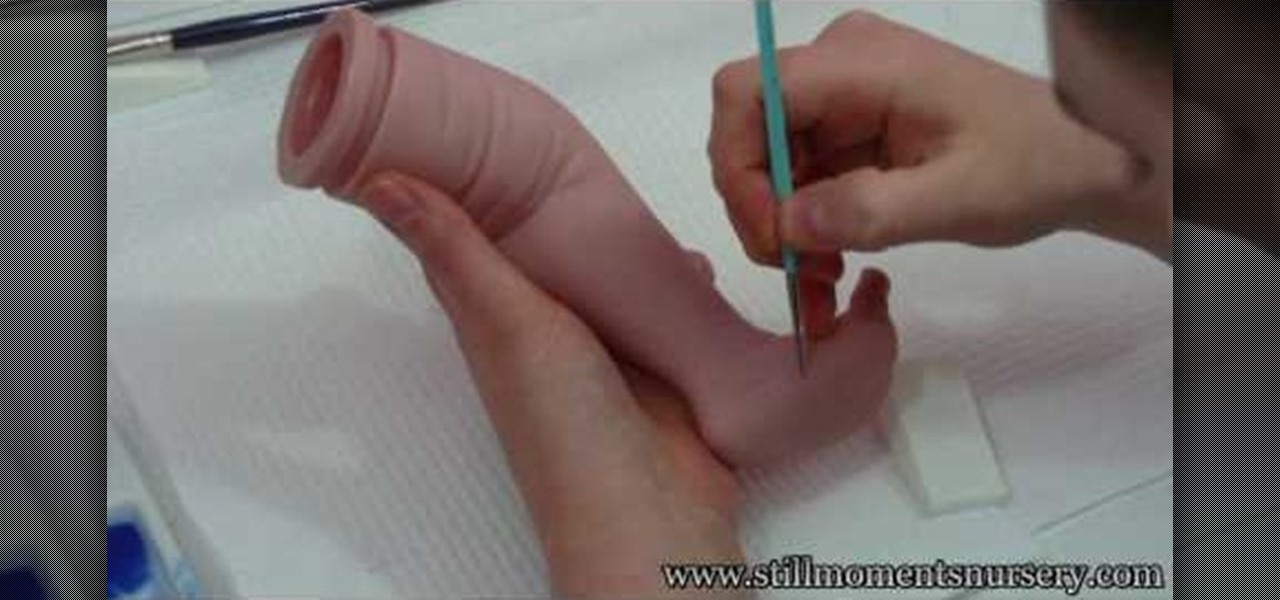
In this tutorial, we learn how to apply veins to a reborn baby doll. Gather up all your materials, then mix the proper paint for the veins. After you're finished mixing, use a very fine tip brush to add the veins onto the baby's chest and stomach. Use a sponge to dab onto the paint after you have painted the veins onto them. When finished with the chest area, start to apply the veins to the limbs of the baby. Continue to do this until you have painted realistic veins on all the appropriate pa...
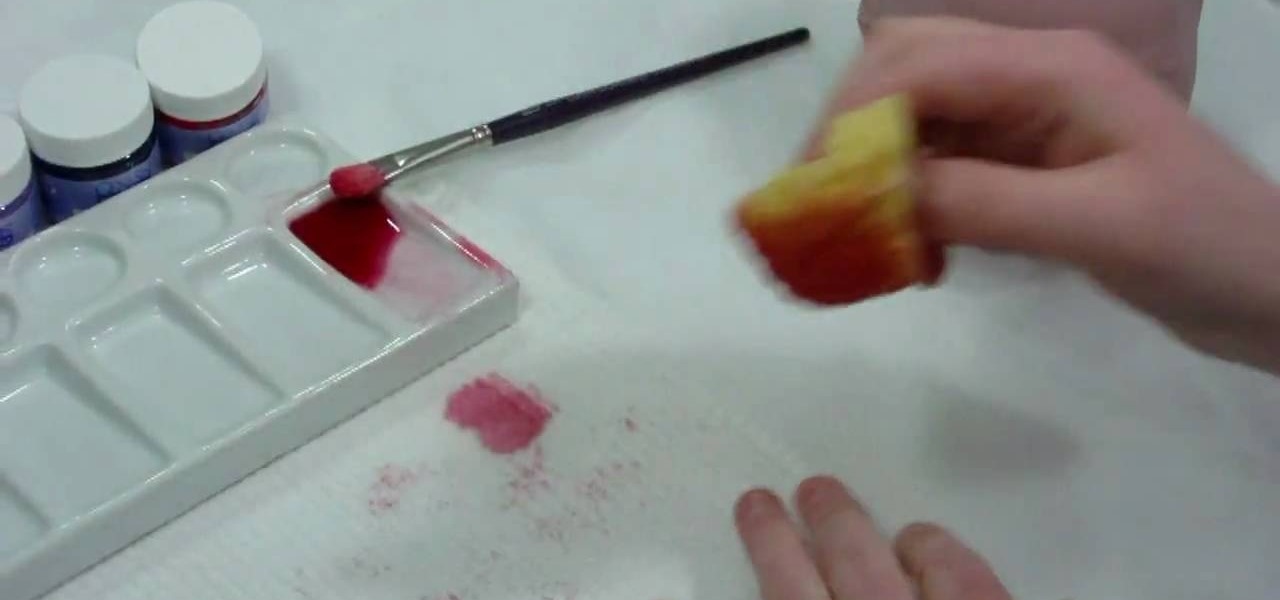
In this video, we learn how to mottle with a sea sponge on a reborn baby doll. Start out with gathering all the tools that you need, then mix up your paint to the correct red tint. After this, apply some of the paint to the sea sponge using a paint brush. After this, grab the limbs of the baby doll and start to push the paint onto them, avoiding the soles of the feet. Continue to do this throughout all of the different limbs, then the chest and stomach of the doll. When finished, you will hav...
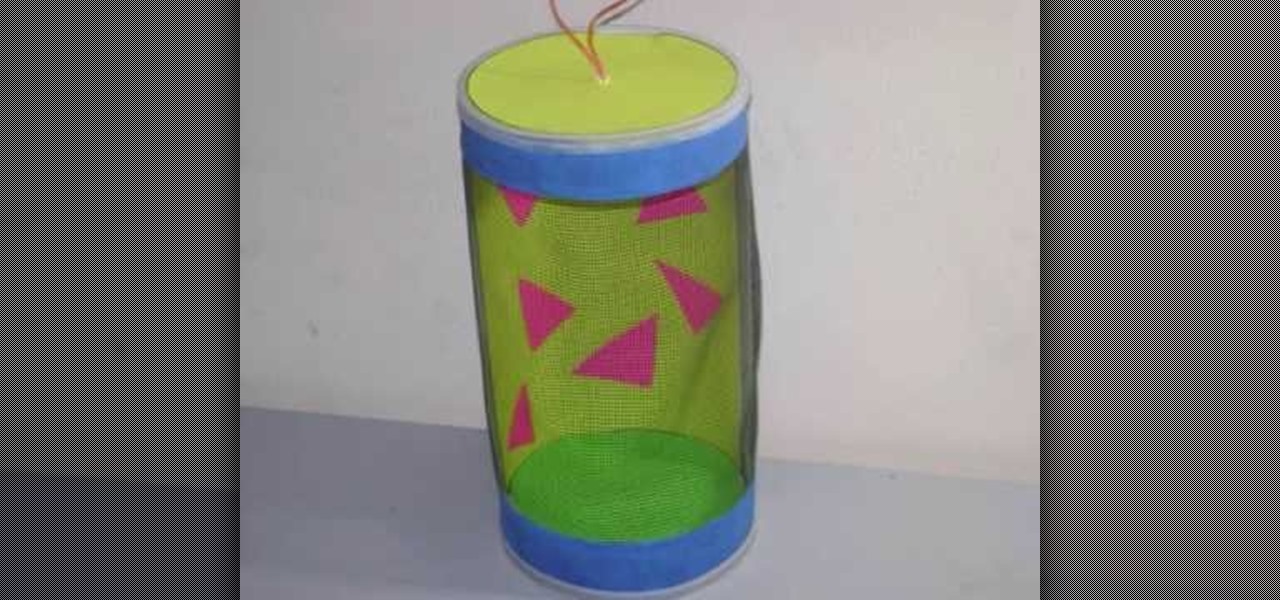
In this tutorial, we learn how to craft a bug barn or bug habitat. You will need: 1 Quaker oat box, masking tape, paint, mesh netting, poster board, ribbon, scissors, and a paint brush. First, cut one side of your box out and apply mesh over it with masking tape. Now, paint over the paint and over the entire box with your preferred colors. After this, decorate the inside of the box with paper. Cut a hole in the top of the box and place a string at the top to easily take it off. When finished ...

This video demonstrates how to paint a rabbit in leftover ground ink. The style used is called sumi-e. Using a the side of a thick brush, create a filled in circle in the center of your page. This will be the head. Below this circle, add an elongated abstract oval shape for the body. Add a small circle at the back bottom area of the body for the tail. From the top back of the head, add two long thick lines for the ears. Using the thin tip of a brush add the details of the face including the n...

In this how-to video, you will learn how use set up a studio table for watercolor. First, make a water blotter out of toilet paper and tissue folded in half. Fold the towel into the paper. The gator board and paper should be in front of you, with the sketch at the left side. If you are right handed, everything should be on the right side. This allows for ease of painting. The kleenex and trash can should be on the right as well. If you are left handed, everything should be on the left. This p...
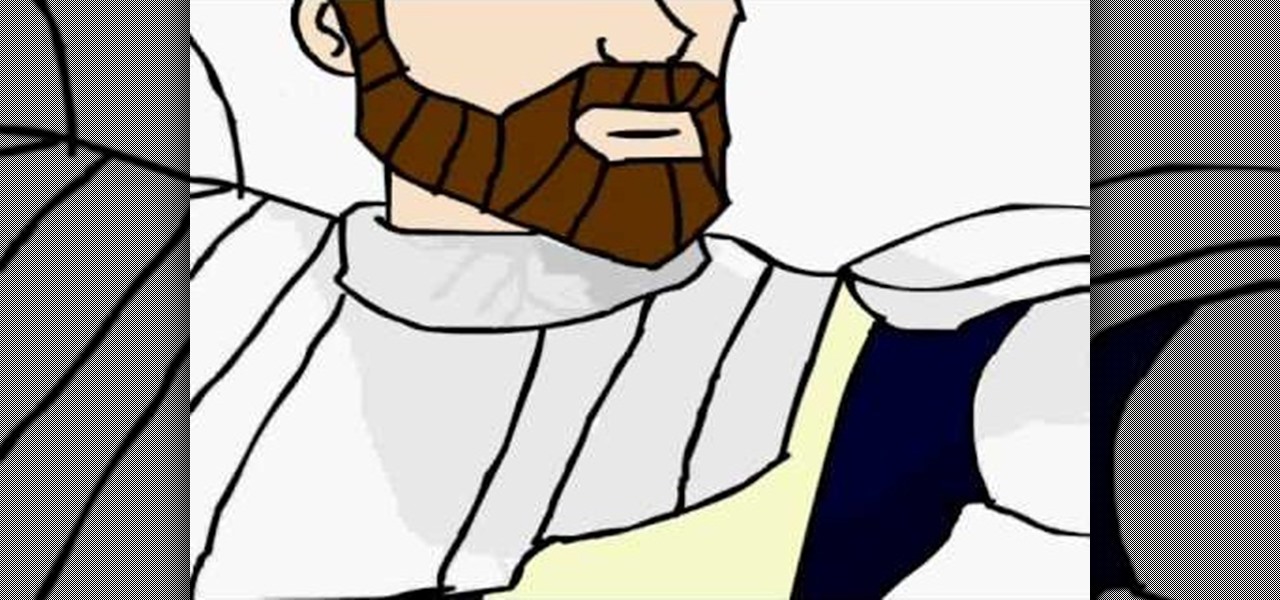
This artist shows how to quick paint/draw Obi-Wan Kenobi utilizing his mouse and pc. He starts out with a rough sketch of his character, making a black outline of his figure. He then goes back over his initial sketch with blue lines, cleaning up the lines, making them smoother. Once the blue lines are completed, the first black line sketch is erased and the blue lines smoothed out even more! Piece by piece, color is applied to each part of the character. It is placed roughly at first but smoo...
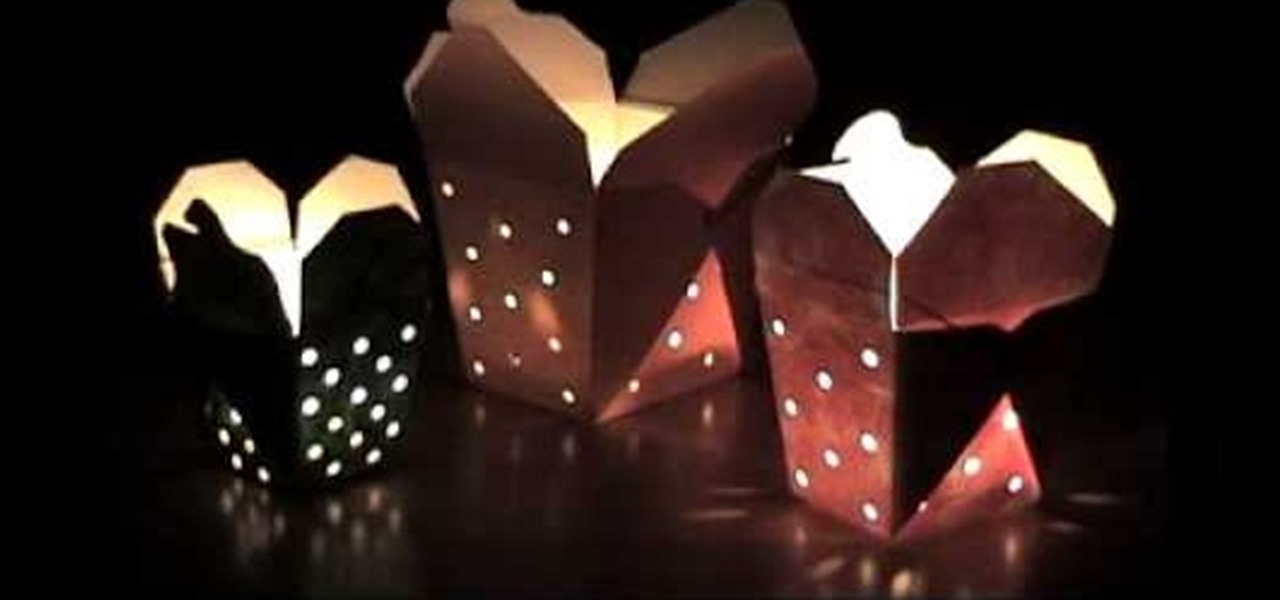
For this project you will need a Chinese takeout container, a hole punch, paint brush, paint, a container for the paint and newspaper. Flatten the Chinese takeout container. Use your hole punch to make holes in it, choosing any pattern you would like. Place the container on the newspaper and paint the outer surface, using any color you prefer. Once you have allowed the pain to dry you can reassemble the Chinese takeout container, back to it's original look. Then you simply place a tea light i...
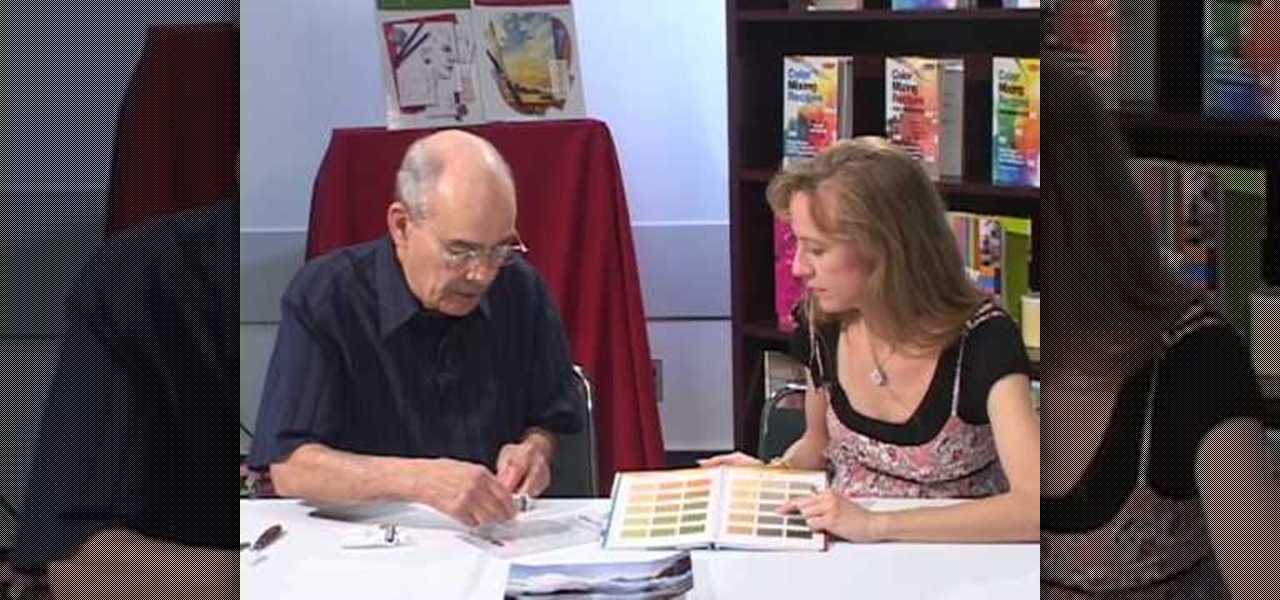
This video was very informative and well planned. However, the video does become boring after the first two minutes. It will become easier for an individual to comprehend with this video if perhaps there are better examples that artists can relate too. Perhaps if the demonstrations would relate to more of a younger audience, more people will be able to be more interested to mix oil and acrylic paints. The video can also be much more interesting if there was also some quiet and peaceful backgr...
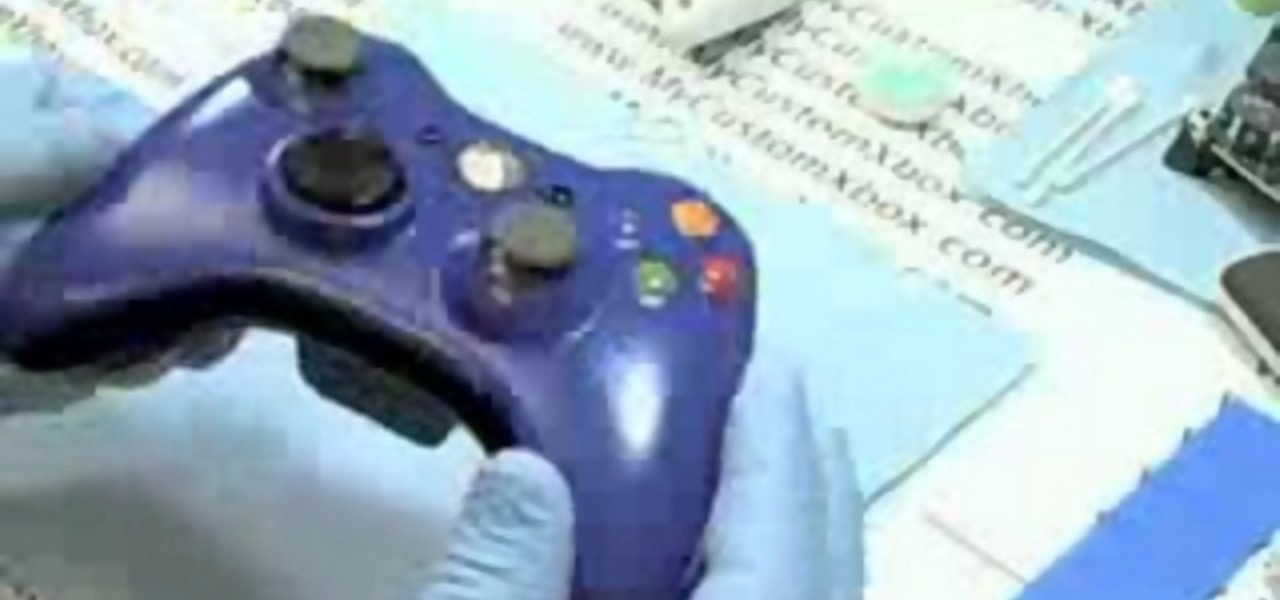
This is a step by step tutorial on how to prepare the different parts of an Xbox 360 Controller for painting.
This video wardrobe and costume design tutorial shows how to paint realistic tiger colors and stripes onto a fur suit head. You'll need an airbrush, paint, and the ready made blank fursuit head. Watch this instructional video and get painting. Come Halloween, you'll be happy to have a costume ready and waiting.

It's always difficult to paint neatly but it is especially difficult to keep the paint off of glass. Removing paint from glass windows and cabinetry can be a real pain. With this tutorial you will learn how to paint around glass. Keep your paint job nice and neat with this how to video.
From Prime It Up and for the beginning painter, an end to end tutorial about painting a 40K Ork to a tabletop standard. This tutorial warhammer video covers how to paint the leather on the ork.

Demonstration of painting techniques for boats. Part 1 is a general outline of the process, the following parts provide more detailed instruction.
If you've ever wanted to be a graffiti artist, but you also frown upon vandalism, then augmented reality is for you.
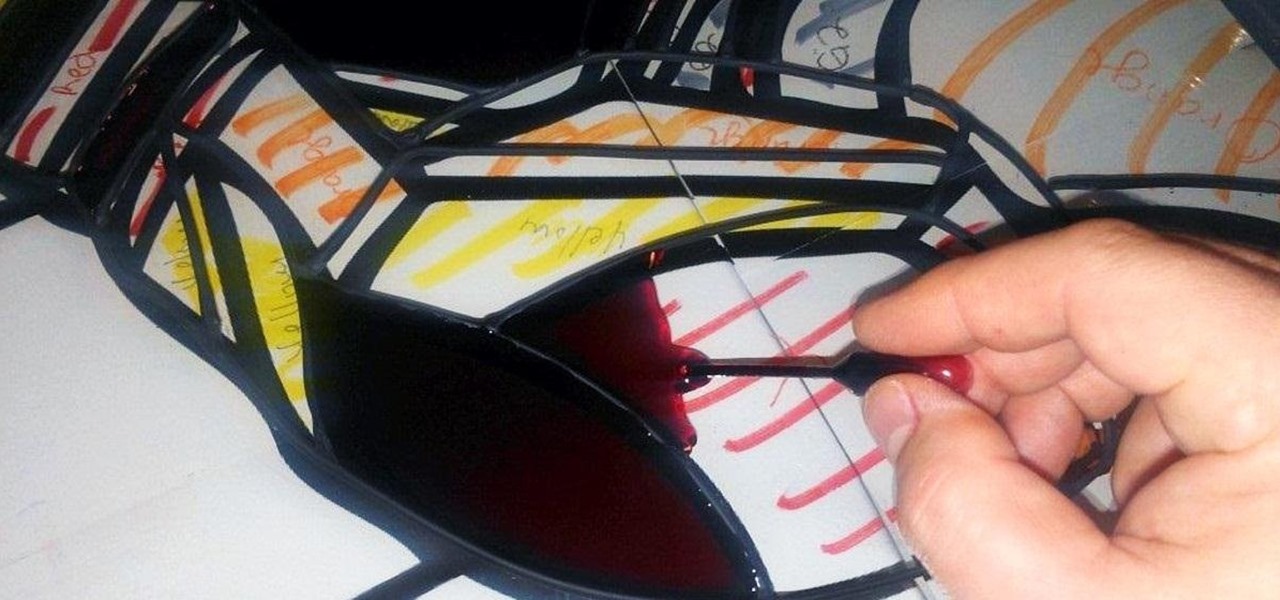
When most people think of stained glass, the first thing that comes to mind is a church, but it's become more popular in home decor as well. The biggest downside is that high quality stained glass pieces can be insanely expensive—and it's not an easy project to take on yourself.
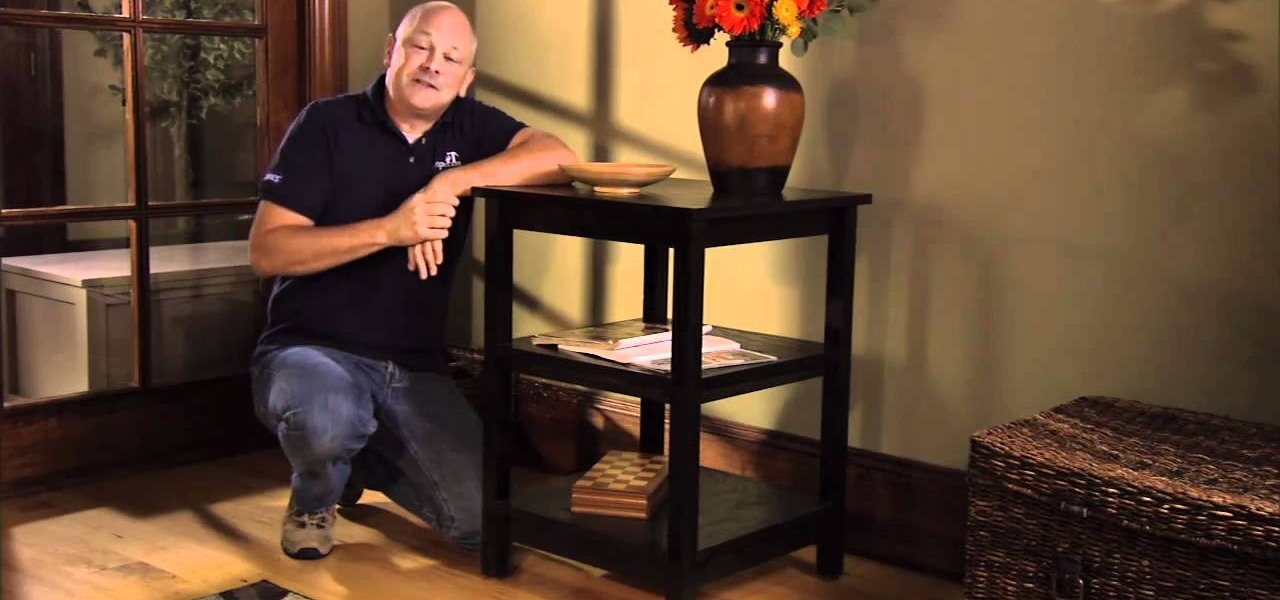
An accent table is a great addition to any room, especially if storage is at a premium in your living space. This project won't take longer than a weekend to complete, and you can finish it in any color to match your decor.
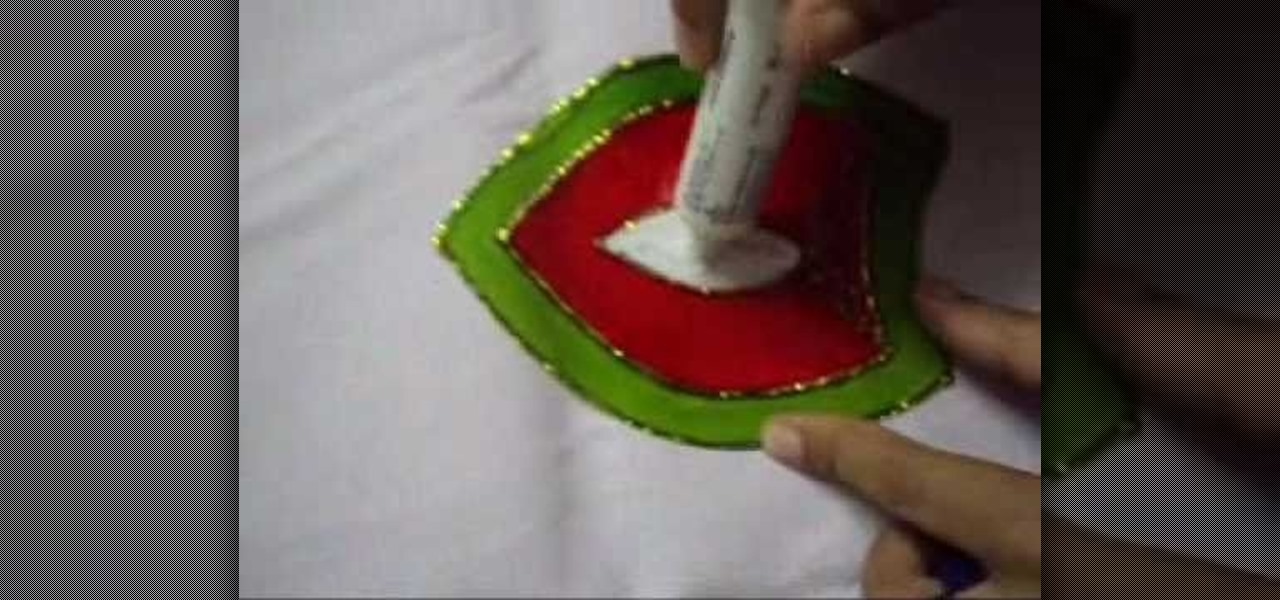
This tutorial shows you how to replicate the Rangoli design onto a piece of glass using glass paint. You will also need a few stencils and a pen to trace your design onto. Great for dressing up windows and mirrors!
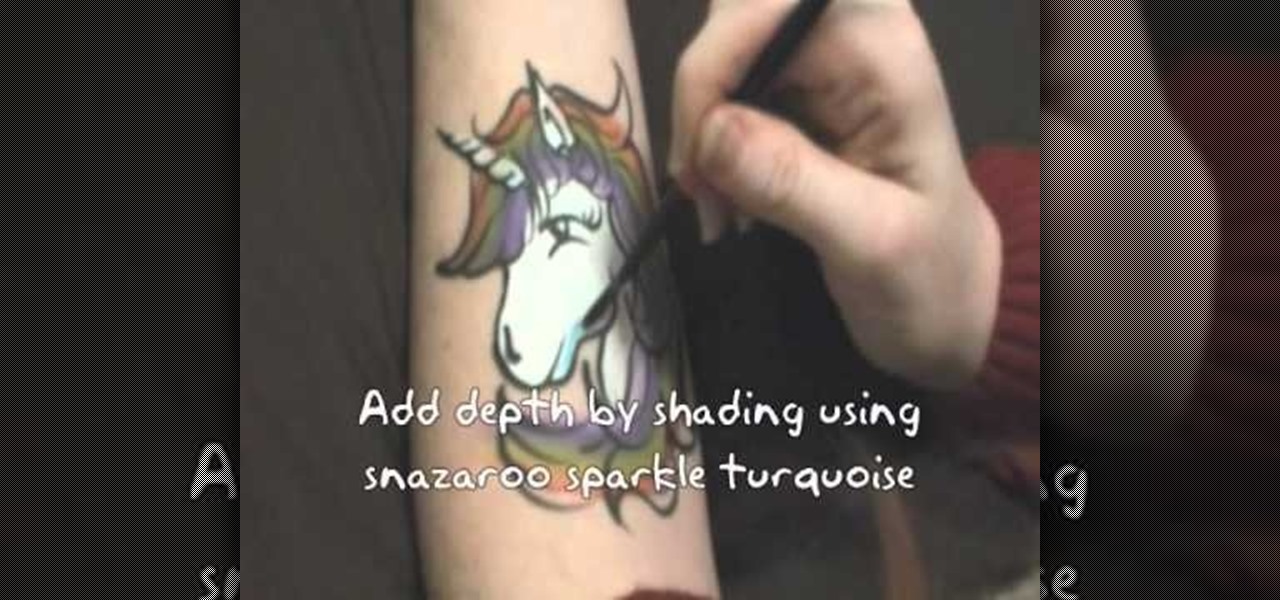
In this video tutorial, you'll learn how to create a very beautiful unicorn using face paint. You can use this design anywhere on the body, from your arm to your face. This is a great activity to do with your kids.

Yes, you can use Cheat Engine to even hack programs that aren't games, like Microsoft Paint! This tutorial shows you first how to download the most recent version of Cheat Engine, and then use it to hack the attributes in MS Paint!
Face paint is great fun for kids most of the time and for sports fans on gameday, but who wants to buy so esoteric a product? You don't have to. Watch this video to learn how to make homemade face paint for you kid's next party or your superfan's next gameday.

In this automotive guide, we learn how to prepare an OEM car-body part for painting. For all of the gritty details, including step-by-step instructions, and to get started prepping your own parts for painting, watch this video tutorial.
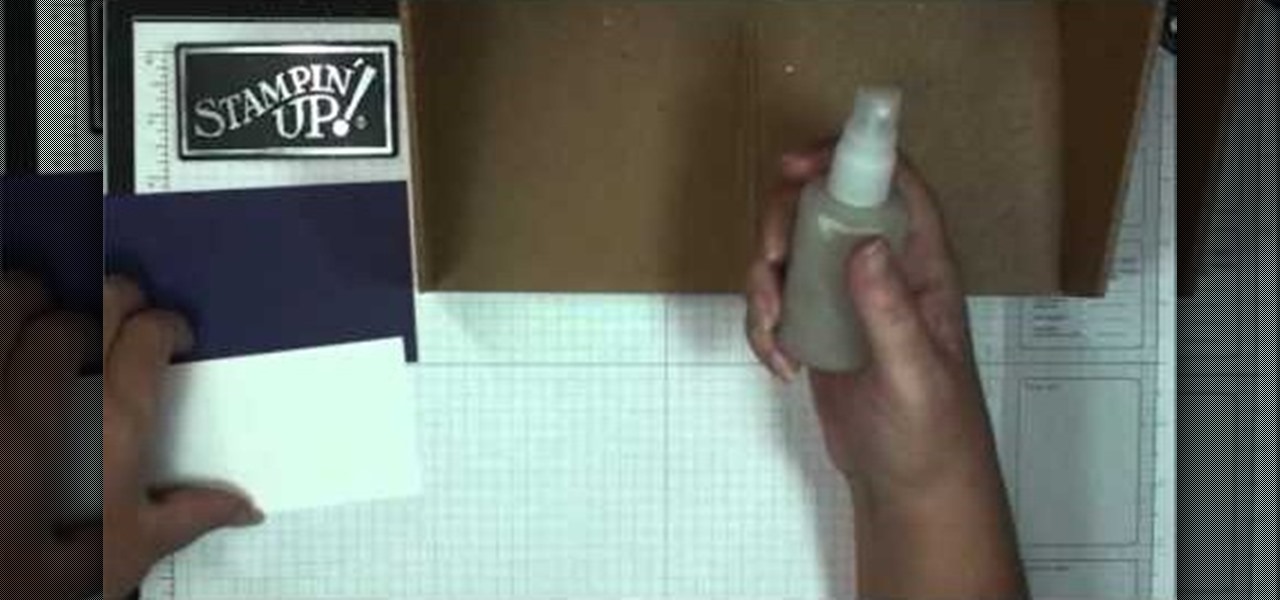
This is a quick tutorial that shows you how to take a small bottle of shimmer paint and then mix it into a spray bottle so you have shimmer paint, which you can spritz onto your projects for a little extra sparkle.