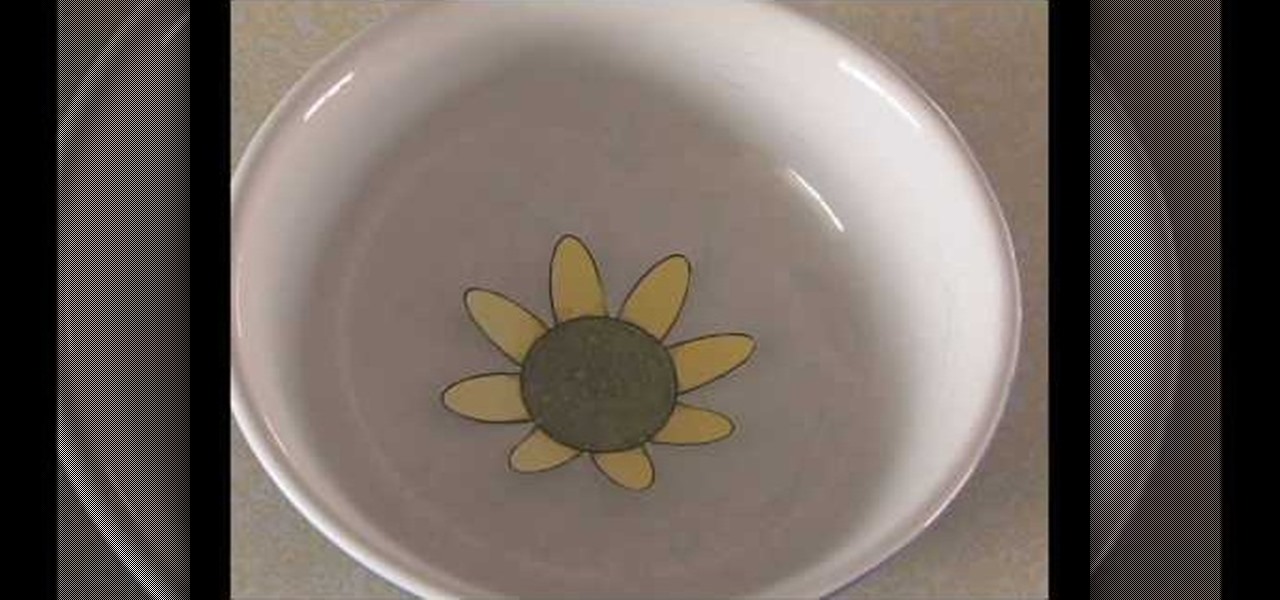
This video shows us how to make a blooming paper flower. To start, you shall first draw a flower on your computer, using paint or other similar program. The flower should be simple, a circle with eight identical pedals arranged around it. Print your drawing and, using a pair of scissors, cut your flower out leaving no excess paper. Take each pedal and fold it inwards towards the center of your circle. Now, get a bowl that will easily accommodate your flower and fill it with enough water to al...

To create a winged out eyeshadow look you first take a paint pot as a base. Apply to the eyelids and under the bottom of the last line. Blend with finger after you're done applying with a brush. Next, take a brush and place black eyeshadow above the lash line on the eyelid, while doing this, brush outwards in the corner of the eye to make a cat-eye. Don't place the eyeshadow too high on the eyelid or it will change the shape of the eye. Make sure to place the eyeshadow in the corner creases o...

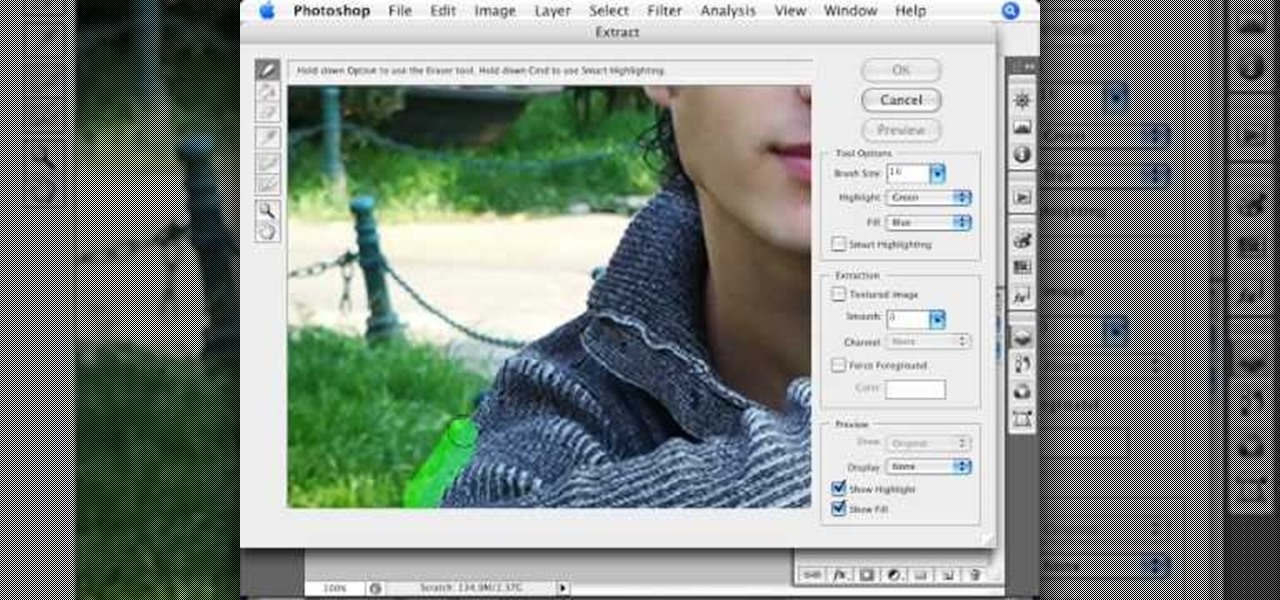
Tom Skowronski teaches the secrets of using an outdoor green screen. An excellent summary is given below. First check the advantages of using green screen outdoor like a lot of space, sufficient light. In the same way check some disadvantages like noises from birds, children. For the screen materials you can use paper which is cheaper but it cannot be controlled if wind blow. You can also use a board or even paint a wall green which will be better. Now to set up the screen use the screen rods...

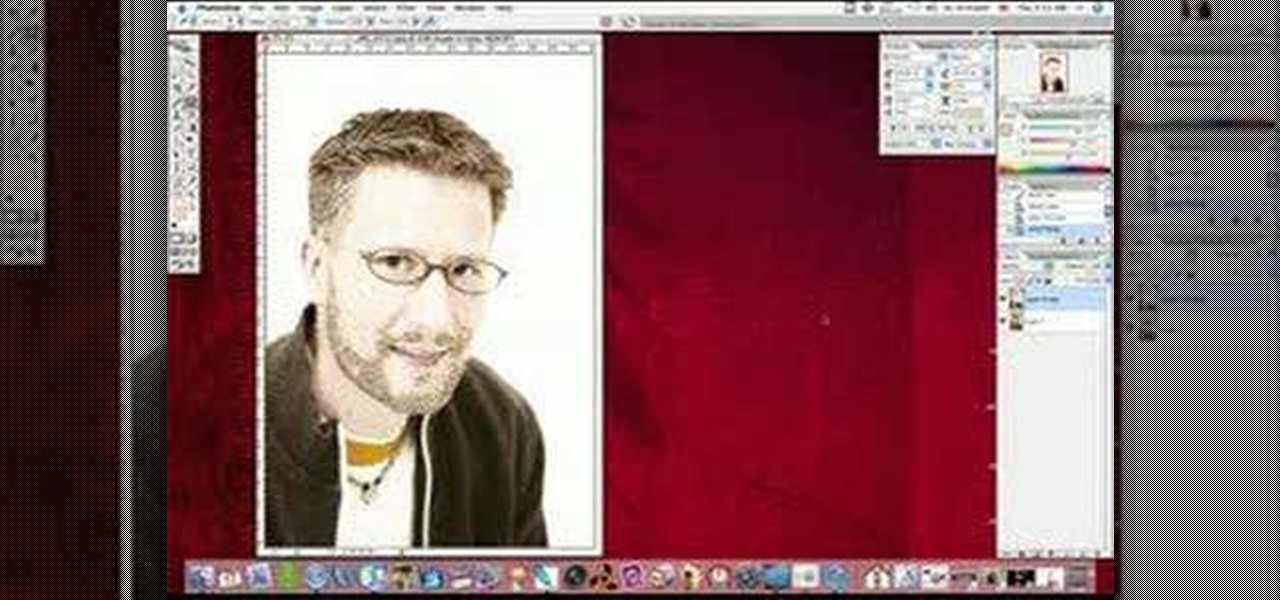
This video by photoshopuniverse shows you how to make any photo seem as it was taken in a studio. Take the working photo and add a new layer over it and fill it in black as shown. Add a newer layer over that and add the filter> render> clouds effect. Increase the opacity of the cloud layer and merge it with the black layer as shown. Add the splatter effect and the sprayed stoke effect as shown onto the merged layer and add a hue and saturation adjustment layer and colorize it as desired. Go t...

This how-to video produced by Photoshop Universe gives step-by-step instructions on how to batch automate a process in Adobe Photoshop. With this tutorial you'll be able to learn to correct white balance, enhance colors, resize, and save for the web whole folders' worth of images in one go. The first step to doing this is to open up one of the images in your folder and correct the white balance, enhance the colors, resize the photo and save. The next thing you want to do is to record all of t...

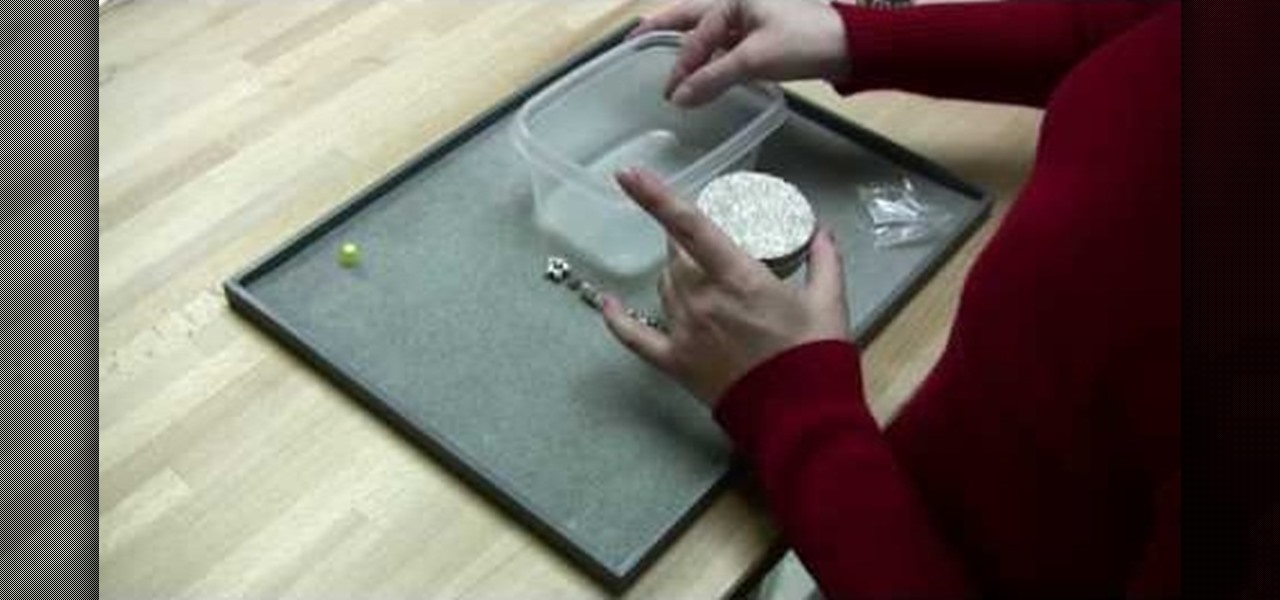
Air. It's all around us. Put it to work with this home science how-to, which demonstrates a cool method for crushing aluminum cans with a little bit of ice water and a whole lot of air pressure. To follow along with this experiment at home, you'll need a soda or paint can, a large bowl of water, some ice, and a stove top.

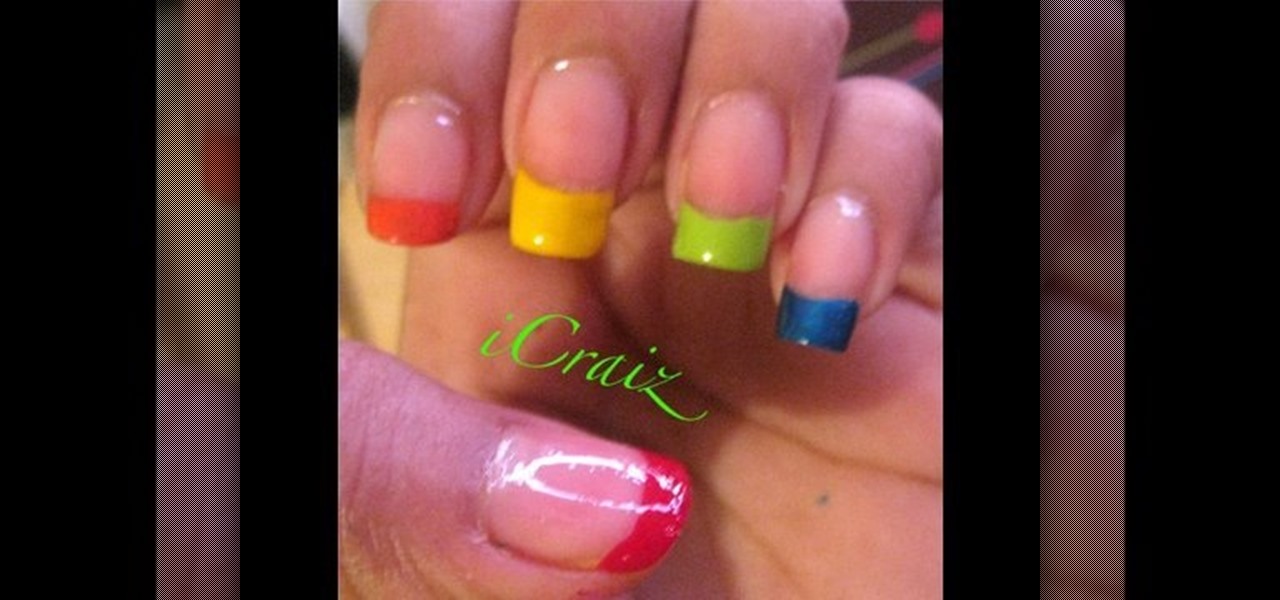
Colorful fingers really look amazing and nothing stays colorful like rainbow tipped finger nails. Going to the nail salon can get expensive and at times can be unneeded, as they aren't always perfect. I will show you how you can make your own rainbow tipped finger nails from the comfort of your own home. Whether you are a perfectionist about your nails or if you are fine with a little unevenness about your finger polish, follow this video and you will have amazing rainbow tip finger nails.

In this how-to video by Lowe's department store you are showed an intermediate do-it-yourself installation of beaded plank paneling and molding. He shows where you can get information on how to do this but then goes on to show the different paneling and molding you can make. He goes on to show how to measure and cut the paneling to your desired length. After describing how to measure and cut the panel he goes on to show how to prepare the paneling with the paint. He goes on to show the differ...

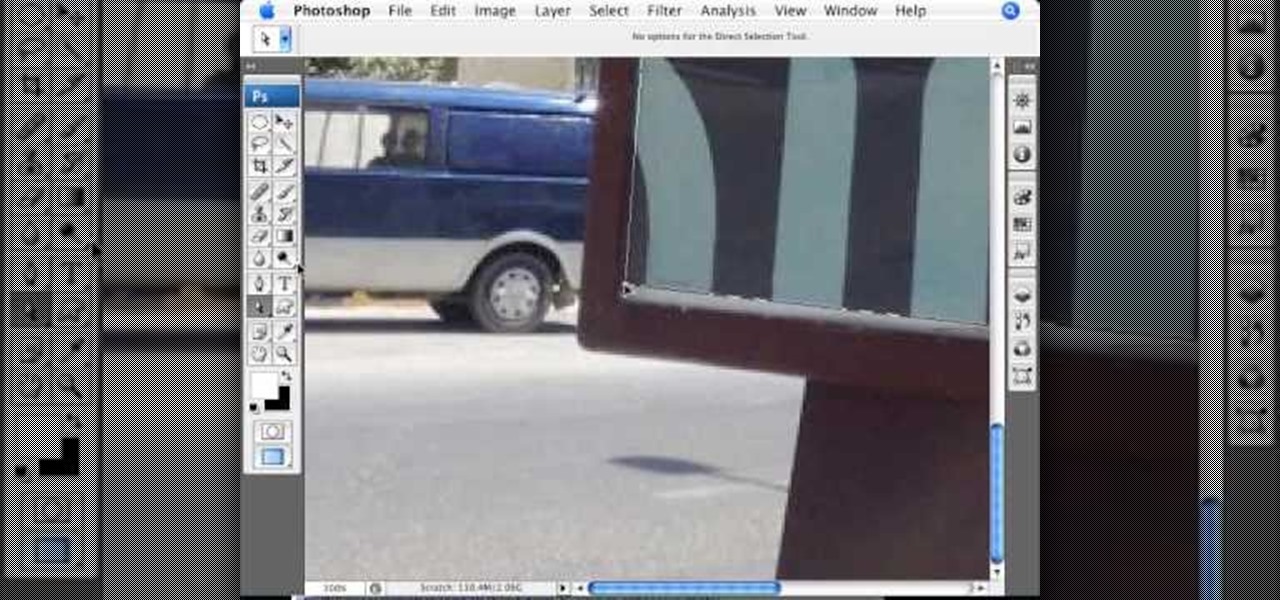
This video teaches about adding any of your photos to a billboard. Now copy into the computer memory back into the original billboard image to create another layer this is the layer place in our image. We can do this correctly, respective into this filter which is called vanishing point. Clicking at the four edges make this little bit bigger in image area. Now we can paste in that image control and change the promotional image. It fits sign of the billboard area and resize after the slight li...

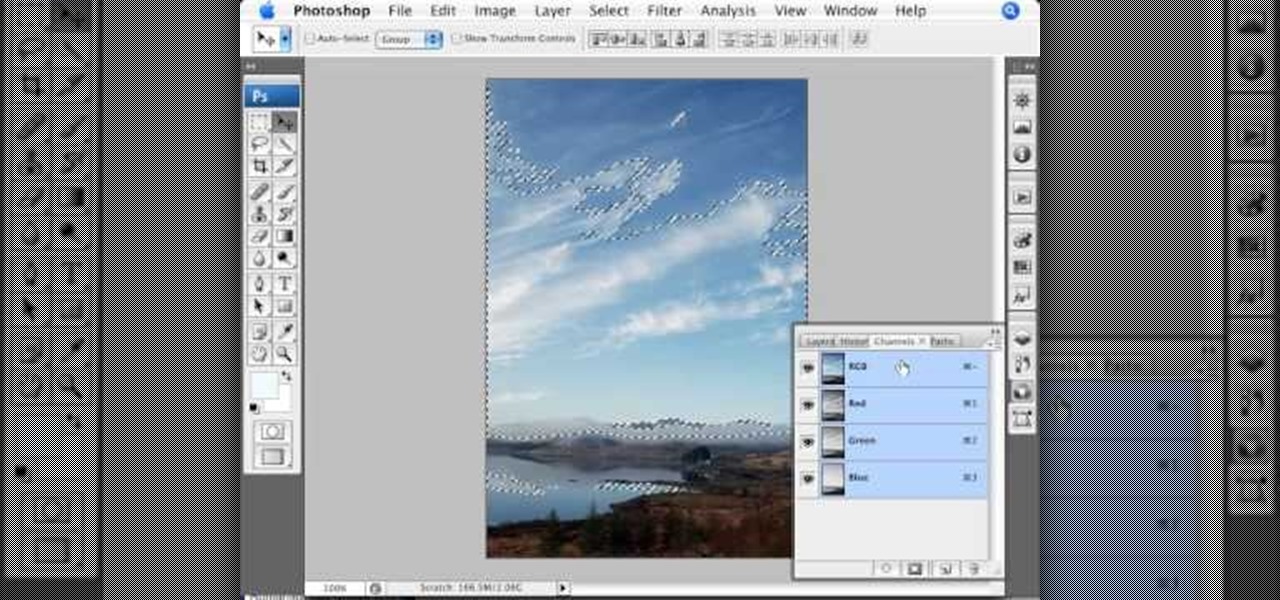
This video is about using a luminosity mask in Photoshop. The luminosity mask is used to enhance the color and contrast in photos that lack each of these. The color is enhanced or punched up. Choose the manipulation tool: channel and RGB. To choose RGB, touch control and then select RGB. Select the 100 % white or light parts of the photo, it will not select the darker or black images. Copy the light parts of the image by using control J. Choose to copy the lightest parts by selecting overlay ...

This is an excellent kids tutorial to draw a koi fish easy and simply using a Adobe Photoshop. The artist shows you how to hand draw the body, add the fins and other features of the fish. Then you create guidelines to make a perfect pattern of scales on the fish. Next he starts texturizing the fins as well as creating a realistic flip of the tail. He then takes the outline of the fish and puts it on one layer then traces it over on the next layer. On subsequent layers, the artist paints the f...

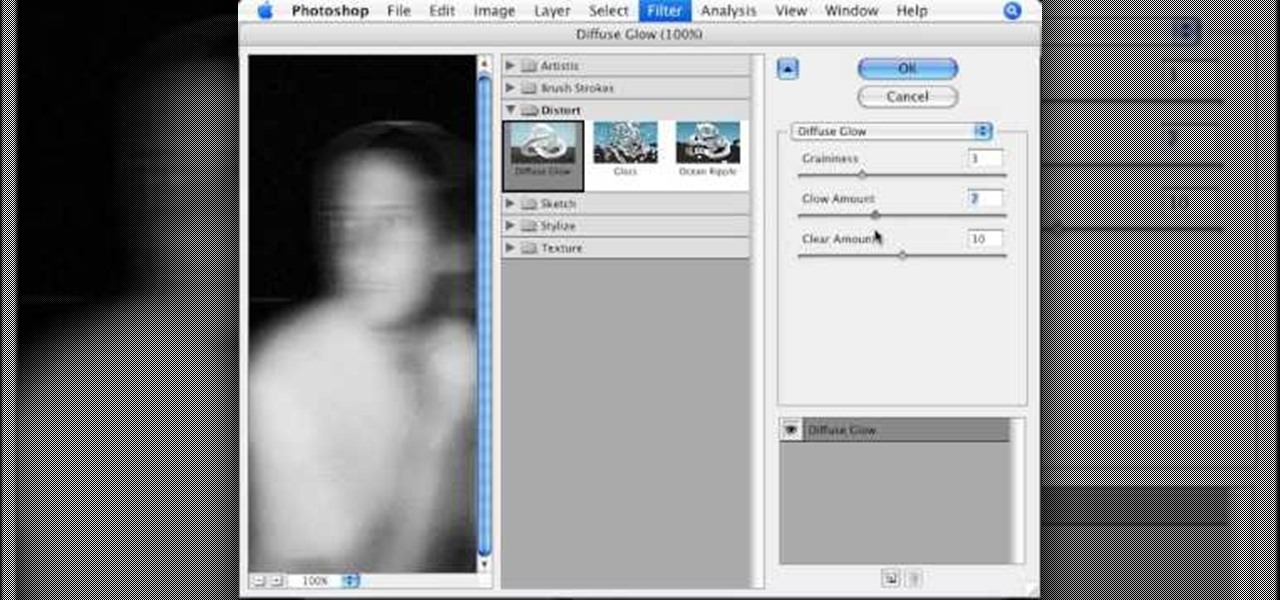
To manipulate photos and turn someone in a photo into a ghost, there are several filters that can be used in Photoshop. This video takes us through the steps of how to take an ordinary picture and turn the subject into a supernatural being using the motion blur technique and the diffuse glow filters among others to alter an image. The best types of pictures to use are ones where the background is relatively dark. By following these simple steps in Photoshop, you can turn anyone in an ordinary...

Stephanie Valentin will show you how to draw realistic hair in Photoshop. Add a new layer of paint to shape the hair, and do it with a round brush. Create hairs all around the shape with a smudge tool. Then add a new layer and draw a line with a soft round brush and smudge tool. Repeat the last step several times drawing more hair if you want. Add a new layer and add some light with a smudge brush and a round brush. When done, adjust the layer of opacity. Again, add another layer and add ligh...

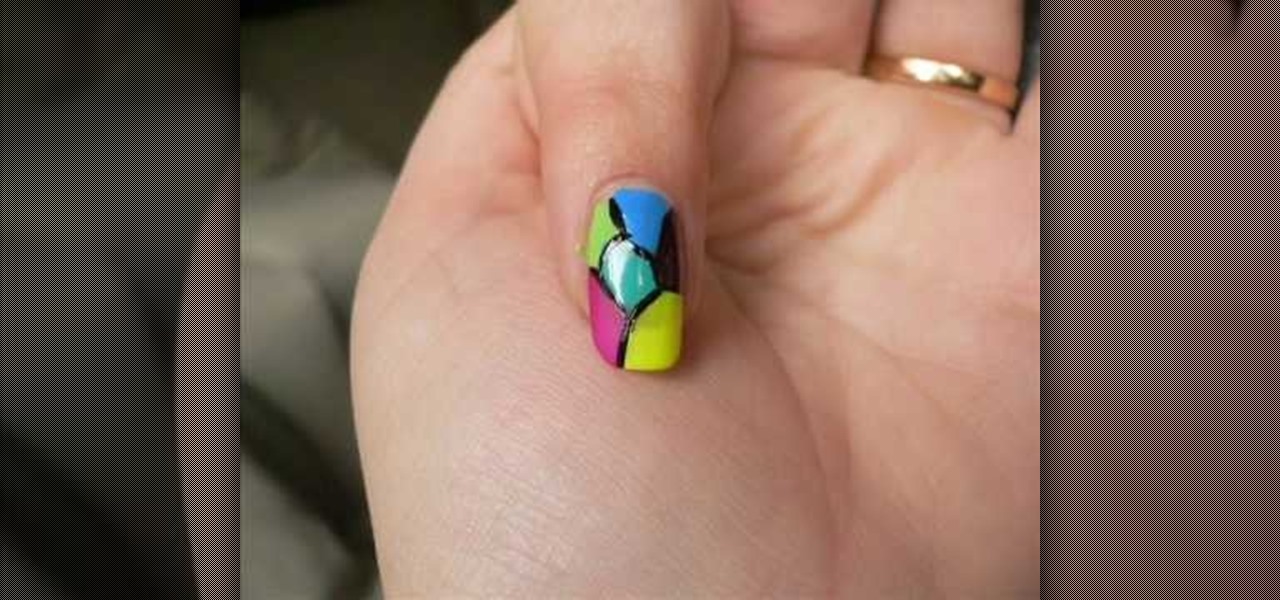
This video relates to Neon Mosaic Nail Tutorial. This video teaches how to make the nails good looking and also pleasing. In this video she teaches how to select the colors of nail polish and also she teaches the steps to be followed regarding which color nail polish to be applied first and also to create a mosaic by using multiple colors. She also add some border line to create and pleasing look. She also narrates to change the colors in applying to each nail. She also teaches how to create ...

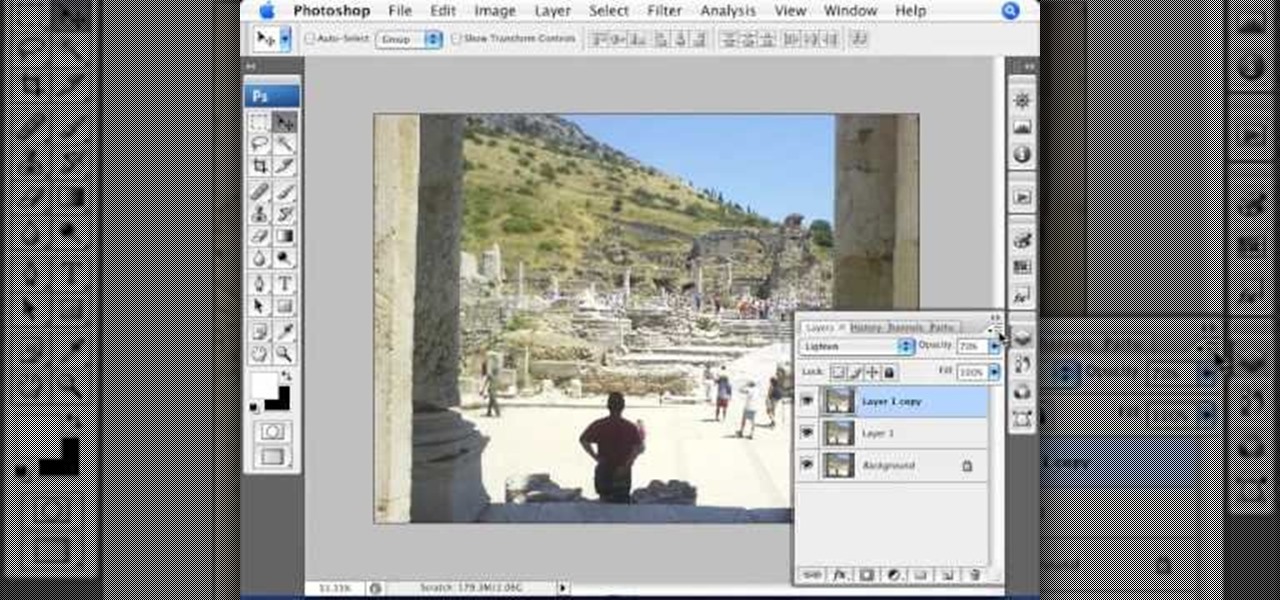
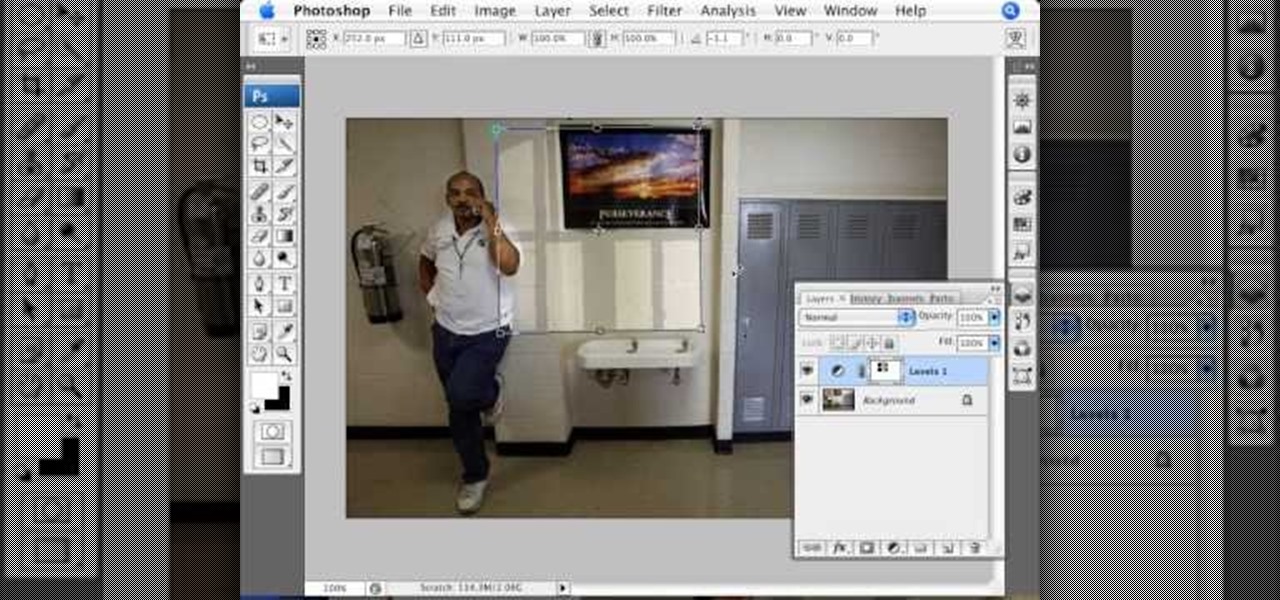
In this video we are going to light cast a window so we can add more focus to the photos. First take unremarkable photo, then find a window image to transfer and select all Ctrl+a. After that copy it to the previous image. Click layer 1, then select the white space in the window that allows the sun light to pass by using magic tool quick select the part of the window. Delete the layer, after that go to adjustment layer, select levels. Adjust the level so that the color of the window is darker...

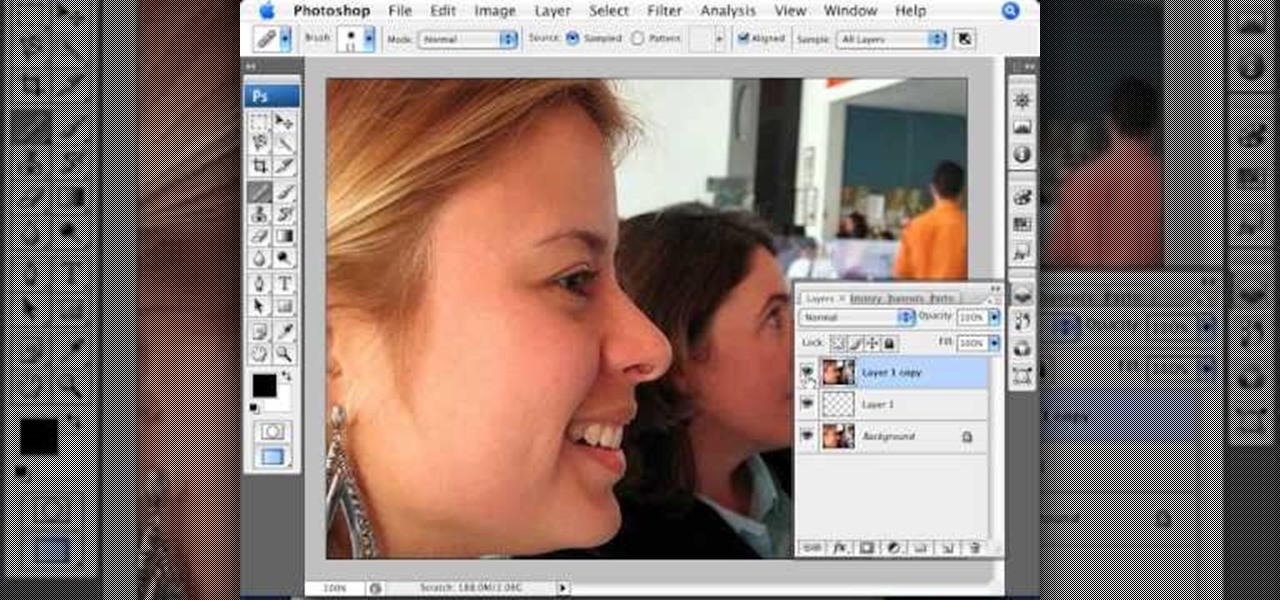
This video explains how we can have a smooth skin in the pictures using Photoshop tools. The healing brush tool is used to delete all blemishes, red spots or black marks from the skin in the photo. While doing this it is important to select smaller portions and then go ahead instead of selecting bigger portions of the skin. Later the median filter is used so that the smoothing is just optimum. This actually helps in getting the right image specially for close up photos.

This tutorial teaches you how to do the same nail design as Ke$ha from her video "Tik Tok" had her nails done. First you apply a base polish to protect your nails. Apply a gold polish all over the nail, about three solid coats and then let them dry. Paint on a rich wine color to the corner of each nail end. Use a dotting tool and clean polish to pick up the rhinestones. Apply a little bit of nail glue on the seam of the two colors to help the Rhine stones stay put. Take a fine tip brush with ...

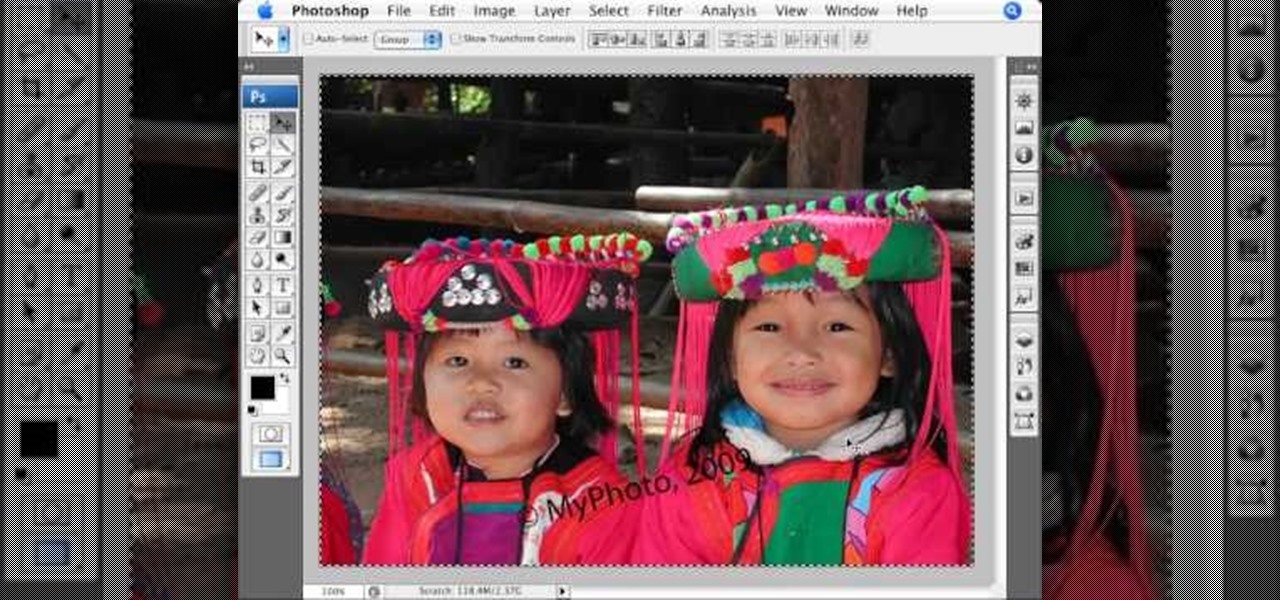
The PhotoshopUniverse team effectively teaches a method of adding a watermark to an image, as a security feature to make it harder to copy or steal. Instructions are simple and easy to follow, using as an example a photo of two girls that one might have in his or her family album. Using Photoshop, the text that will become the watermark is added, rotated and patterned across the entire image. To finalize the watermark, the opacity is edited to a desired value so that it does not interfere wit...

Watch this video and learn to be happy with stretch marks and the appearance of your body. -It is normal to have stretch marks, 78% of women have stretch marks.

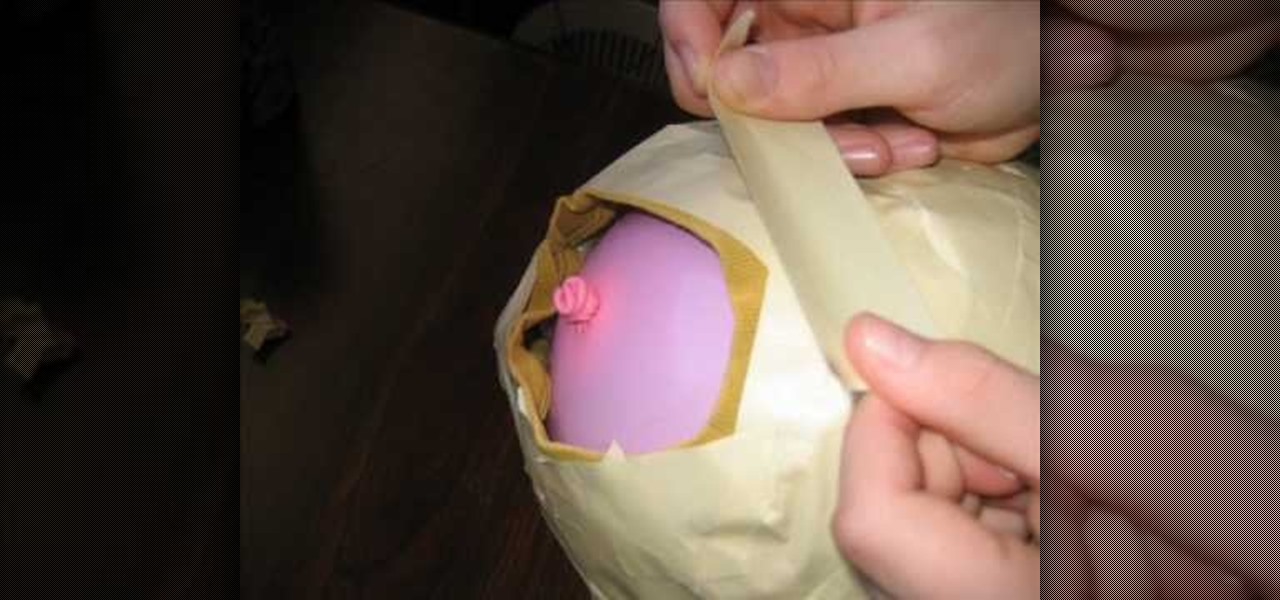
No matter what you think of Slipknot's music, you gotta admit they have a cool, horror movie look. This video will walk you through how to make your own Slipknot full head masks. You'll be surprised how simple the process is.

There are tens of thousands of iPhone applications out there. Some are fabulous. Some are stinkers. From boredom-busting games to truly useful utilities, Fox News Tapped-In tell you which are worth a place on your iPhone. Their concise video reviews and how-tos let you see the apps before you download. Plus, they show you tips and tricks you never knew were there. If you own an Apple iPhone or iPod, check this vodcast out.

This beauty video demonstrates how to create a bright, summer makeup look.

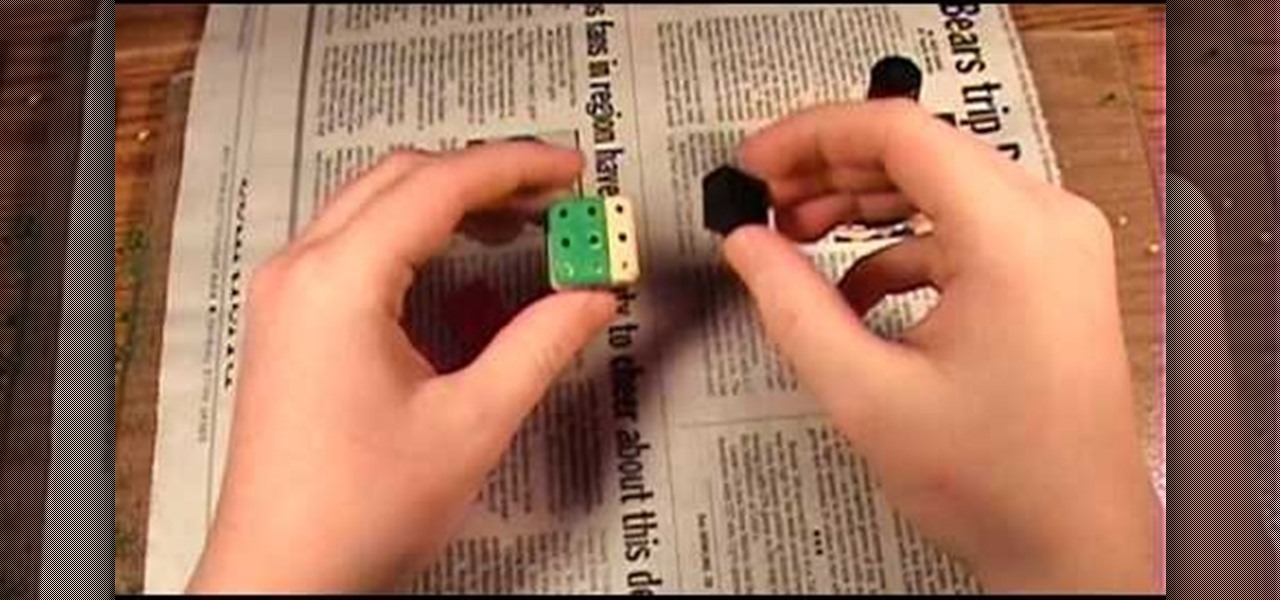
Want to make a Rubik's Cube just like Erno Rubik? Of course you do, but before you start making all of the intrinsic mechanisms of the classic Cube, maybe you should start out a little simpler.

Go beyond the traditional 3D workflow to an immersive creative experience with the software Modo, created by Luxology. Modo is the next evolution of 3D modeling, painting and rendering for Mac and PC. Modo includes 3D sculpting tools, animation and network rendering, and advanced features such as n-gons and edge weighting.

Instead of using Photoshop, why not give Apple's Aperture a try? Aperture is designed more for post-production work for professional photographers, letting you cull through shoots, enhance images, manage massive libraries, and deliver stunning photos.

Instead of using Photoshop, why not give Apple's Aperture a try? Aperture is designed more for post-production work for professional photographers, letting you cull through shoots, enhance images, manage massive libraries, and deliver stunning photos.

Sure, you can buy one, but making an Advent calendar is a nice family project—and you can use better treats!

Devolped by the same team of engineers responsible for LightWave 3D, modo, lowercase, delivers the next evolution of 3D modeling, painting and rendering in a single integrated and accelerated package for the Mac and PC. And now, modo is a true end-to-end solution that includes true 3D sculpting tools, animation and network rendering! More than just features, modo is a truly elegant integration of technology, raw horsepower and refined workflow. With such a wealth of inbuilt features, however,...

Devolped by the same team of engineers responsible for LightWave 3D, modo, lowercase, delivers the next evolution of 3D modeling, painting and rendering in a single integrated and accelerated package for the Mac and PC. And now, modo is a true end-to-end solution that includes true 3D sculpting tools, animation and network rendering! More than just features, modo is a truly elegant integration of technology, raw horsepower and refined workflow. With such a wealth of inbuilt features, however,...

Developed by the same team of engineers responsible for LightWave 3D, modo, lowercase, delivers the next evolution of 3D modeling, painting and rendering in a single integrated and accelerated package for the Mac and PC. And now, modo is a true end-to-end solution that includes true 3D sculpting tools, animation and network rendering! More than just features, modo is a truly elegant integration of technology, raw horsepower and refined workflow. With such a wealth of inbuilt features, however...

Modo delivers the next evolution of 3D modeling, painting and rendering in a single integrated and accelerated package for the Mac and PC. And now, modo is a true end-to-end solution that includes true 3D sculpting tools, animation and network rendering! More than just features, modo is a truly elegant integration of technology, raw horsepower and refined workflow. With such a wealth of inbuilt features, however, things can get confusing, which is where this tutorial comes in. In this modo vi...

Devolped by the same team of engineers responsible for LightWave 3D, modo, lowercase, delivers the next evolution of 3D modeling, painting and rendering in a single integrated and accelerated package for the Mac and PC. And now, modo is a true end-to-end solution that includes true 3D sculpting tools, animation and network rendering! More than just features, modo is a truly elegant integration of technology, raw horsepower and refined workflow. With such a wealth of inbuilt features, however,...

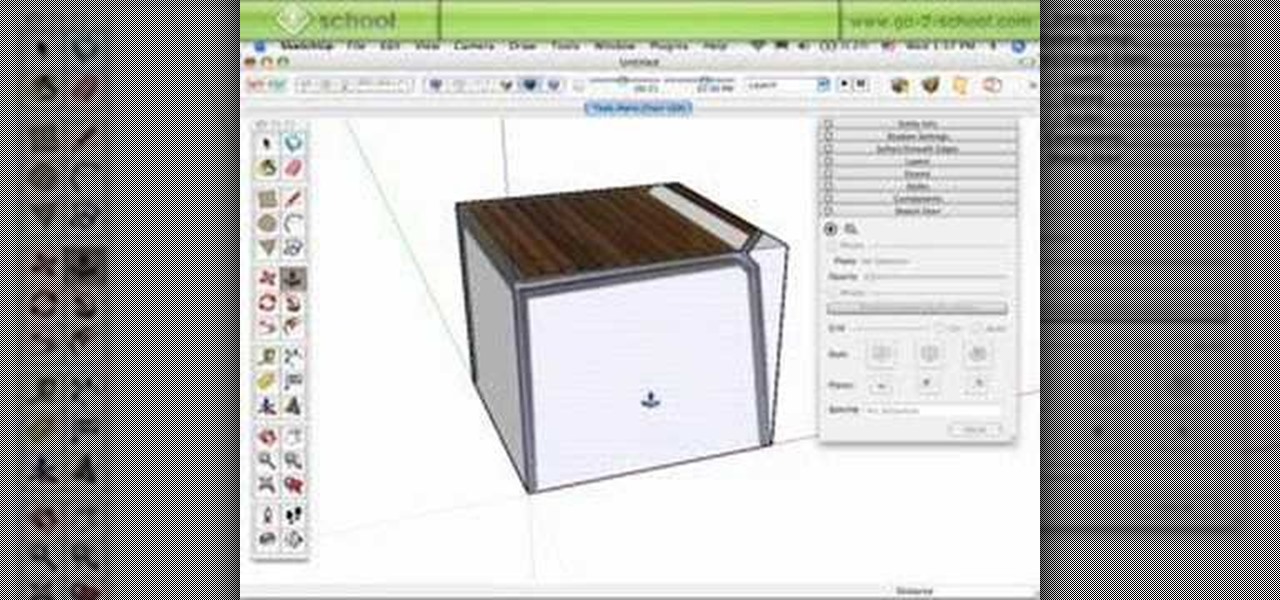
Alright MacGyver, for this week's assignment, you're going to need a picture of a chair, and SketchUp. And maybe some duct tape. We're going to show you how to use Photo Match to create a chair component from a digital image in this SketchUp software tutorial. It's one thing to use Photo Match in SketchUp to adjust perspective with buildings, but you can also use it to work with components, as you'll learn in this video.

Instagram is one of the hottest mobile apps to date, yet they have no way to upload photos straight from your computer. You can log into the Instagram web app to like and comment on photos in your feed, but that's about it. Fortunately, there are third-party apps that let you do more on Instagram from your Mac or Windows computer, so you can enjoy Instagram pics on the big screen instead of your tiny iPhone or Android device.

Try "unfocusing" your photographs for some dreamy, evocative and somewhat abstract takes on life. Check out the two tutorials (here and here) from Michelle Geoga of Lights! Camera! Photoshop! for tips on unleashing the blur-power of your camera. You can see plenty of example images there to help you out.

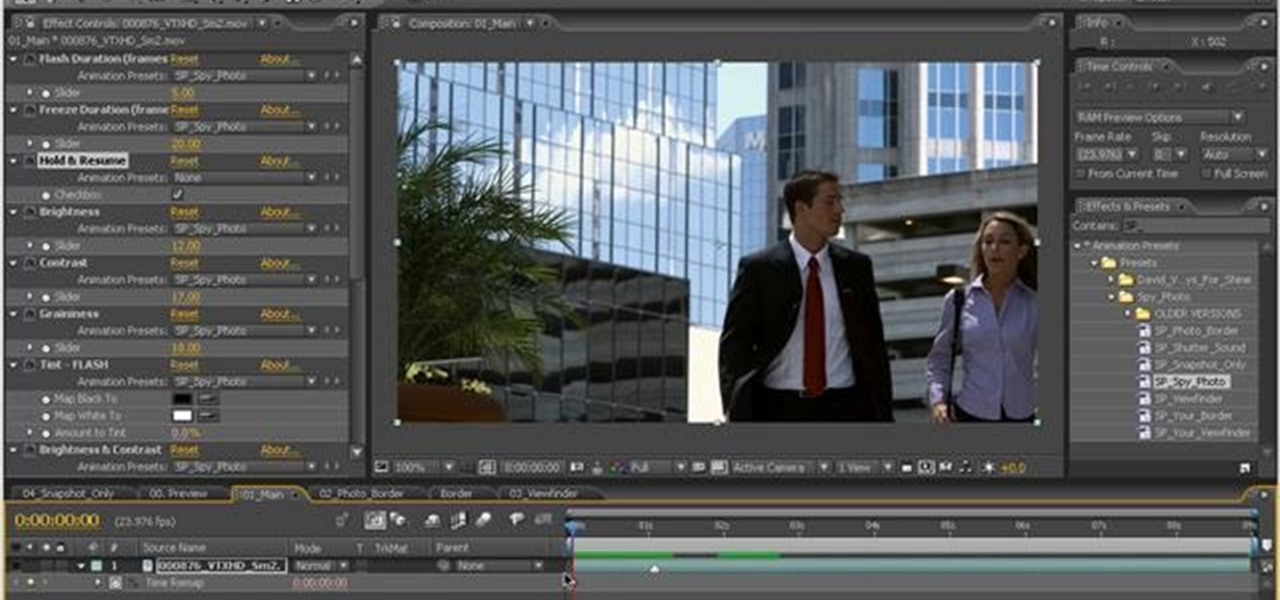
Create an effect in your video where the video footage is converted to black & white, pauses, and resumes playback in regular color. This effect is demonstrated by Aharon Rabinowitz with Spy Photo, a brand new set of free presets for Adobe After Effects.

In this clip, you'll learn how to use the Windows Photo Gallery app on a desktop or laptop computer running the MS Windows Vista operating system. For more information, including a complete demonstration of the process and detailed, step-by-step instructions, watch this home-computing how-to.

This video tutorial is in the Arts & Crafts category which will show you how to create a floral antique photo stand. The photo stand can be used to place photos or picture cards and it also doubles up as a candle stand. A picture holder measures 4 1/2 inches from top of the ring to the top of the stand. But, you can have different length. Take a lid of a tin and drill a small hole in the center. Place a wire through the hole. Apply generous amount of glue on the outer side of the lid. Sprinkl...

In this Computers & Programming video tutorial you will learn how to use Stock.Xchng to access free stock images. The site is at SXC. Go to this site and you will find a large number of stock images that are free to use. And every day new photos are being added. You can search for an image by category by clicking on the search box and scrolling down to find your category. You can also type in the search box to find a photo of your liking. The image also tells you what is the screen size, prin...

Why do passport photos and driver's license pictures always get a bad rep? Well, other than the lighting being atrocious and the photographers being underpaid civil servants, bad photos usually result from bad backgrounds.
