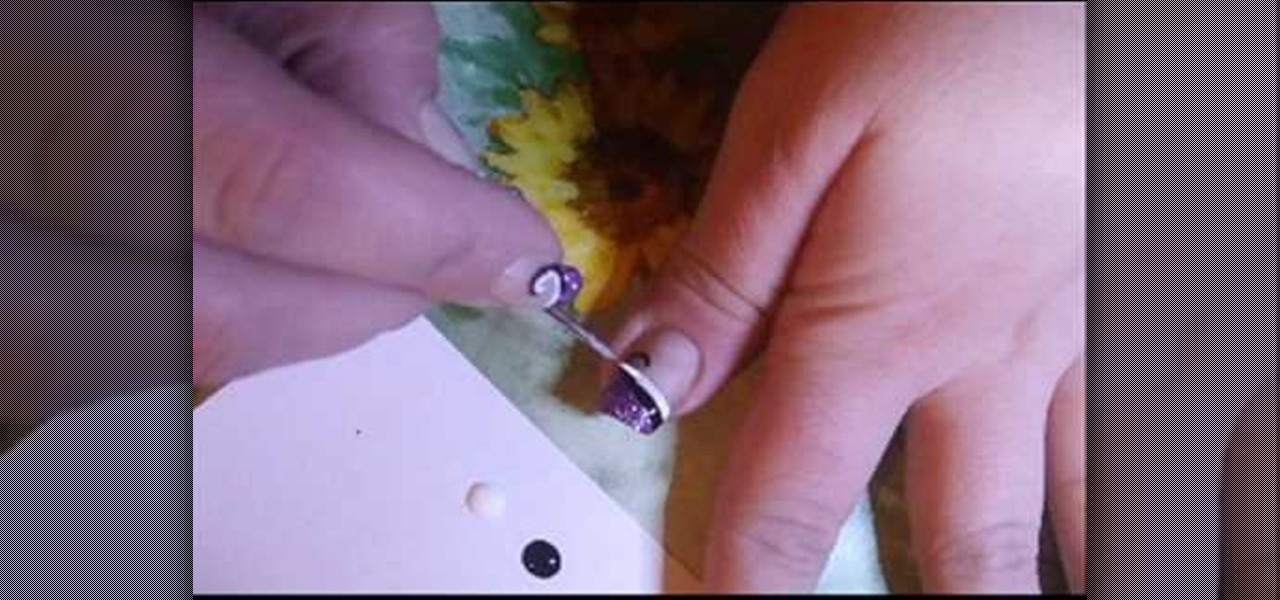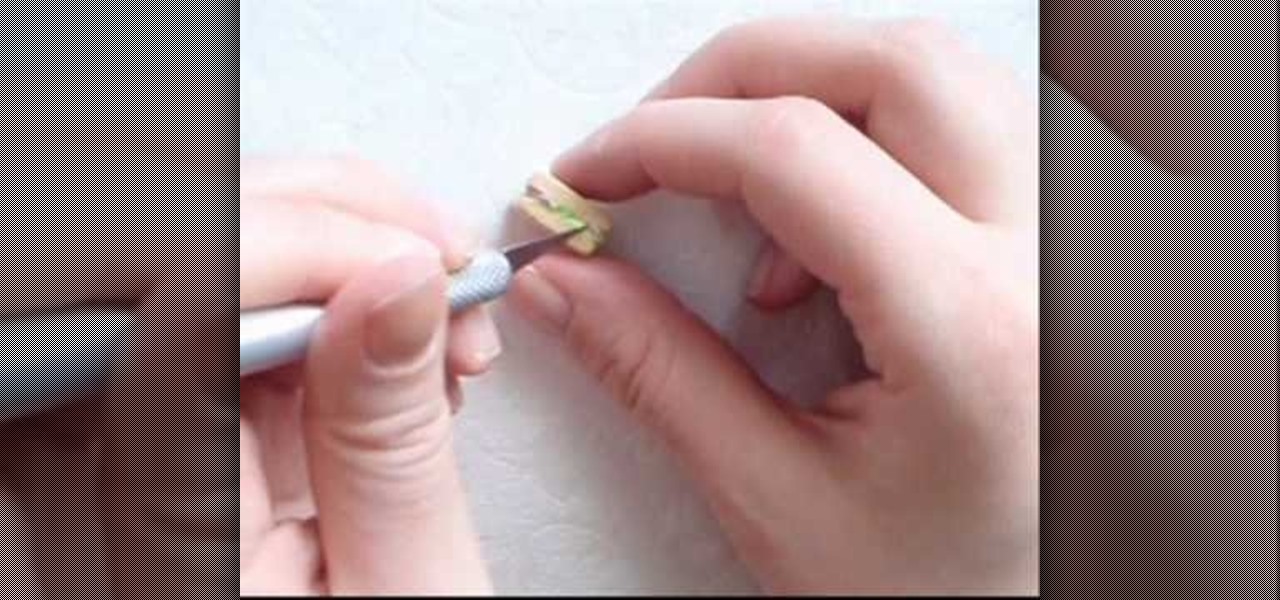
In this tutorial, we learn how to make 3D nails. You will need: nail glue, nails, glitter, nail polish, tools, and anything else to decorate. To start, paint the nail and then apply small ribbons to them at the top. You can also add in glitter if you would like. Glue the ribbons by using nail glue or super glue. For the rest of the nails, repeat the same process, making all of them look different by adding small pearls, different shapes, and glitter. Let these dry, then you can place them ont...
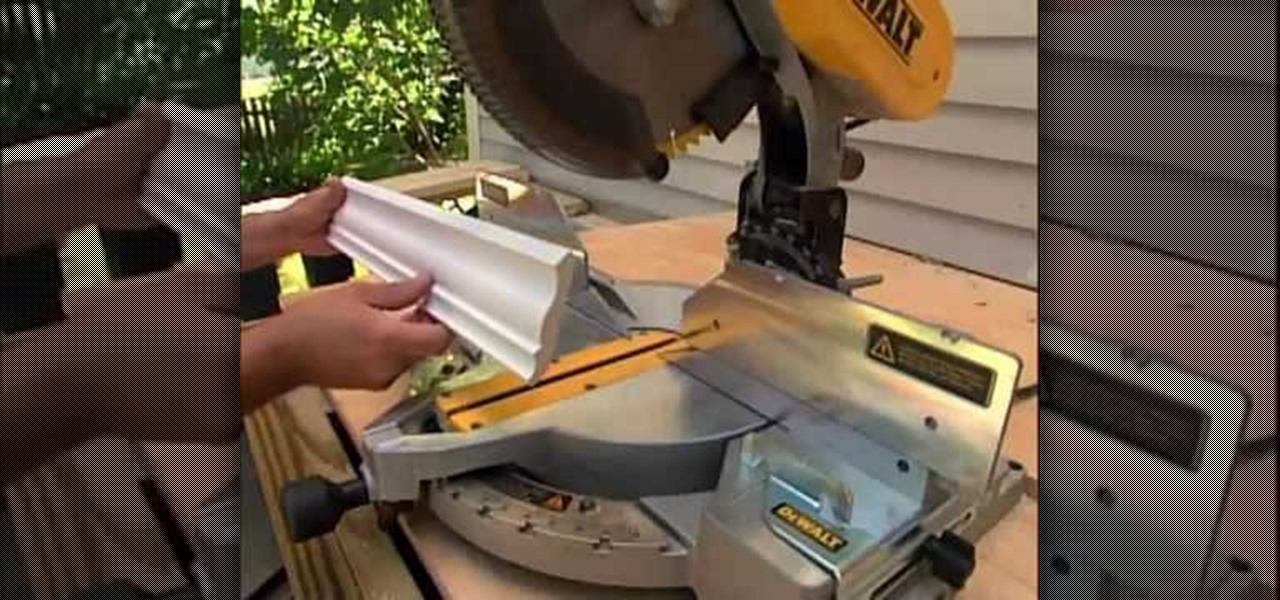
In this tutorial, we learn how to install crown molding to your room. First, choose the right size and style of molding for the room, then measure your room to find out how much you need. After this, you will need to buy a saw to cut the molding when you're ready to install. After you have the pieces cut, you will need to place these against the wall and then nail them in with a nail gun. Secure the molding to the joints in the ceiling and to the studs in the wall. To finish, putty the holes ...
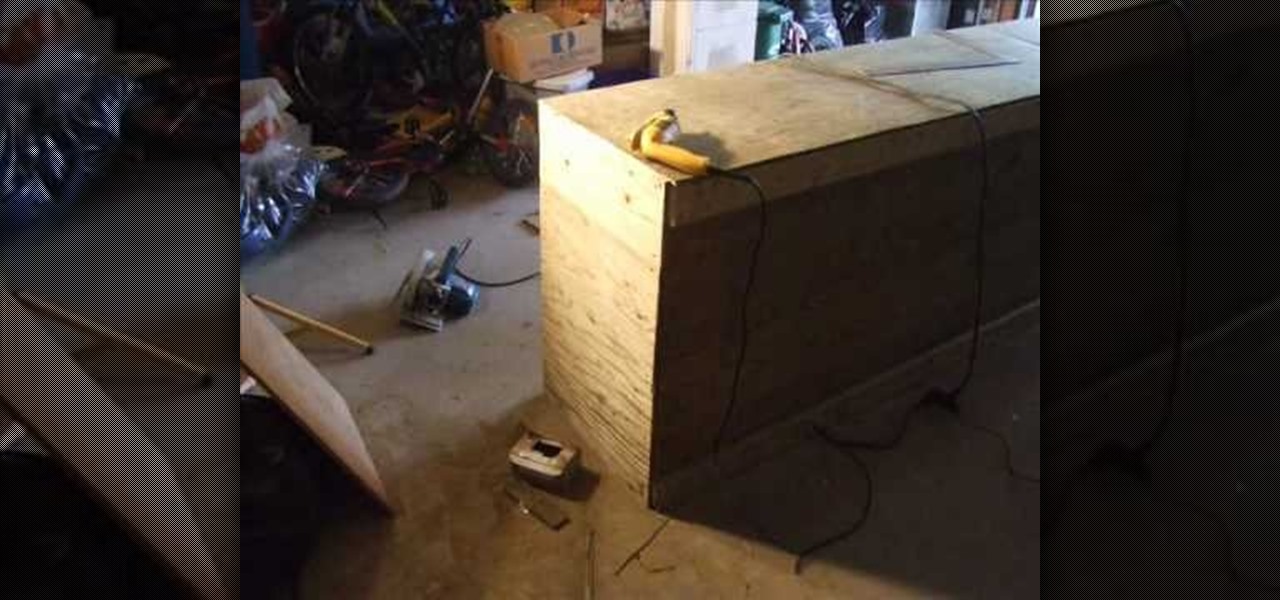
In this video we learn how to build a snowboard box. First, decide on a size for your box and write out the dimensions. Then, buy your frame for the box and follow the structure of the box with it having four sides. After you have built the frame, put on the wood to complete the sides and make the box enclosed. Use screws placed into the frame to make sure it's completely secure. You may also want to install handles so this is easier to handle. Once you're finished with your box you can paint...
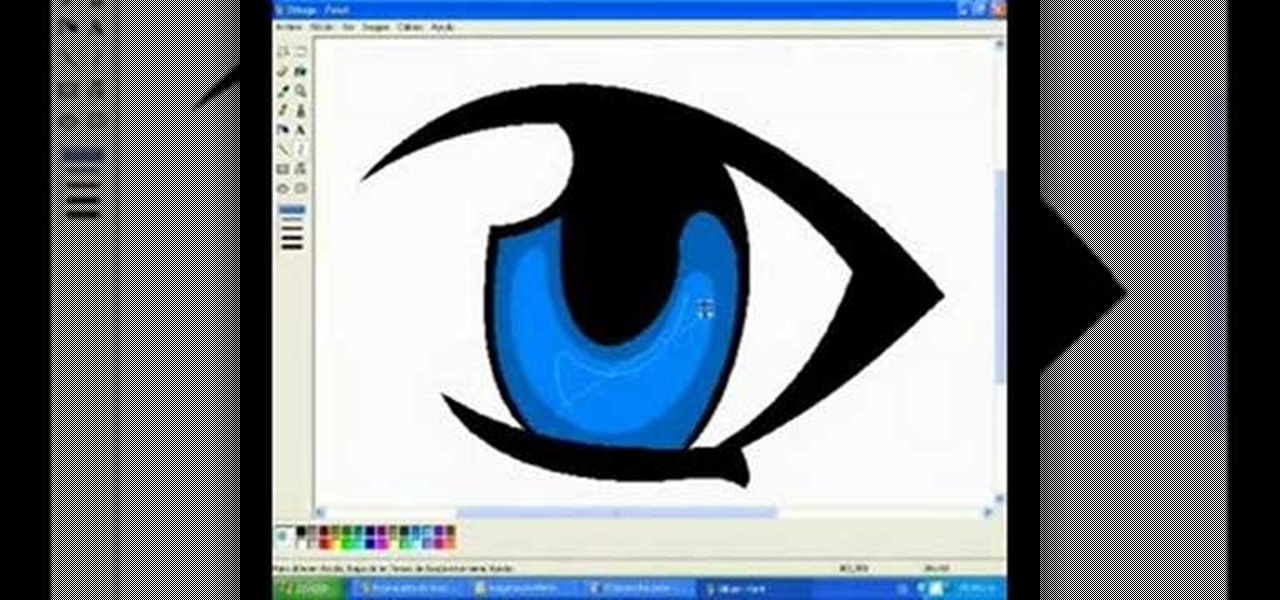
In this video, we learn how to draw a manga eye in MS Pain and make it blink. Start out in Paint and draw the outline of the eye. After this, color the outside area in black and then fill in the pupil area of it. Color the eye blue or any color that you desire, then add in lines to the middle of the eye to make it look more realistic. Leave white around the edge of the eye. Create an eyebrow over this, then add it to a flesh-toned background. Once you have done this, you will be finished with...
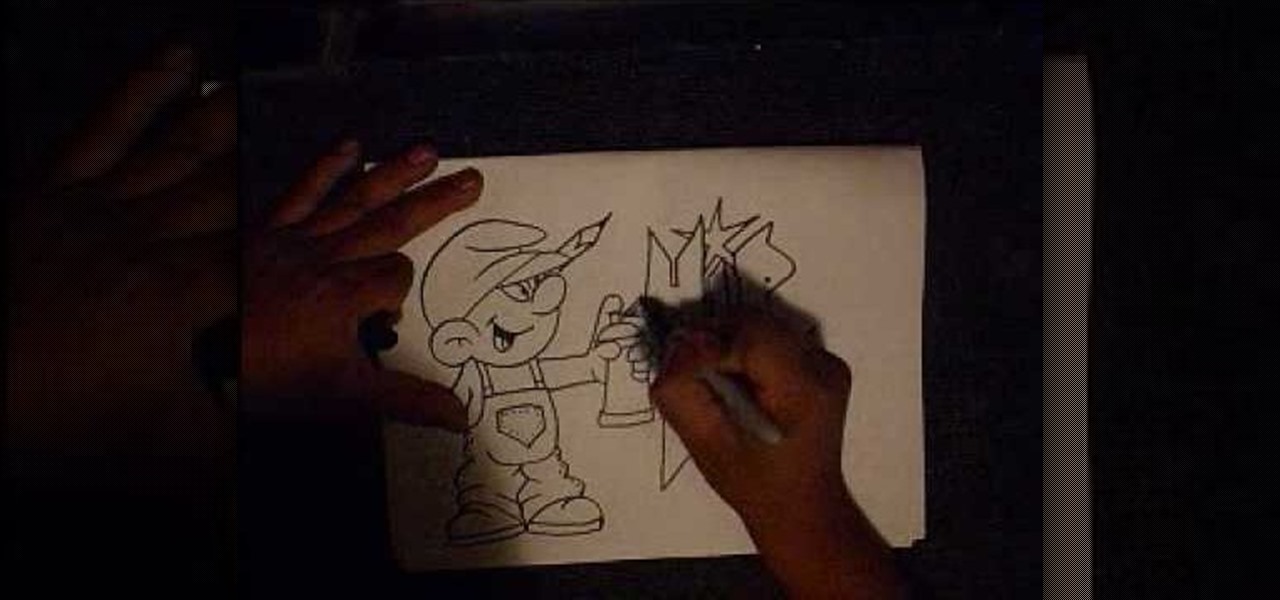
In this tutorial, we learn how to draw a graffiti Smurf character. Start off by drawing the hat for the Smurf, then draw in the ear on the side of the head. Then, draw in the face and start to add in the details. Draw in the mouth, nose, and eyes. After this, draw in the upper body and the clothing that the Smurf is wearing. Add crinkled lines on the edges to make it look like the pants are too big, then draw in the feet, arms, and hands. Draw a spray paint can in the hand of the Smurf, then ...
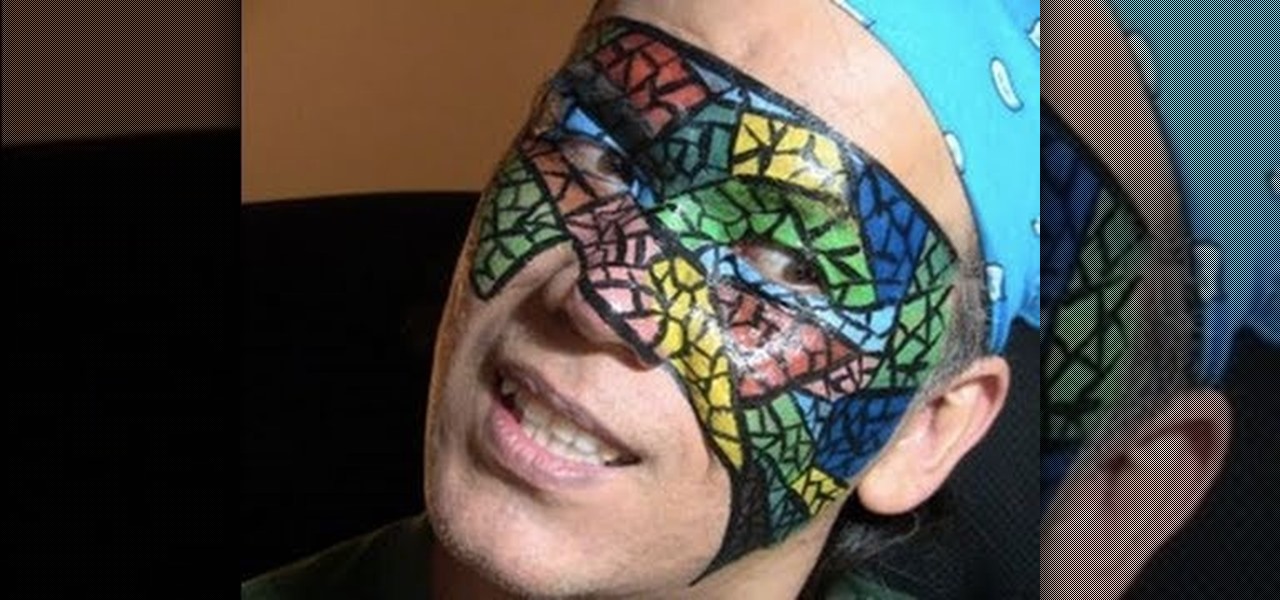
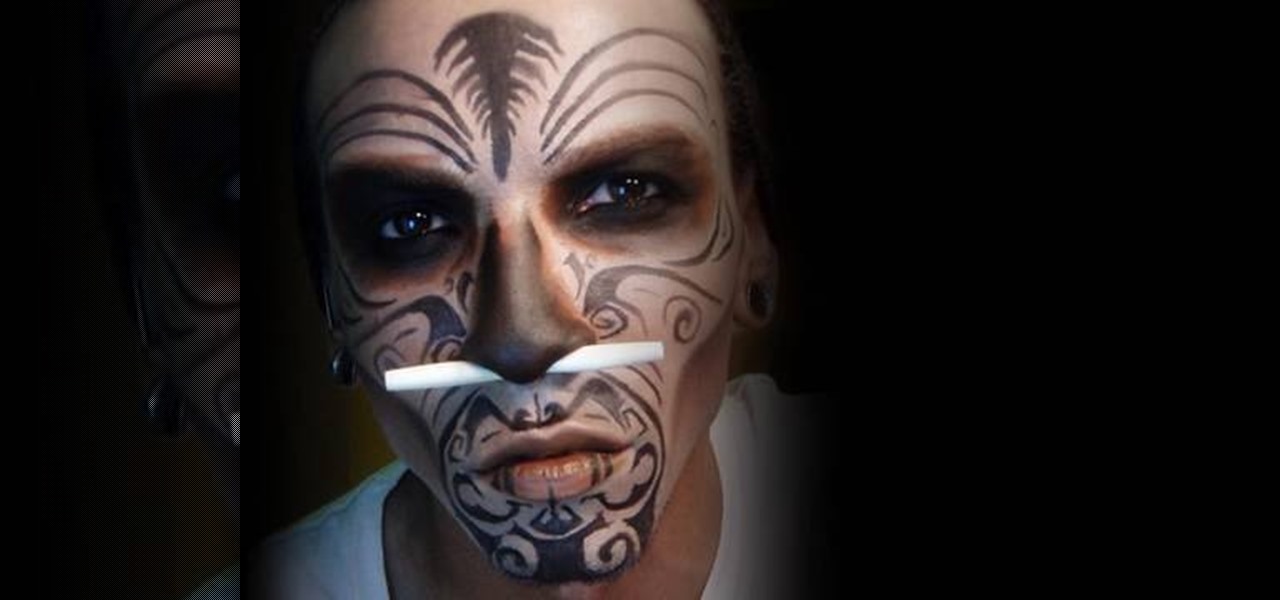
Feel like you're too old to still wear a costume on Halloween? We hear you. If you're past the whole "dress up as a pumpkin" phase of Halloween but still want to look festive for the occasion, why not consider a face mask?

In this tutorial, we learn how to isolate your subject to get better photos. If you are taking a picture in an area with a lot of people or surroundings in the background, have your subject stand up on something. After you do this, you can take the shot and have nothing in the picture with your subject but the background. You can also have a child go on a playground and zoom in on them if you are taking a picture of a child. On the playground, you can find tons of spots where the child can be...

In this tutorial, we learn how to draw the Black Queen of Chess. First, you will need to draw the outline of the character using a light pencil on paint or another drawing program on your computer. After this, use a dark blue pencil to draw the outline of the body on darker and to make it more detailed. Next, add in the details to the drawing all over the entire body. Make sure to draw on the clothes after you do this. Once finished, you will need to draw on the facial features and the hair, ...

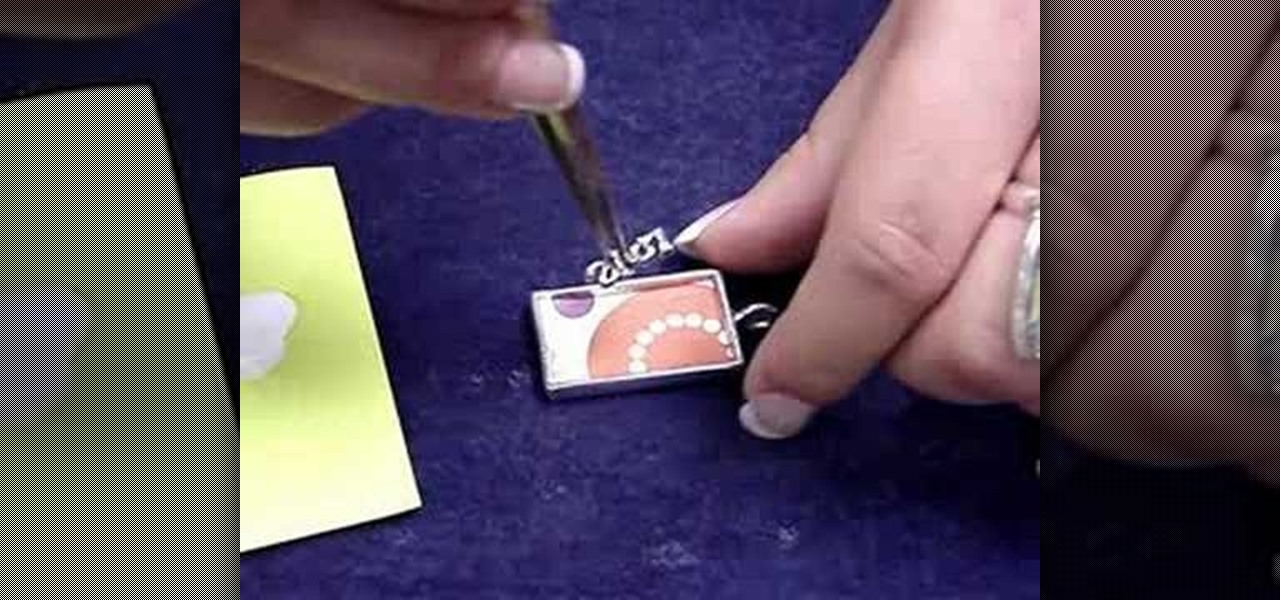
In this tutorial, we learn how to make a DG3 art gel collage jewelry pendant. After you have all your tools together, you will need to trim the scrapbooking paper to fit into the frame for your pendant. Once this fits inside, then grab a charm and glue it into the frame where you would like. Then, squirt the clear craft glue into this and let it set. Brush the paint brush over the pendant, then go over it again with the glue when it dries. To wear, attach a chain to your pendant when it's dry...

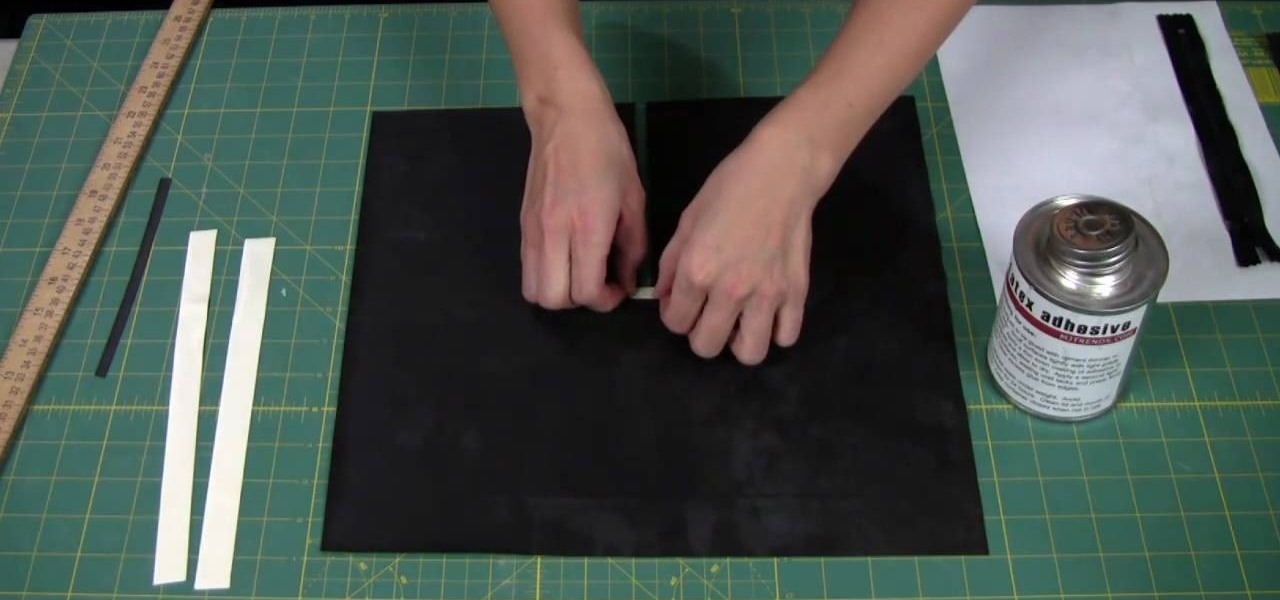
In this video, we learn how to add a zipper to a latex garment. First, apply glue to the zipper, using an ammonia based adhesive in one coat. Next, take a small paint brush from any store and apply a thin layer of adhesive to the zipper. The top will take about 45 minutes to dry, then turn it over and apply another layer of glue to the back. After this, cut two 1/2" strips of latex a little bit longer than the zippers. Also cut a 1/4" wide and 1" long piece of latex as well. Now, apply these ...

Let all the other girls dress up as slutty bunnies and slutty gangsters this Halloween. Instead of going with the expected route of minimal clothing and streetwalker makeup, why not try donning something truly spooky this year?

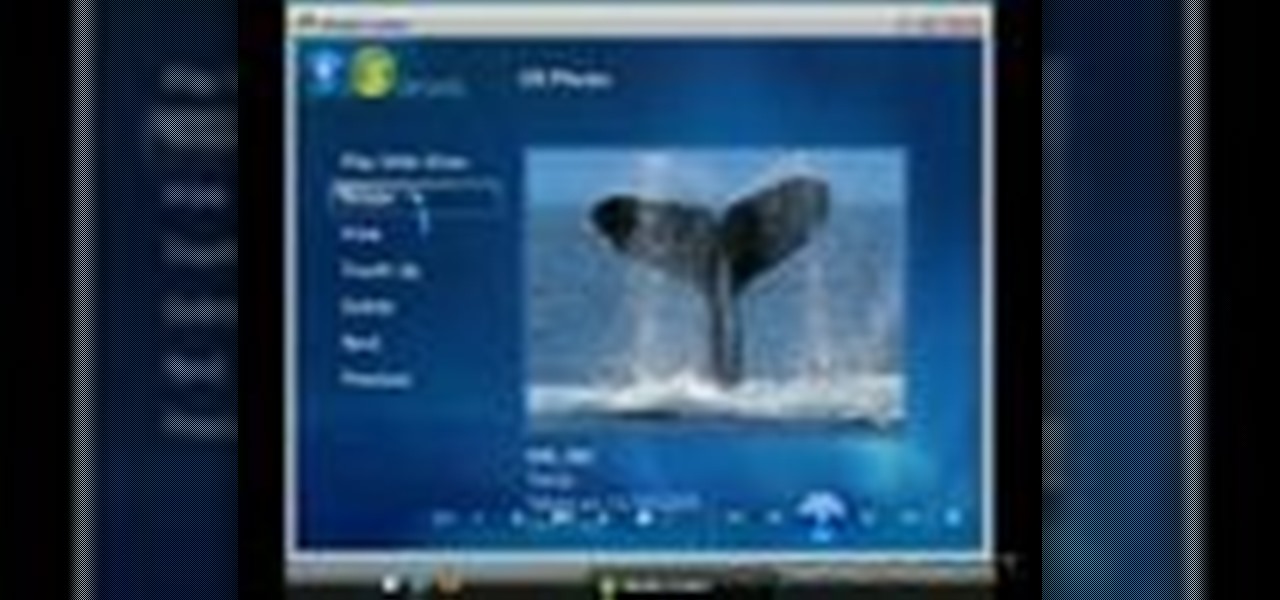
This video shows you what you can be done with digital photos in the Windows Vista Media Center. To access your digital pictures, just go to the Picture Library in Media Center, and see the many options available, such as Play Slide Show, Rotate, Print, Touch Up and Delete. Touch Up is probably the most useful function, to help you quickly edit your photos.

Football season is in full swing, and while it's fun painting your face half in blue and half in yellow, there are less tacky ways for showing your love and support for the Minnesota Vikings.

In this tutorial, we learn how to use R1C1 speedlight when shooting photos. First you will want to place the attachment ring and adapter ring to the camera. After this, grab the remote flashes and the built-in flash panel. After you have installed all of these things on your camera, you will be ready to start taking pictures. Find the object you want to take pictures of, then start to use the wireless flash system to take quick picture that look great. As you click the remote, the flash will ...

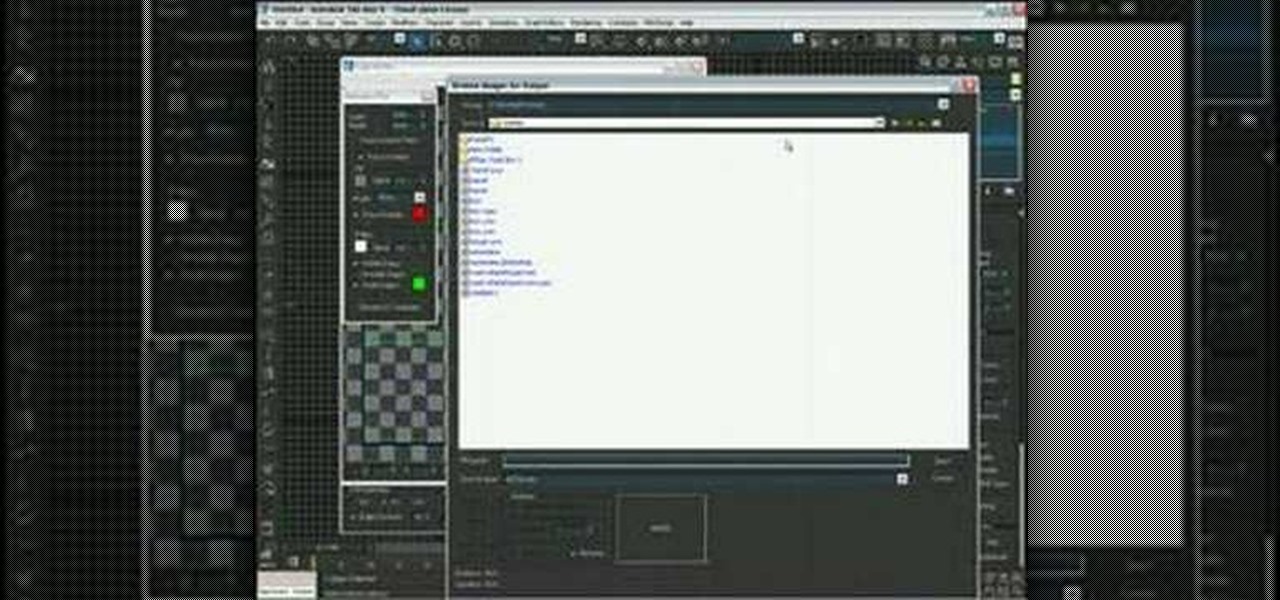
In this video, we learn how to use the UVW unwrap function in 3D Studio Max. First, go to the UV modifier wrap and select all the faces. Once here, edit the parameters and then go to the mapping menu. After this, you will be able to change the object as you would like. After you are finished with this, save your object to your computer in a spot you won't forget it. You can create several different layers and change the colors as you prefer. You can completely customize your experience on thi...

This video will show you some methods to create a fake Loch Ness monster photo. You will need a camera or a camera phone for this project. One method of faking a sea monster picture involves creating a clay model of a head and a neck of a sea monster and holding it underwater. The outline of your hand holding the clay will serve as the body of the monster. Another method which can be used to fake a sea monster can be done using a clothes hanger and holding it underwater. The hook of the hange...

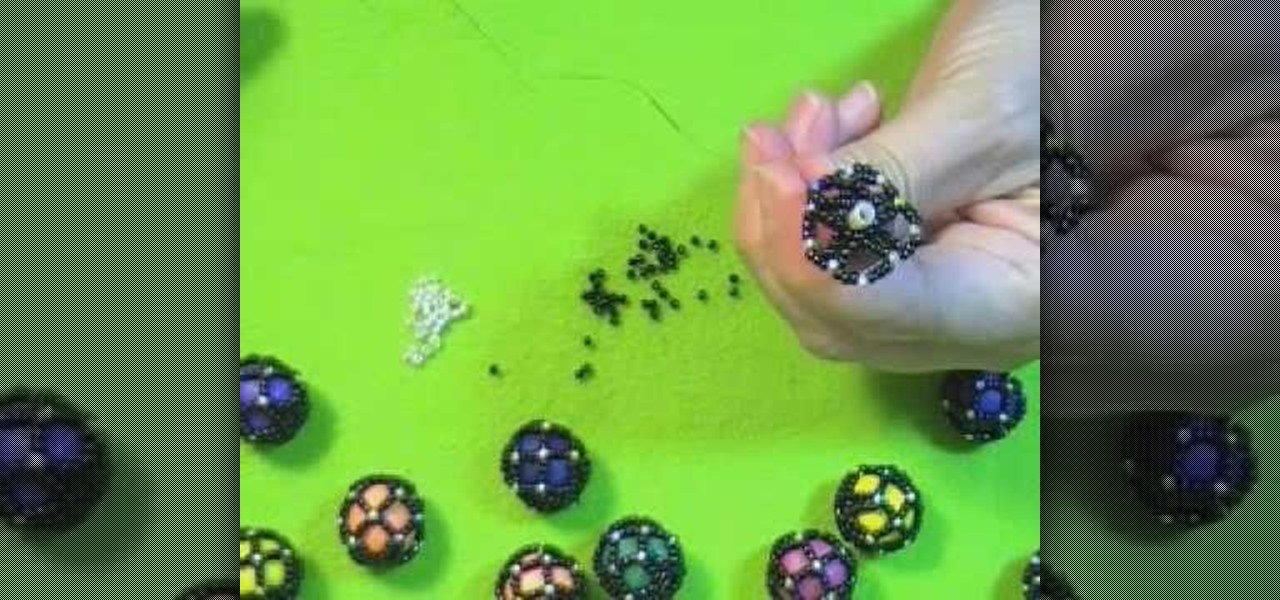
Want to create netted necklaces, earrings, purse decorations or any other netted designs. This video demonstrates and explains how to create a netted bead. However, the basic procedures which are

Back to school time is officially in full swing, which means new classes, new books, new hotties to crush on and something that all high school kids look forward to (if nothing else): Homecoming. The first real dance of the school year, Homecoming is an informal soiree yet the perfect excuse to dress up and look hot.

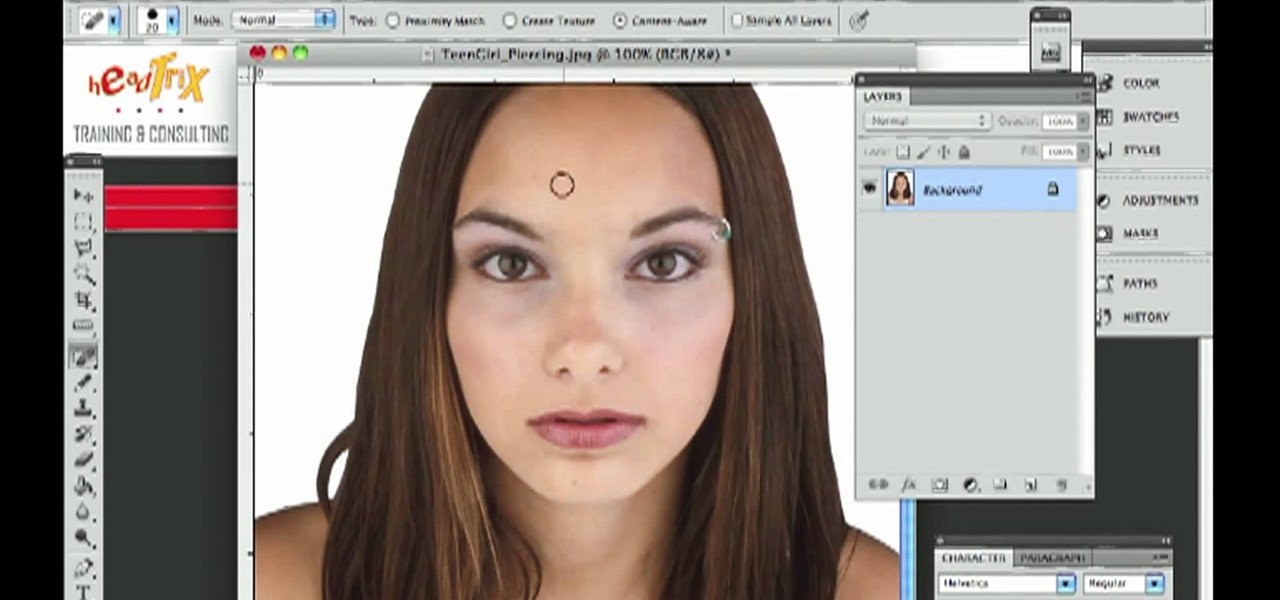
Want to remove pimples, wrinkles and other blemishes from a portrait? With Photoshop, it's easy! And this clip will show you precisely how it's done. Whether you're new to Adobe's popular raster graphics editor or a seasoned designer looking to better acquaint yourself with the new features and functions of the latest iteration of the application, you're sure to benefit from this free software tutorial. For more information, and to get started removing blemishes from your own digital photos, ...

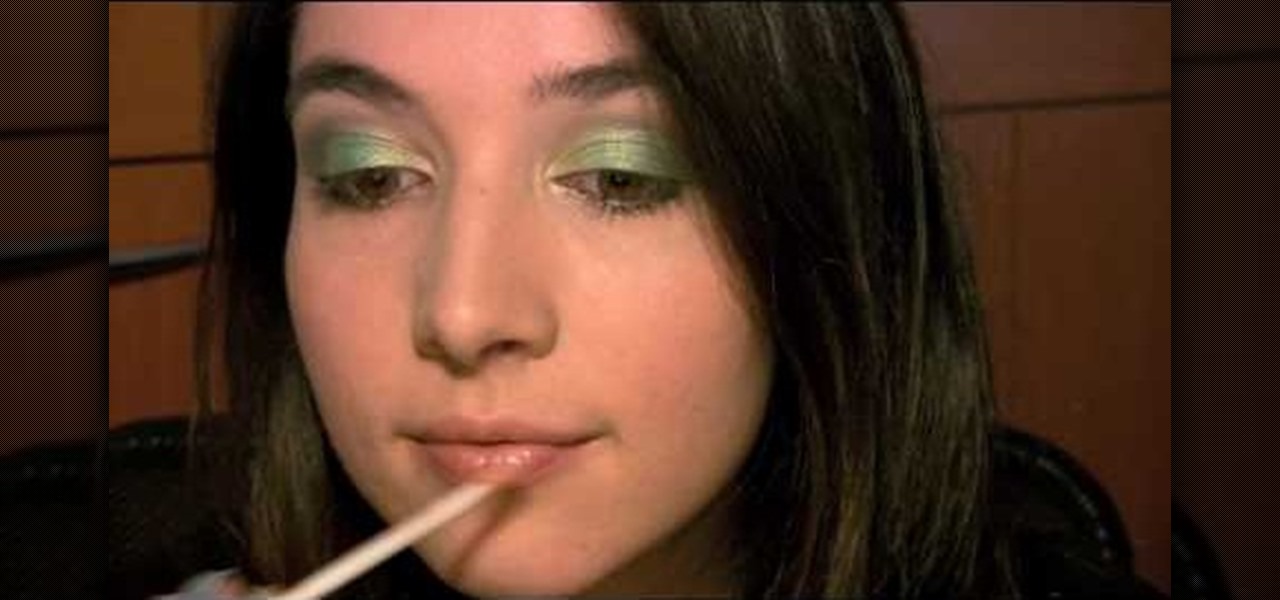
This makeup style was inspired by the Irish folklore creatures called Leprechauns, with their greens and pots of gold. Marinshe shows you this green makeup look that's perfect for Saint Patrick's Day, with a little bit of gold to top it off!

In this video, we learn how to convert an image into a sketch in Photoshop. First, open up Photoshop and open the picture you want to convert. Now, click the layer and unlock the background. After this, go to "image", "adjustments", and remove all the saturation from the photo so it's black and white. Then, duplicate this and invert it by going back to the adjustments section. Now, go on the top of the layers tab and select "color dodge" from the drop down menu. Now, go to "filter", "other", ...

In this video, we learn how to transform into a witch doctor for Halloween. Start by using a white foundation all over the face, avoiding the eye and eyebrow areas. After this, apply bronzer to the cheekbones. Next, apply a black or dark brown color on the entire eyes, smudging it on the edges. Next, apply brown lipstick on the lips and mark lines with black paint on it. When done with this, start to draw a tribal design on the chi, then underneath the nose. Define the cheekbones further with...

If you're looking for ideas for creepy decorations to make for your next Halloween party, or just want to have a little fun, you can use papier mache, cardbord paper, a little foil and some paint to create a surreal cartoon hand.

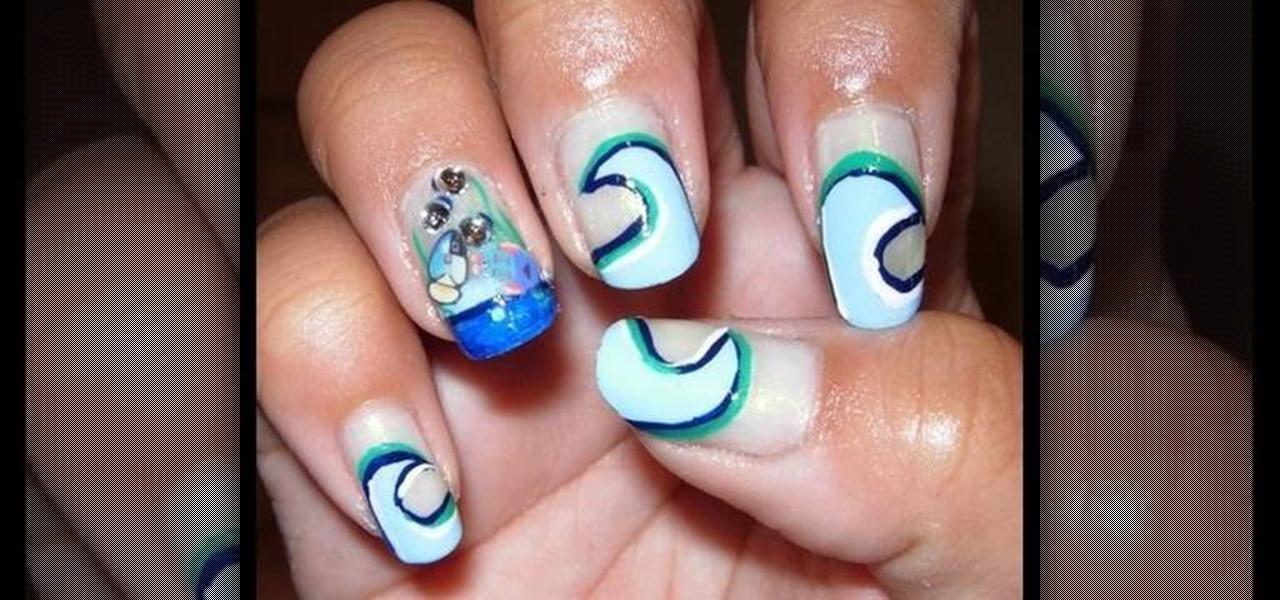
Not that we have anything against painting on an aubergine nail polish for a night out on the town, but why not get a little inventive next time you do your nails by creating unique designs? Become a nail Picasso by checking out this nail tutorial for creating nautical-inspired nails featuring ocean waves, jumping fish, and pretty rhinestone air bubbles.

When it comes to clubbing, it's hard to stand out makeup-wise. After all, when girls hit a club with their gal pals it's pretty much a given prerogative that they make their makeup look as sexy as possible and their hemlines as high as possible as there's fierce competition with other girls in the club.

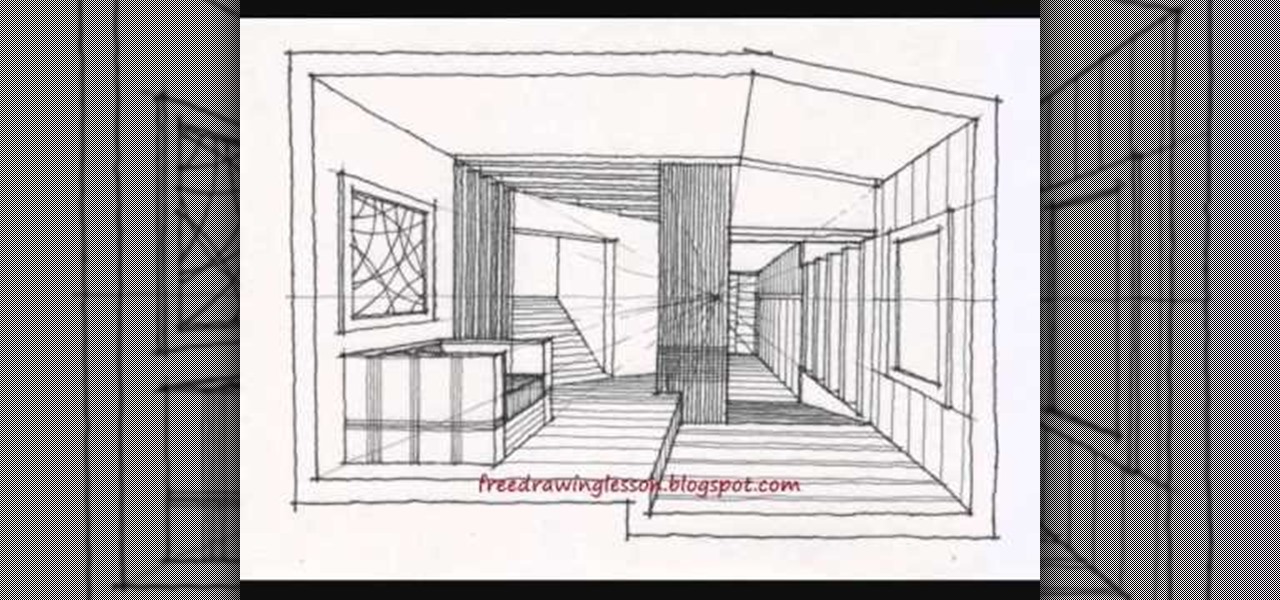
When vanishing point perspective was first discovered in the early Renaissance, artists were astounded by how the draftsman tool was able to transform a flat, 2D space (that until then always looked like a flat, 2D space without perspective) into a believable 3D image. We've been using vanishing point perspective ever since, and architects would die without it.

Illustrator Frank Frazetta knew women. At least, he knew what men desired in the "perfect" woman physically: Sumptuous curves that made men weak in the knees with a single shake, deep-set eyes, and bombshell assets.

In this video, we learn how to adjust to being alone after a divorce. Adjusting to life after divorce is difficult, but you can use solitude to help you. Each day, take some time to be completely alone, at least 15 minutes. Journal, paint, draw, or meditate to be alone. Pay attention to your inner self and give yourself the groundwork for success. Care for yourself and you will thrive. There will be life after a divorce, you just have to find your inner strength and start to build a new life....

In this video, we learn how to create a white, purple, and black swirl nail art. Start off by applying purple glitter to the side corner of the nail. Next, draw on a black thick line underneath the purple, followed by a swirl at the end of the line. Then, take white nail polish and make the same line underneath the black line. Make sure you let the black dry before you paint the white on underneath it. When all colors are dry, apply a clear coat of nail polish over the designs. Now your swirl...

In this tutorial, we learn how to make a mosaic frog for your garden. Start by painting white glue over the eye sockets where the eyeballs will be placed. After you place the eyes on, brush on glue to all surface areas and start to place the mosaic on the glue. Follow directions that are given to you for the patterns so you know where to place each tile. You must cut the corner pieces so they fit in correctly. After two hours of drying time, you will rub a powdered solution all over the frog,...

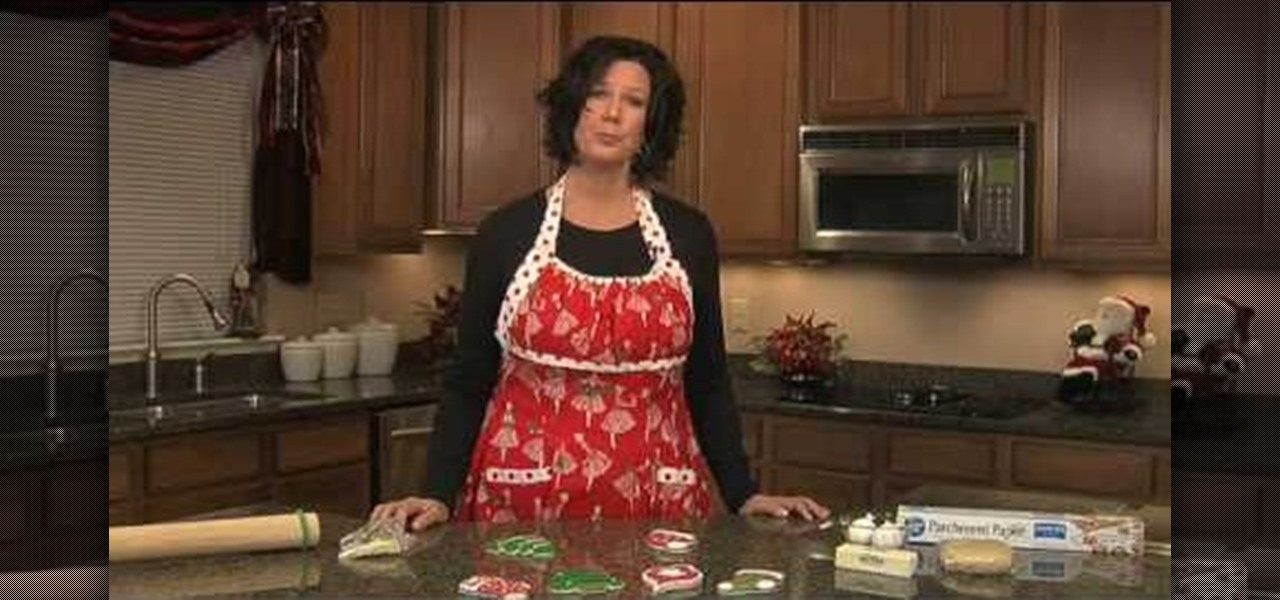
Ask any pastry chef and he/she will tell you that cookie and cake decorating is an art. Instead of paint you have all different types of icing and fondant, and instead of brushes you have your dexterous fingertips. And all these things go toward creating a crowning masterpiece.

In this tutorial, we learn how to build an outdoor dog house. Start off by making all the measurements for your dog house and cut out your wood. After this, use a metal frame piece to drill into the wood and this will be the base of the house. After this, connect all the metal pieces on the dog house to make the basic outline of the house. When you are finished with this, place wood on the frame of the house and drill it into place. When you are done with this, you can paint the house if you ...

In this video, we learn how to make chocolate dessert cups for an event or party. First, tape a cupcake pan and paint pink colored hot chocolate into a shape at the bottom. Next, add in melted chocolate to the individual cups. After this, place in the refrigerator for 10 minutes, then push the cups out of the trays. Then, you can place icing or cream into the middle of them and serve to guests. These only take a short amount of time to make, and everyone will love them. It's a great way to ke...

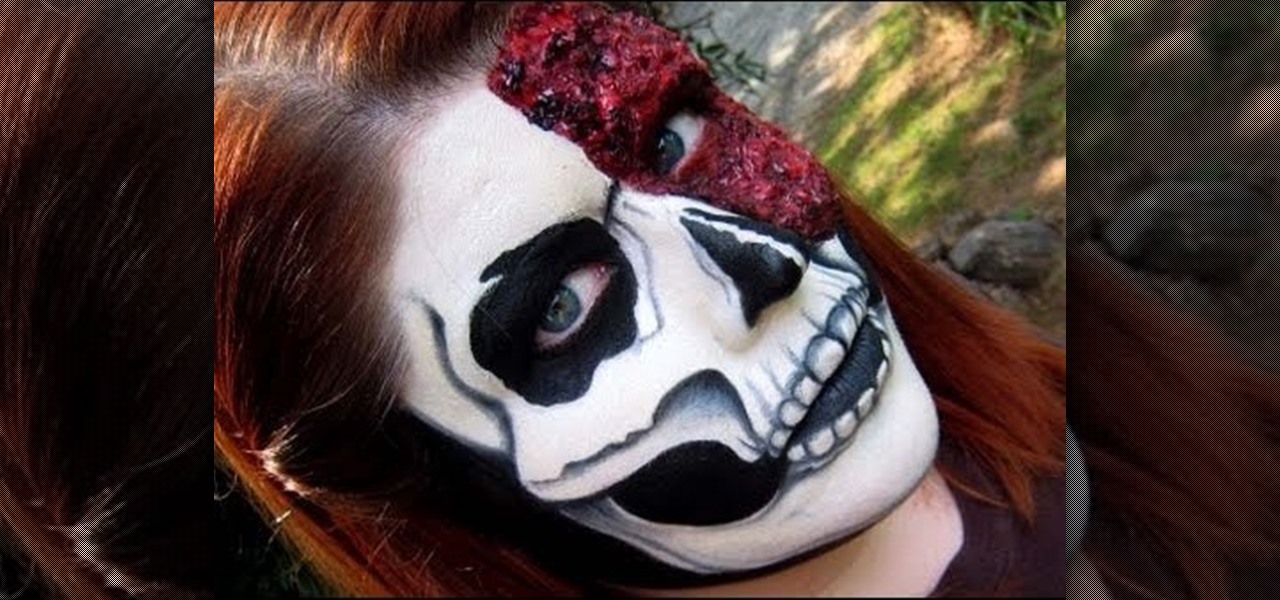
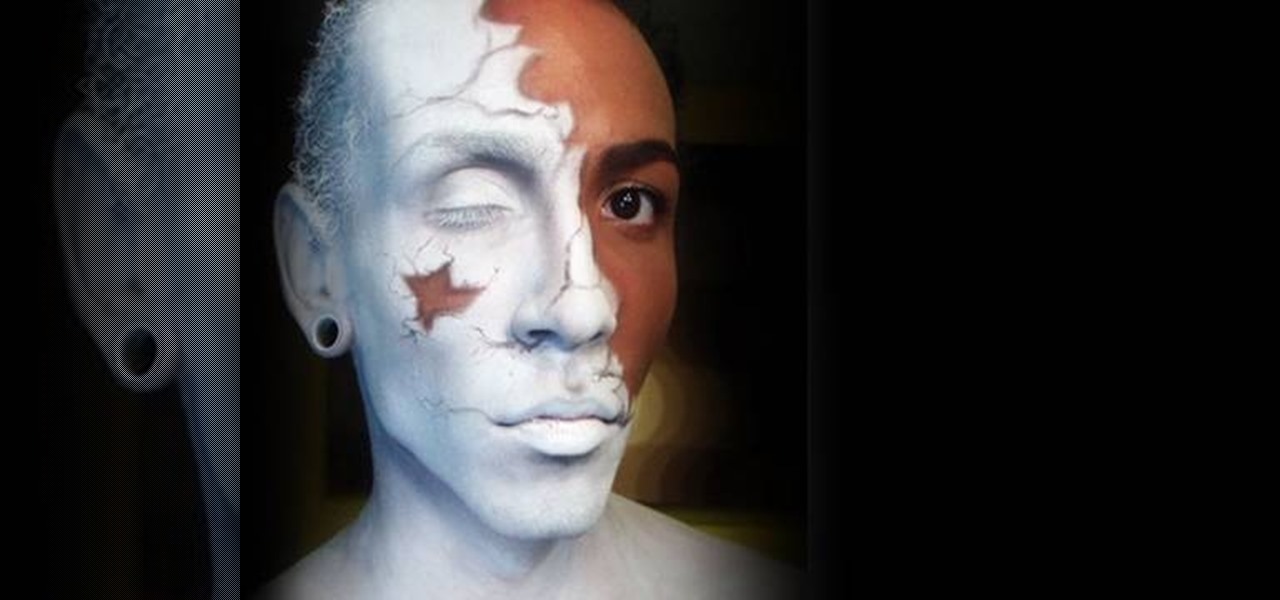
In this tutorial, we learn how to transform into a broken statue for Halloween. Start off by putting your hair back in a beanie, then painting your face white with a sponge. Next, stop halfway through your face so one side is still normal and the other side is completely white. Make sure you make a diagonal line, making the smaller area your regular face and the larger area your white face. Now, create contours on your face using a light touch with a brush that has gray on it. Now, take your ...

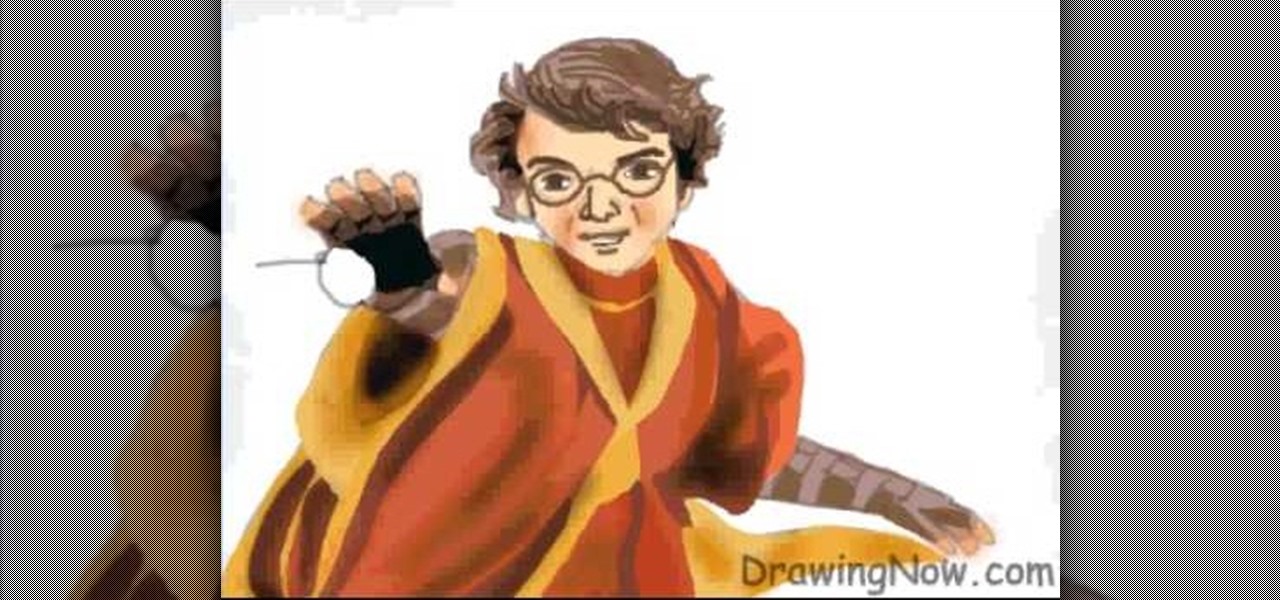
In this tutorial, we learn how to draw Harry Potter. Start out by drawing Harry's face, adding in all the details, such as: his hair, eyes, glasses, nose, and mouth. After this, start to draw his upper body wearing his Quidditch robes, and draw his arms. One arm should be reaching in the air for the ball and the other should be to his side to balance him out. After this, start to add colors to the picture. Add in his skin color, then add in his brown hair and gold and red for his sports robes...

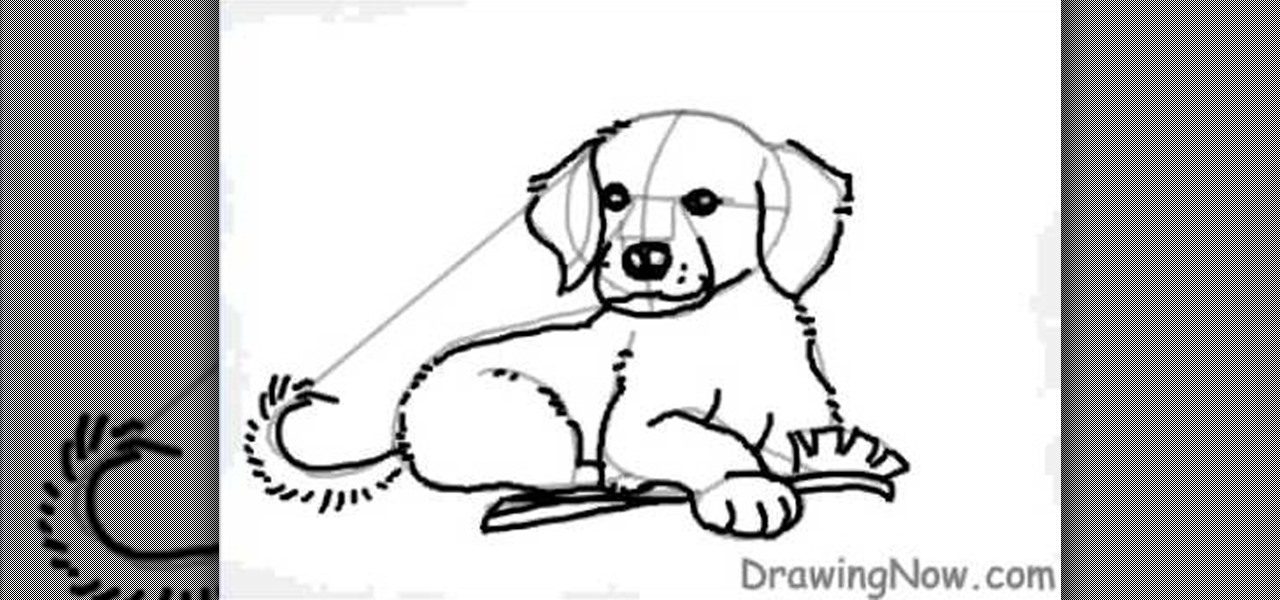
In this tutorial, we learn how to draw a cartoon golden retriever puppy dog. Start off by drawing the face with intersecting lines on it so you know where the nose, eyes and mouth go. Then, keep outlining the rest of the body including the legs and tail. Next, use a darker brush to go over the lines and make more of a detailed outline, including fur and eyes. Make sure to use lines on the side of the dog to make the hair look more realistic. After this, paint the inside of the dog using a lig...

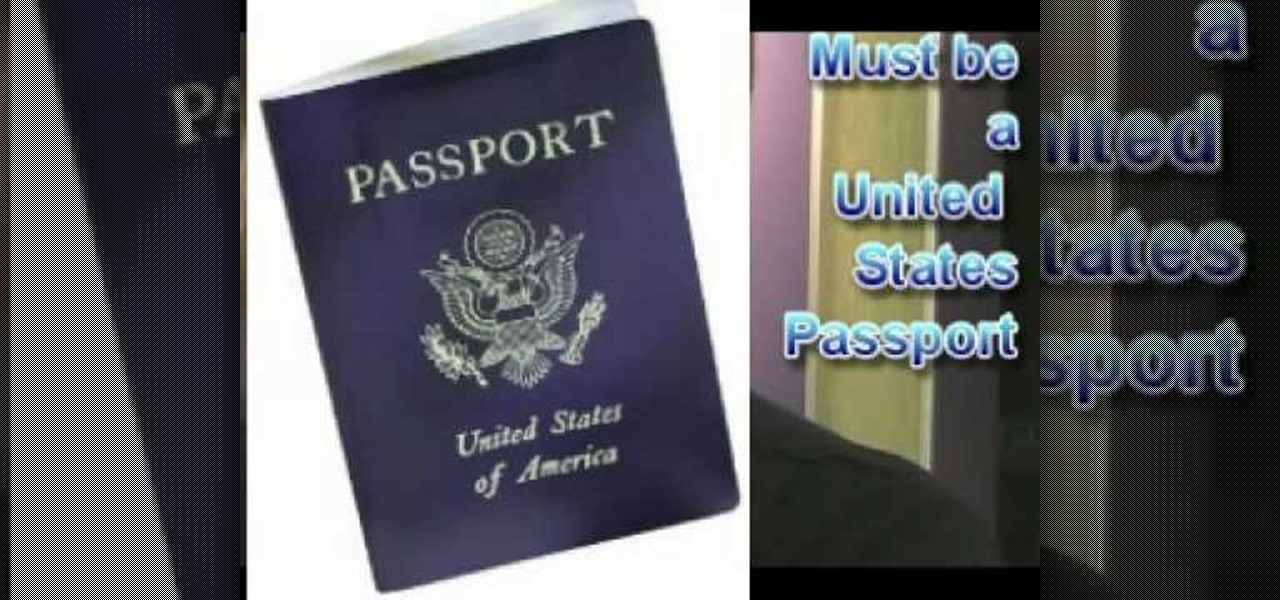
In this tutorial, Laurie Lee-Partner teaches us how to renew a US passport. First, you can only renew your passport if you have the current one and it expired less than five days ago. You will first need government form ds-82 and remember to sign it in black or blue ink, then send it in. Next, you will have to send in your passport that has already expired or is going to expire. Next, you will need two identical passport photos that have been taken in the last six months. They must be in colo...

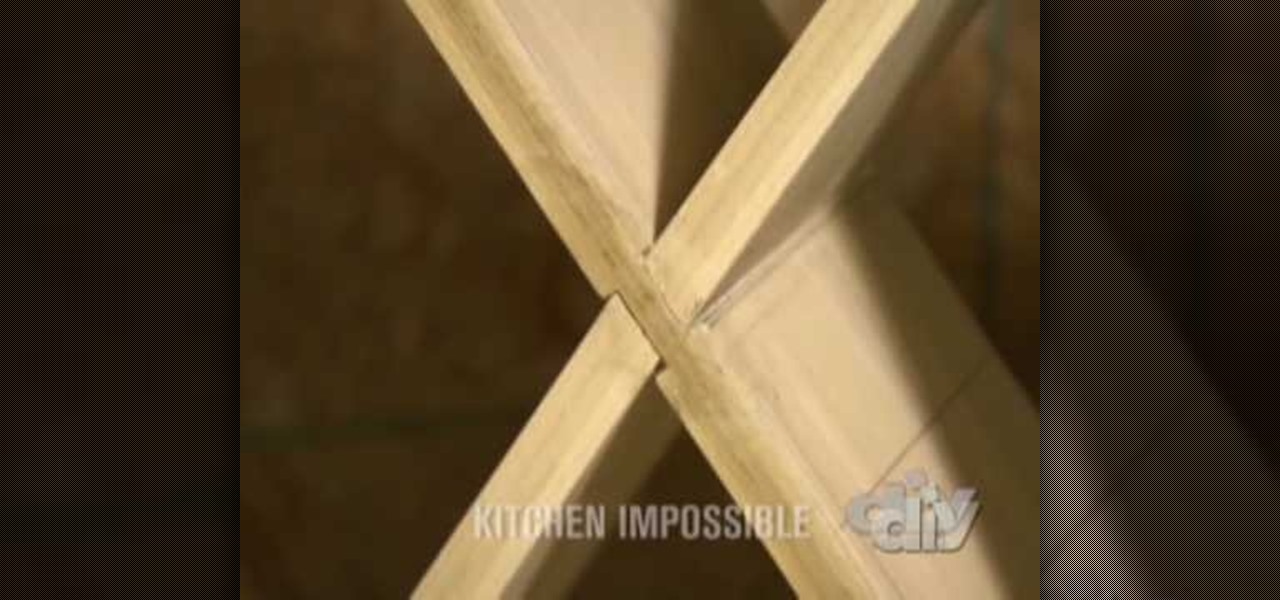
In this tutorial, we learn how to make a poplar wine rack. First, cut the top, bottom, and sides of the rack. Then, use a router to cut out the center of it. Now, assemble the rack together by using wood glue. After this, measure the length of the diagonals, then add in pieces of wood that are criss crossed throughout the box. Next, keep these in place with some wood glue and then place wine bottle on the inside of them. This will make a great wine rack for any home and you can paint it as we...

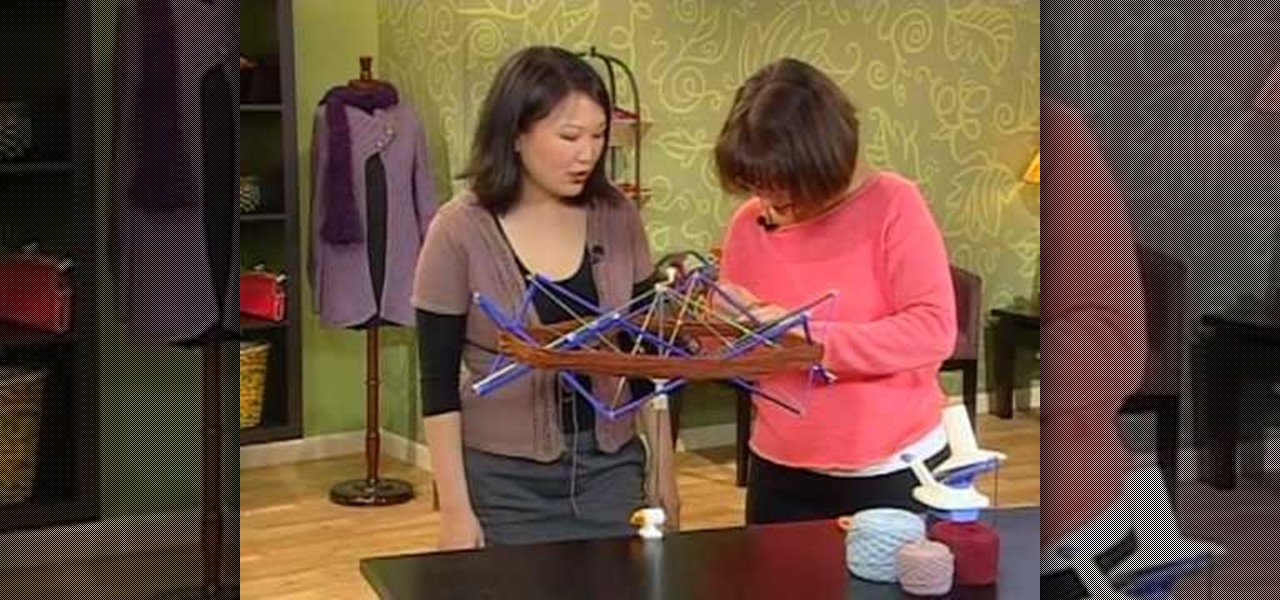
Like getting your watercolor papers and paints ready before you unravel a Monet-worthy masterpiece for the ages, knitting takes some prepwork that many beginning knitters may forget about. While it may seem that alll you need are two knitting needles and a ball of yarn, skeins of yarn often need to be unwound and then wound back up into a ball of yarn to make them usable.

We enjoy crafting of all sorts (nothing better to take your mind off, well, everything, after a long day at work), but polymer clay holds a special place in our hearts. Unlike painting or building contraptions out of wood, using polymer clay gives us the God-like power to make anything we want, and make that thing look mindblowingly real.


